Work in Progress
1/32-1/35 Mille Miglia 1931
-

Peter
 Moderator
- Posts: 22757
- Member since:
25 Mar 2008, 18:51
Hello, and happy New Year !
Well the Time before Xmas isnt so easy for me and i was at the Exhibition "Dioramica" in November.
But now Work goes on
Well the Time before Xmas isnt so easy for me and i was at the Exhibition "Dioramica" in November.
But now Work goes on
-
Challenger77
- Posts: 292
- Member since:
18 May 2010, 12:50
Challenger77 wrote:Hello, and happy New Year !
Well the Time before Xmas isnt so easy for me and i was at the Exhibition "Dioramica" in November.
But now Work goes on
Looking forward to it!

-
Santi Pérez likes this post. •
- Reply
-

Peter
 Moderator
- Posts: 22757
- Member since:
25 Mar 2008, 18:51
Hello,
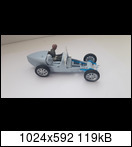
a little Upgrade ,-)
Bugatti is ready for the Airbrush
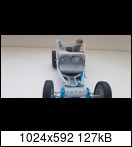
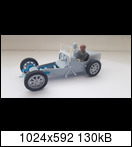
 [img]http://abload.de/thumb
/20190226_132107s1k73.jpg[/img]


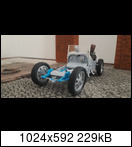
a little Upgrade ,-)
Bugatti is ready for the Airbrush


 [img]http://abload.de/thumb
/20190226_132107s1k73.jpg[/img]


-

Challenger77
- Posts: 292
- Member since:
18 May 2010, 12:50
Slowly progress on the Alfa 8c Airfix. Added Resincopies of the Pyrokit Fenders, much sanding....


The pyrokit Alfa 6c is a bit further. I added on Both scratchbuild vents /Resin Copies on the cockpit sides. Here also a oilreservoir. Fenders cutout and much sanding.........
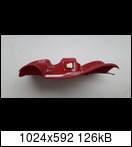

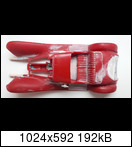
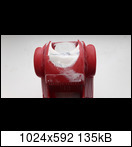
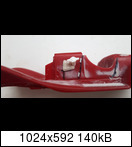
On the SSKL i detailed the Front Brakedrums a bit, the rear Ones need some Putty. They are originally intended to show the back row of Spokes.
And i build Lights for the Registrationplates out of scrap Etchparts, cutdown Pins and Brasstube. Later there will be a SMD LED to light this up. Also in the dashboards
build a new Box and Oil or Water Canister for the SSKL and extra Cooling grids

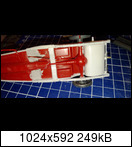
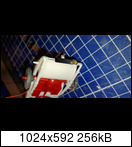
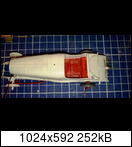
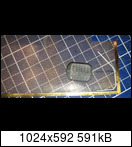


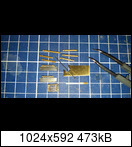
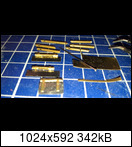
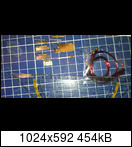
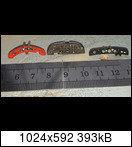
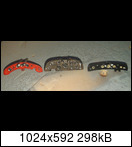


The pyrokit Alfa 6c is a bit further. I added on Both scratchbuild vents /Resin Copies on the cockpit sides. Here also a oilreservoir. Fenders cutout and much sanding.........


On the SSKL i detailed the Front Brakedrums a bit, the rear Ones need some Putty. They are originally intended to show the back row of Spokes.
And i build Lights for the Registrationplates out of scrap Etchparts, cutdown Pins and Brasstube. Later there will be a SMD LED to light this up. Also in the dashboards
build a new Box and Oil or Water Canister for the SSKL and extra Cooling grids


-

Challenger77
- Posts: 292
- Member since:
18 May 2010, 12:50
Anything with a Bugatti in it gets my attention, it's just such a wonderful looking car. Actually all of these old cars are pretty special and it looks like you are tuning them up to full racing trim.
this is getting very interesting.
this is getting very interesting.

-
Santi Pérez likes this post. •
- Reply
-

Graeme
- Posts: 1565
- Member since:
27 Nov 2015, 02:39
Help keep the forum online!
or become a supporting member
Hello to all !
hope you are all safe and Healthy ! I have used the Coronalockdown to build Details paint a bit
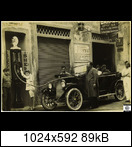
Started with model Victorias Petrolstation, build up like a photo from Siena , 1930.

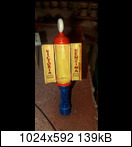
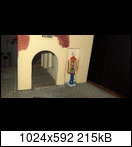
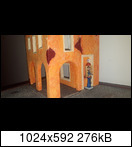
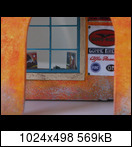
And then the Paintfun begin with Peppones ( does anybody knows the Name ) First a very light Gray, then dufferent Shades of Yellow and orange, Washings and so on. All done with Acrylics, the Foamboards dont like Oils.....
i added some Prints, found in the WWW and Windows, Doors and Shutters from Miniart, cut down to fit and detailed with Metalrod etc etc.
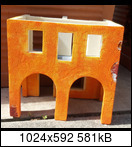
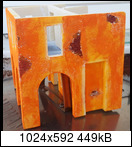
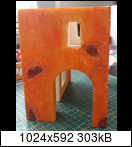

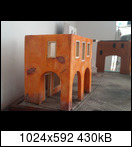
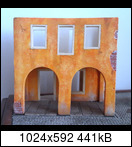

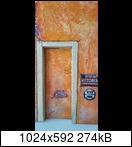


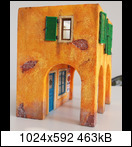
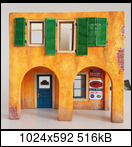
hope you are all safe and Healthy ! I have used the Coronalockdown to build Details paint a bit
Started with model Victorias Petrolstation, build up like a photo from Siena , 1930.


And then the Paintfun begin with Peppones ( does anybody knows the Name
i added some Prints, found in the WWW and Windows, Doors and Shutters from Miniart, cut down to fit and detailed with Metalrod etc etc.


-

Challenger77
- Posts: 292
- Member since:
18 May 2010, 12:50
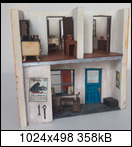
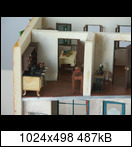
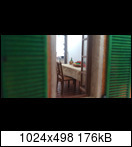
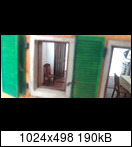
Next Steps are the Detailing for the Rooms because this House will be open at the back . Its a Bunch of cut to Fit Miniart, Verlinden, Plusmodel and Eduard etchings .
First the Workshop or Office, nothing Special, only Scratchbuilded Wallmounted telephon.


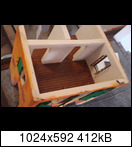
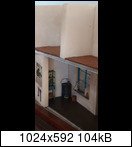
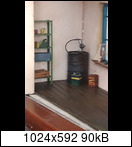




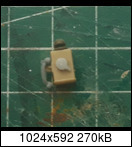

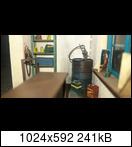
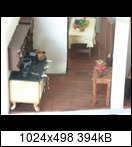
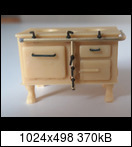
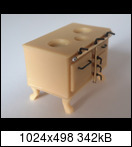
Next step was the kitchen, the Verlinden Stove is altered to a Gasfired One with small Copperrod and some Waste Plastic.A little but very lovely Detail is the Coffeemill.

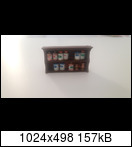
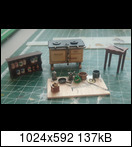

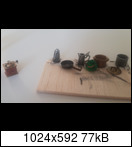
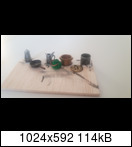
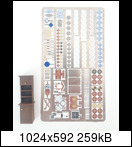
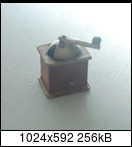

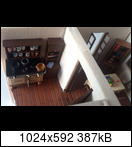

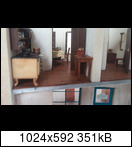

First the Workshop or Office, nothing Special, only Scratchbuilded Wallmounted telephon.


Next step was the kitchen, the Verlinden Stove is altered to a Gasfired One with small Copperrod and some Waste Plastic.A little but very lovely Detail is the Coffeemill.


-

Challenger77
- Posts: 292
- Member since:
18 May 2010, 12:50
-

Challenger77
- Posts: 292
- Member since:
18 May 2010, 12:50
Hi Chllenger77. It would be nice to post real size pictures, not just thumbnails. Thanks.
-

Kekso
 Moderator
 Supporting Member (Bronze)
 - Posts: 6884
- Member since:
19 Oct 2011, 18:32
Hi Challenger 77
very high level of modeling. Looks like a super well detailed puppet house. Don't be afraid, show larger pictures.
I had forgotten but will follow again
Many Greetings to Austria
Michael
very high level of modeling. Looks like a super well detailed puppet house. Don't be afraid, show larger pictures.
I had forgotten but will follow again
Many Greetings to Austria
Michael
-
Challenger77 likes this post. •
- Reply
-

Michael Robert
 Supporting Member (Bronze)
- Posts: 825
- Member since:
14 Oct 2009, 19:22
-

Challenger77
- Posts: 292
- Member since:
18 May 2010, 12:50
Very nice to see an update on this! And a very nice update too!
-
Challenger77 likes this post. •
- Reply
-

Susofrick
 Supporting Member (Gold)
 - Posts: 7720
- Member since:
19 Feb 2008, 12:10
-

Challenger77
- Posts: 292
- Member since:
18 May 2010, 12:50
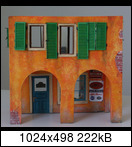
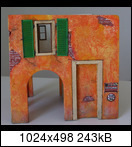
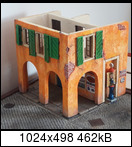
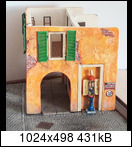
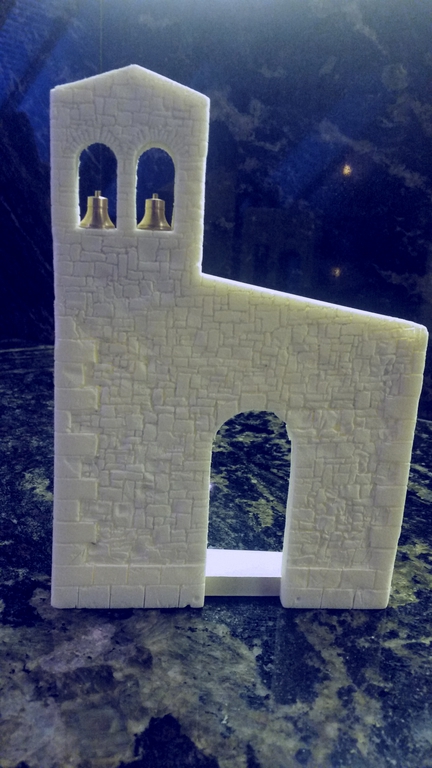
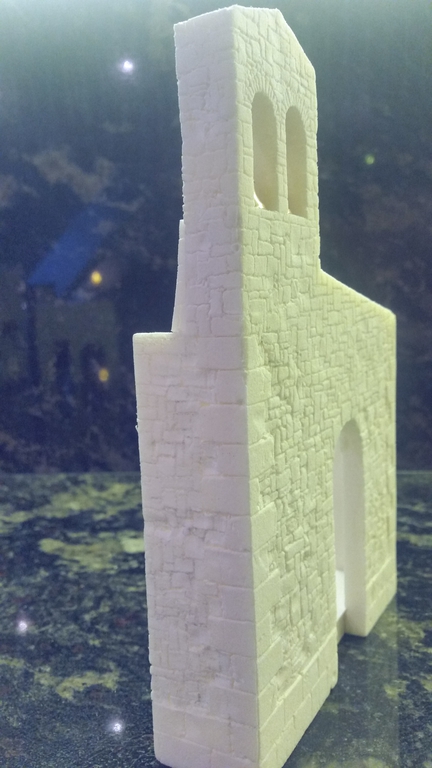
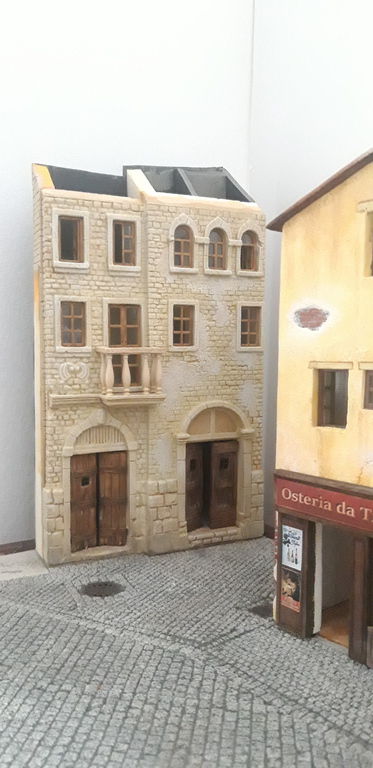
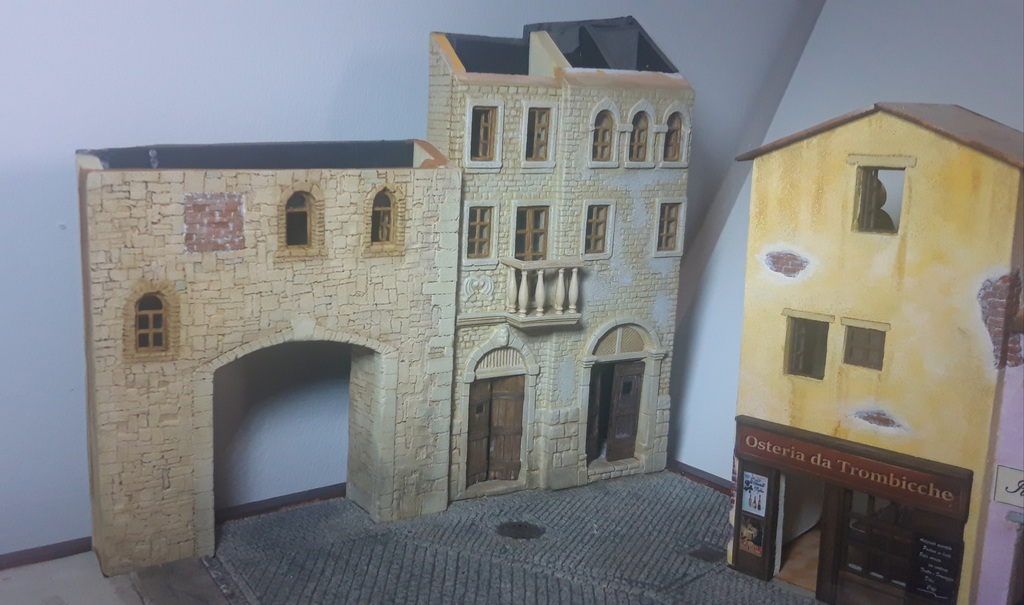
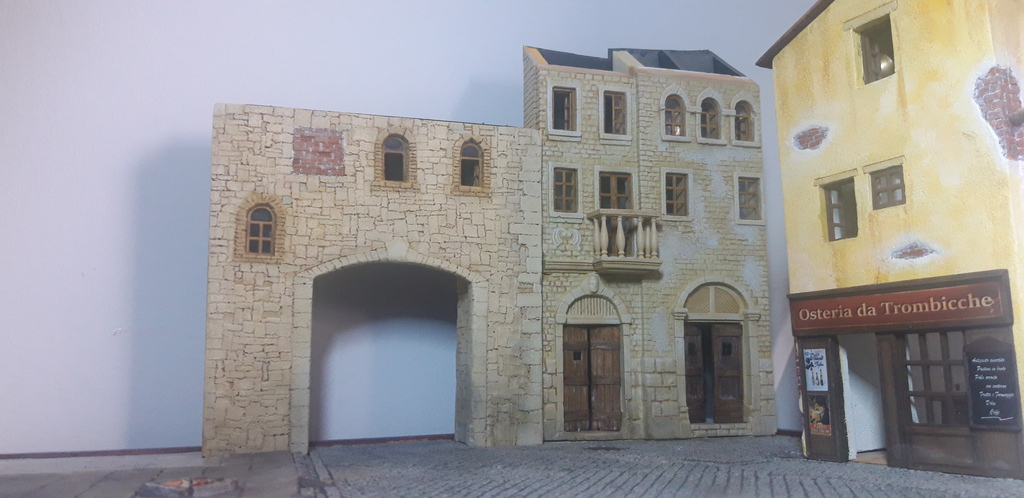
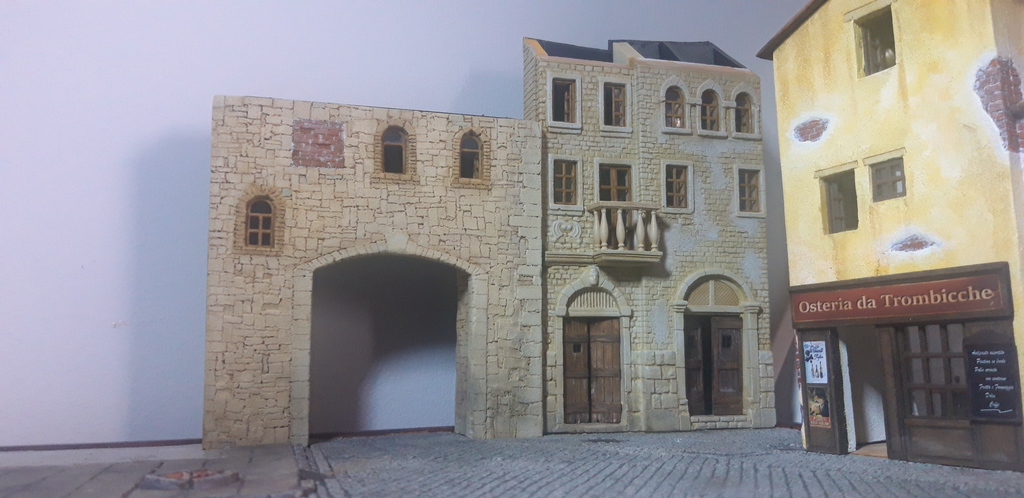
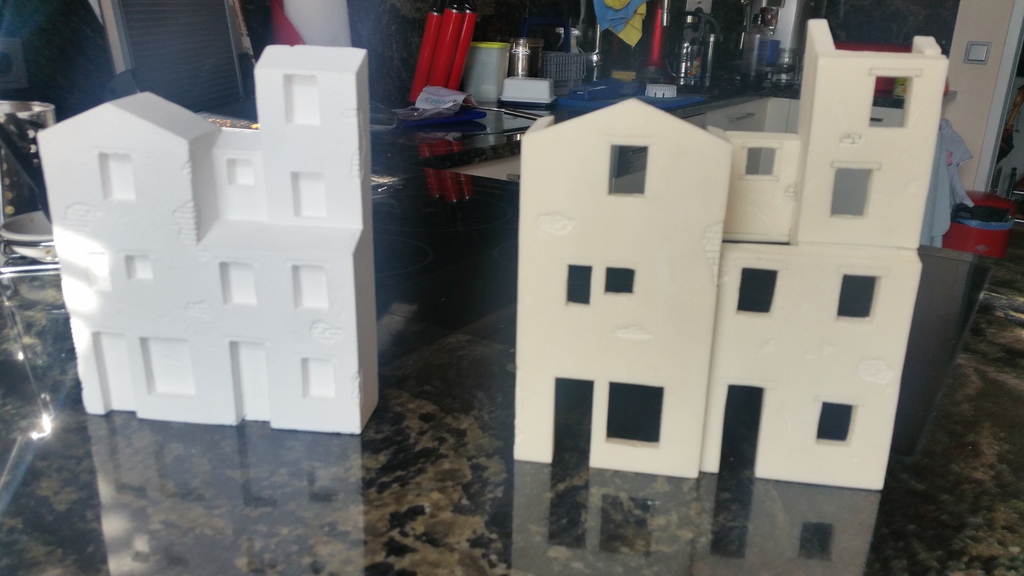
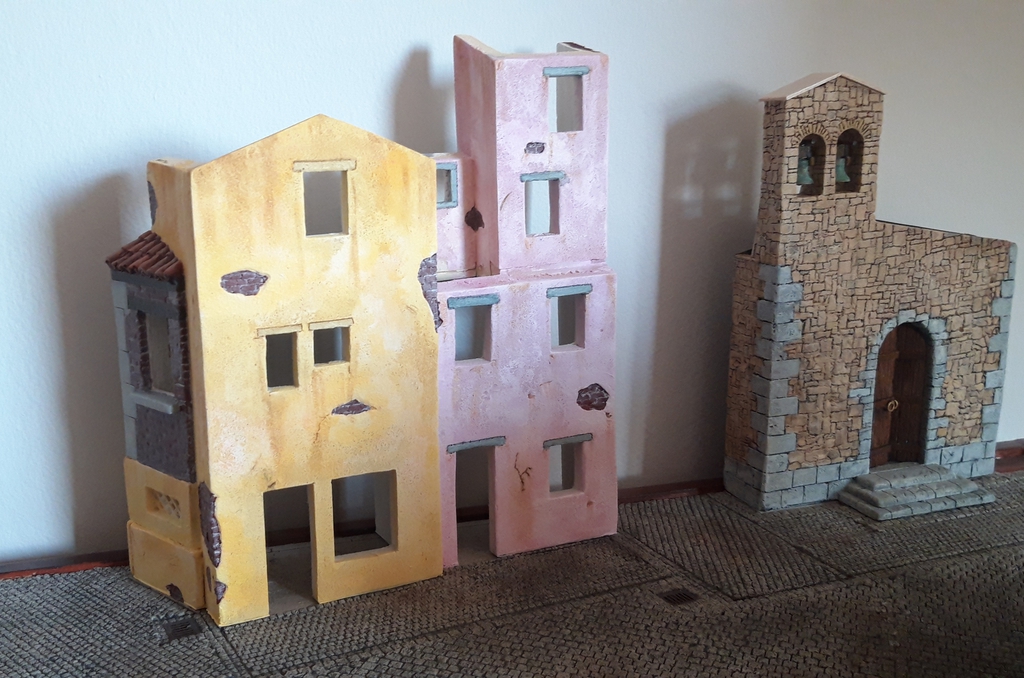
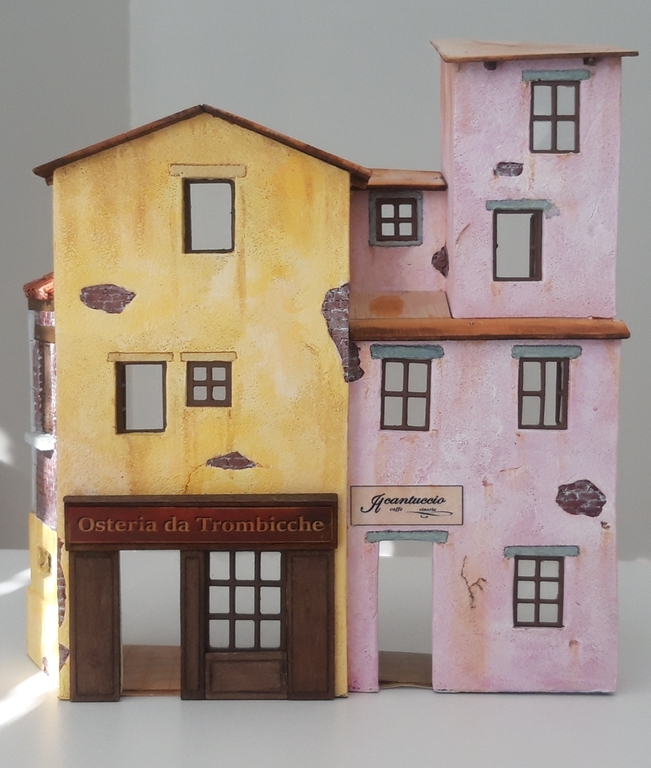
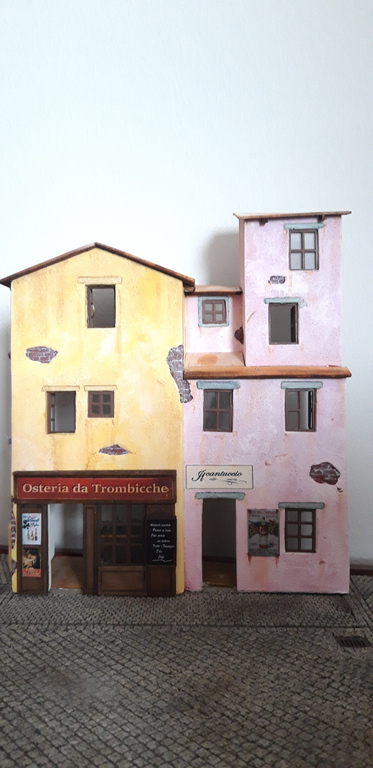
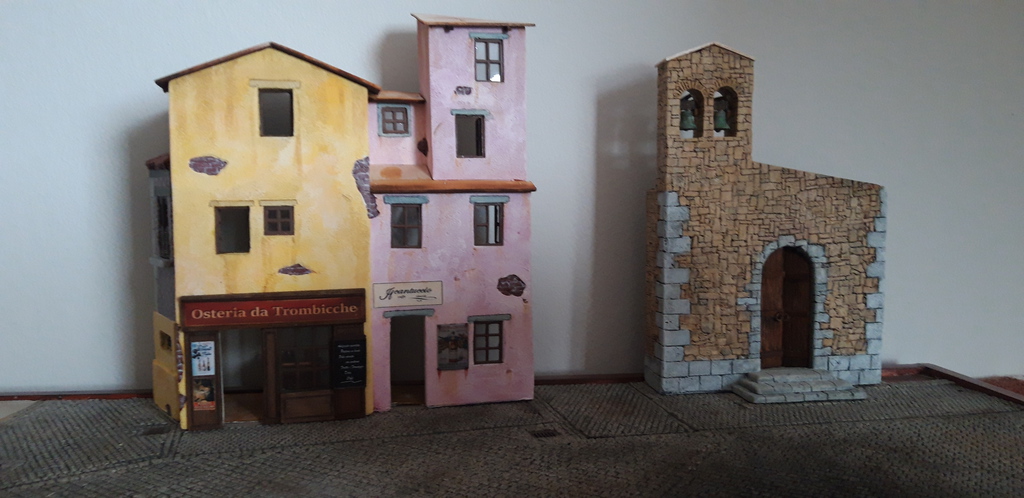
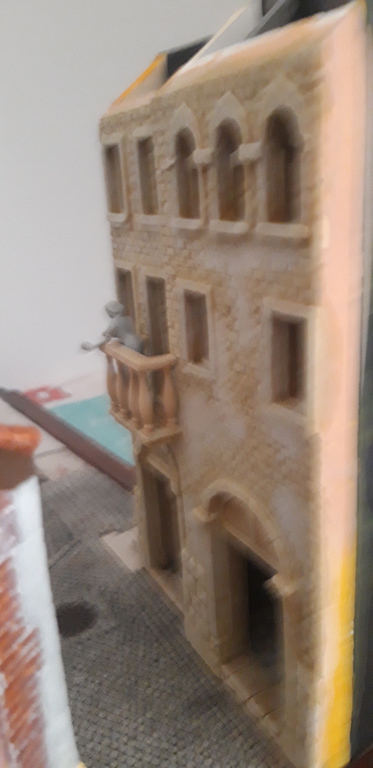
Beside the Church i place a Doublehouse. Originally i want to use a Verlinden Plasterbuilding, but this Thing is 1.way to Narrow, more for 1/48 and 2. heavy as a Rock. So i build this new, also Foamboard. Floors are Carved Plastic, the Tiles are only for Photosurpose, i make new ones. The Osteria and Caffeteria are based on real ones , the " Da Trombicche " in Siena, very nice ! and the "Il Cantuchio" in Castellina in Chiant, also very nice and both have good Food and Wines 


On the left the Original Verlinden, right the New One
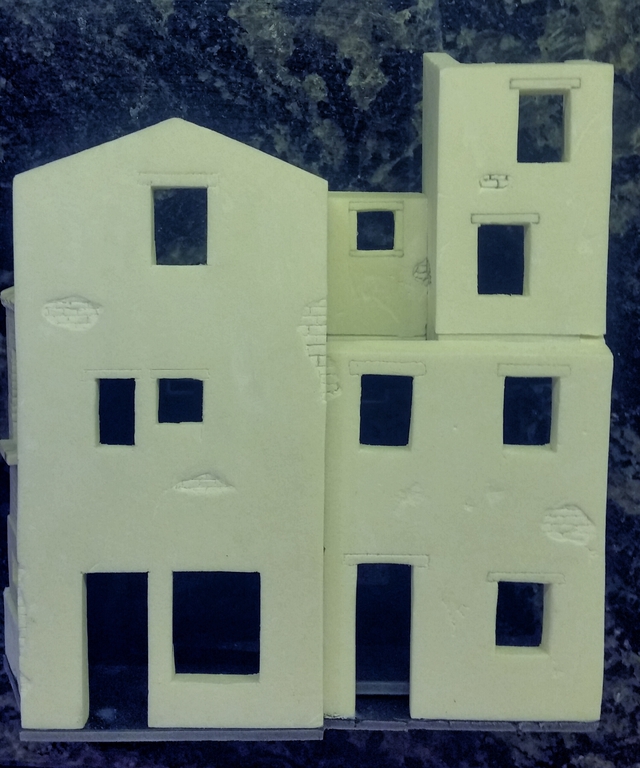
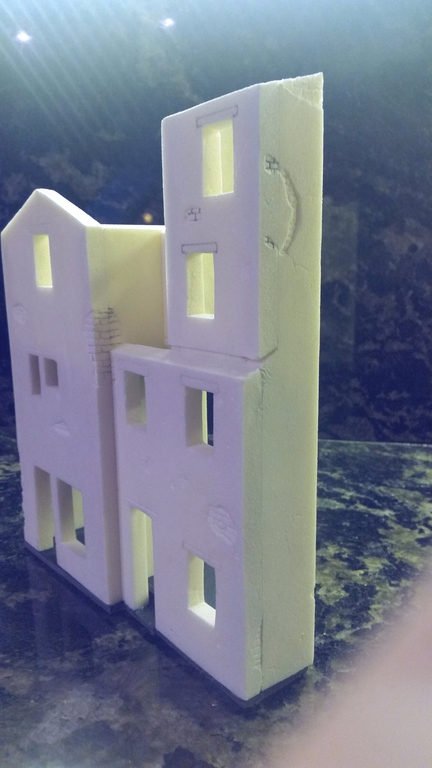


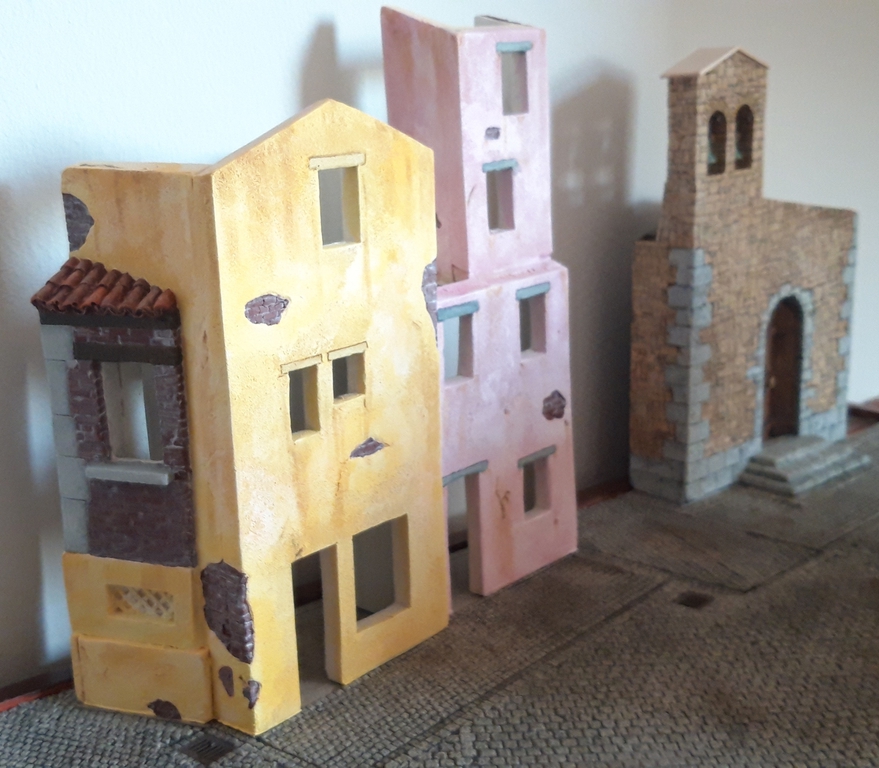
To see if the Colors are not too bright i placed it on the base, think its good.

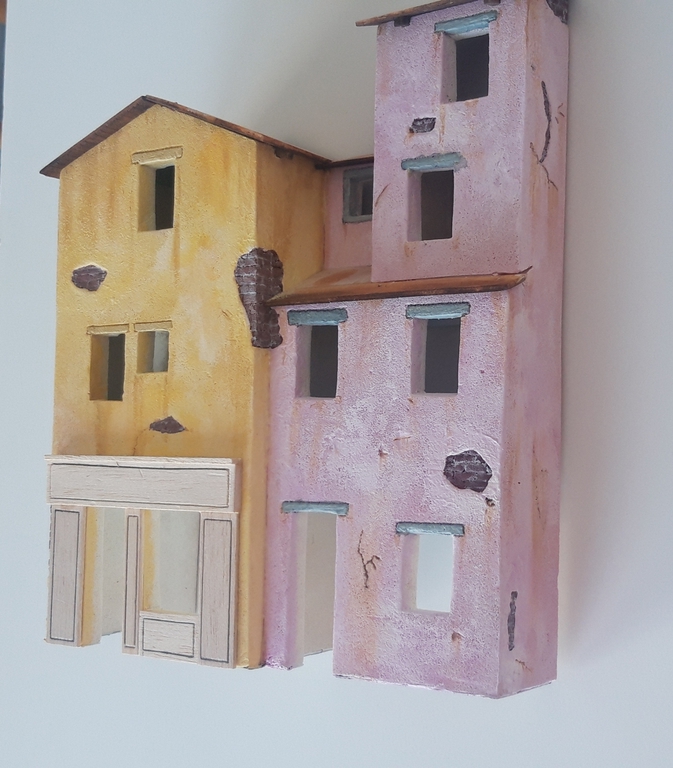
The Front for the Osteria , made out of Balsawood, added some Advertisments from this Timeperiod and a Menucard.

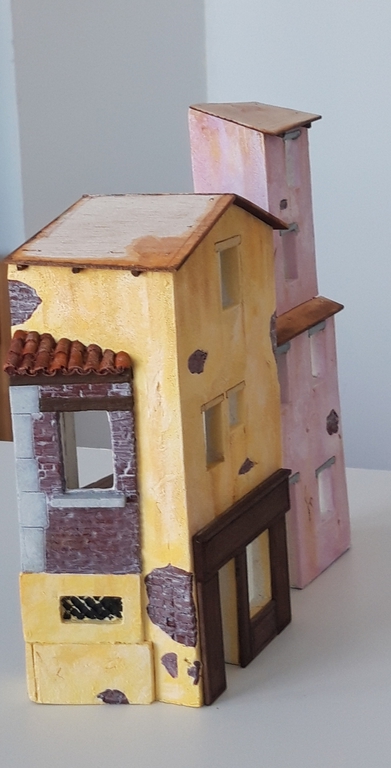
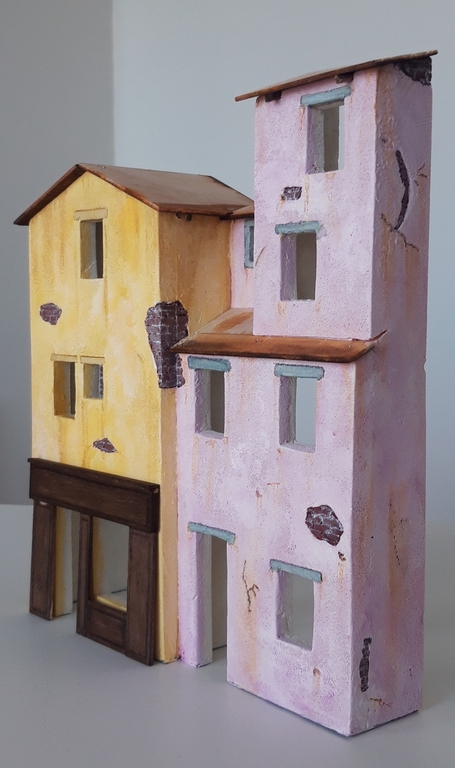


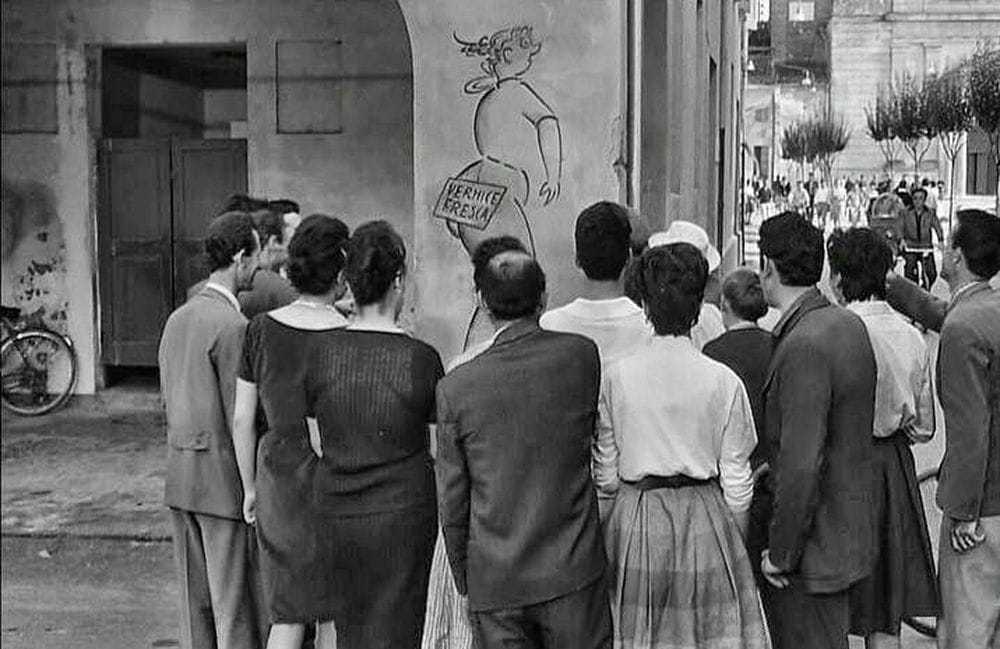
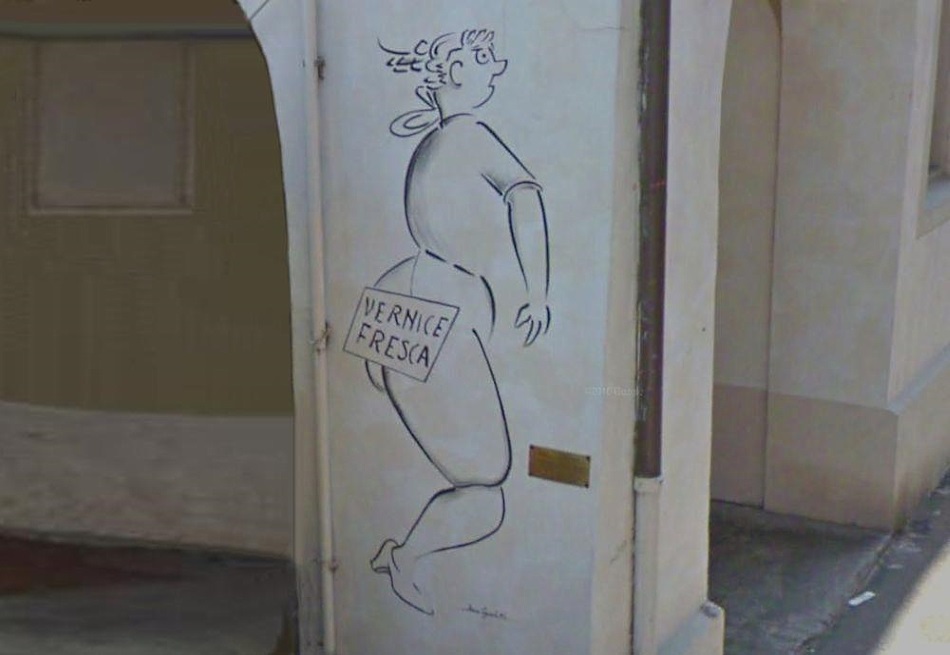
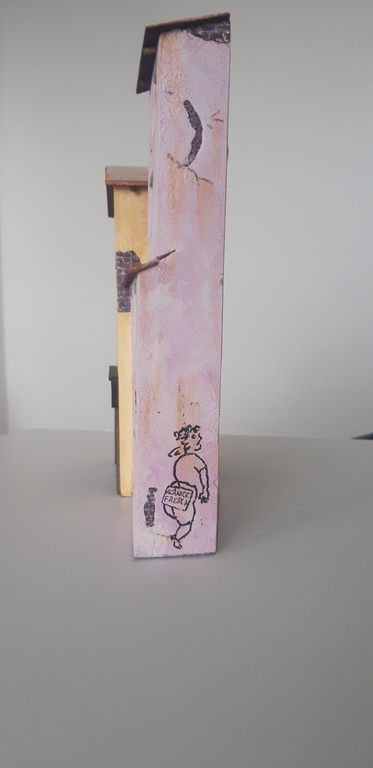
And i cannot resist , i added a little Joke. In one of the Don Camillo Movies, there is a Cartoon painted on a Wall, it says "Freshly Painted". This is Restored and can still see in Brescello, where this Movies made. I painted it Free Hand with a Fineliner.

On the left the Original Verlinden, right the New One


To see if the Colors are not too bright i placed it on the base, think its good.


The Front for the Osteria , made out of Balsawood, added some Advertisments from this Timeperiod and a Menucard.


And i cannot resist , i added a little Joke. In one of the Don Camillo Movies, there is a Cartoon painted on a Wall, it says "Freshly Painted". This is Restored and can still see in Brescello, where this Movies made. I painted it Free Hand with a Fineliner.


-

Challenger77
- Posts: 292
- Member since:
18 May 2010, 12:50
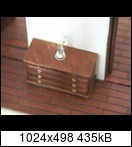
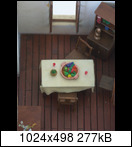
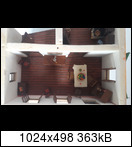
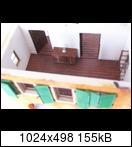
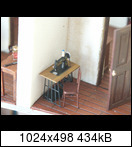
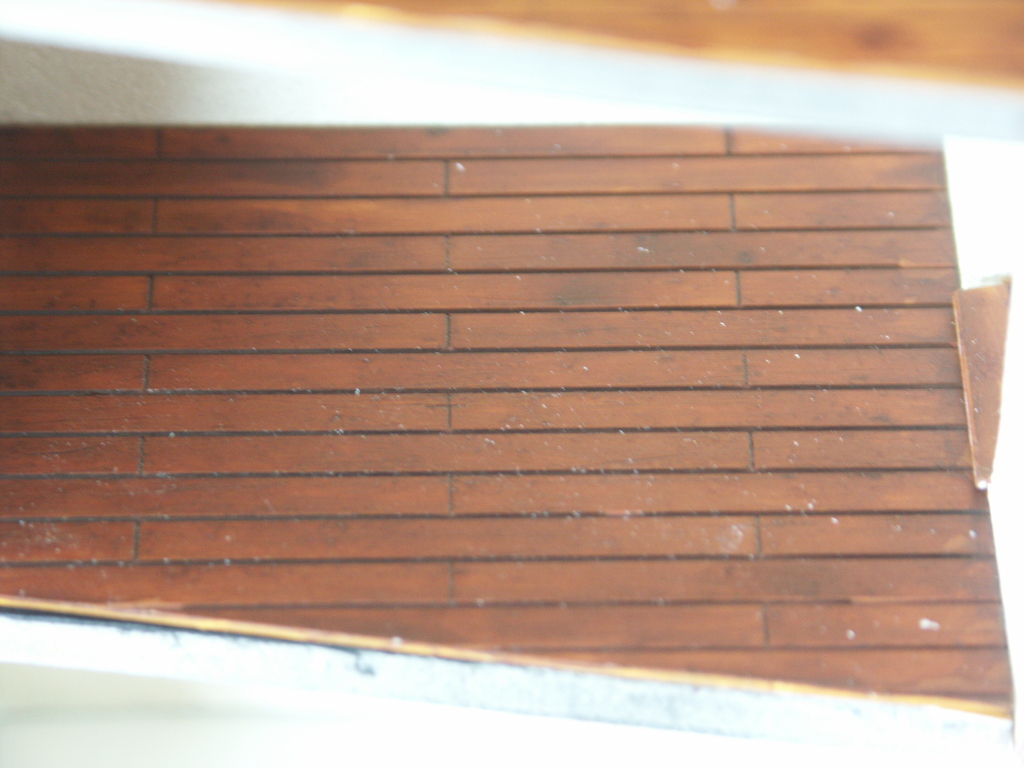
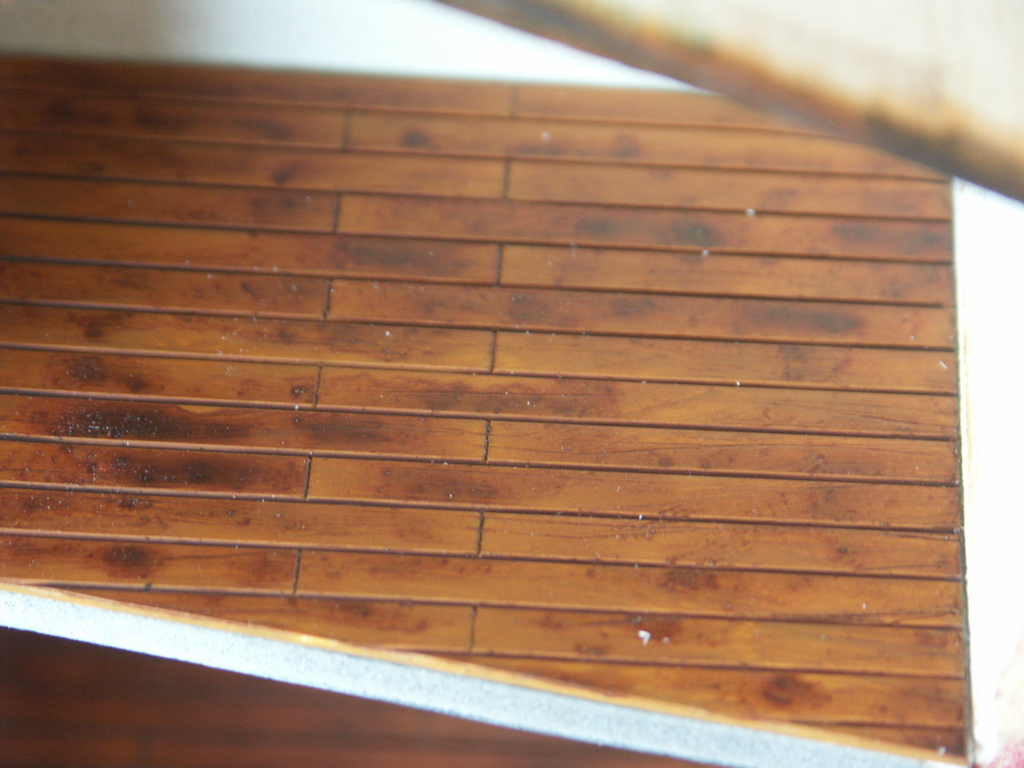
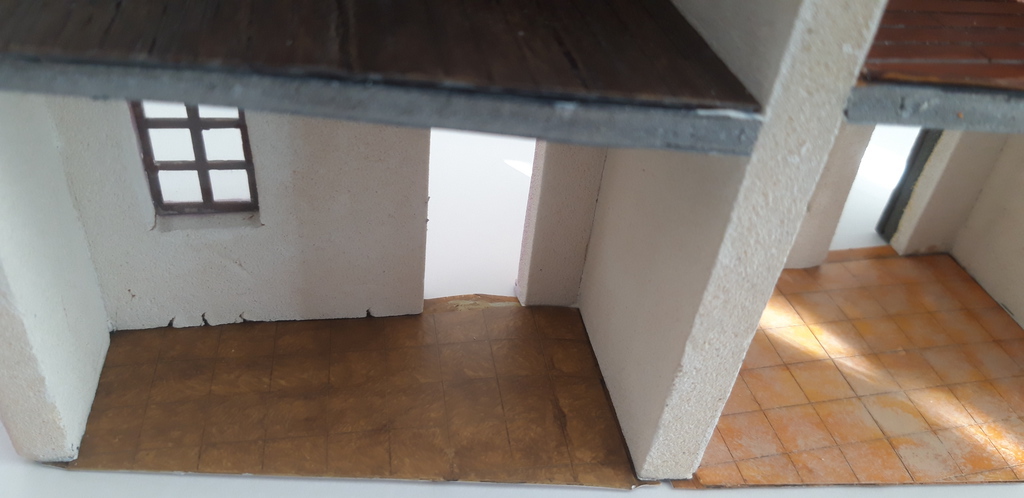
Next Step are all the Floors. I made them with carved and scratched Evergreen Sideboarding. From Miniart comes the Dark ones , the small Room between the Roofs will be changed to a Bathroom.
Floortiles for the Loacals carved Plasticard.
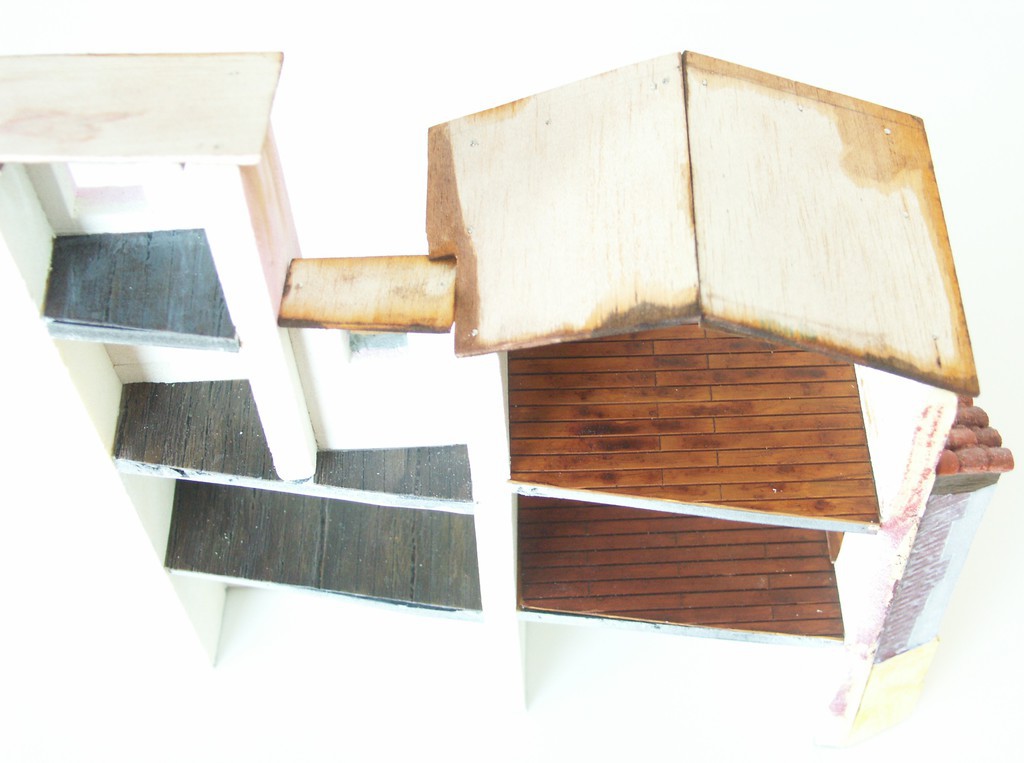


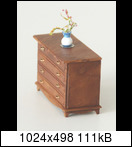
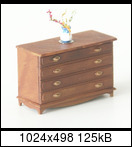
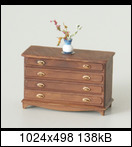
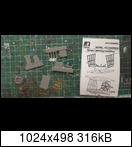
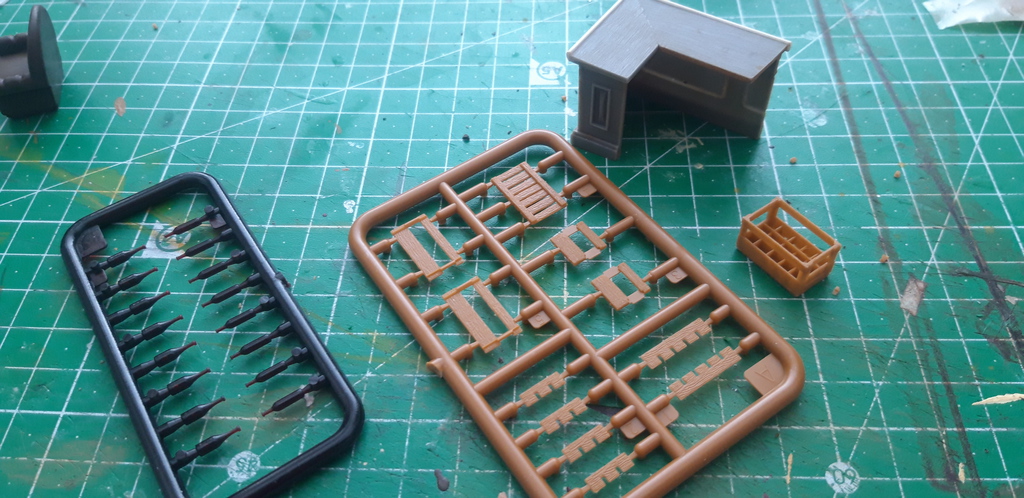
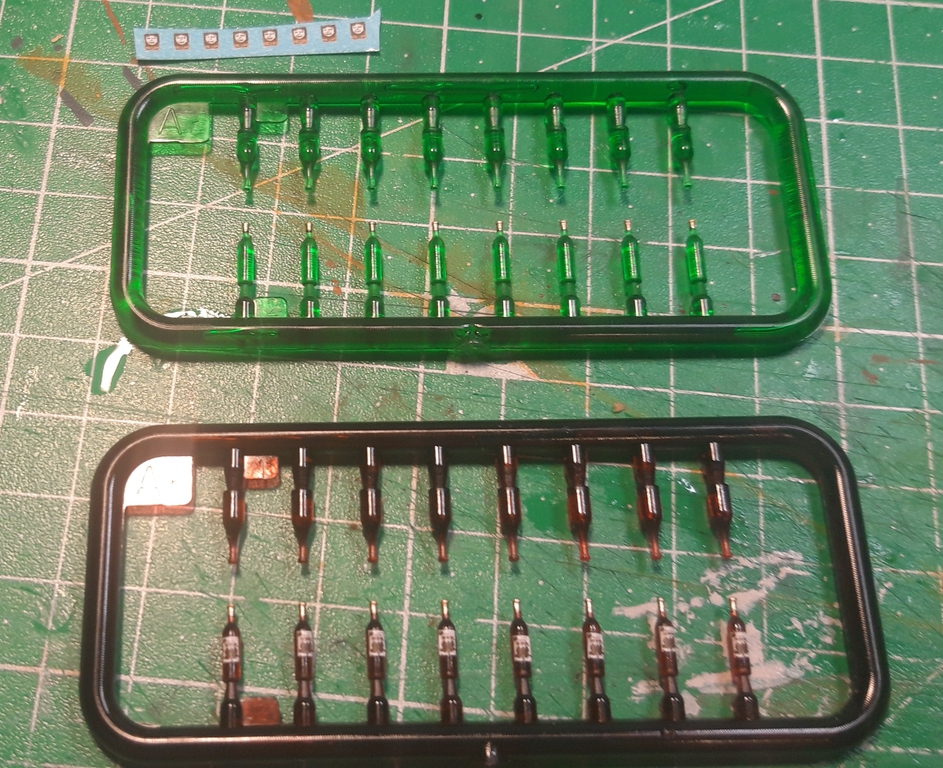
For the Furniture i used Sets from Plus Model, very massive "sprues" and altered Miniart Parts.
The Typewriter is a small Scratchbuild.
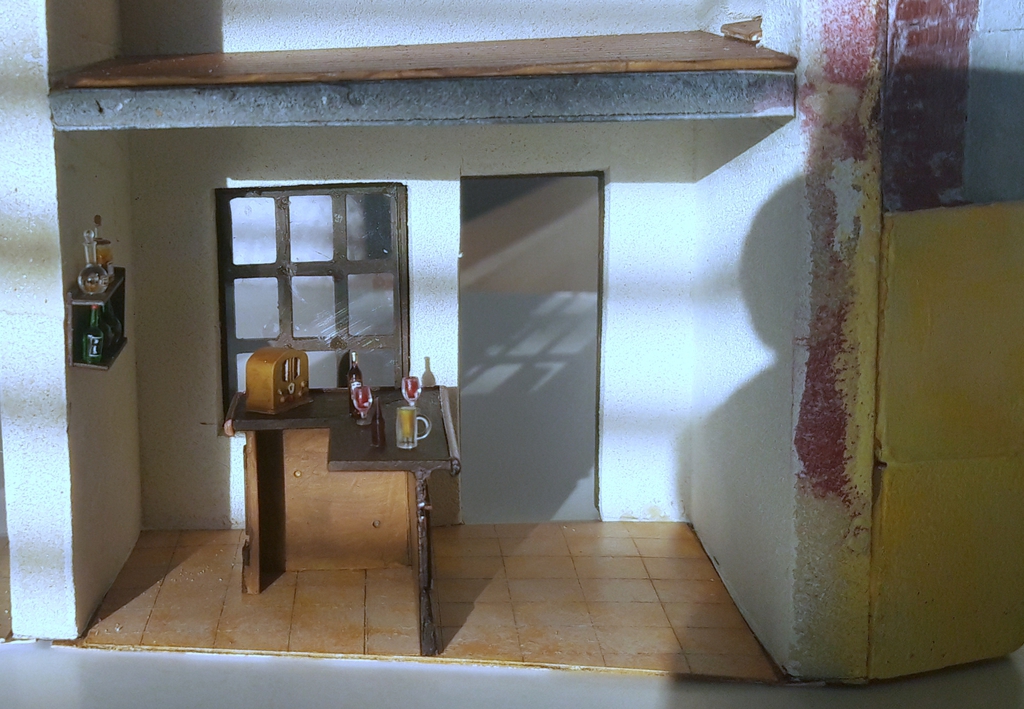
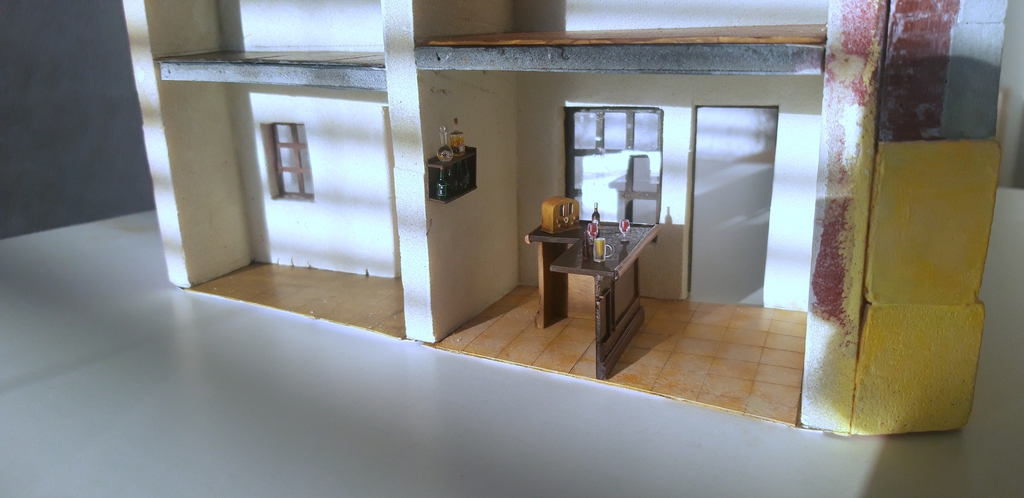
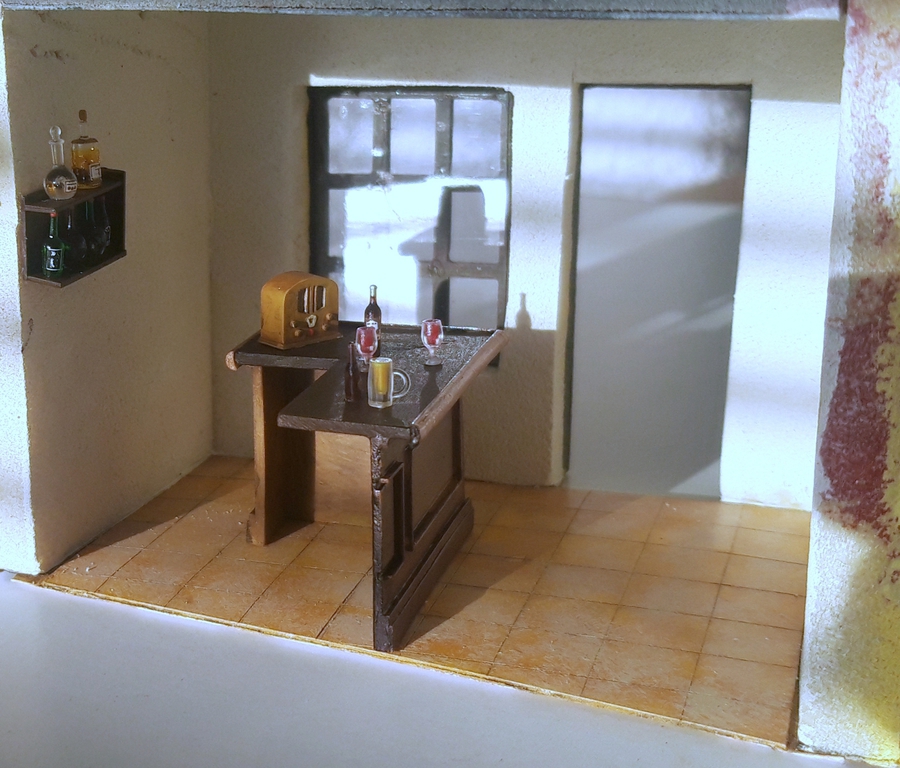
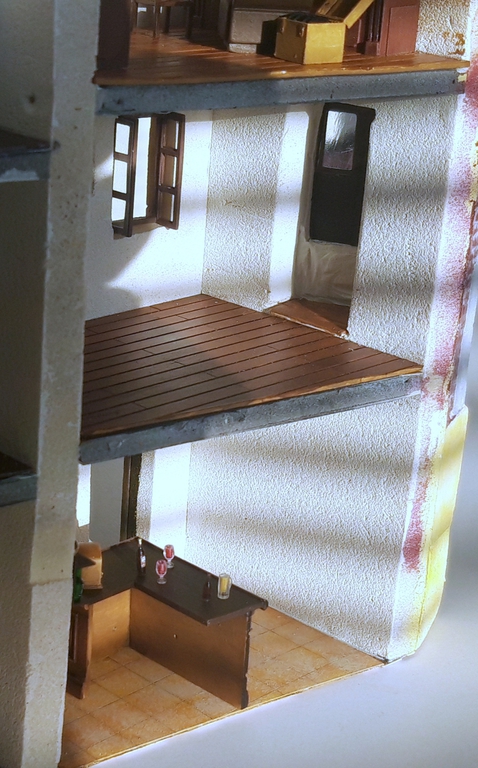

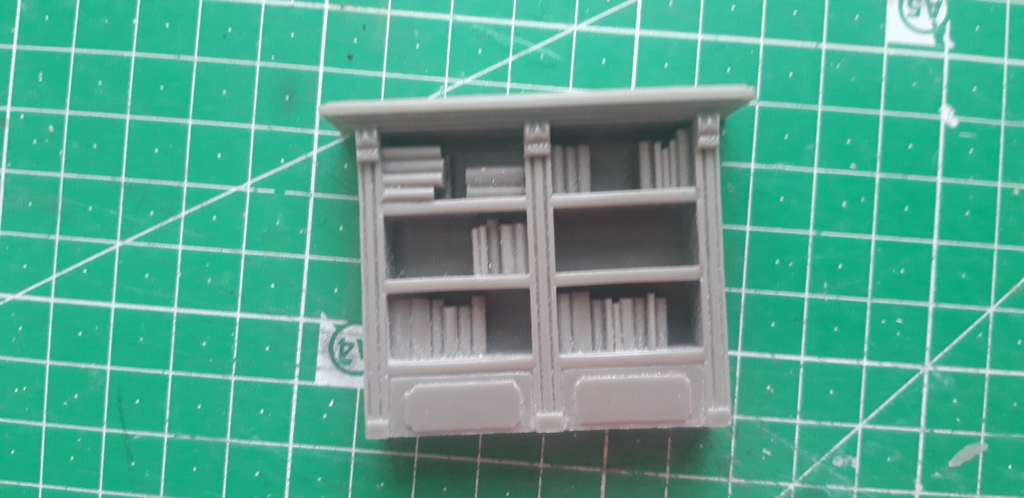

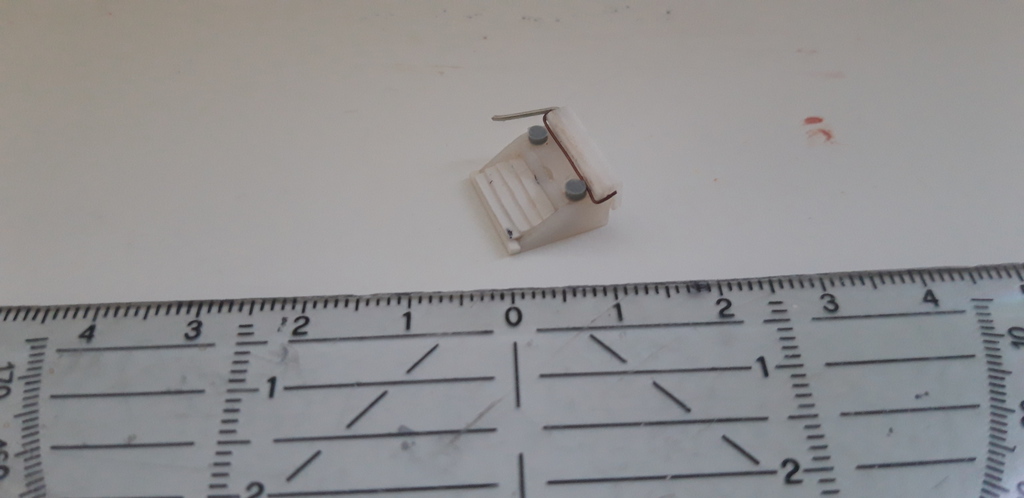

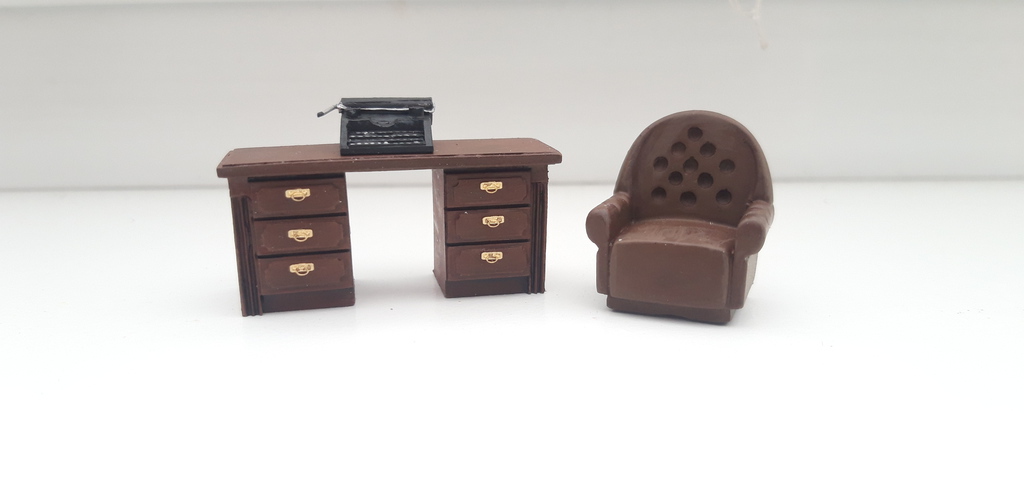
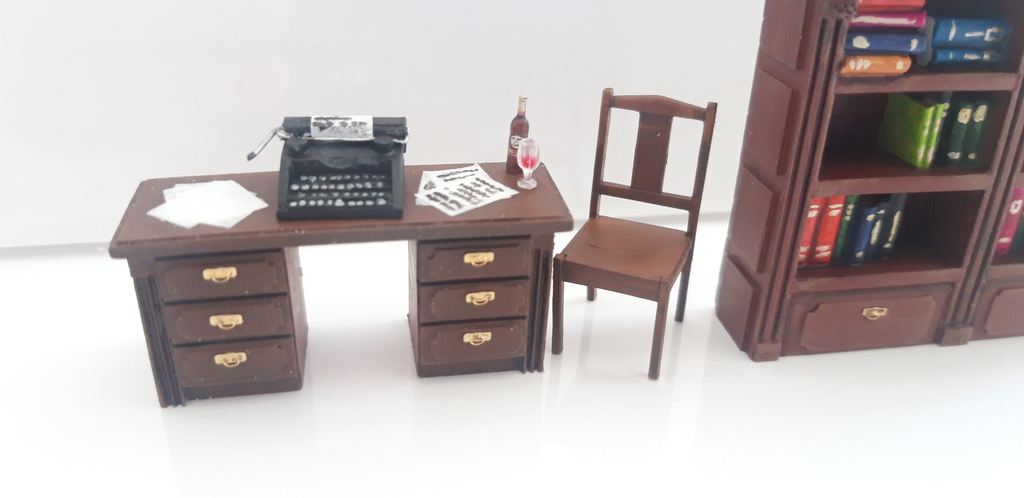
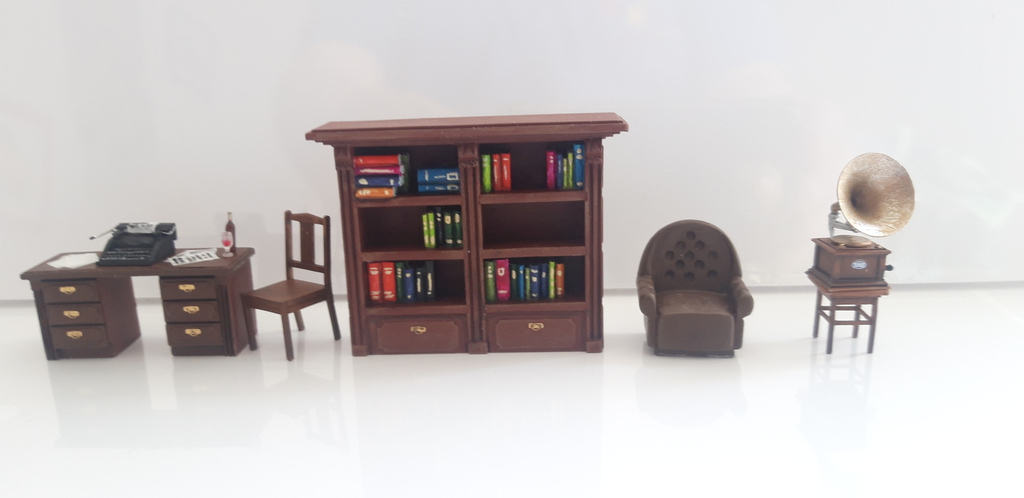

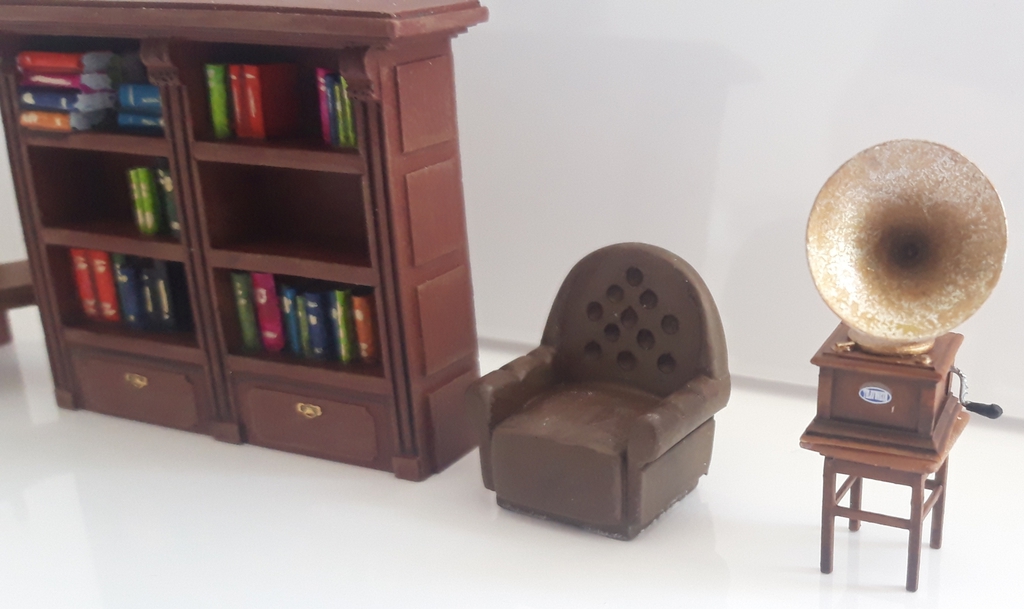
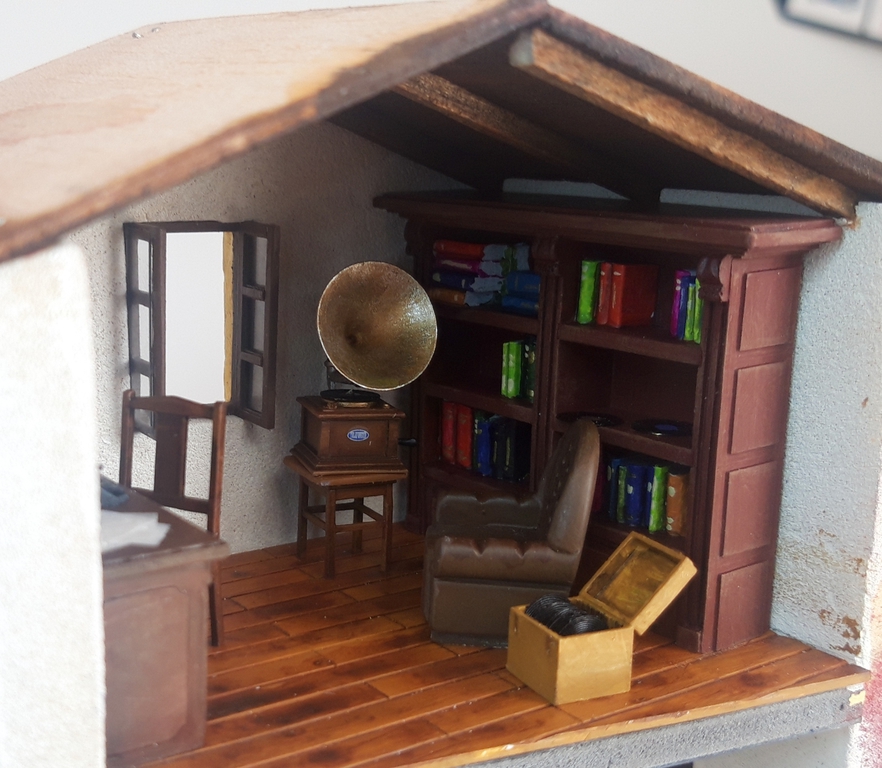
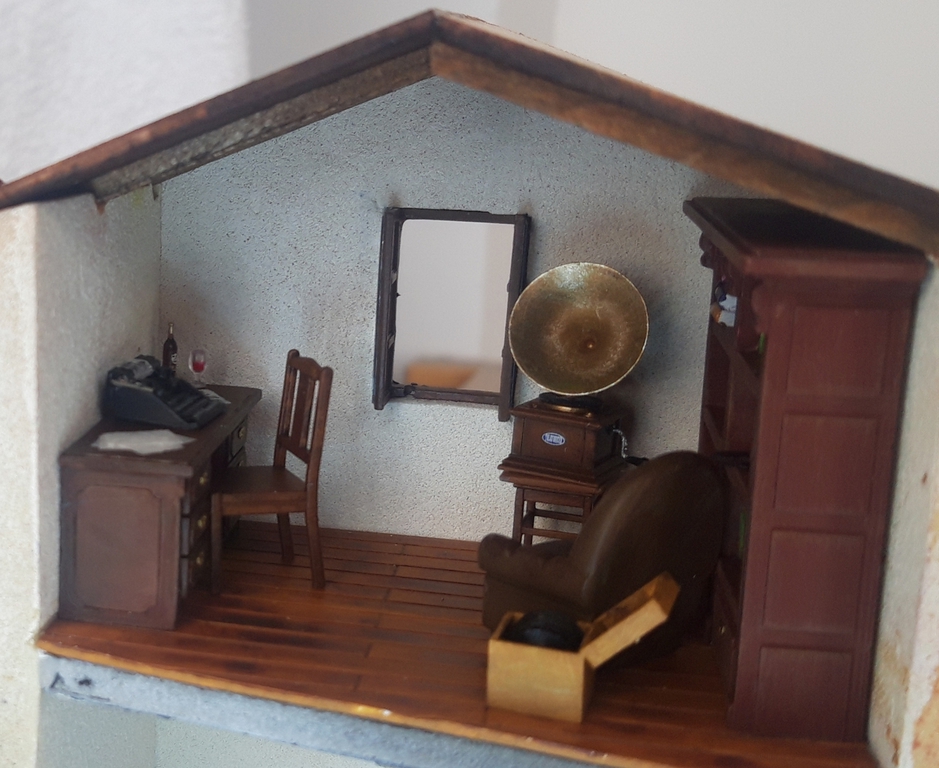

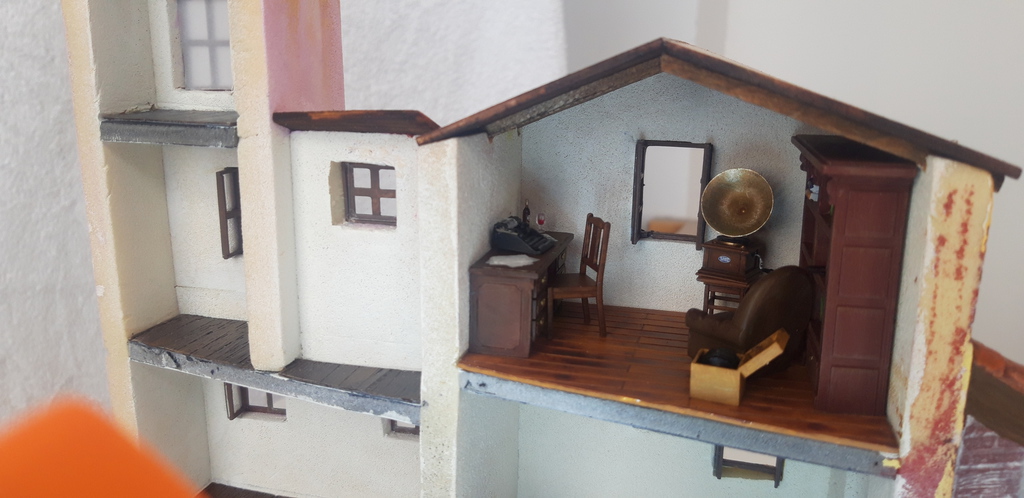


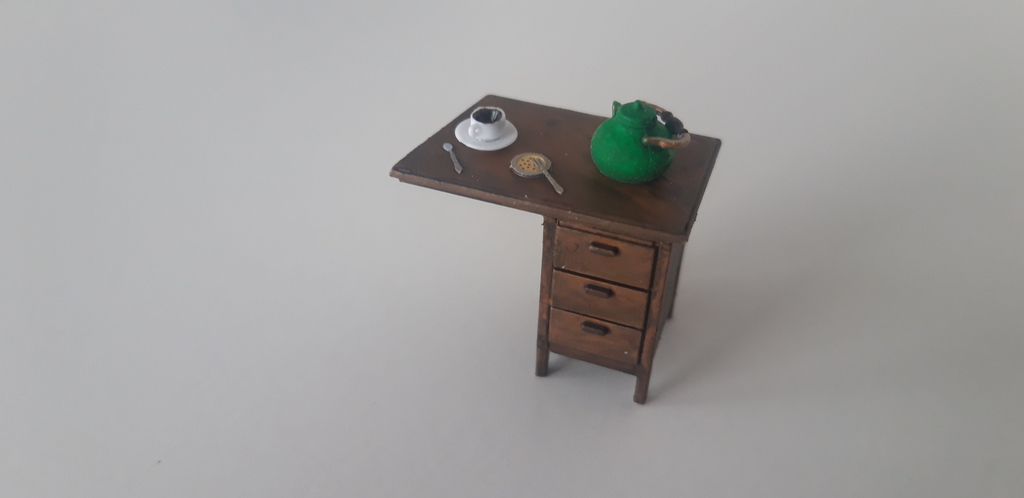


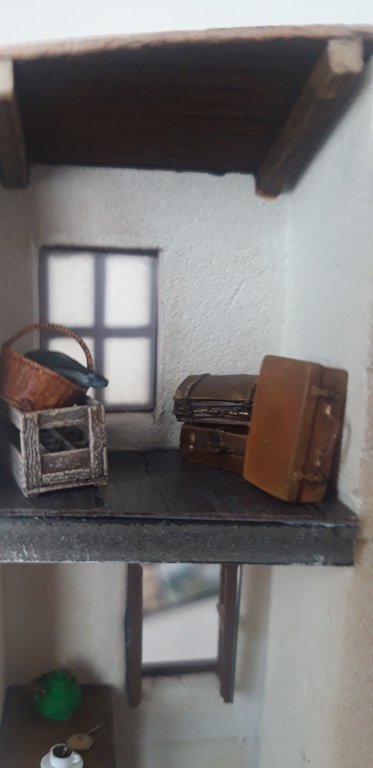
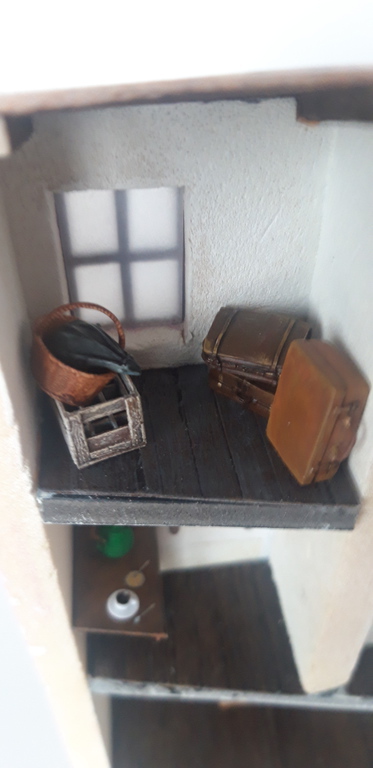
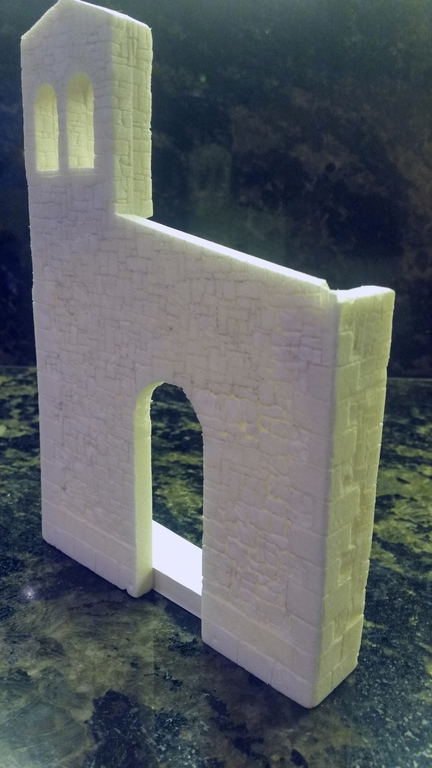
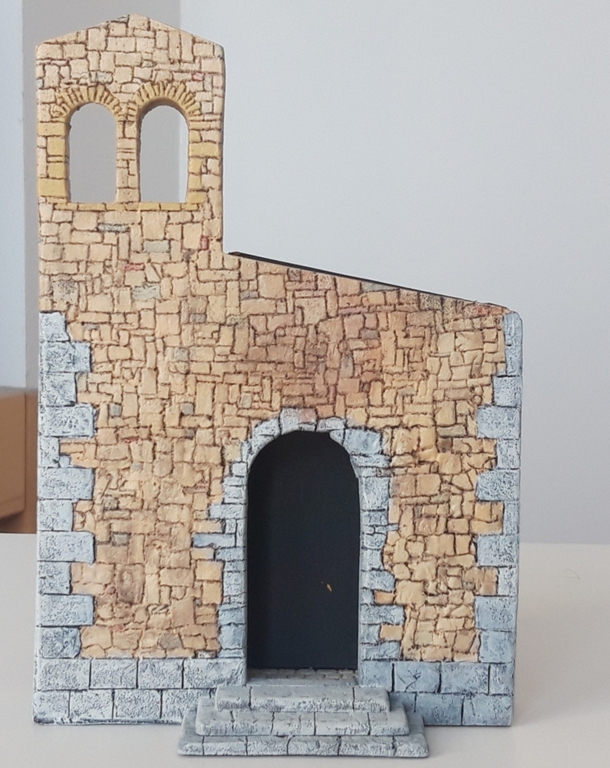
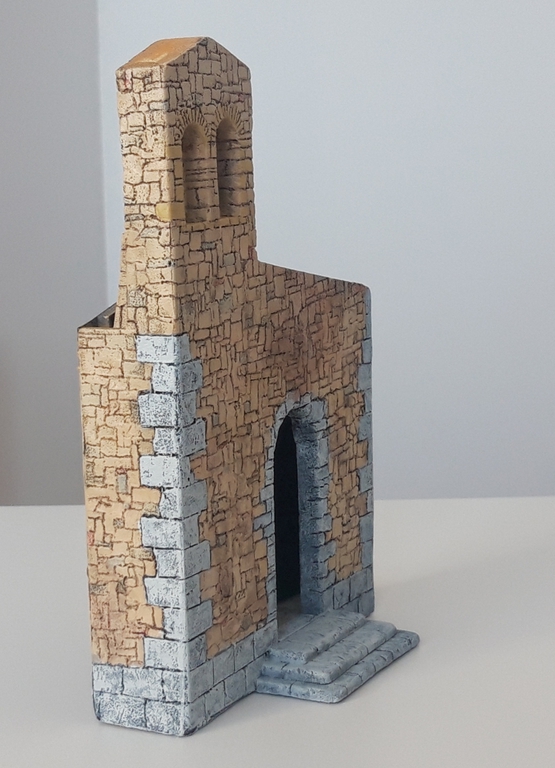
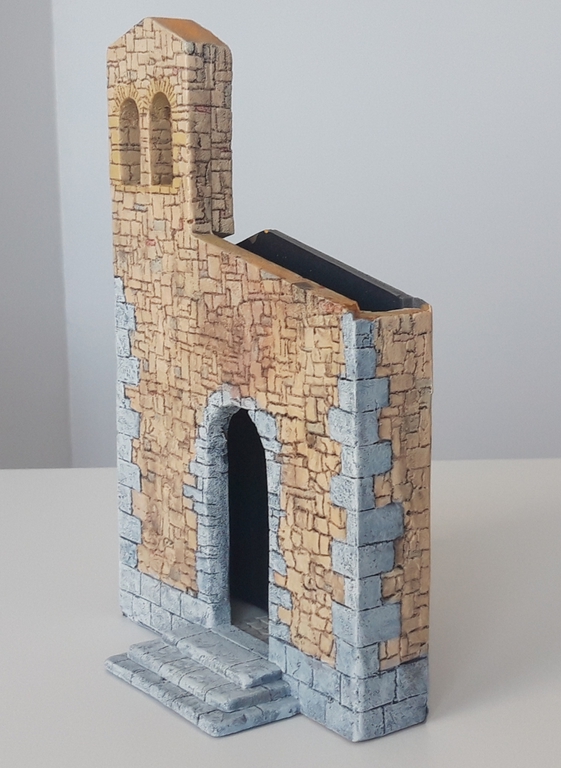
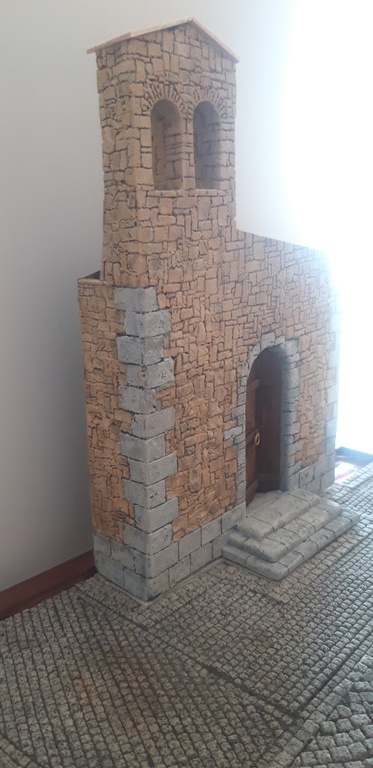
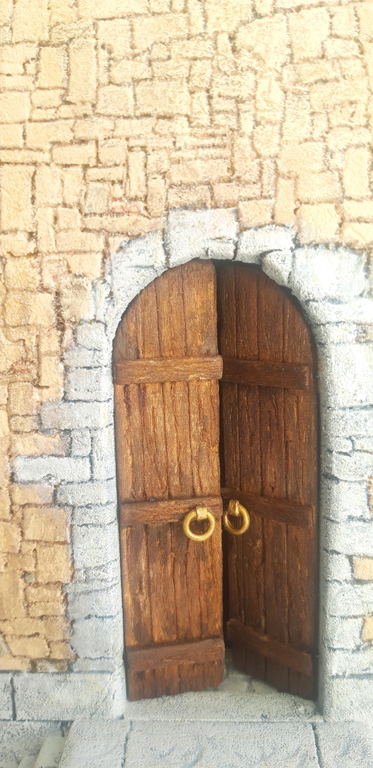
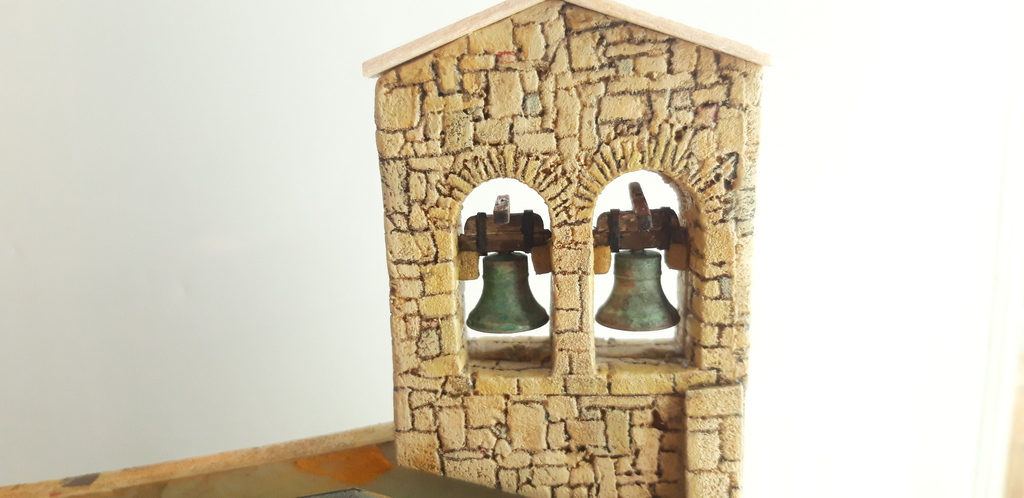
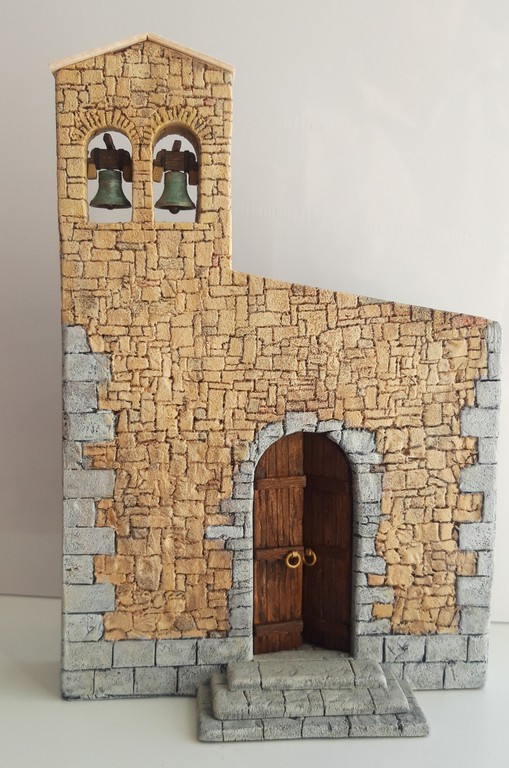
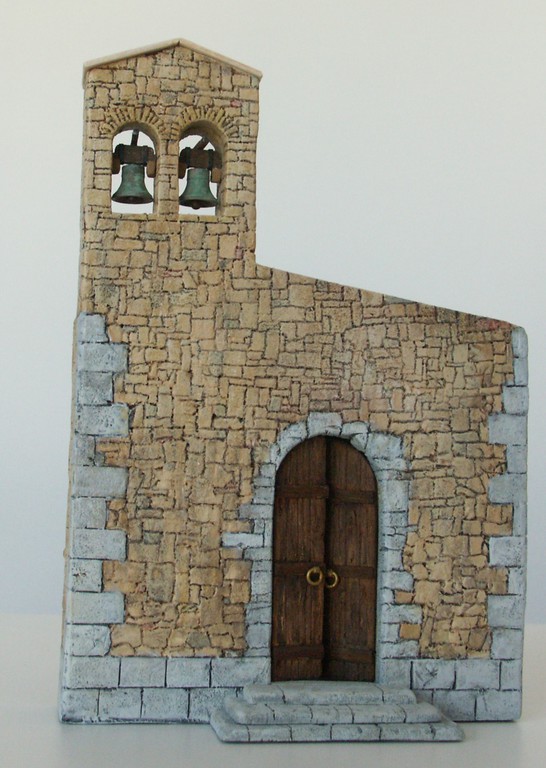
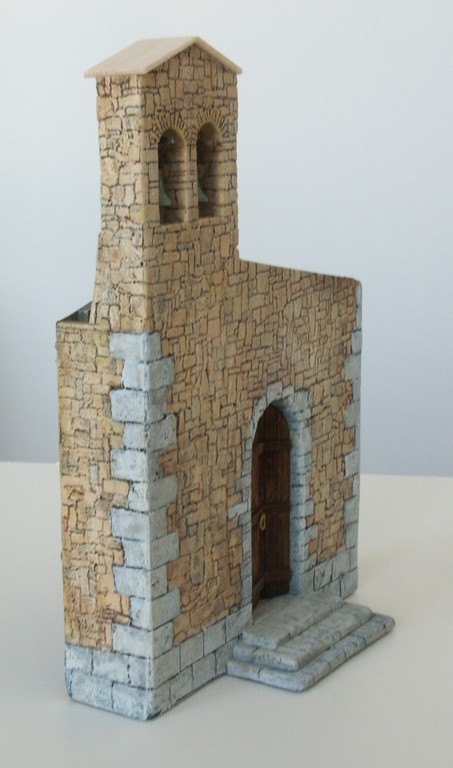
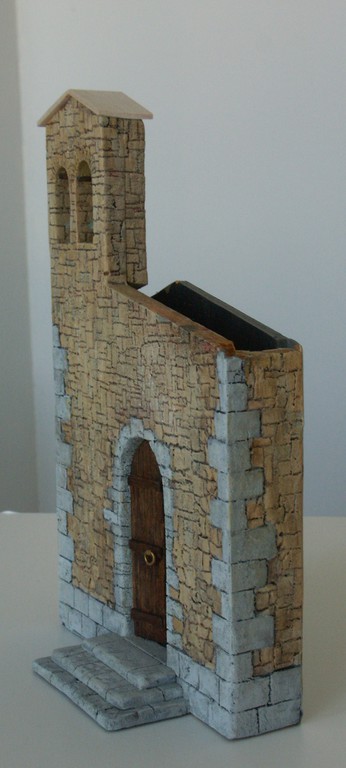
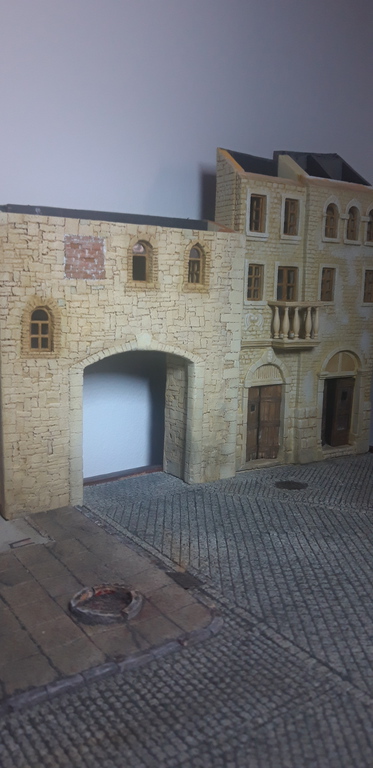
Untill waiting for some Ideas how to finish the Rooms, i started the Painting on the Doorway. This is also Carved foamboard and Part of a Verlindenkit.The Verlindenpart raised about 1cm from the Bottom, the Doors are too Narrow for 1/35, with a temporary Mold and plaster.
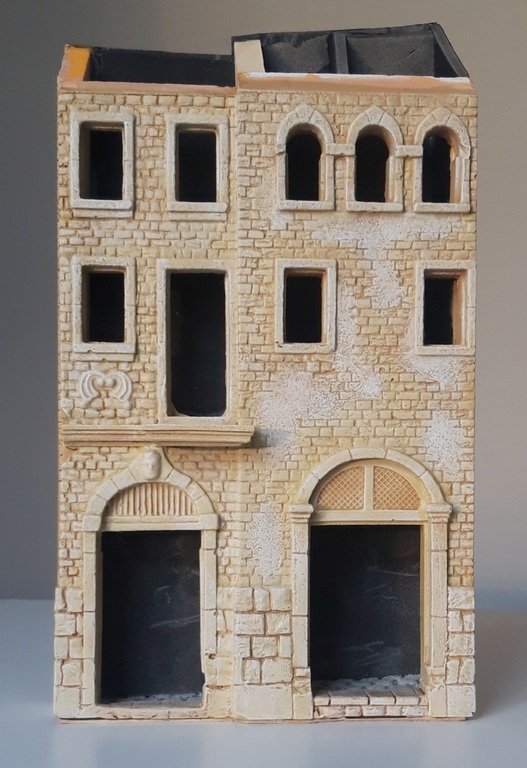
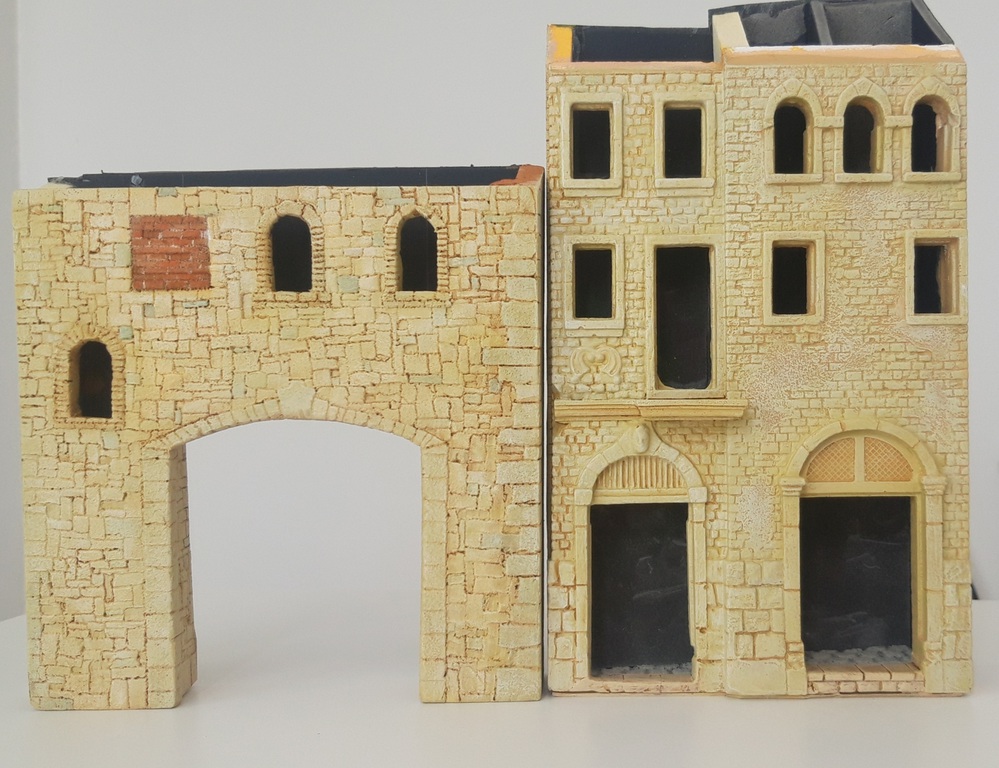


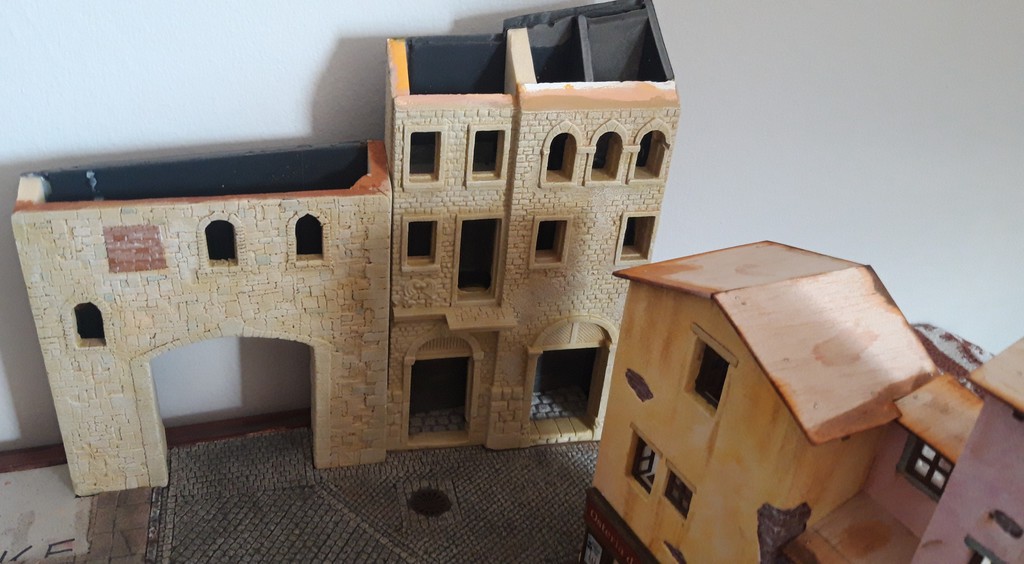
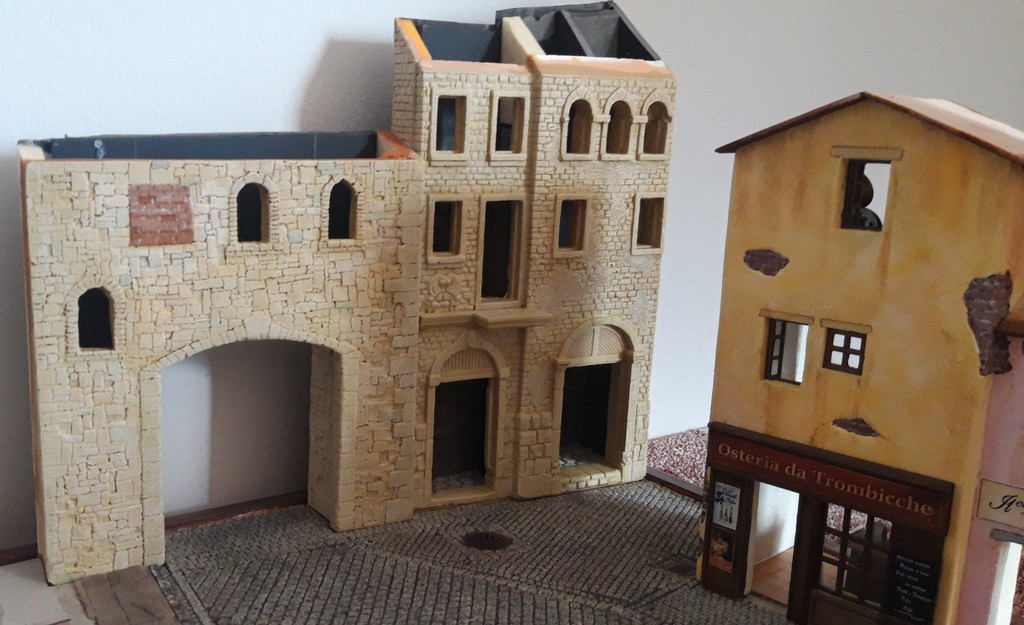
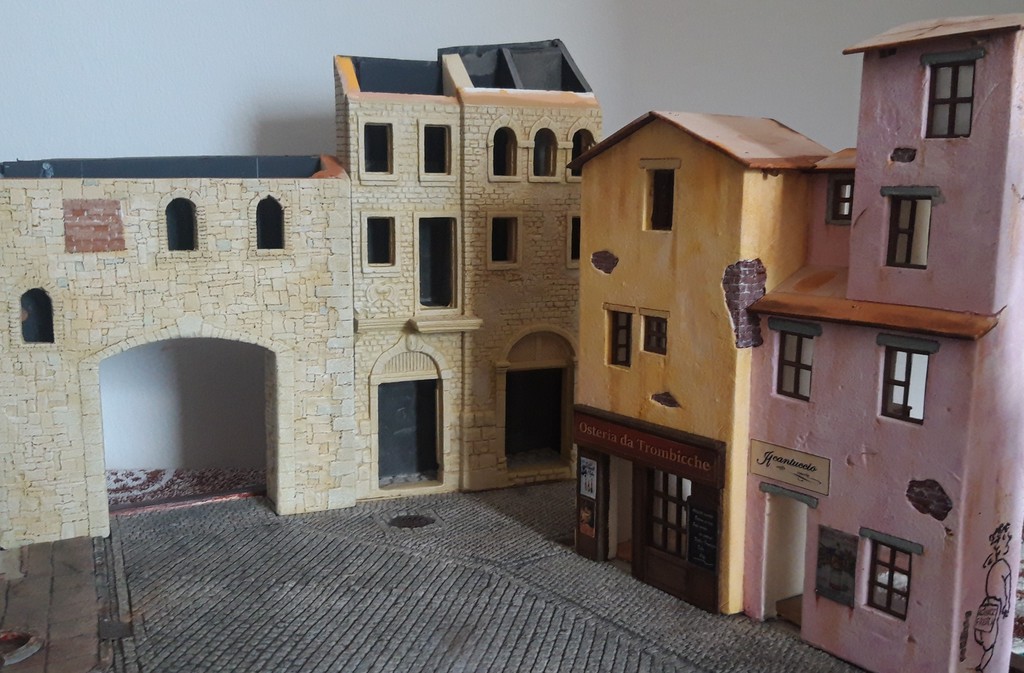

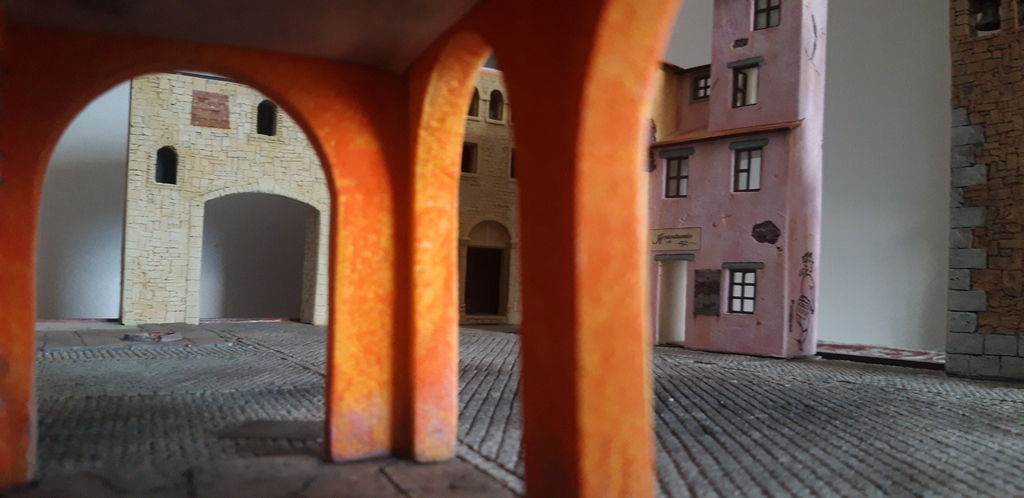
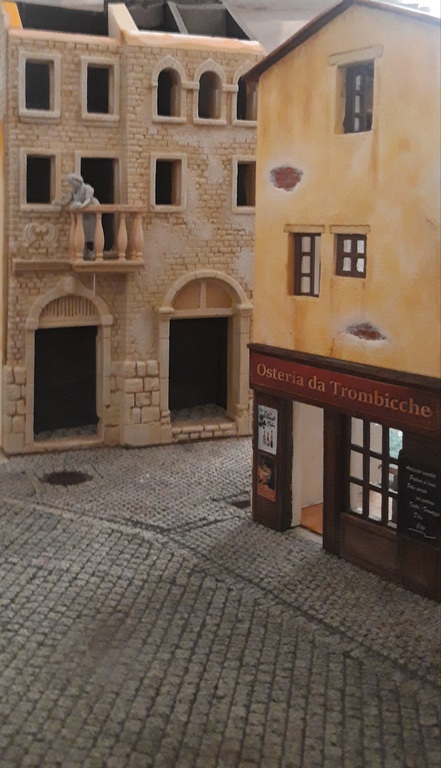
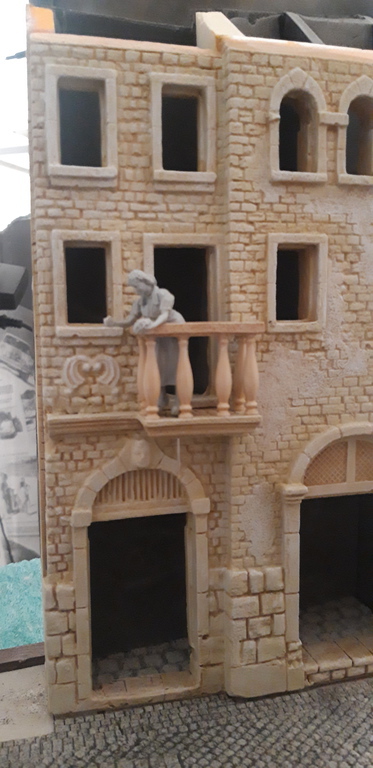
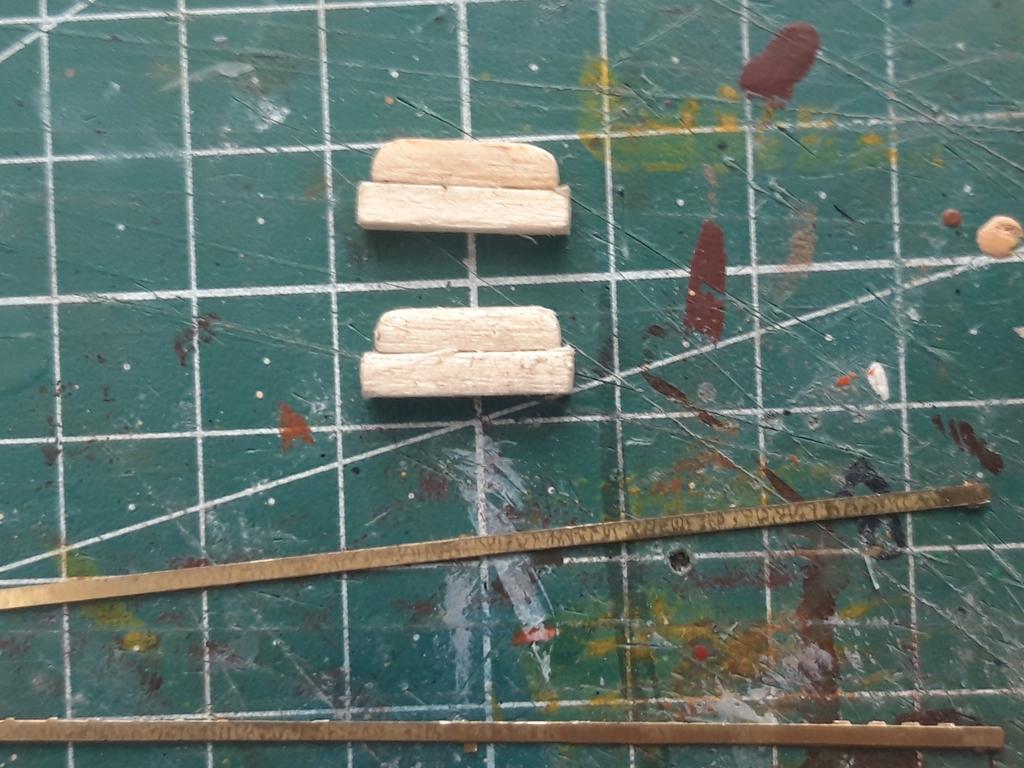
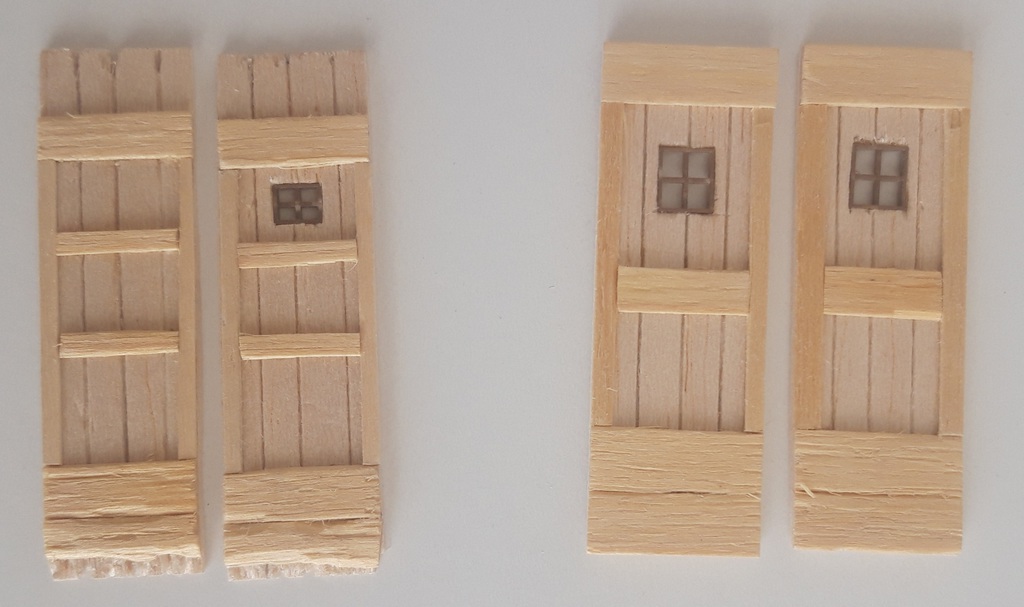
Doors where made with Balsawood and Matshsticks, the Windows are H0 Parts
Much work is done, but much more is waiting
Floortiles for the Loacals carved Plasticard.


For the Furniture i used Sets from Plus Model, very massive "sprues" and altered Miniart Parts.
The Typewriter is a small Scratchbuild.


Untill waiting for some Ideas how to finish the Rooms, i started the Painting on the Doorway. This is also Carved foamboard and Part of a Verlindenkit.The Verlindenpart raised about 1cm from the Bottom, the Doors are too Narrow for 1/35, with a temporary Mold and plaster.


Doors where made with Balsawood and Matshsticks, the Windows are H0 Parts

Much work is done, but much more is waiting
-

Challenger77
- Posts: 292
- Member since:
18 May 2010, 12:50
Help keep the forum online!
or become a supporting member
-

MABO
 Supporting Member (Gold)
 - Posts: 9170
- Member since:
12 May 2008, 18:01
Wonderful buildings and amazing furniture and accessories inside them, Challenger77. 

I will follow this thread with great interest.
My very best congratulations.
Santi.


I will follow this thread with great interest.
My very best congratulations.

Santi.
-
Challenger77 likes this post. •
- Reply
-

Santi Pérez
- Posts: 2106
- Member since:
28 Aug 2016, 19:42
-

Challenger77
- Posts: 292
- Member since:
18 May 2010, 12:50

