PART 4The main reason I dislike using "Sculptamold" as basic groundwork is that it is extremely sticky when initially mixed with water. This makes it difficult to work with -- and it won't "take" detail being pressed into it.
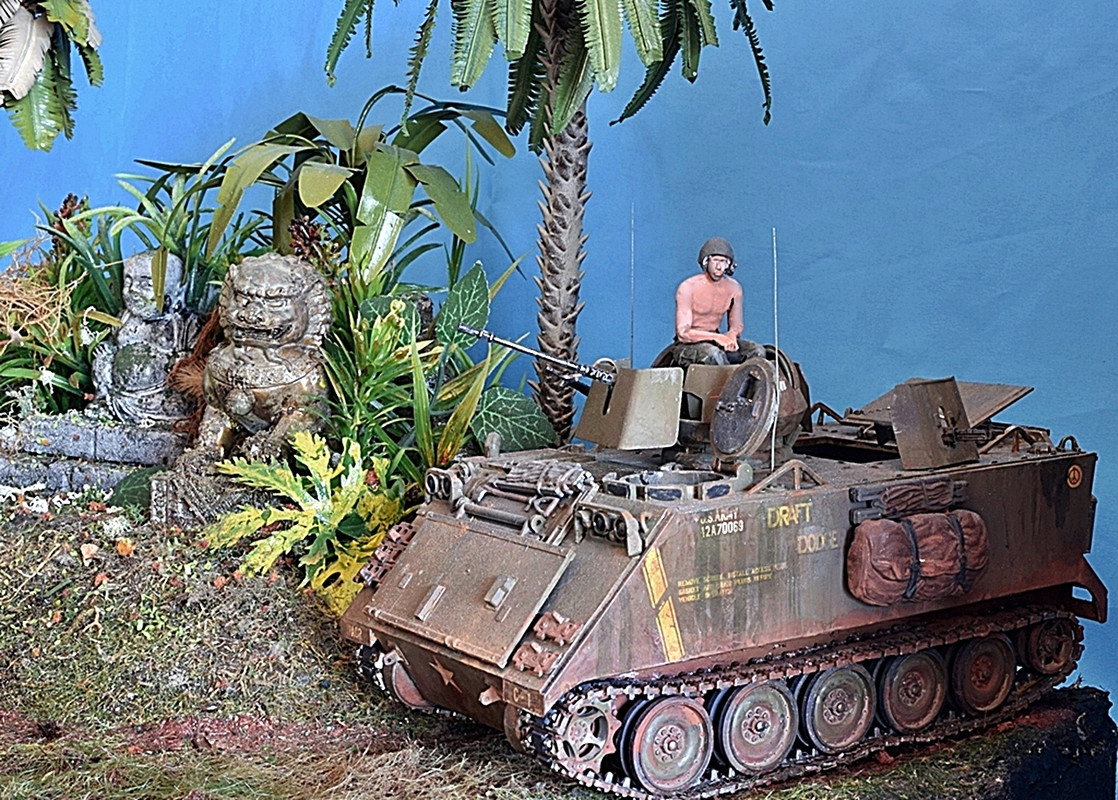
So when I resumed work on the diorama, I spread a thin layer of "Celluclay" onto the road section and as it was drying the shape of the APC tracks added. I also added a set of stairs into the mound leading up to the ruins of the Buddha Temple -- and poured the initial layer of 2-part clear resin "water" into the ditch at the lower right-hand side of the diorama base.
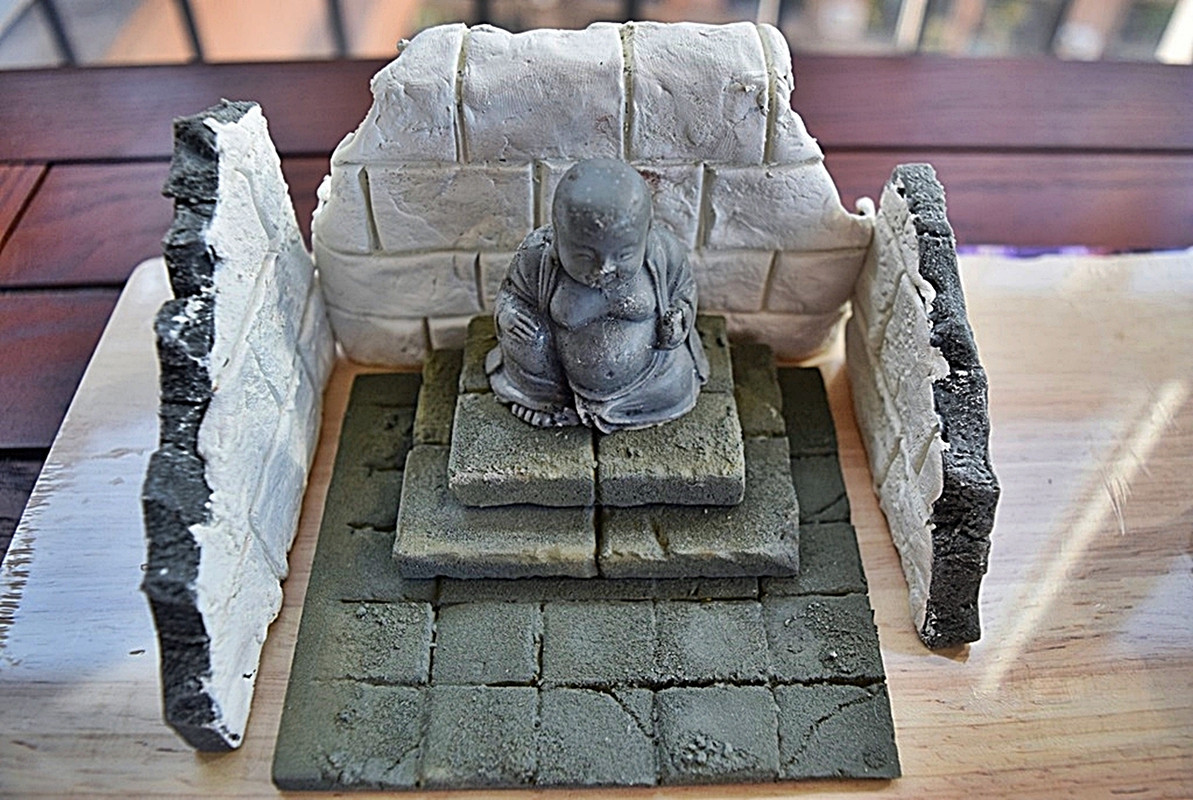
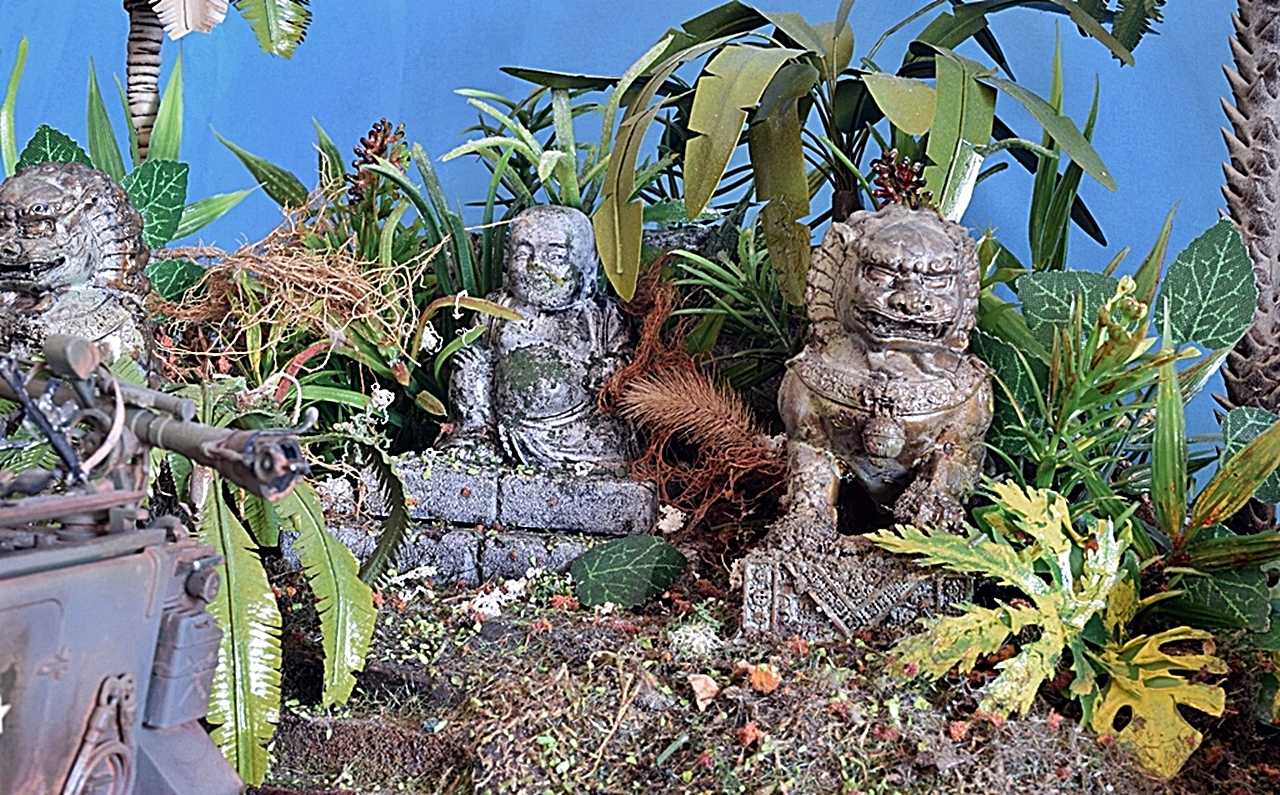
Depth had previously been added to the back-wall of the Temple and the gaps between it and the side-walls filled. The structure was given the first of several thin washes to pick out the details in the stonework.
I then began painting the initial layers of red, green, brown onto the groundwork.
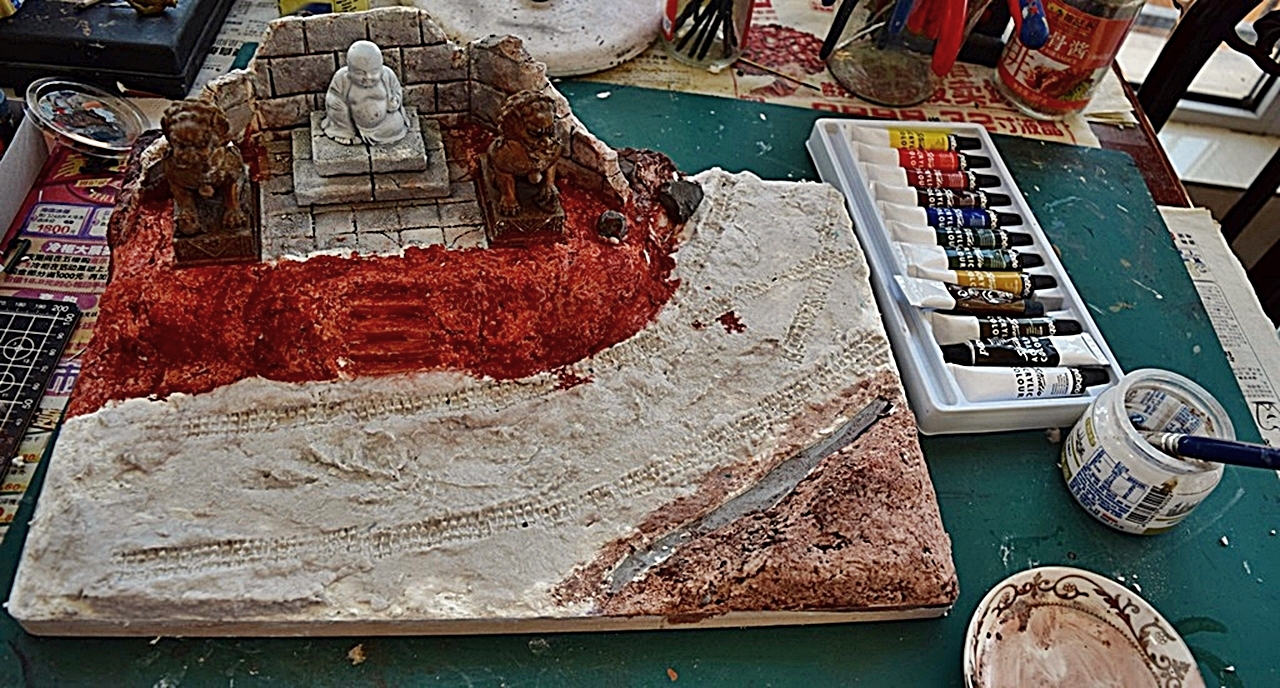
The colors look pretty startling and unconvincing at this stage, but that's okay as they were simply the base coats which would be adjusted by the subsequent top coats as they dried out. The final color of the groundwork wasn't really all that important anyway, as it was simply added to disguise the white/grey of the basic groundwork,.
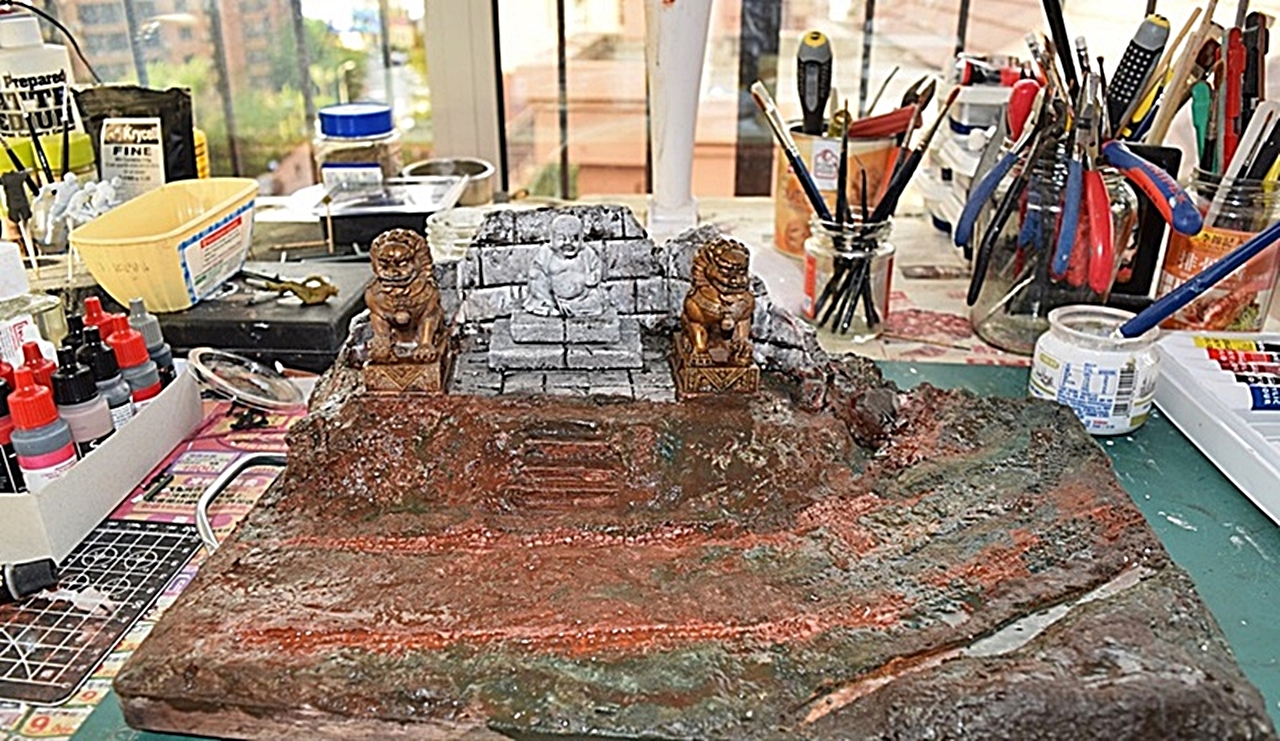
Continued adding color layers until I was happy with the results and then let the diorama base dry out overnight.
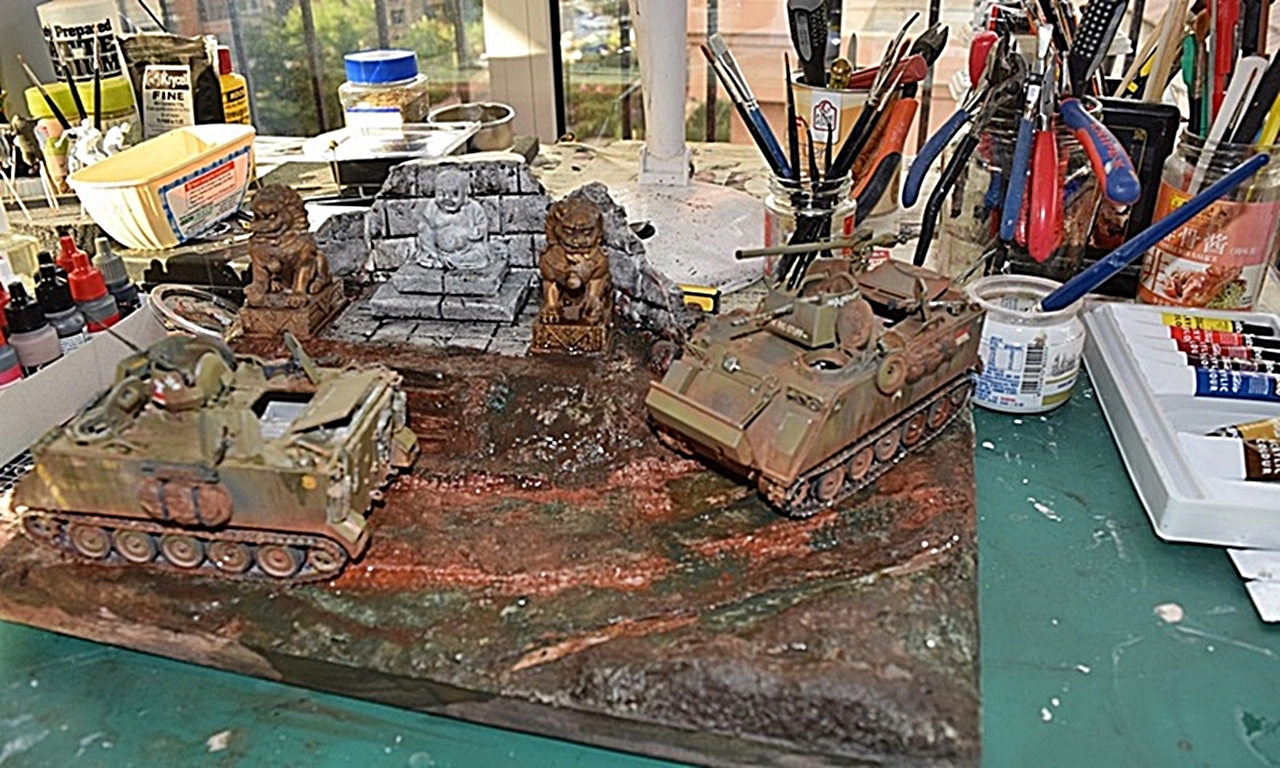
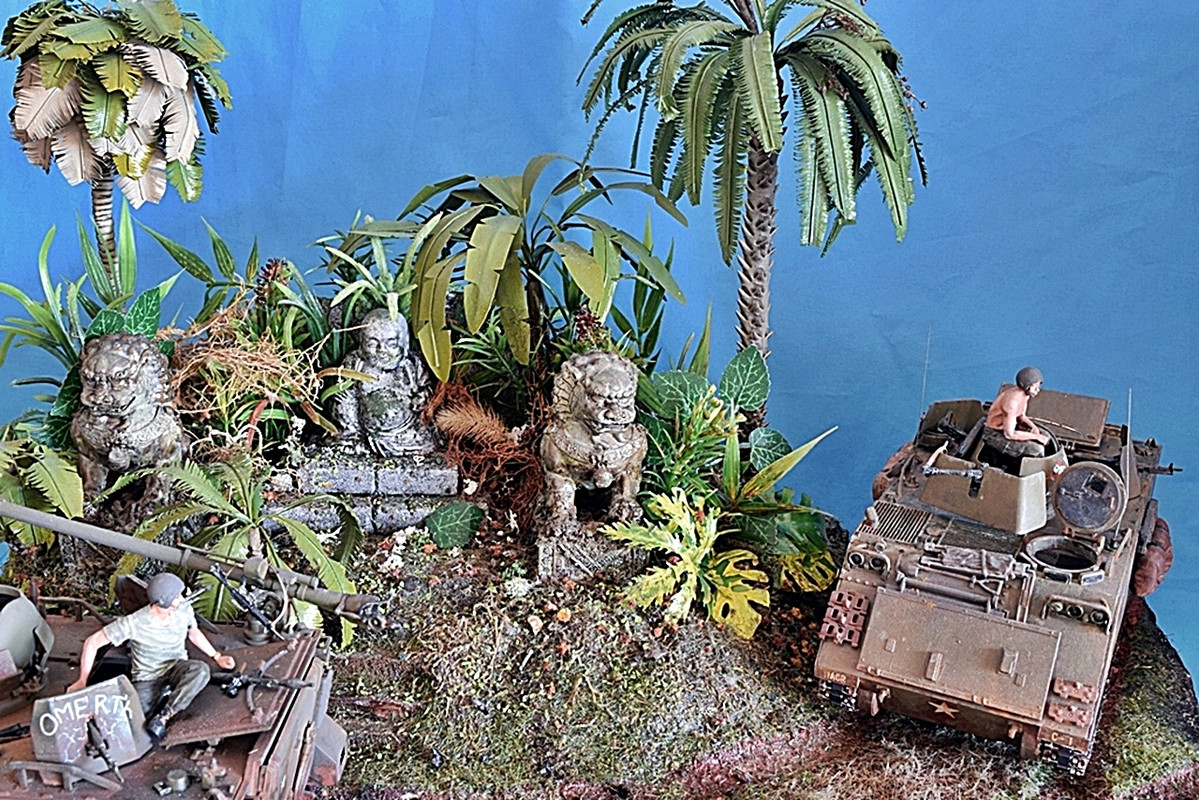
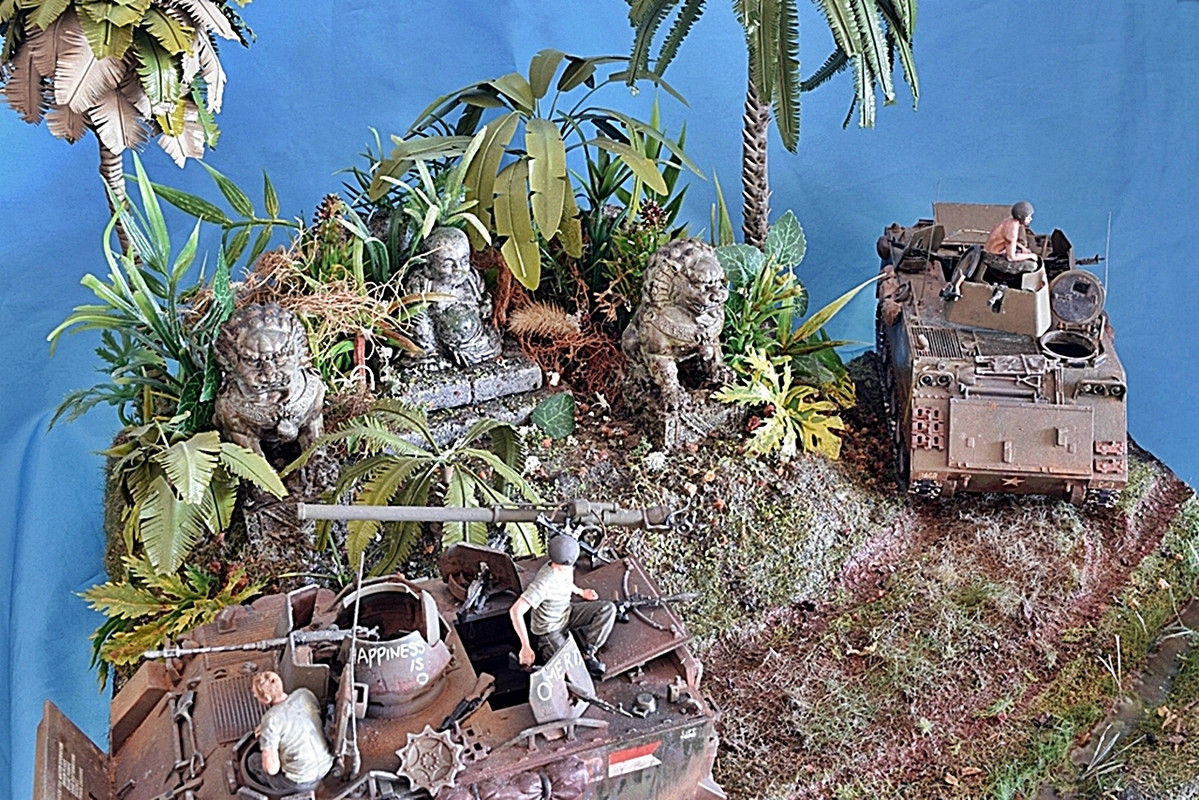
Next day, I began adding the foliage. This consisted of length of static grass varying from 2mm - 6mm, plus lots of jungle scatter material from Dutch company "Reality in Scale" who manufacture an excellent range of diorama accessories.
The impression of an old ruined Temple being over-run by nature was reinforced as more and more jungle plants were added, along with a couple of palm trees.

The lower lying foliage was given a light mist of diluted gloss medium through an airbrush to simulate the generally wet conditions.
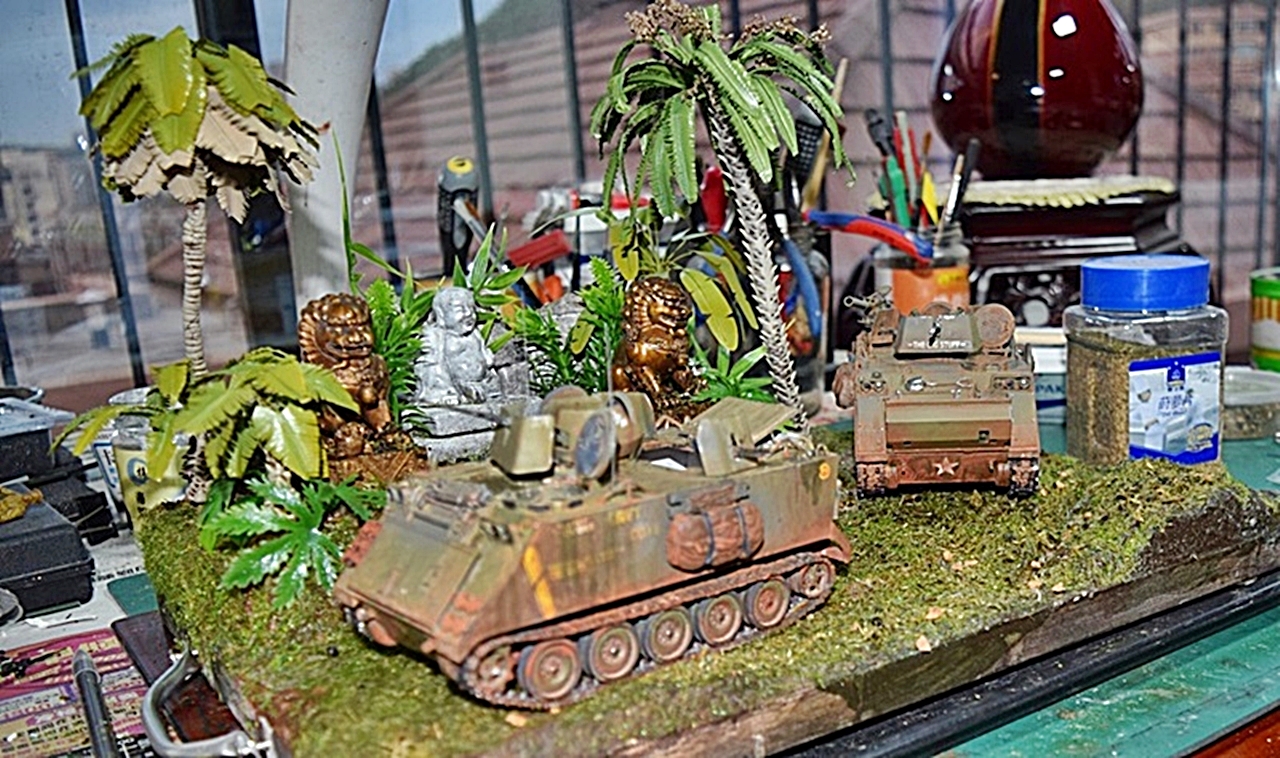
The Lion statues were removed at this stage and painted to co-ordinate with the rest of the ruins; some verdigris was also added to the Lions and the Buddha statue, then the Lions were finally fixed in place.
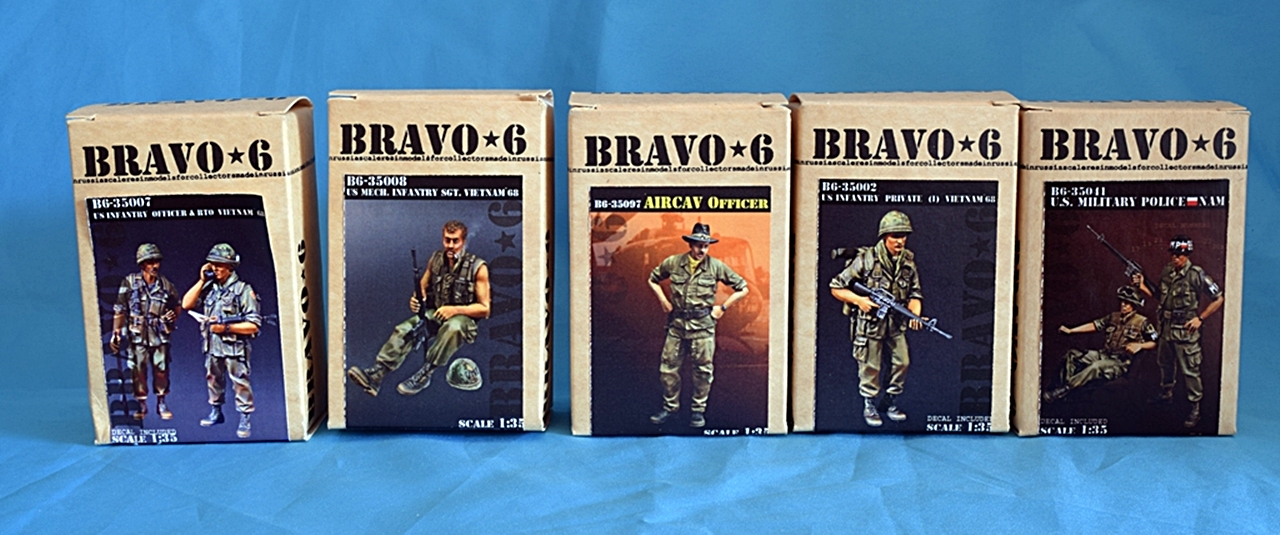
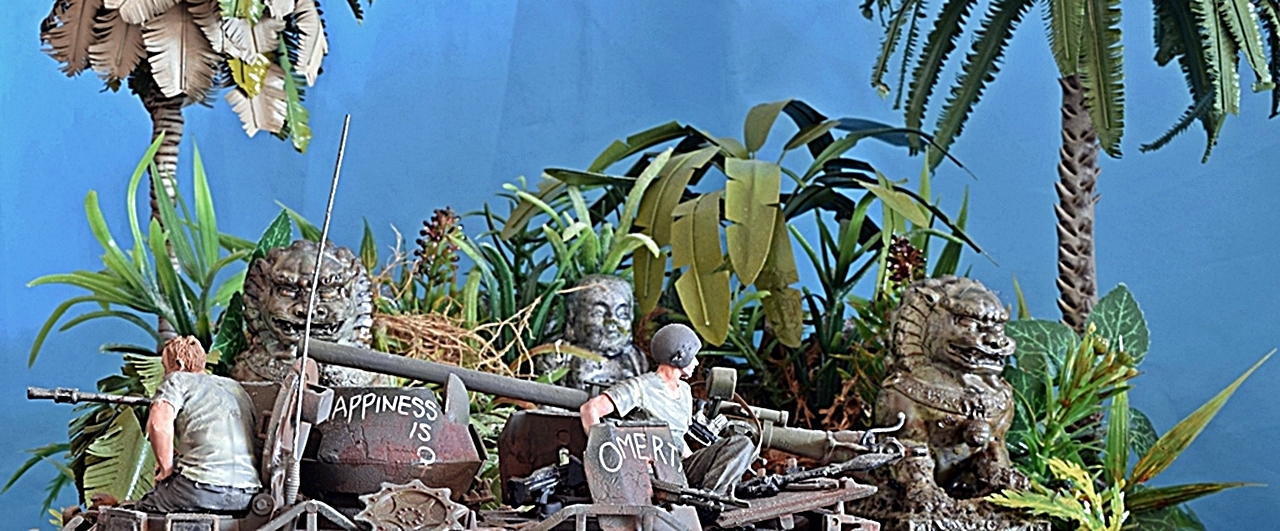
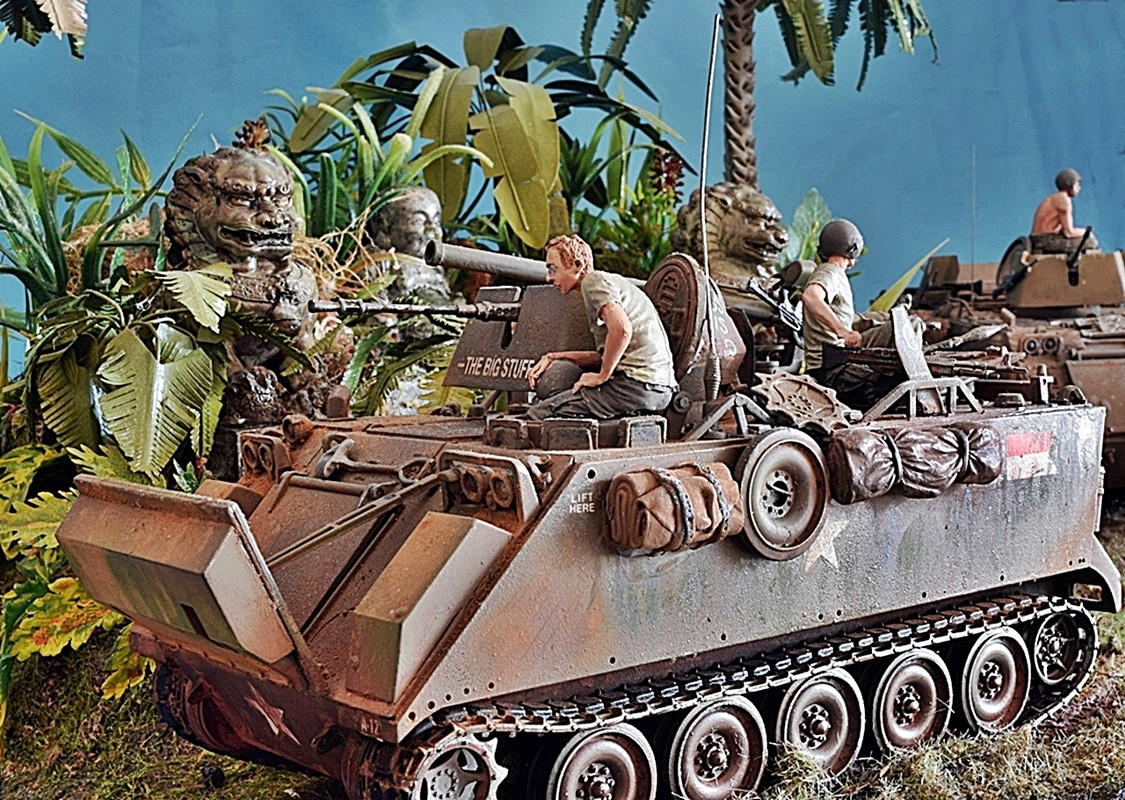
Meanwhile, I had been working on the figures and began trying them out in various positions on the M113's.
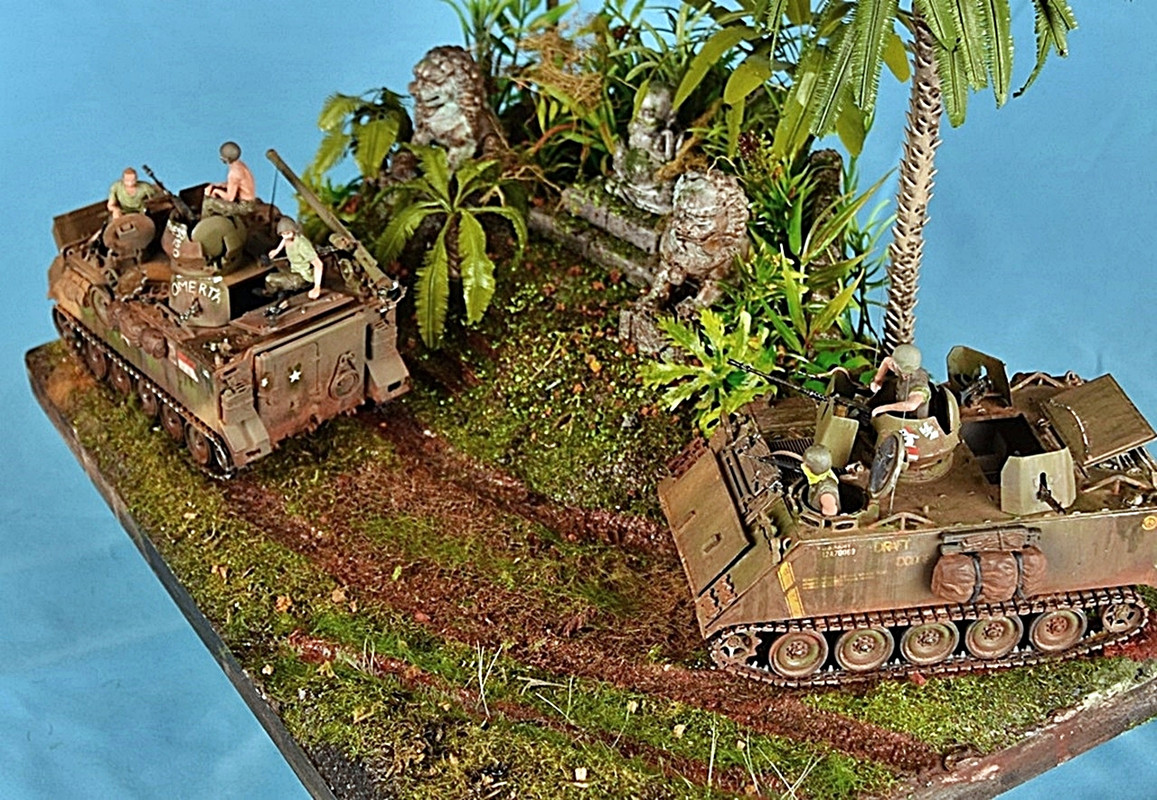
The guy uncomfortably perched on the edge of the turret would obviously have to be re-located, but that's an easy one to sort out. Check out the "knock-off gold Rolex" the guy closest to the camera is sporting. I bet it fell to pieces after his first day up-the-jungle...


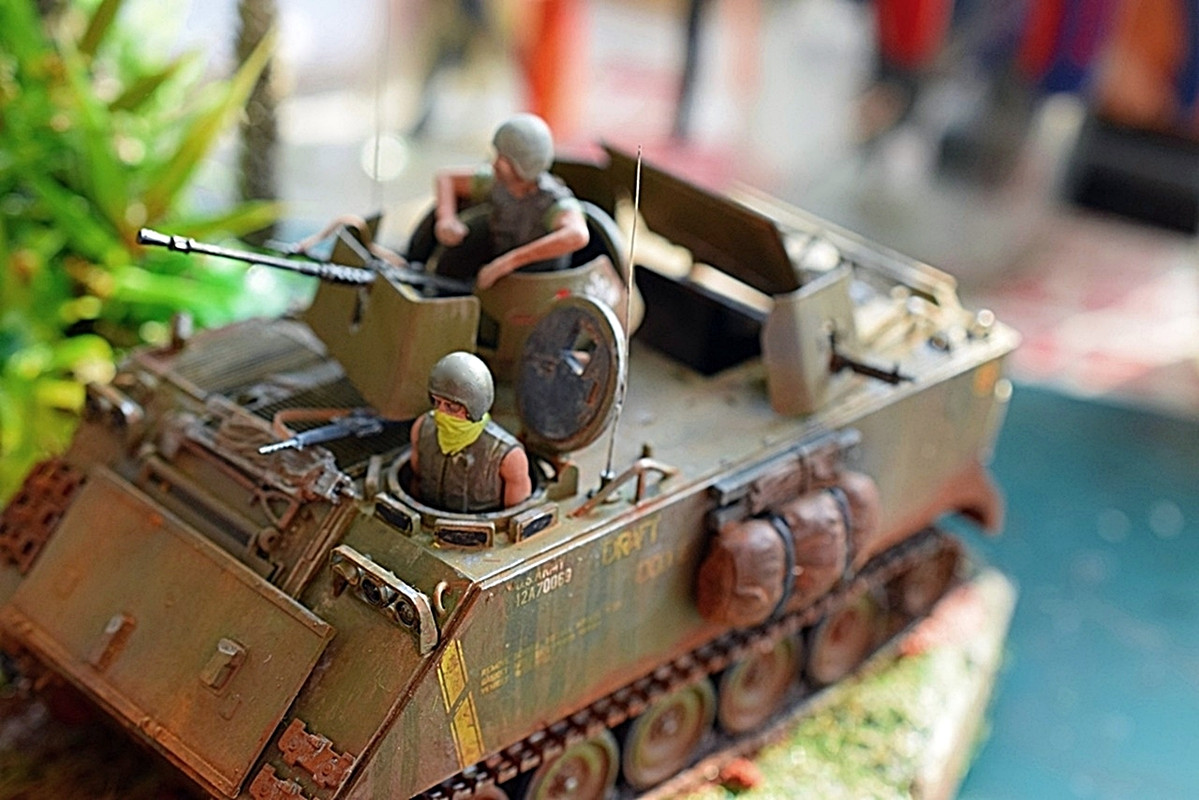
I'm not that great at painting 1:35 scale figures...

...but can live with it...

...

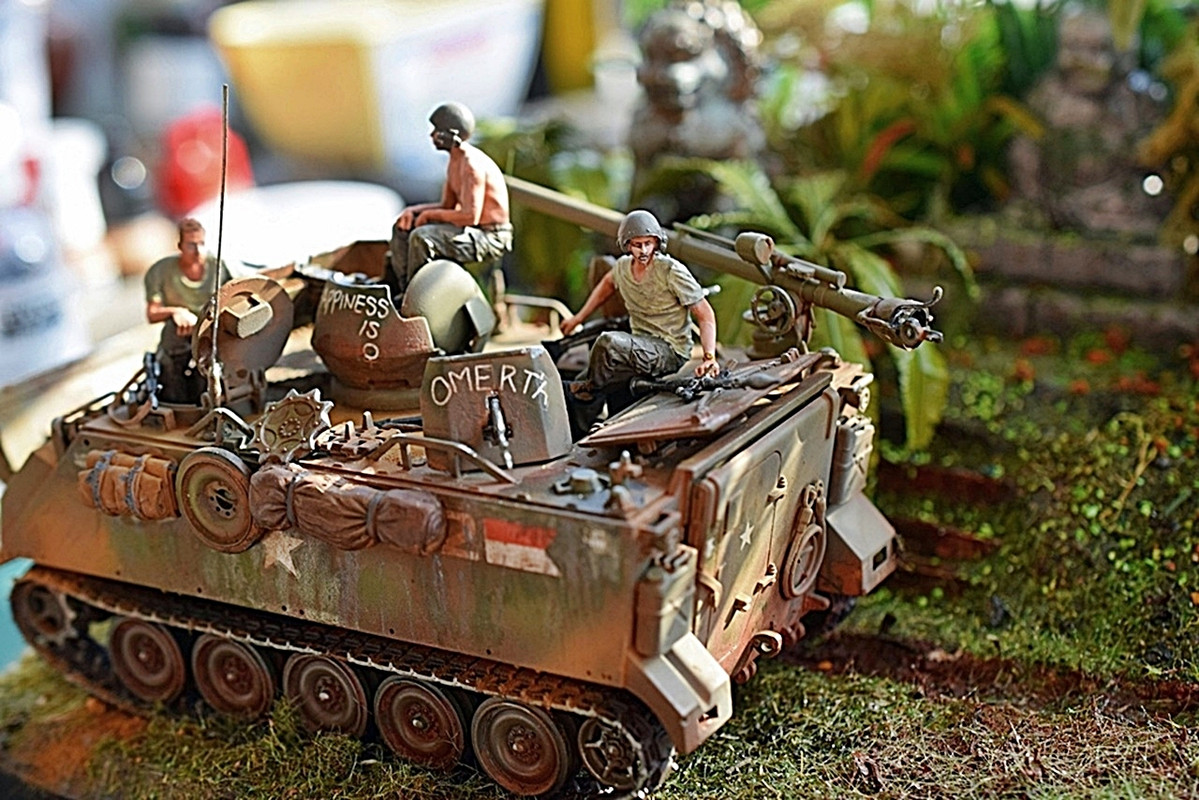
The project was now getting fairly close to being finished. The final set of photos shall be featured in my next post.
TO BE CONTINUED


 Moderator








 Supporting Member (Bronze)