Work in Progress
1/32-1/35 Mille Miglia 1931
Top, the fitting of the drivers too.


-

Wiking
- Posts: 2834
- Member since:
14 Sep 2015, 10:03
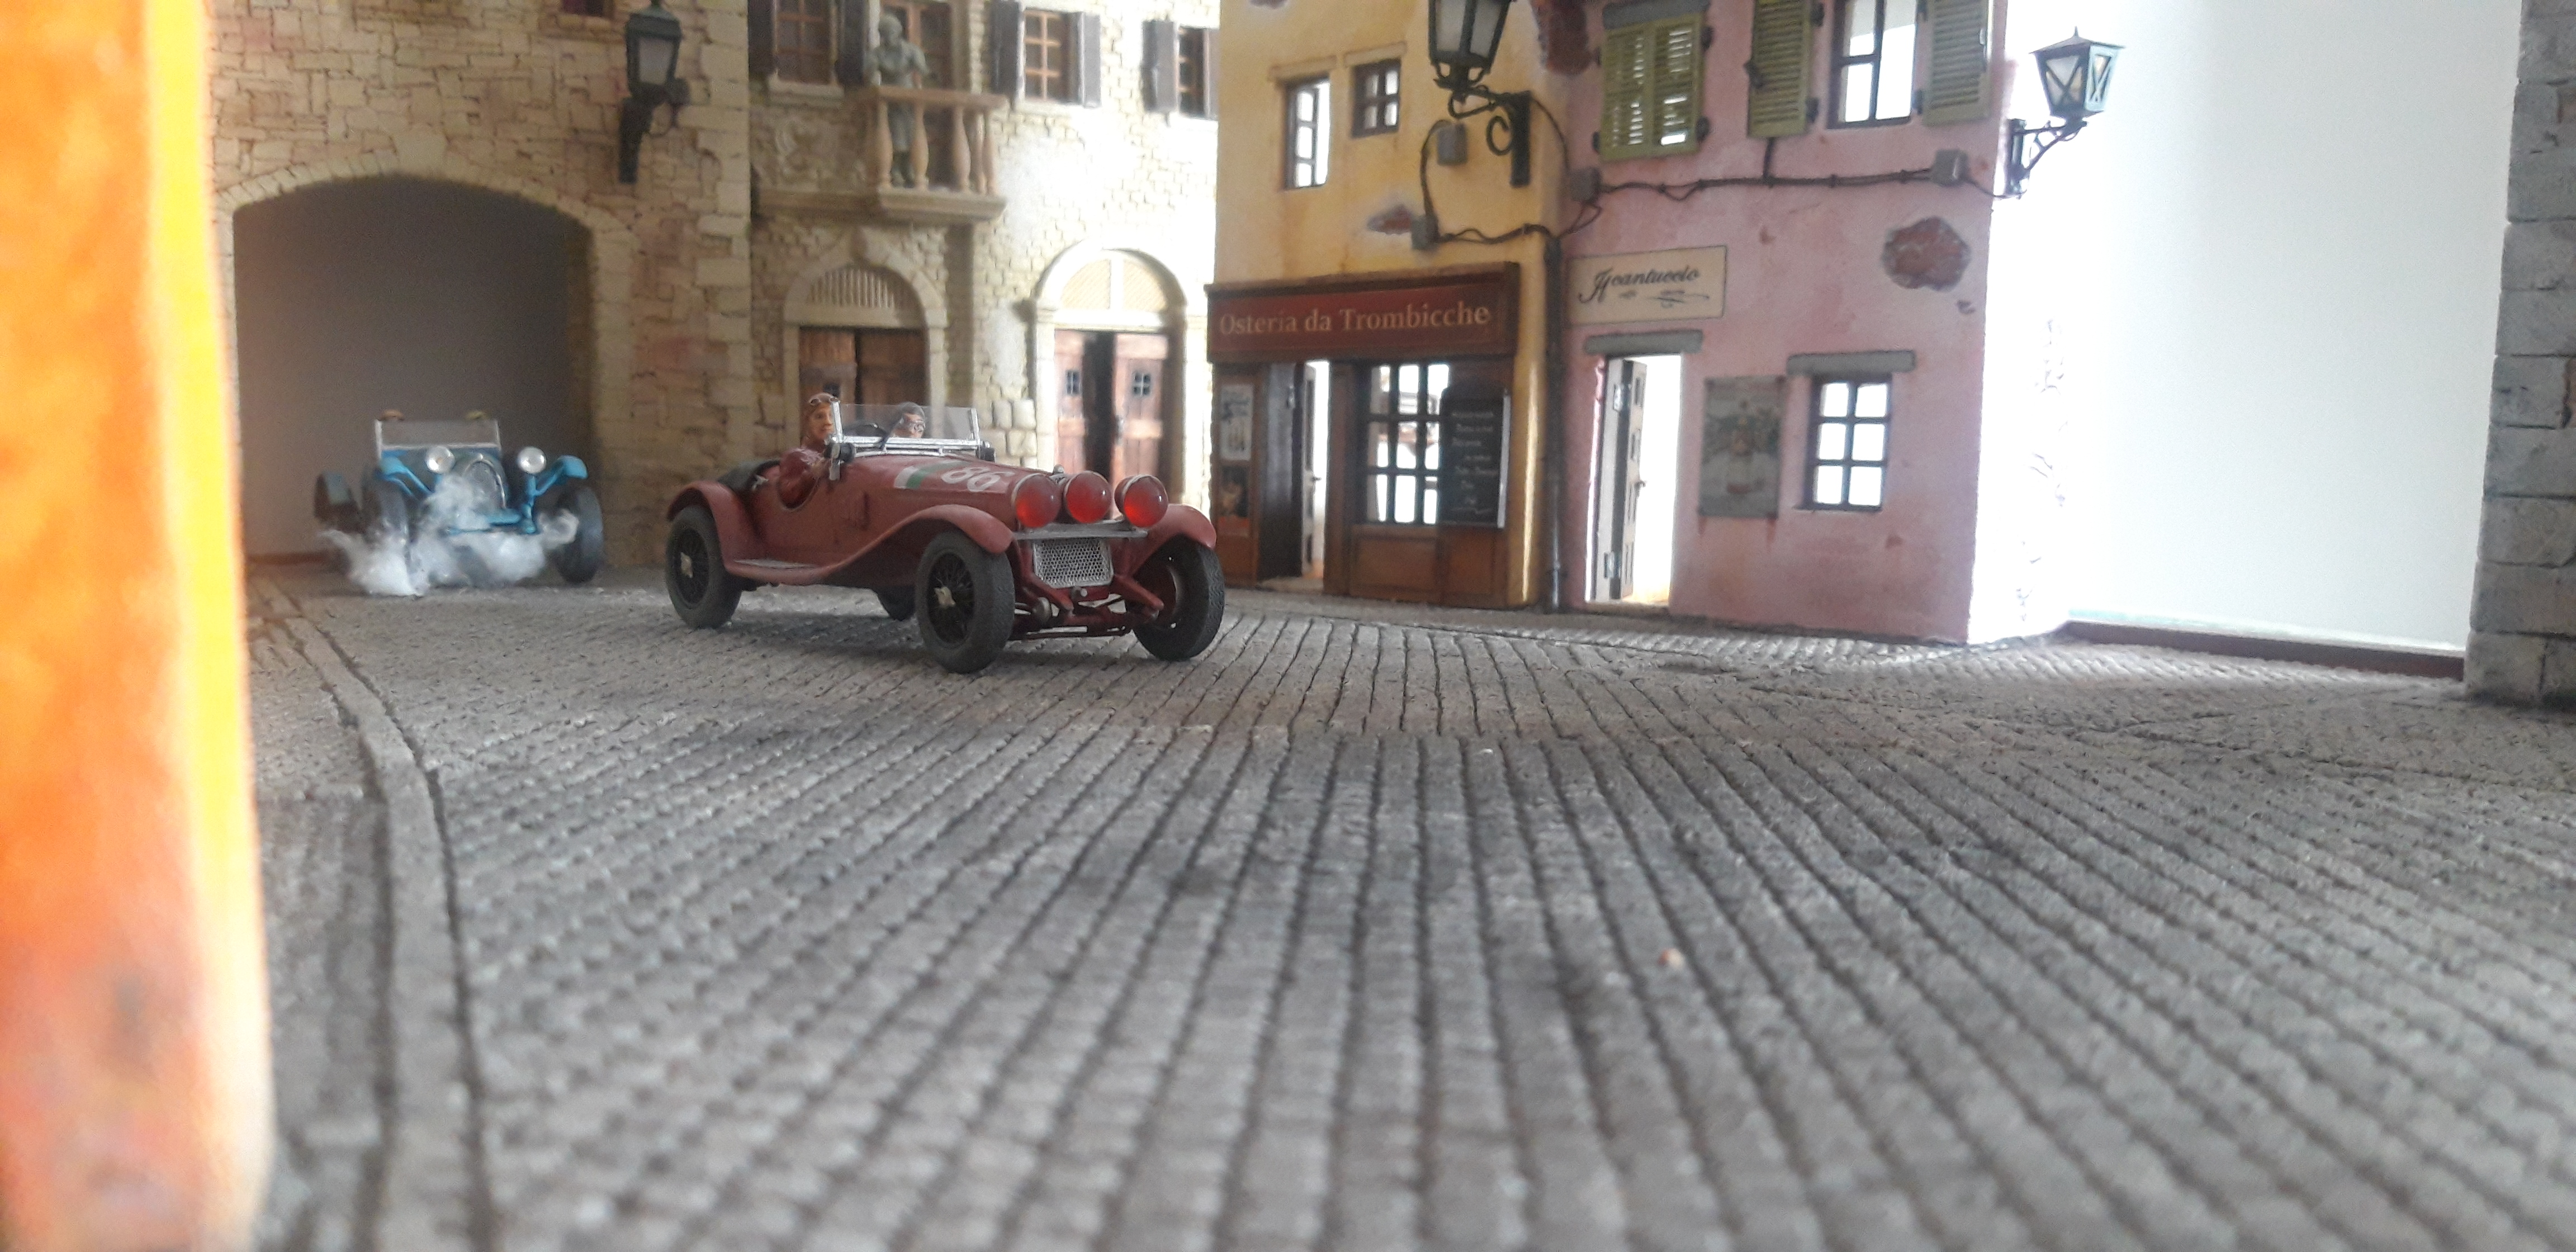
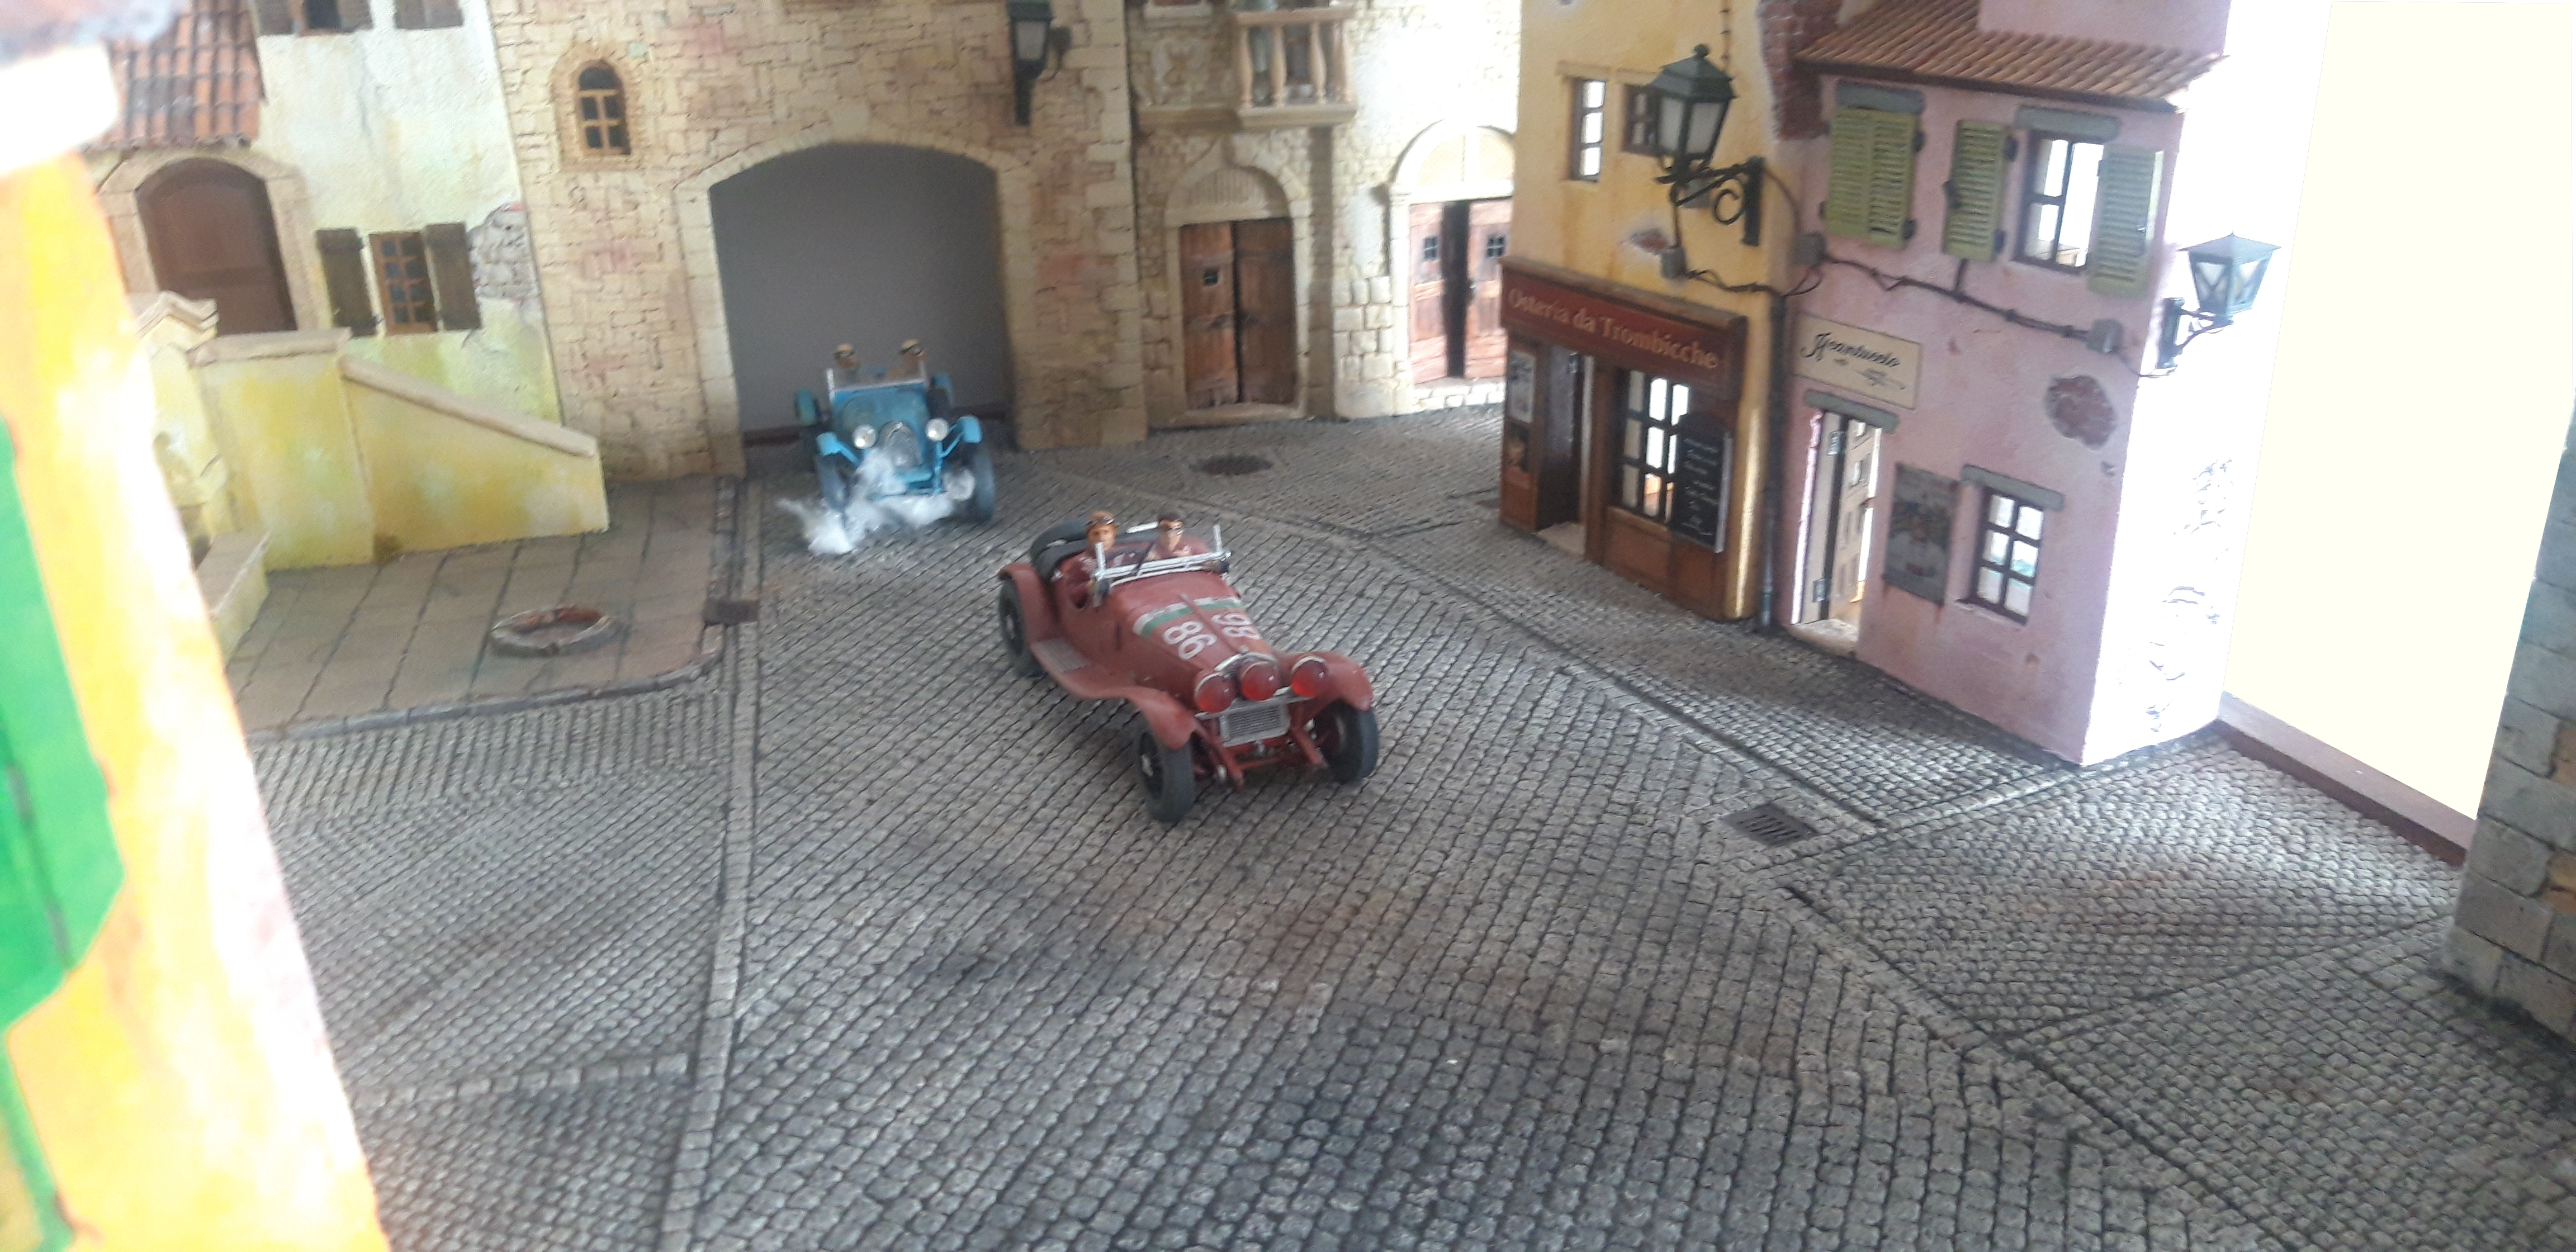
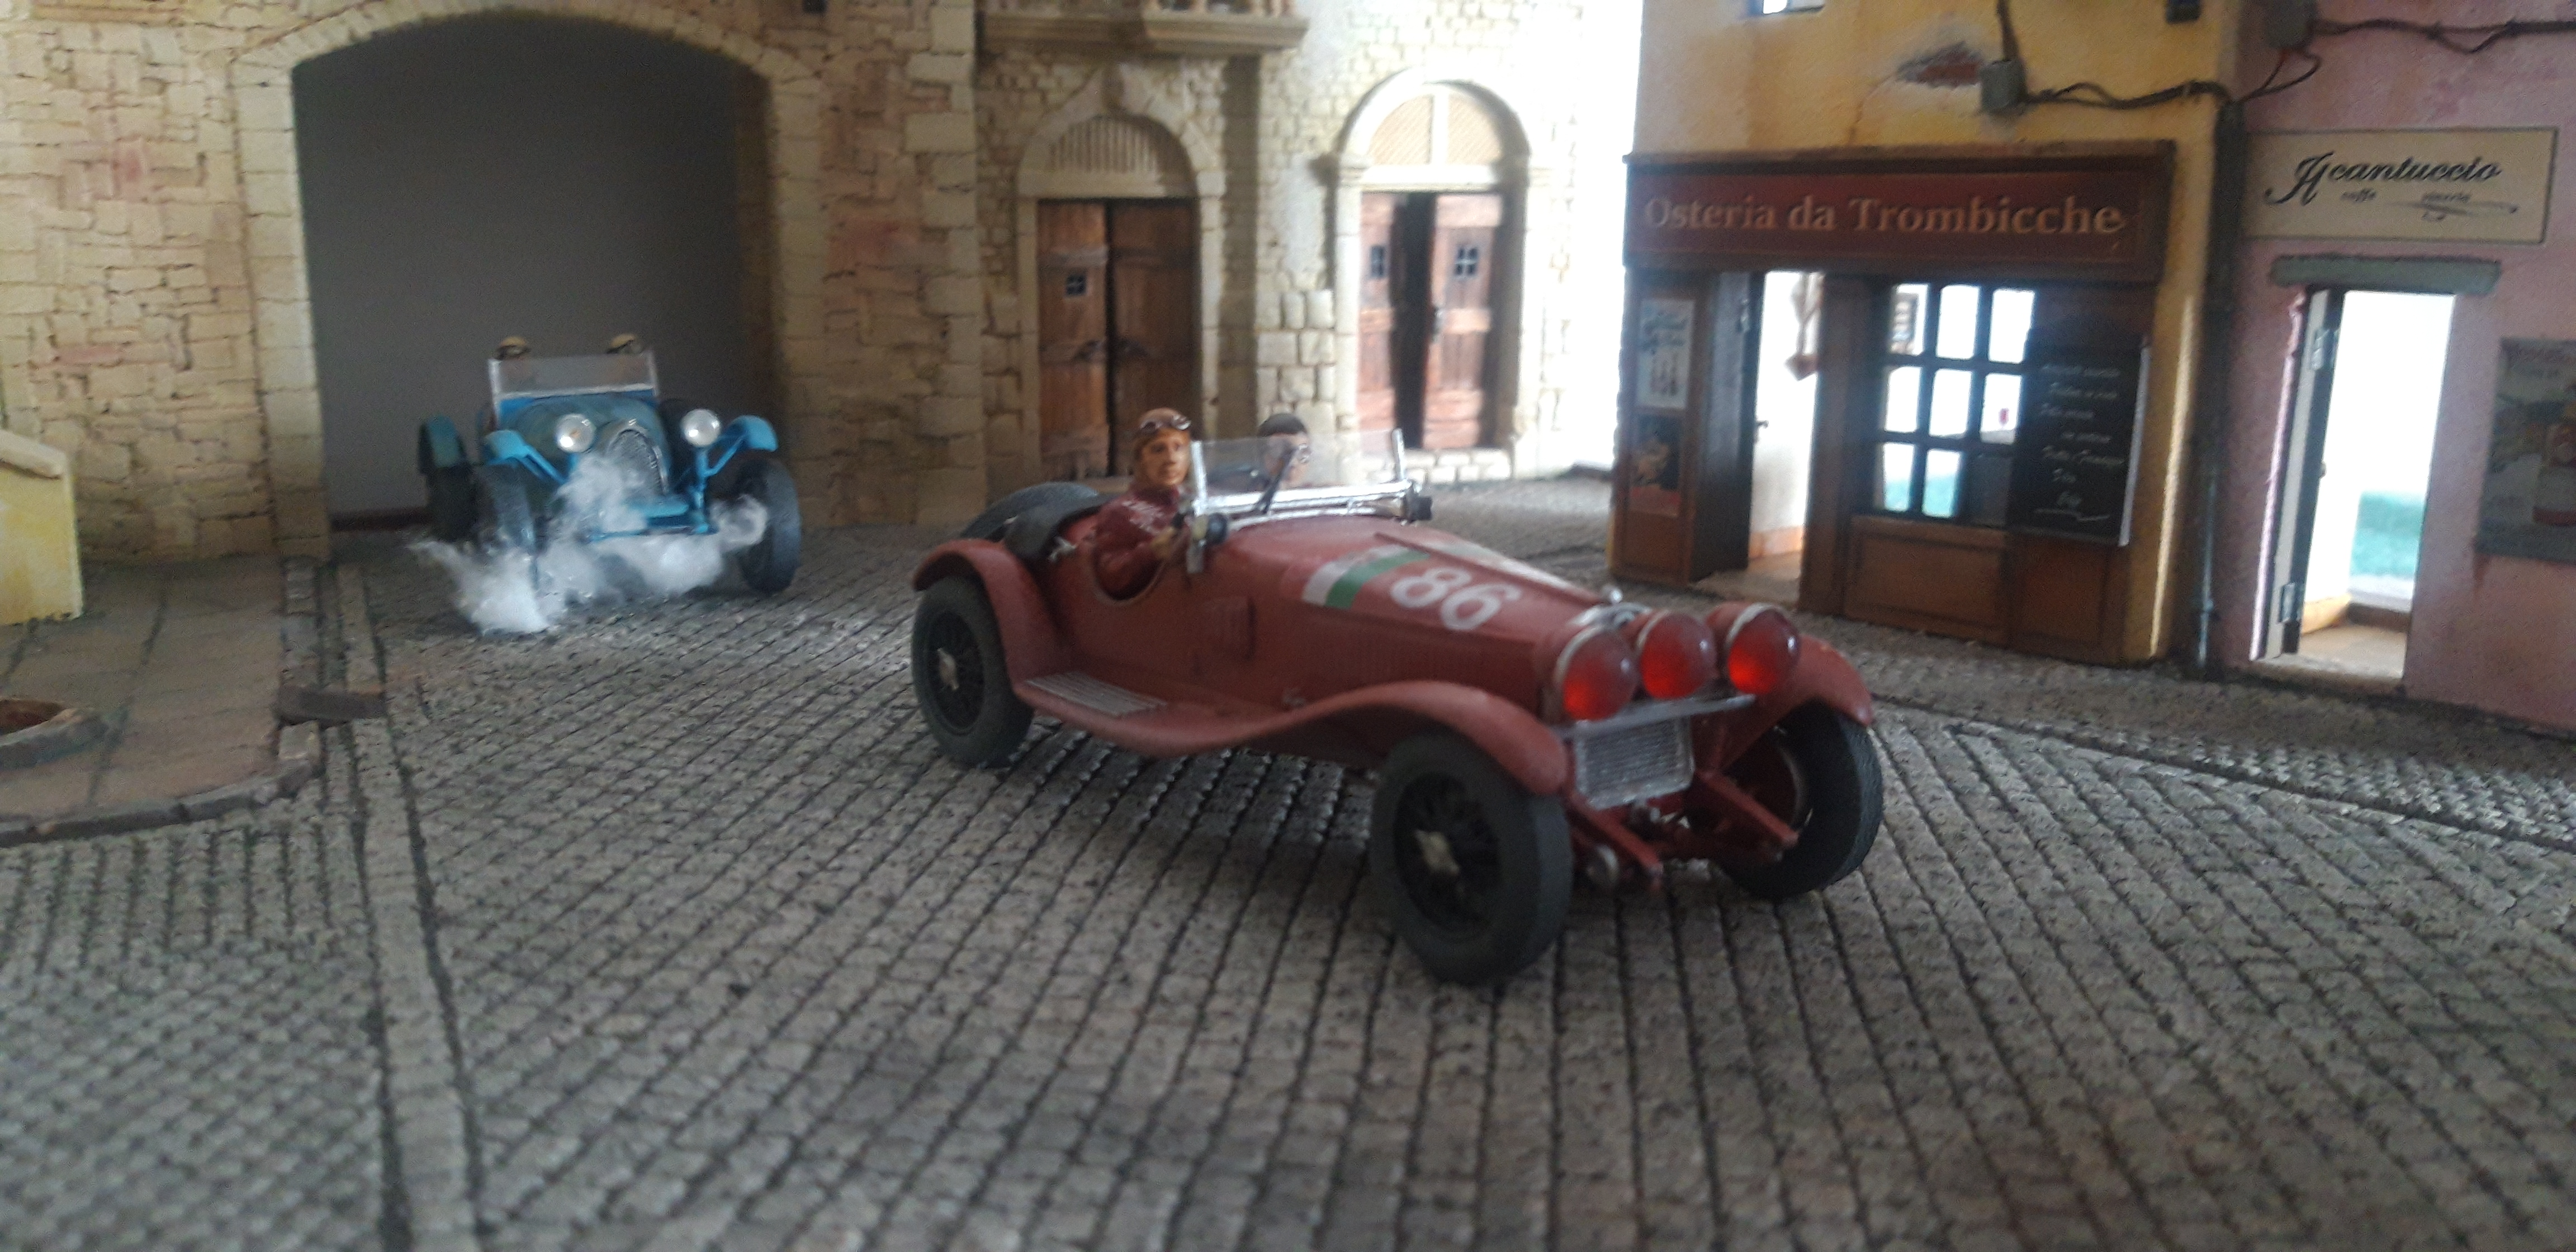
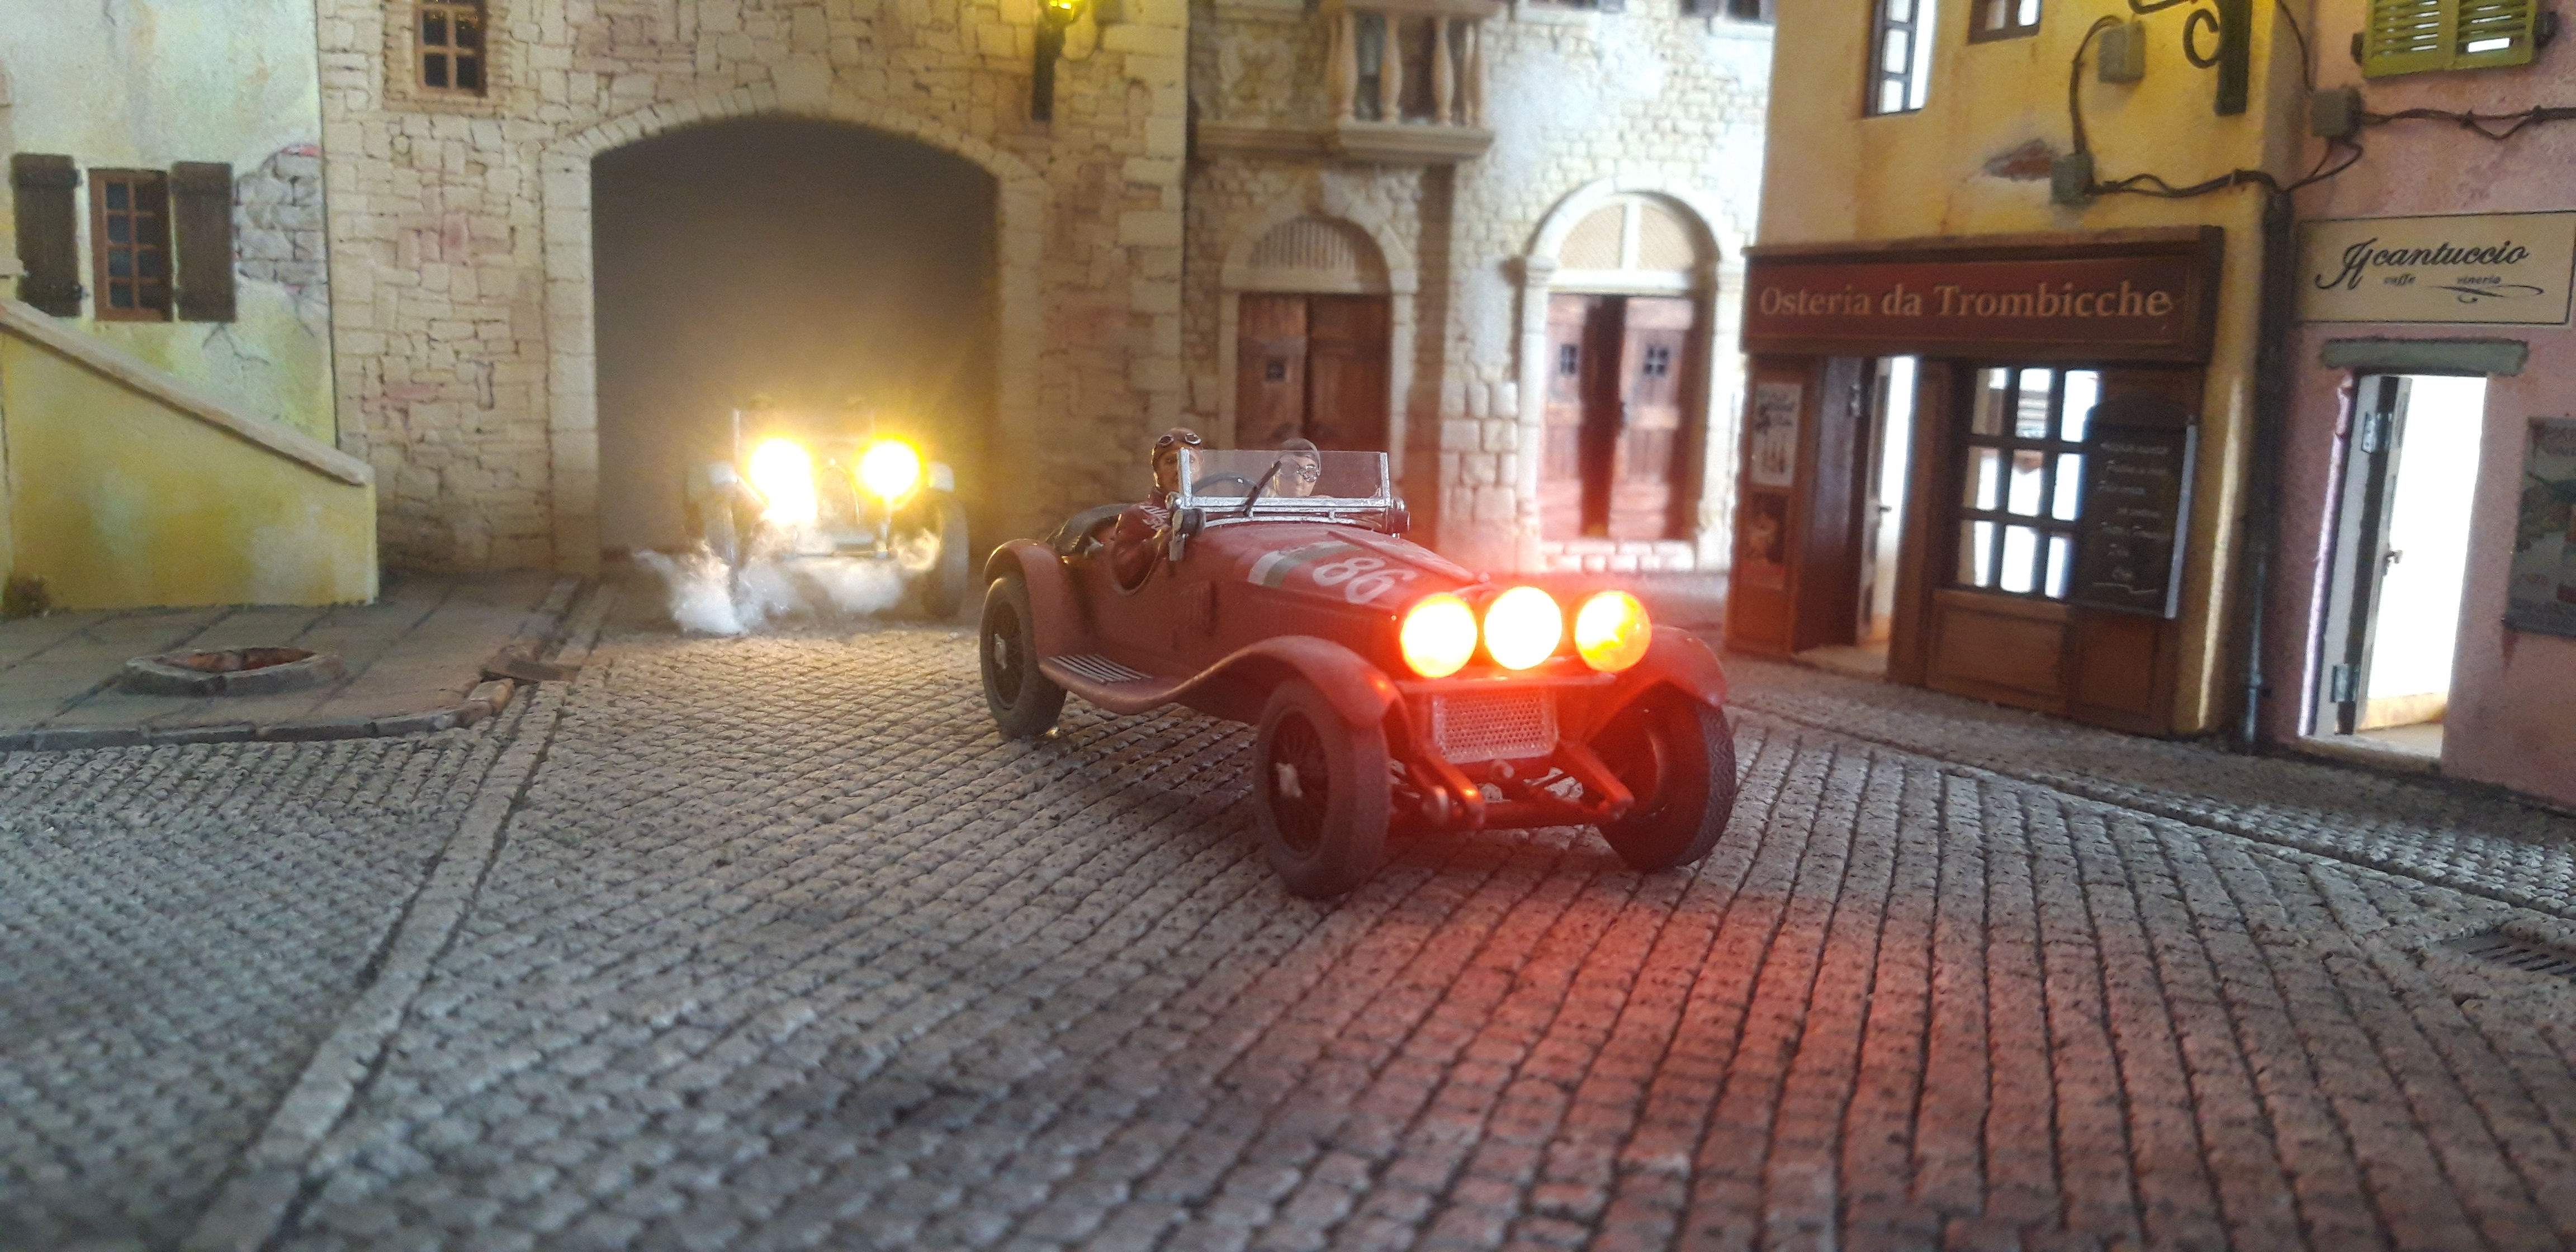
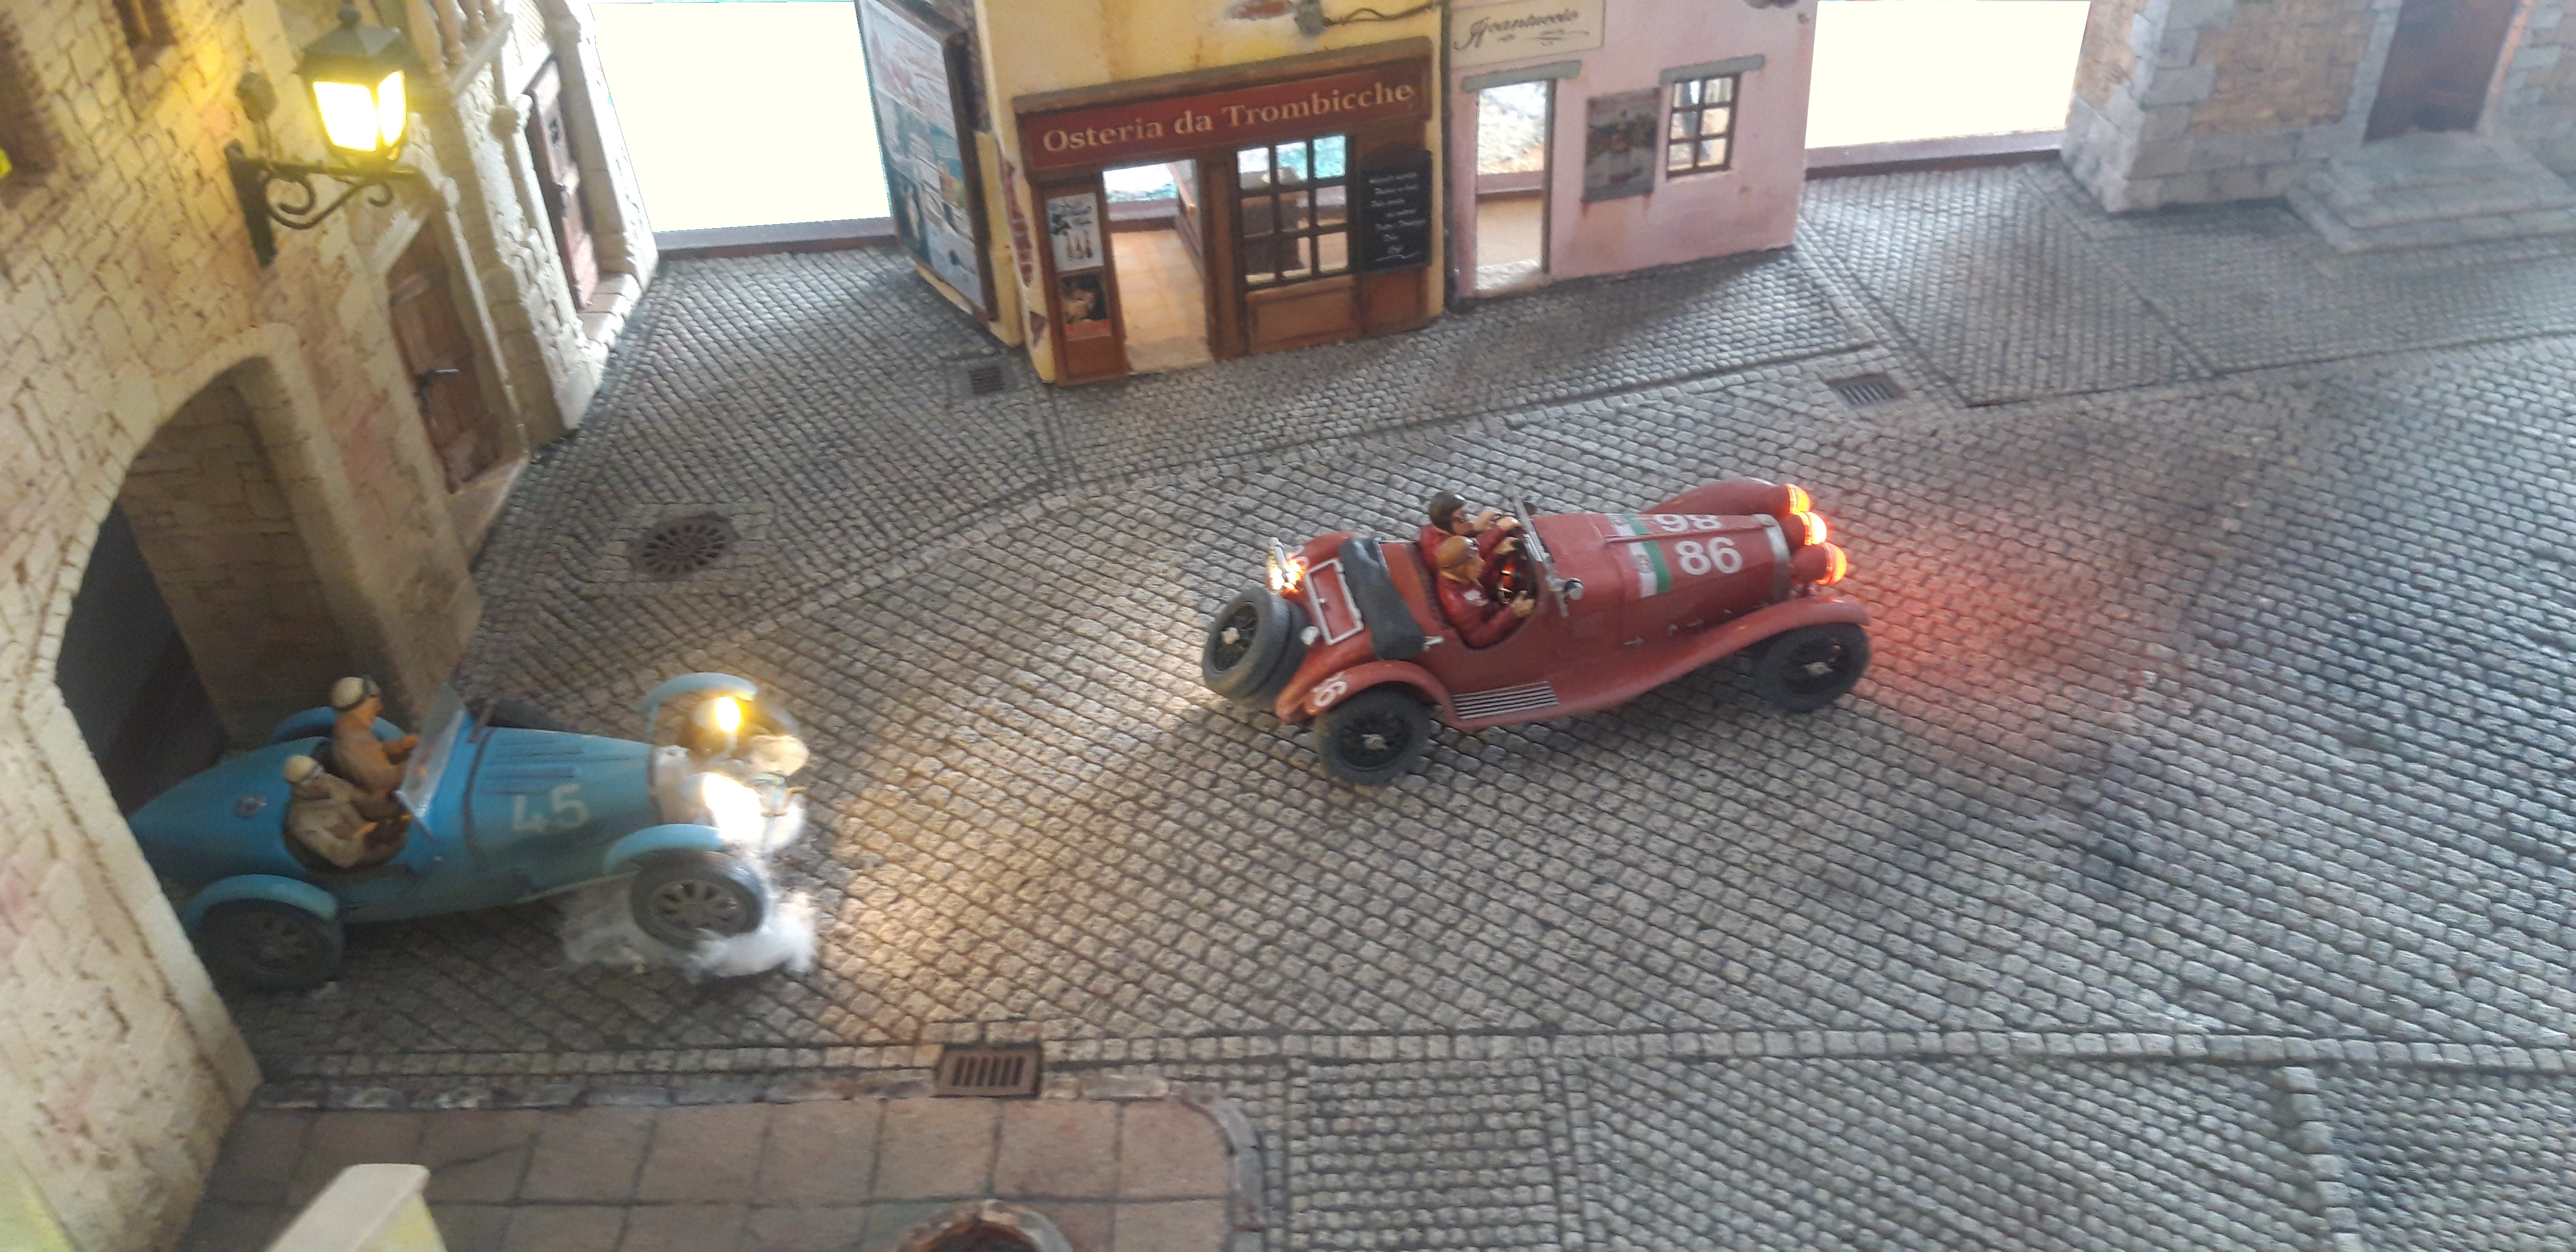
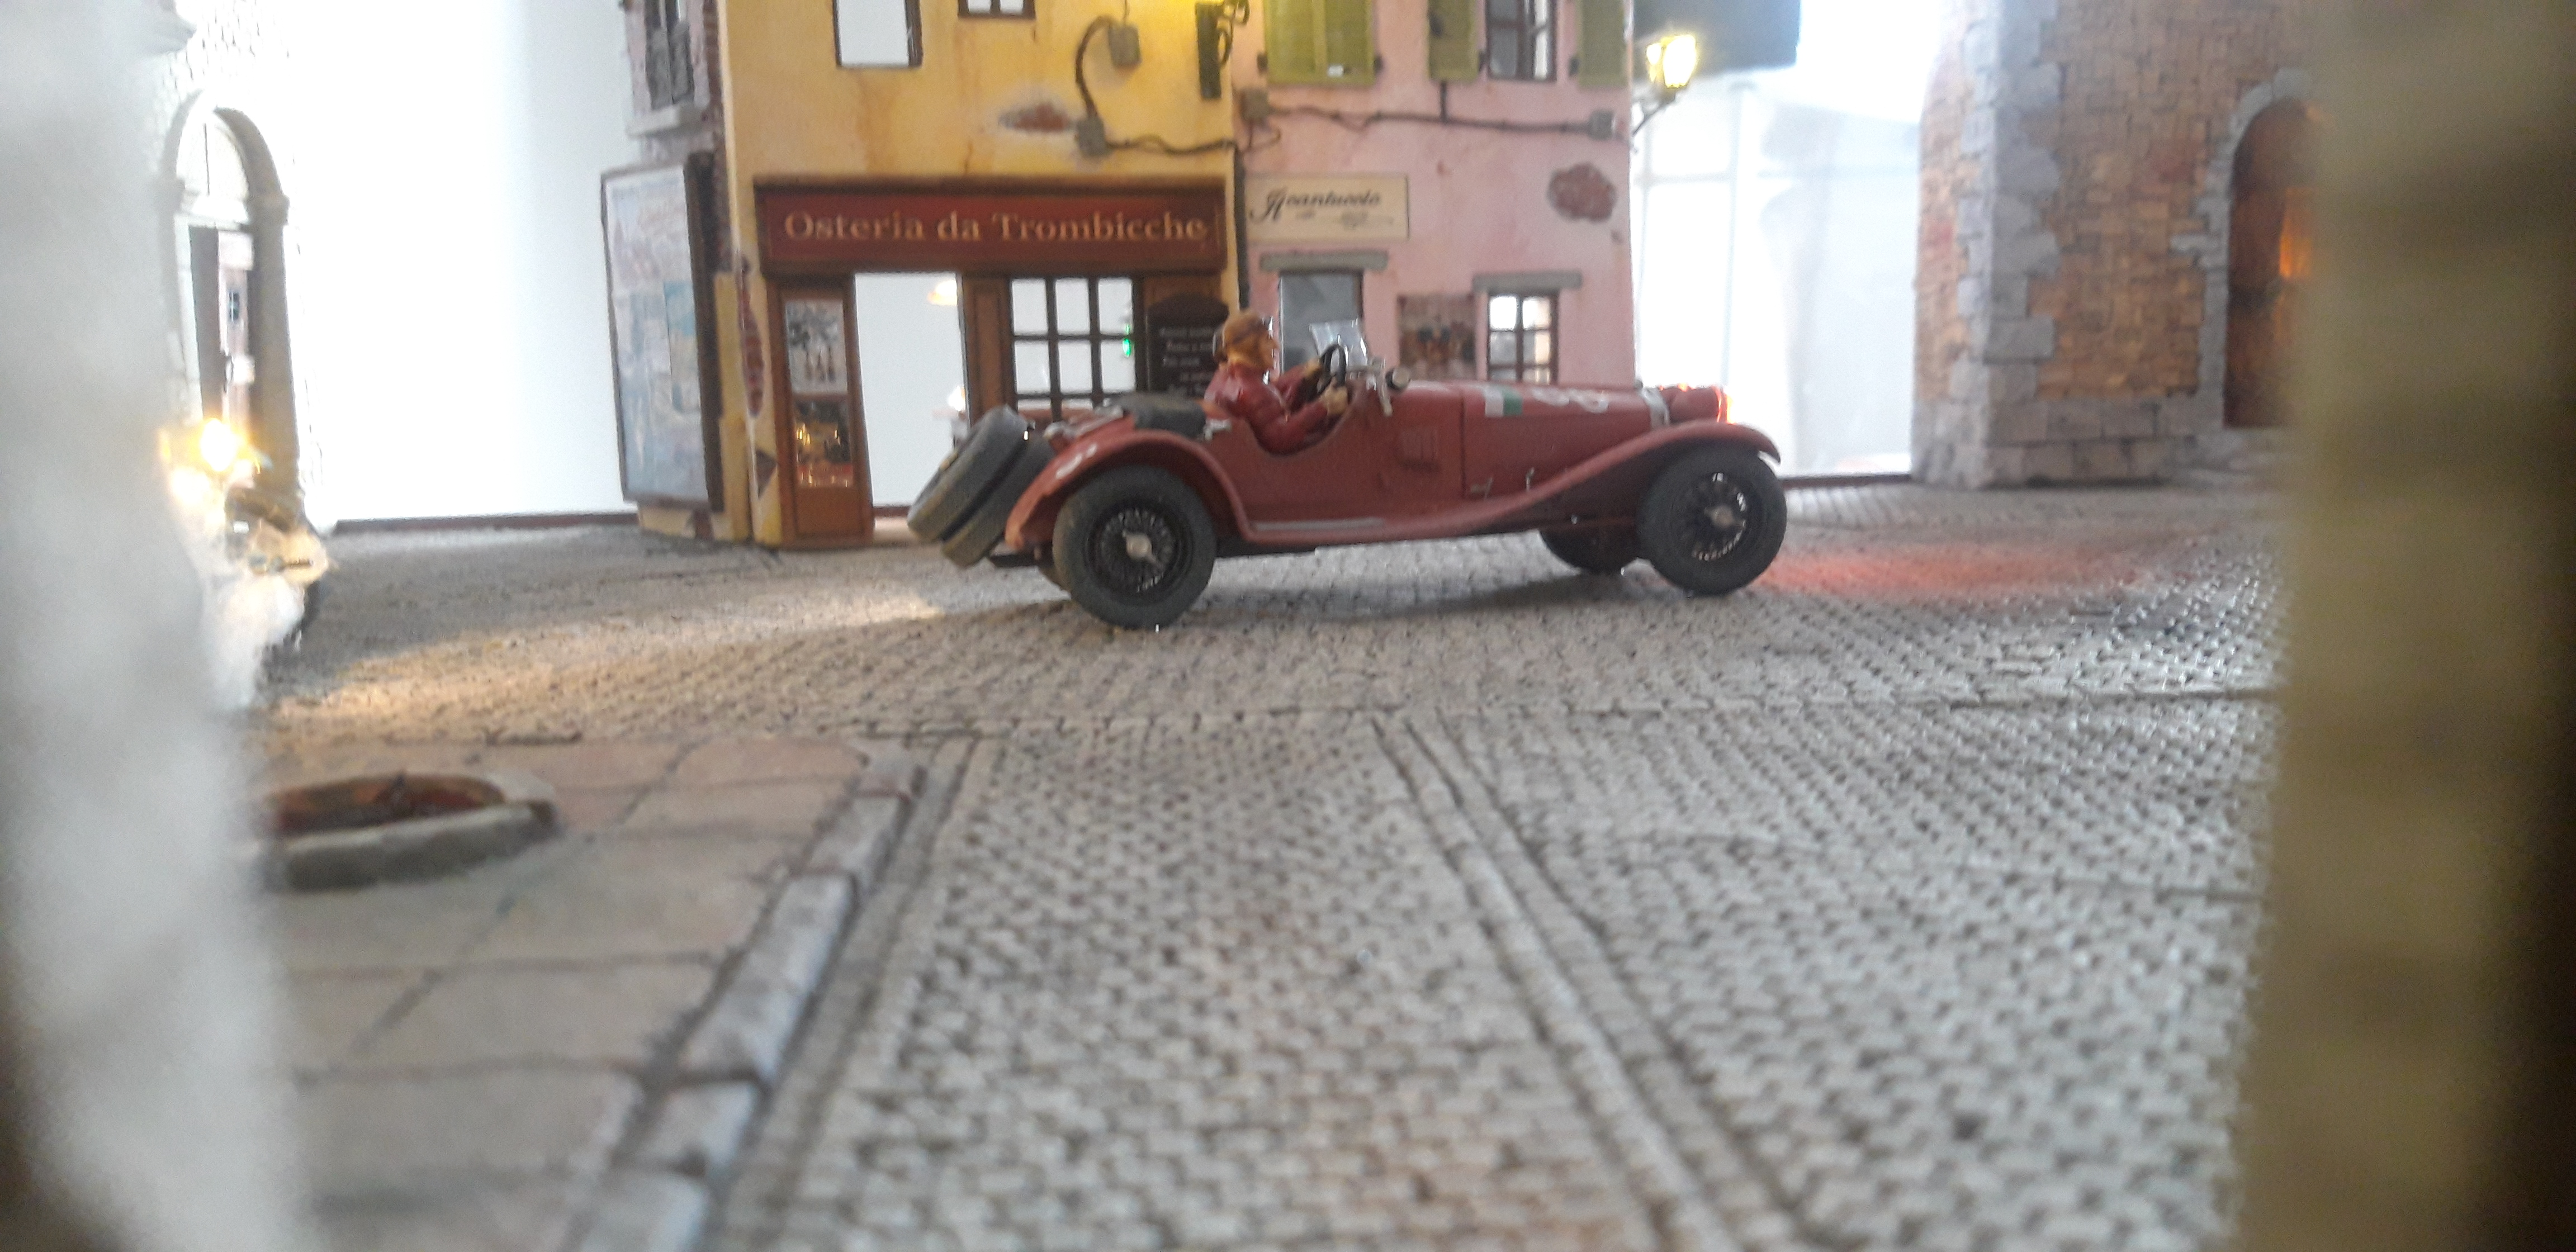
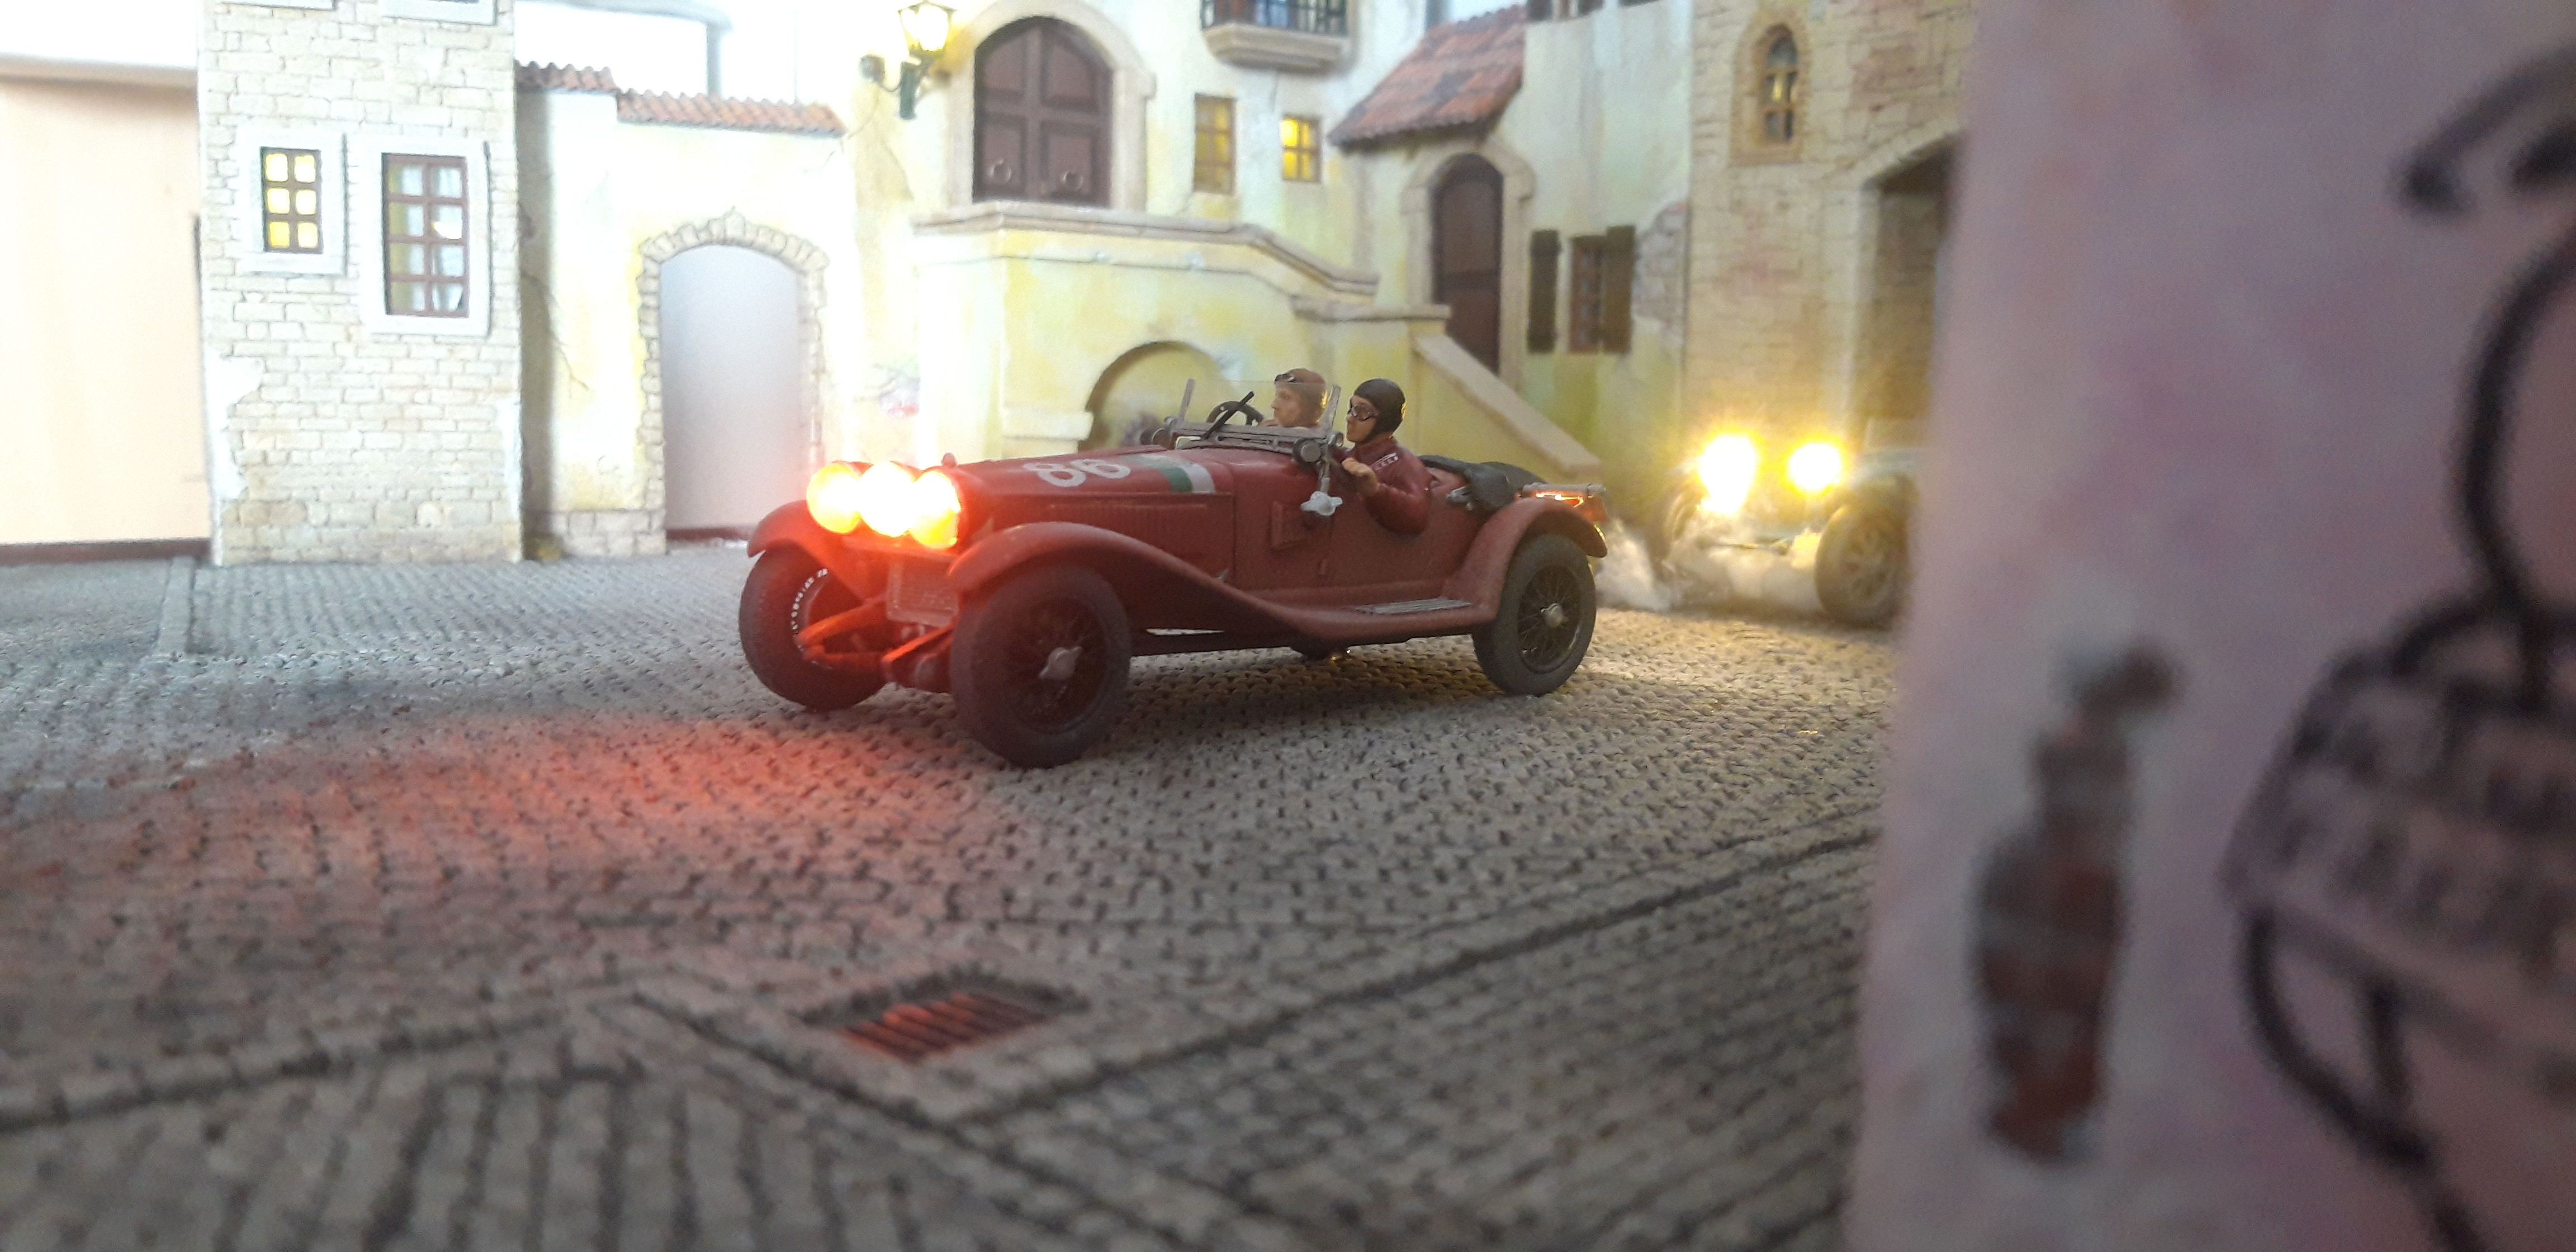
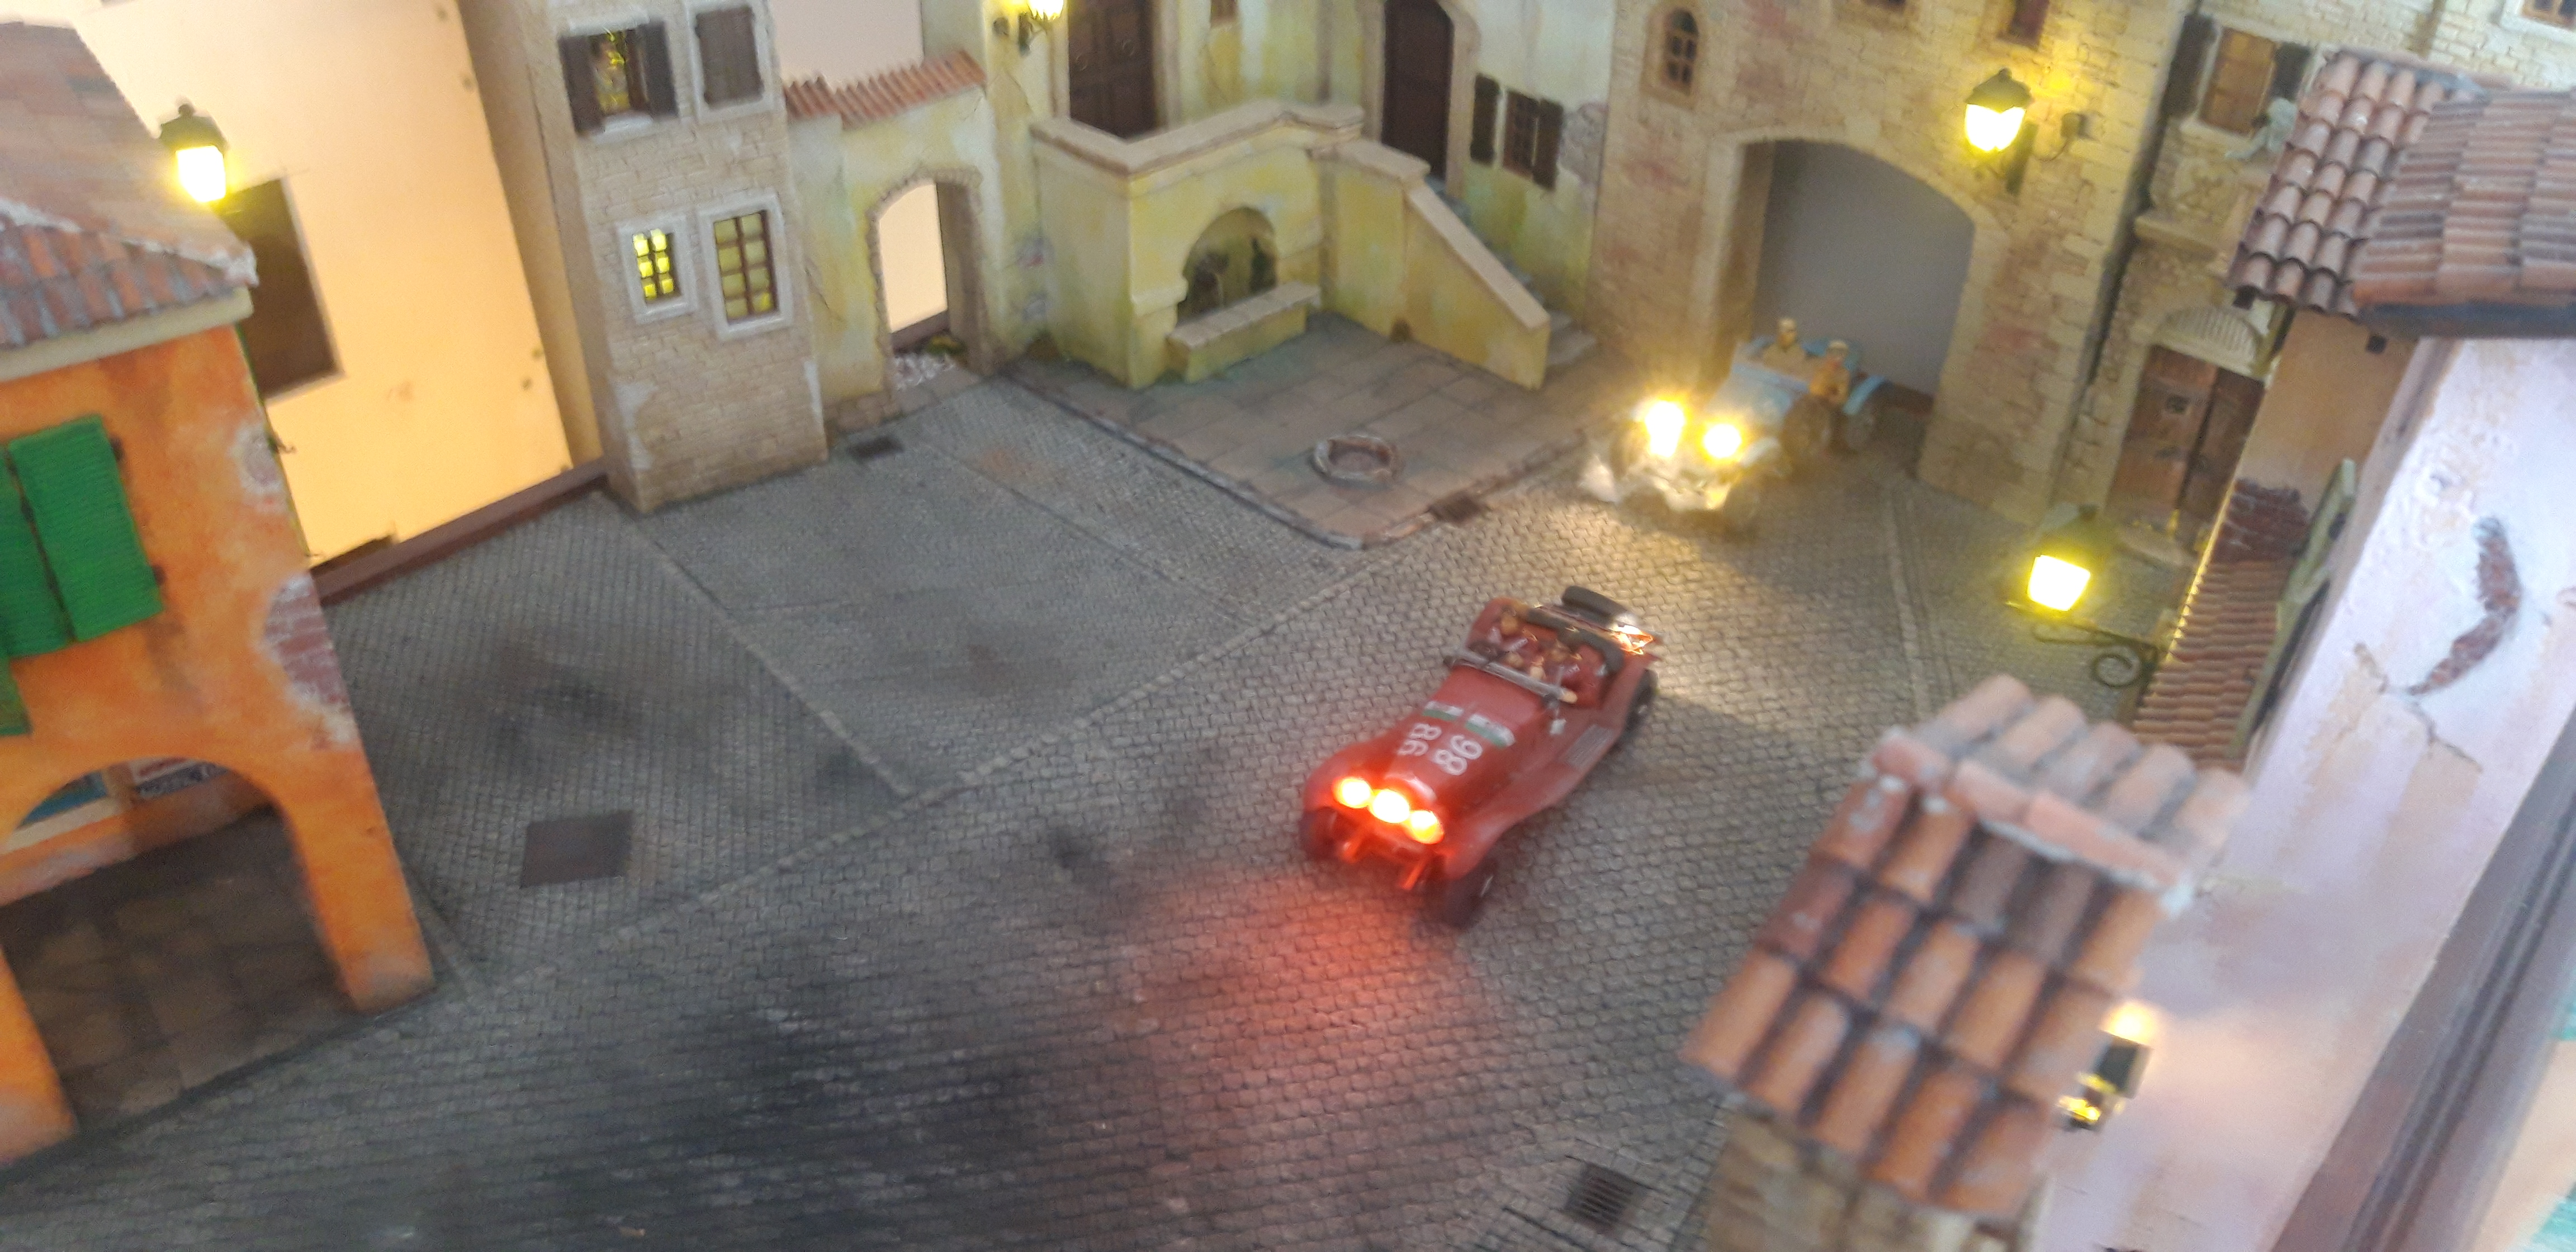
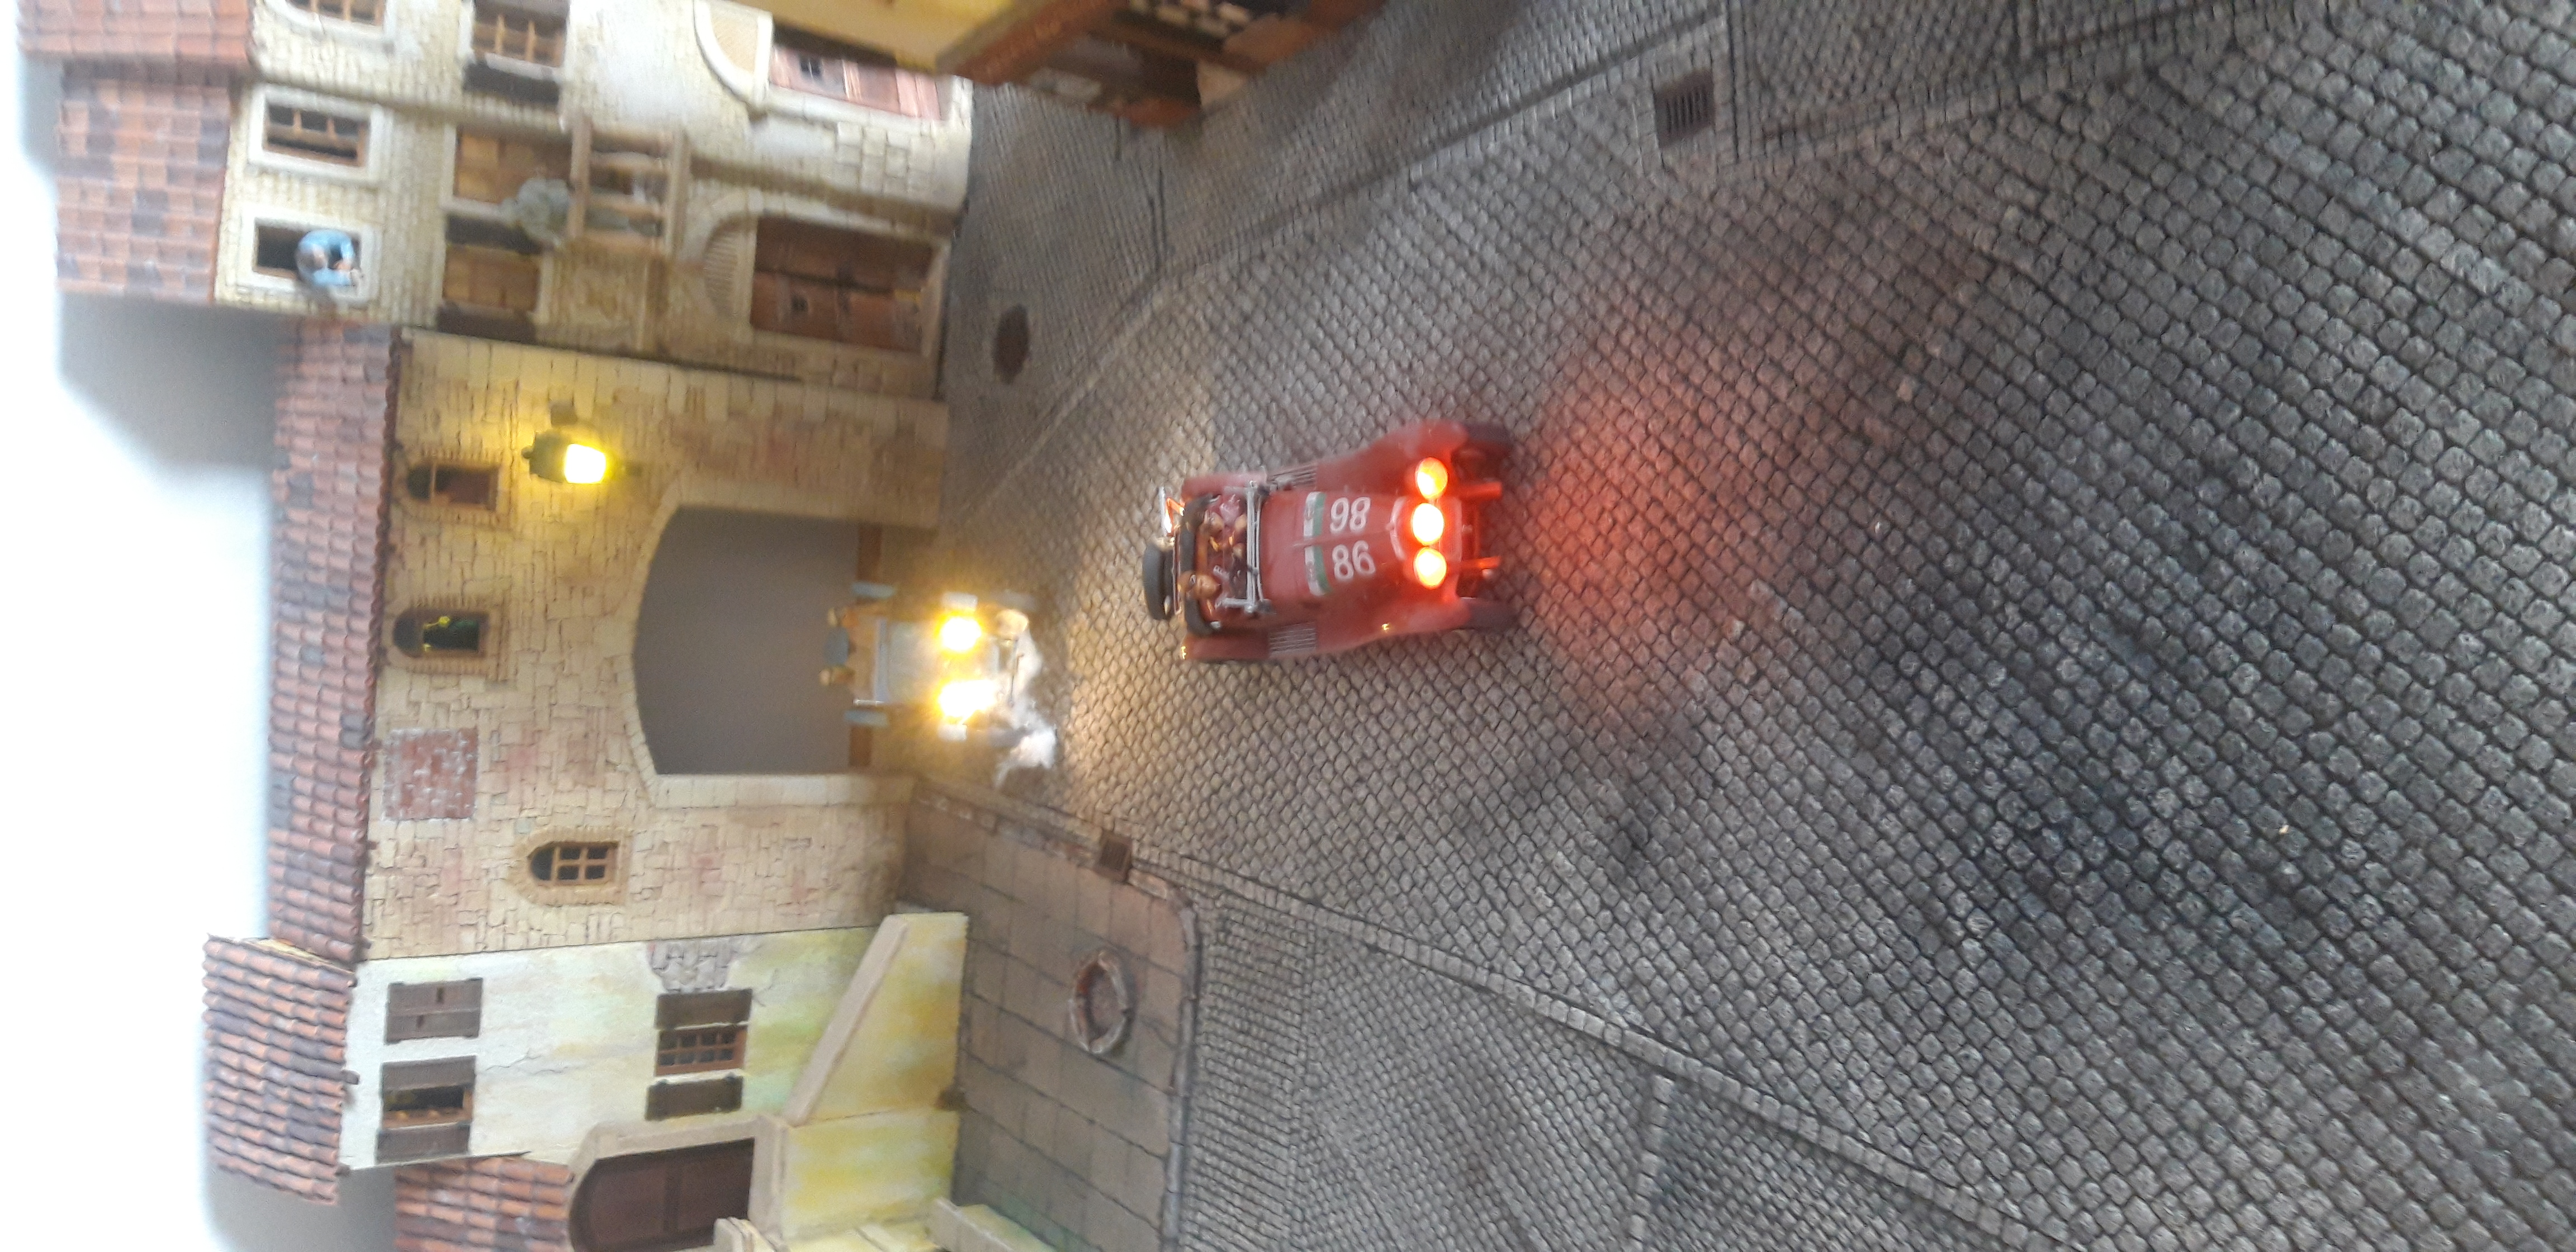
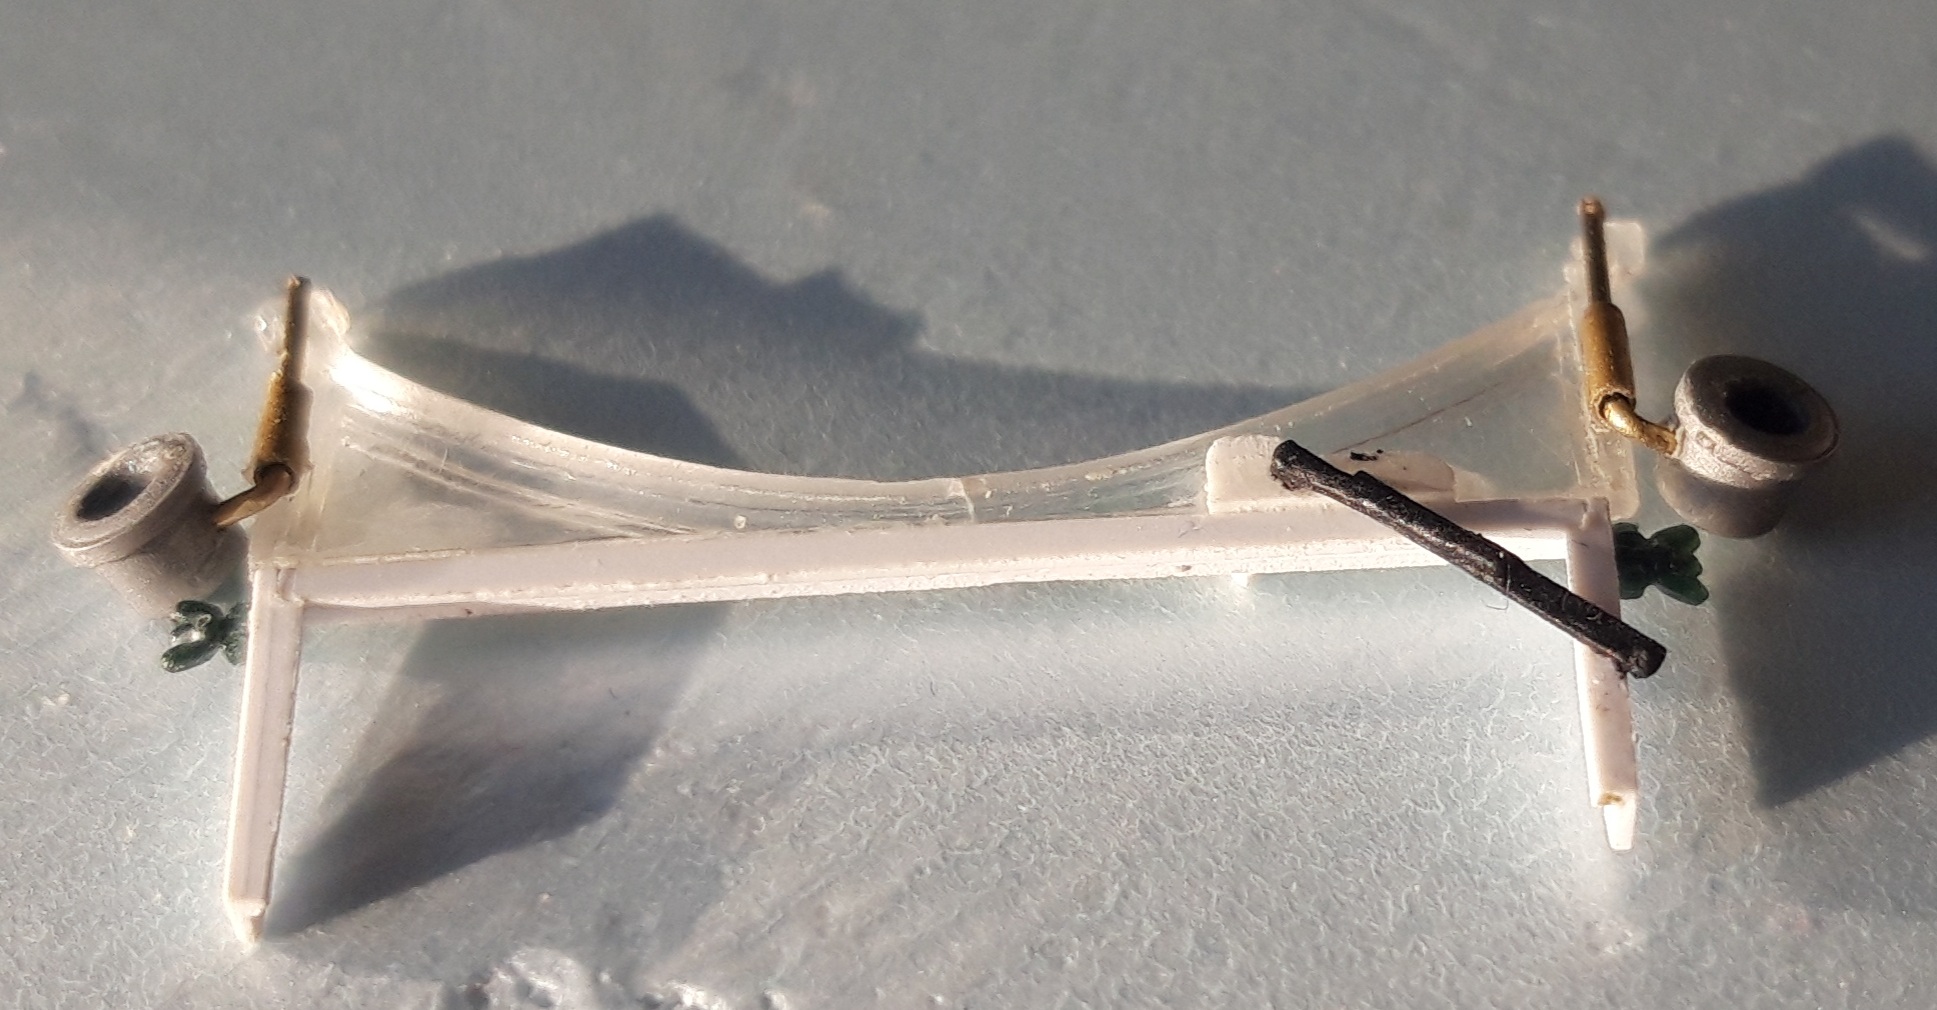
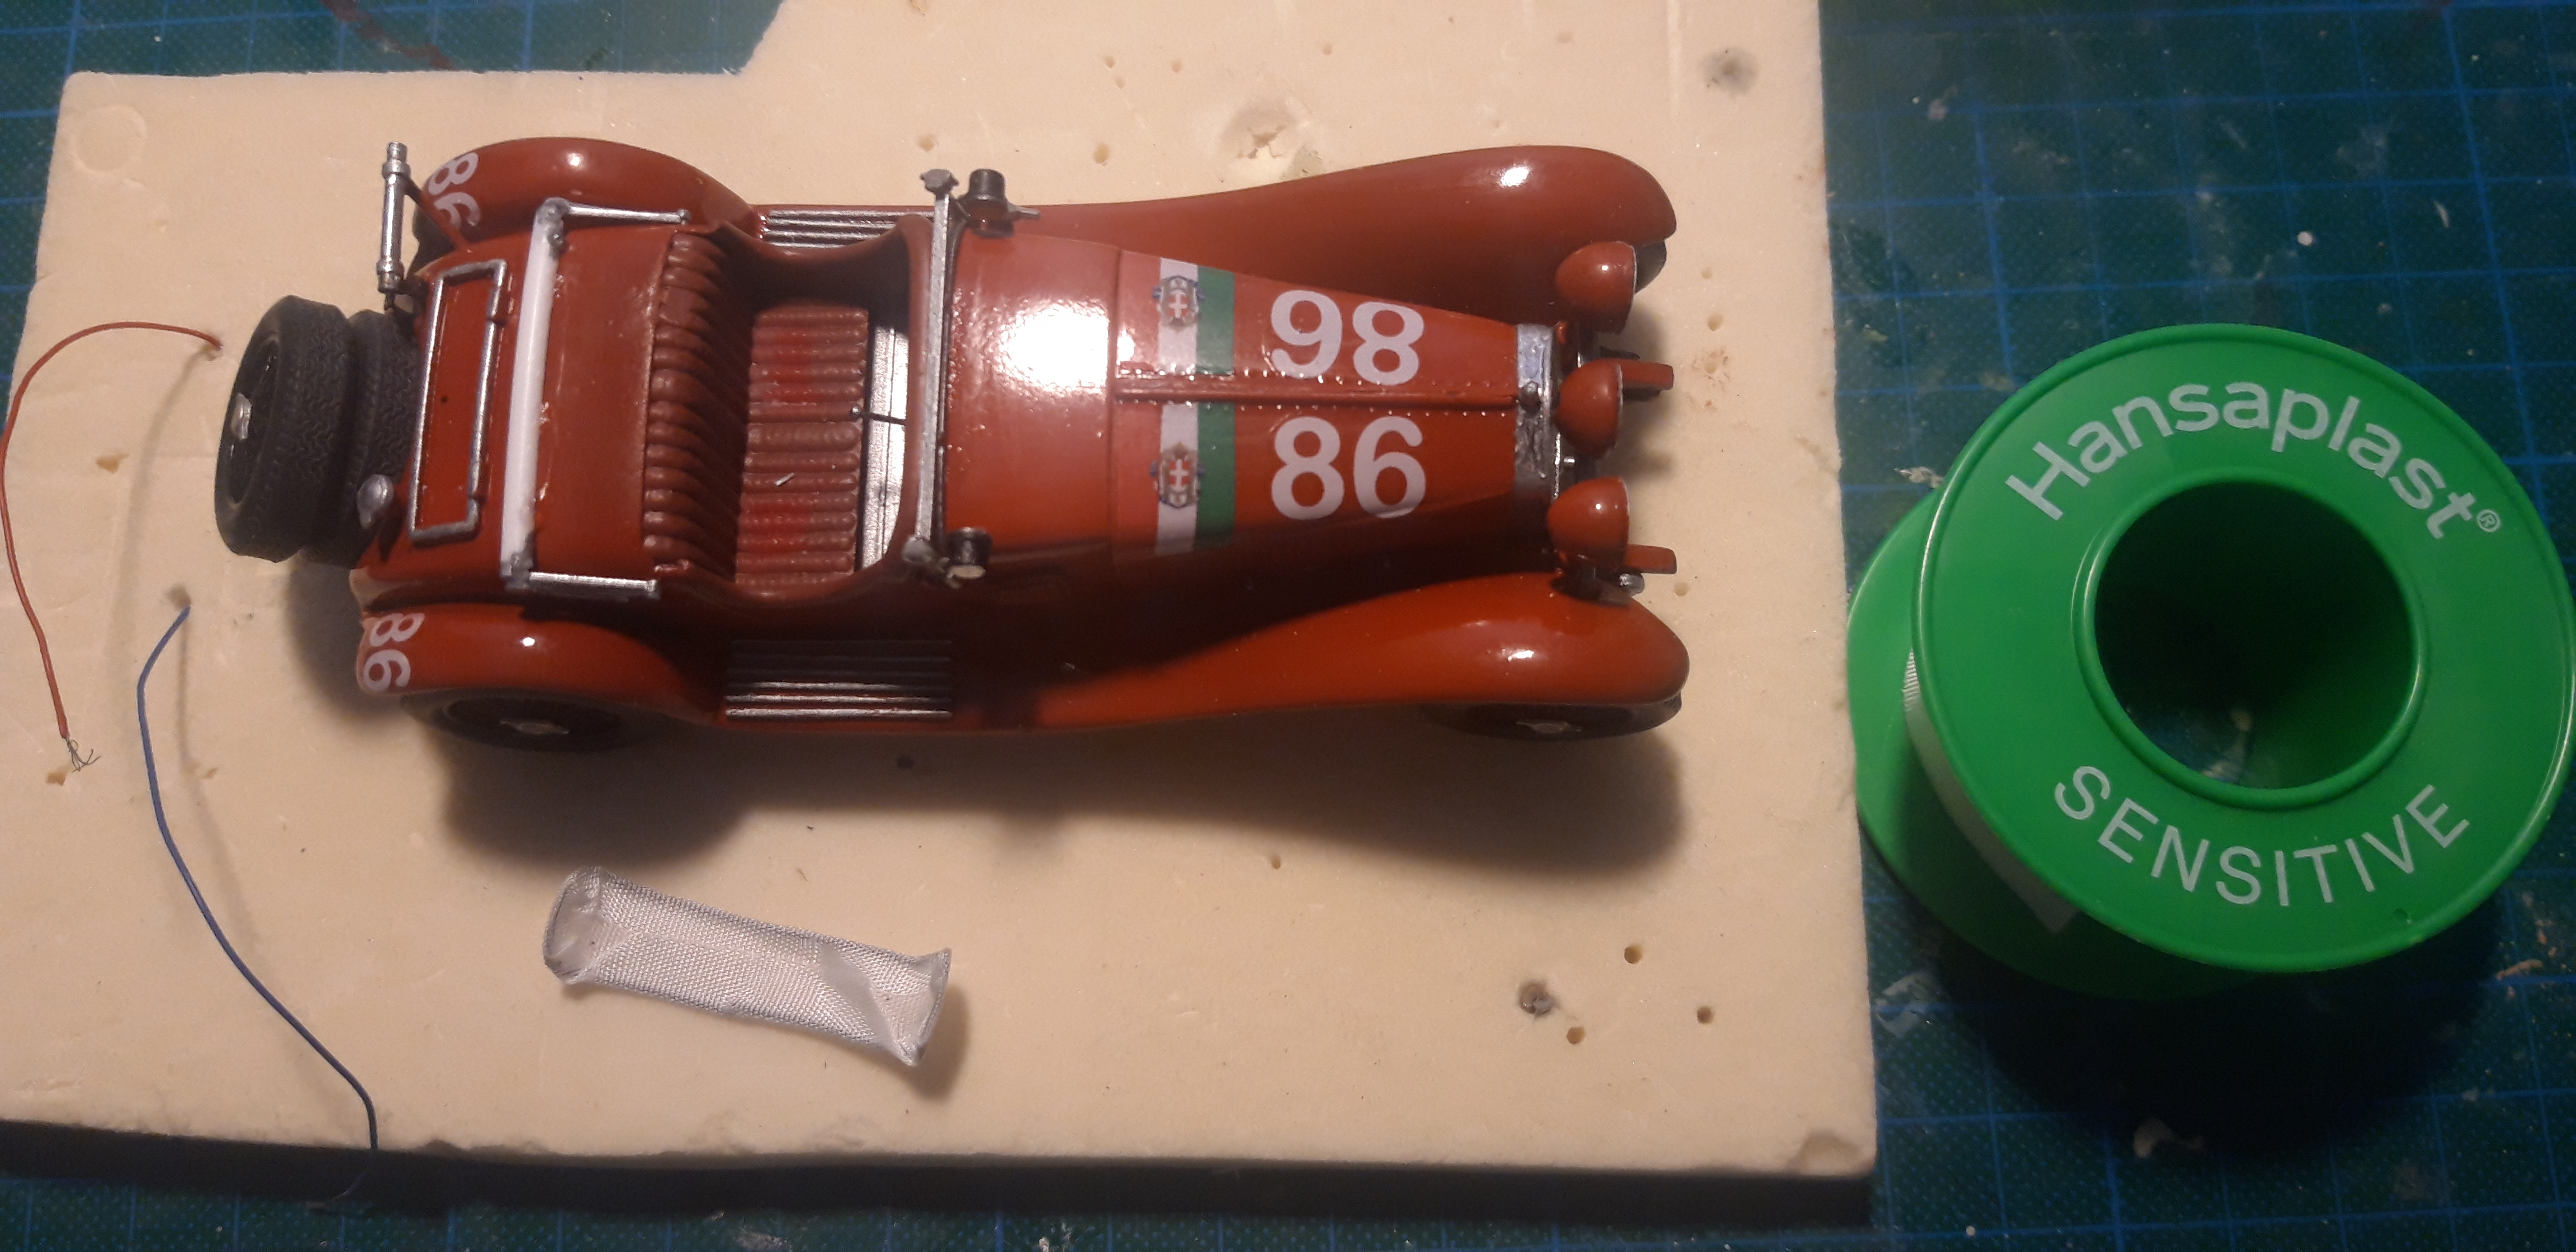
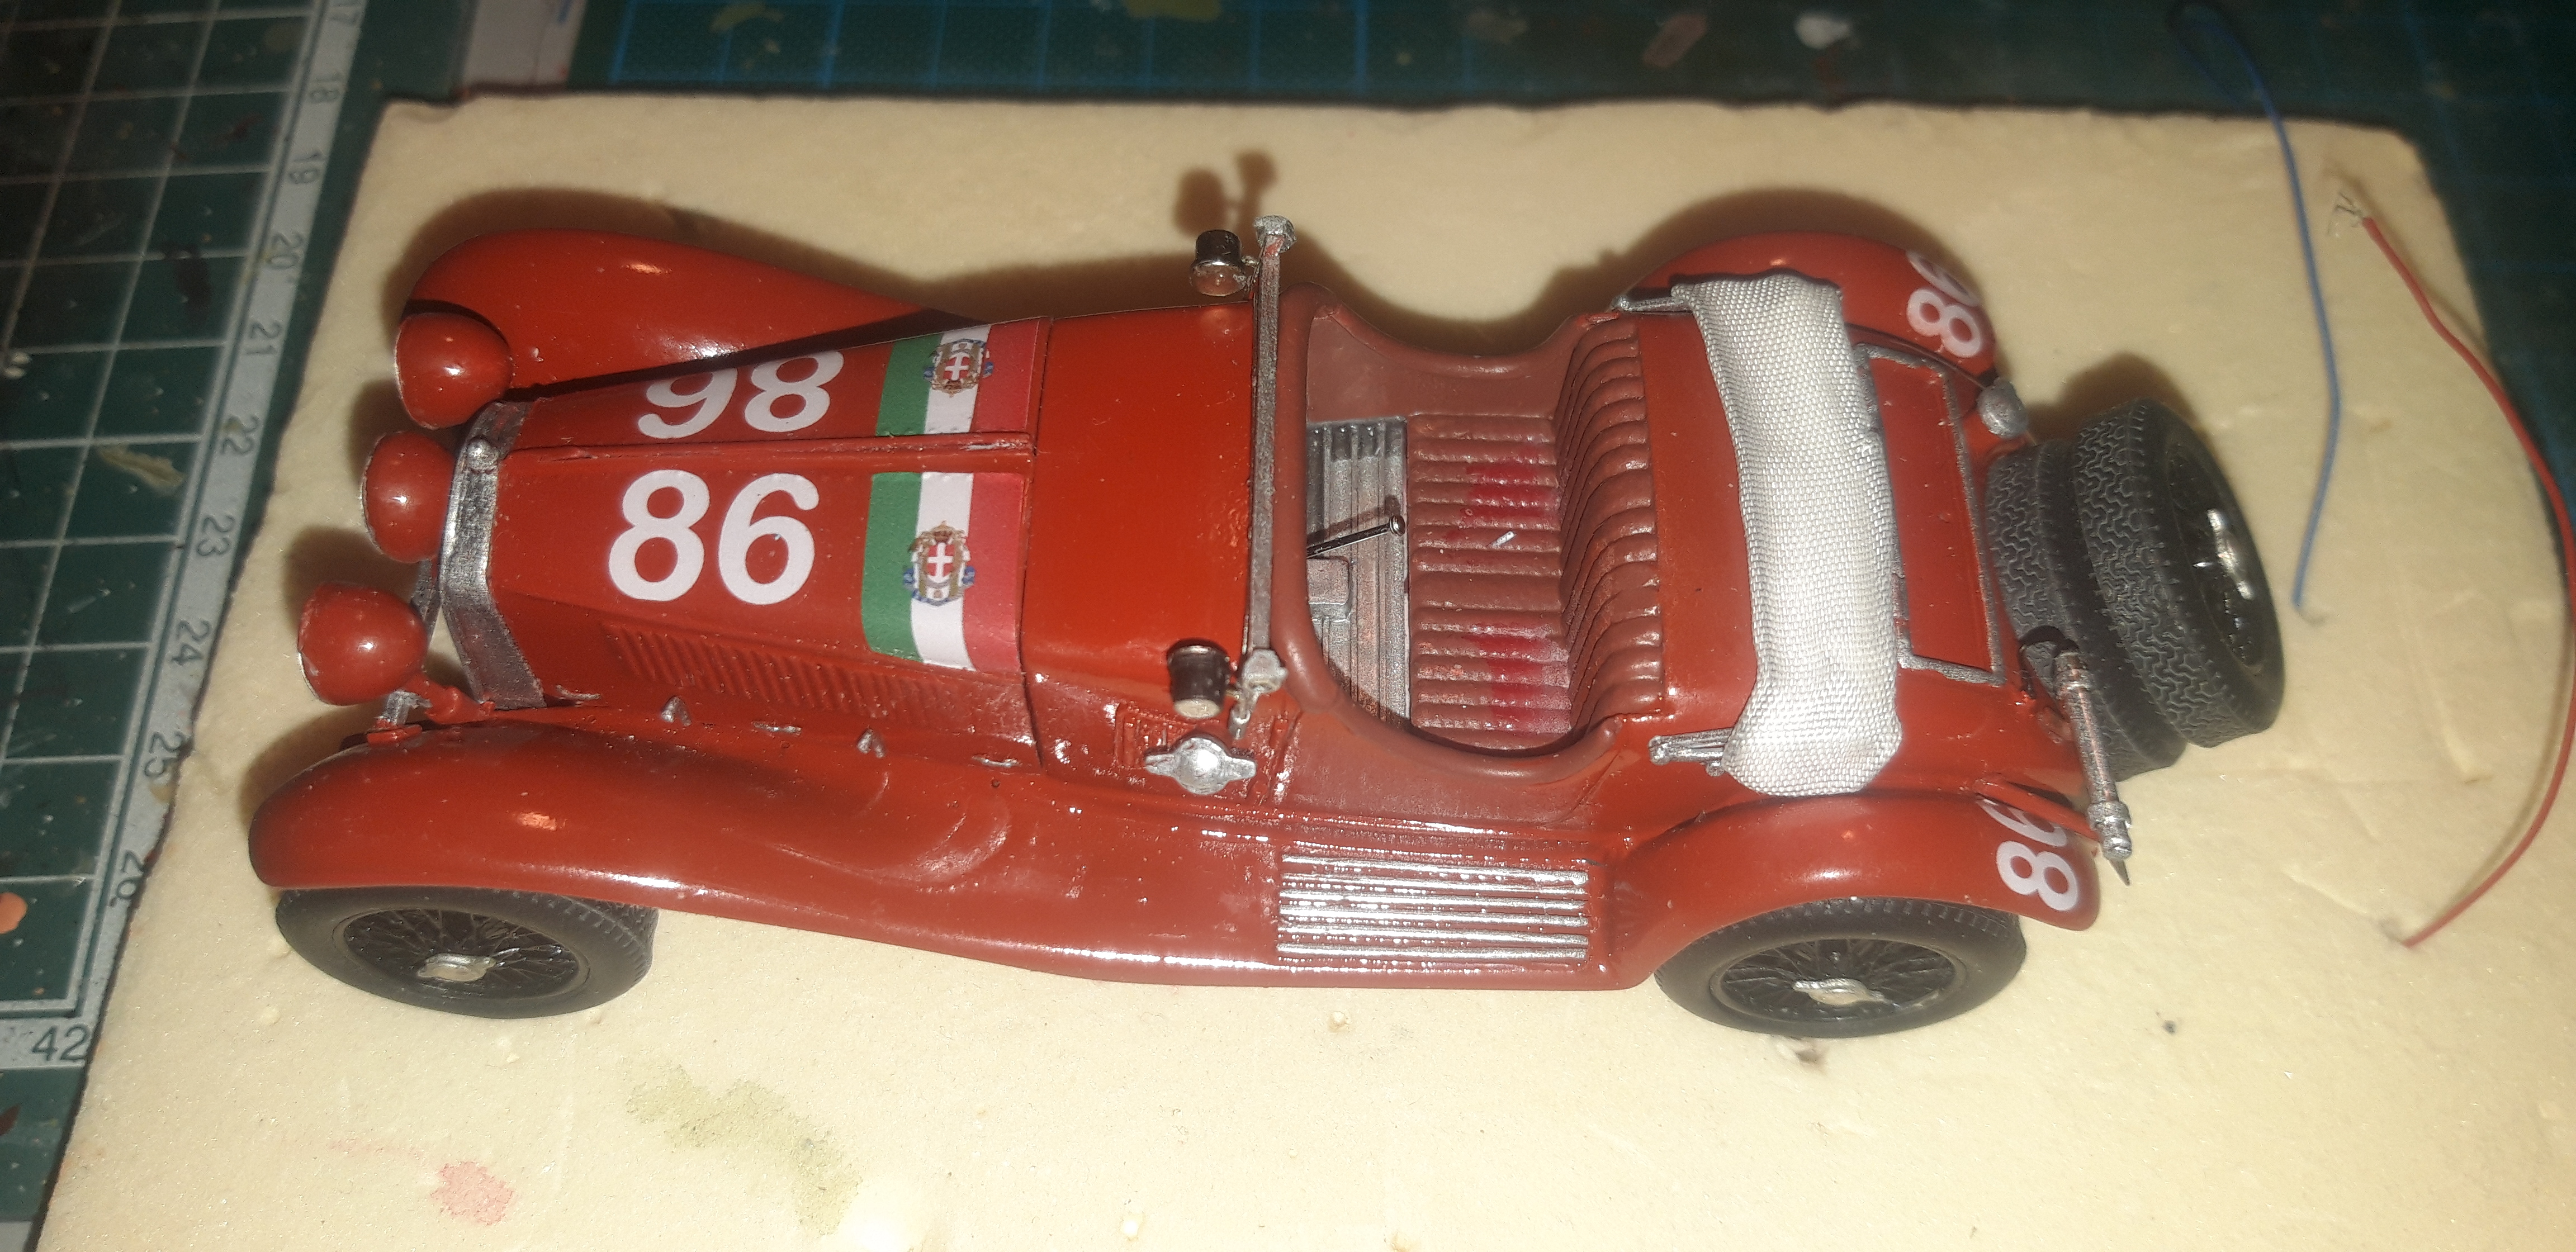
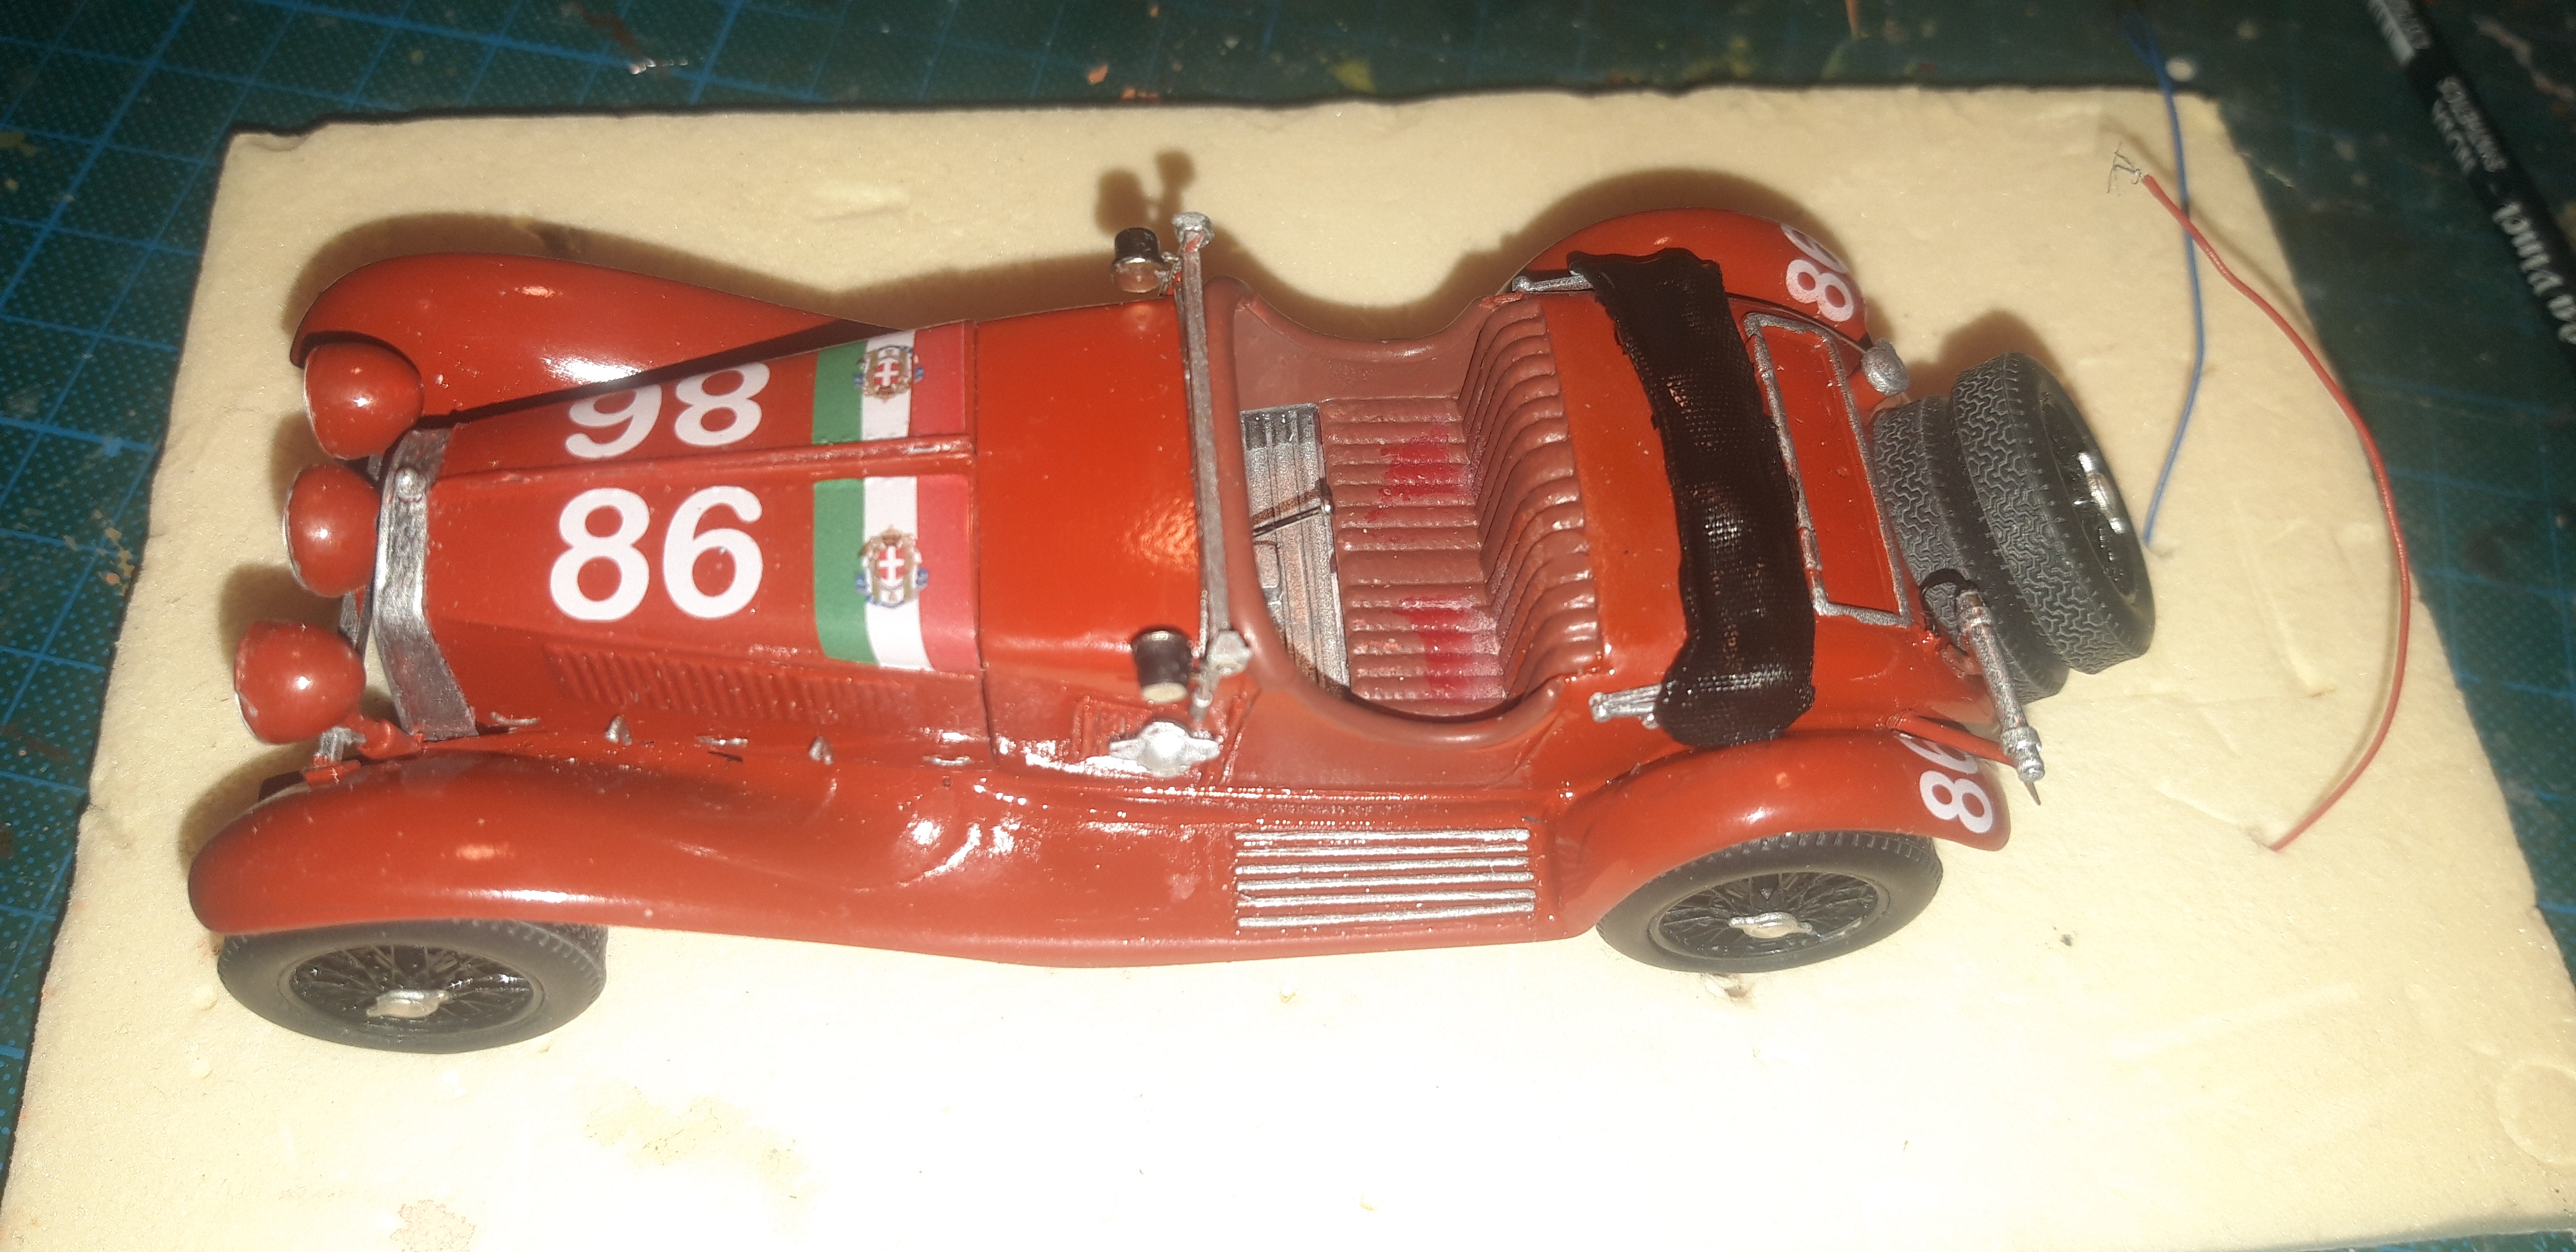
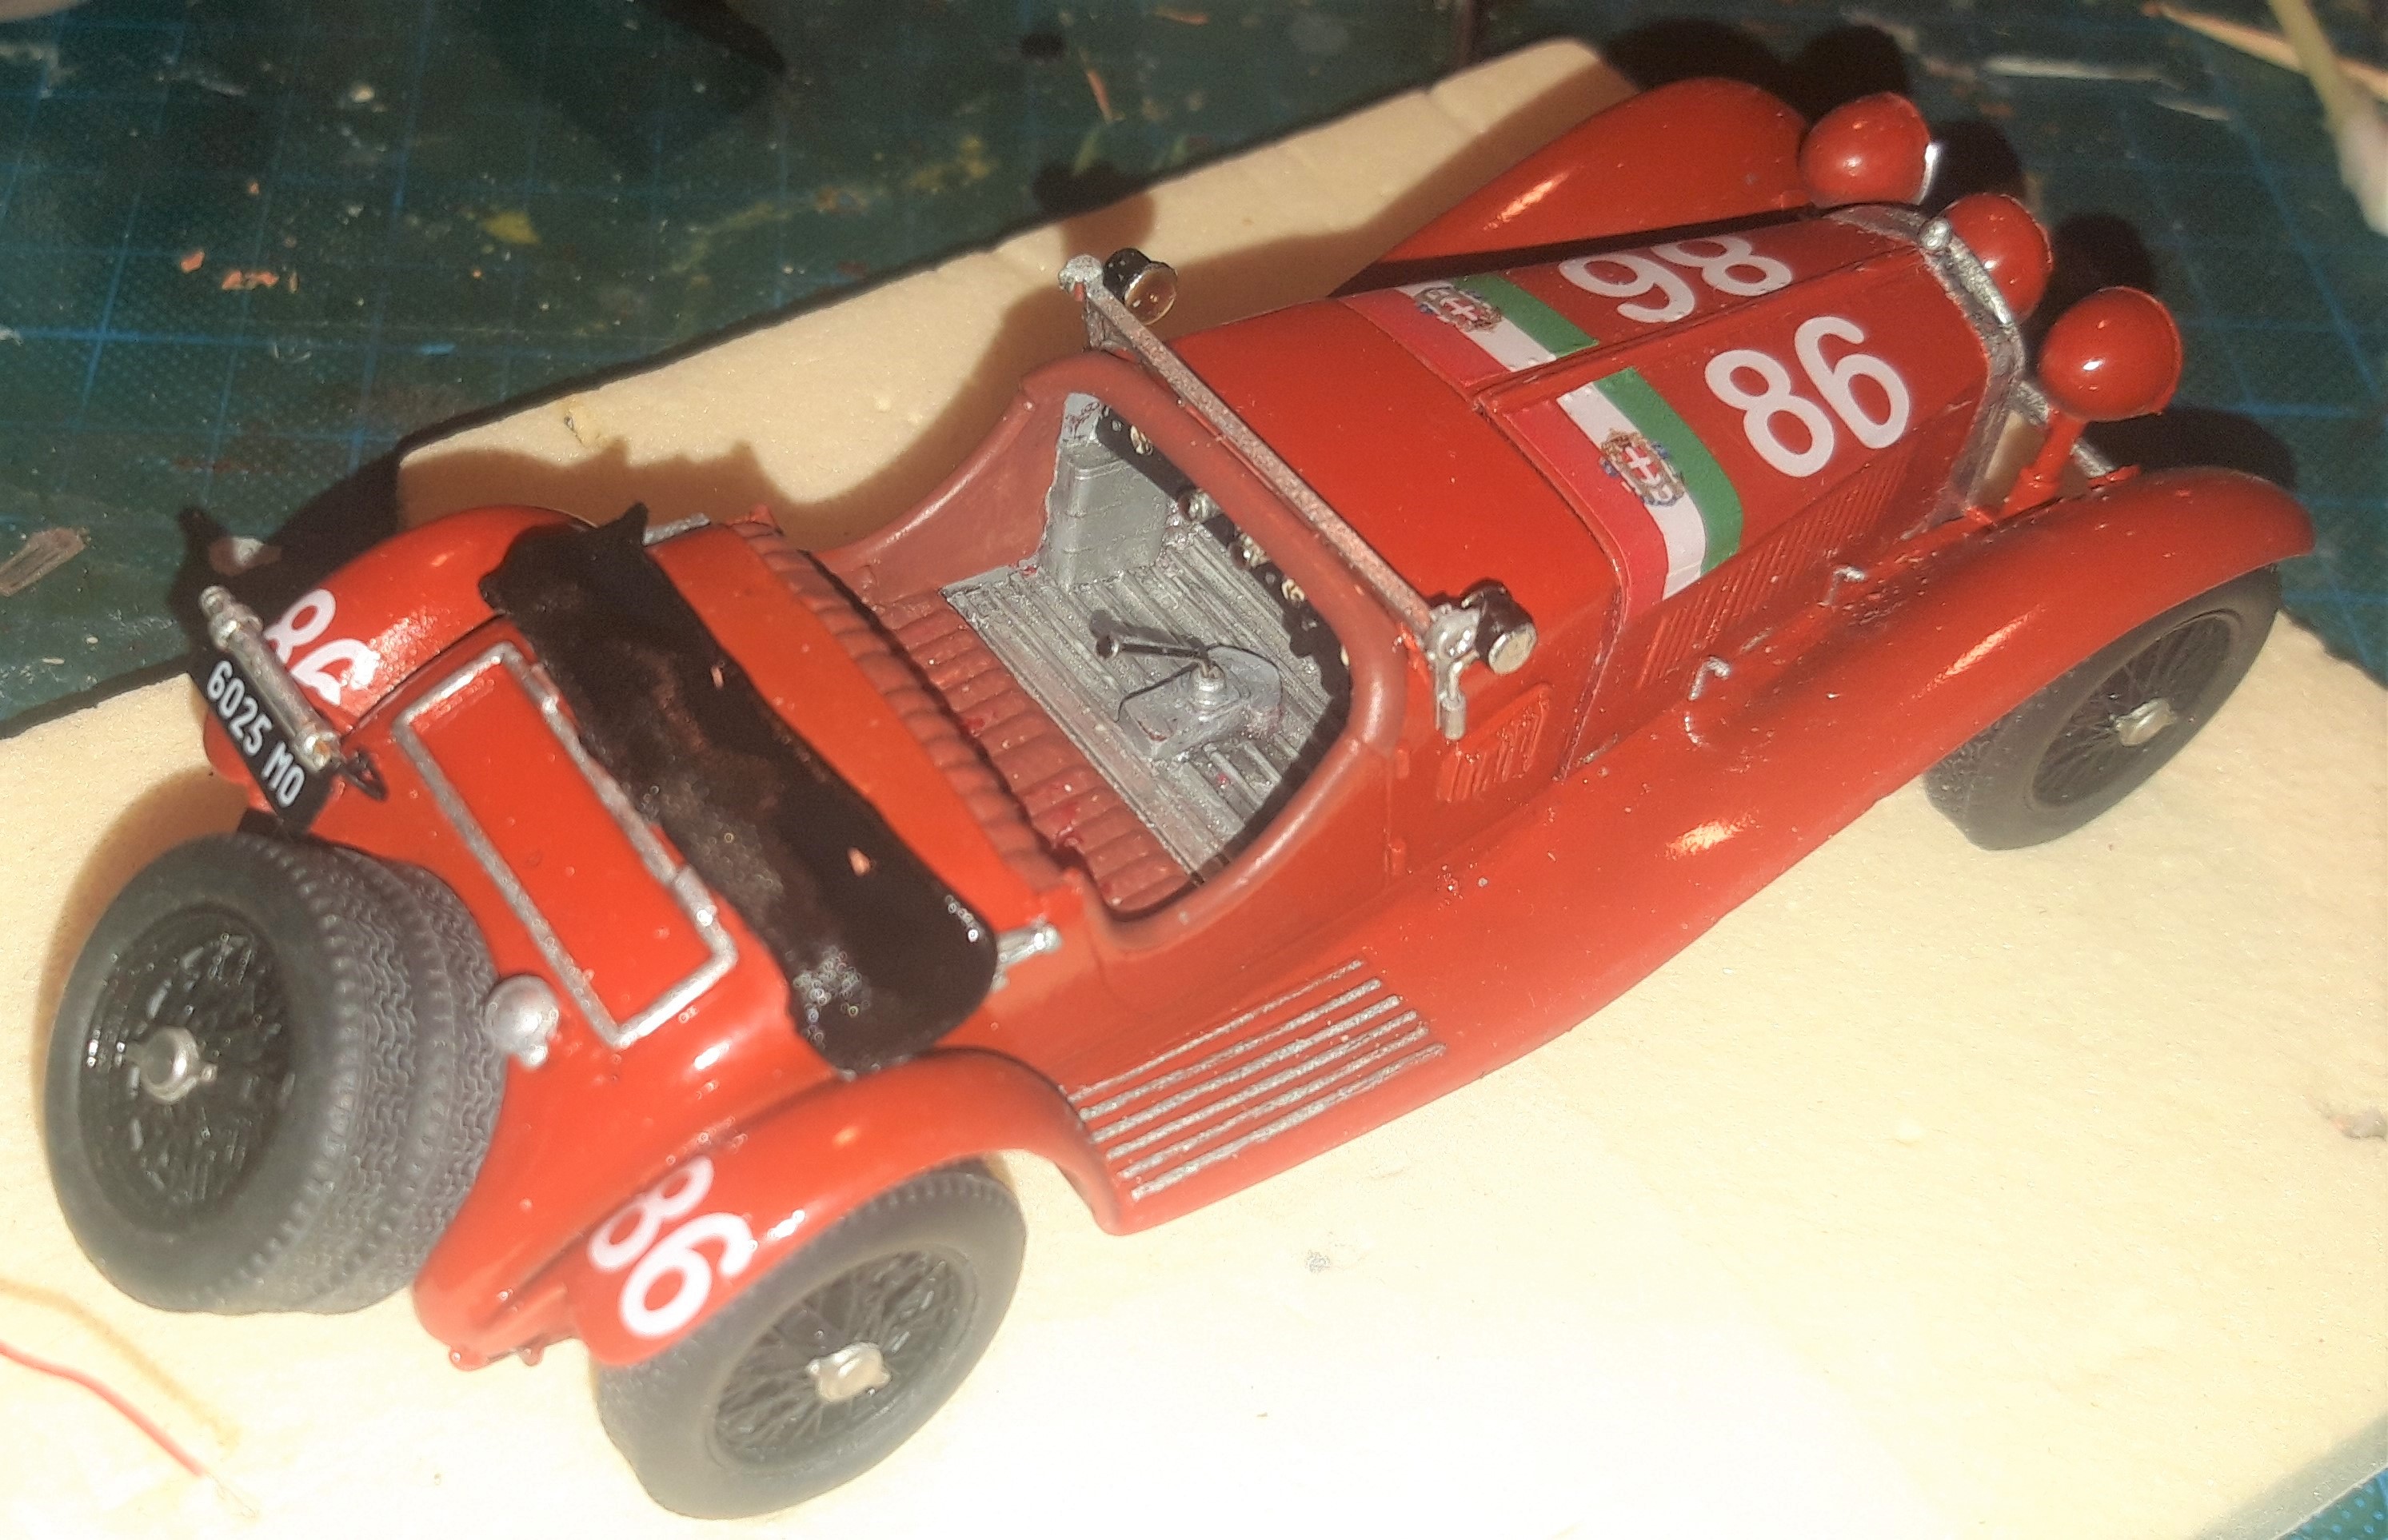
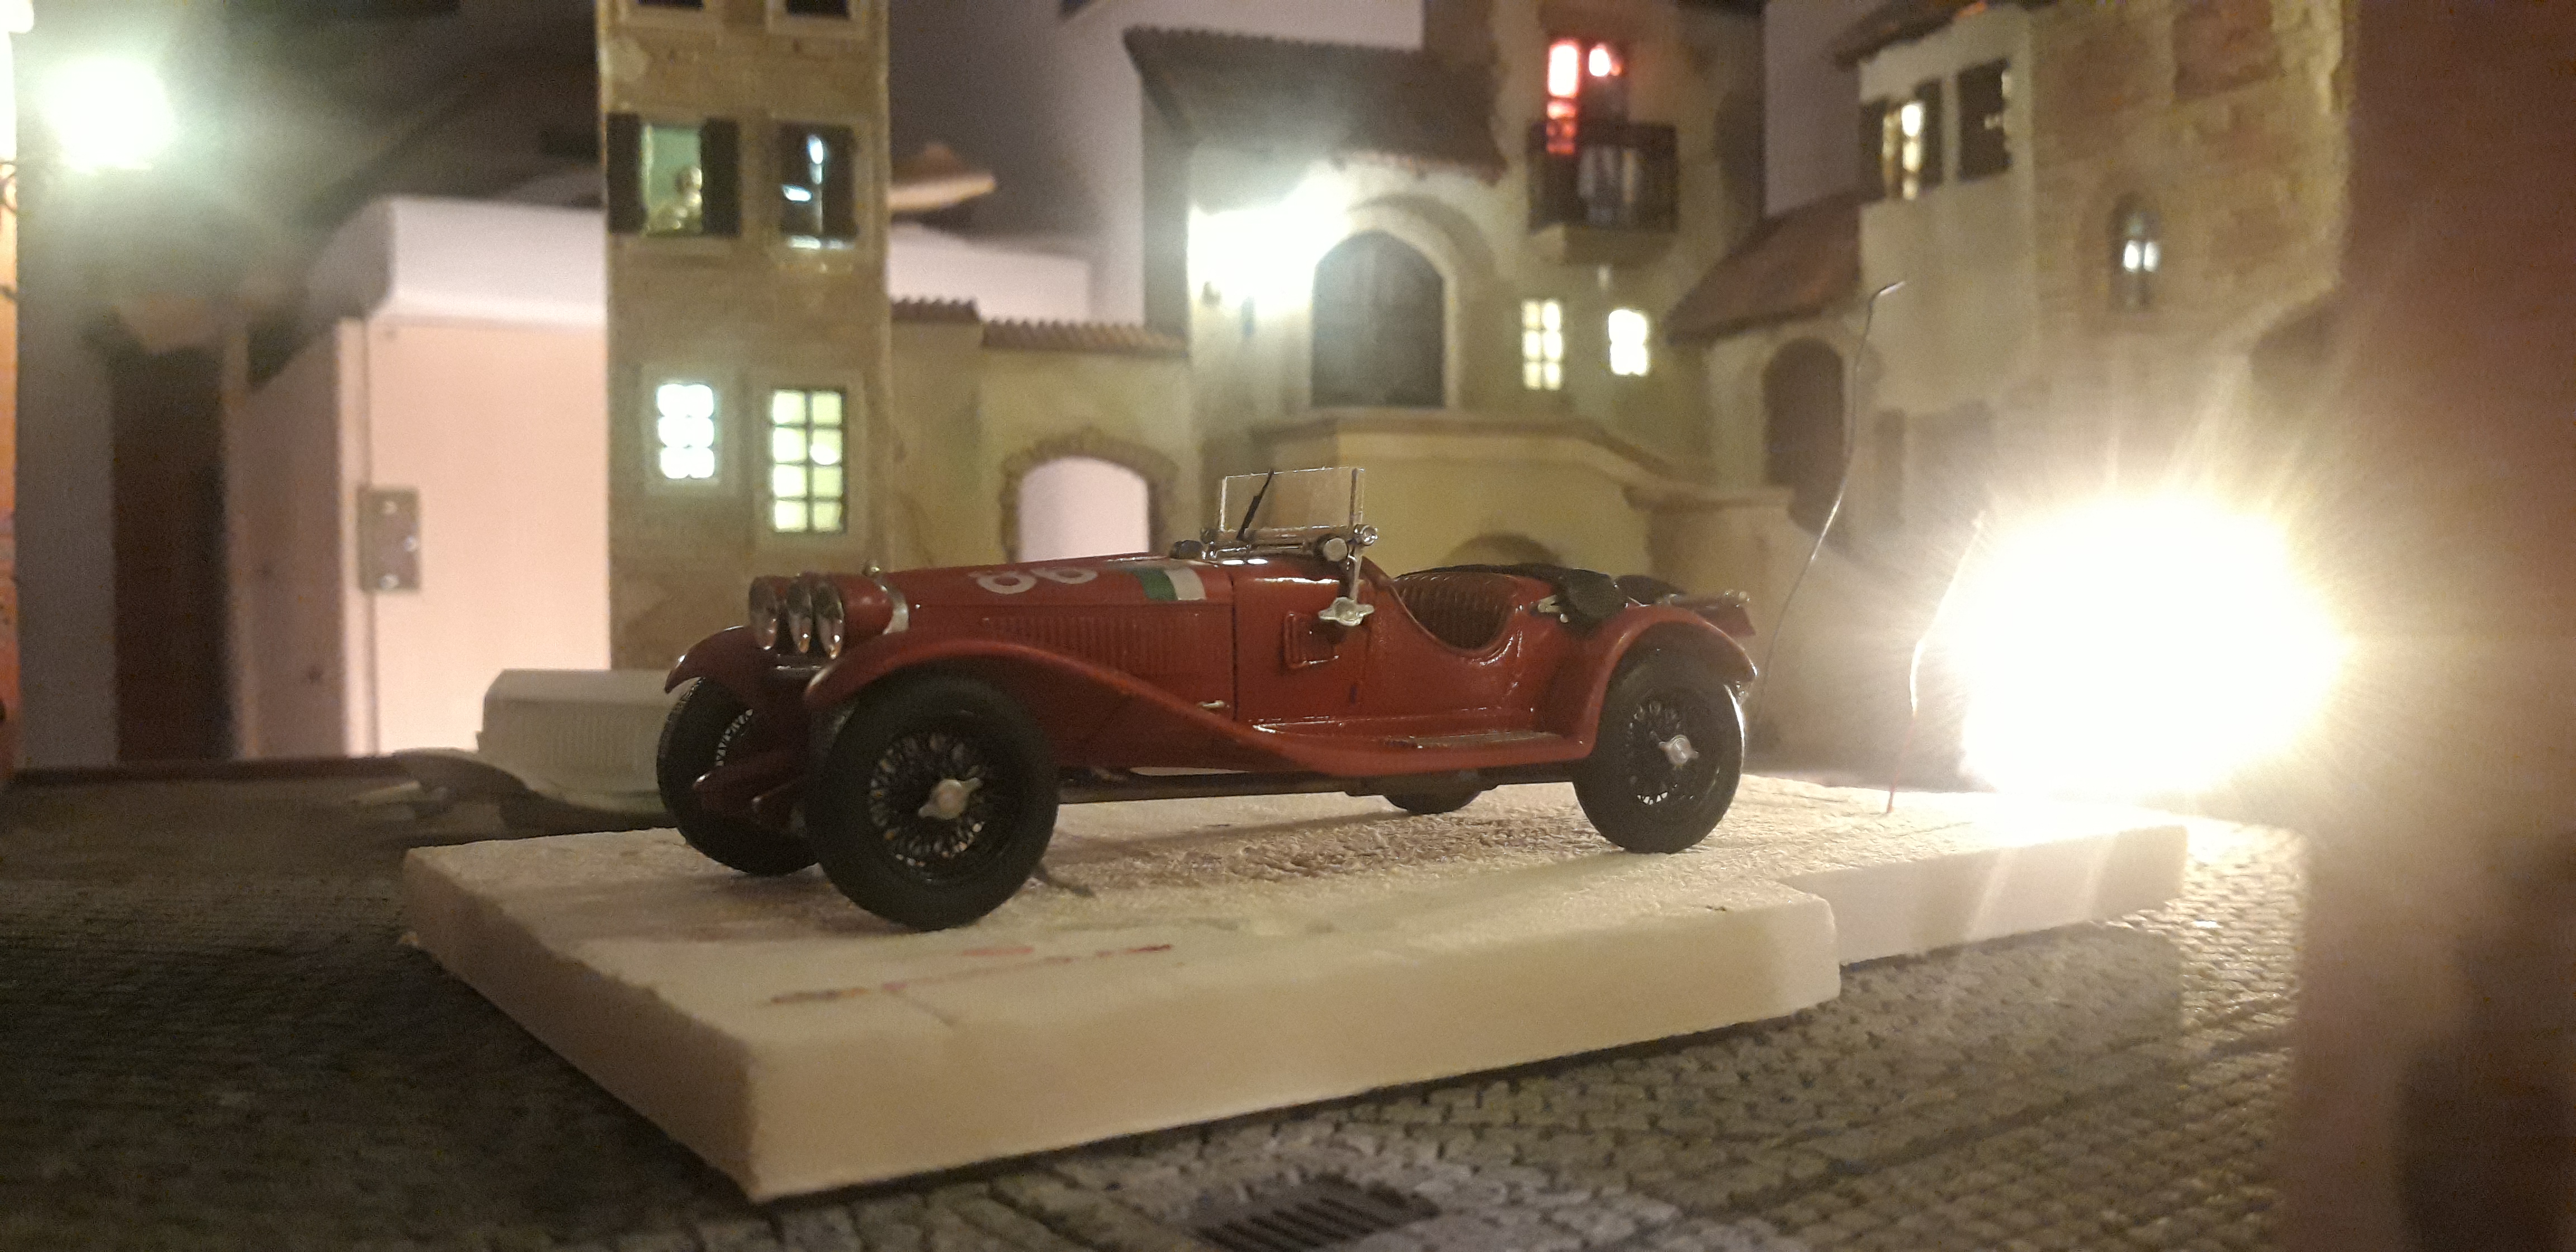
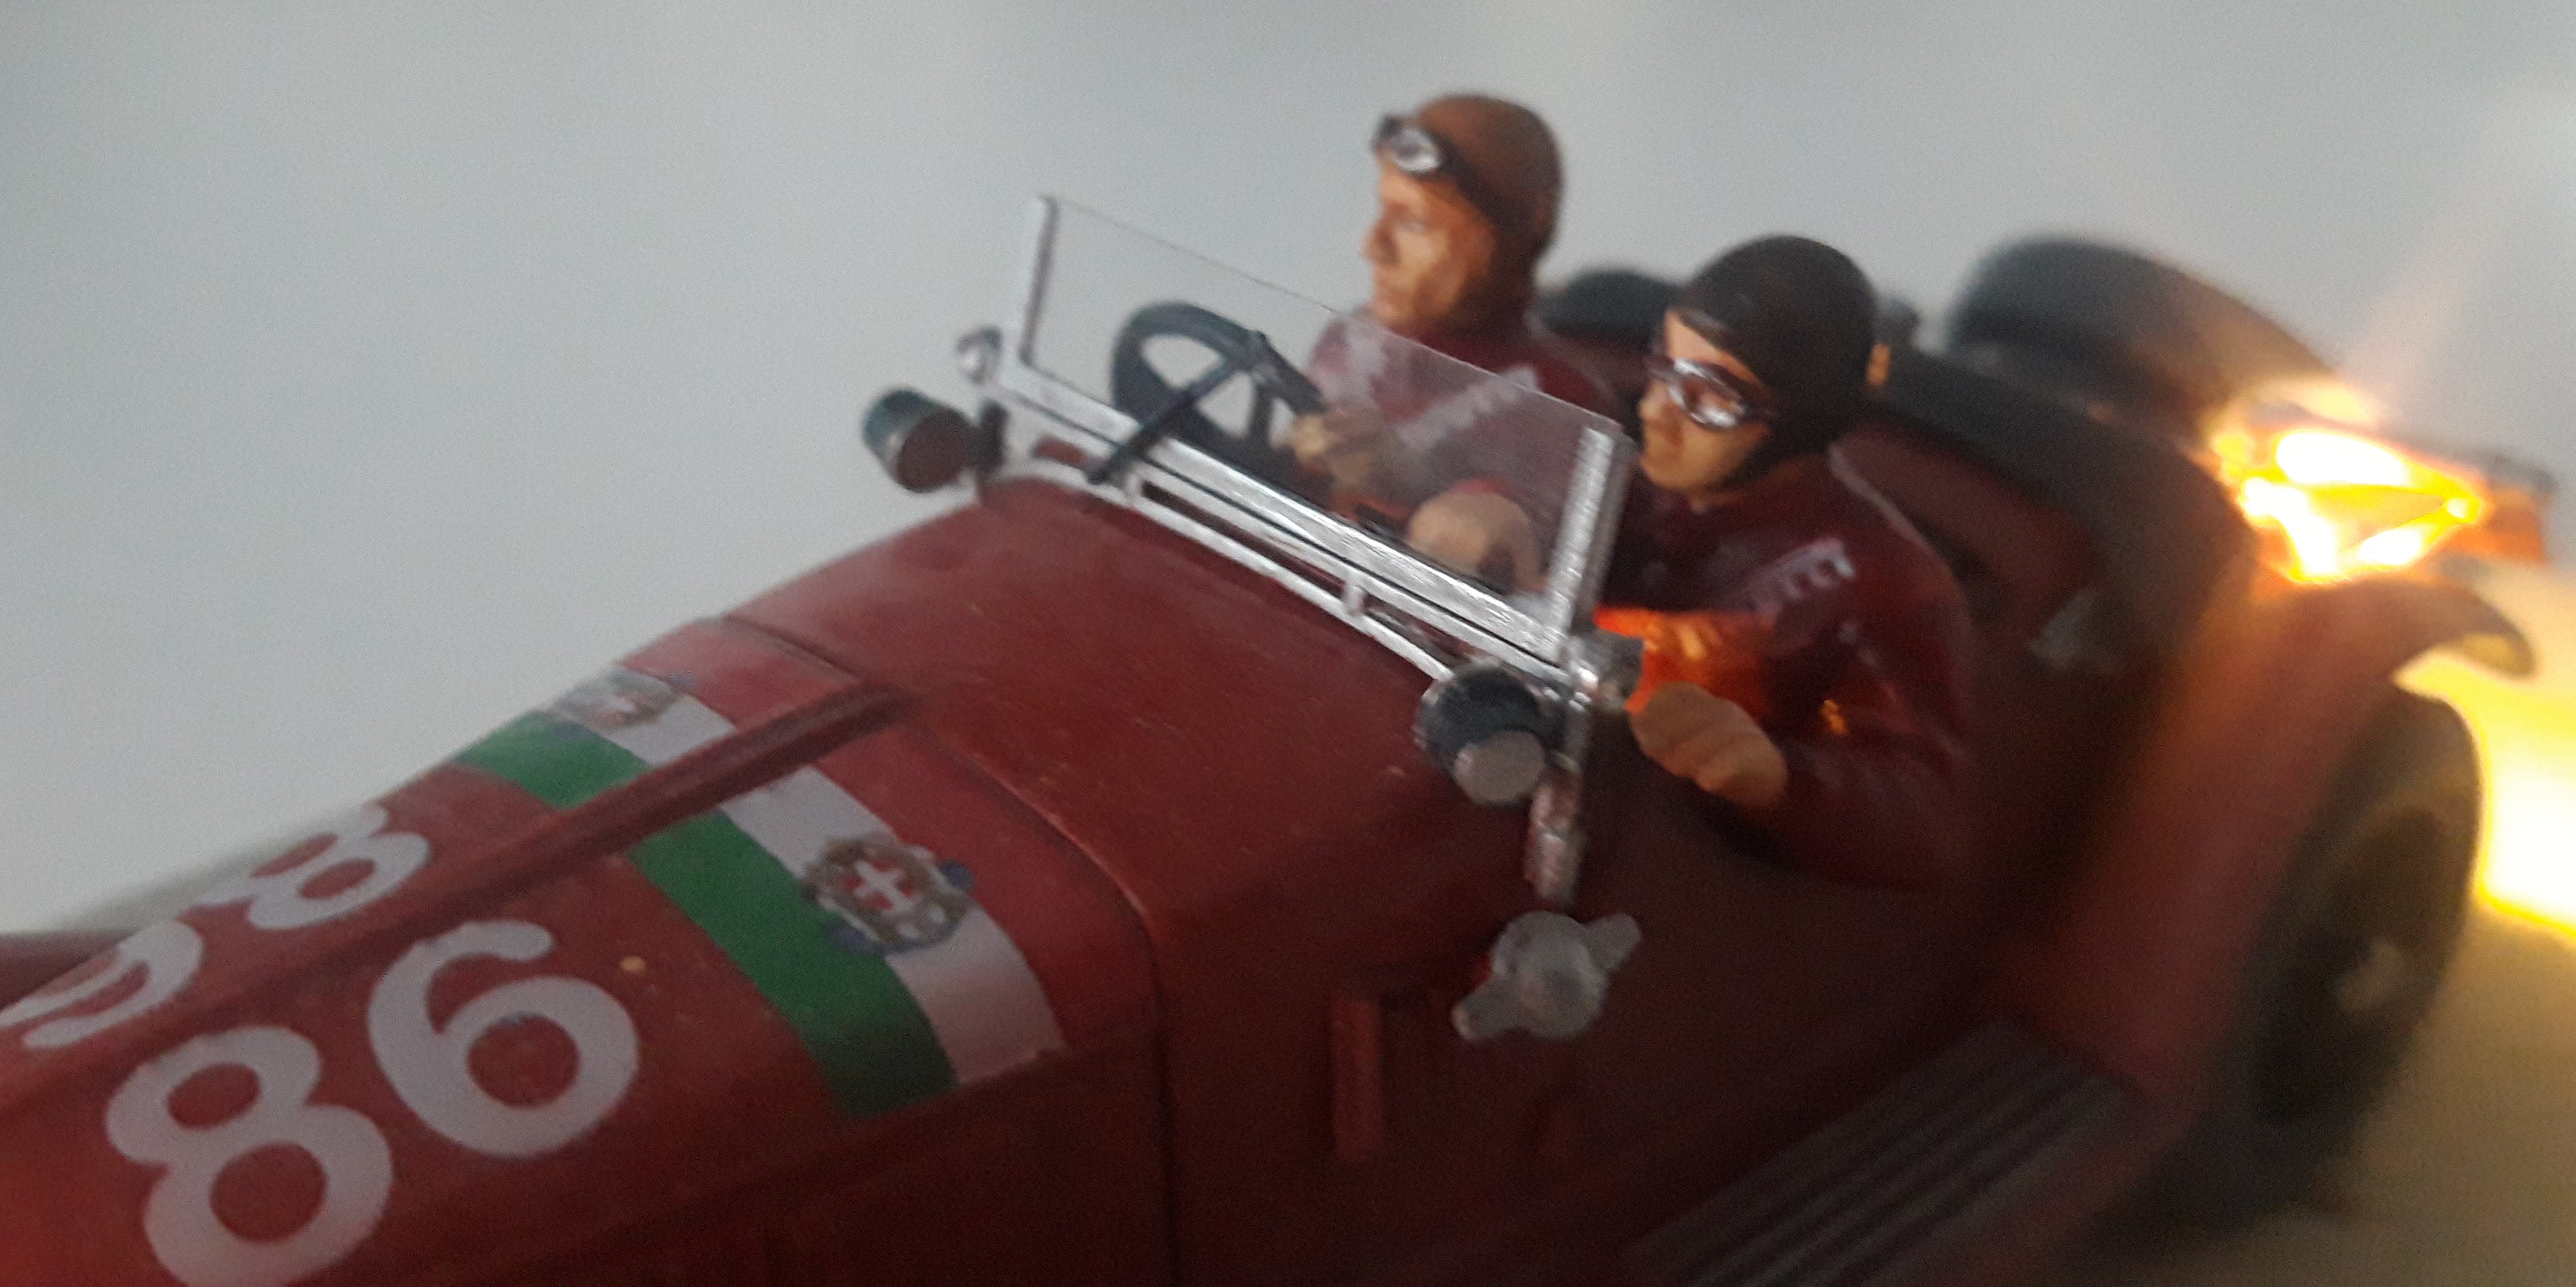
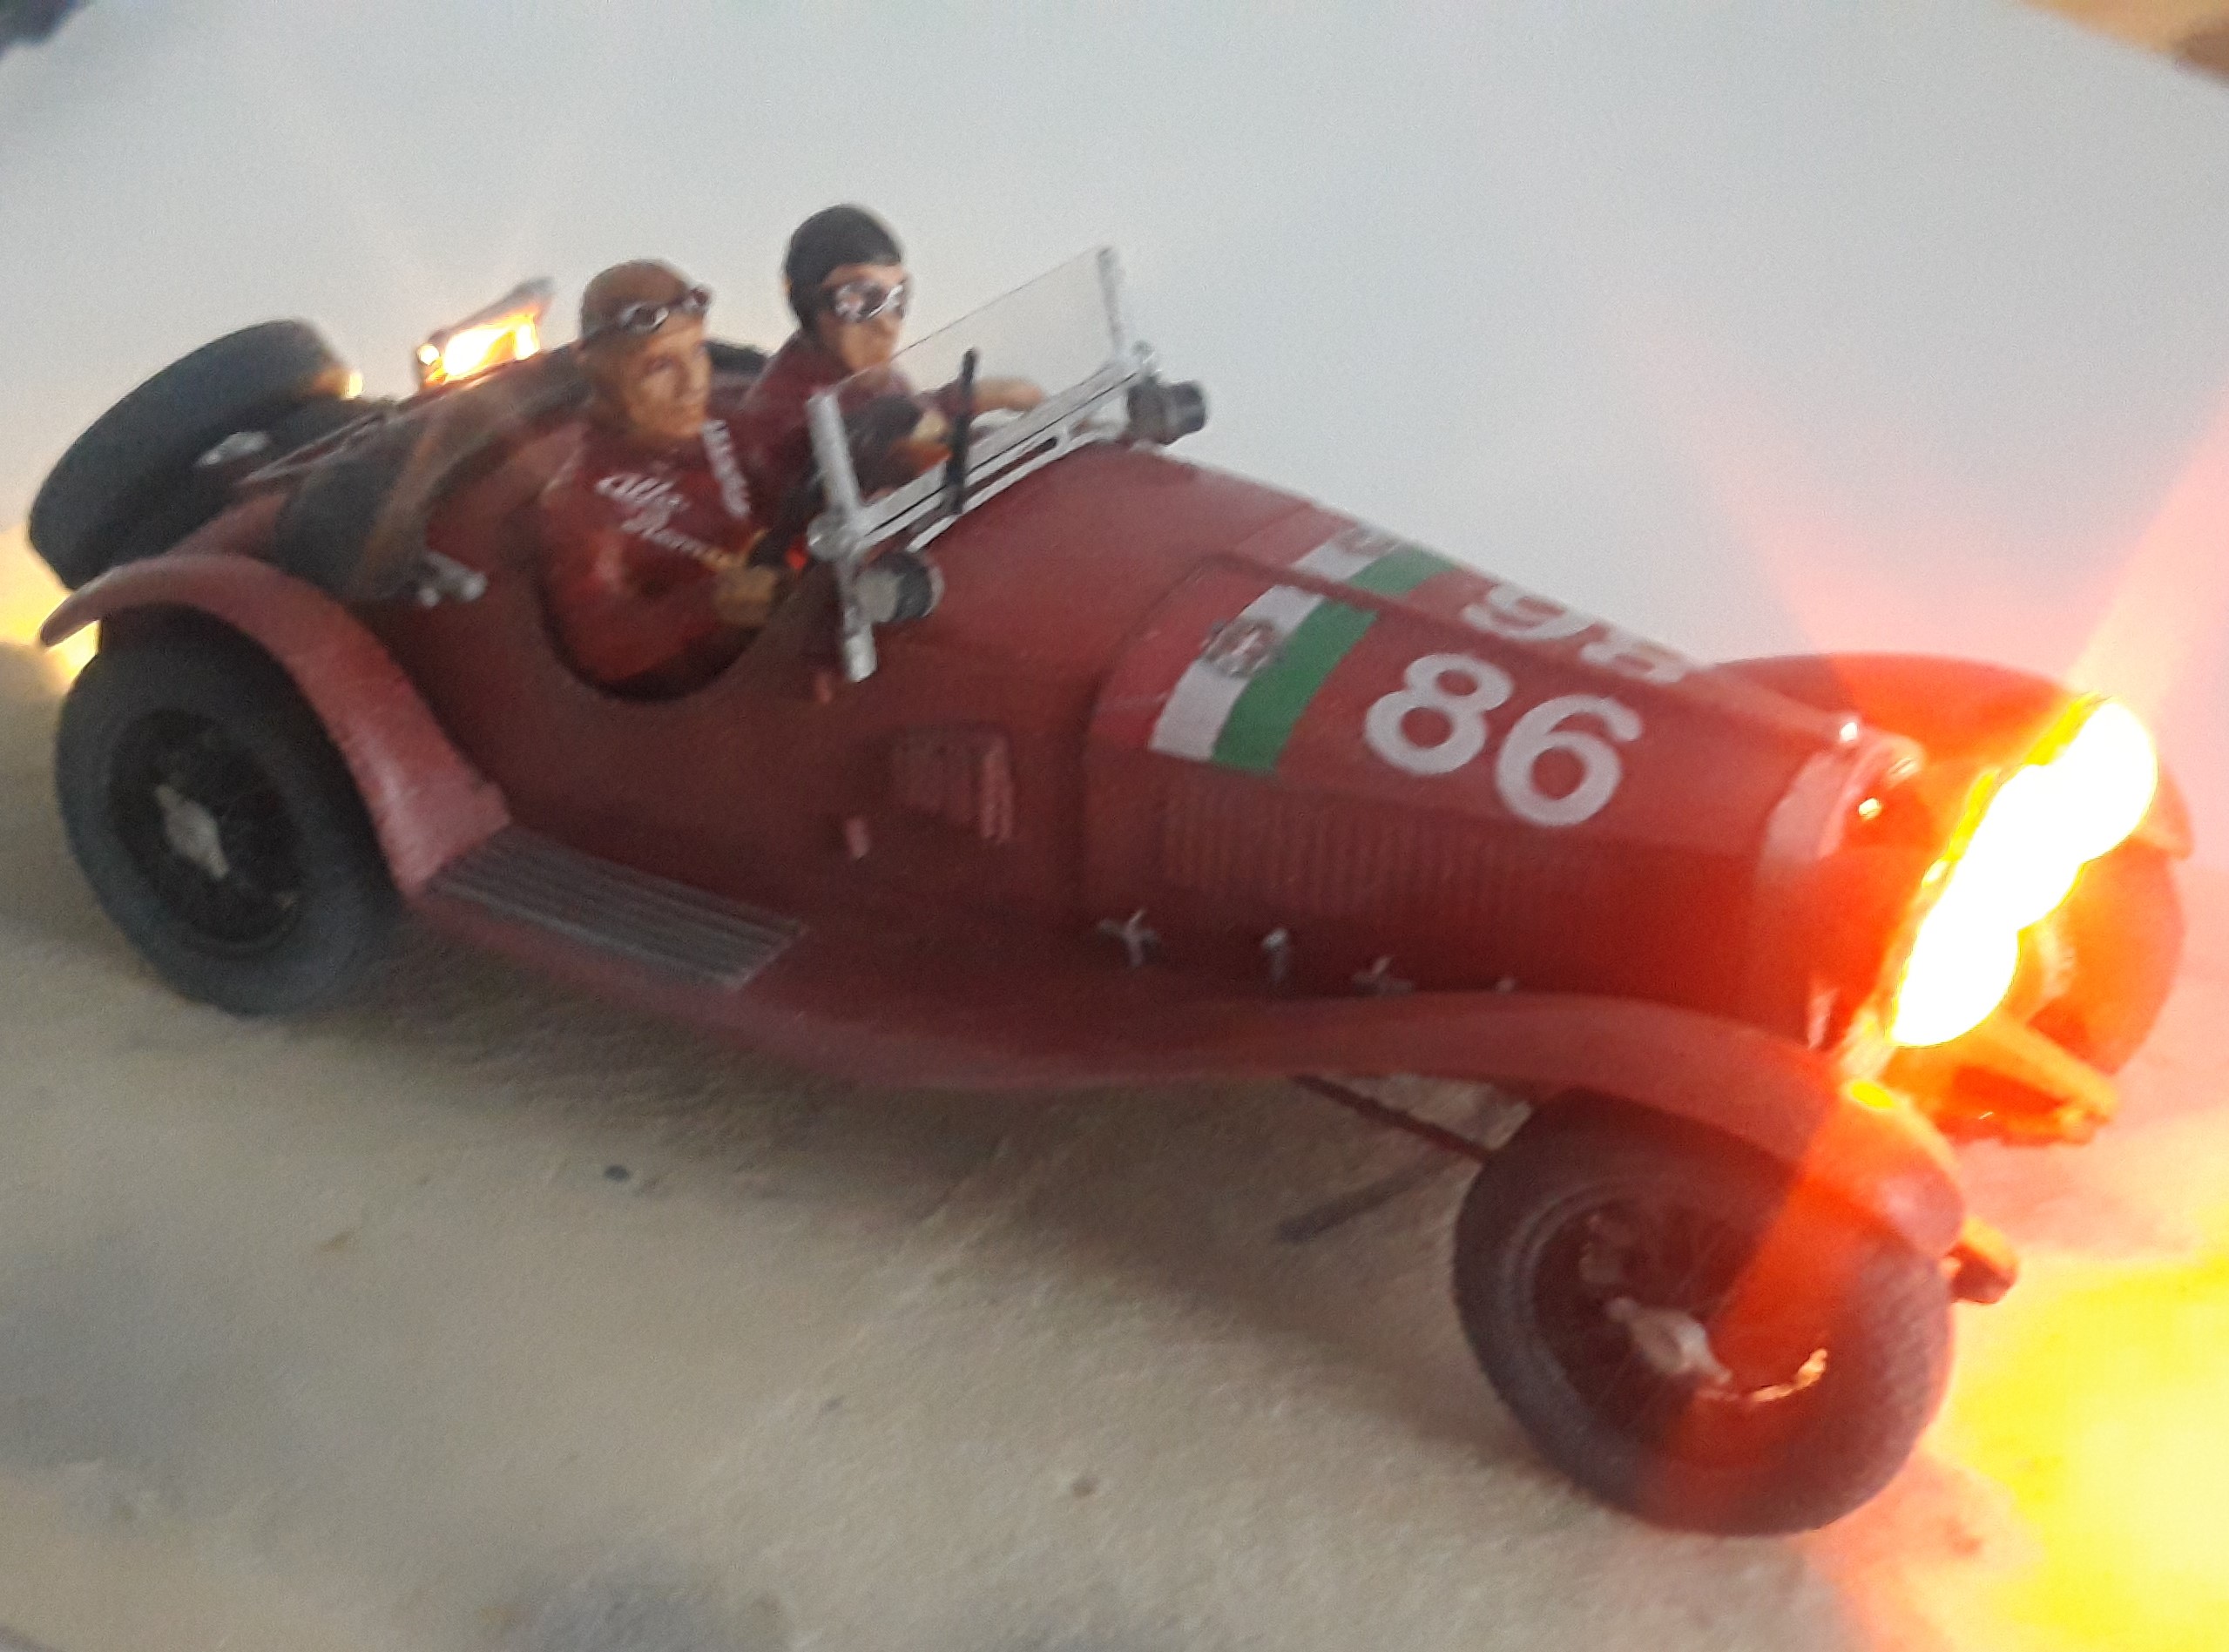
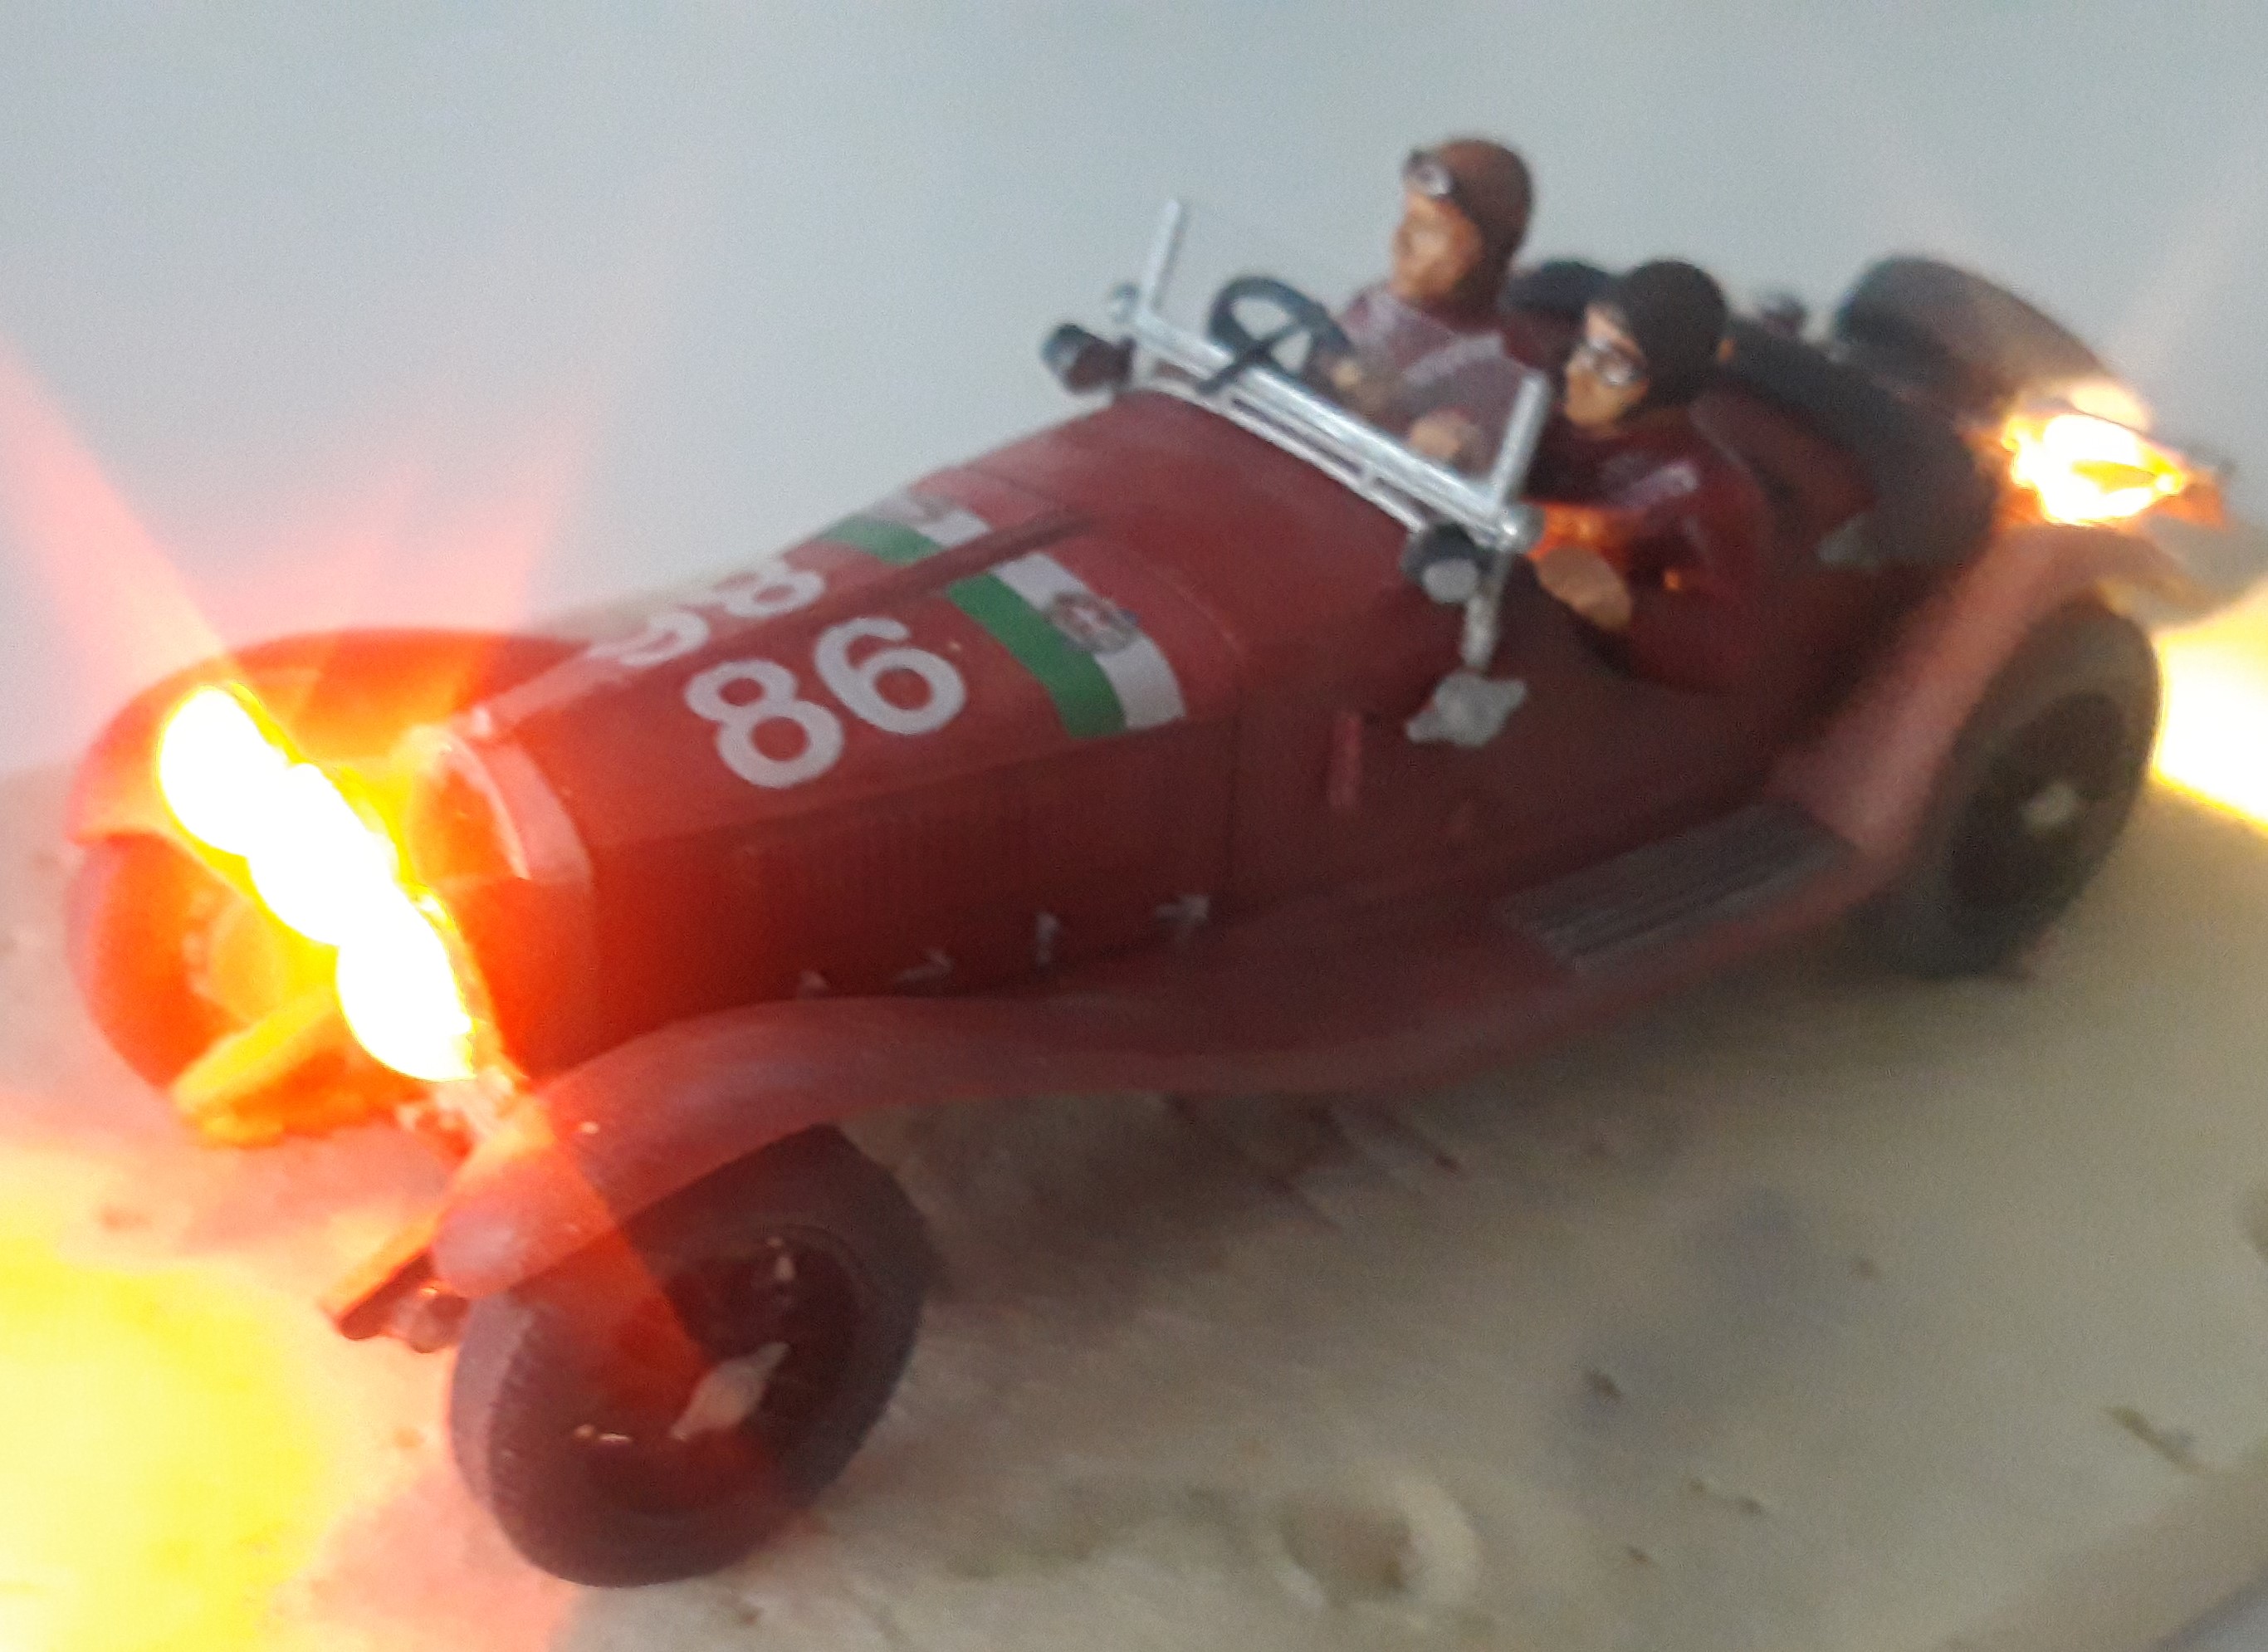
Hello Guys  Today i managed to get it ready for the diorama. The "Devils Eyes" where a real Challenge............an the folded Roof....build something like a Frame with thin Wire and added self Adheshive Plaster.
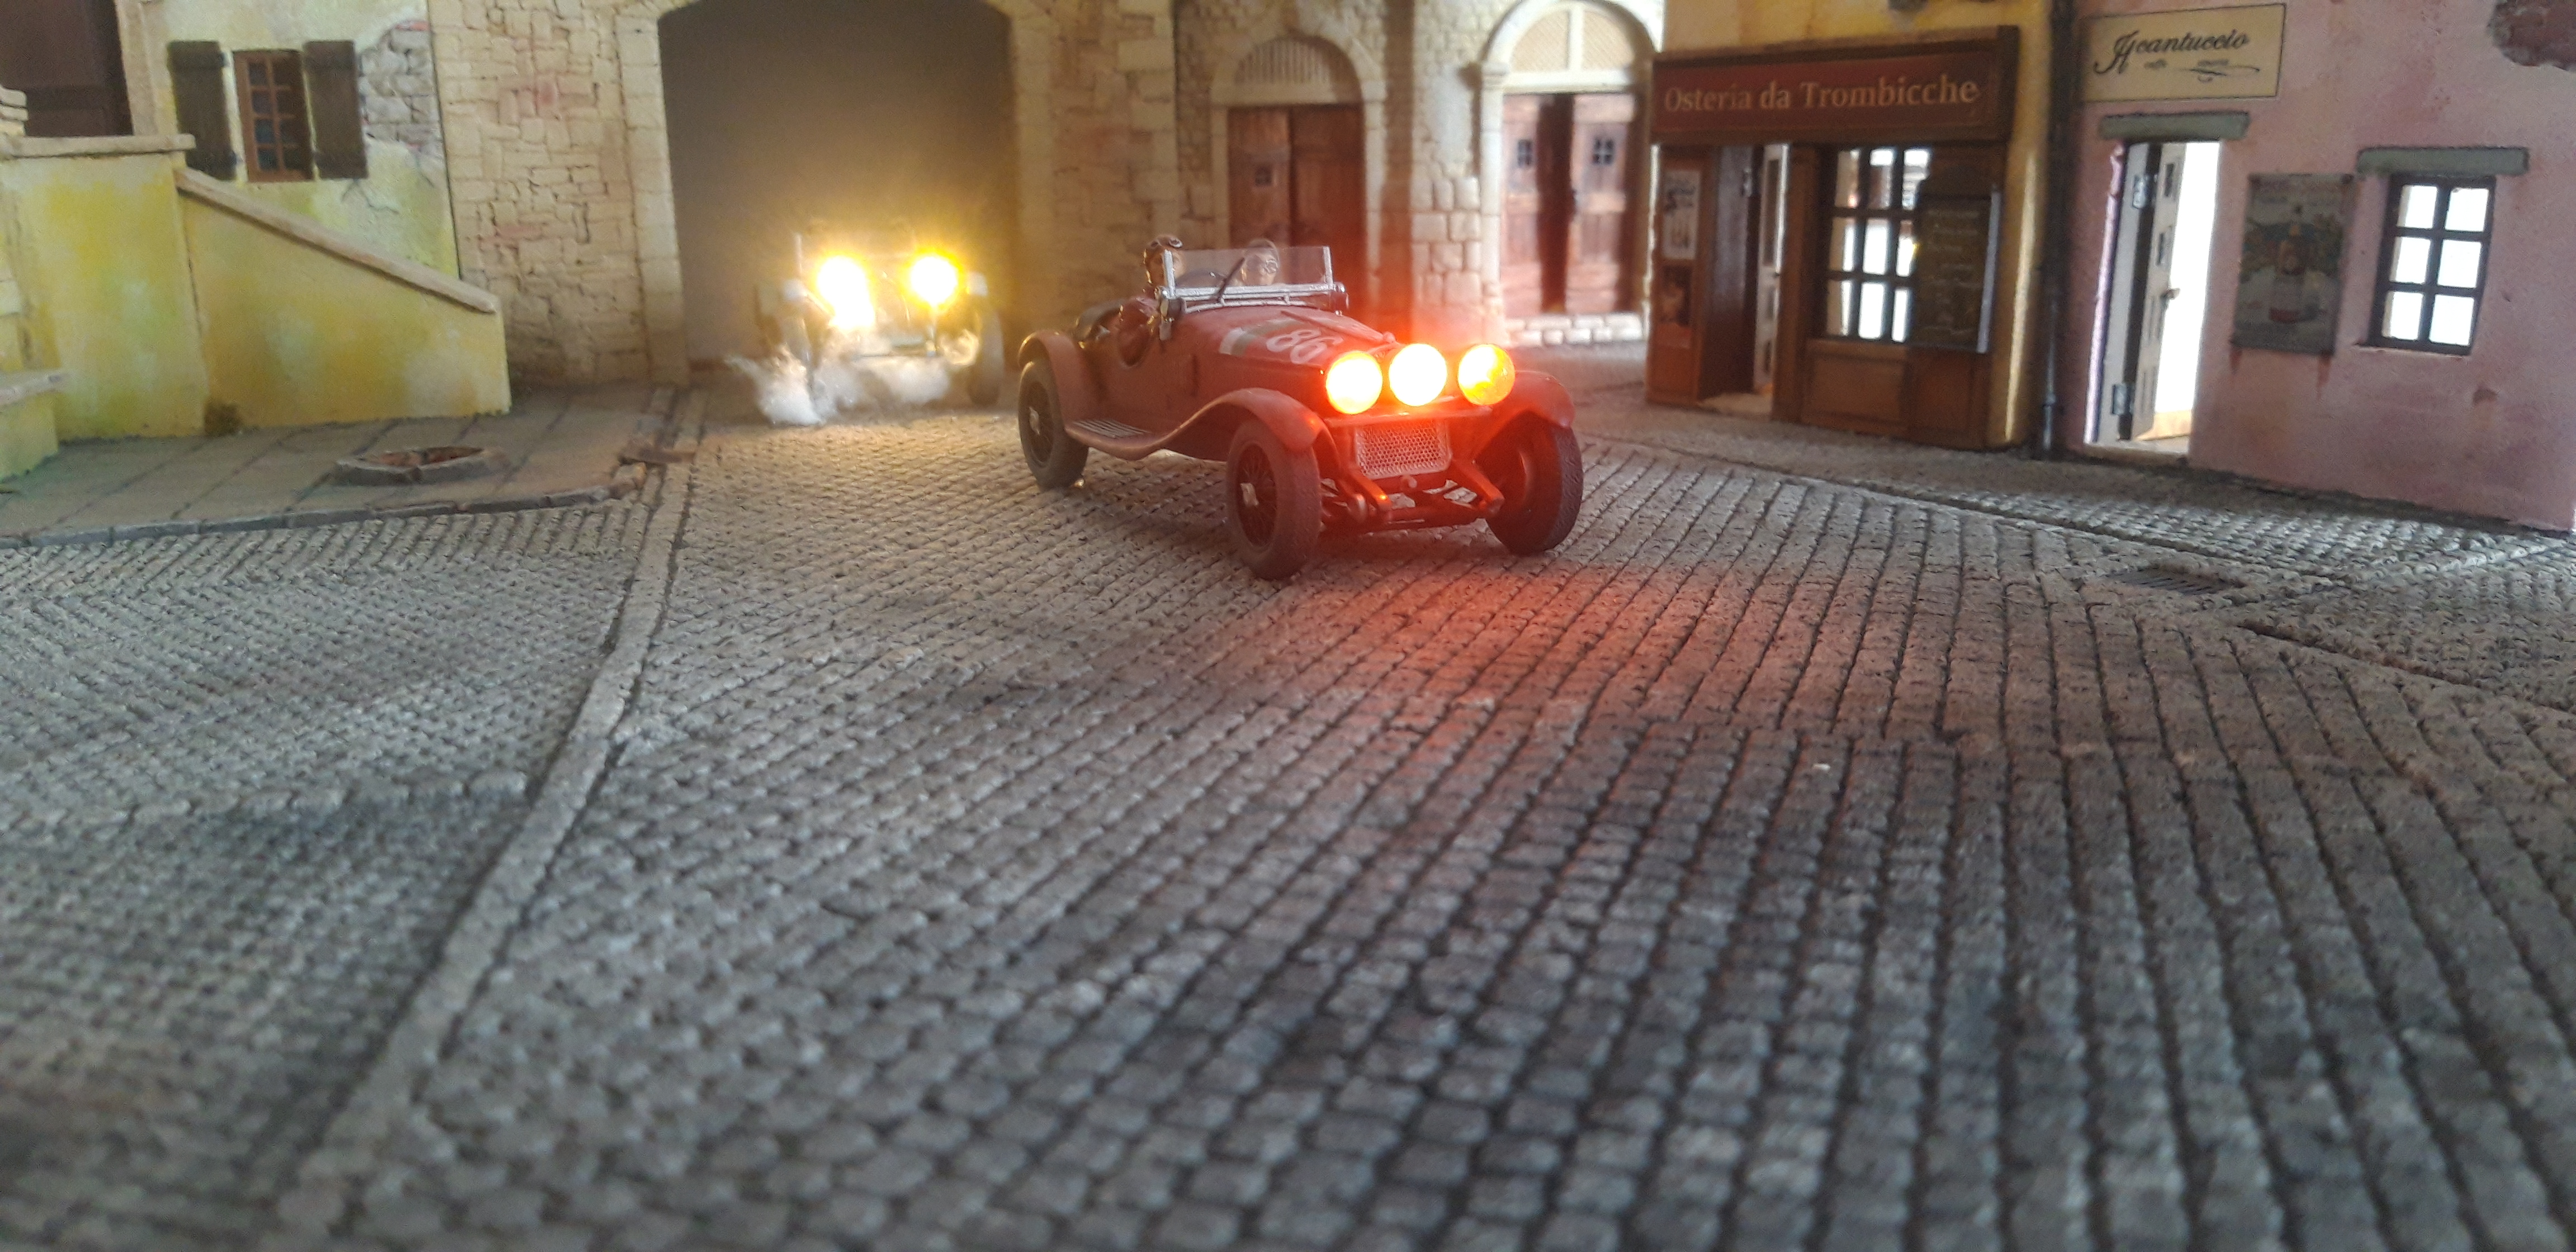
First Try how it Looks on the Street....
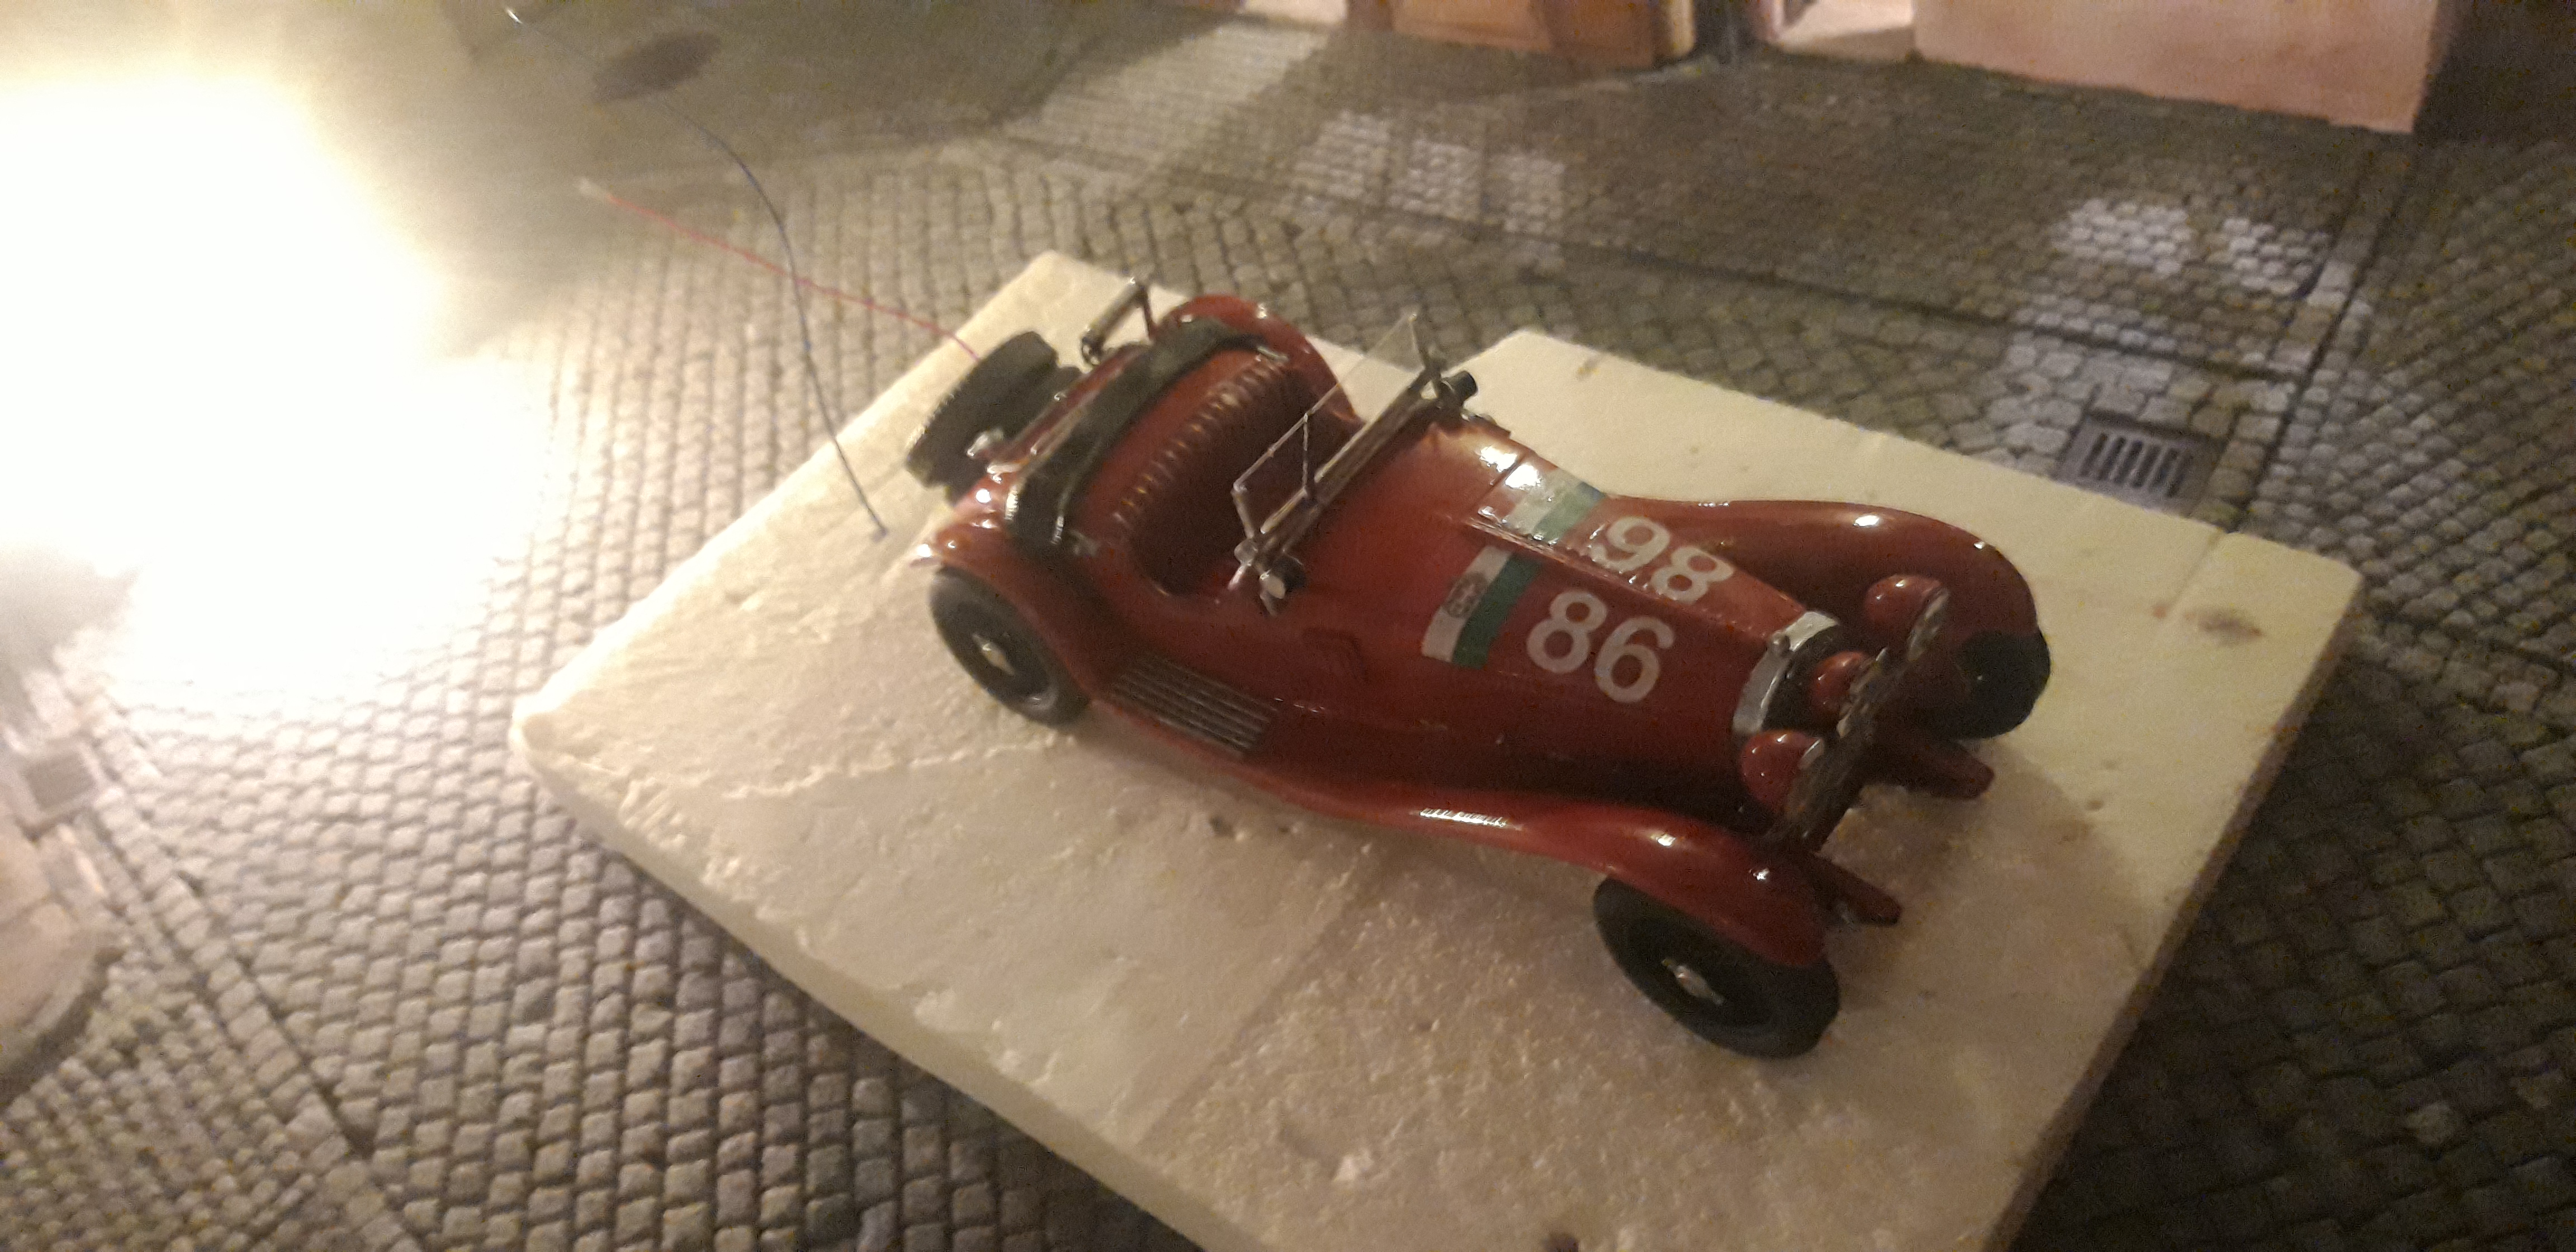
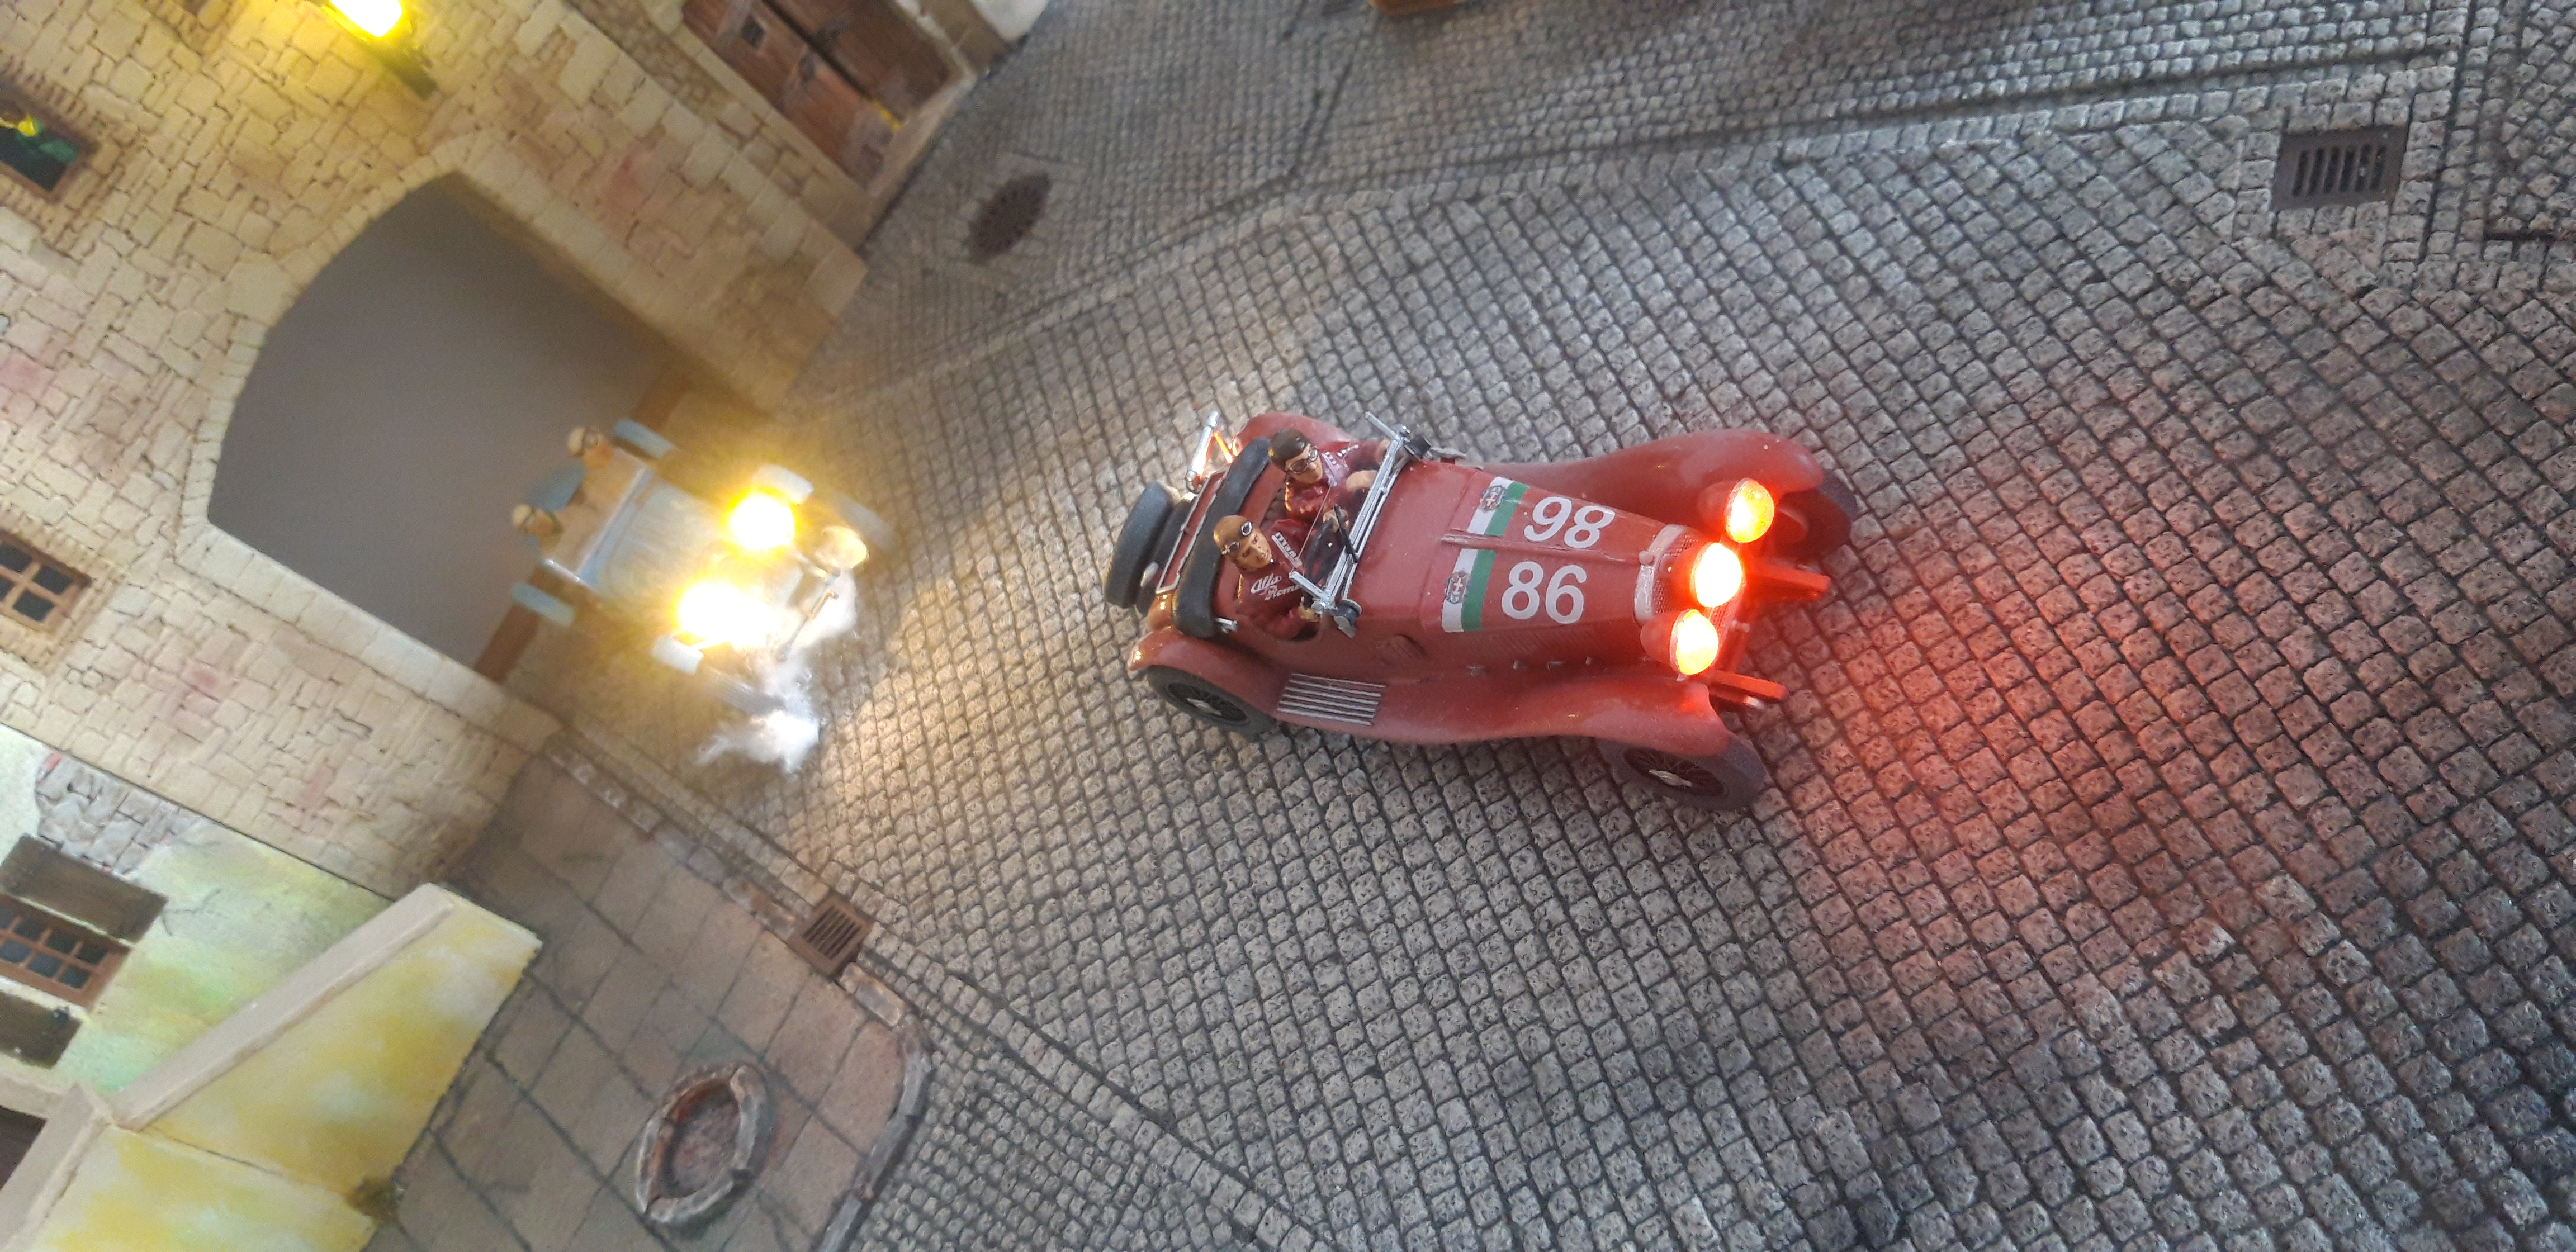
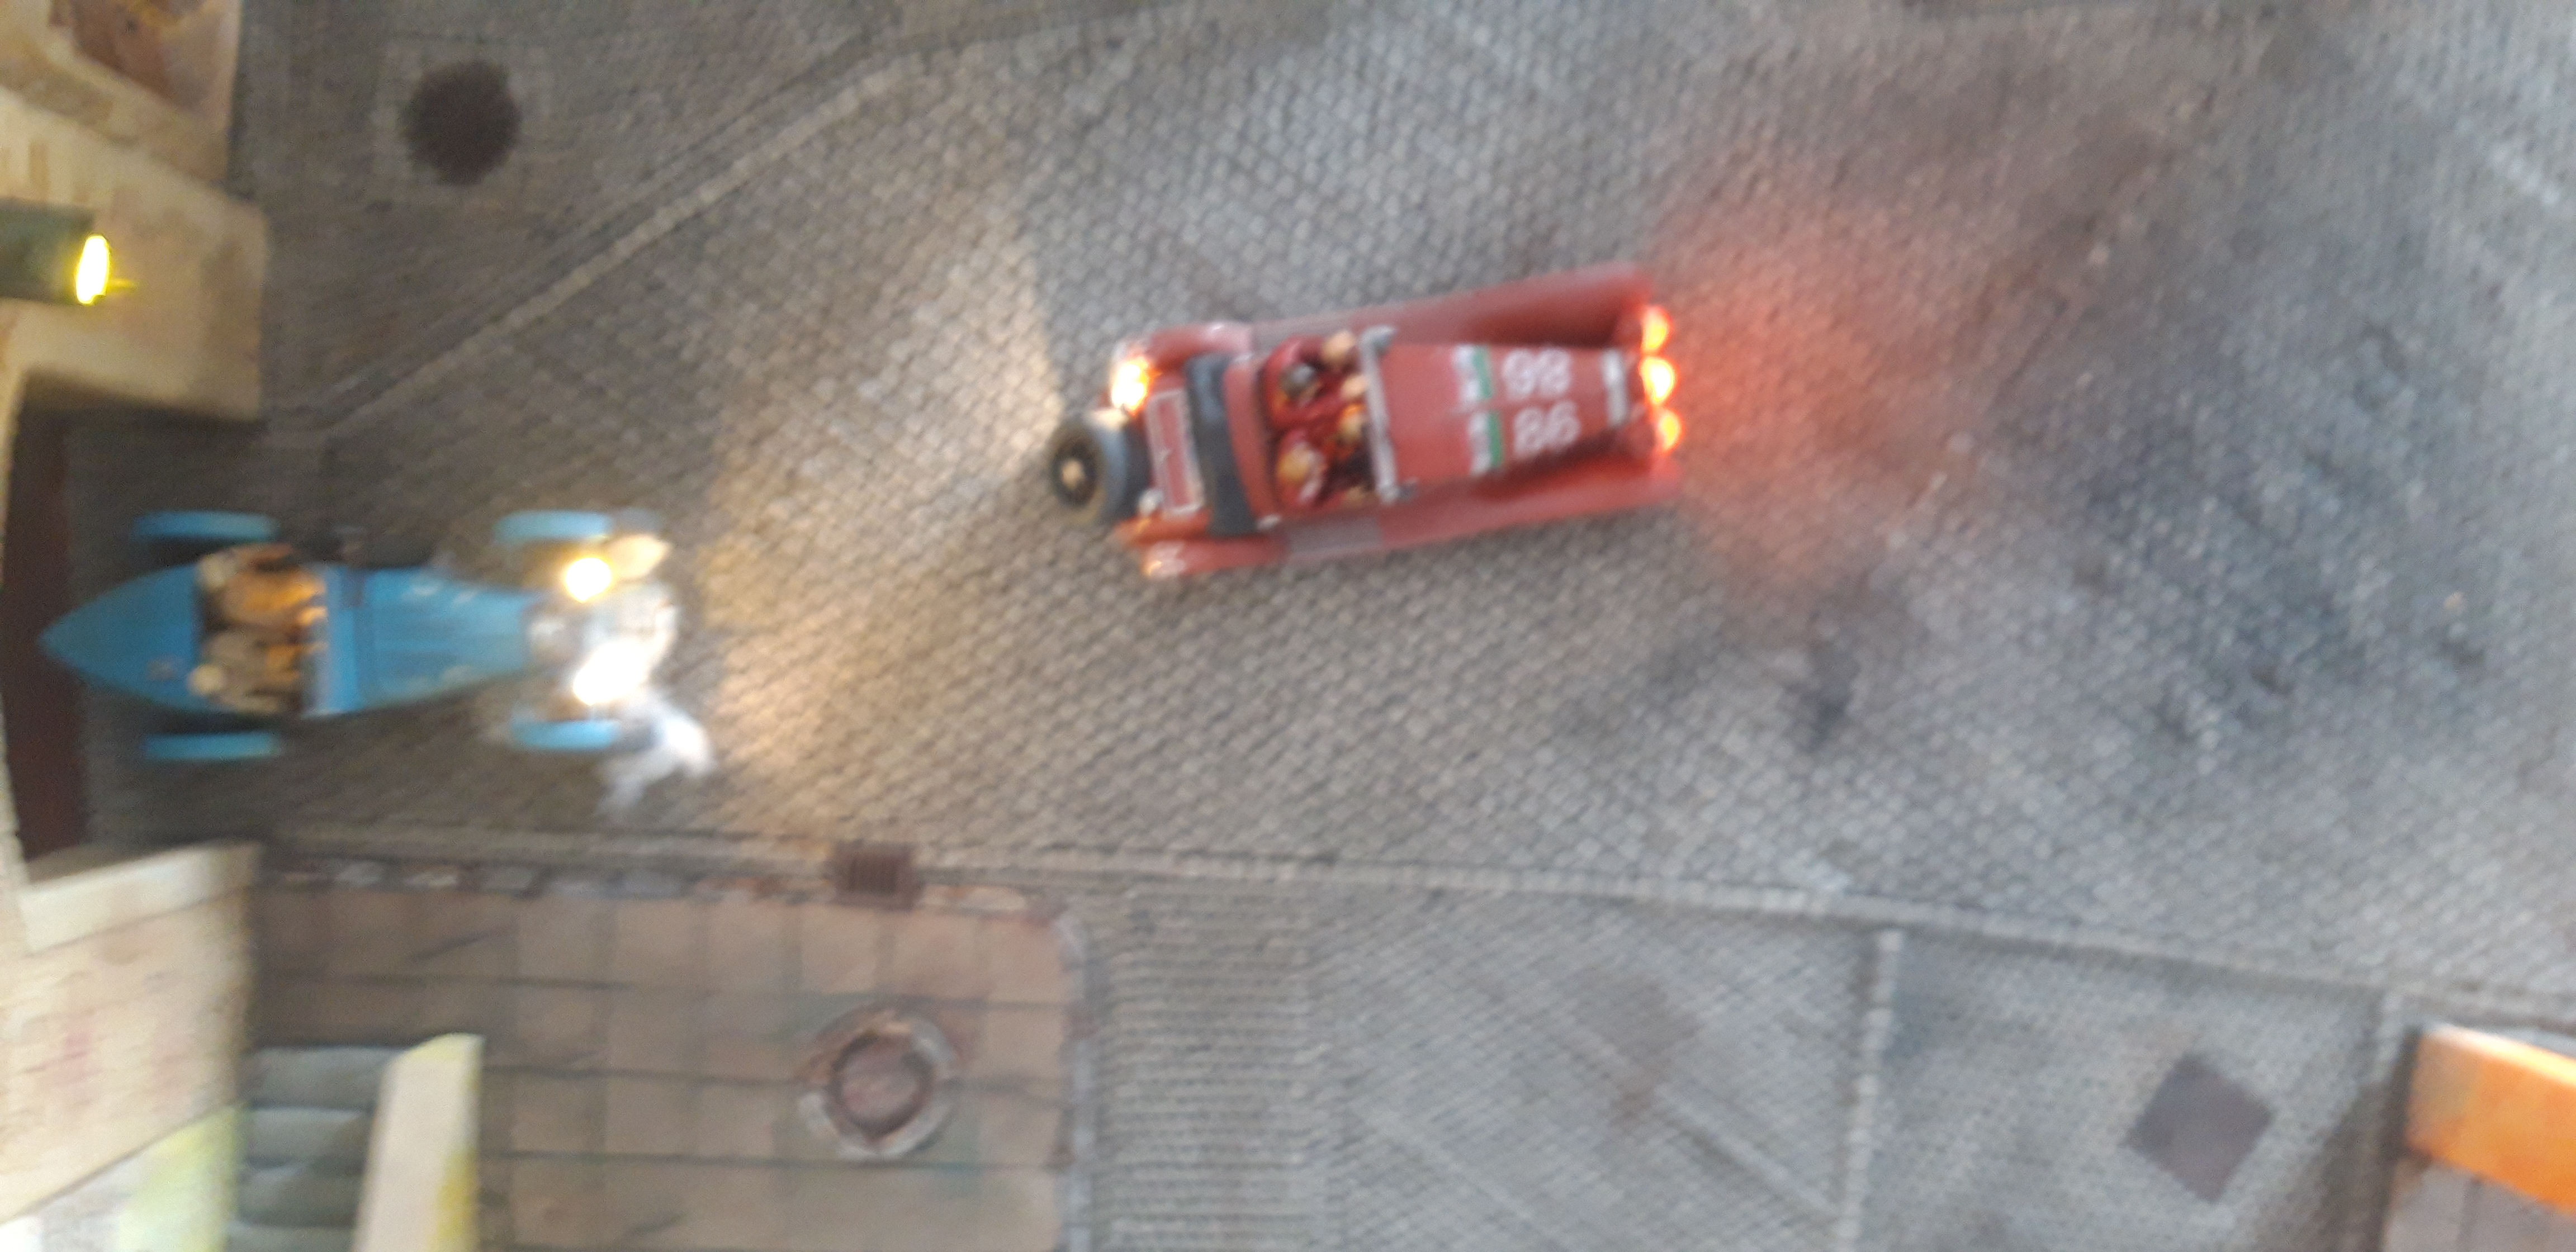
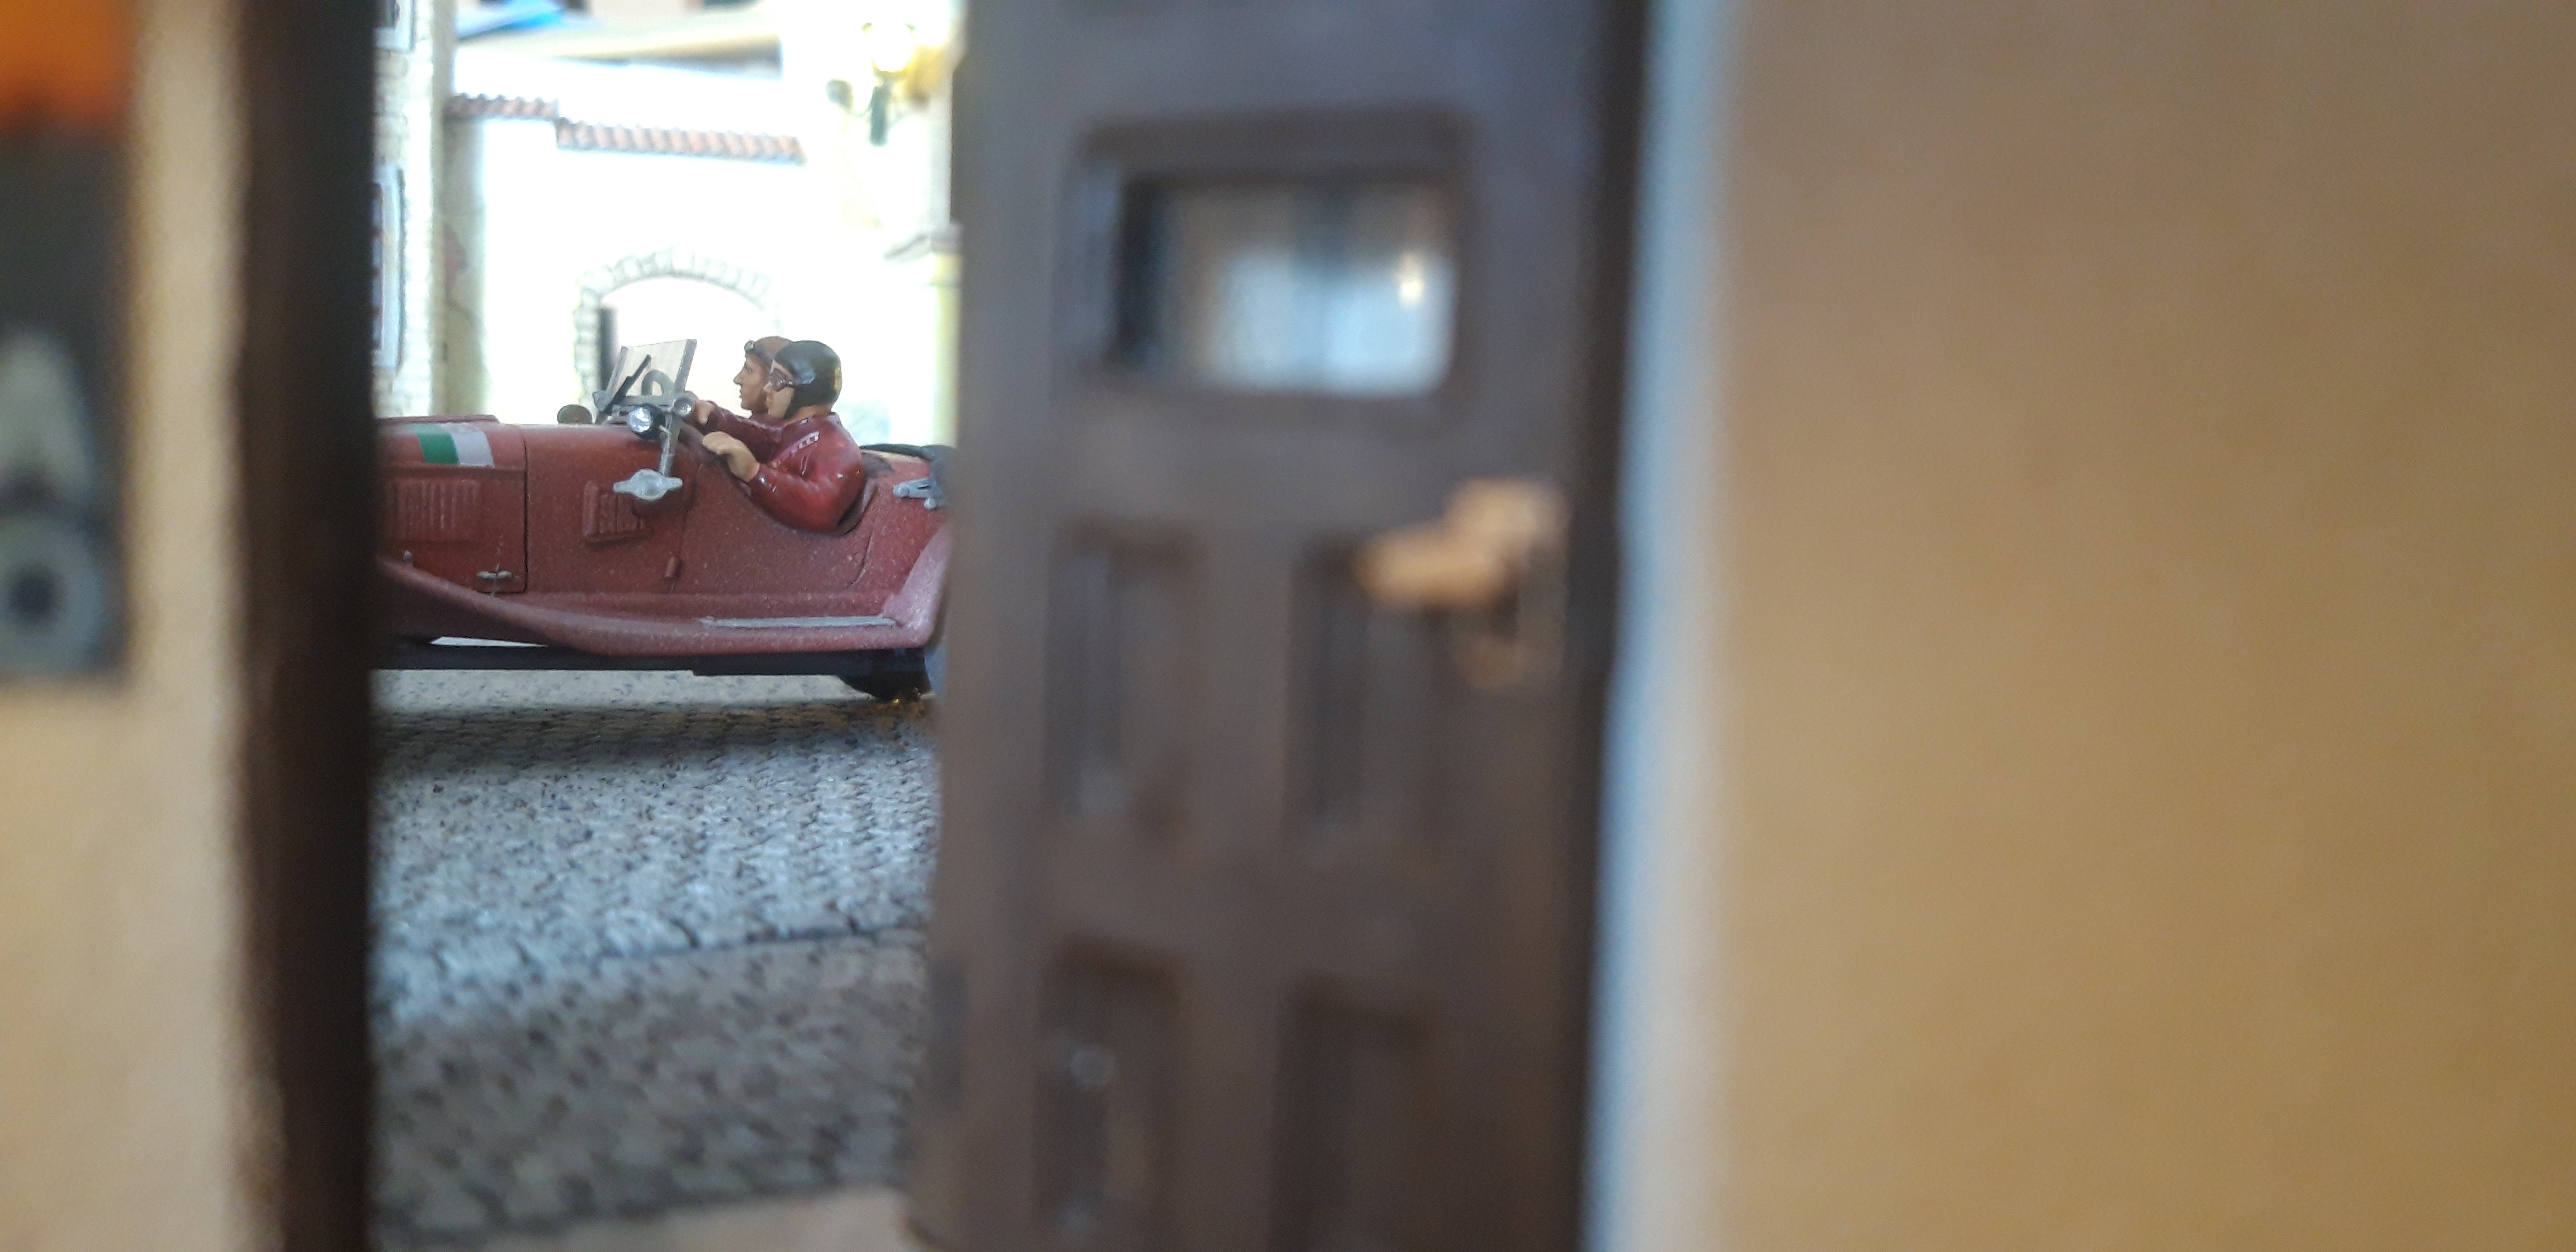
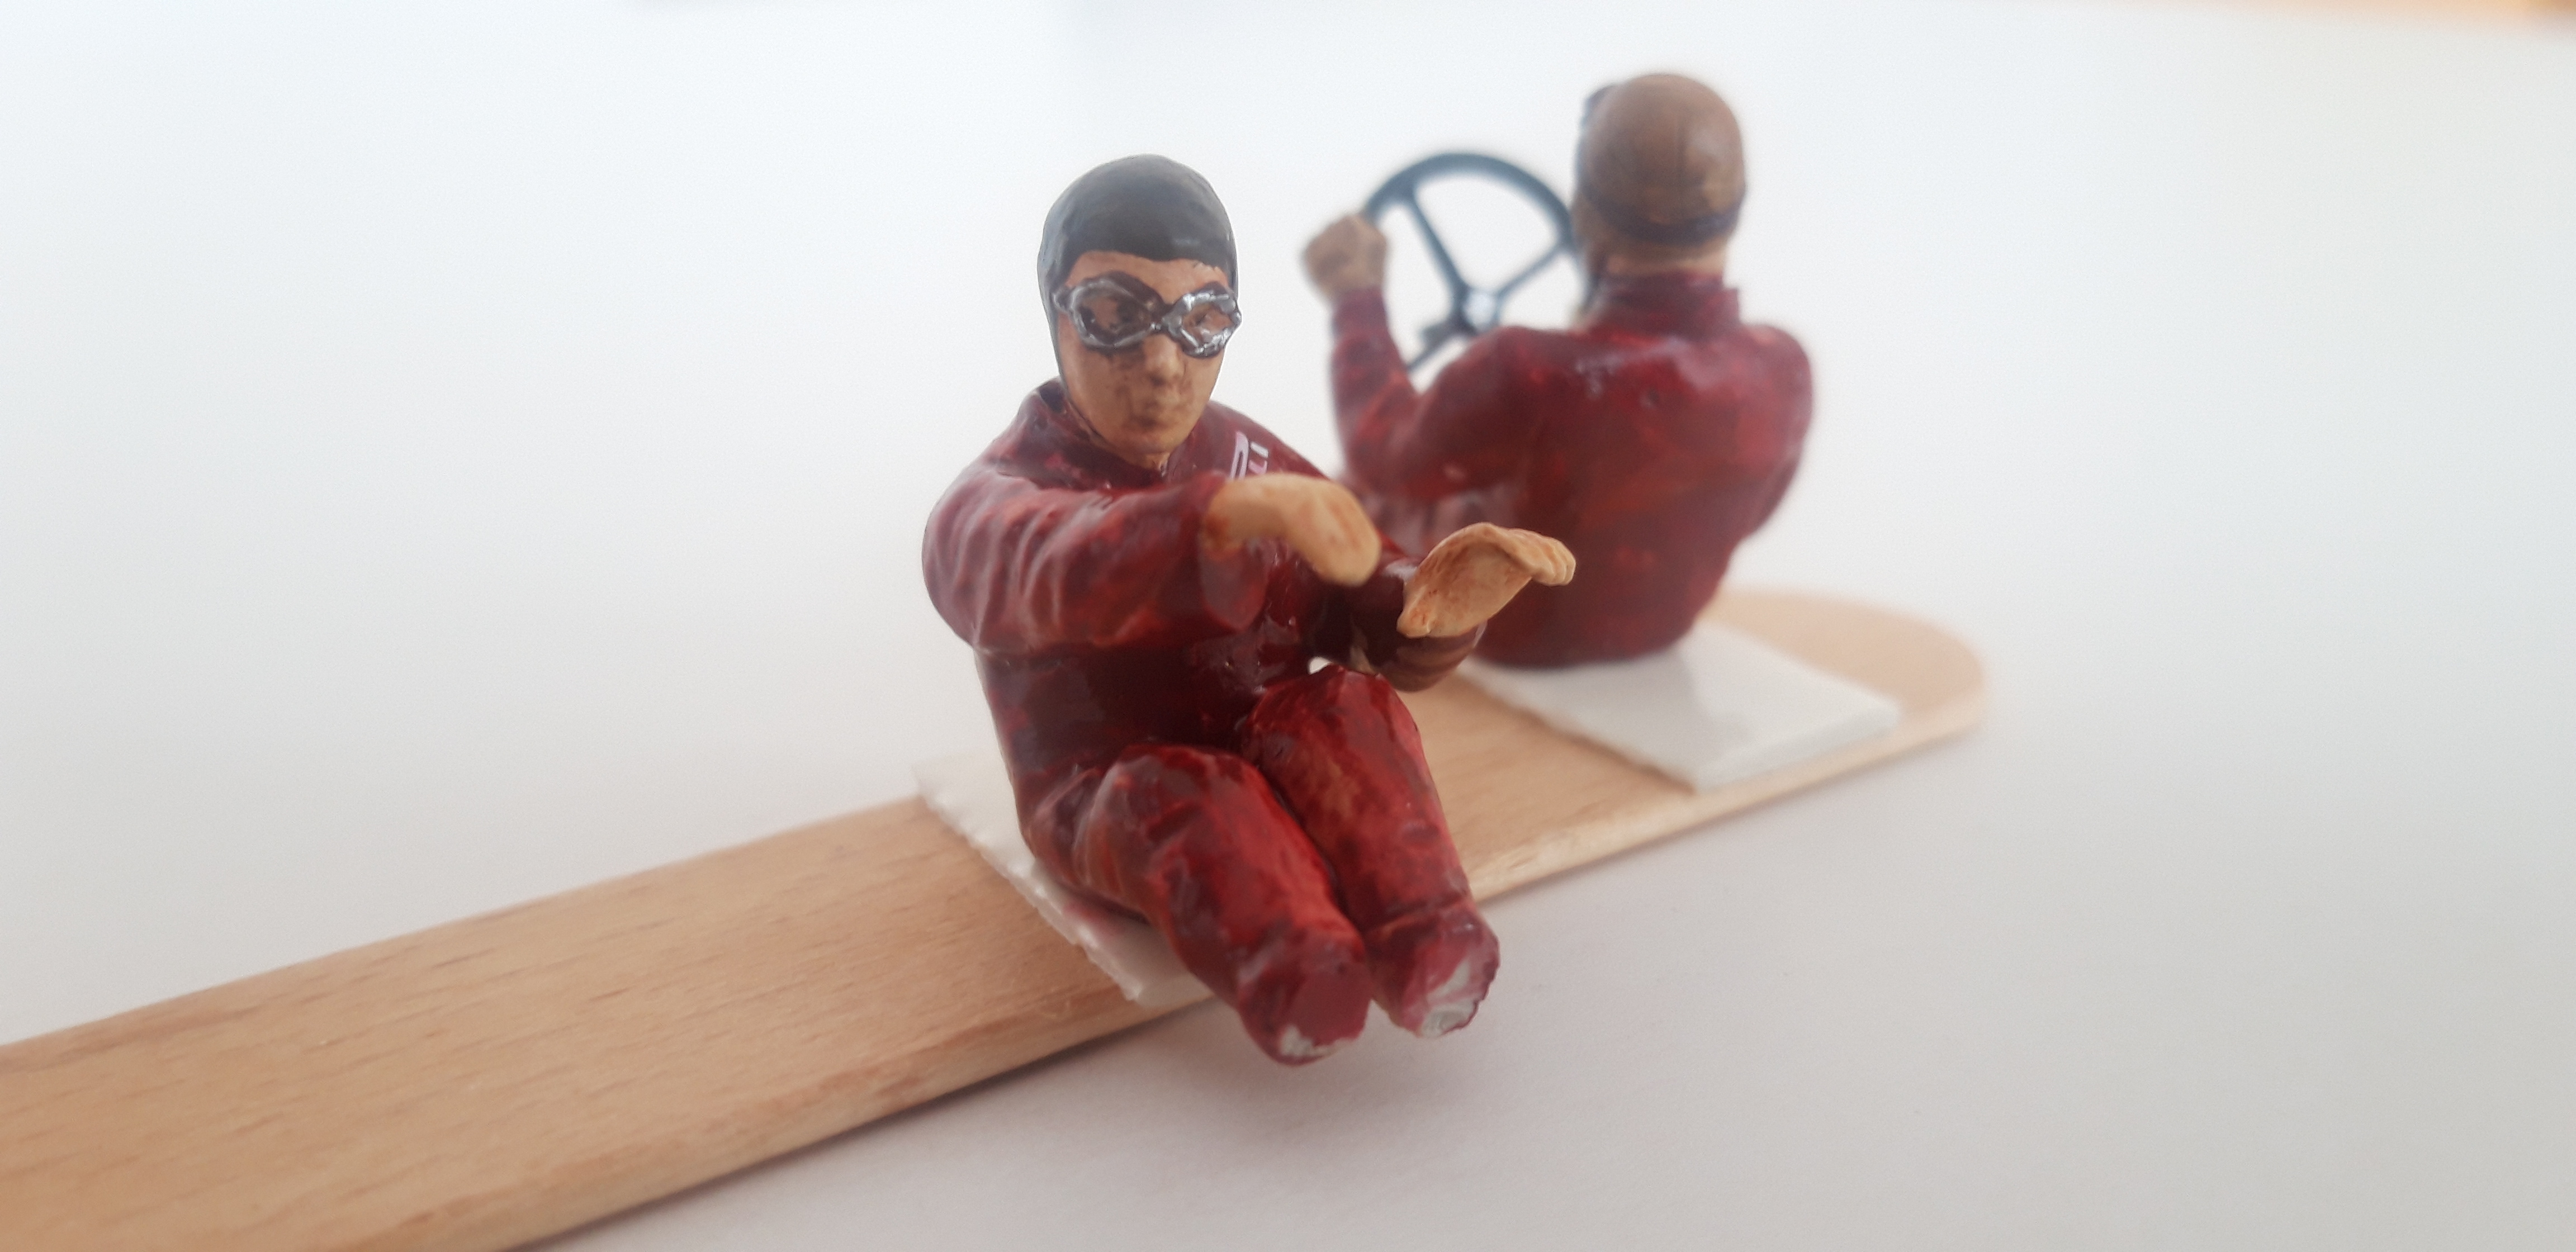
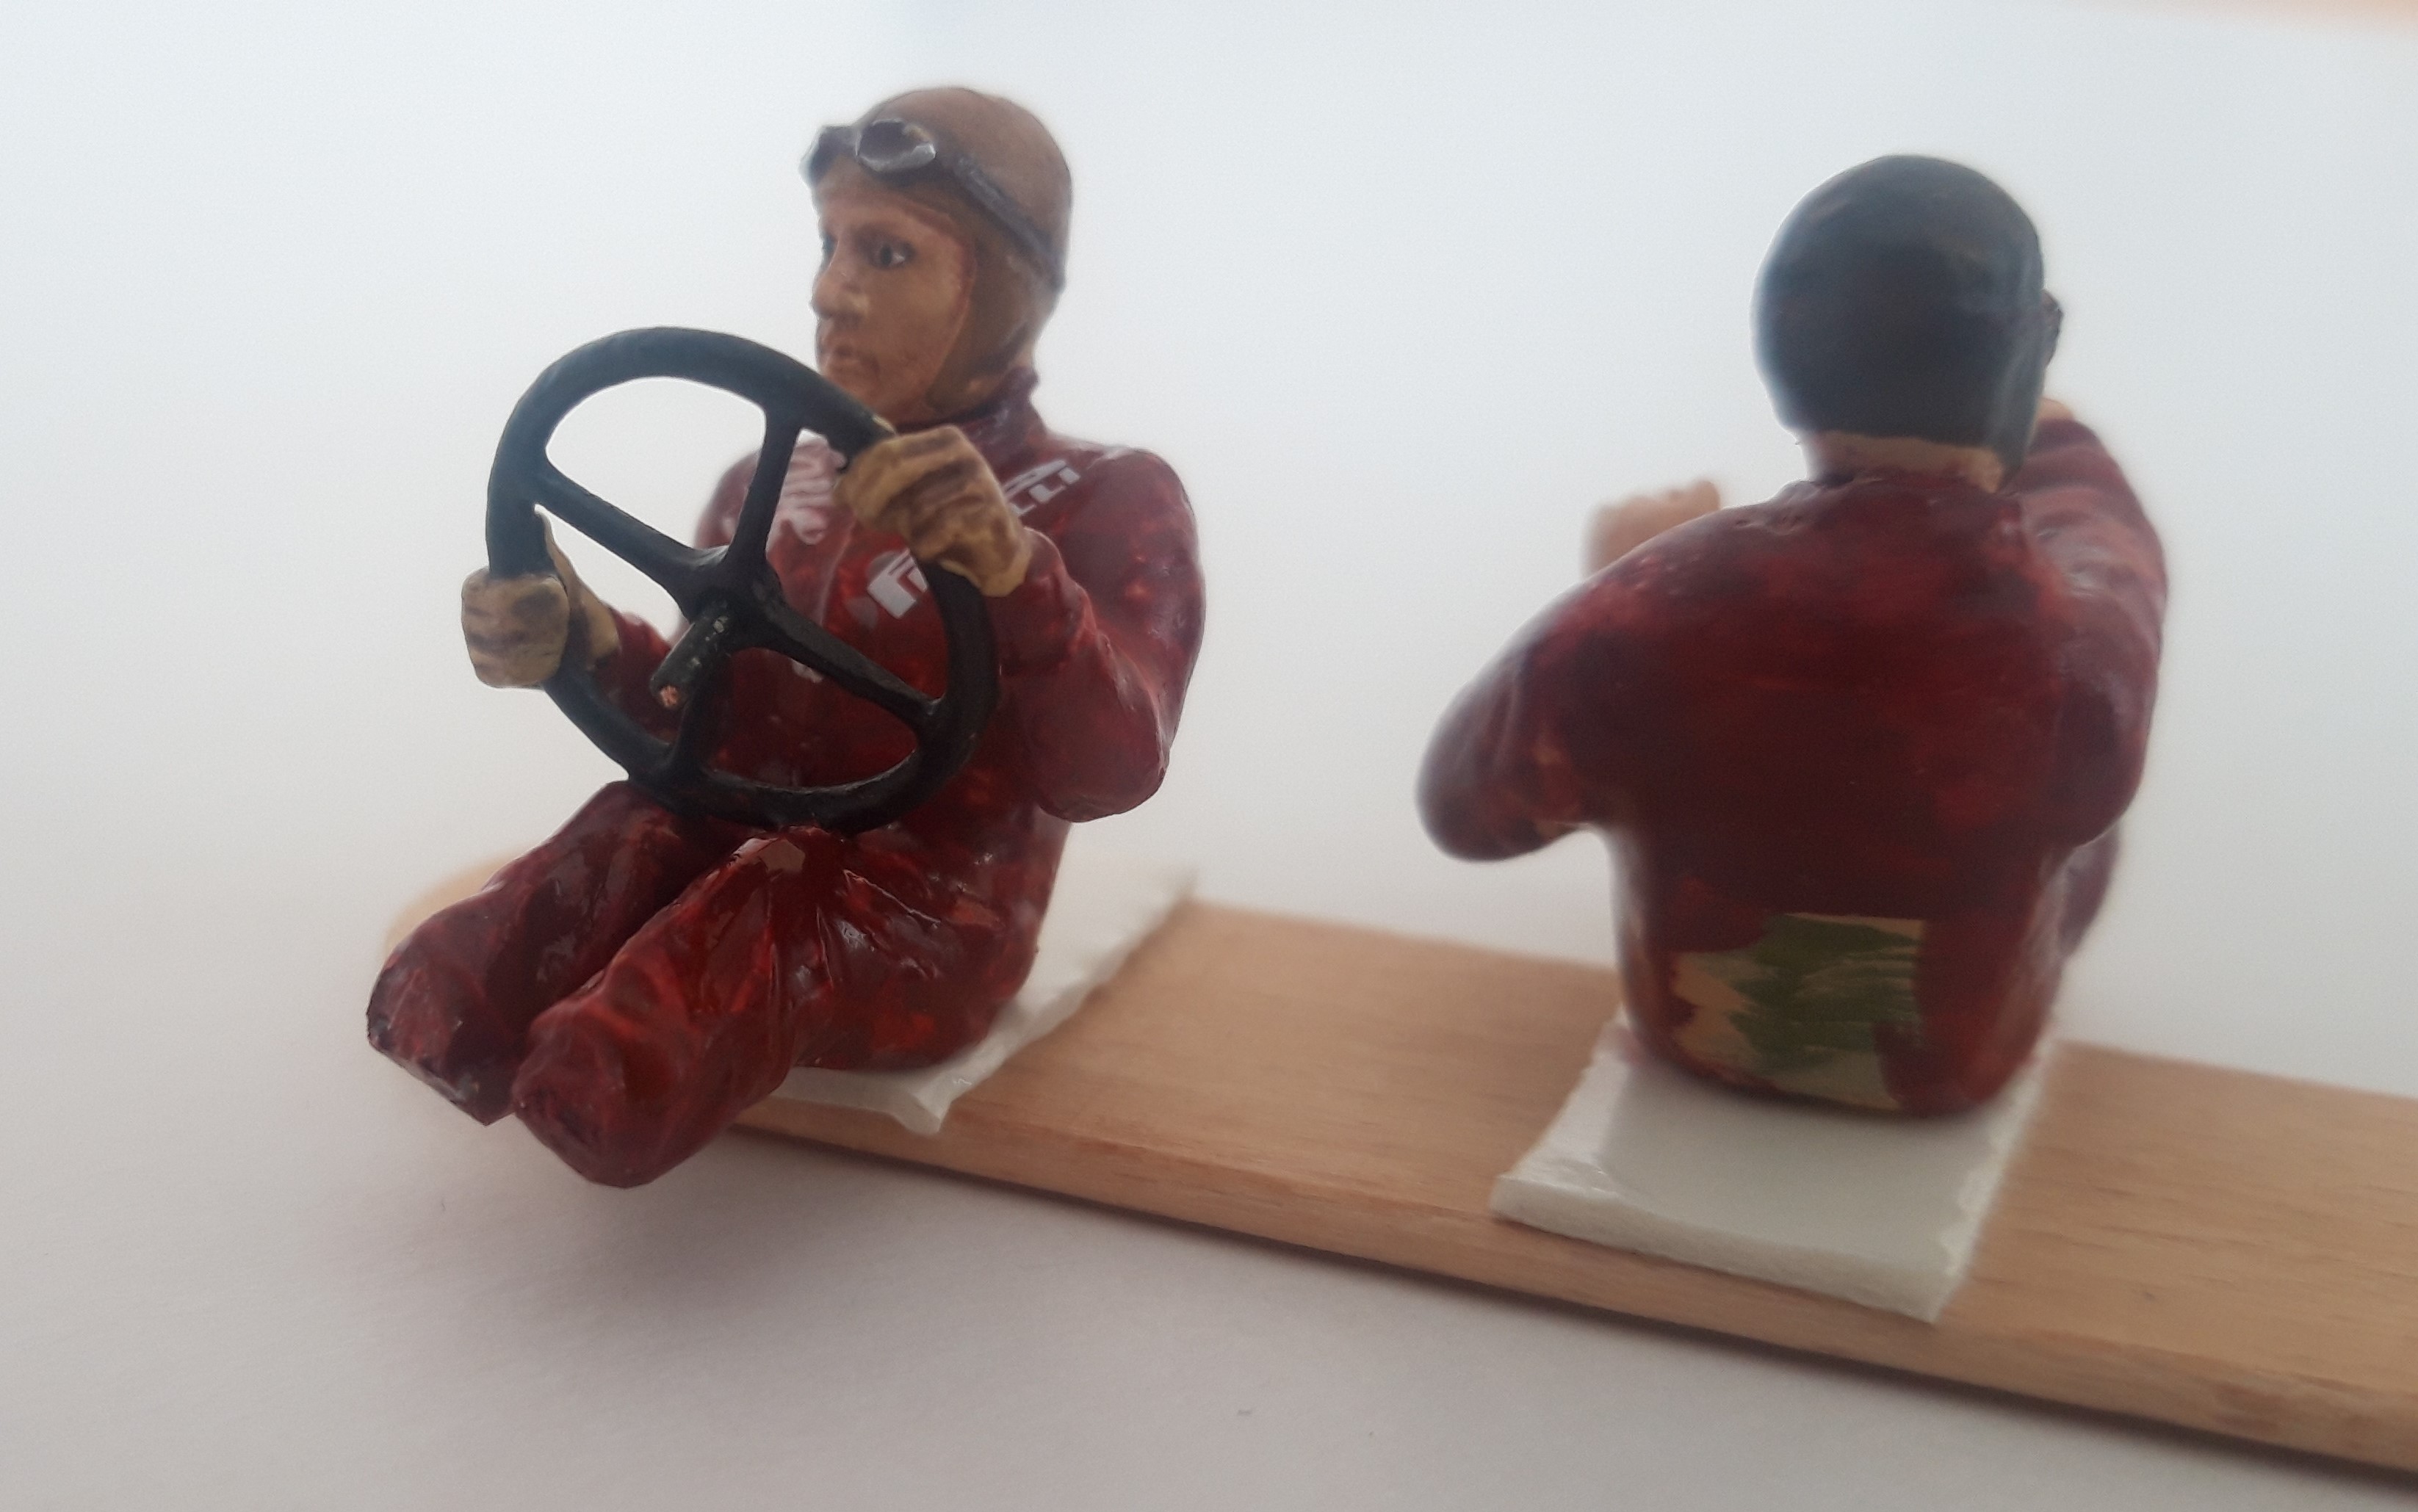
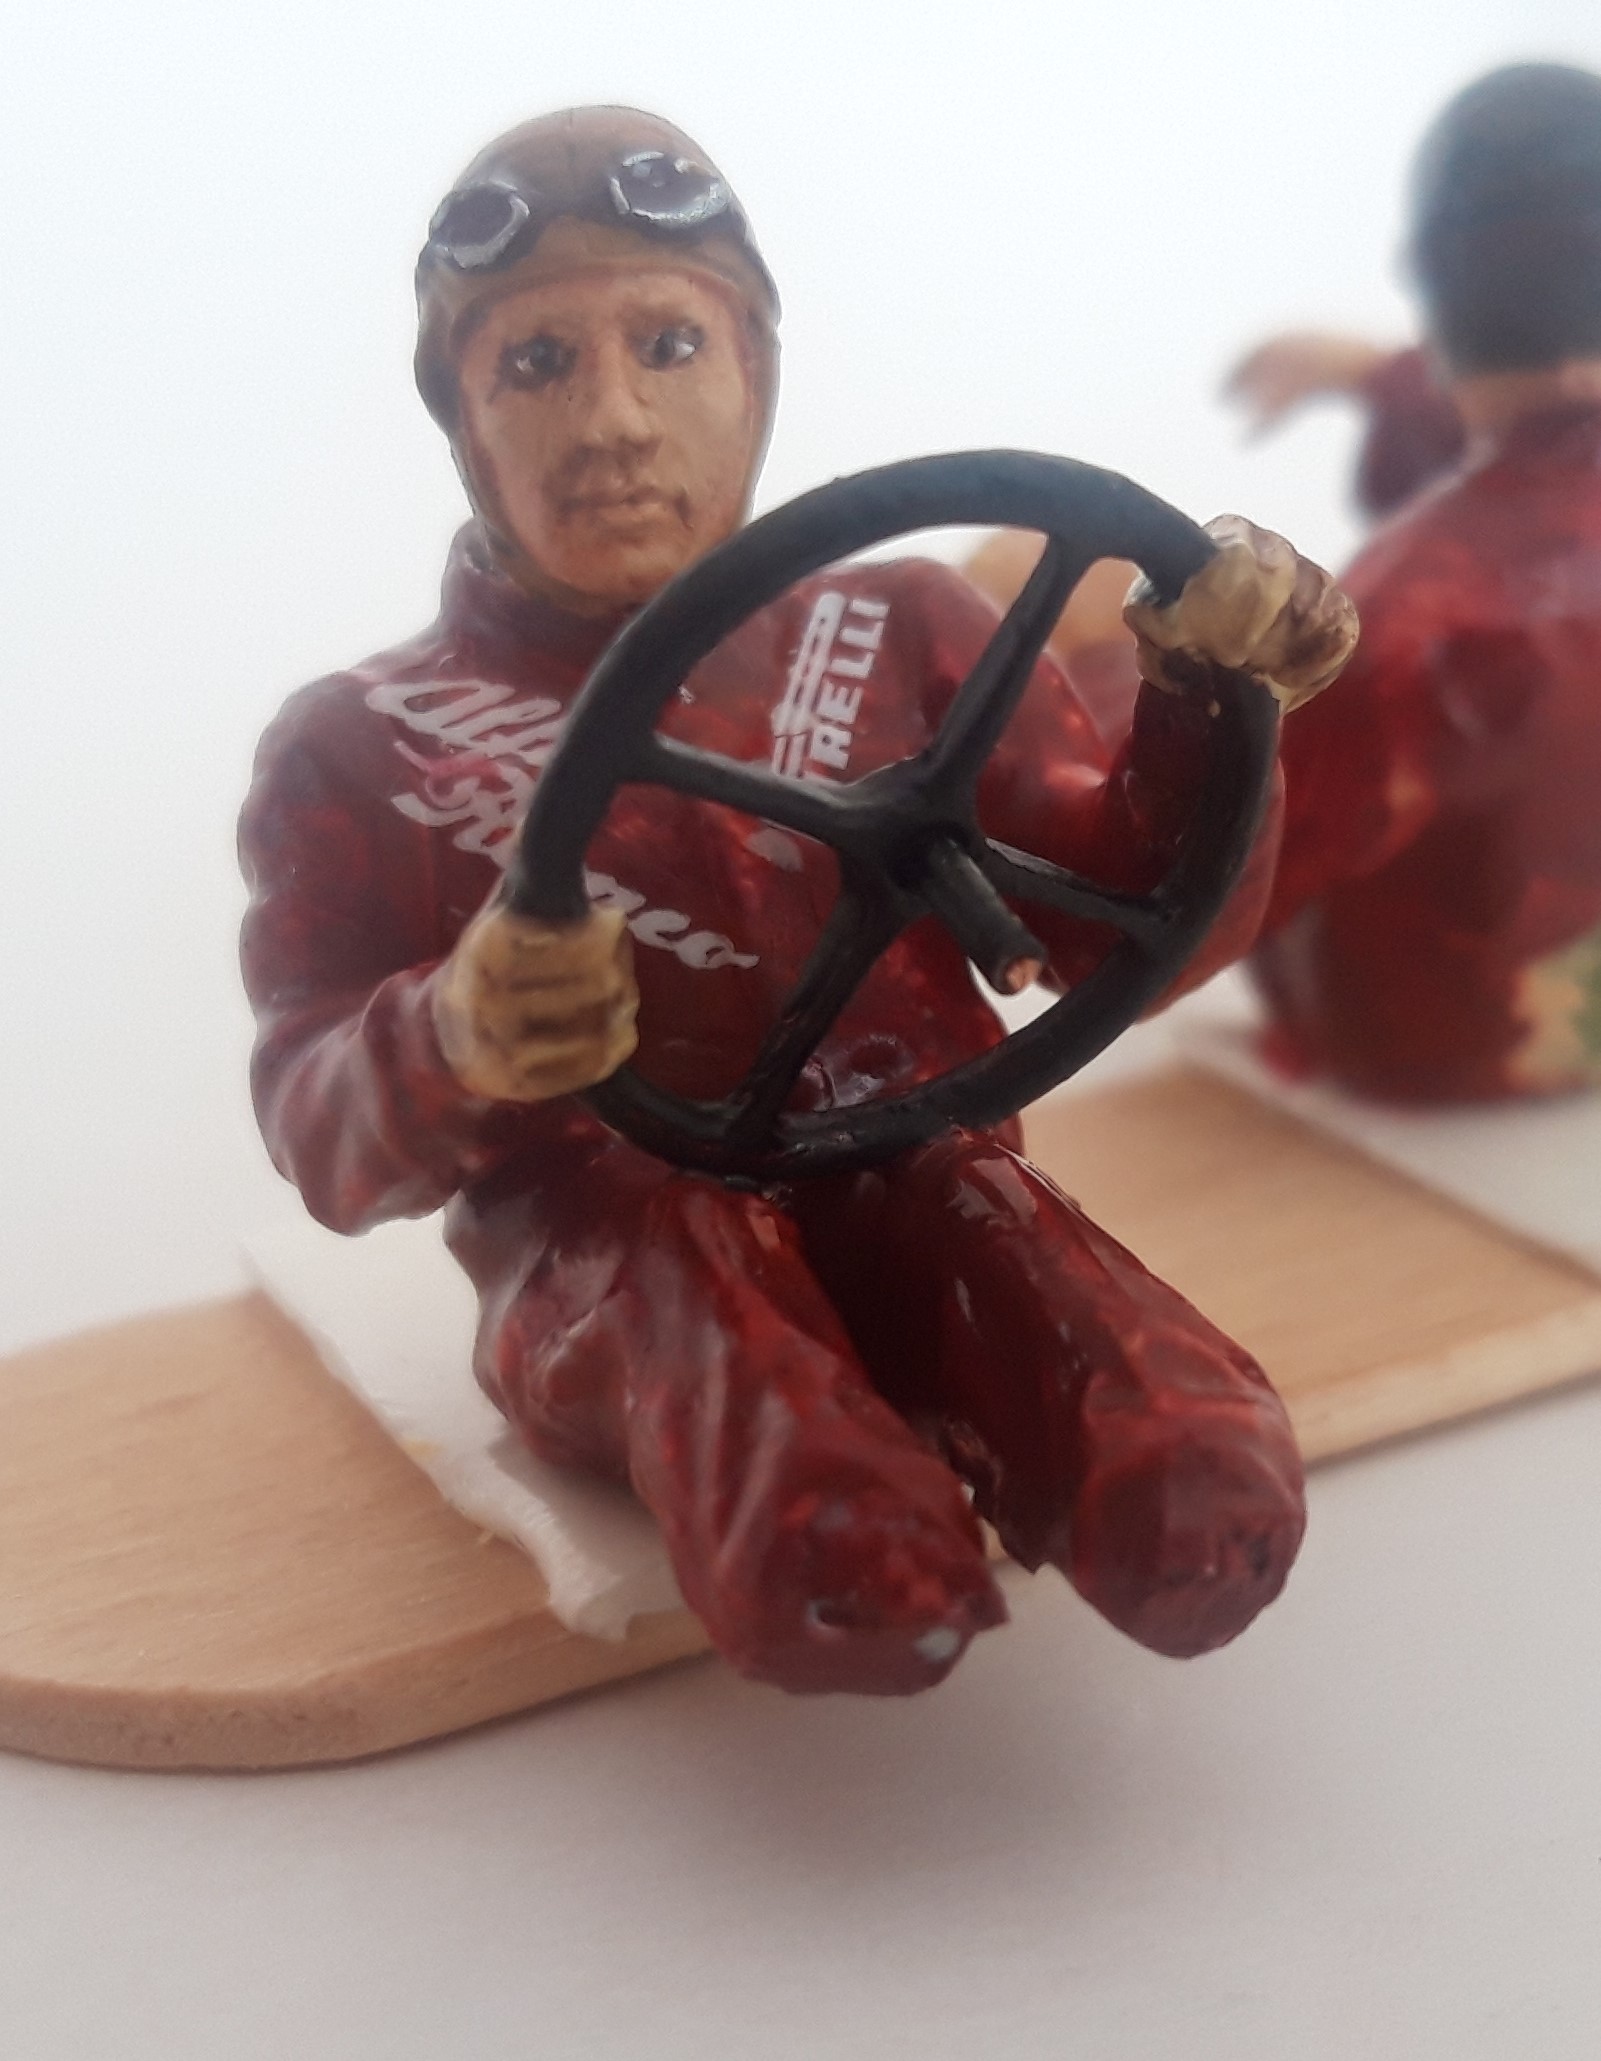
Next Step are the Pilots, Alfa has fitte his Drivers with very professional dark red Overalls.I try to get close to the Original.

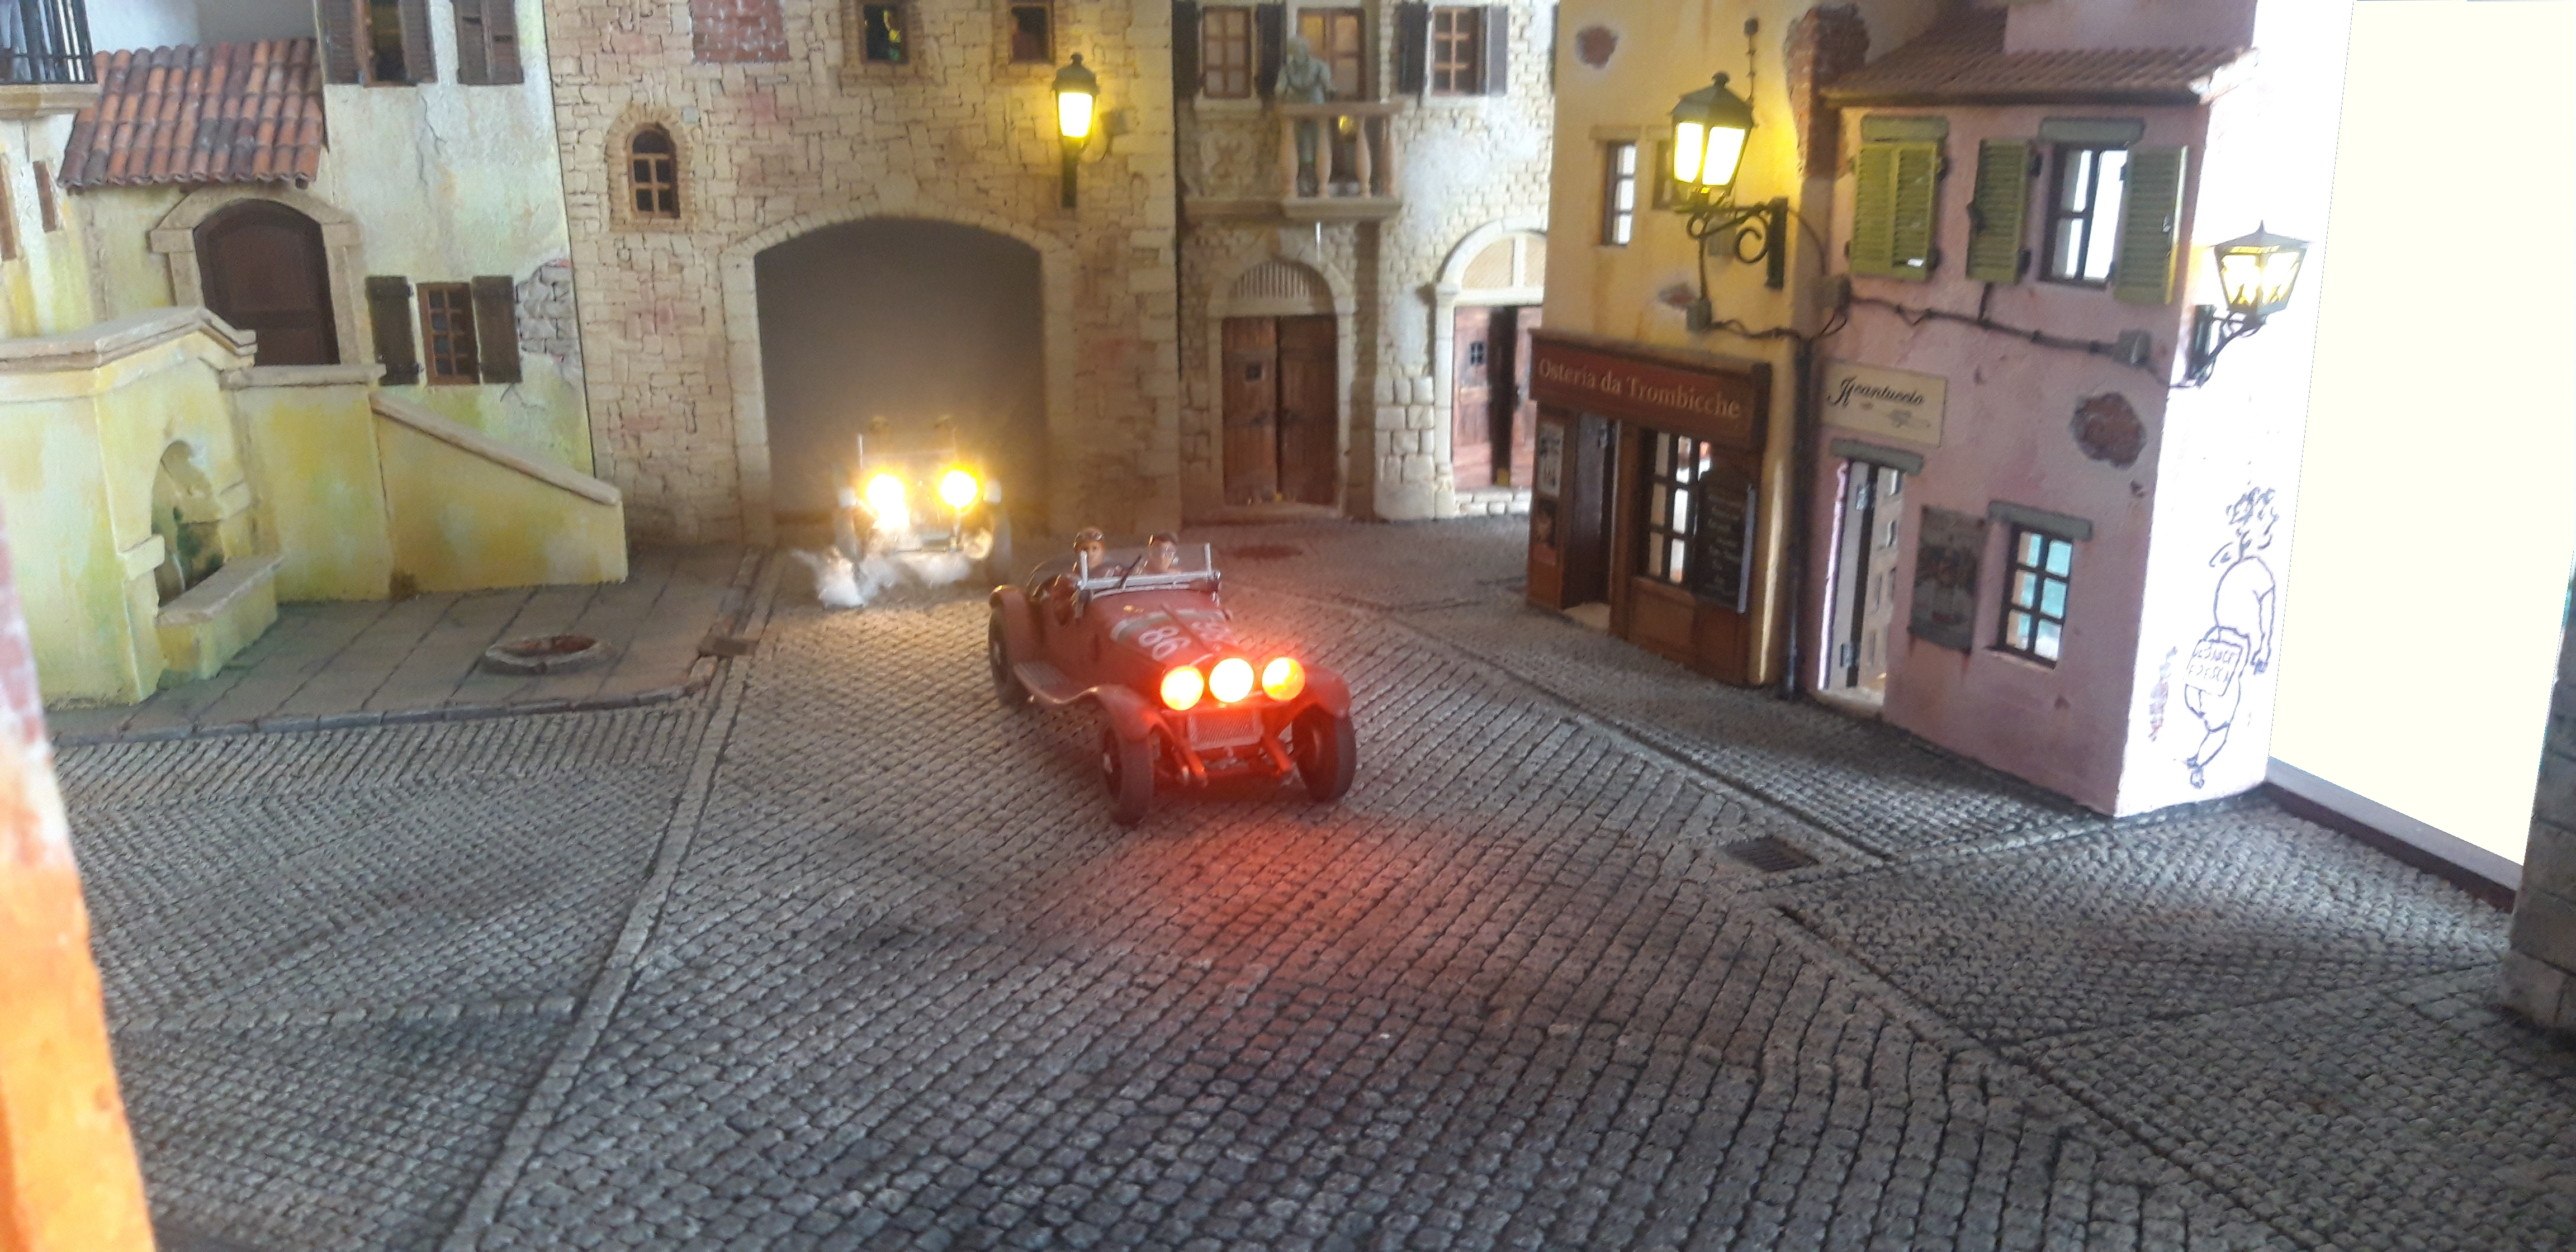
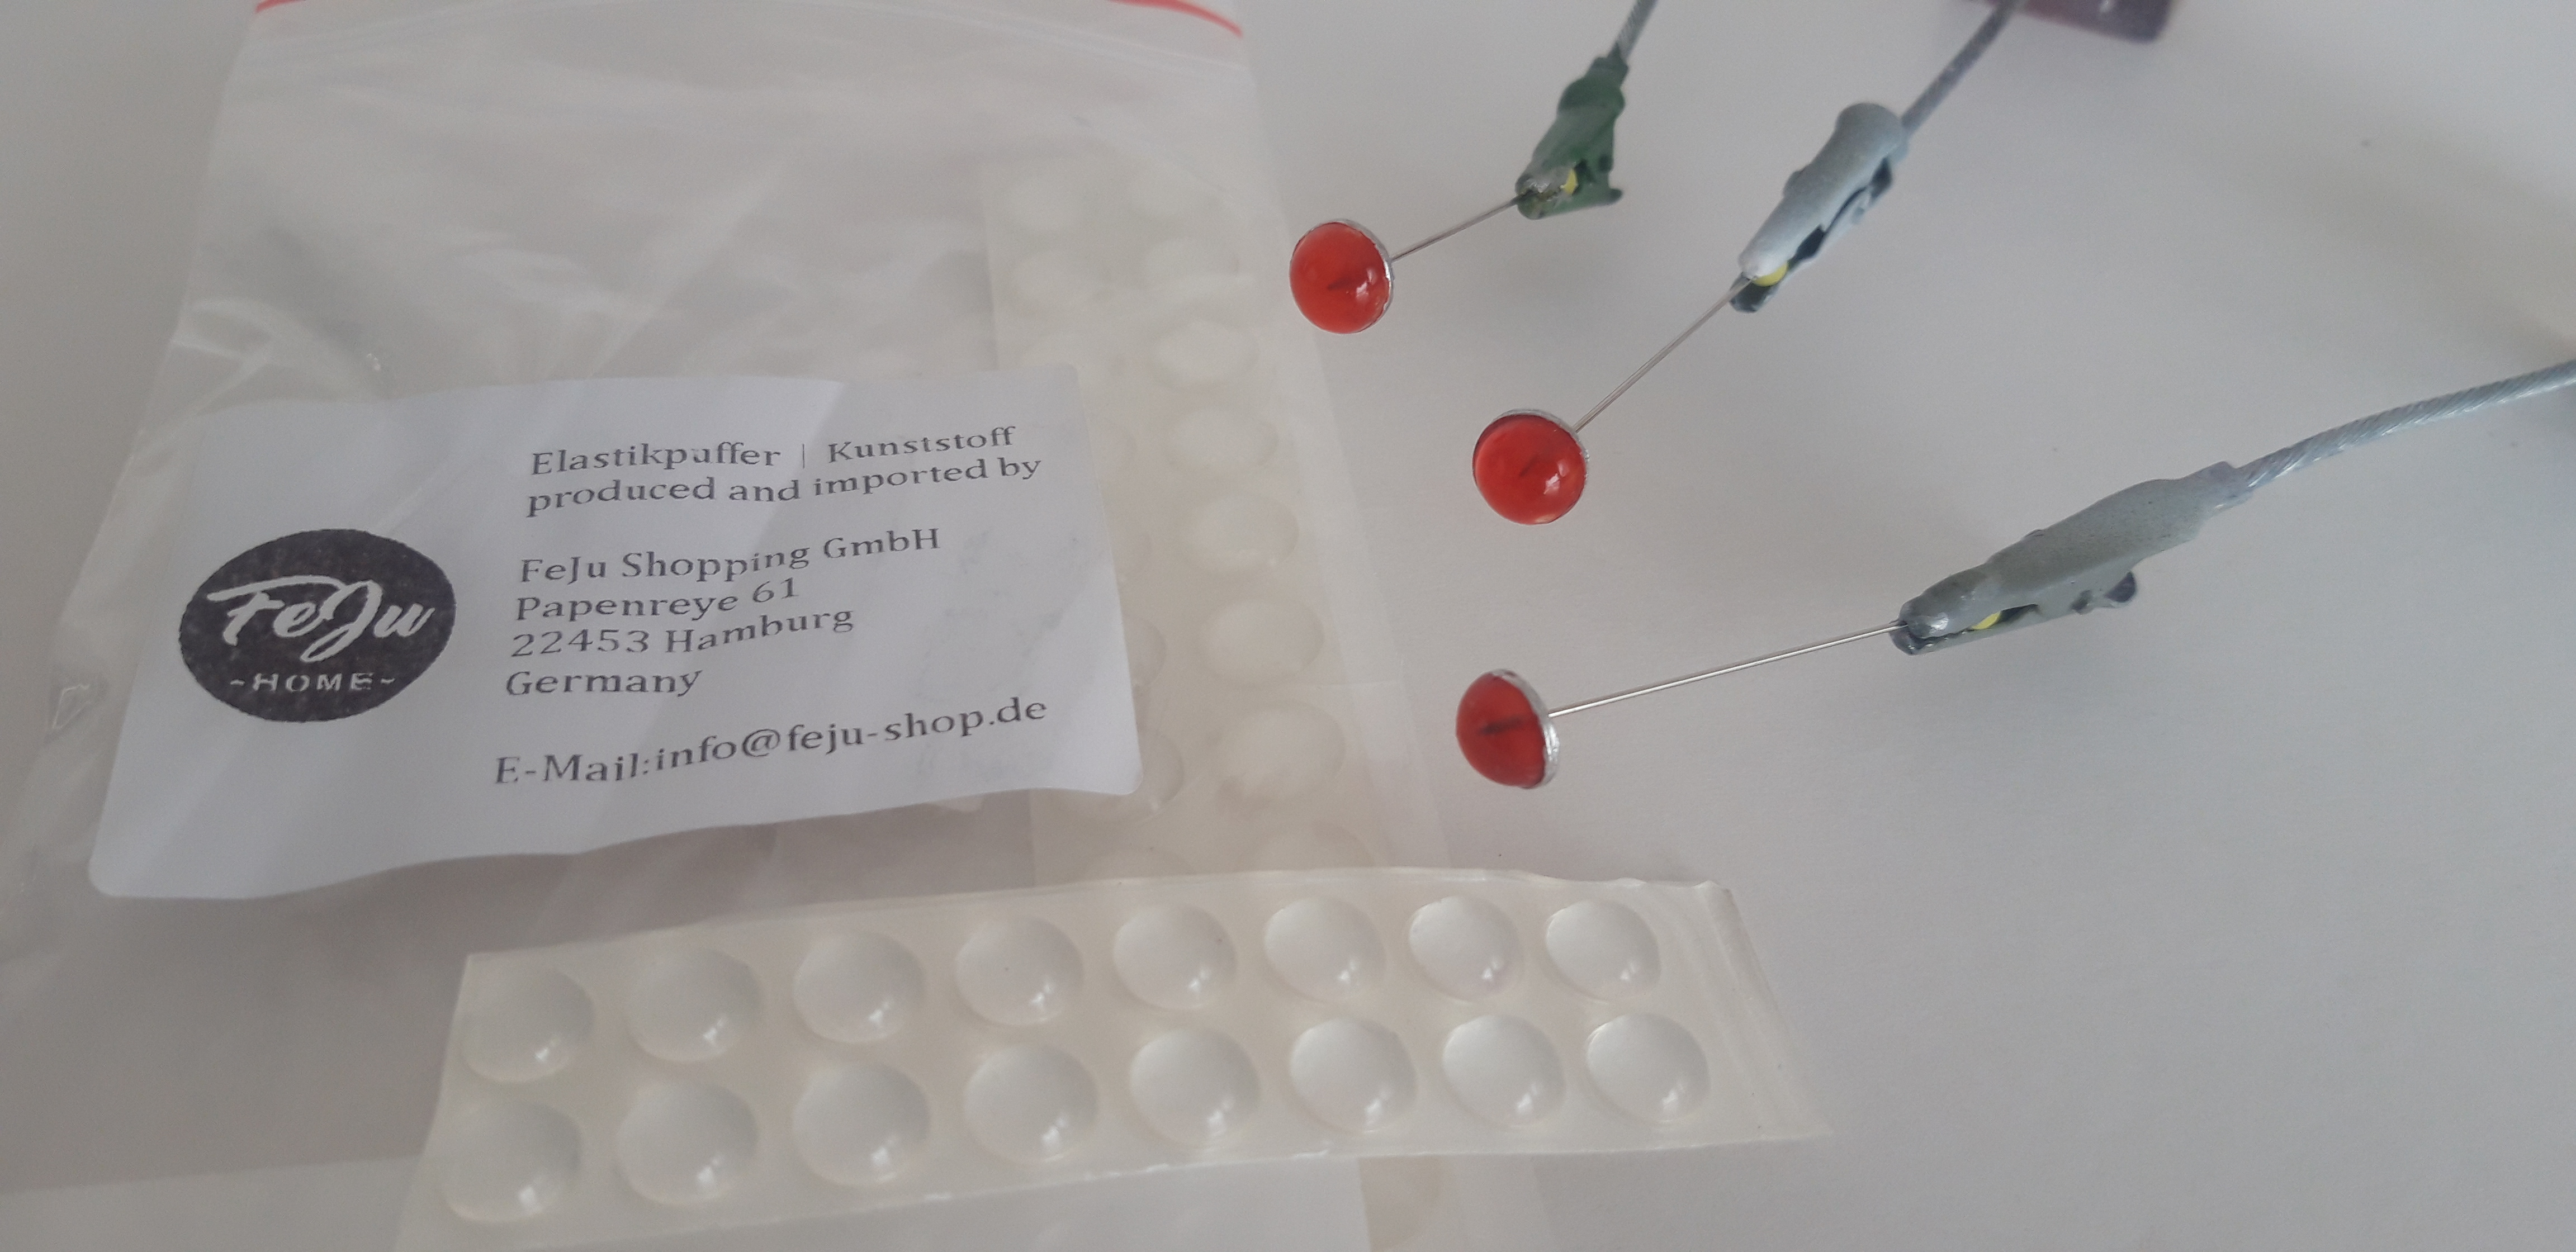
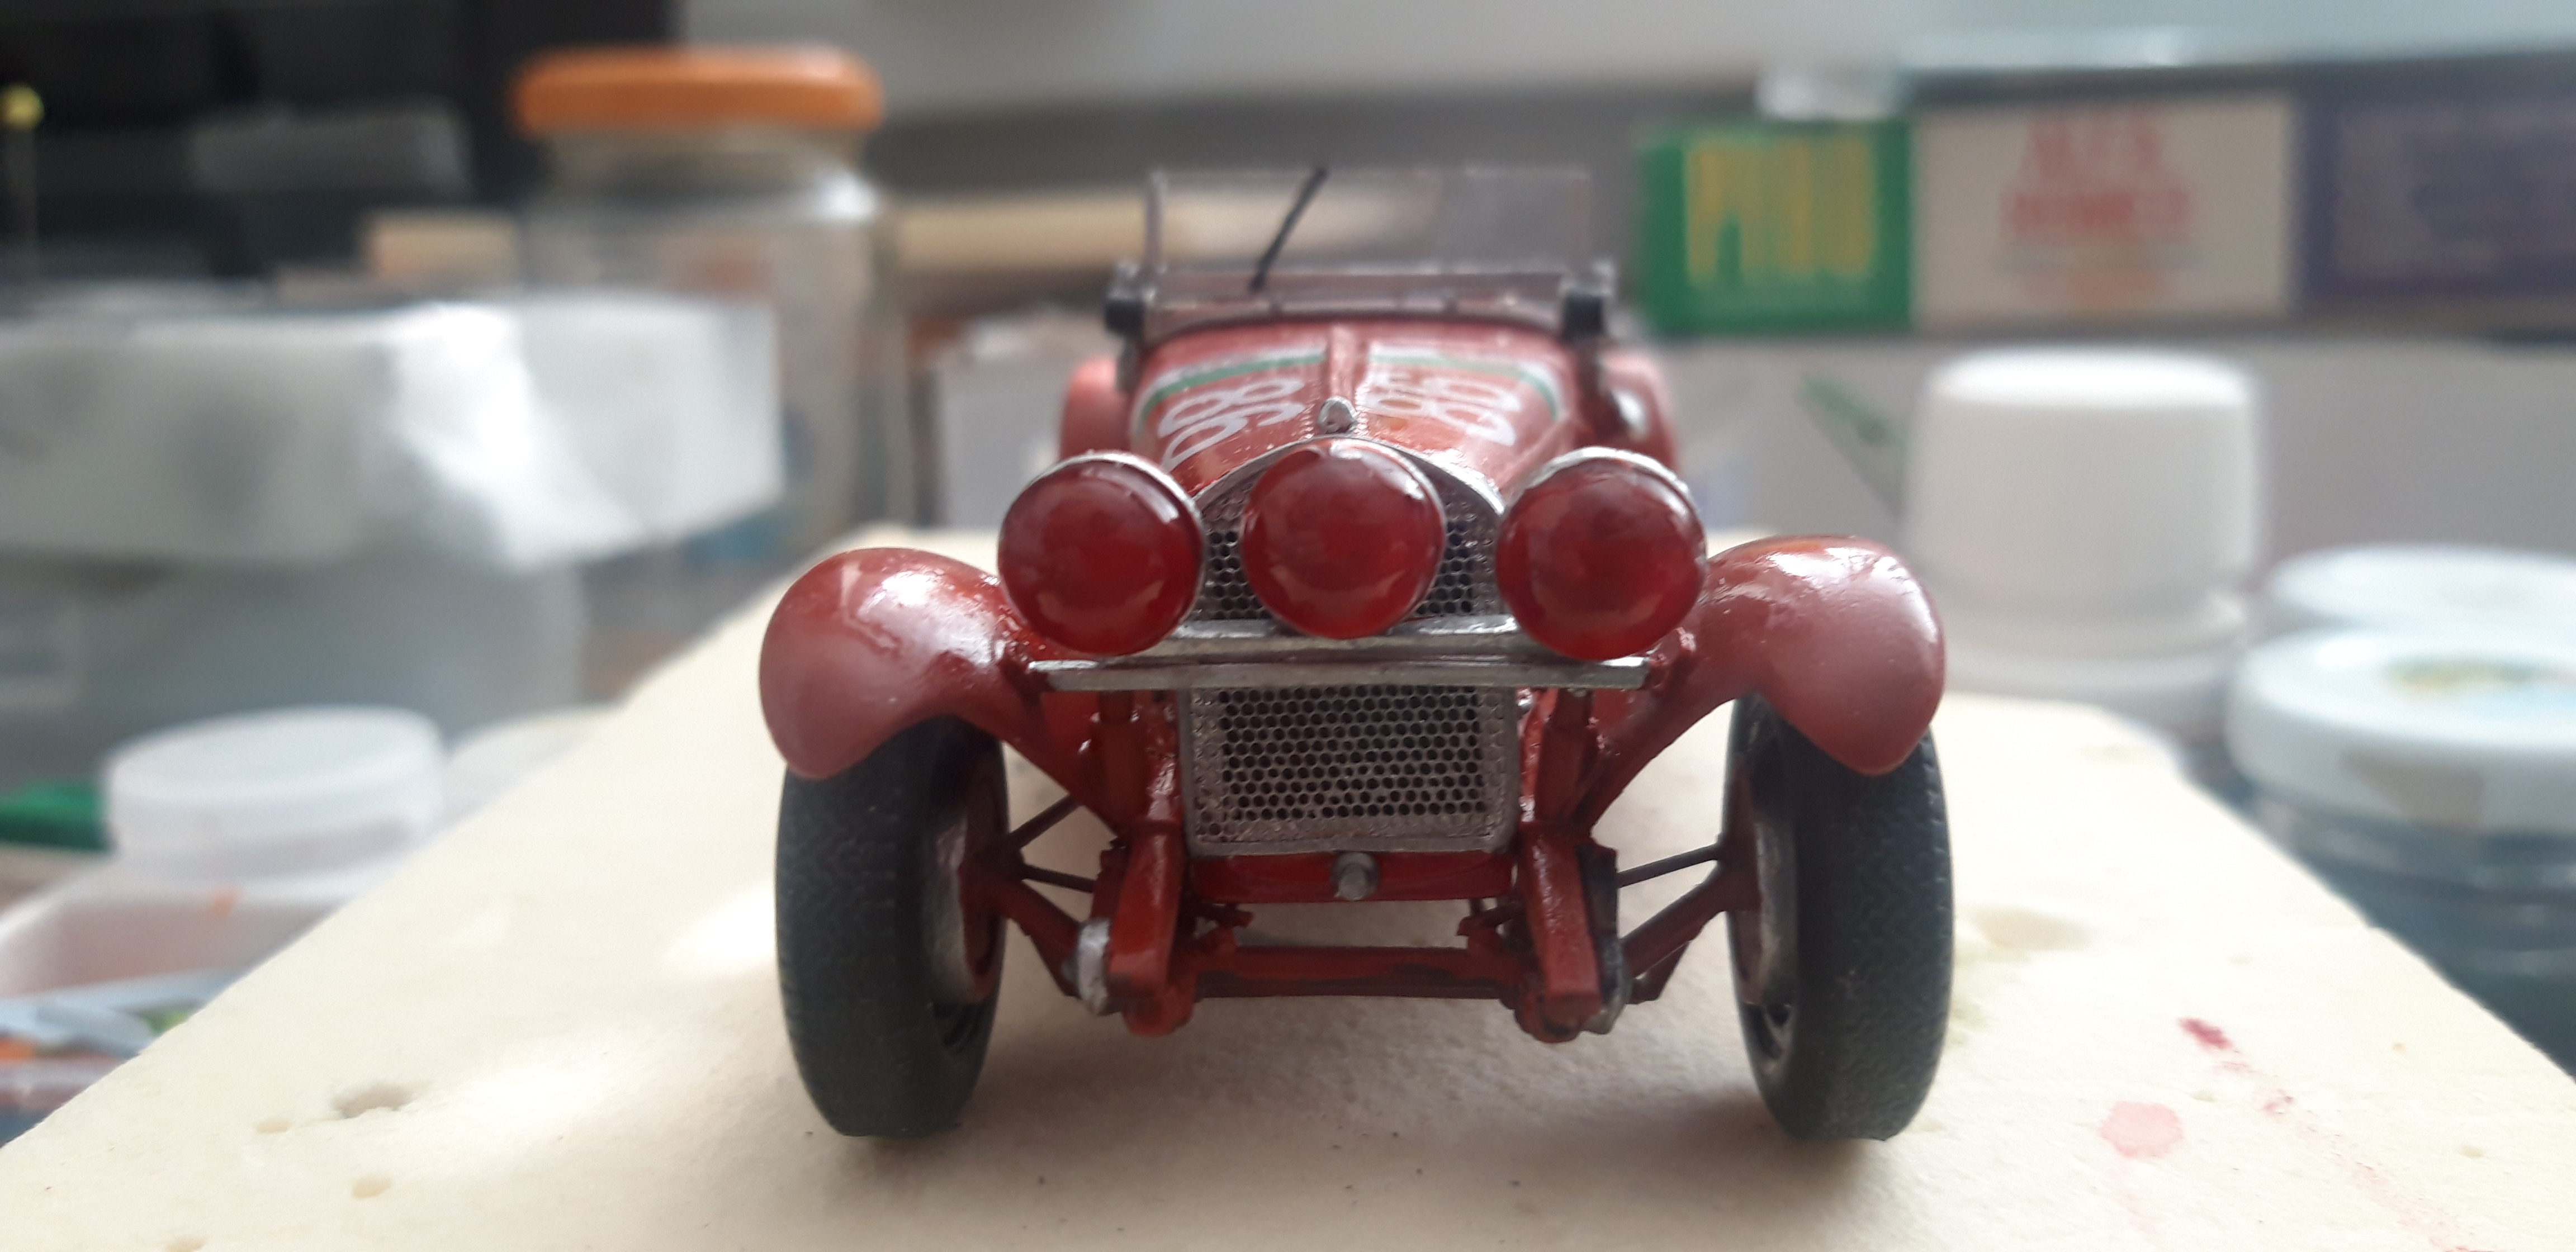
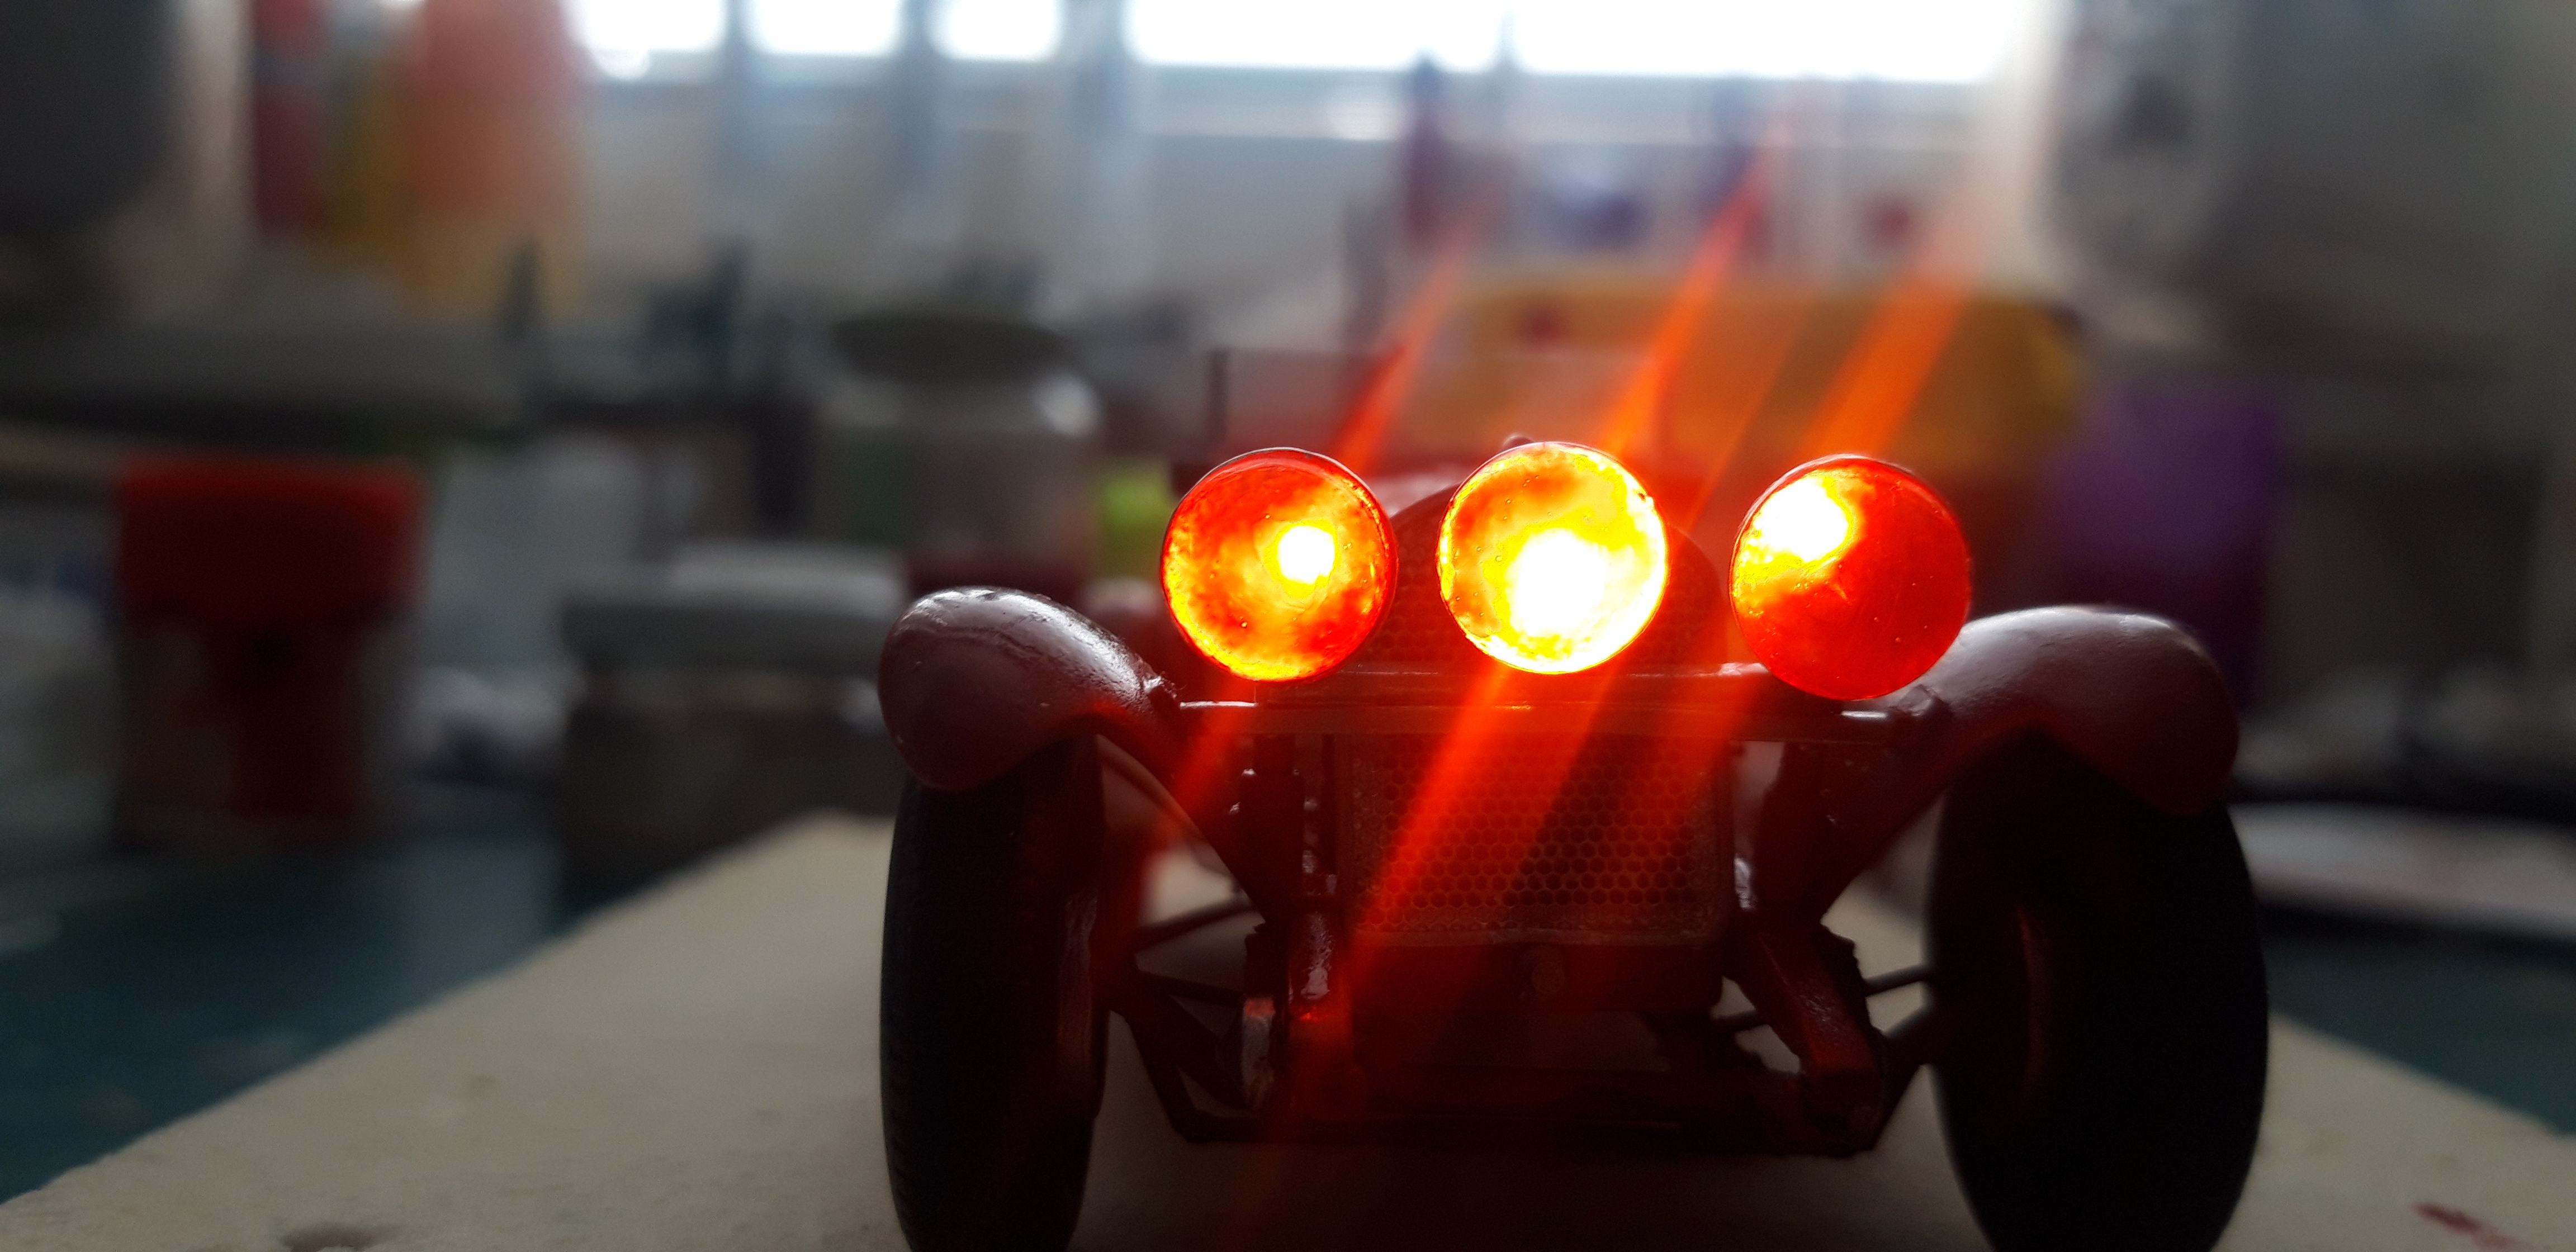
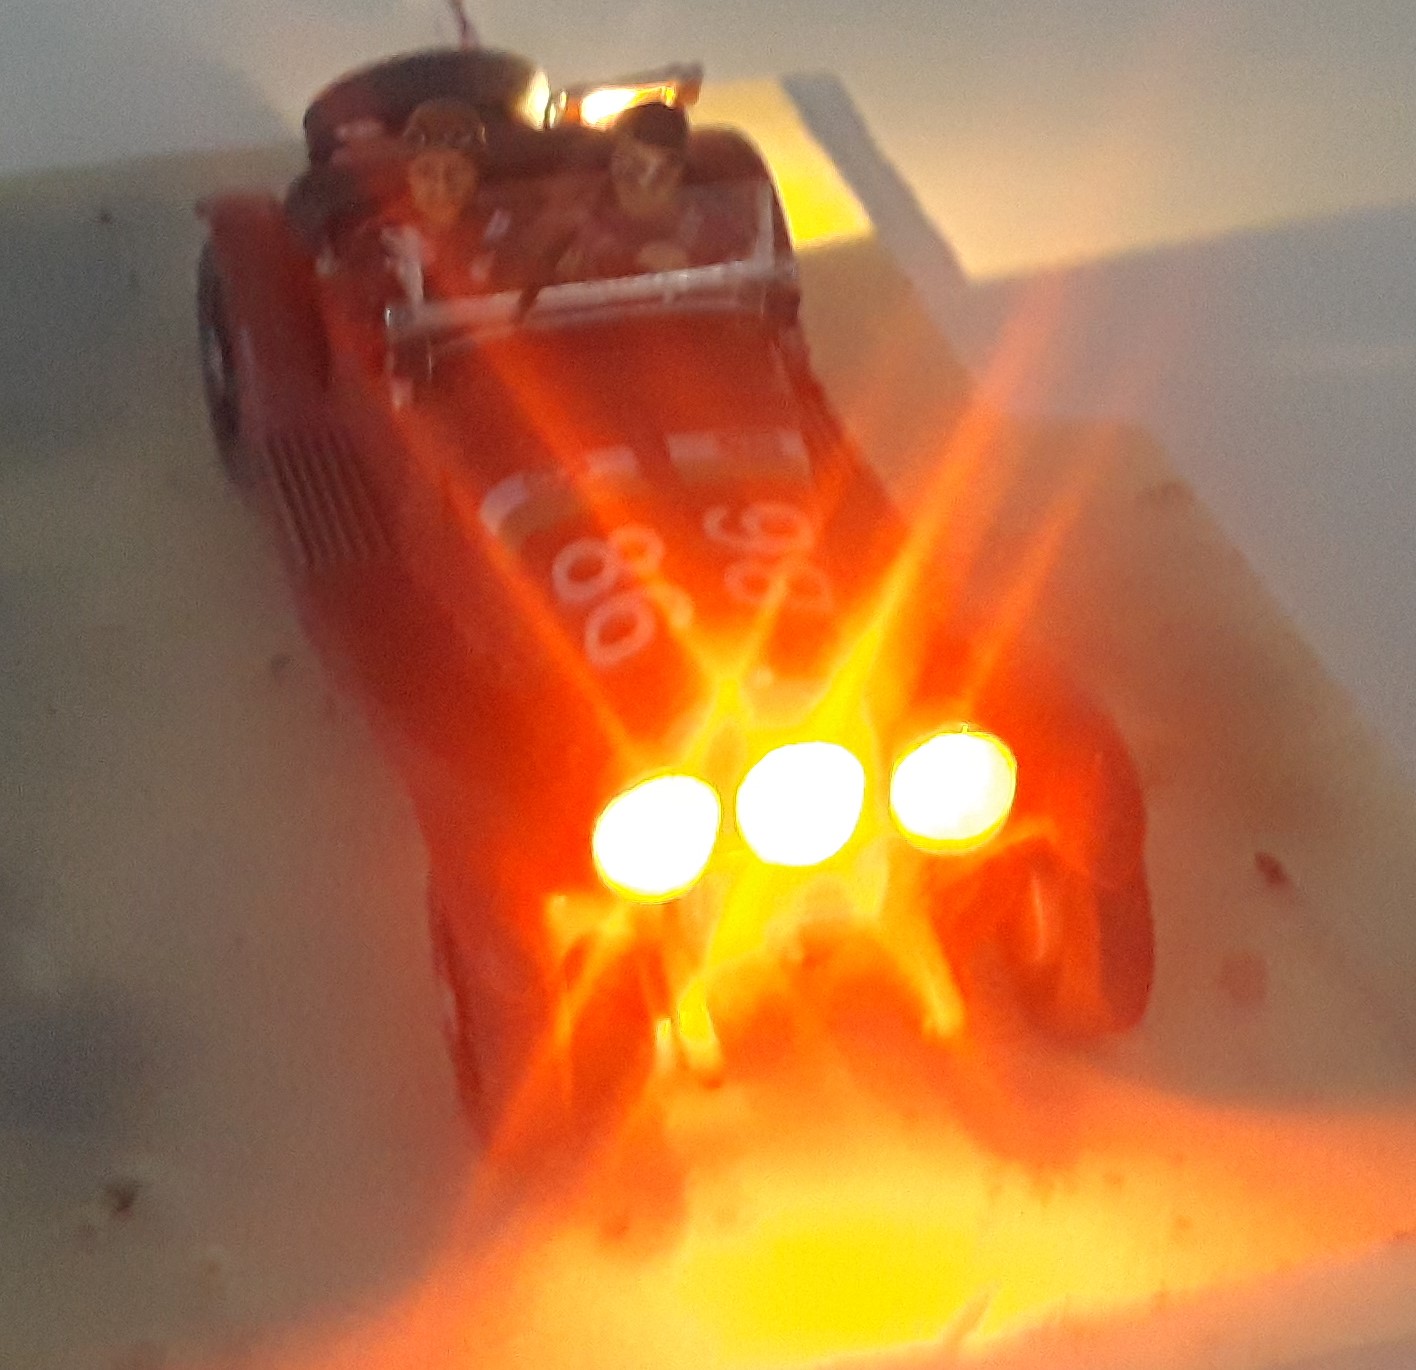
Now for the "Devils Eyes" , they are a Legend, but nothing more than Dustcovers. Removed for Nightdrive and use the Headlights. After some Trys with heated Foil, i go with Furniture Stoppers. For me they do the Part. Too Bad , the LED bent a bit so the little Alfa squint a bit. The Parts are so secure cemented , i cannot correct this
Added etched Handles and Fittings,
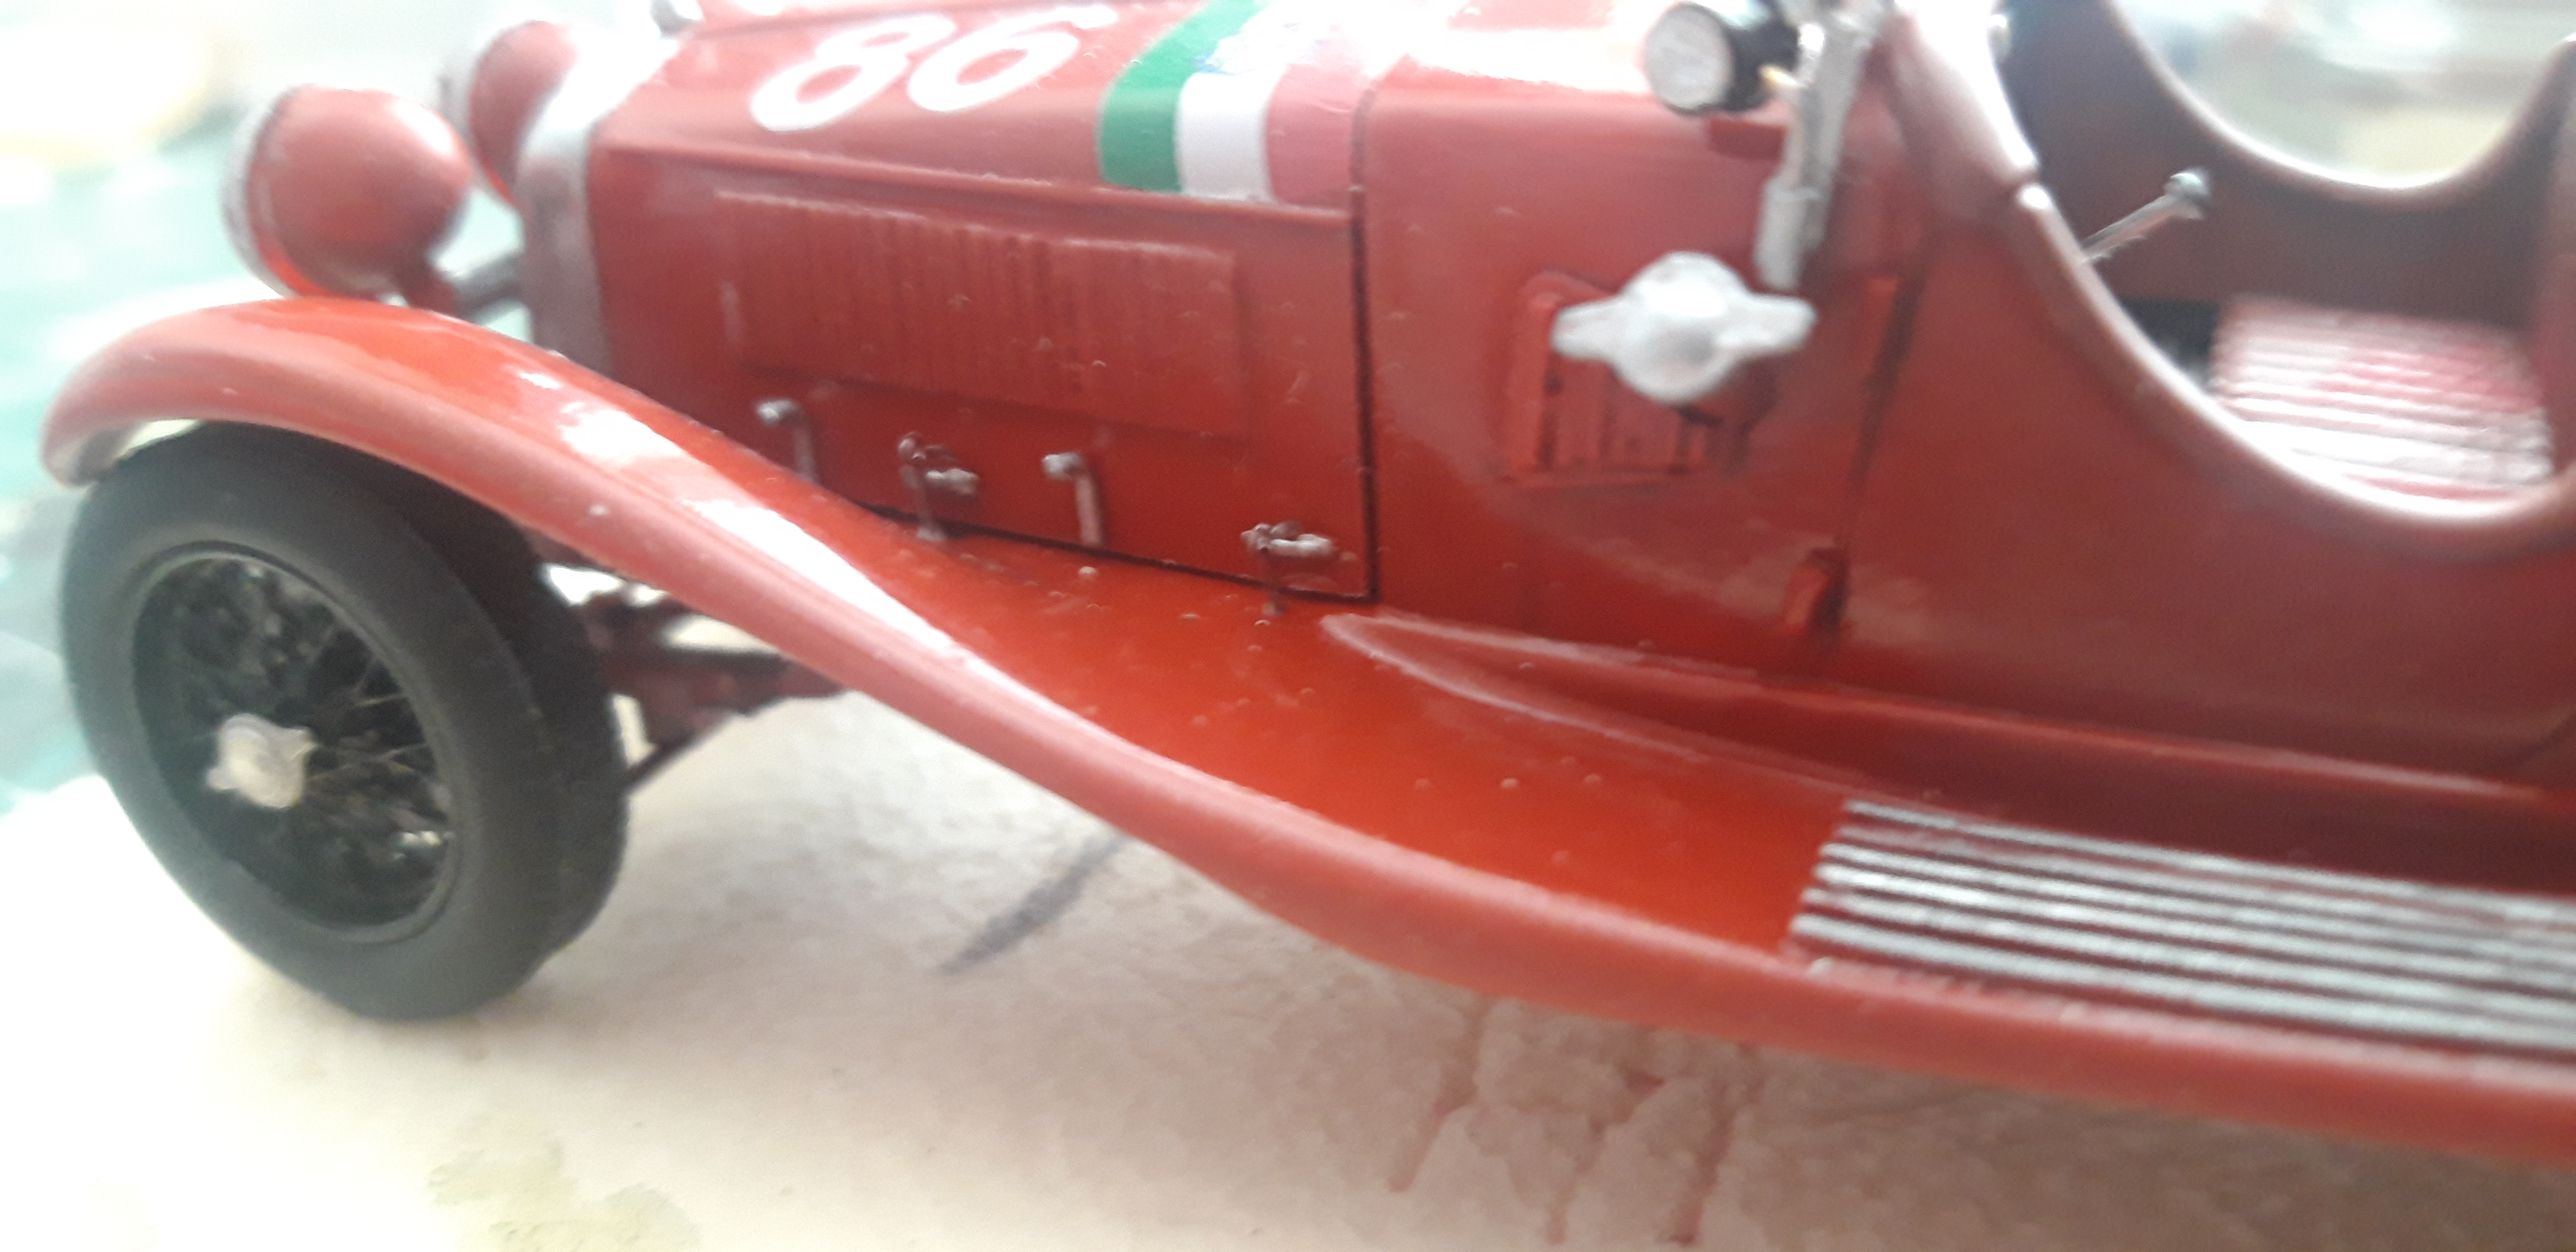

Last Lighttesting, than the Wheatering, and its Ready
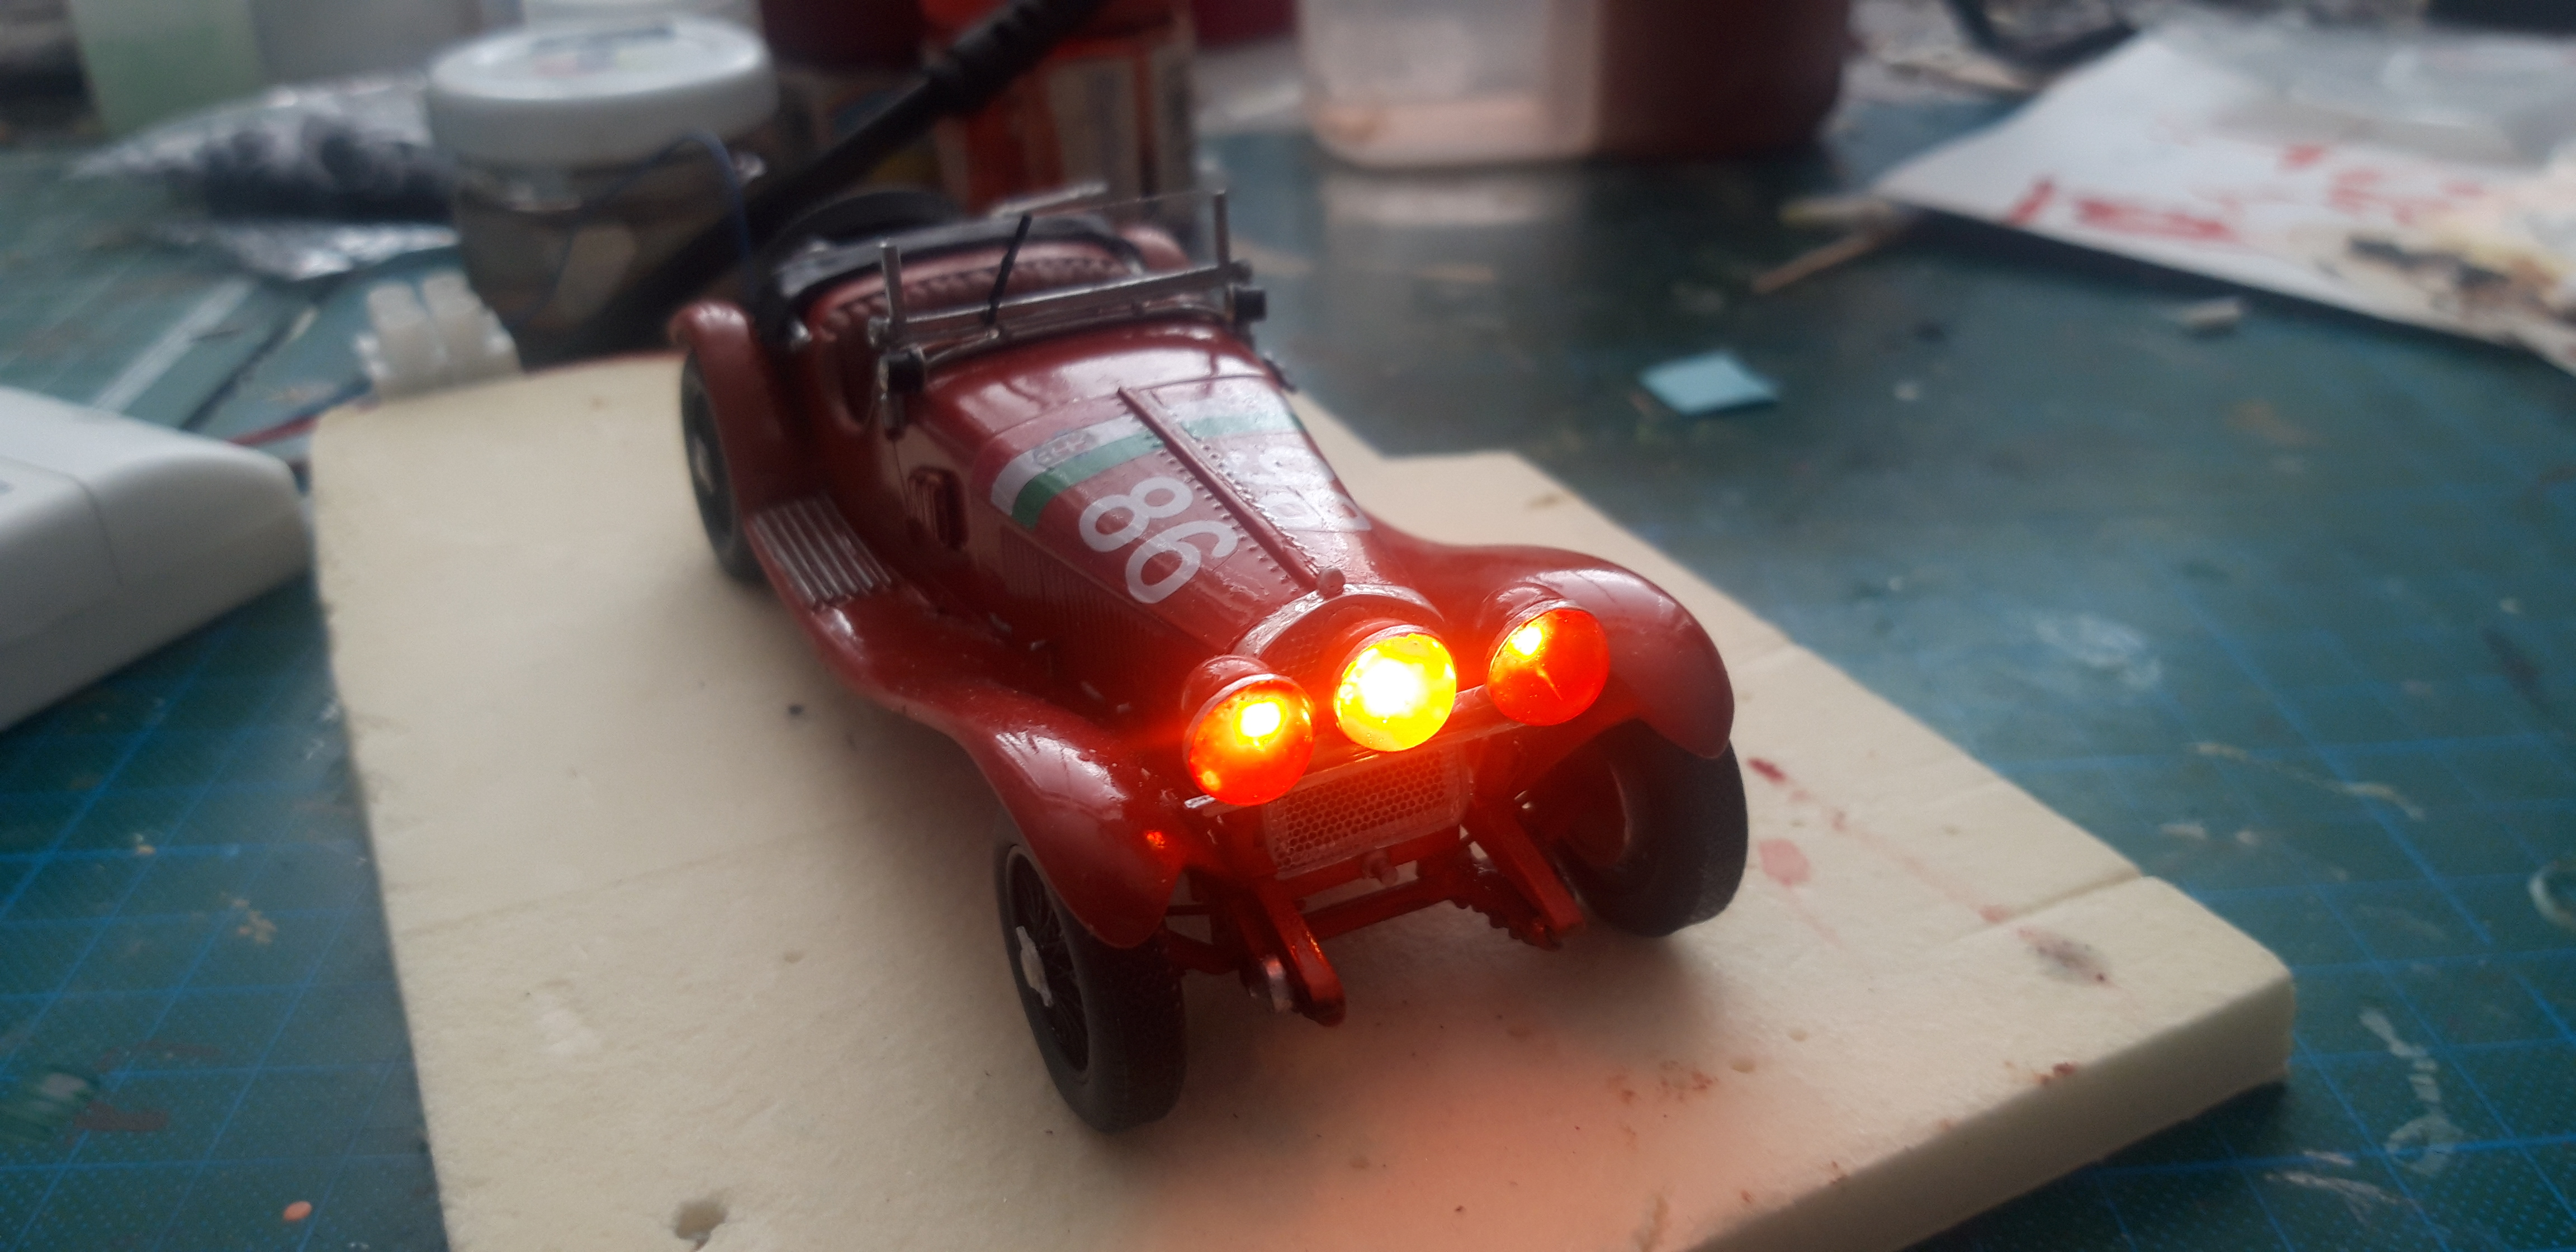
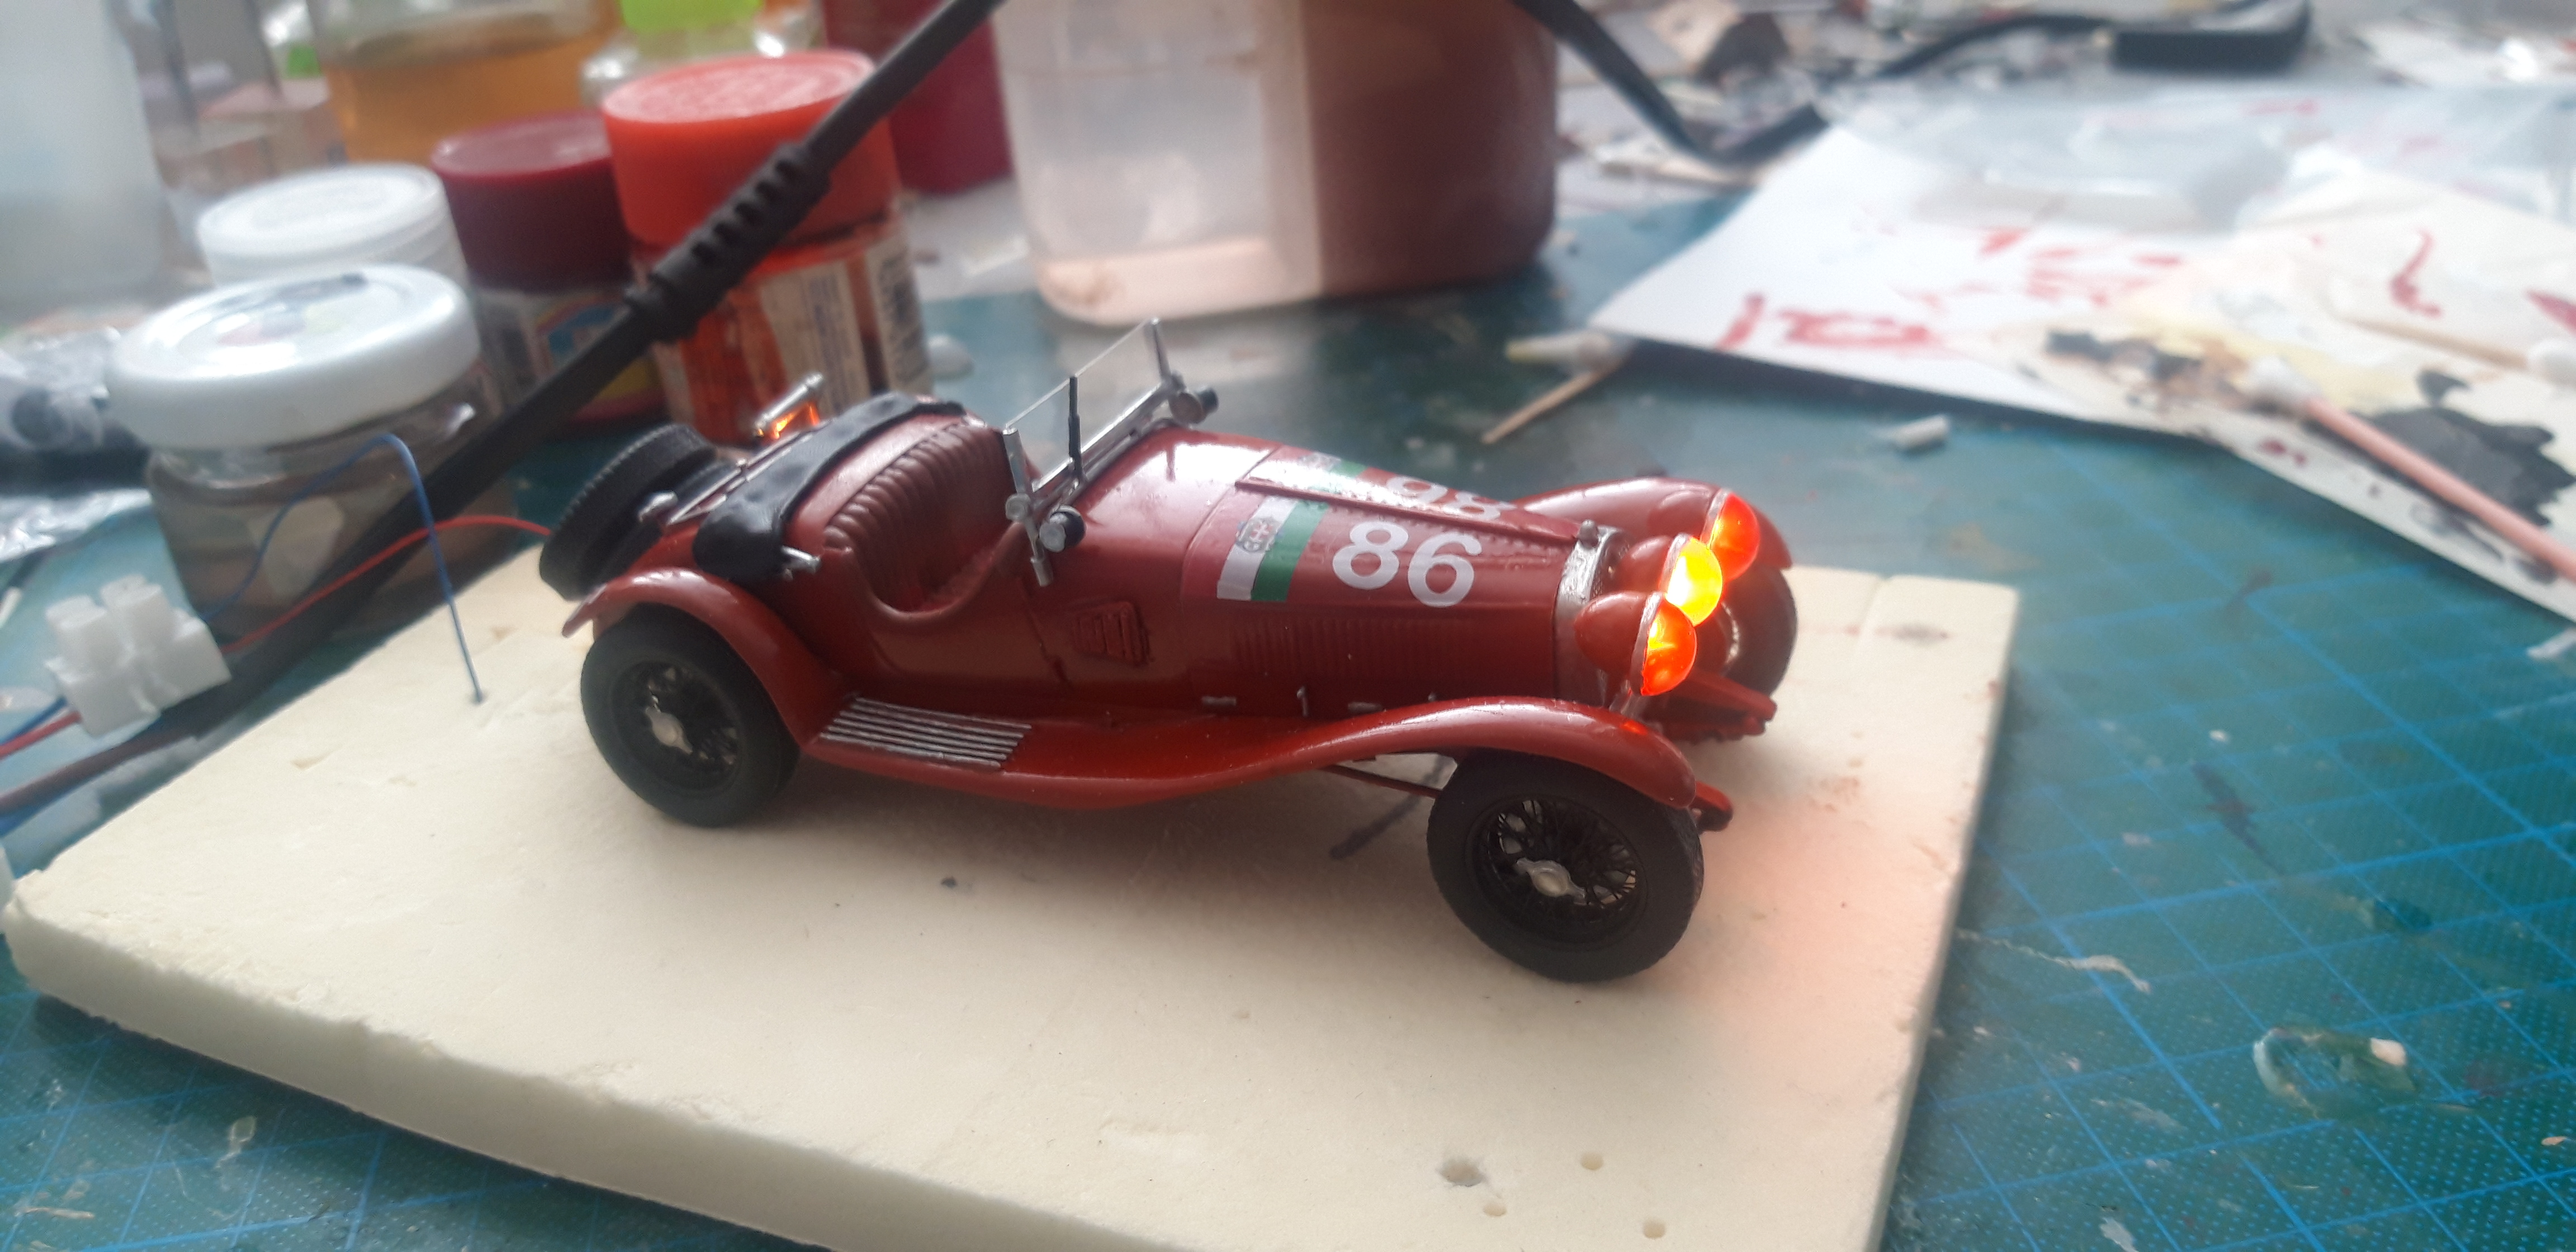
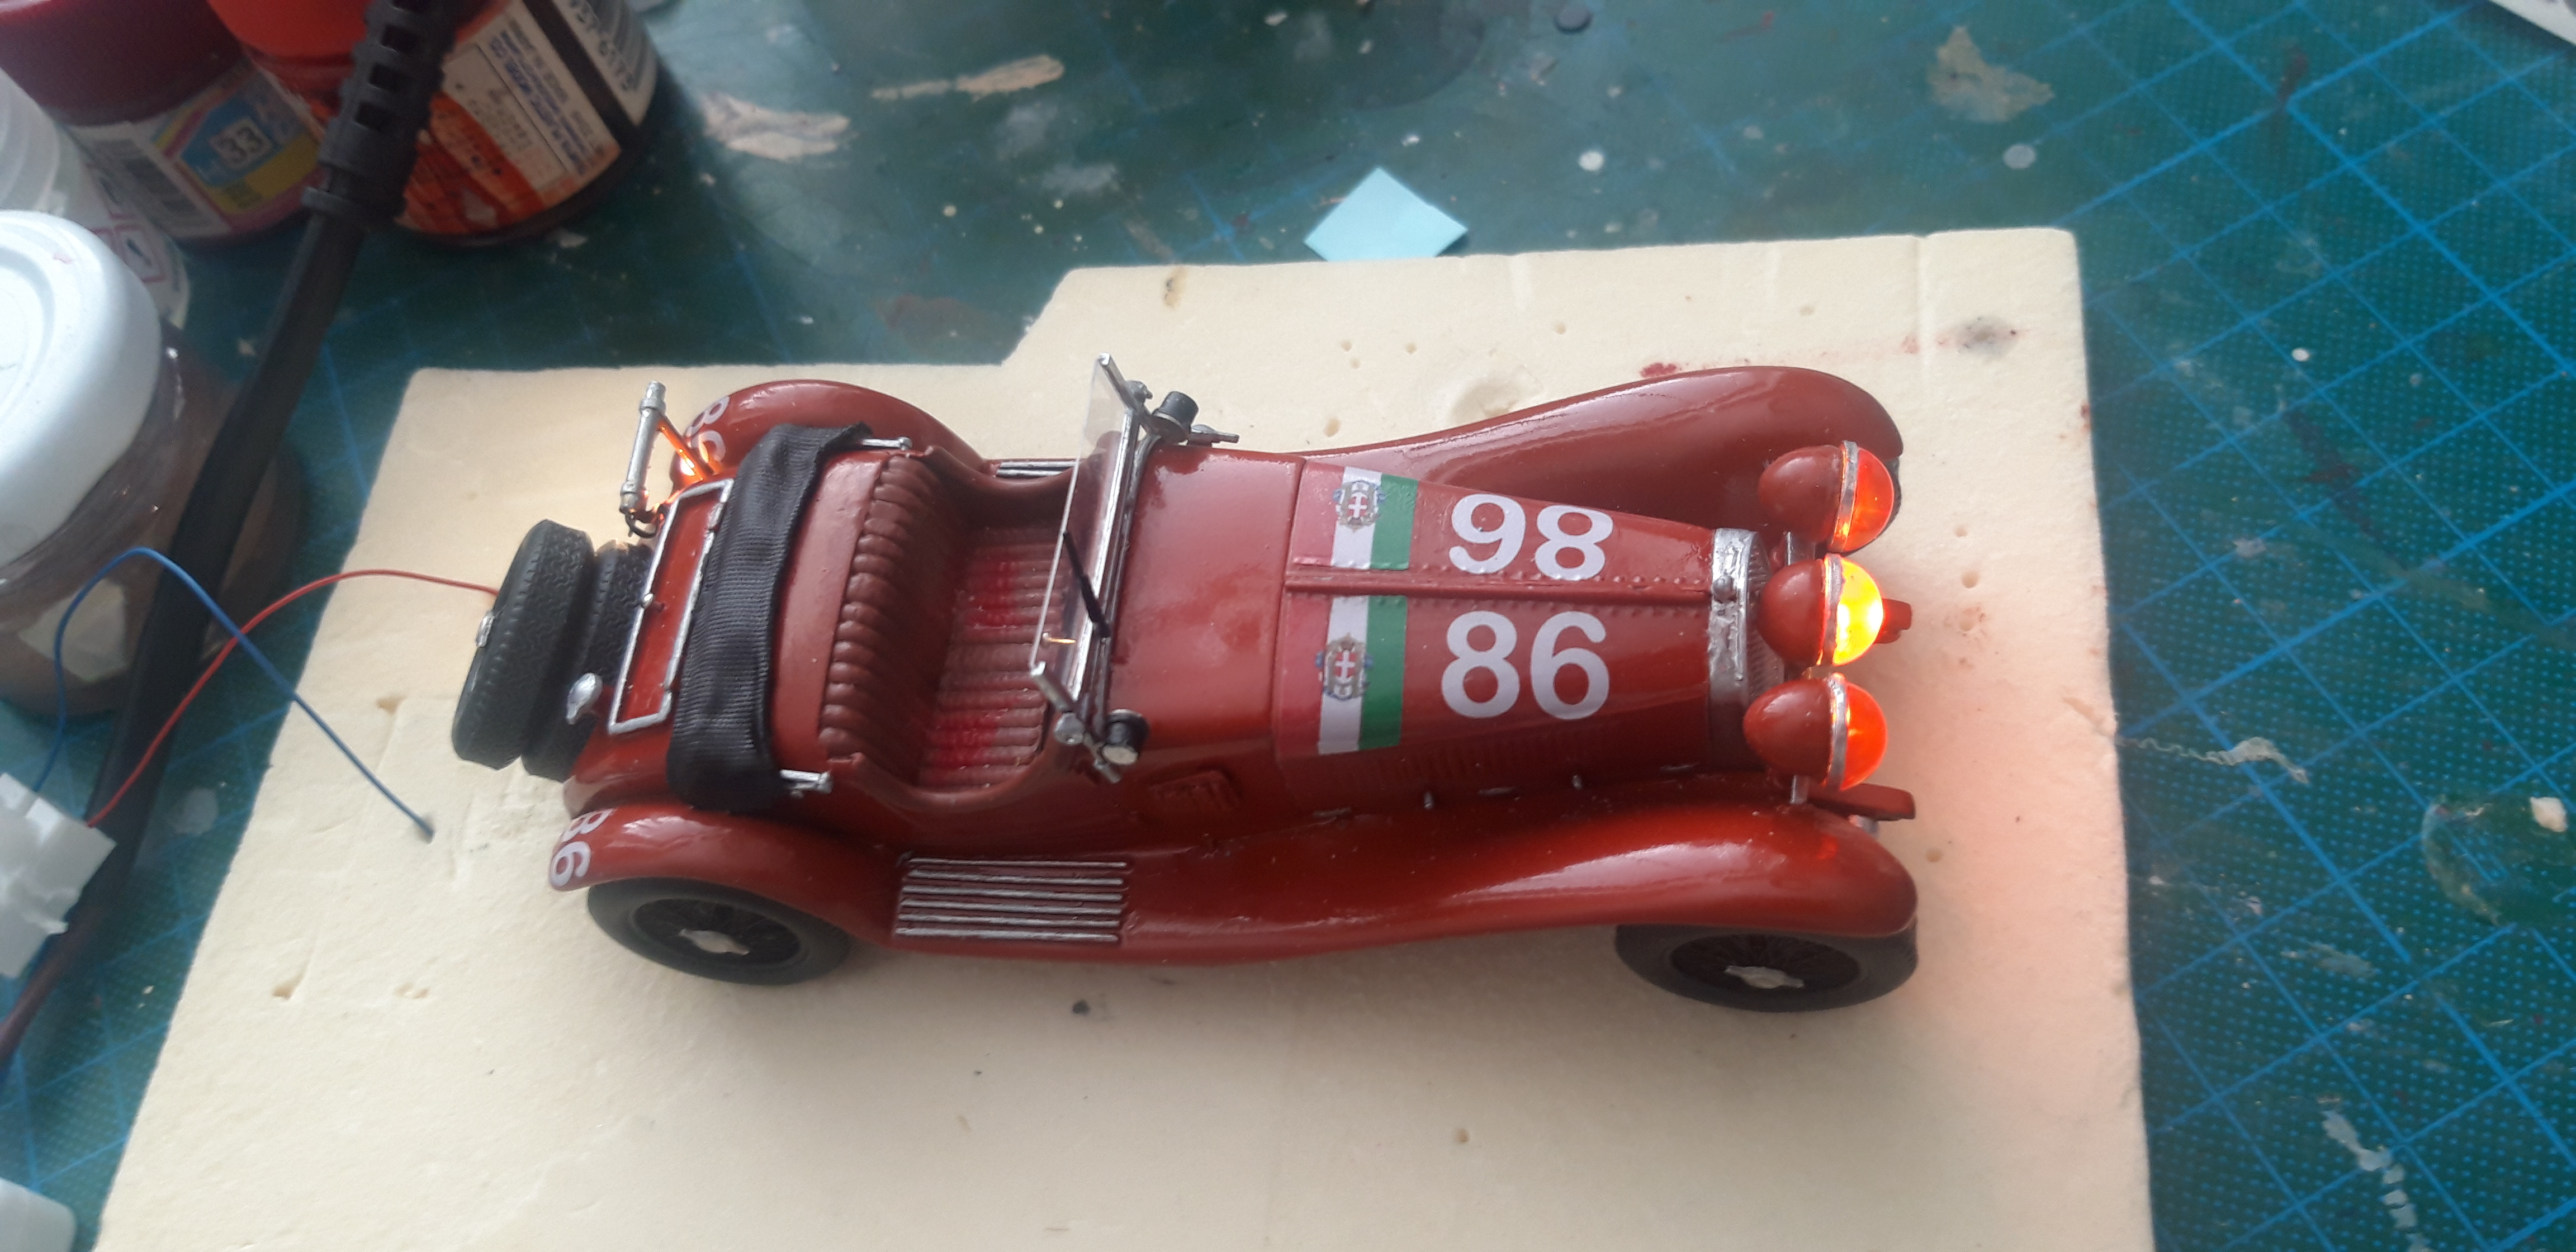
FORZA ALFA !
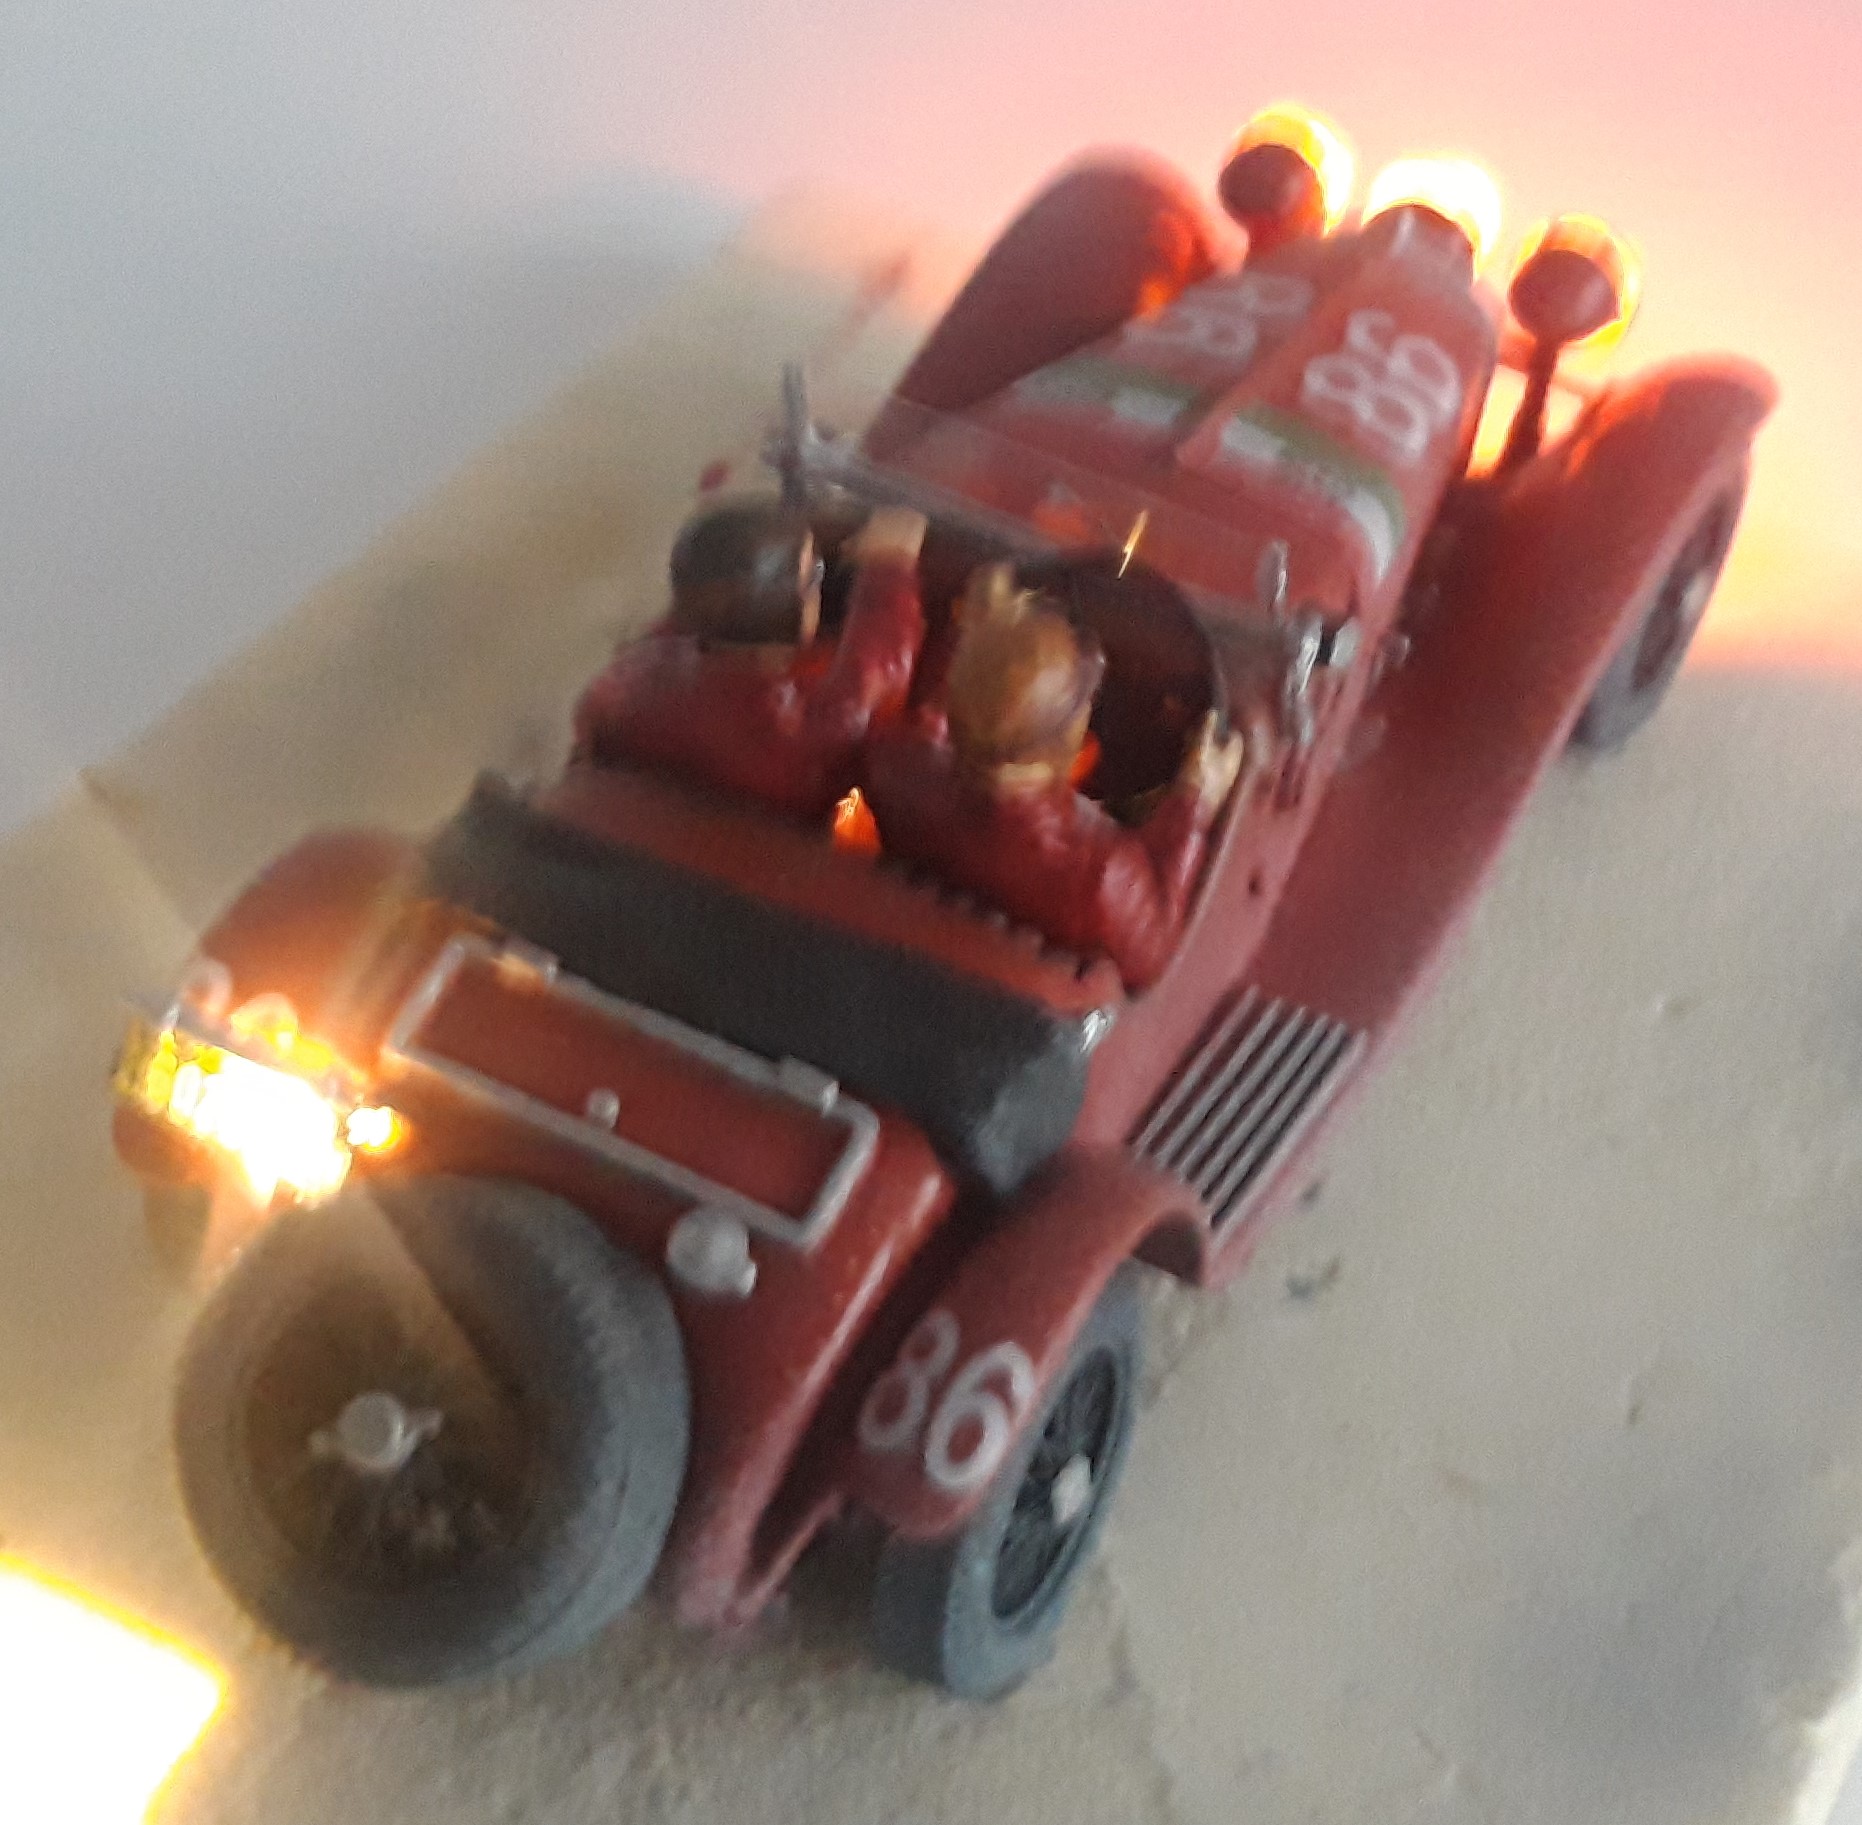
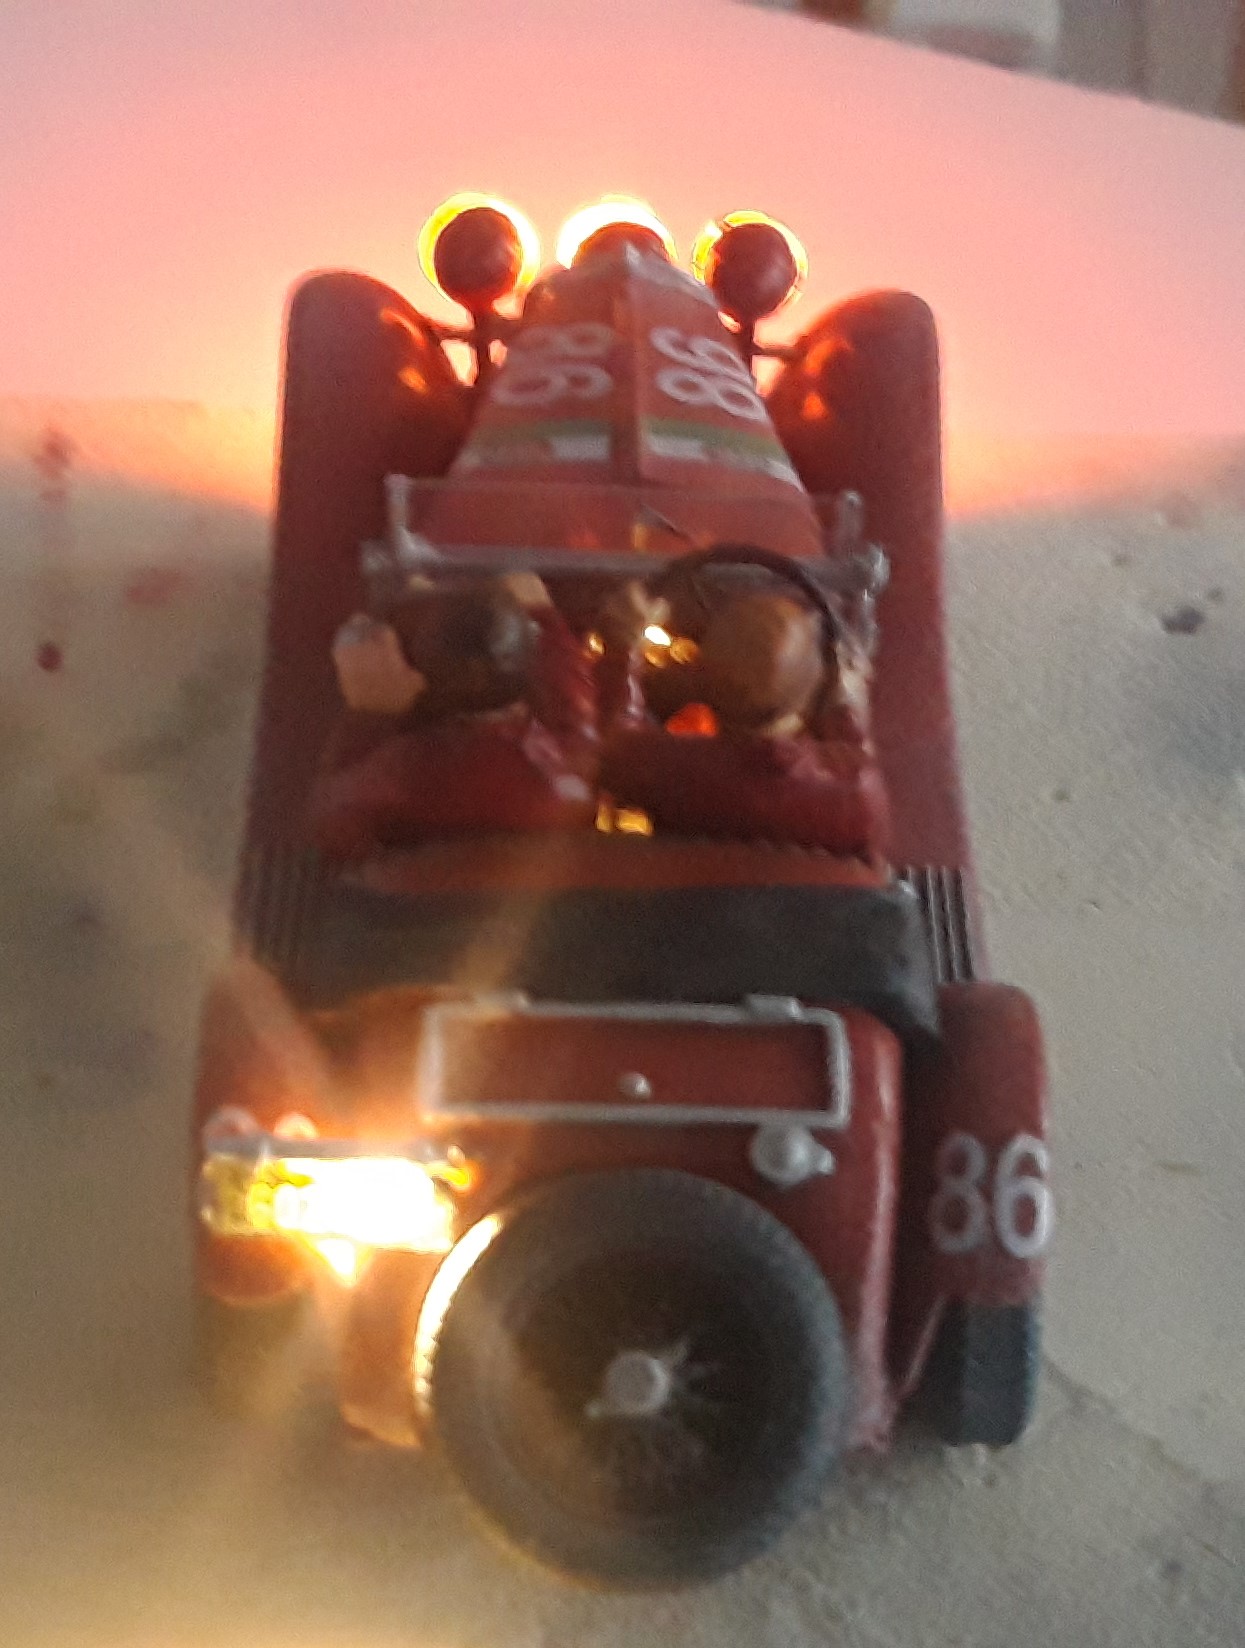
And now up to Airfix' Alfa 8C, dont know how to make those Mudguards.....
Kind regards !
 Today i managed to get it ready for the diorama. The "Devils Eyes" where a real Challenge............an the folded Roof....build something like a Frame with thin Wire and added self Adheshive Plaster.


First Try how it Looks on the Street....


Next Step are the Pilots, Alfa has fitte his Drivers with very professional dark red Overalls.I try to get close to the Original.


Now for the "Devils Eyes" , they are a Legend, but nothing more than Dustcovers. Removed for Nightdrive and use the Headlights. After some Trys with heated Foil, i go with Furniture Stoppers. For me they do the Part. Too Bad , the LED bent a bit so the little Alfa squint a bit. The Parts are so secure cemented , i cannot correct this


Added etched Handles and Fittings,


Last Lighttesting, than the Wheatering, and its Ready


FORZA ALFA !


And now up to Airfix' Alfa 8C, dont know how to make those Mudguards.....
Kind regards !
-
Challenger77
- Posts: 292
- Member since:
18 May 2010, 12:50
-

Challenger77
- Posts: 292
- Member since:
18 May 2010, 12:50
-

MABO
 Supporting Member (Gold)
 - Posts: 9170
- Member since:
12 May 2008, 18:01
-

Challenger77
- Posts: 292
- Member since:
18 May 2010, 12:50
Those cars look impressive with their lights in that wonderful setting, Challenger77. Great work! 
Santi.

Santi.
-
Santi Pérez
- Posts: 2106
- Member since:
28 Aug 2016, 19:42
Help keep the forum online!
or become a supporting member
What a beautifull diorama. I like the cars and how you managed to put lights into it.
-
paul haring

- Posts: 198
- Member since:
20 Oct 2008, 18:51
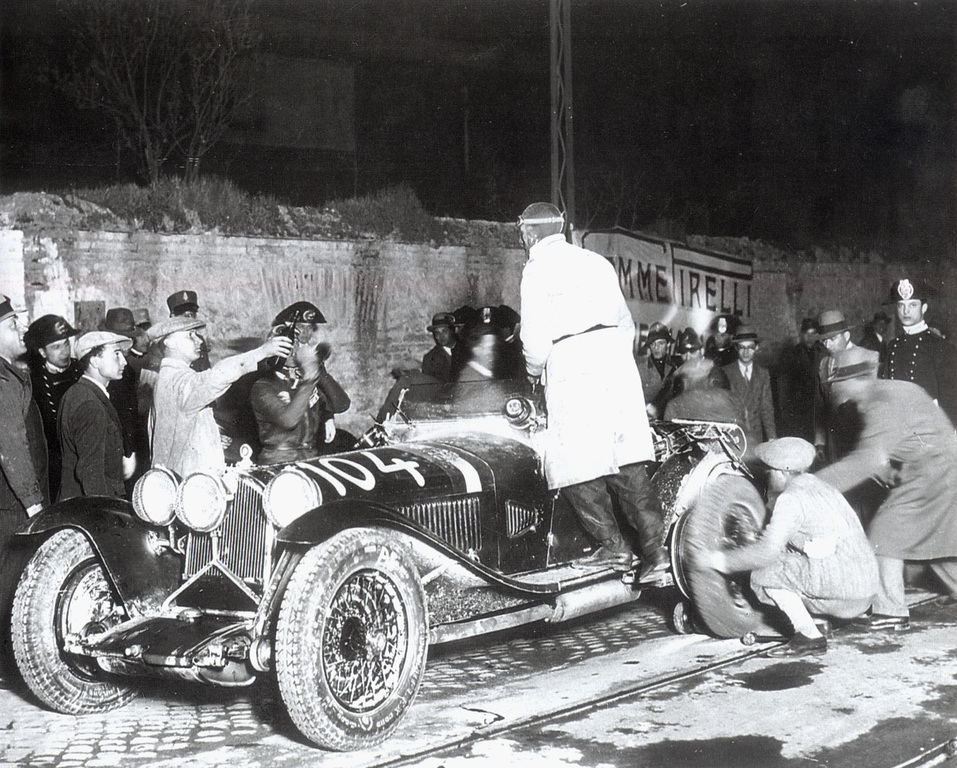
After a not so fine Spring and bad Summer, my Mother passed away in Peace, i managed to go on with the second Alfa. This represents the Works Alfa 8C 2300, on his first Outing in the Hands of Tazio Nuvolari and Luigi Arcangeli, who did not finish. Nuvolari leads at first, but he had 9 Tirechanges, because the also new Pirellis didnt stand up to the Powerful 8C. I found in one of my Books a Pic that inspired me and so i t goes on.......
One of the many Tirechanges.
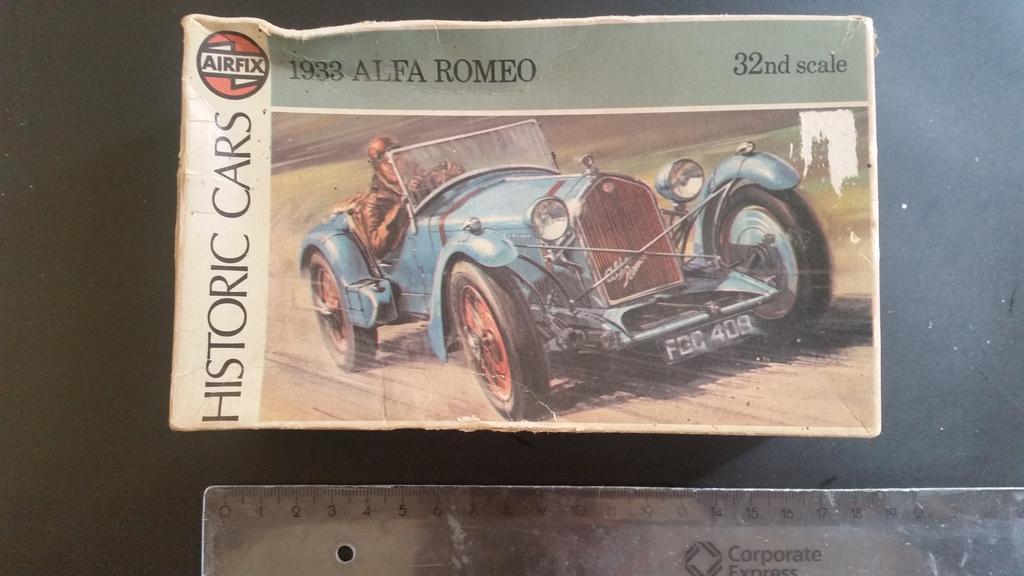
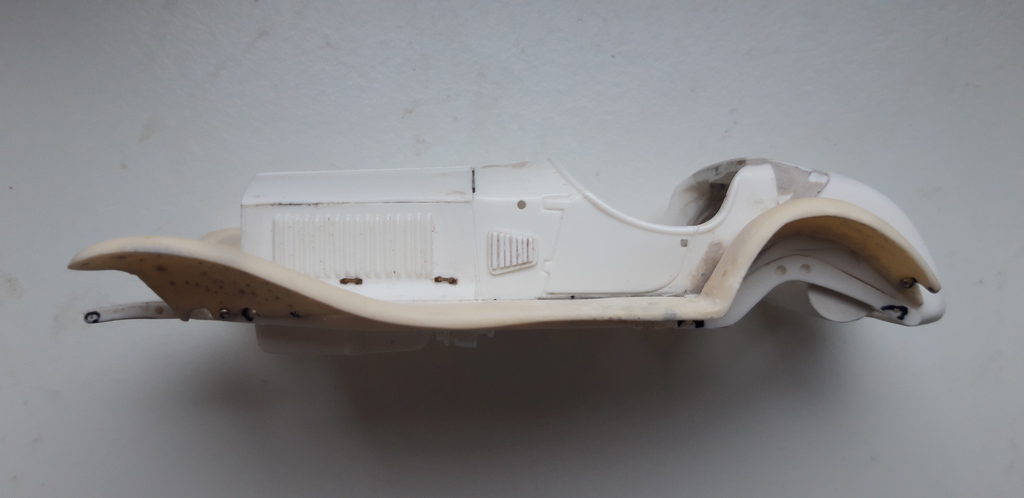
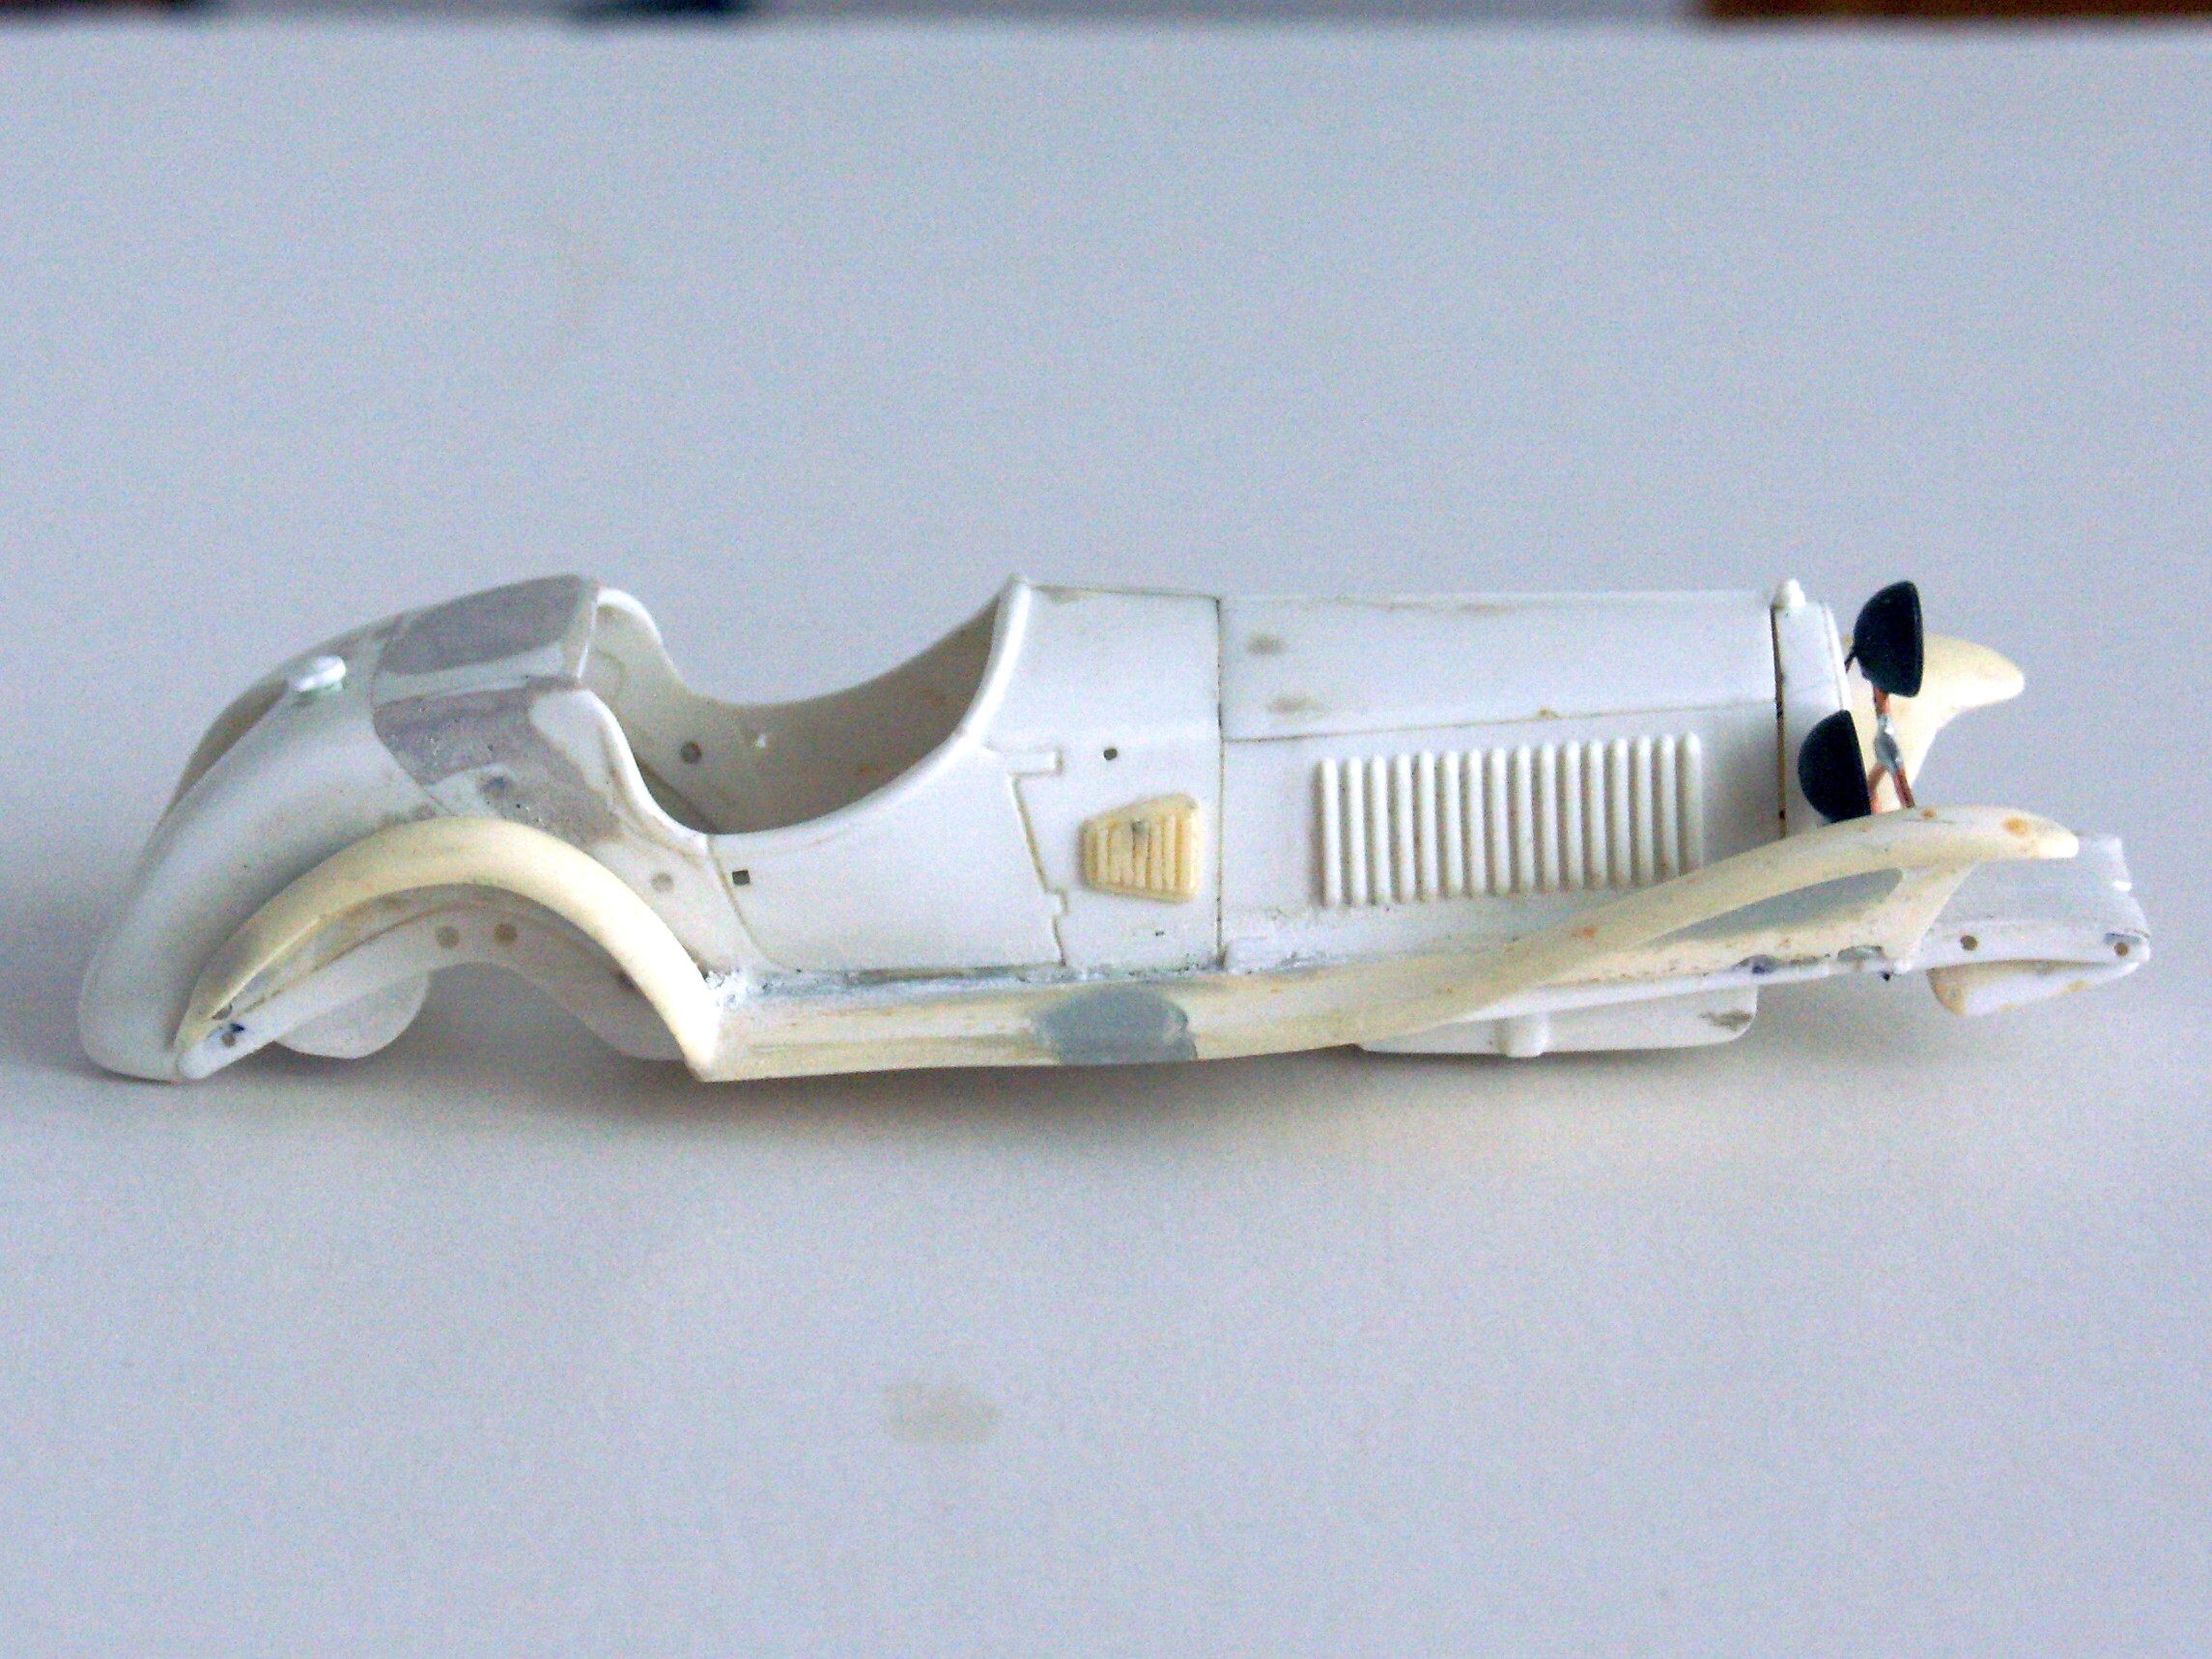
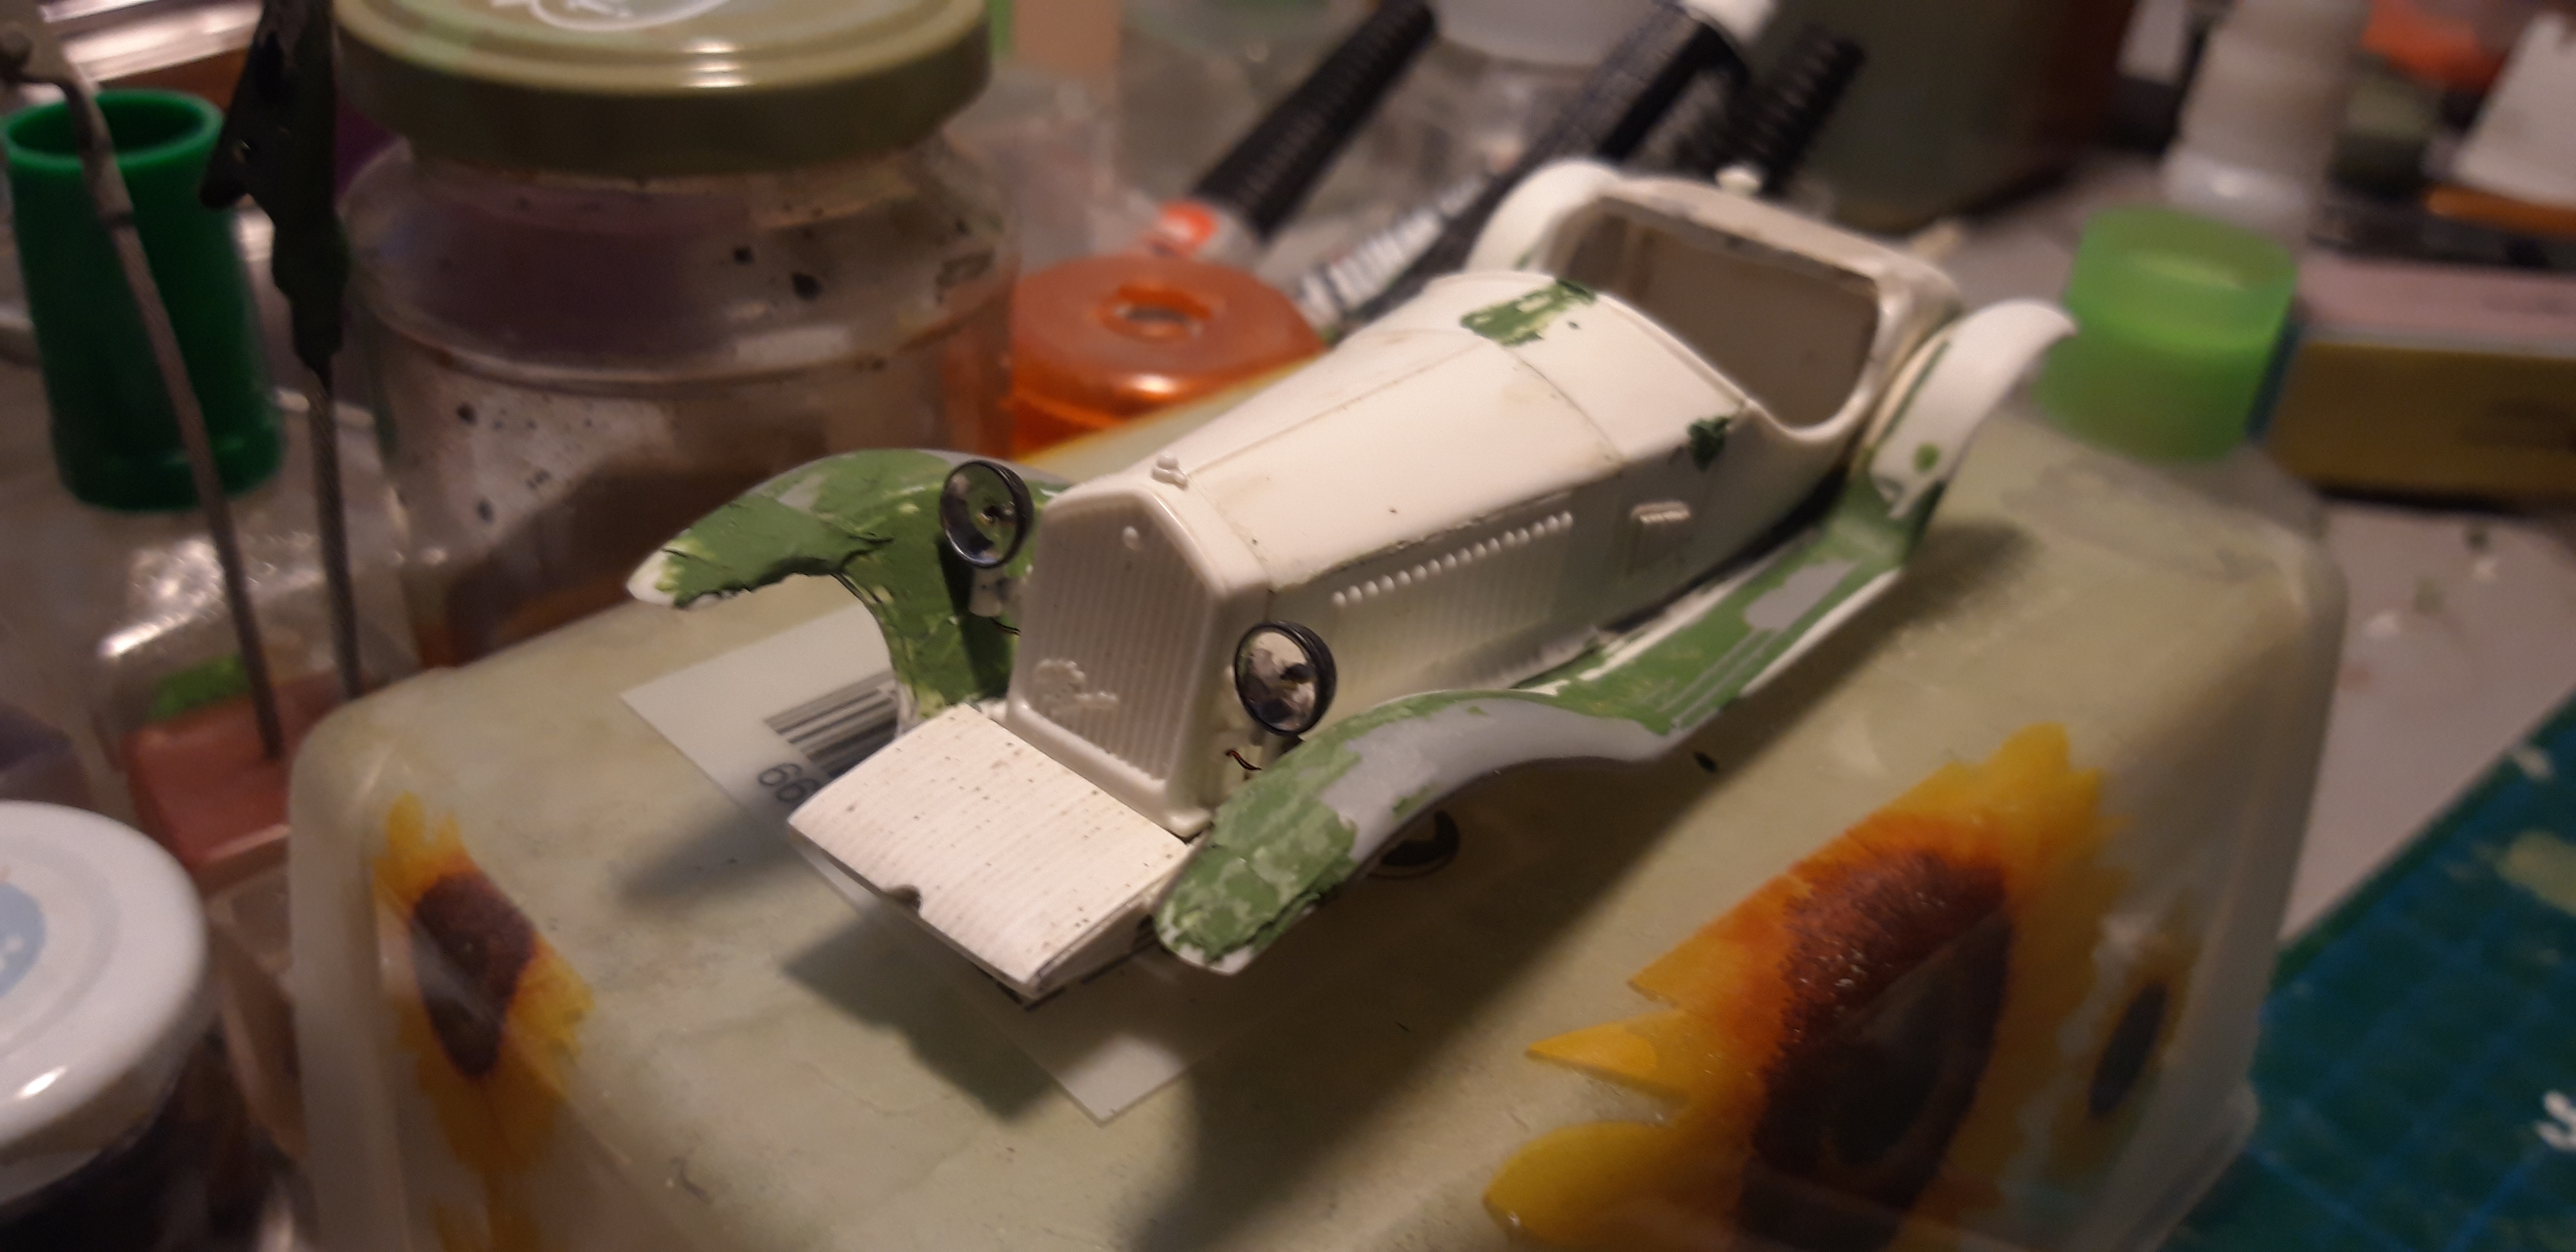
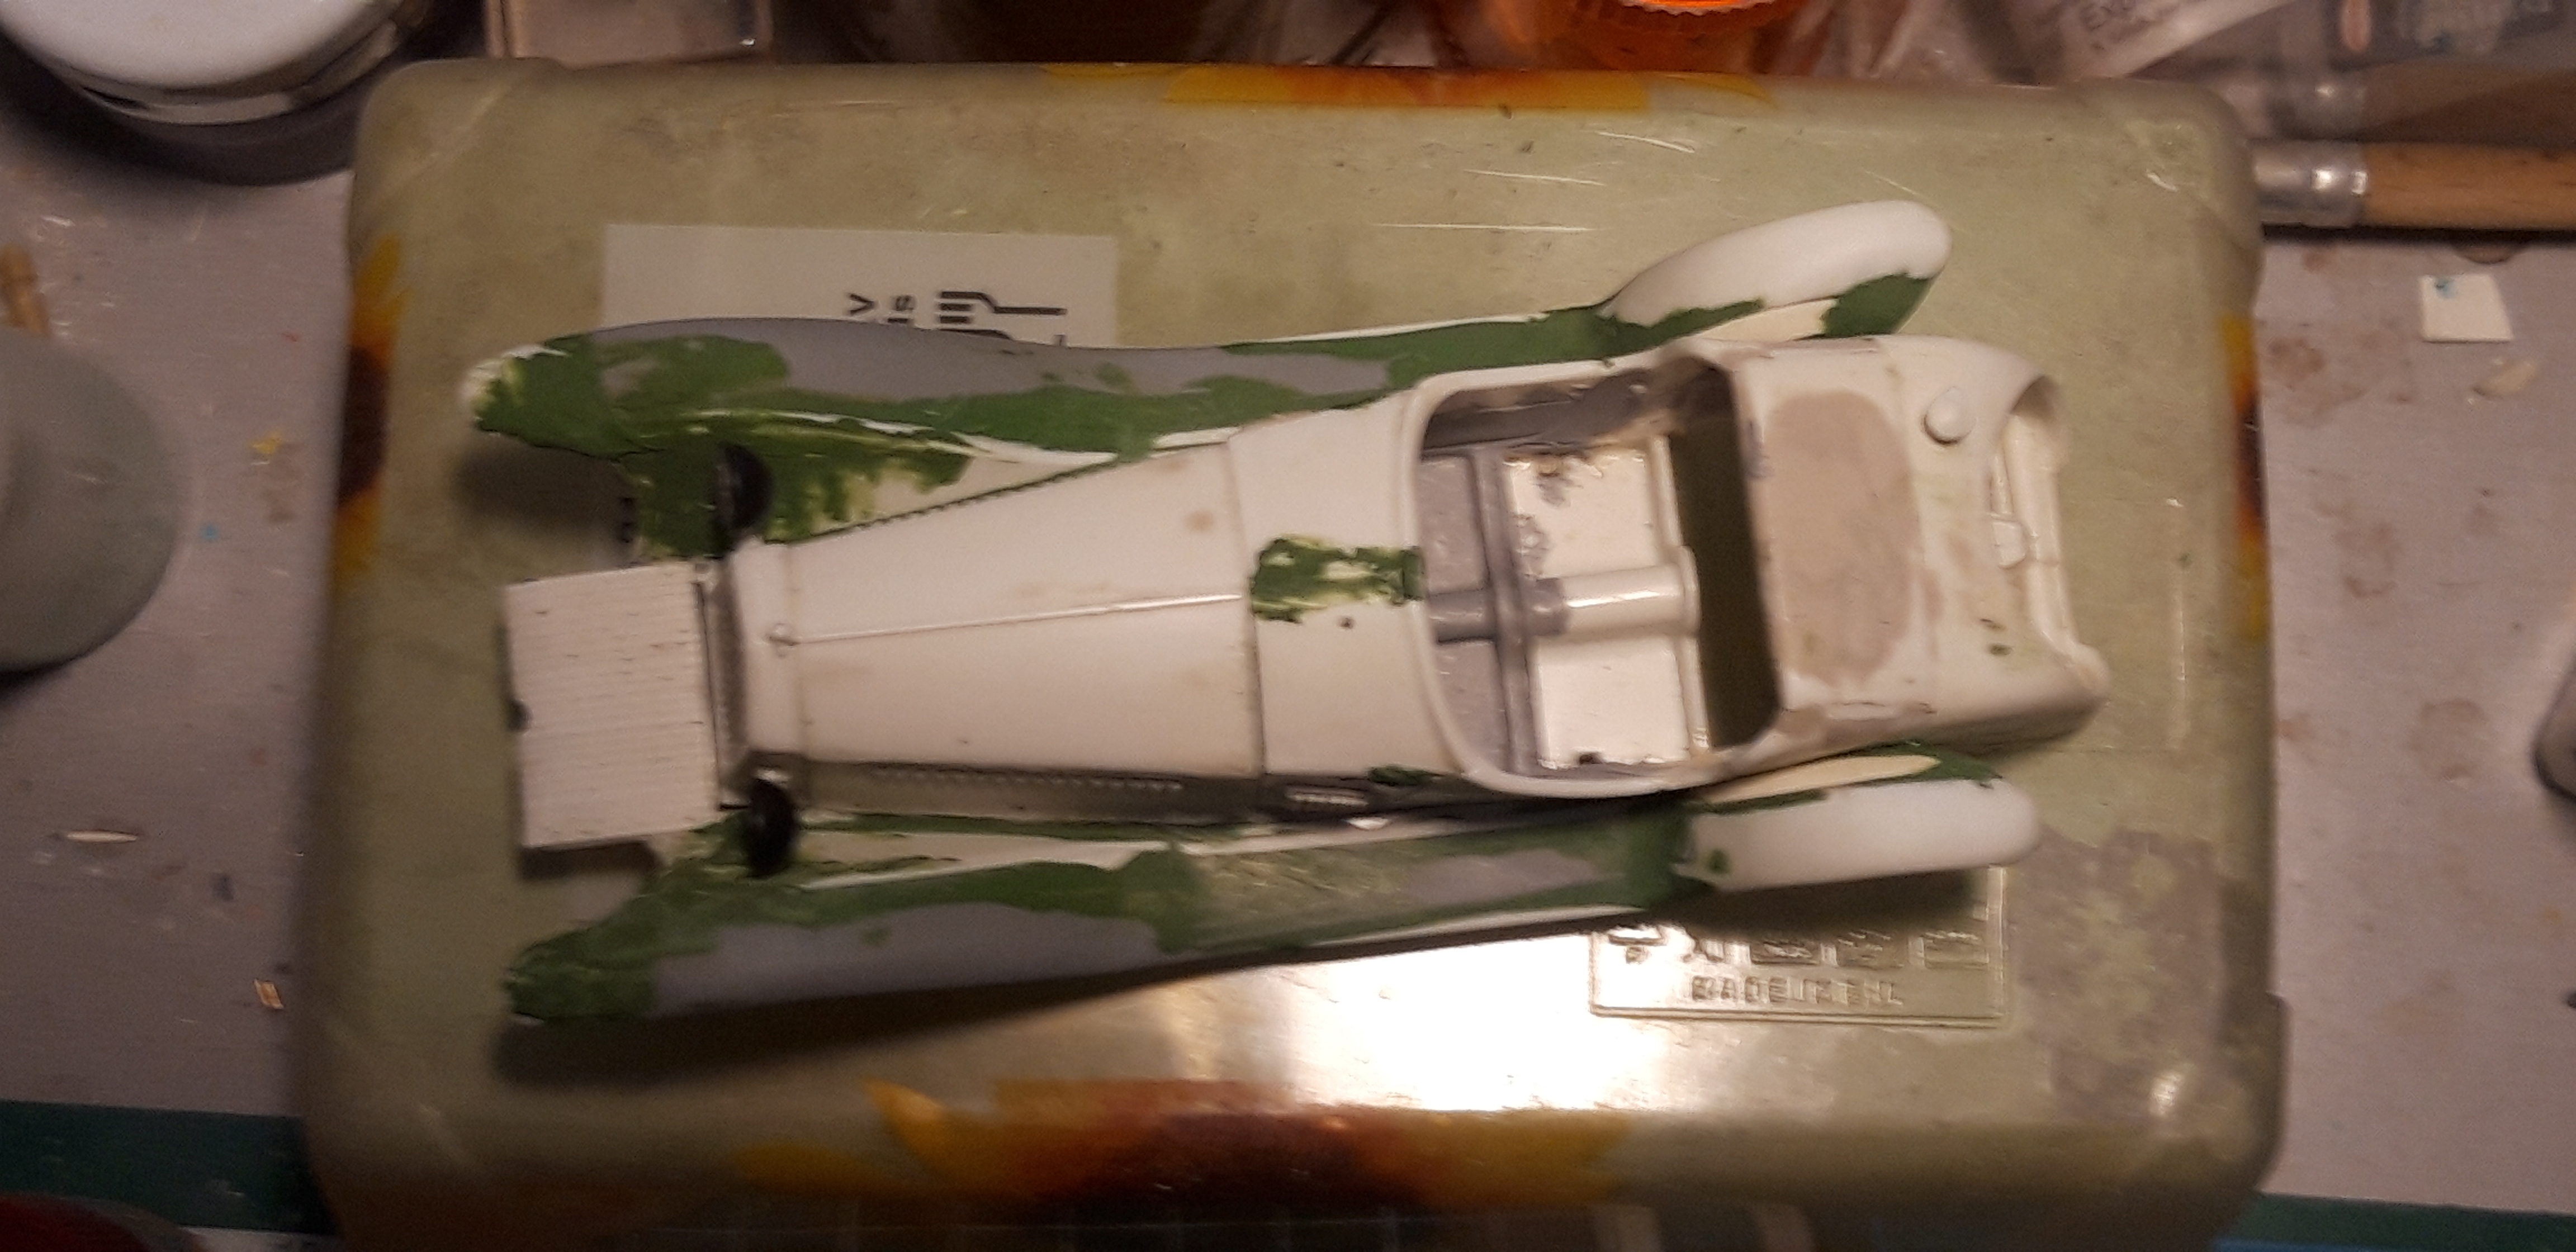
So i began a Monthlong search for the only known Plasticmodel , the Long Wheelbase Alfa 8c from Airfix. A very old Kit. After i catch one, i was a bit surprised by some very good Details and on the other Hand some crude Simplifications. But the first Step was to shorten the Chassis, this was very Easy , because Airfix get it right with the Beams. So you can cut it whre it was on the real Car.A bit difficult was the Body. Here i cut a Stripe out, set the Moulding for the Sparewheels a bit back and down. Then begins the funny Part, Putty and Sanding, Putty and Sanding,....and so and so on.
Here you can see the Difference between the Long/Short Wheelbase
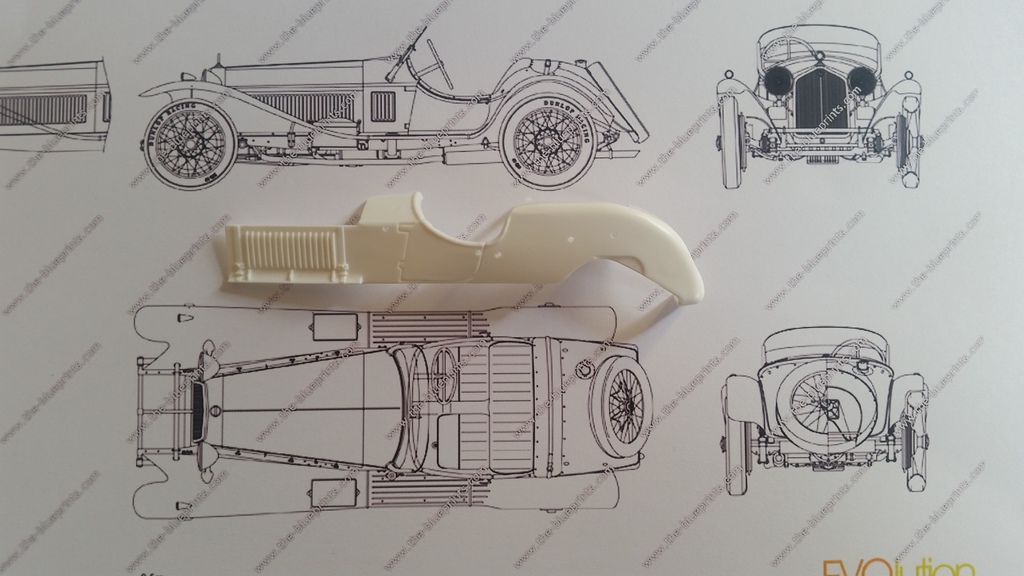
Then i scratched or better copy with a Mould from the Pyro 6C the Mudguards. The Airfix Kit comes with the correct 4 seperate Guards.Also scratched a Oiltank in Front of the Cooler and Sidevents.
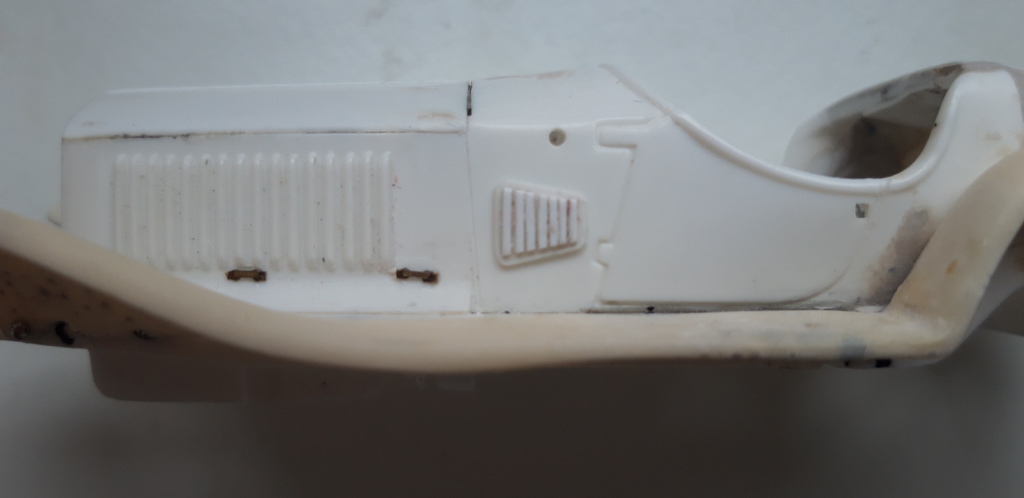
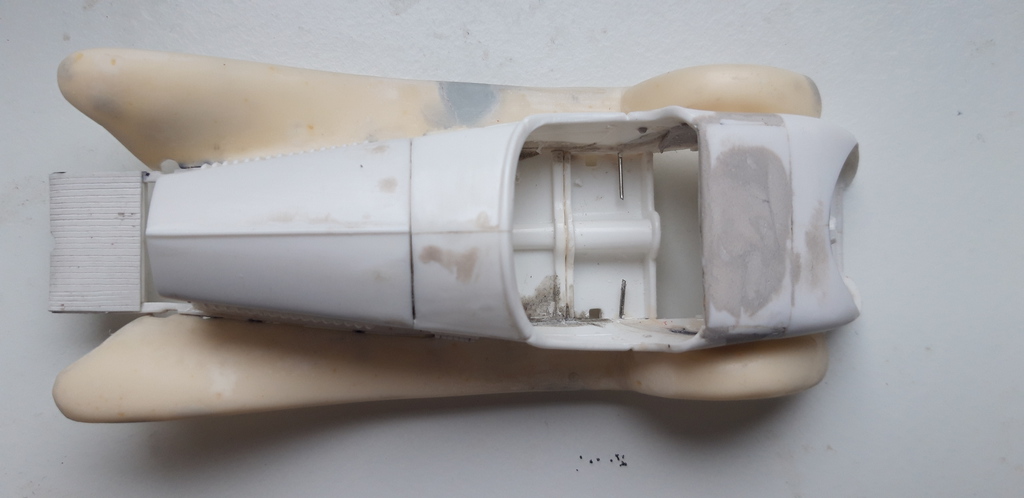
I also norrowed the Oilpan, Airfix made it way to wide. And i added a bit of a Tankkit to simulate the seeable Part of the Gearbox.
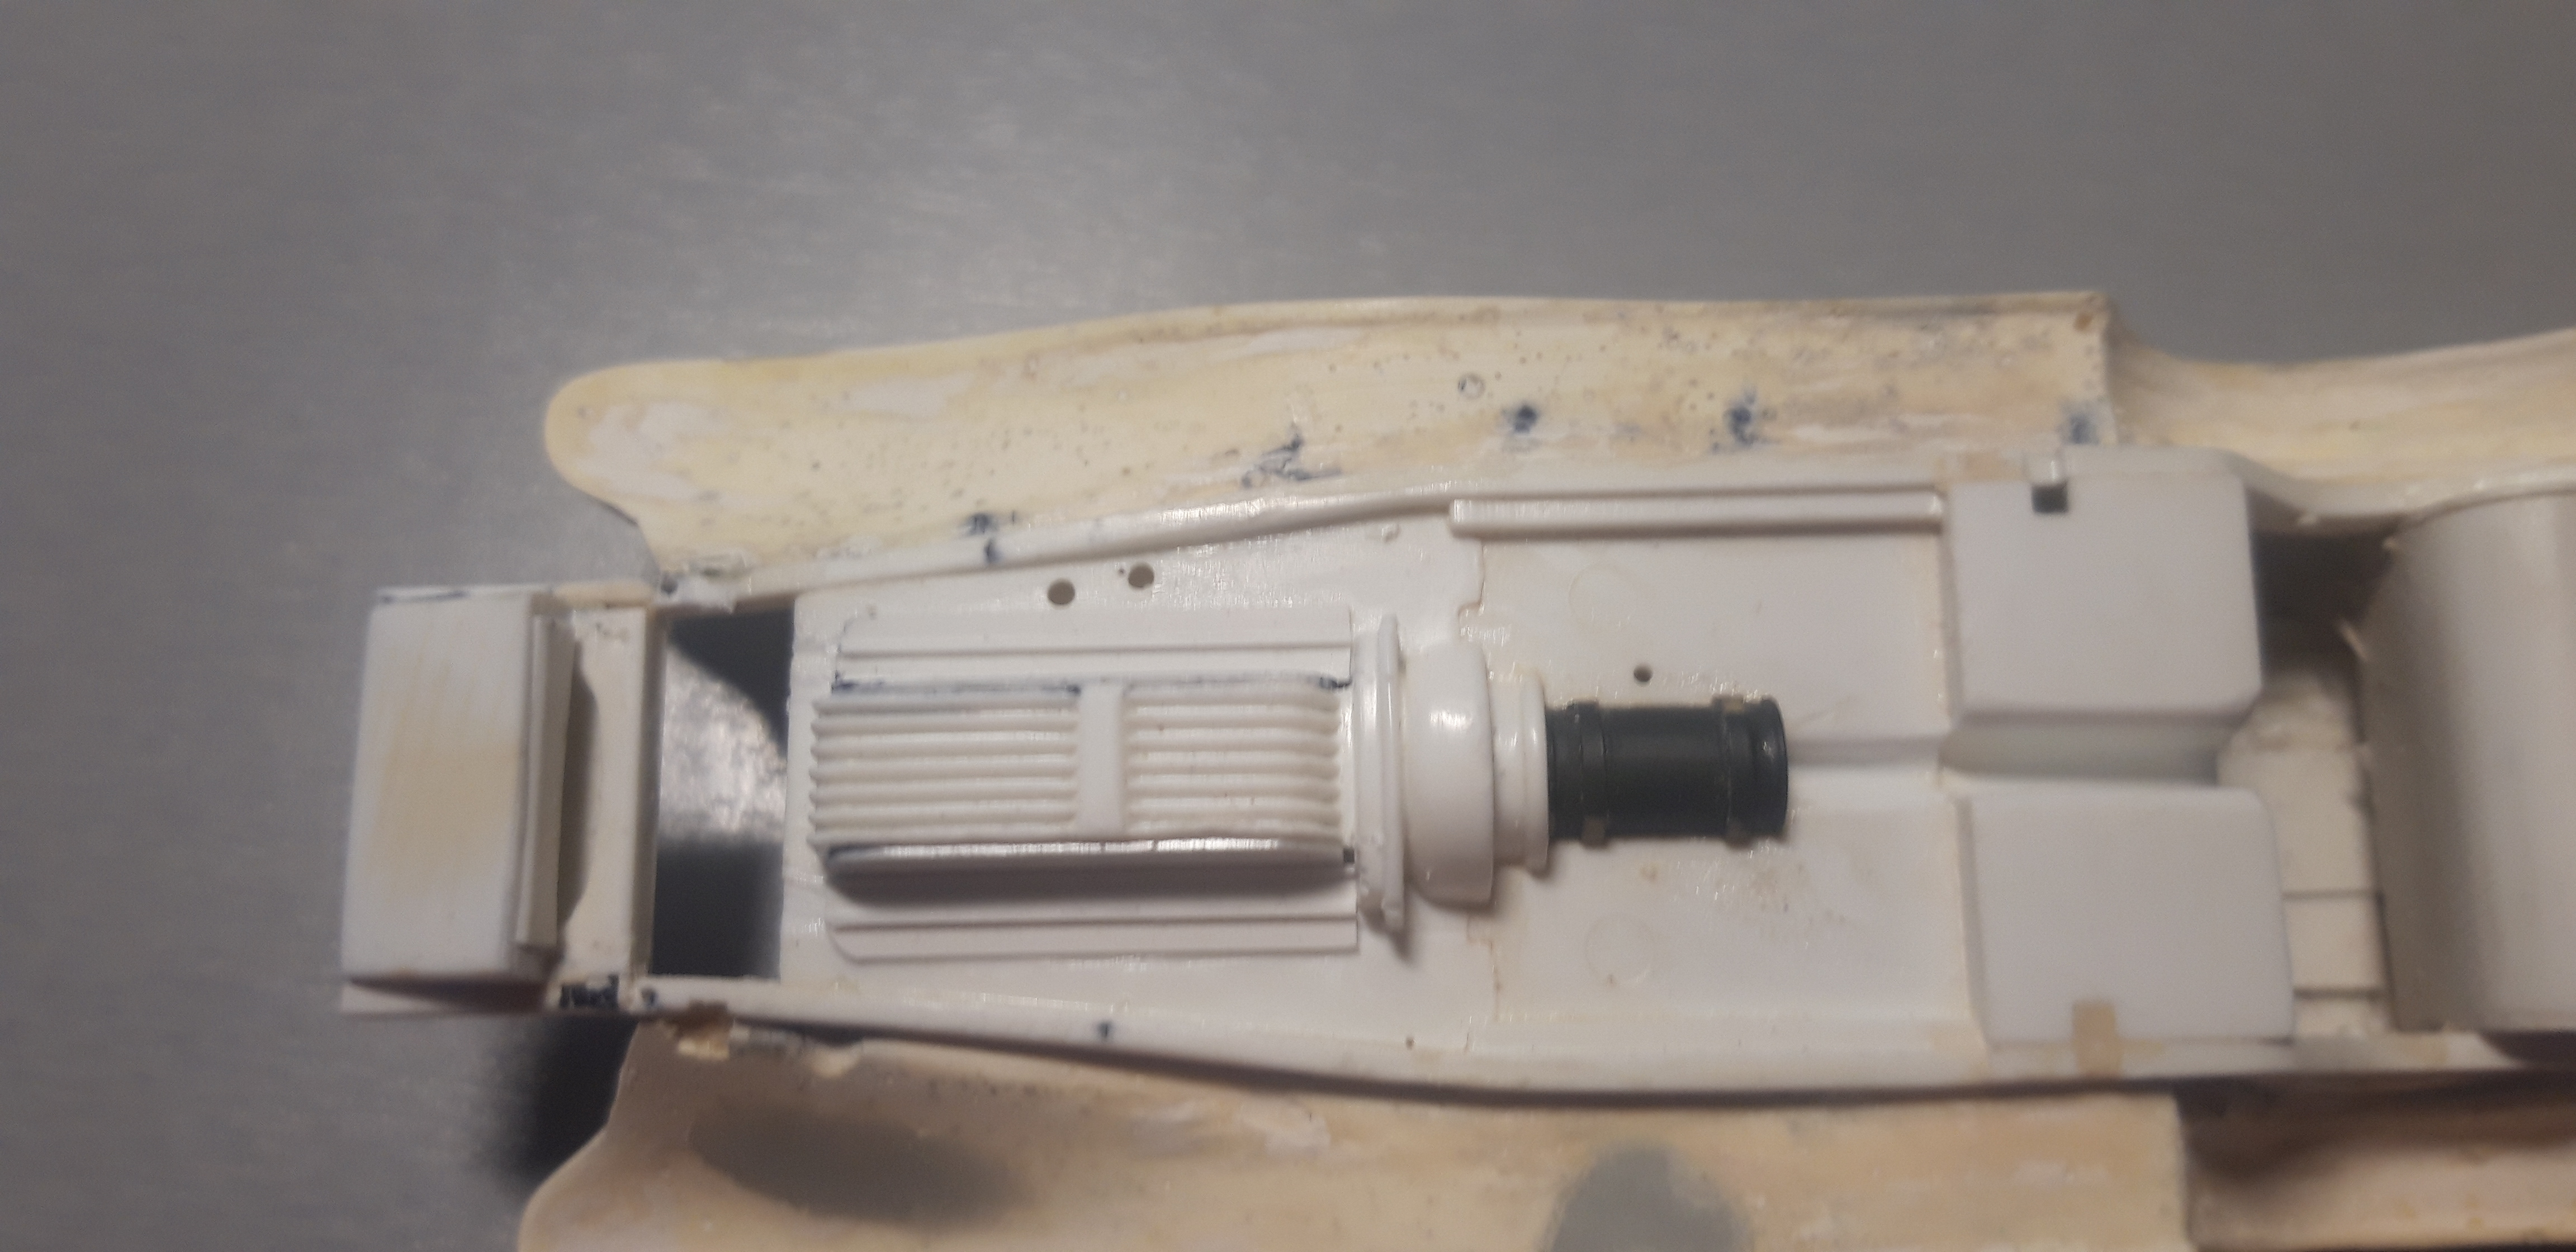
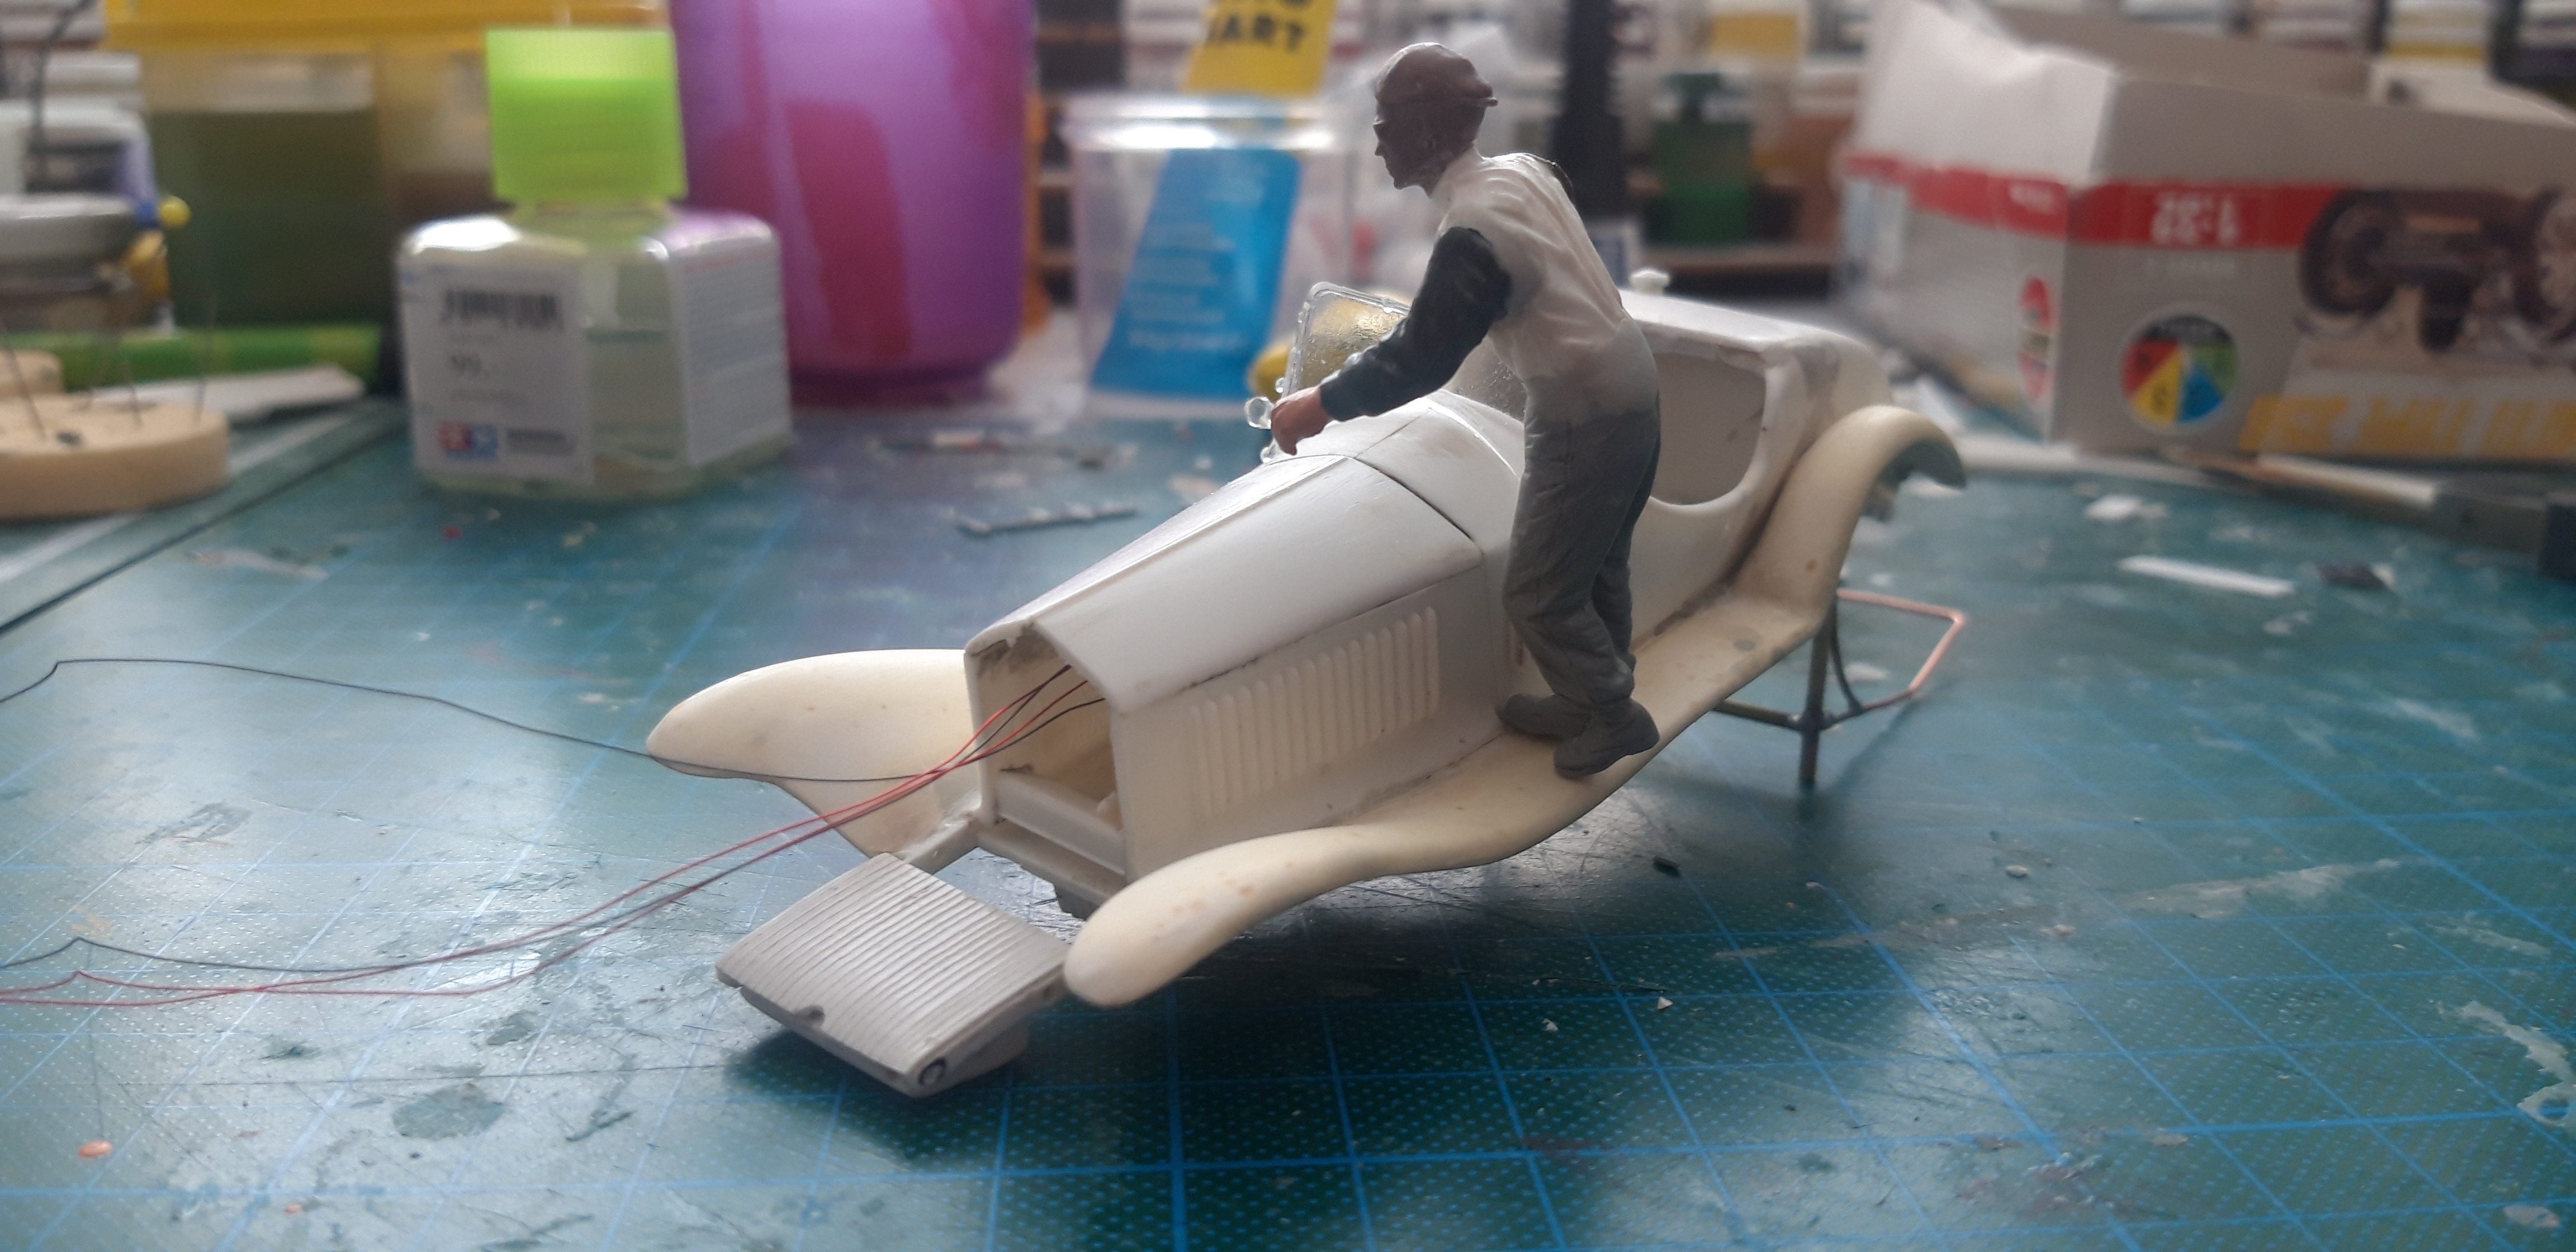
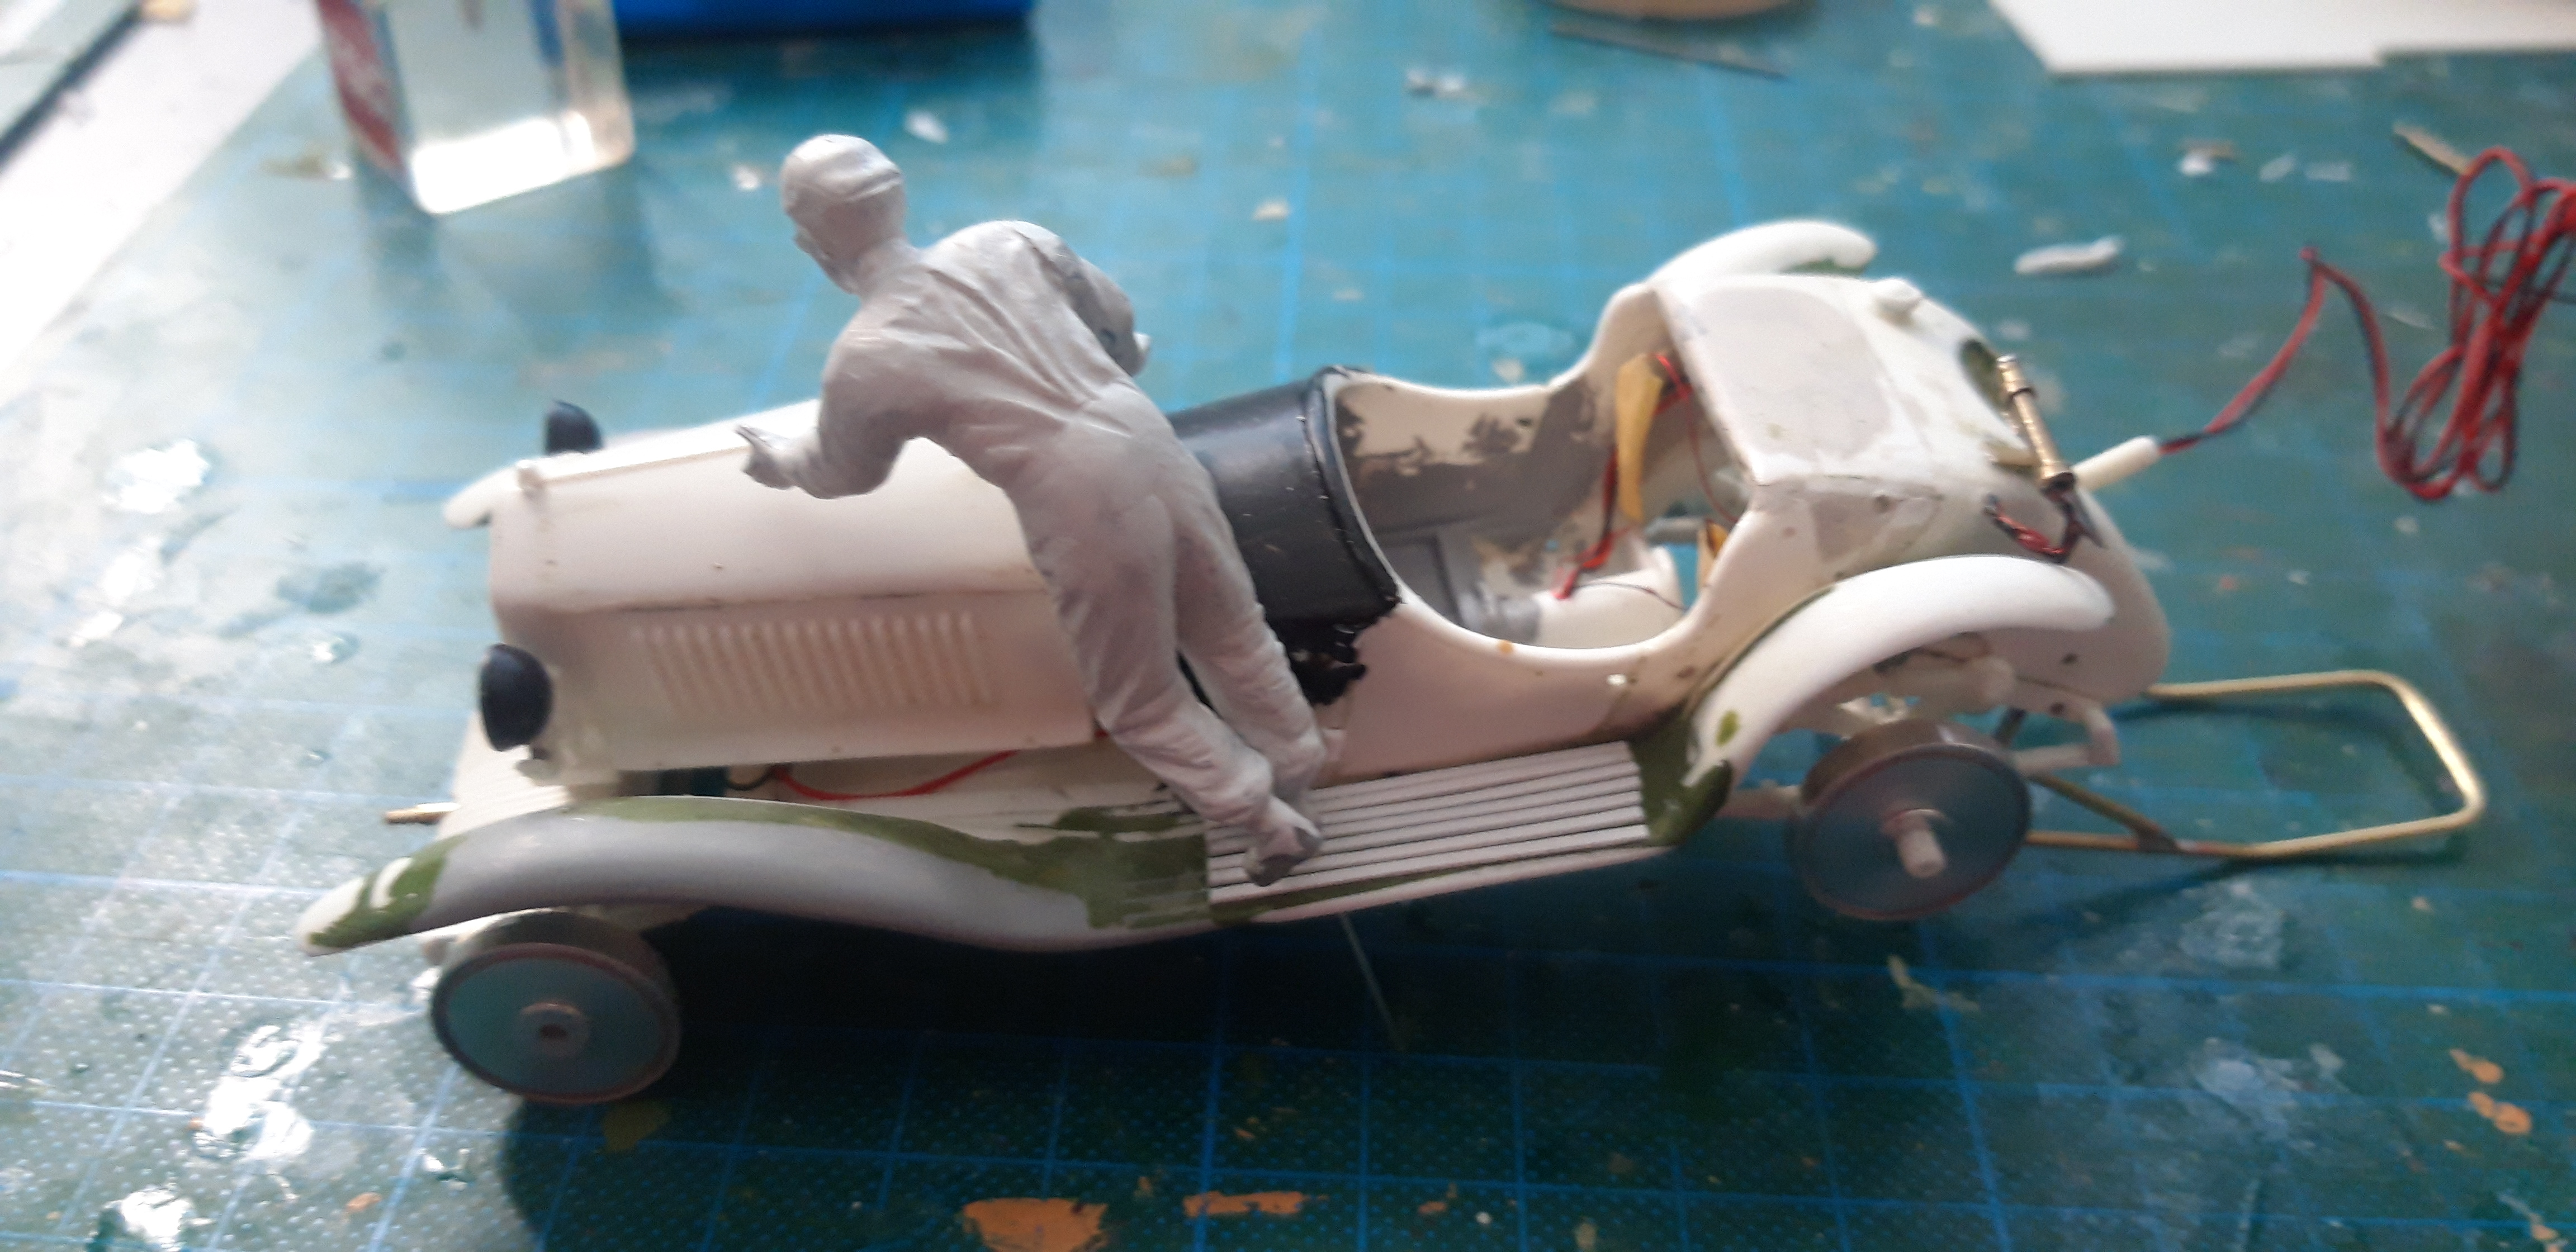
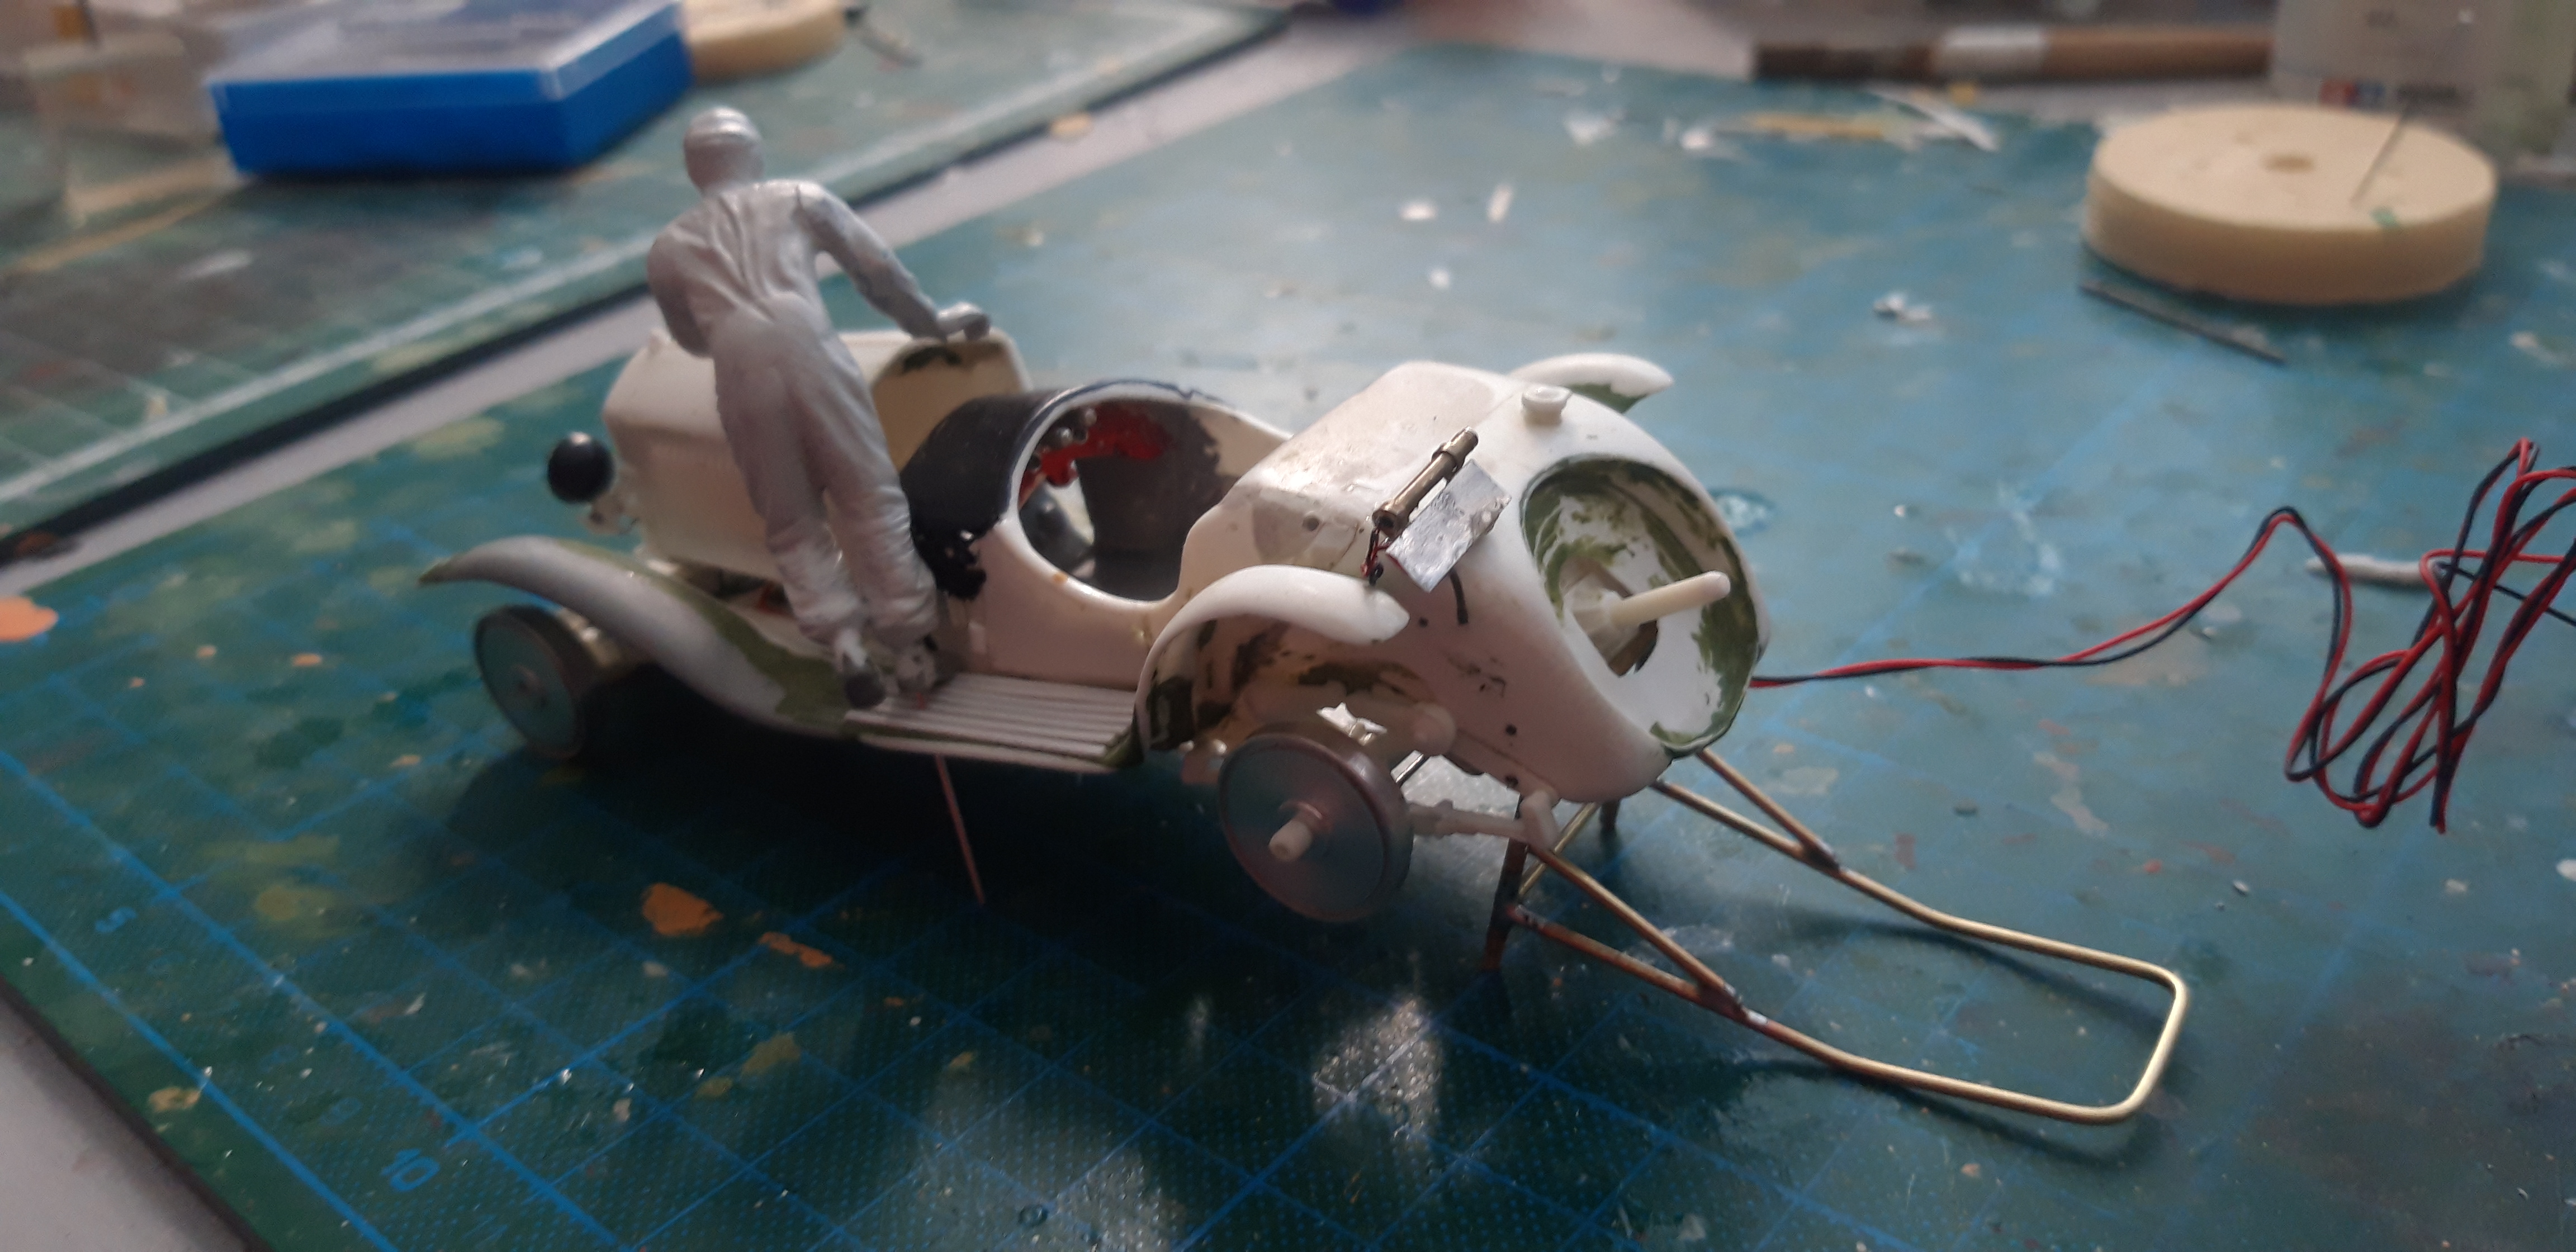
After testing the Headlightphalanx, Carjack and the Figure , i found out that my Mudguards are way too flat and . I used the smaller Wheels from the 6C as a Reference...AAARRRGGGHHHH .....back to the Start.....
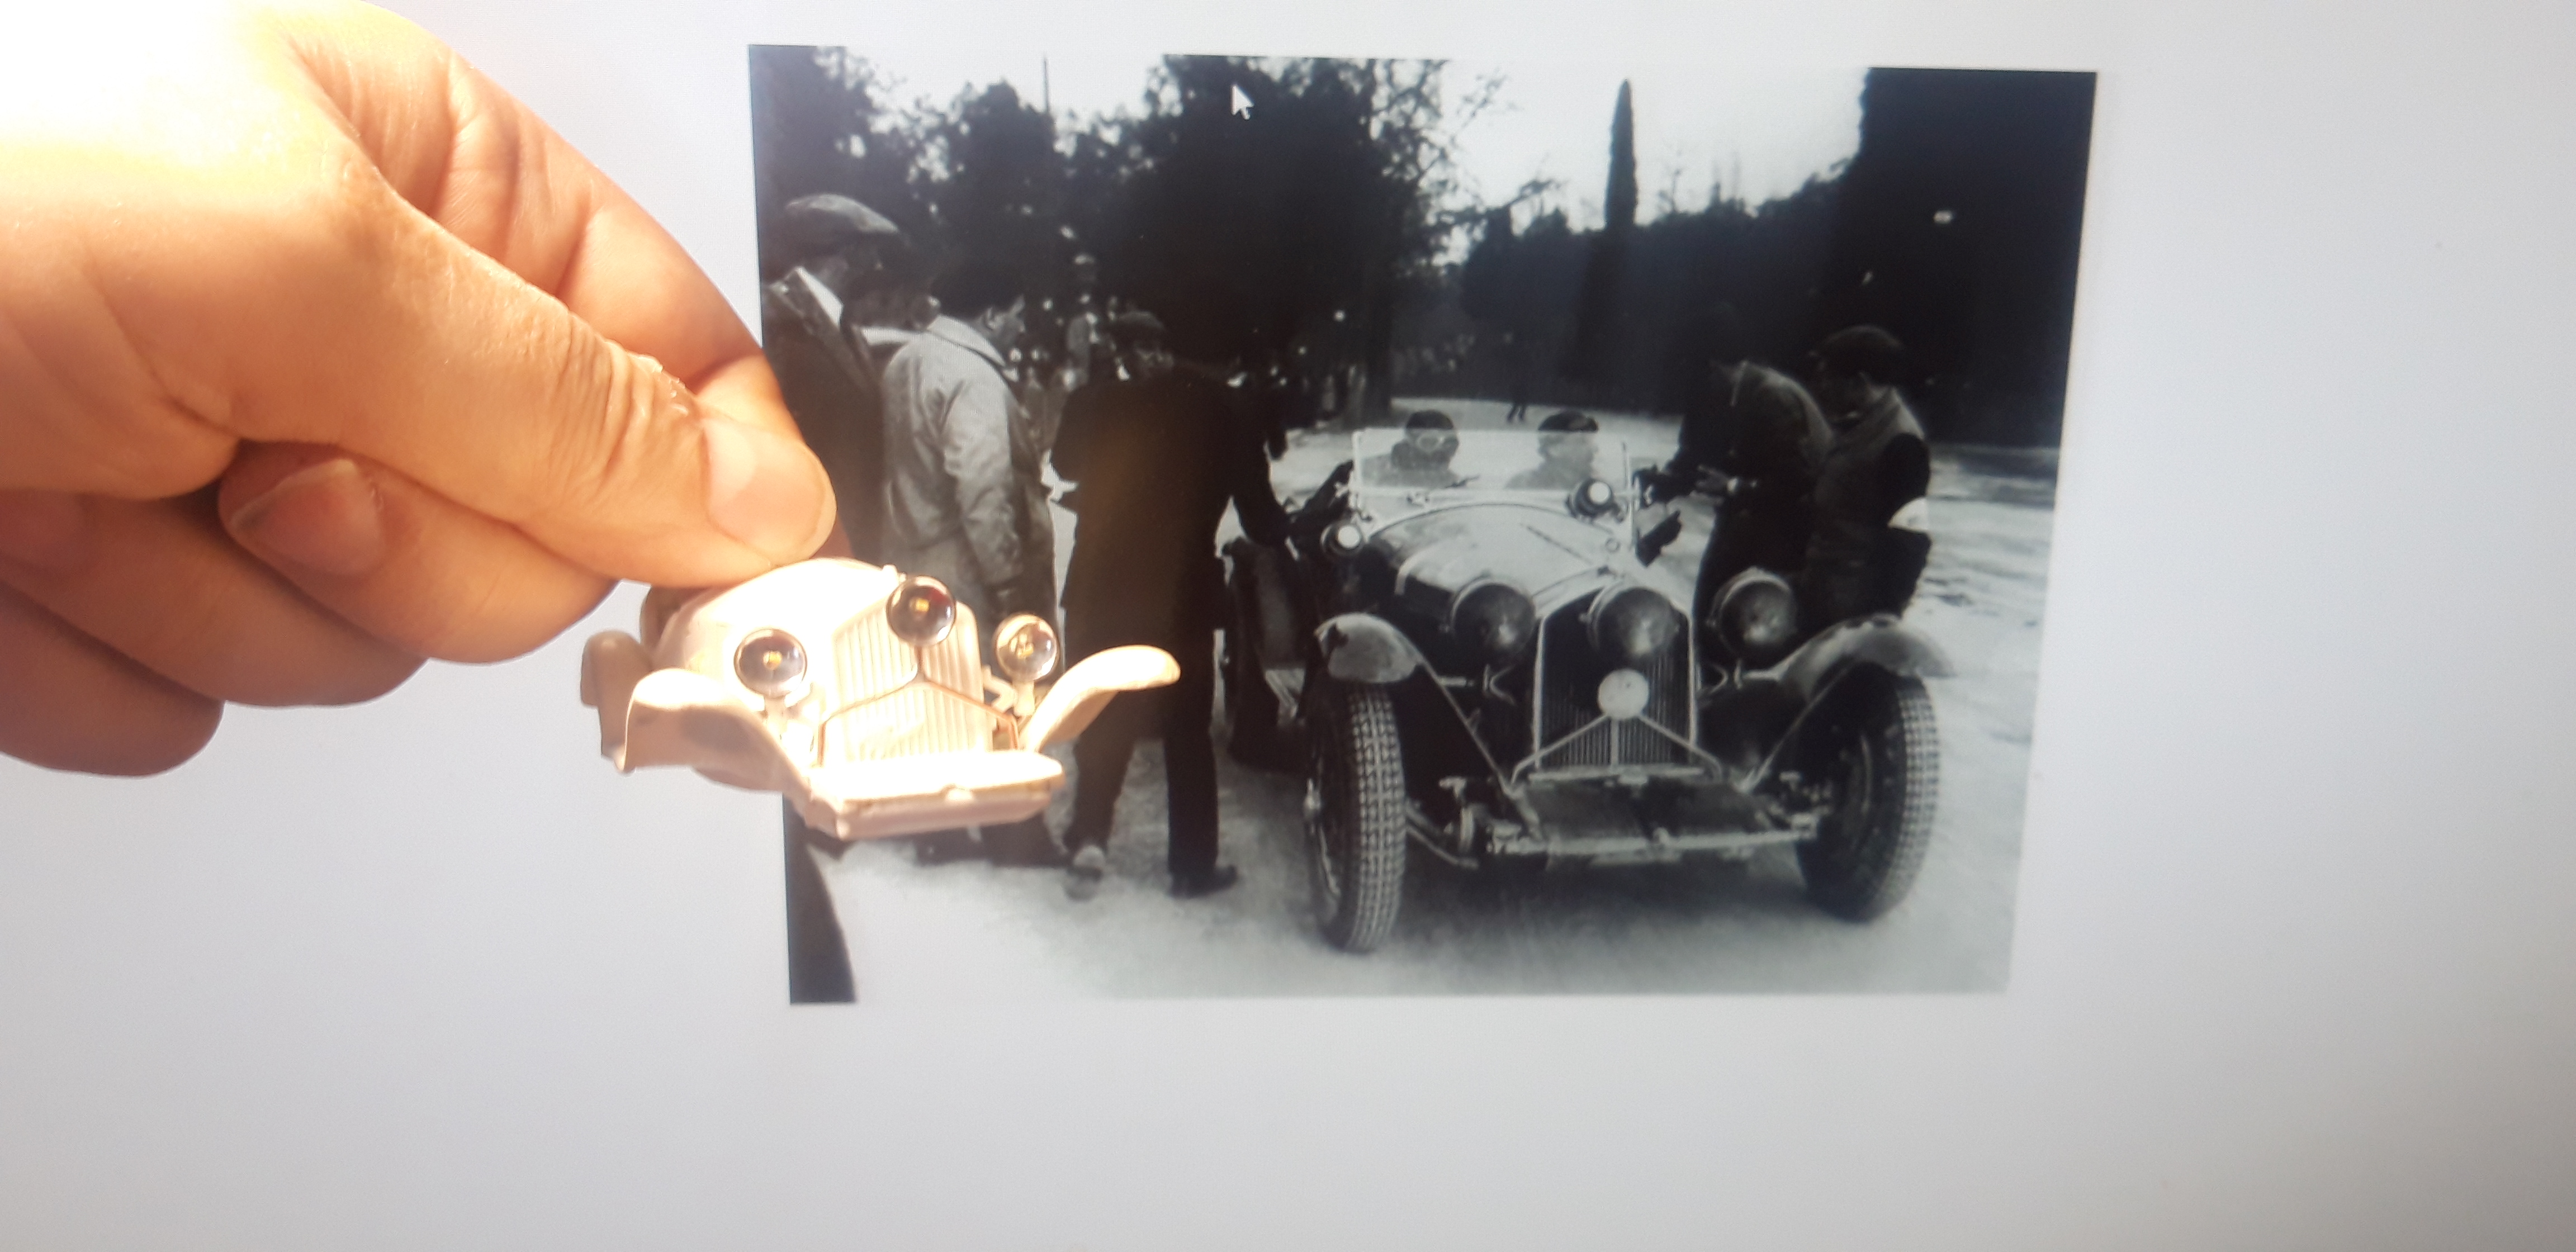

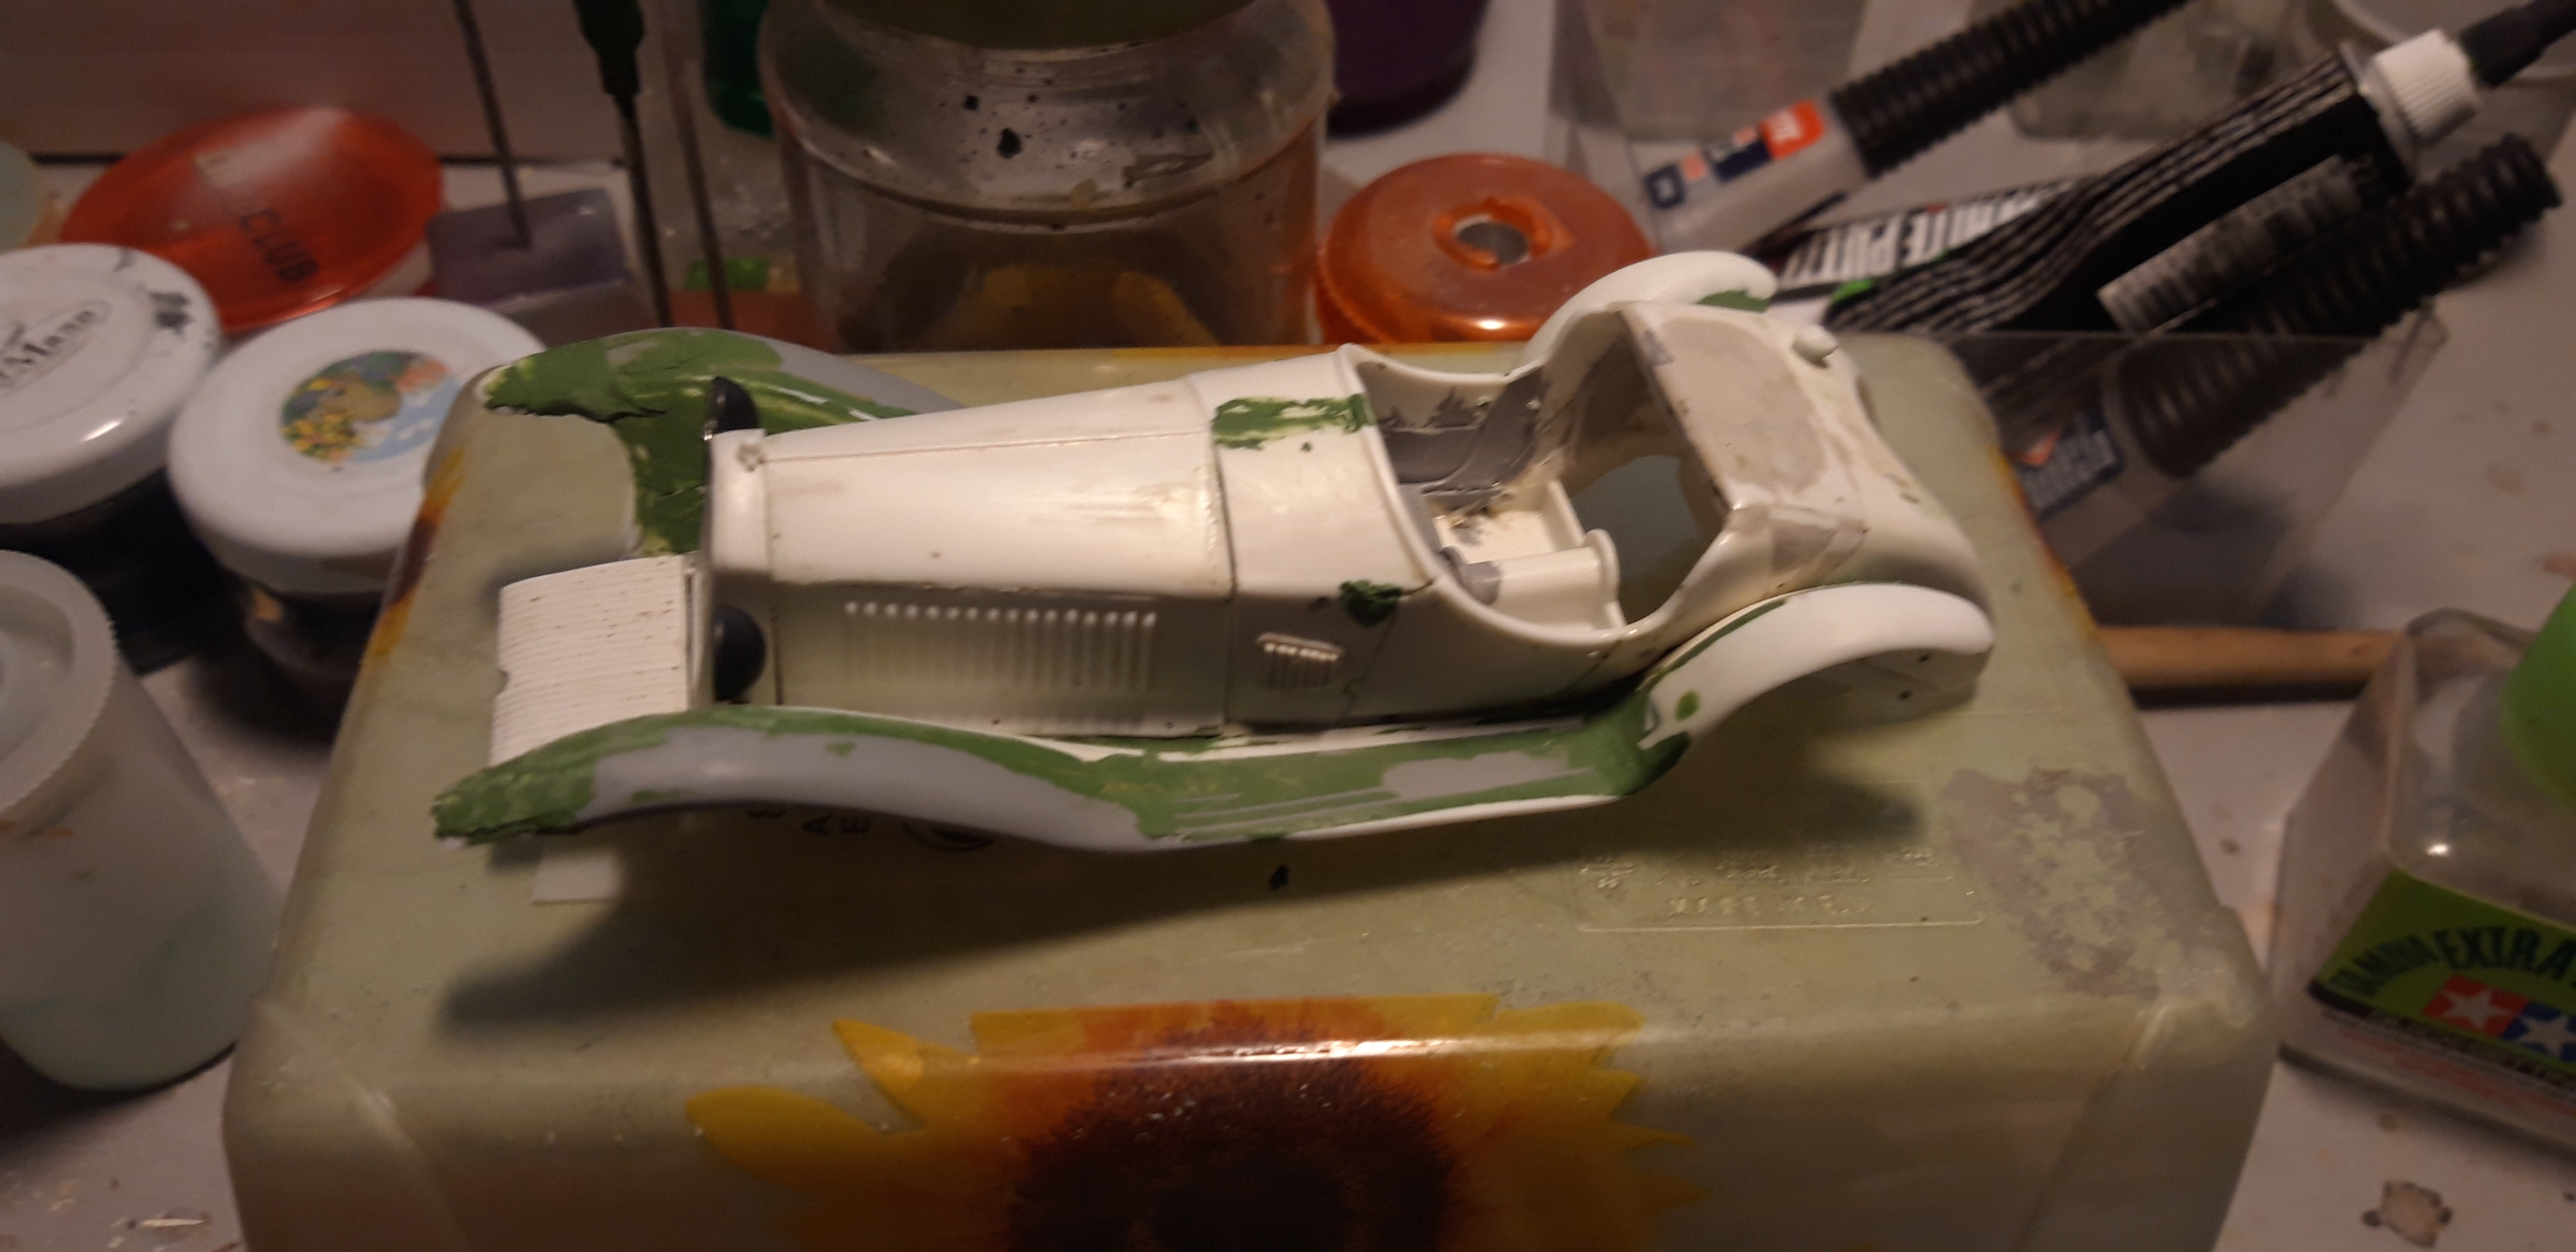
For the new Mudguars i use the Casted Rearends, Cut-to-Fit Miniart Merceds 170 Pars, Plasticcard...and yes a Ton of Putty and sanding and putty.....
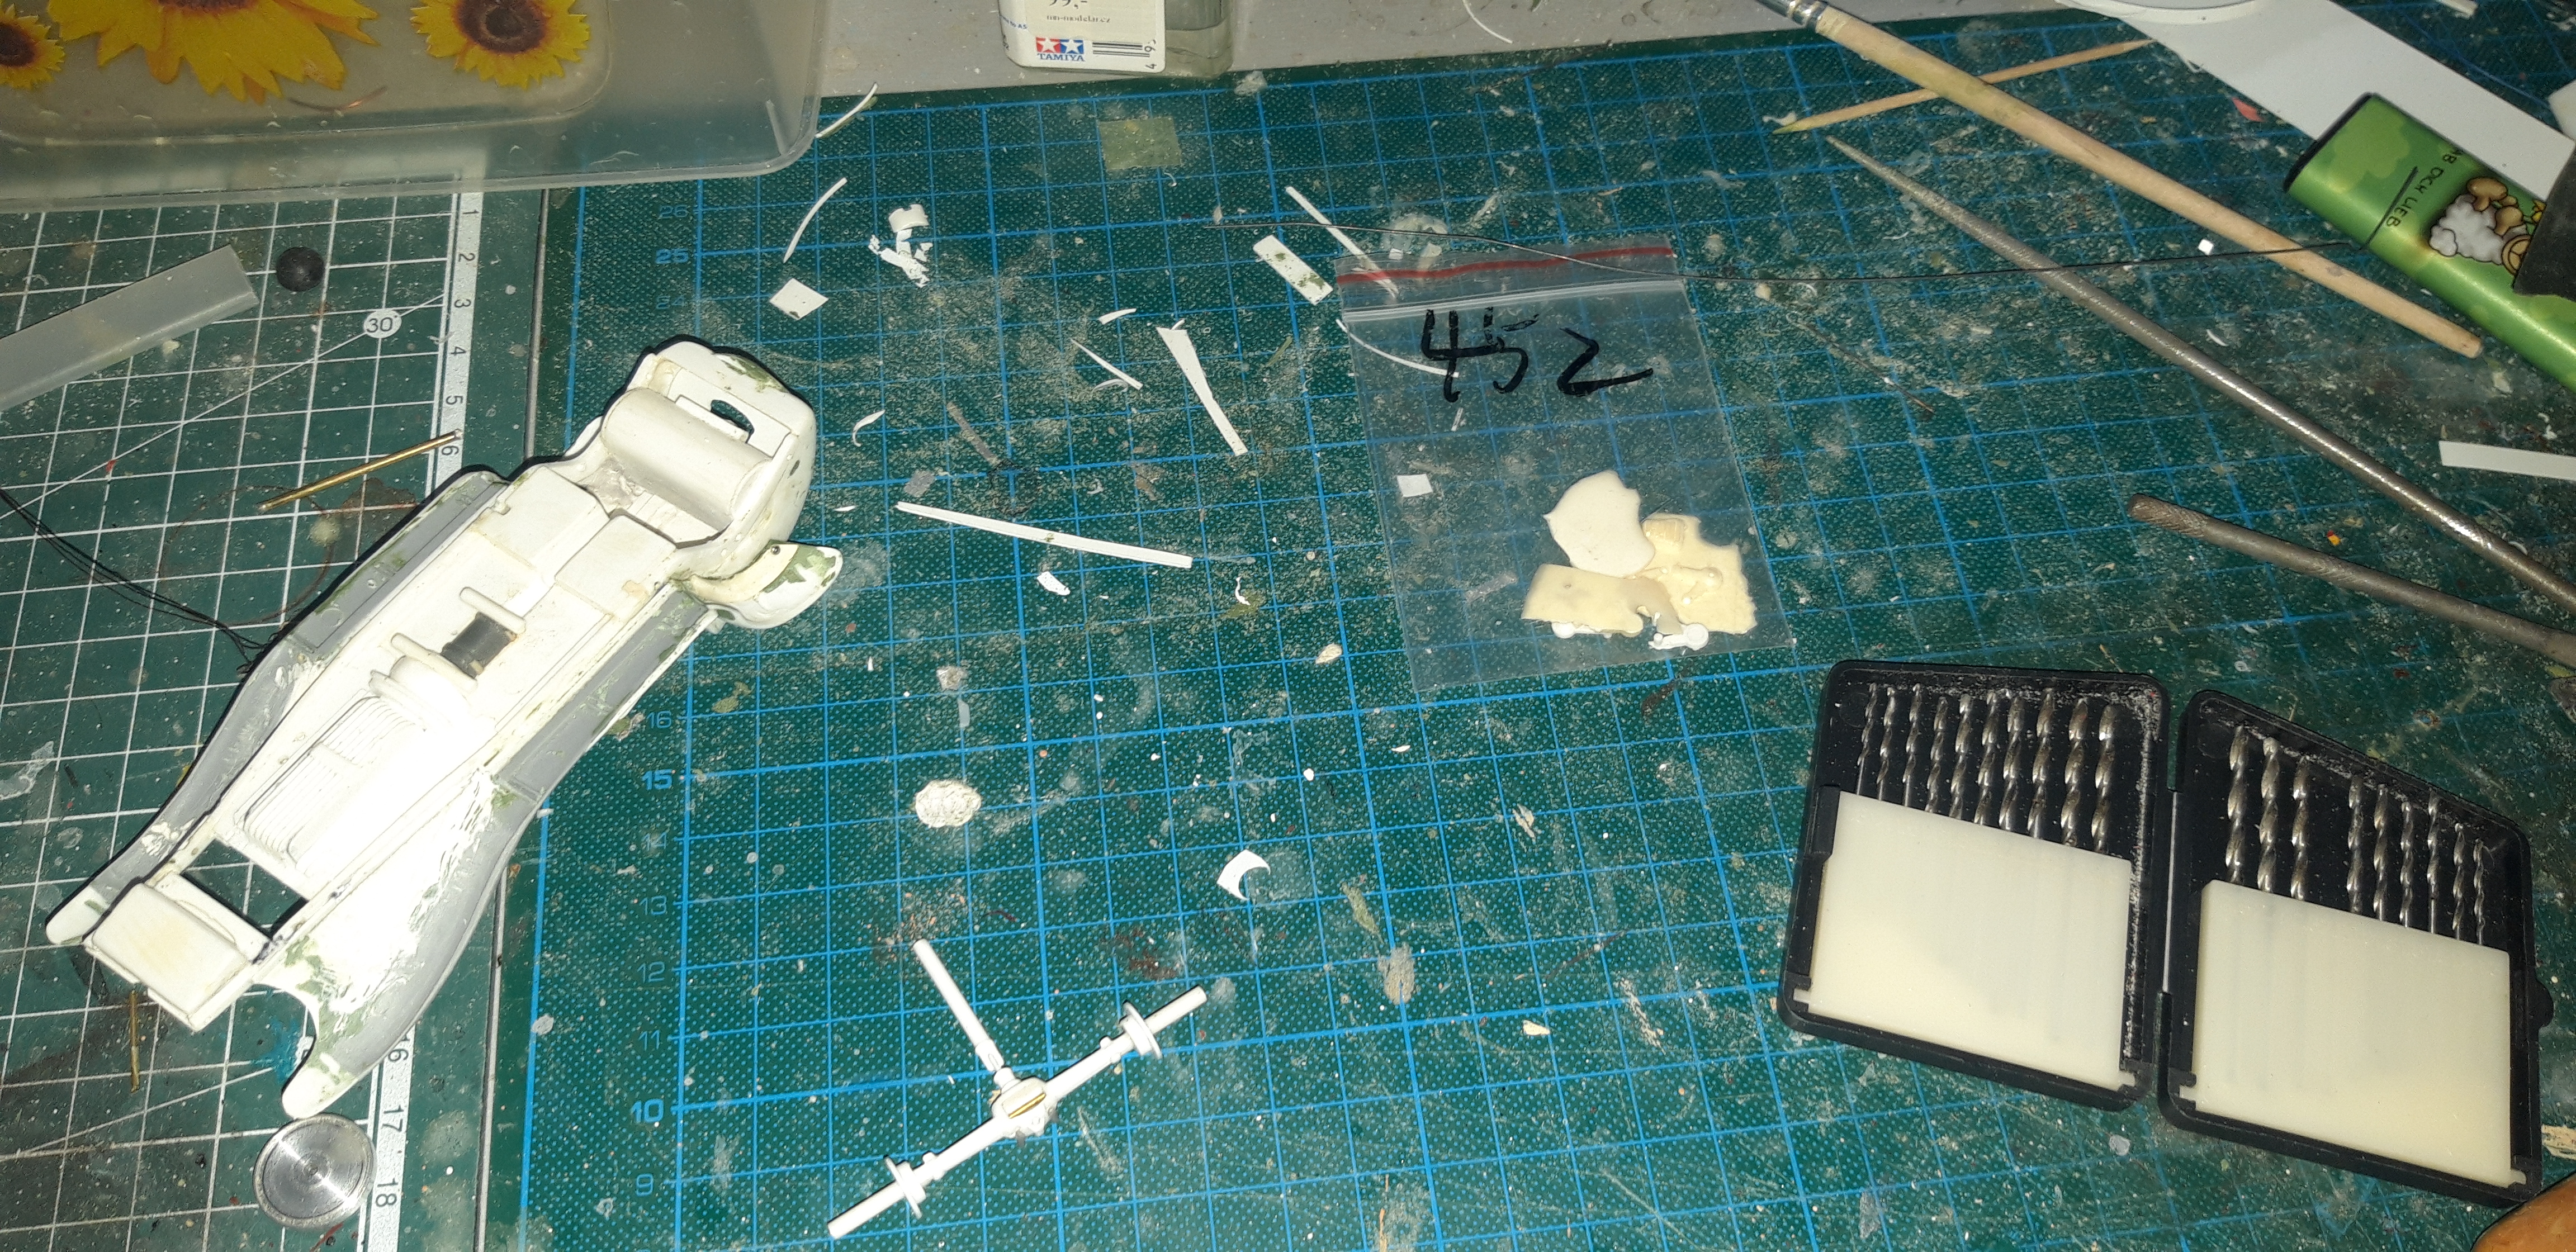
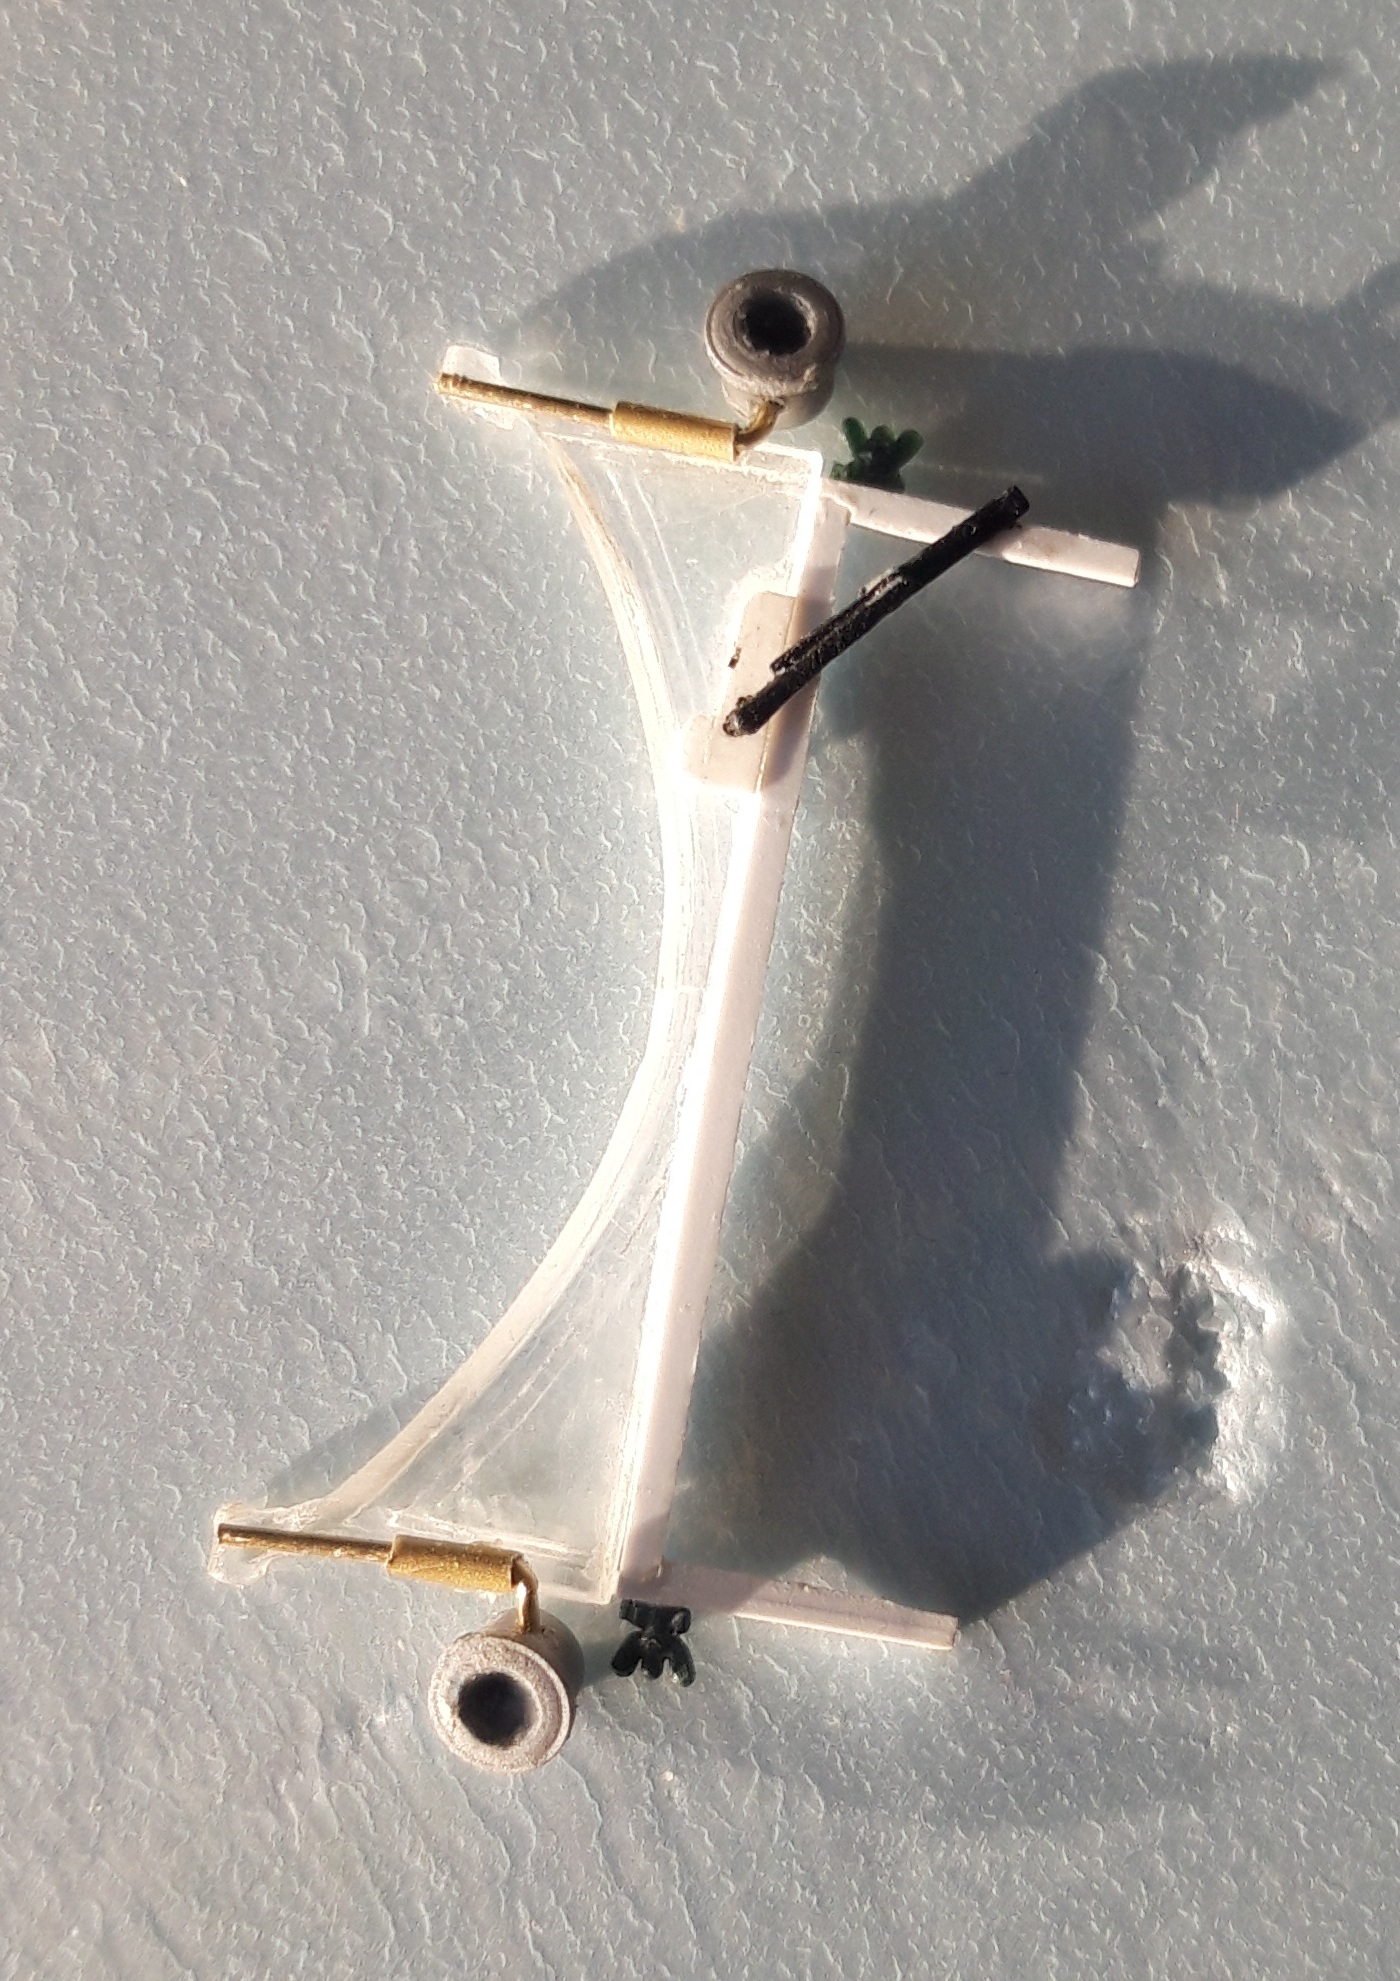
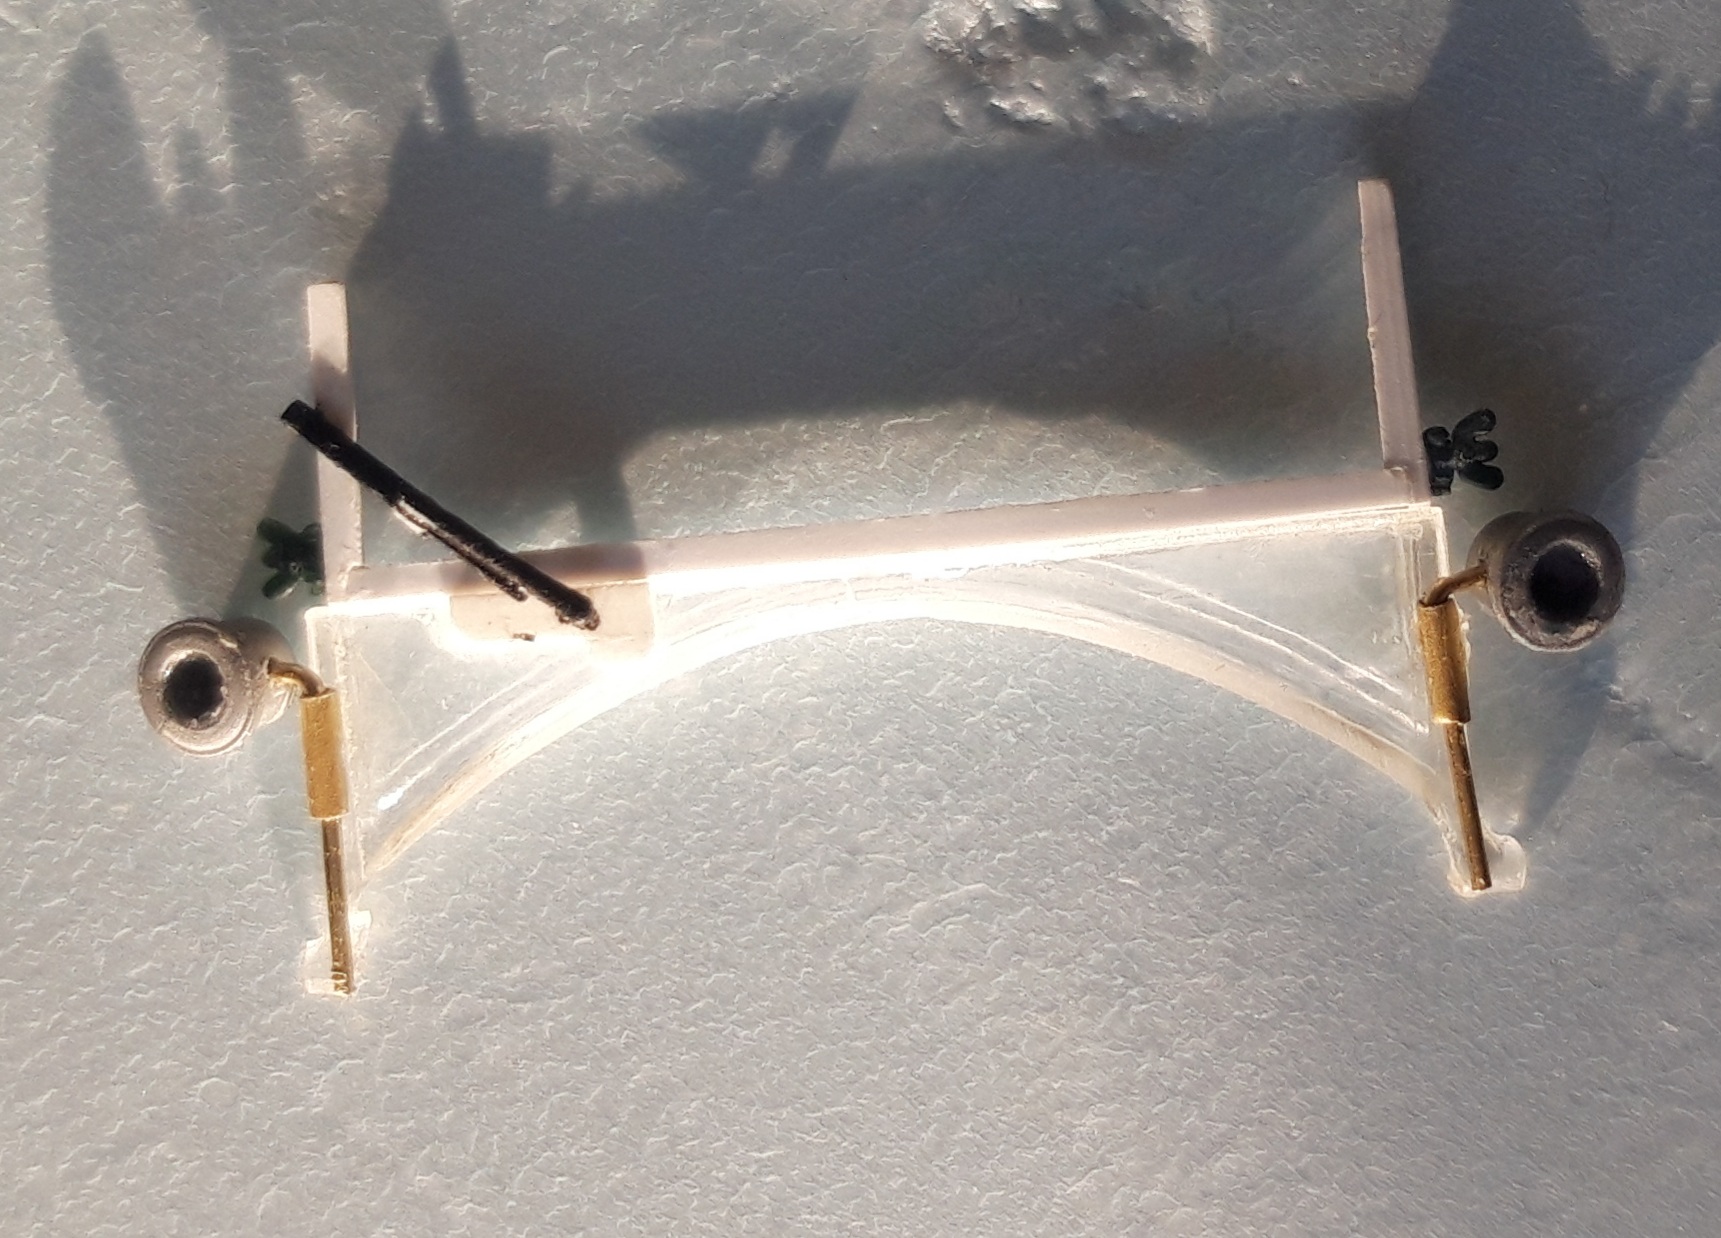
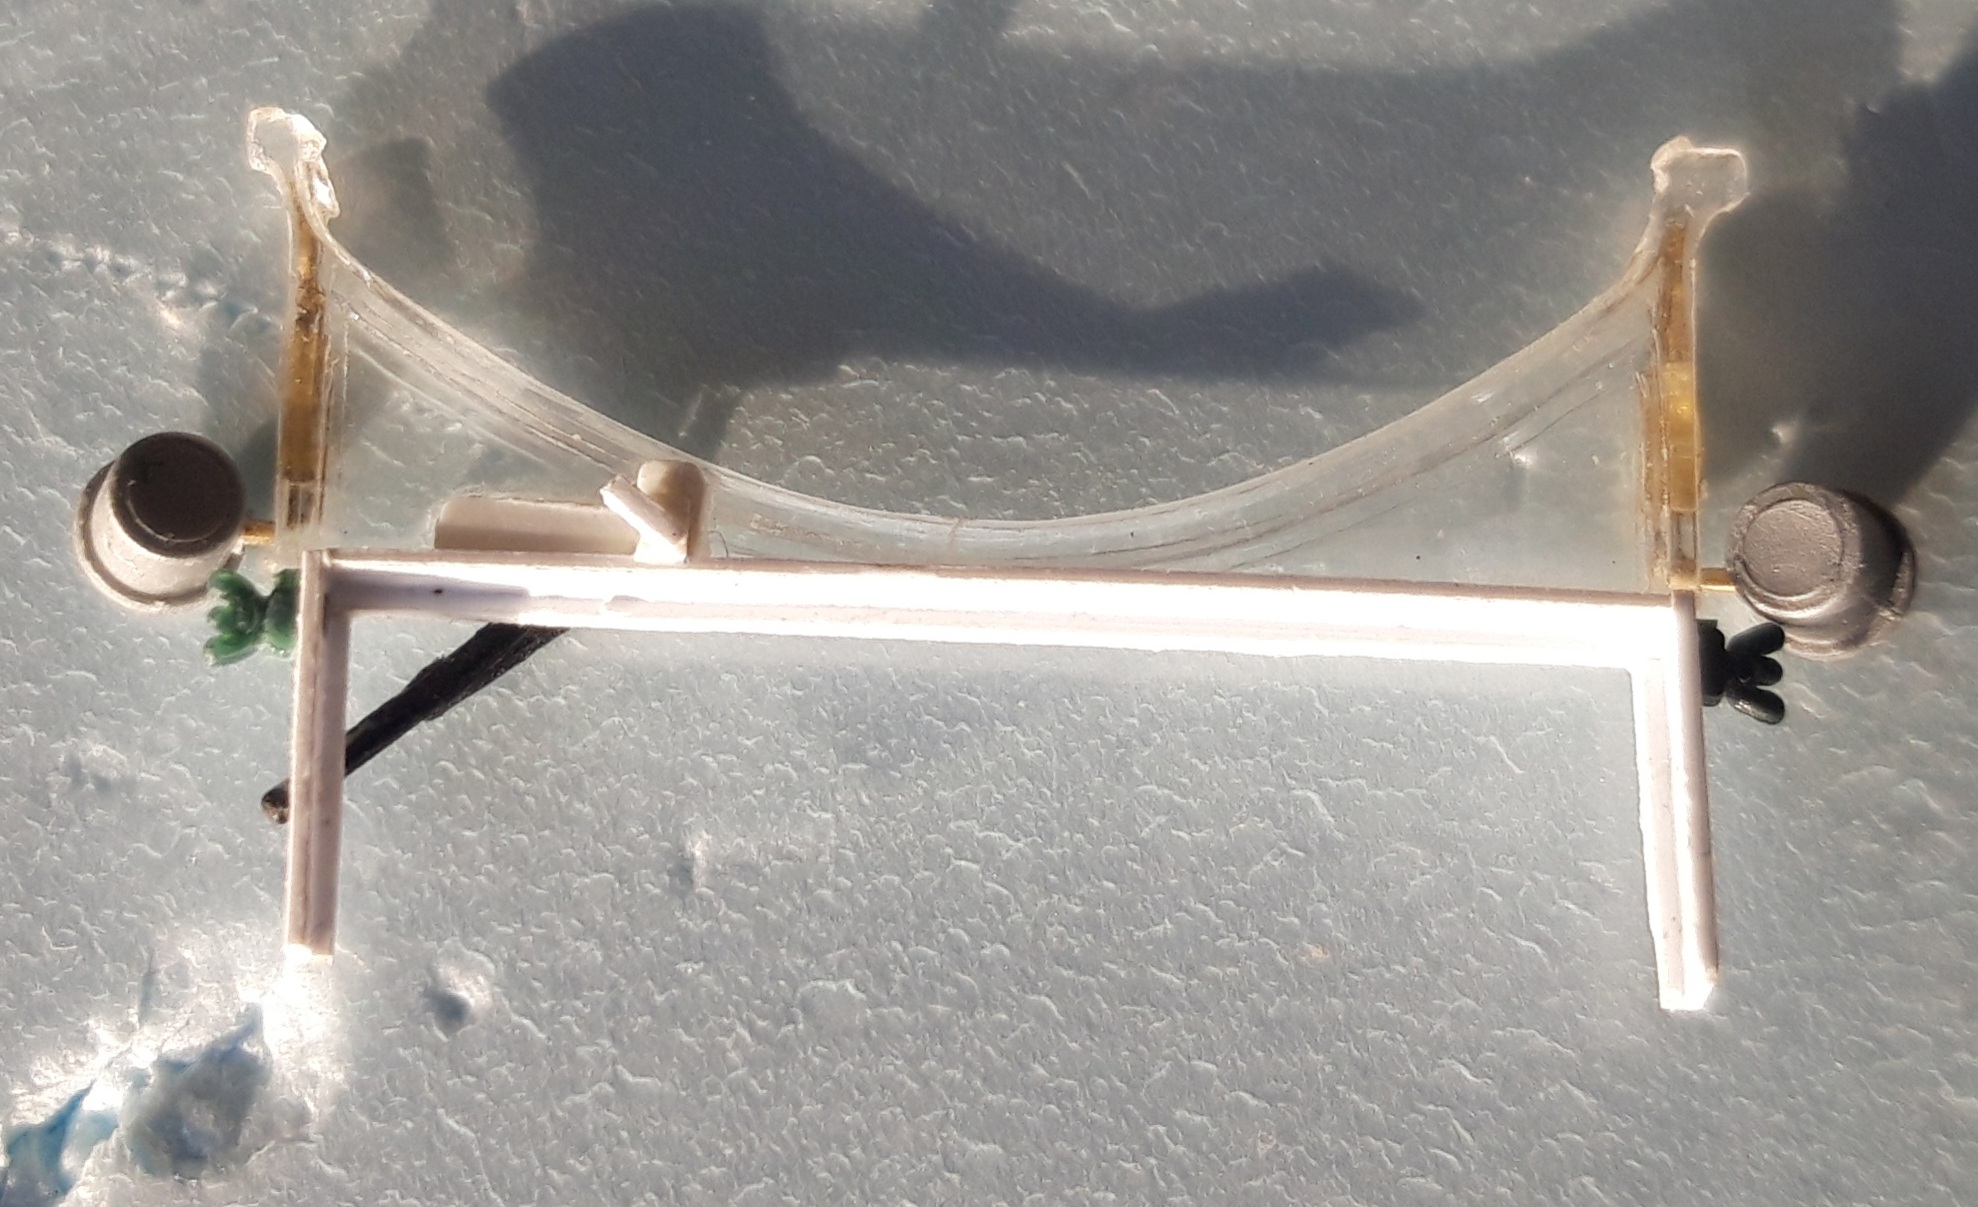
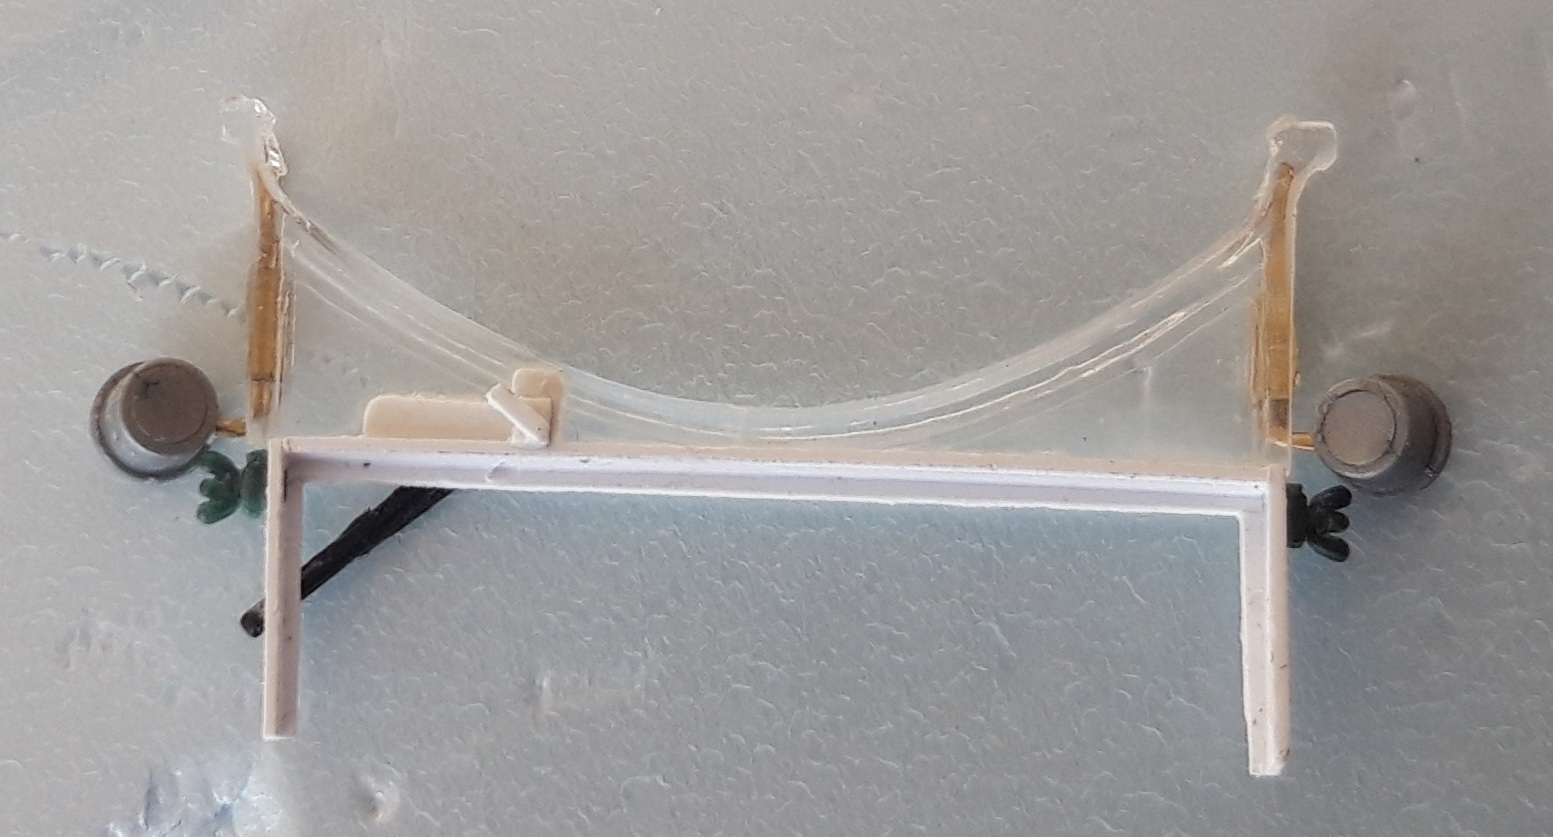
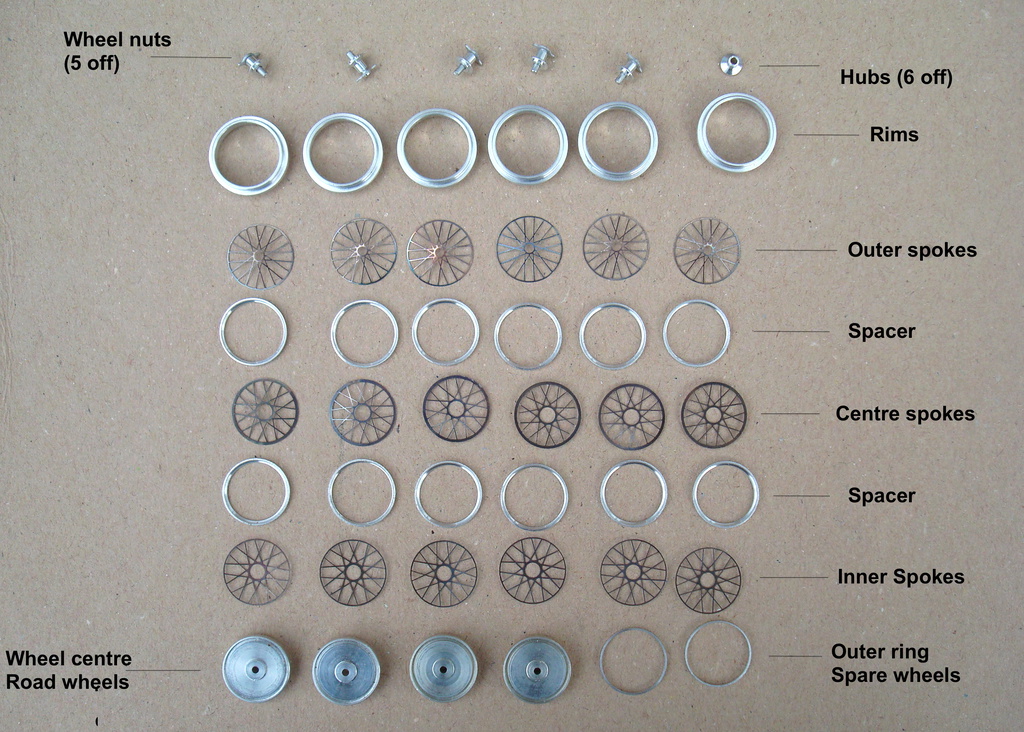
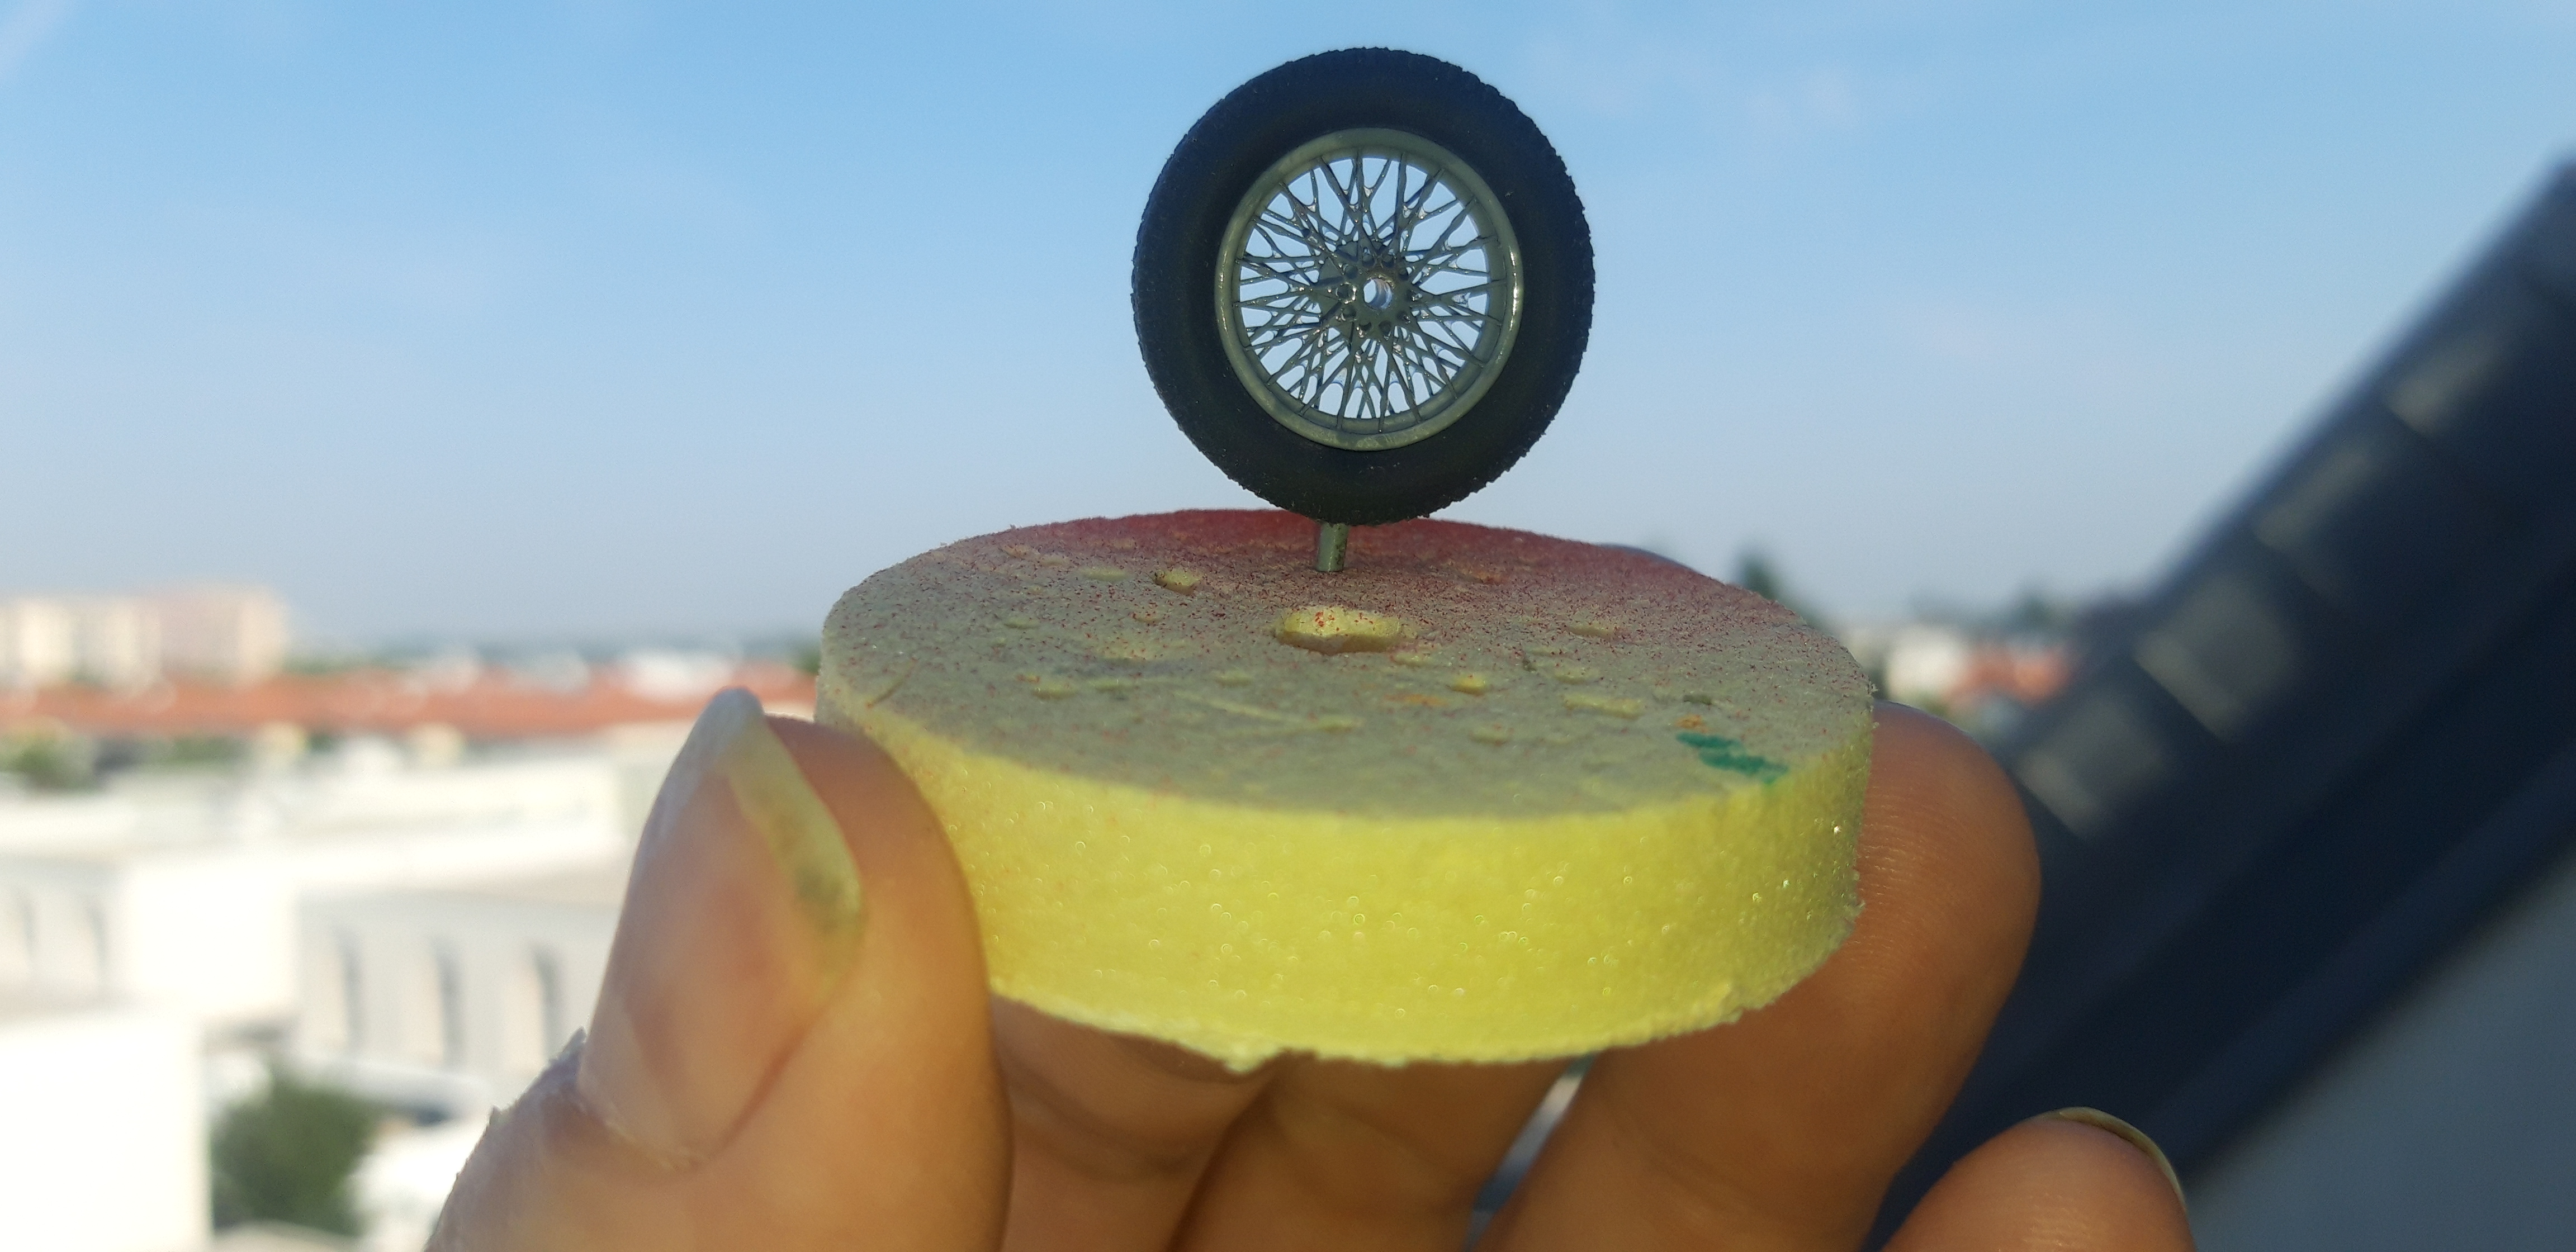
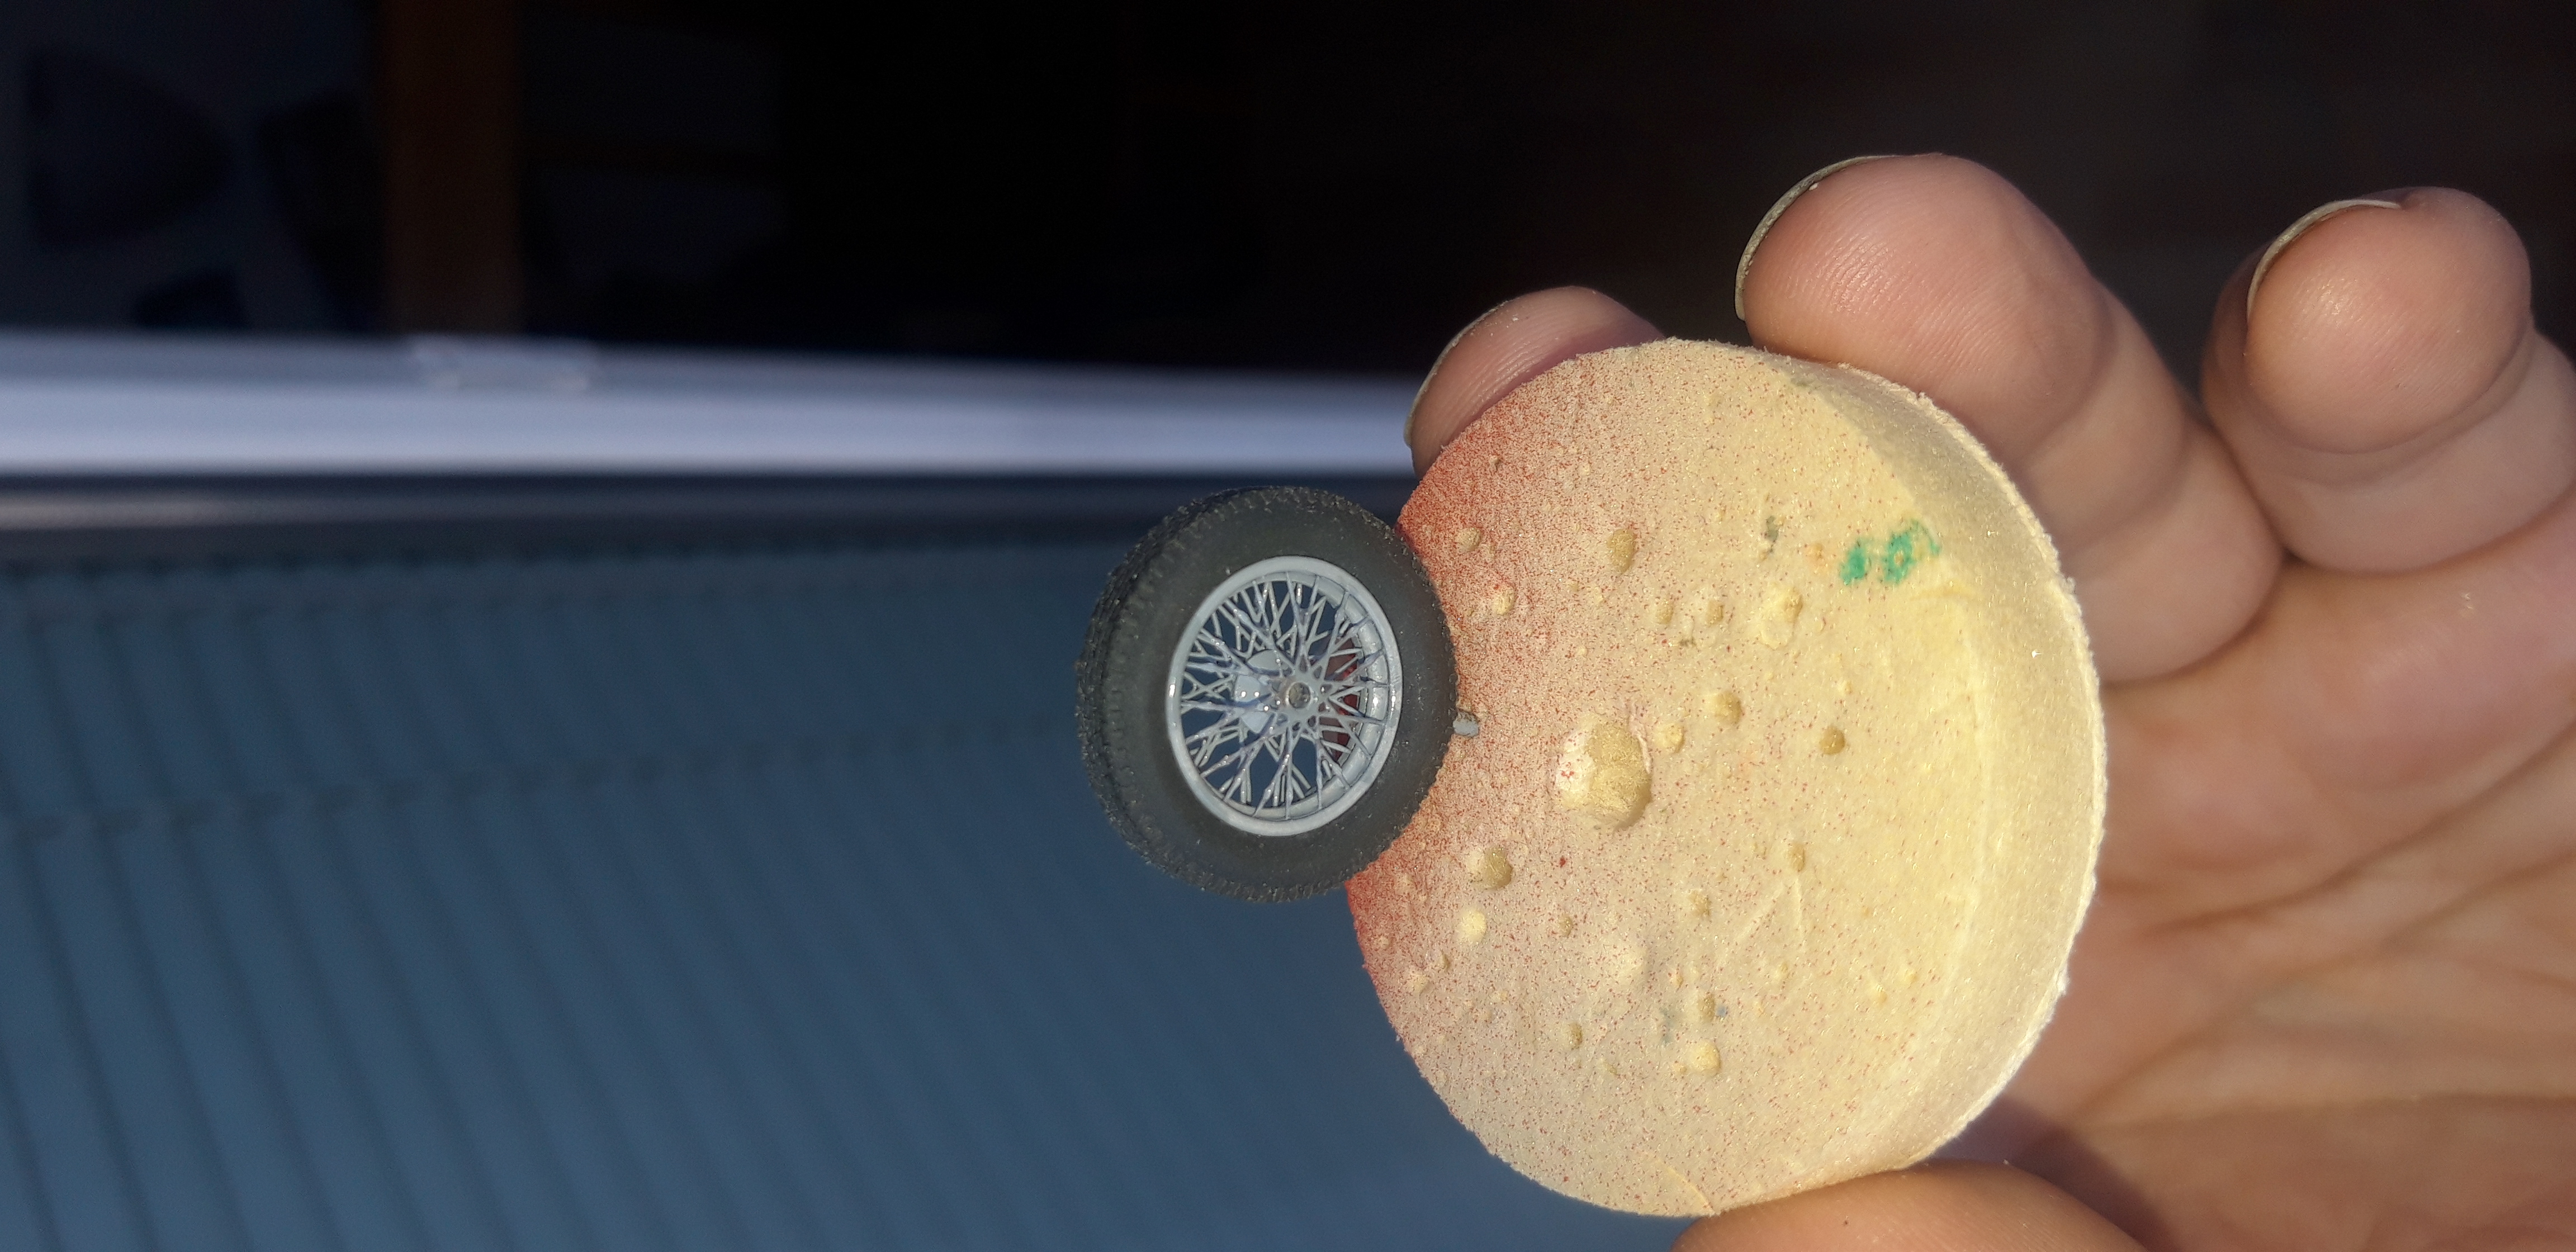
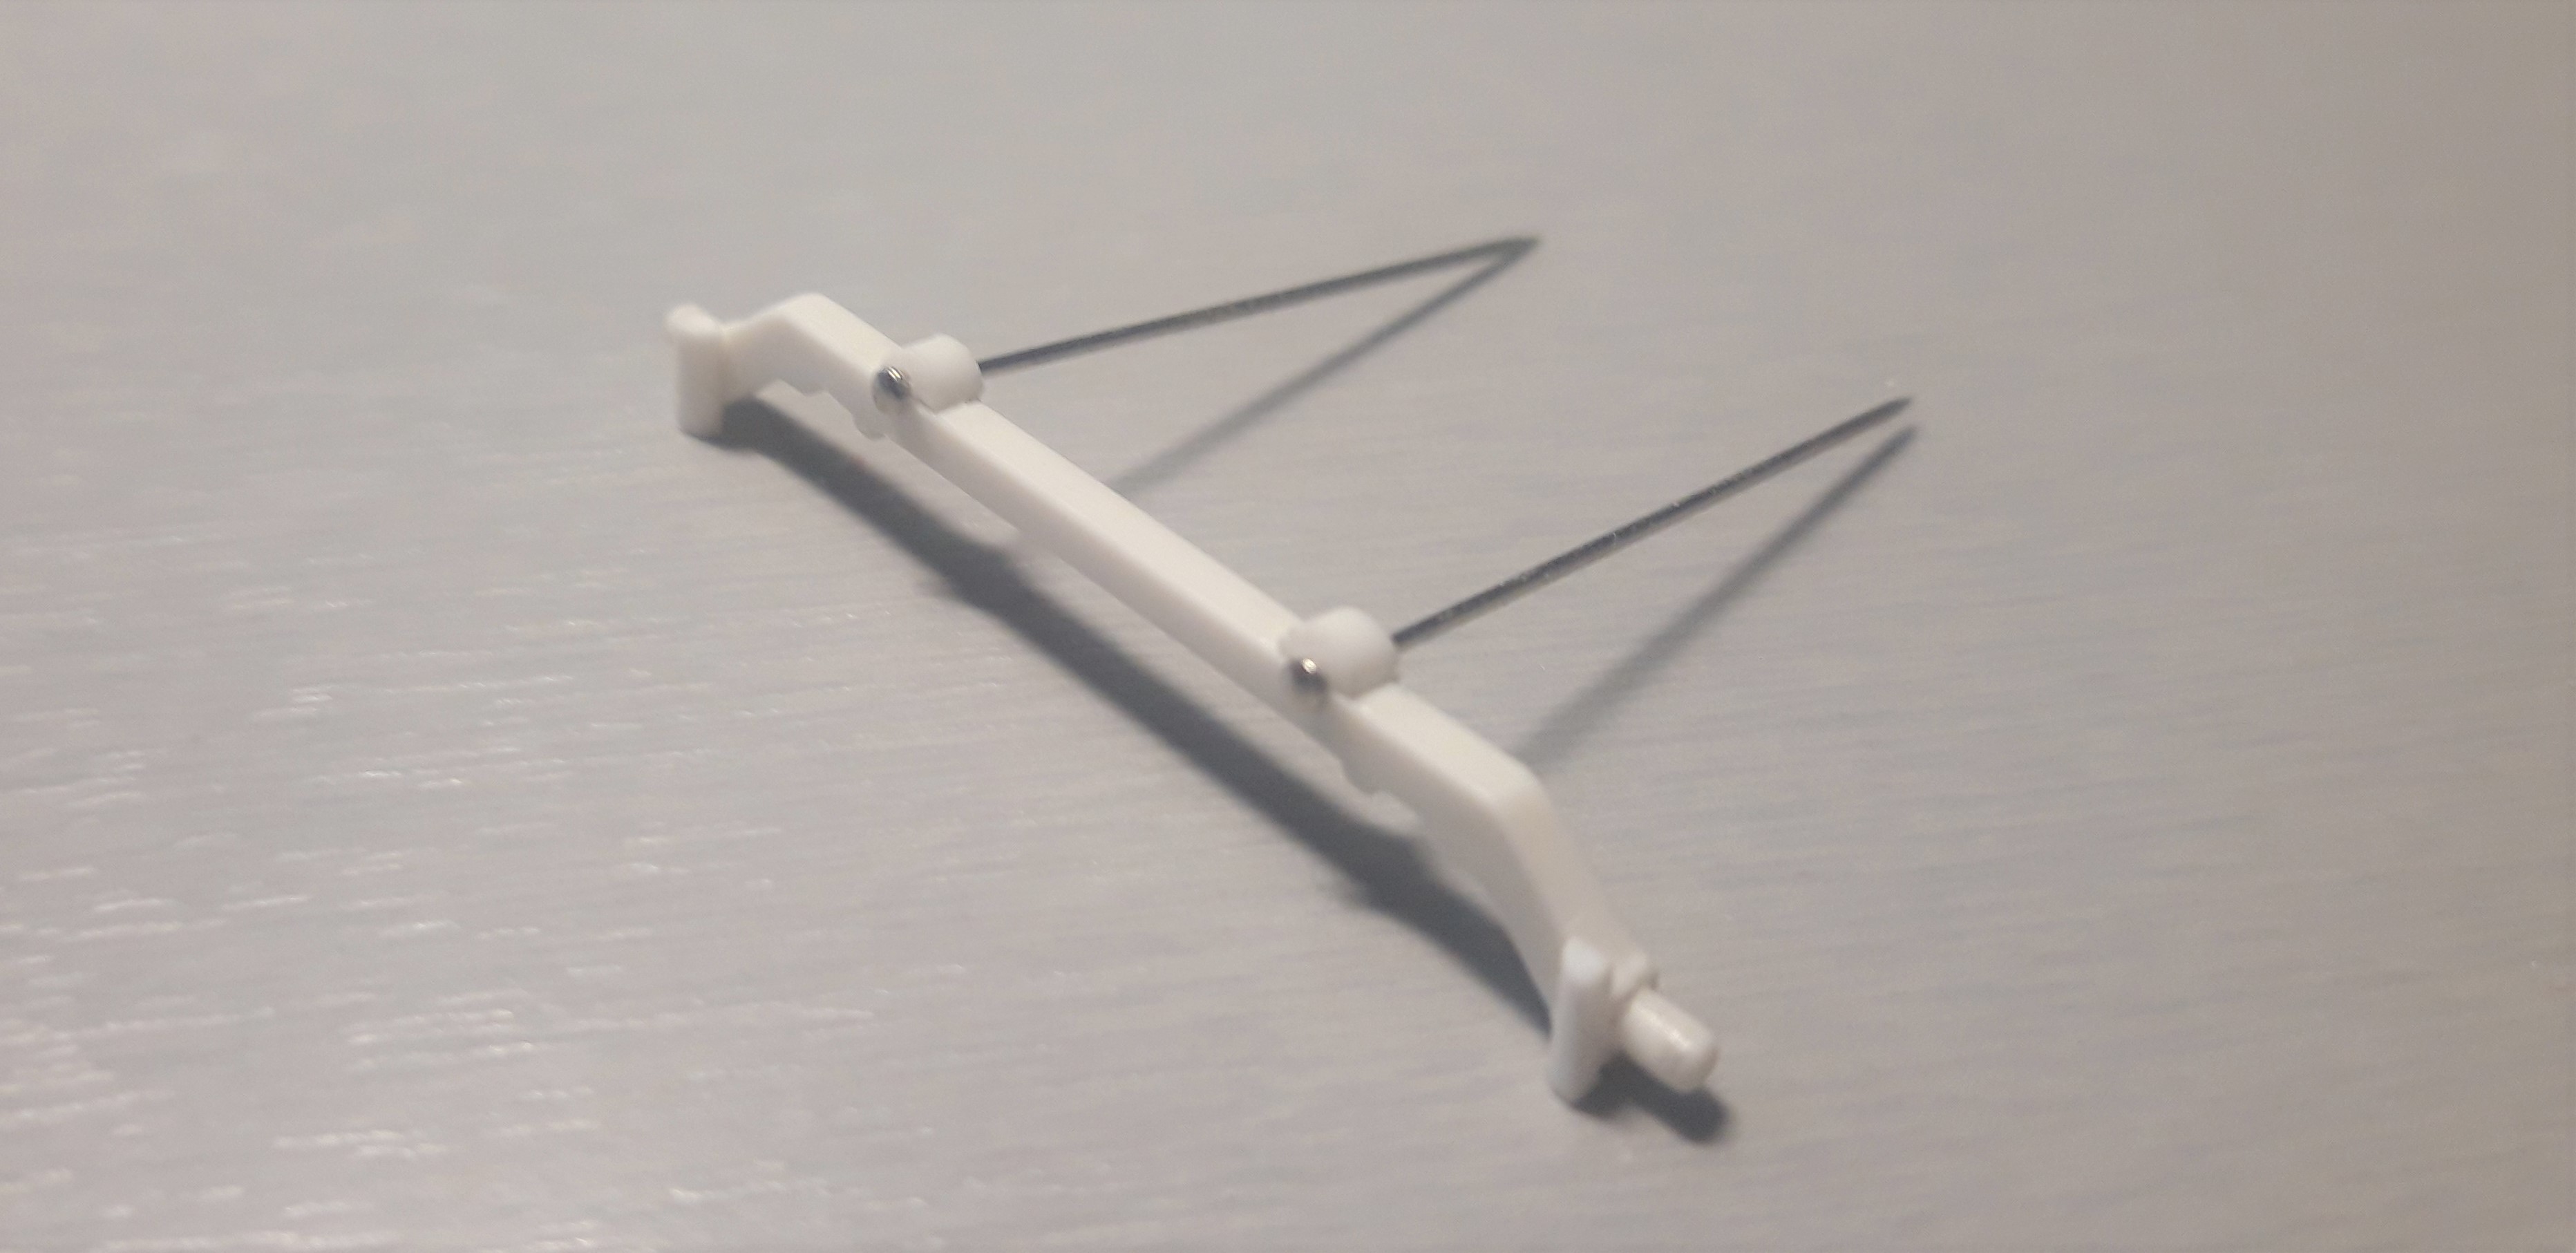
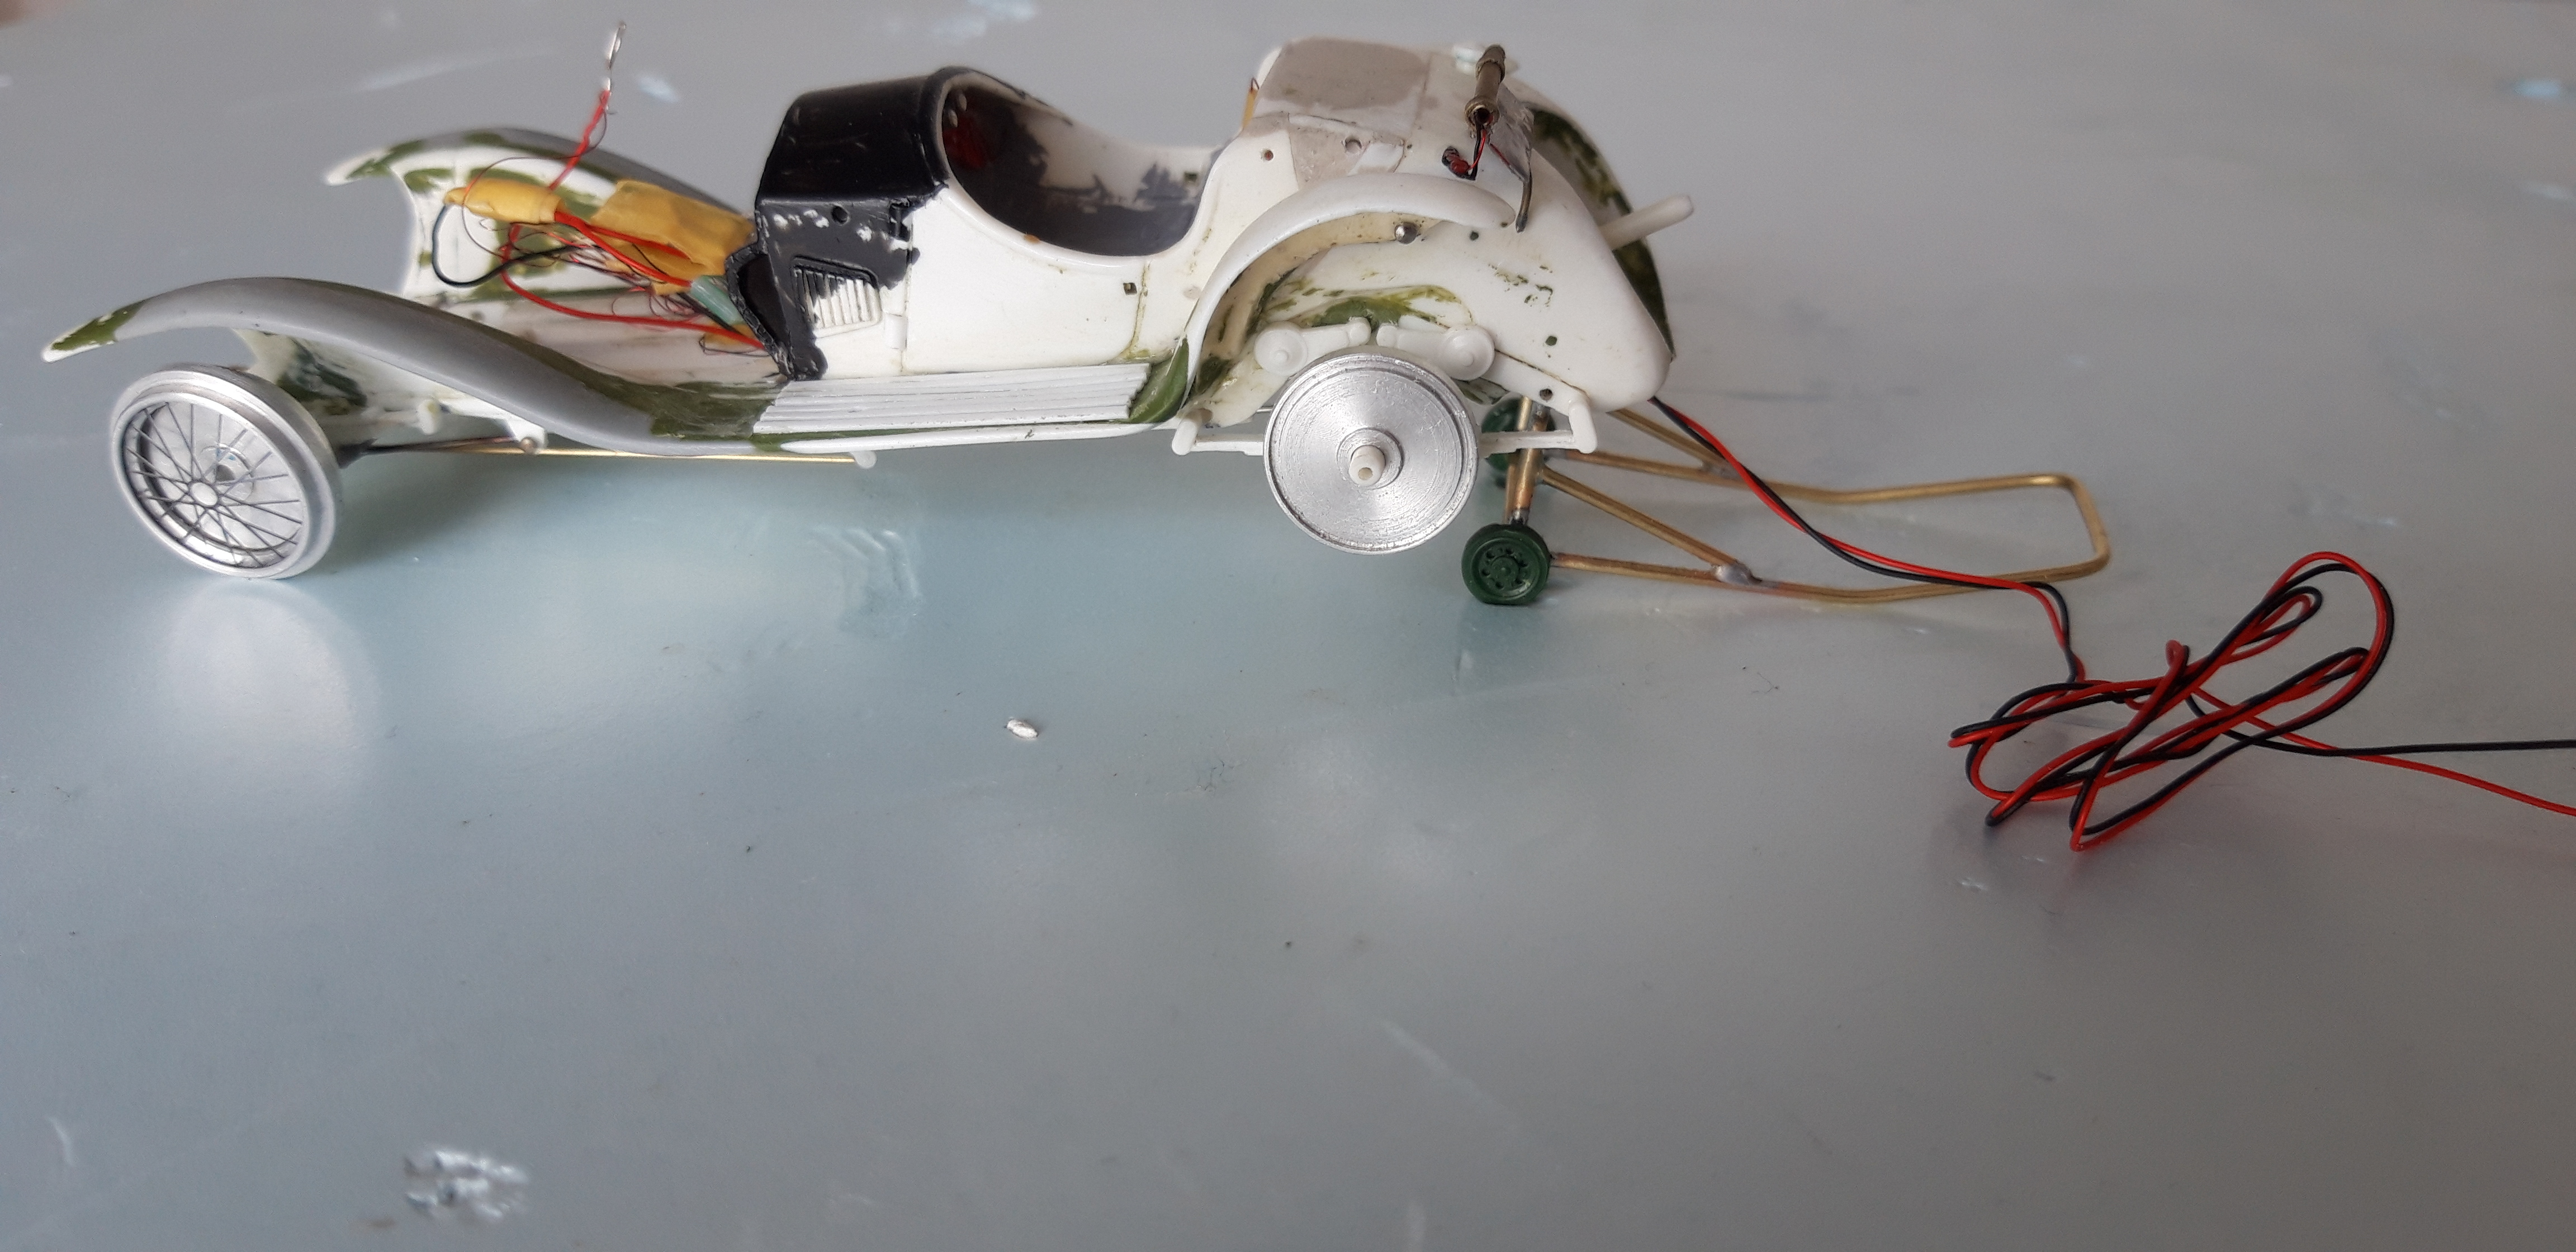
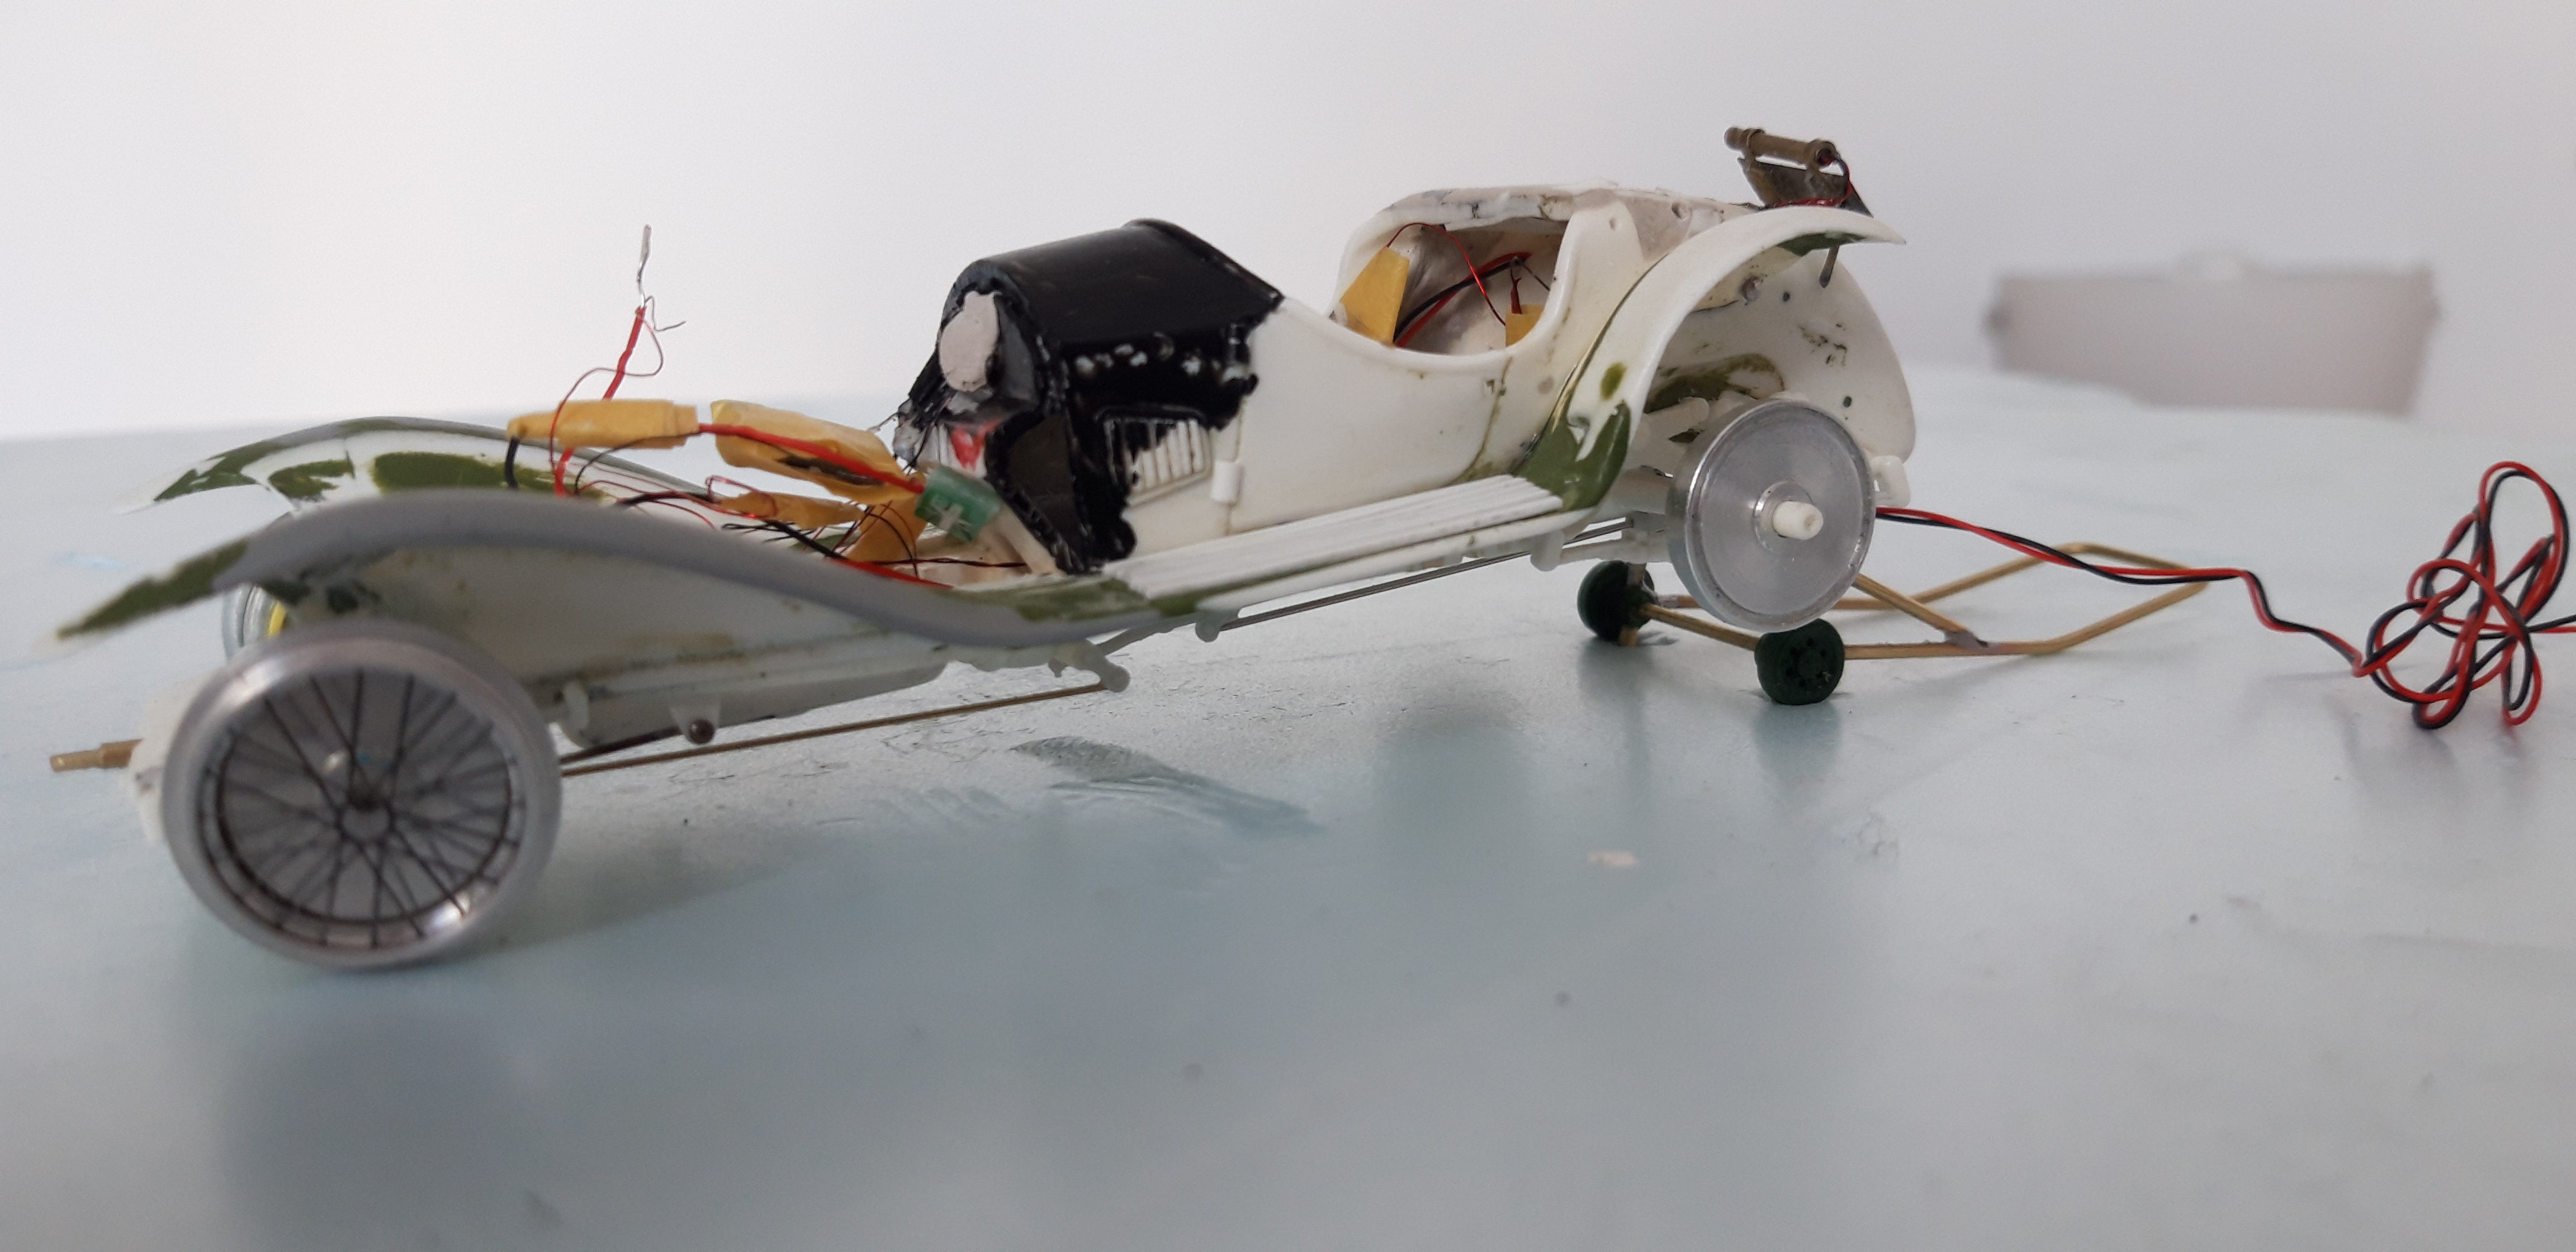
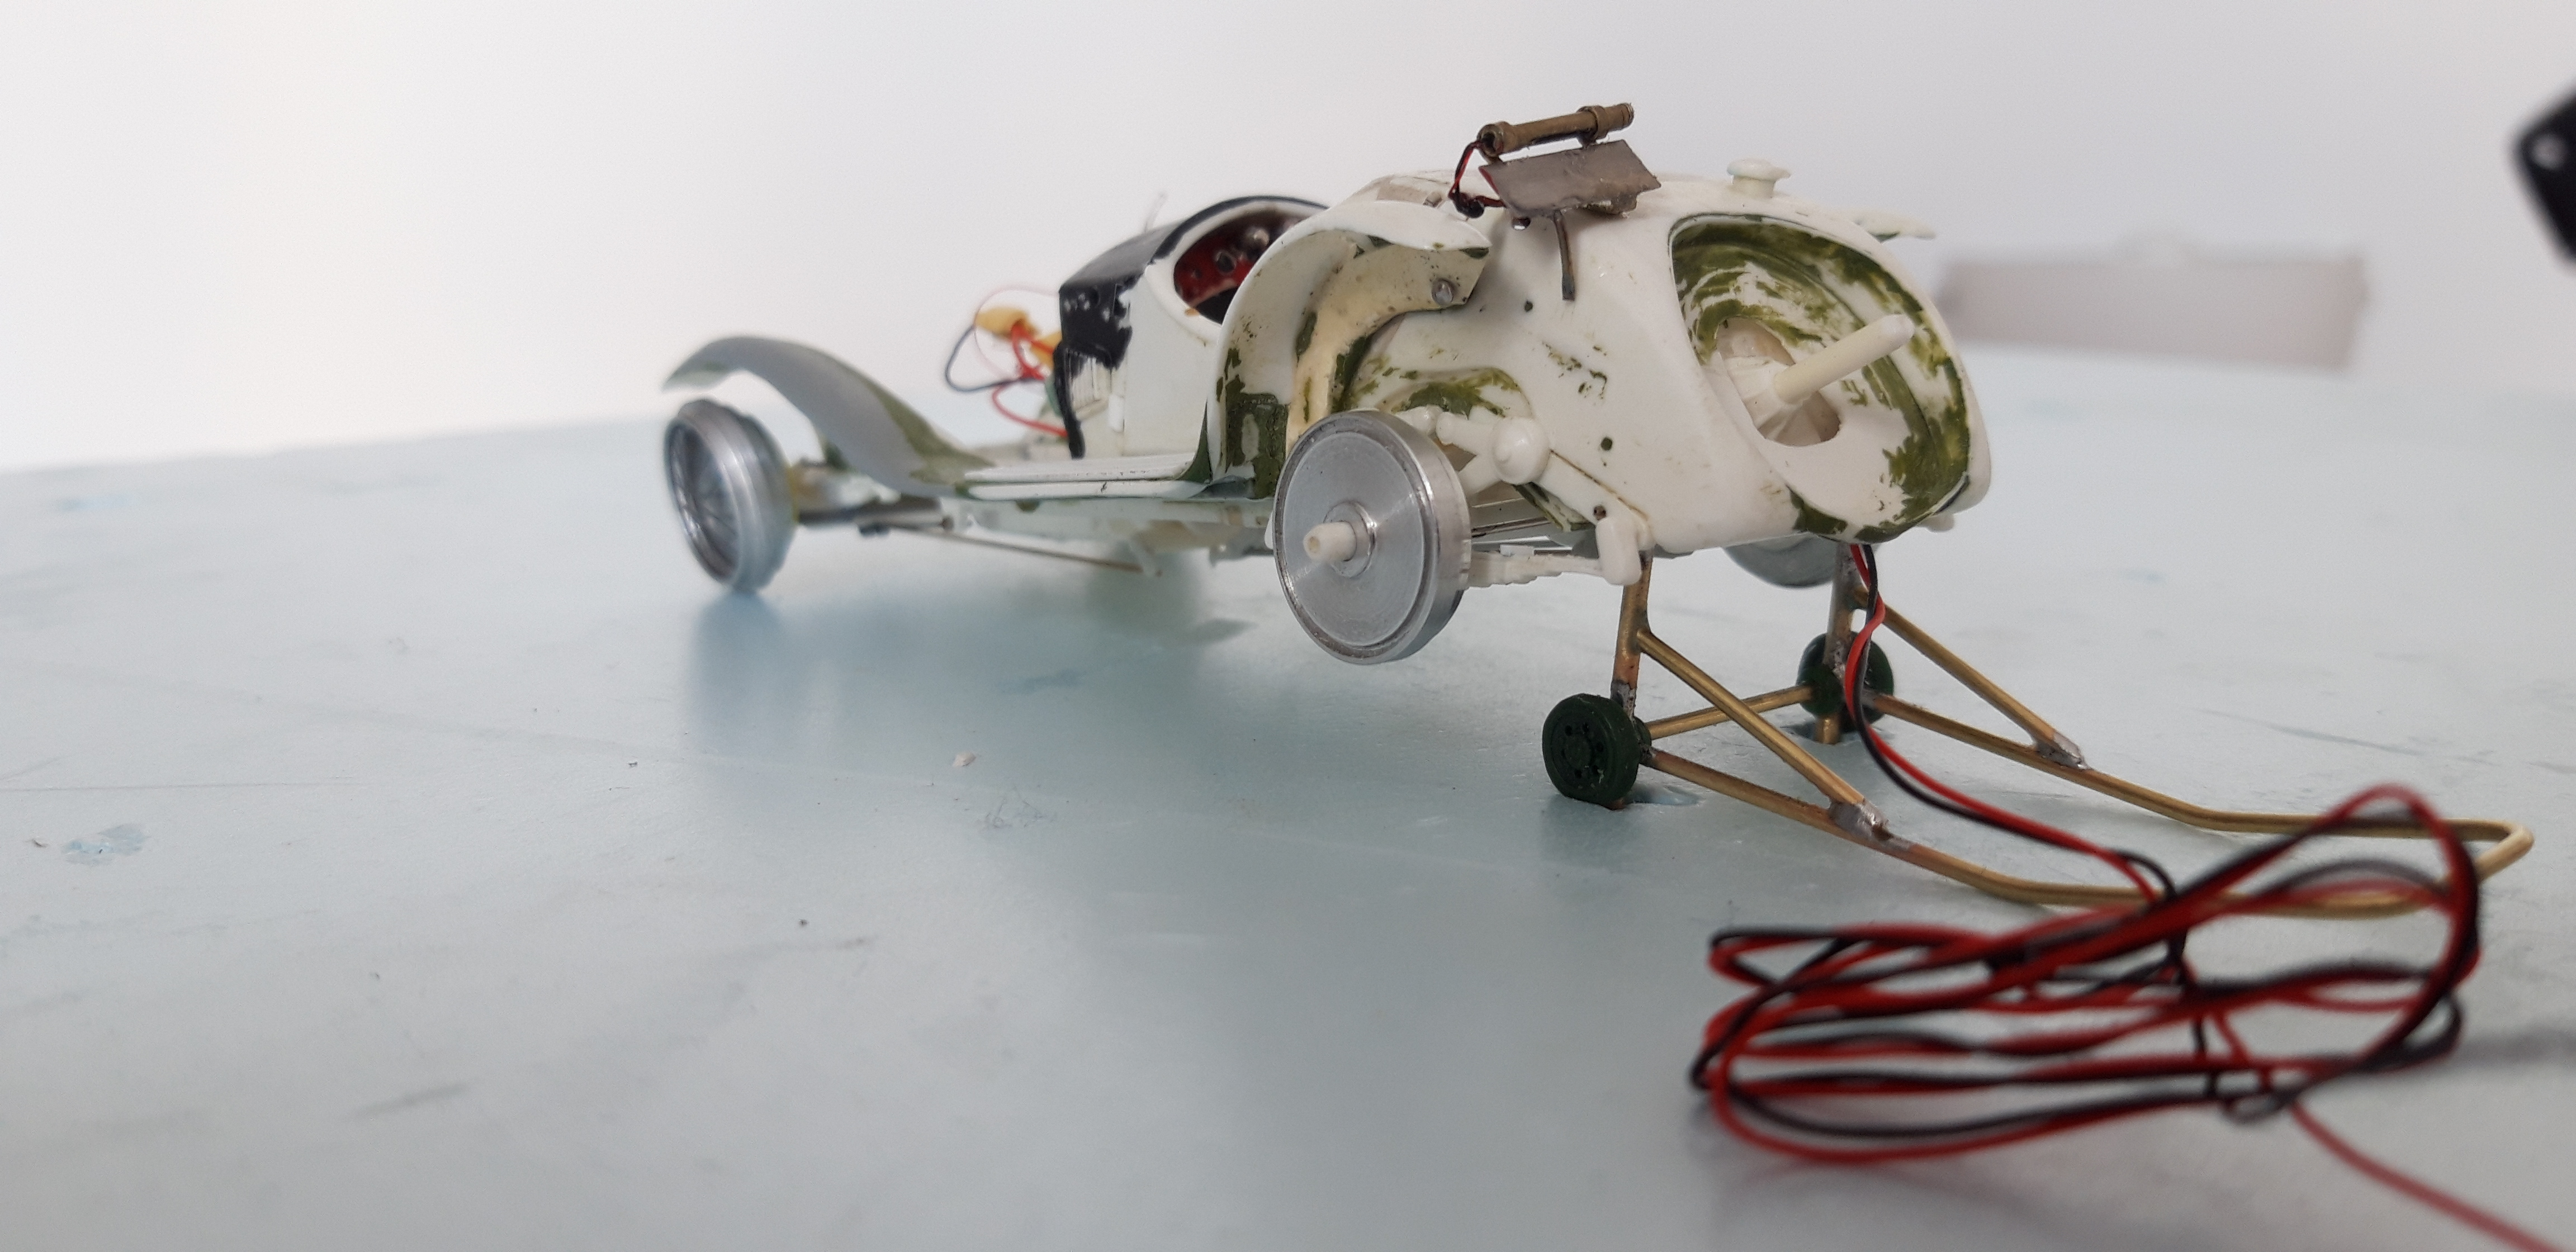
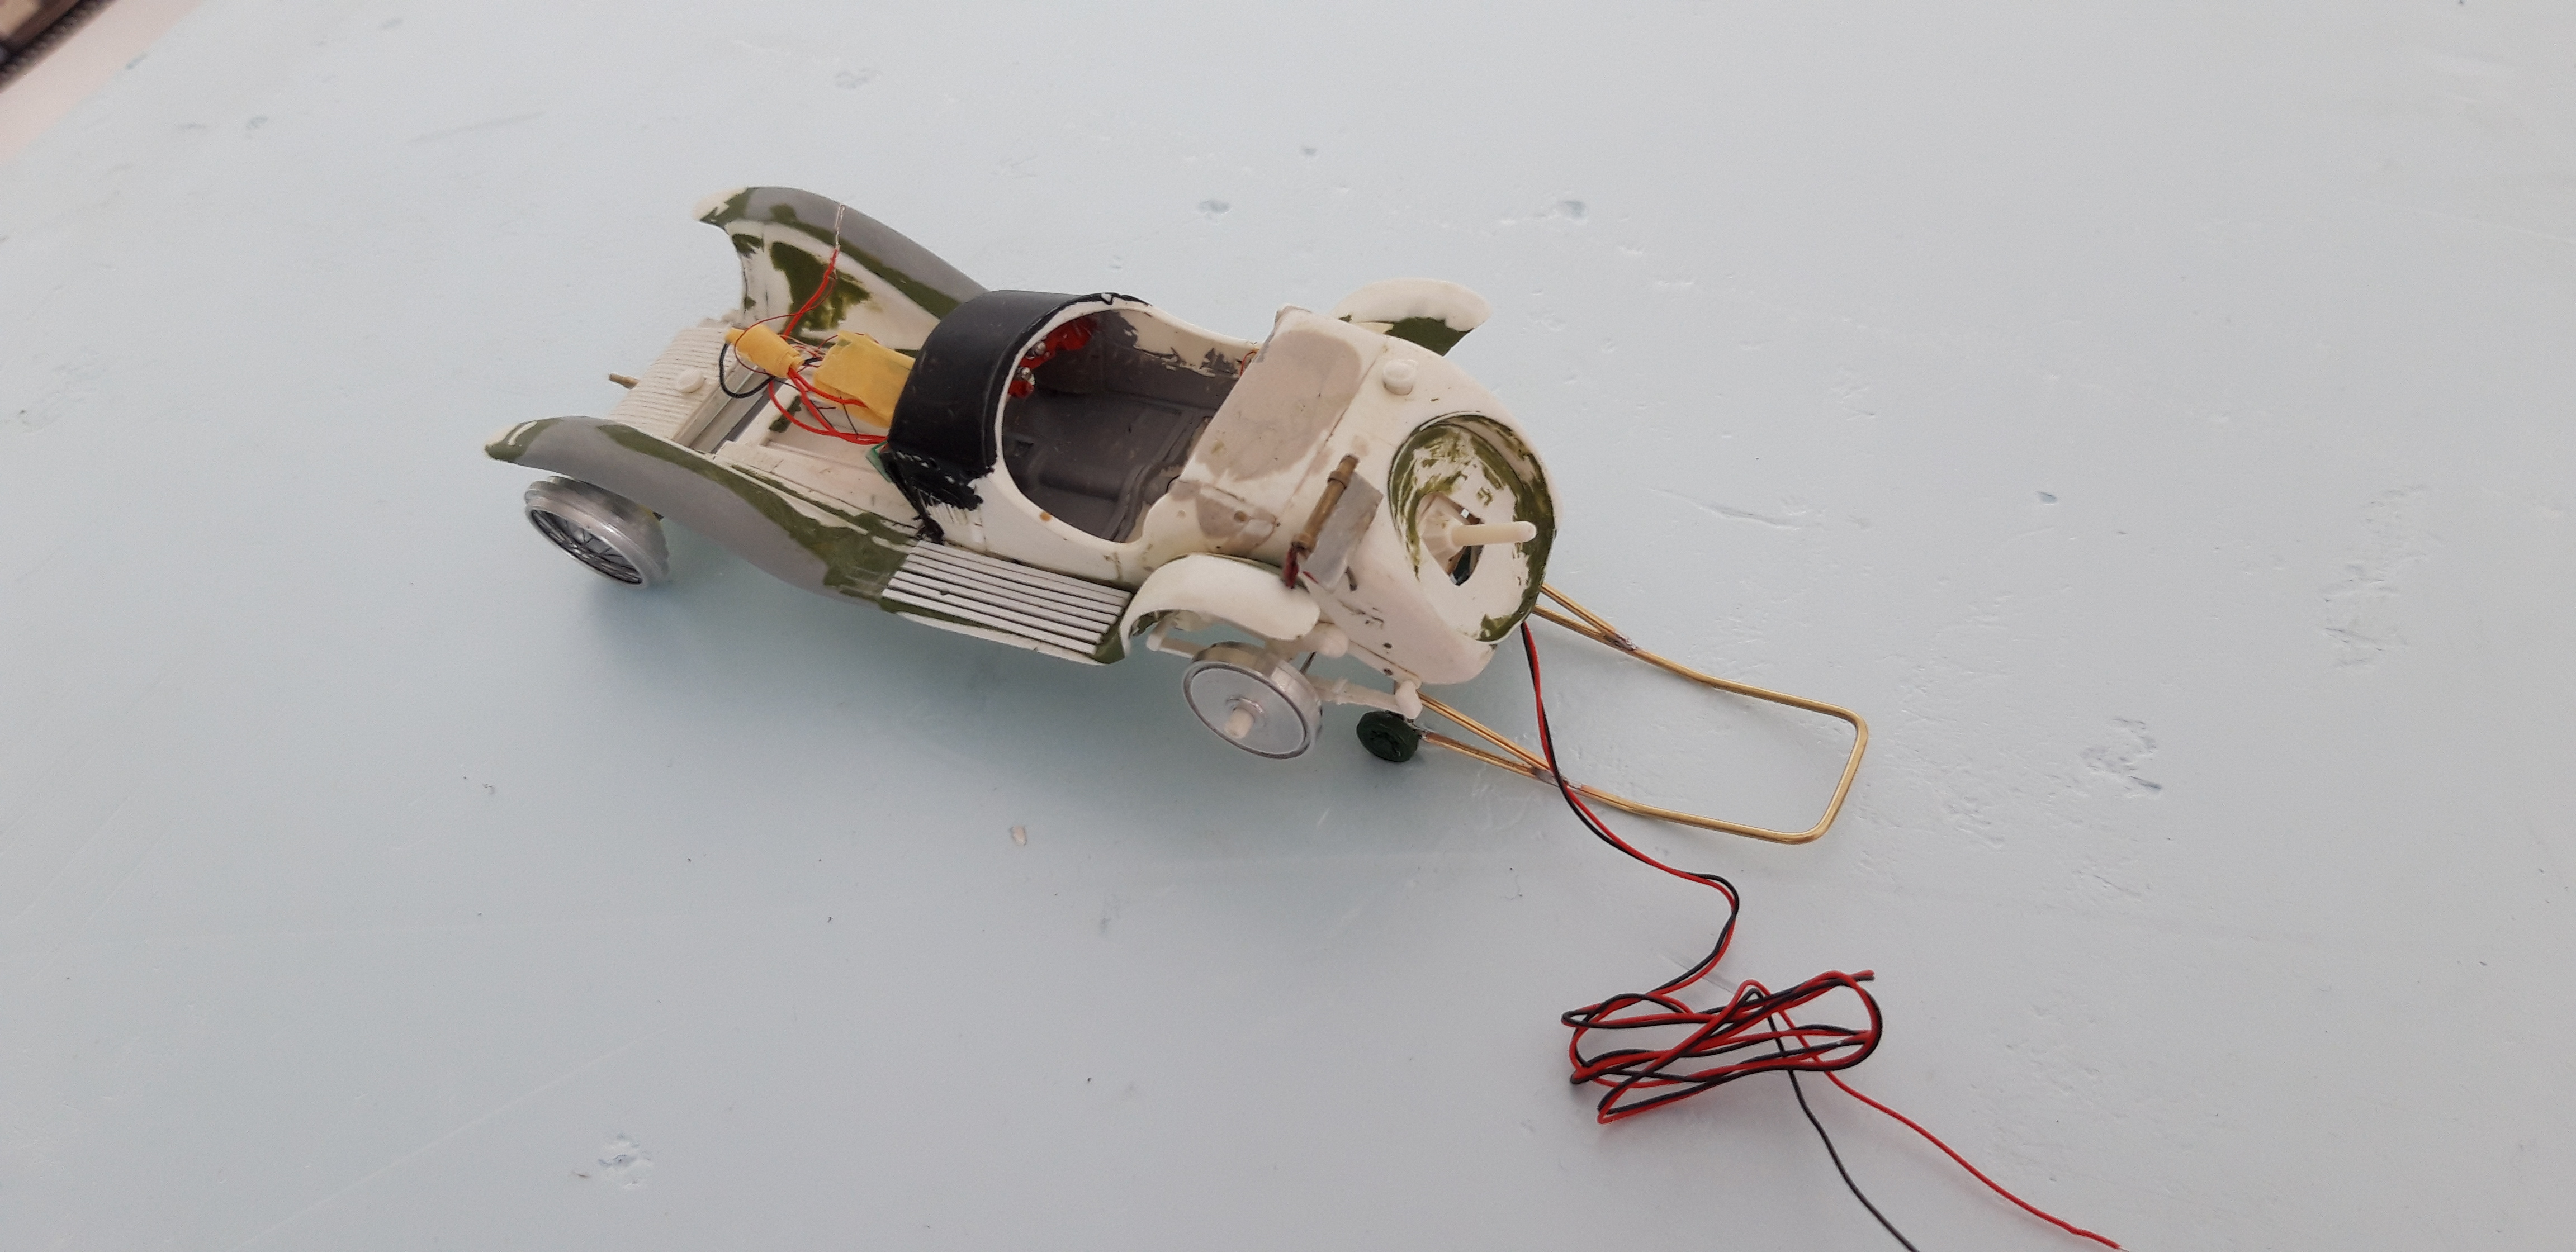
After this Desastercorrection, i detailed the Chassis. The Kitpart for the Frontaxle is a crude Square Rod without any Detail. I add small Halfround Evergreenparts on the Ends, Pins and small Plasicparts for the Brakelines, the Steeringparts and the Sabilizers. Also for the Rearaxle . This i reinforced with a Wire , because the Brakedrums are real Aluminiumparts . They come in one more Set of Wheels from Peter Saeger Thomas,
The Wheelset
The Frontaxle
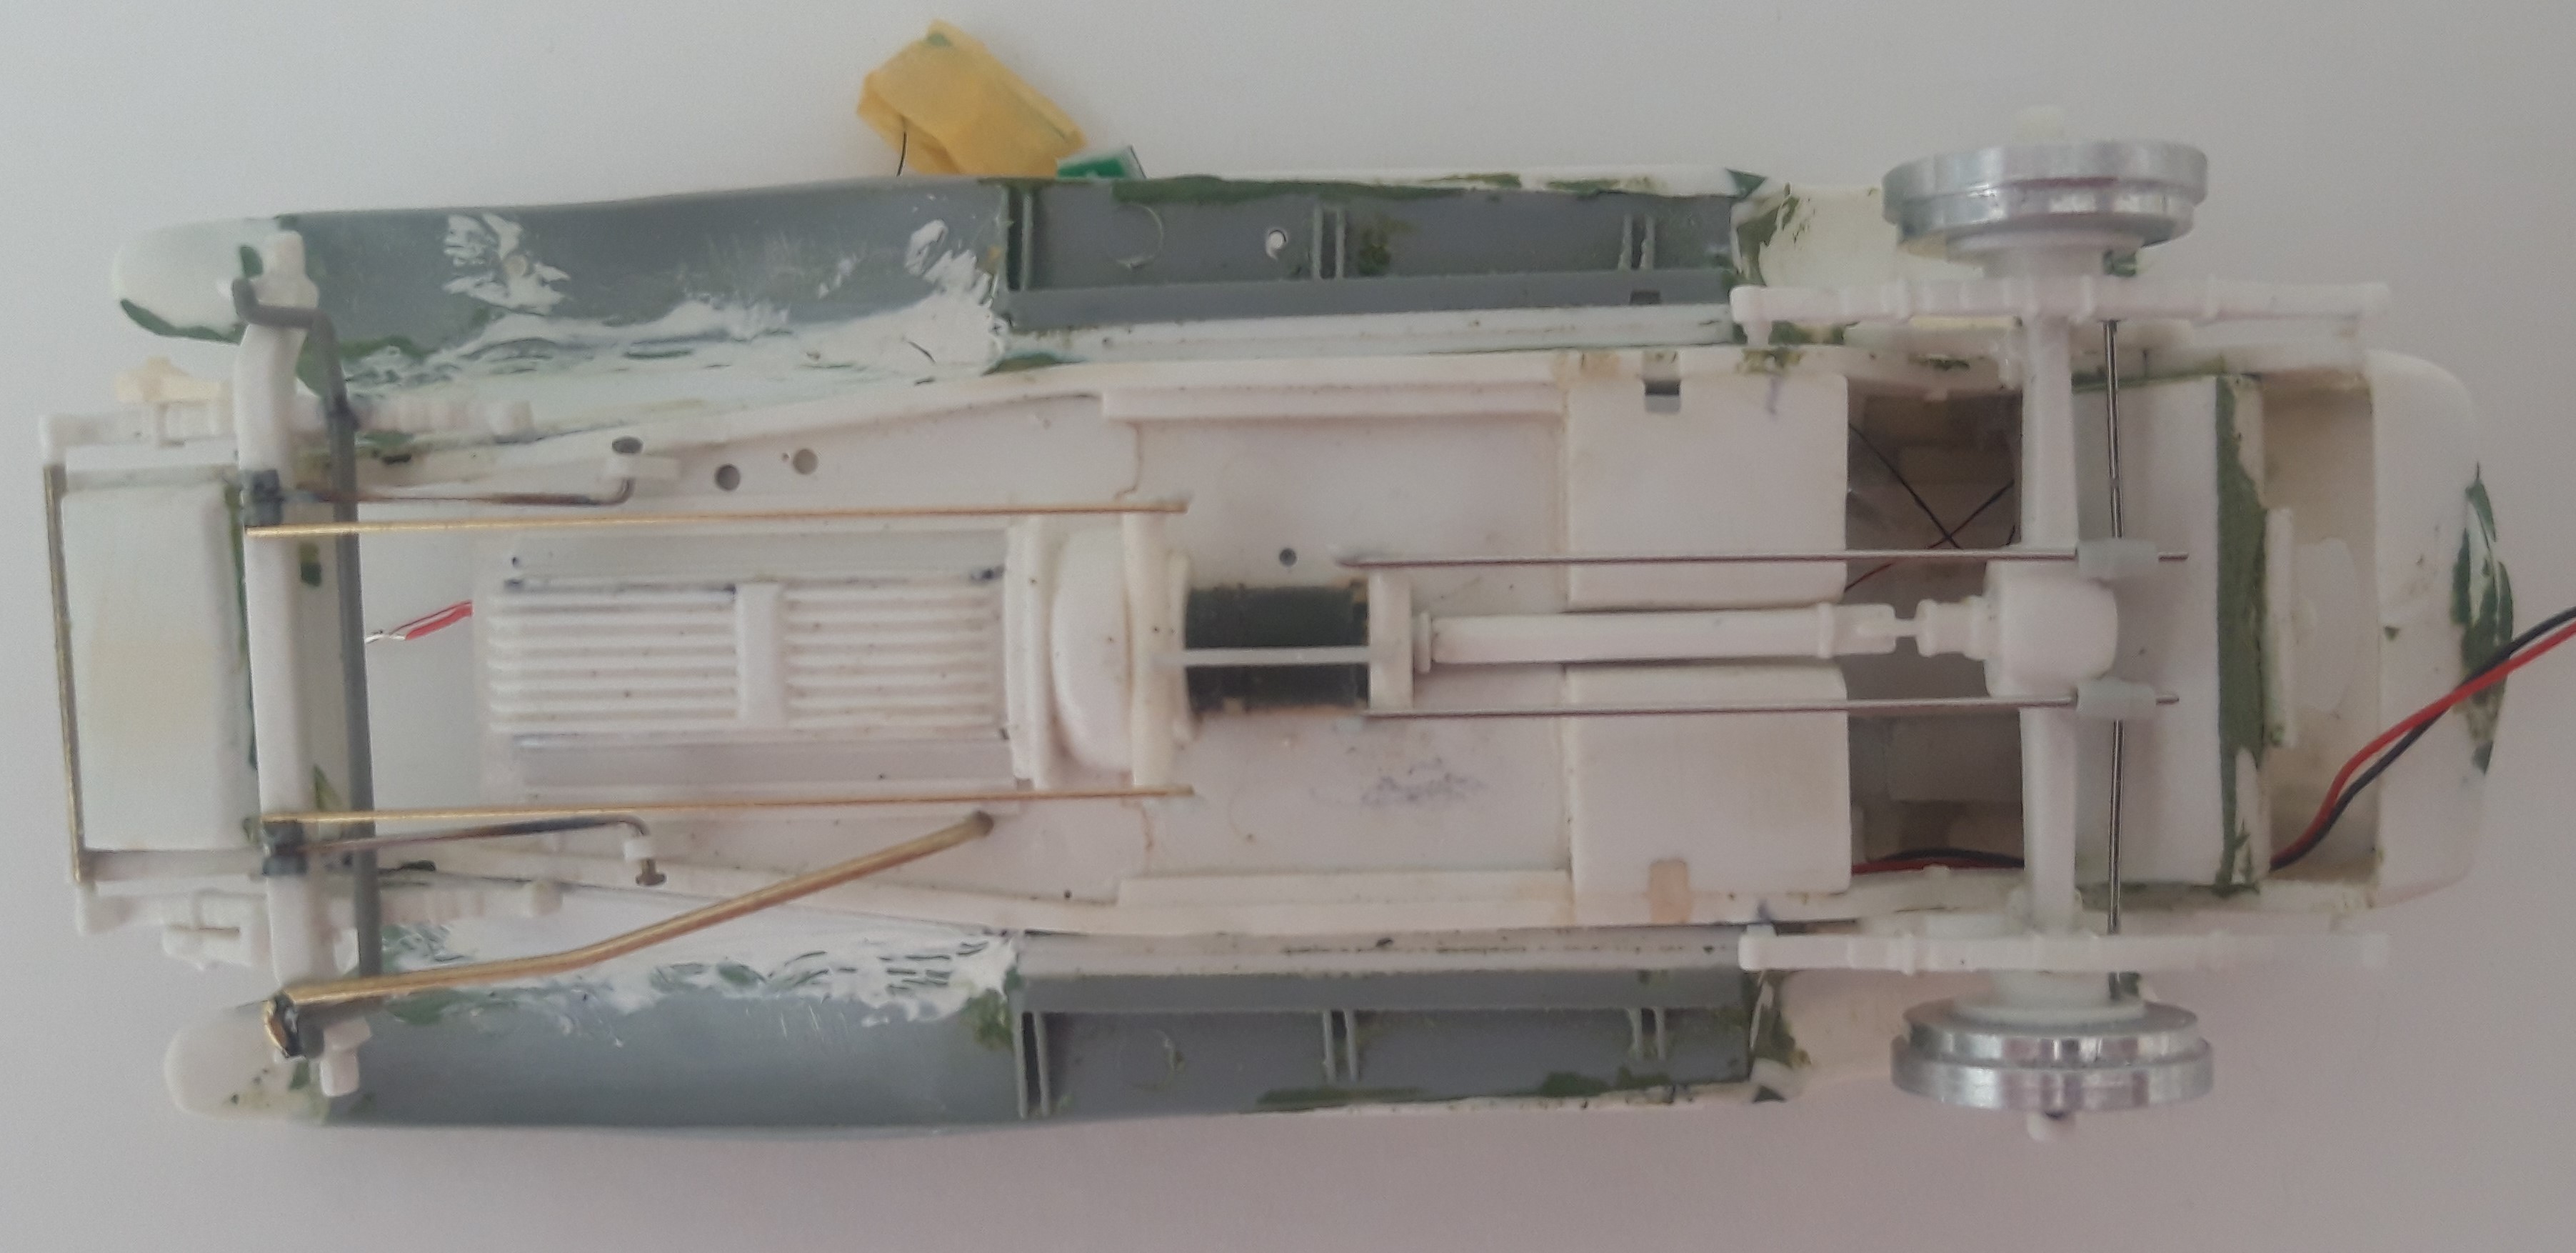
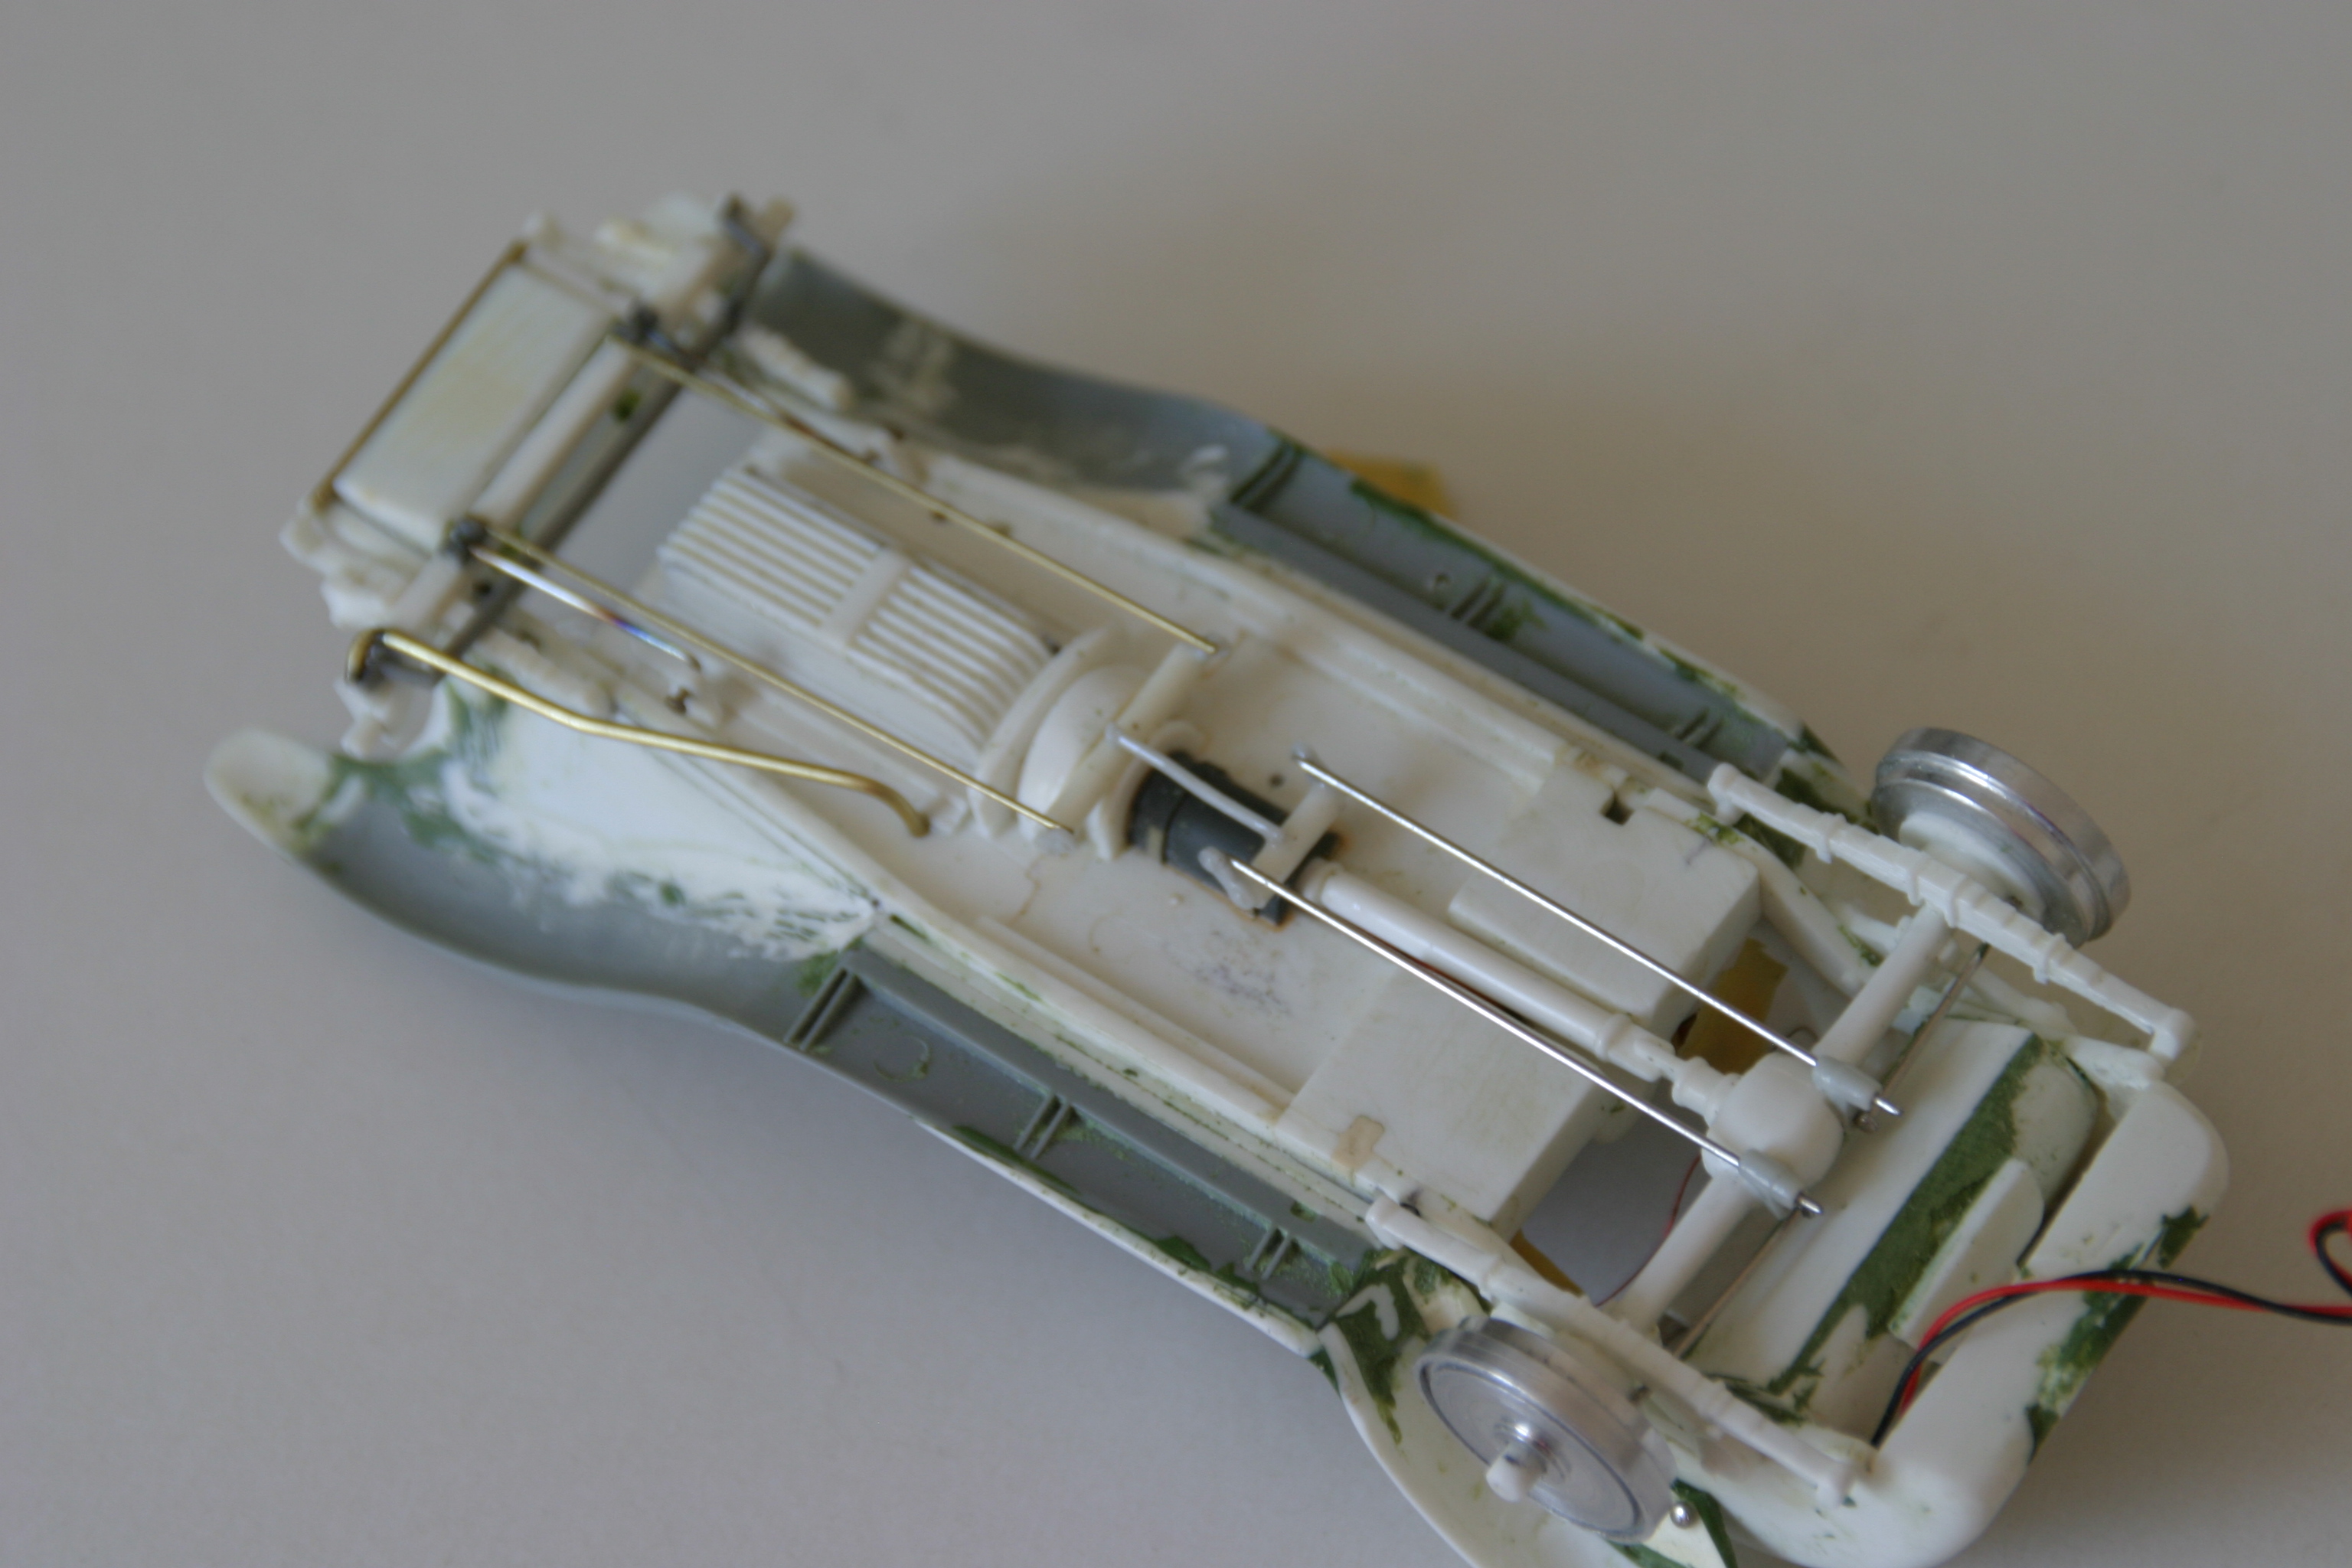
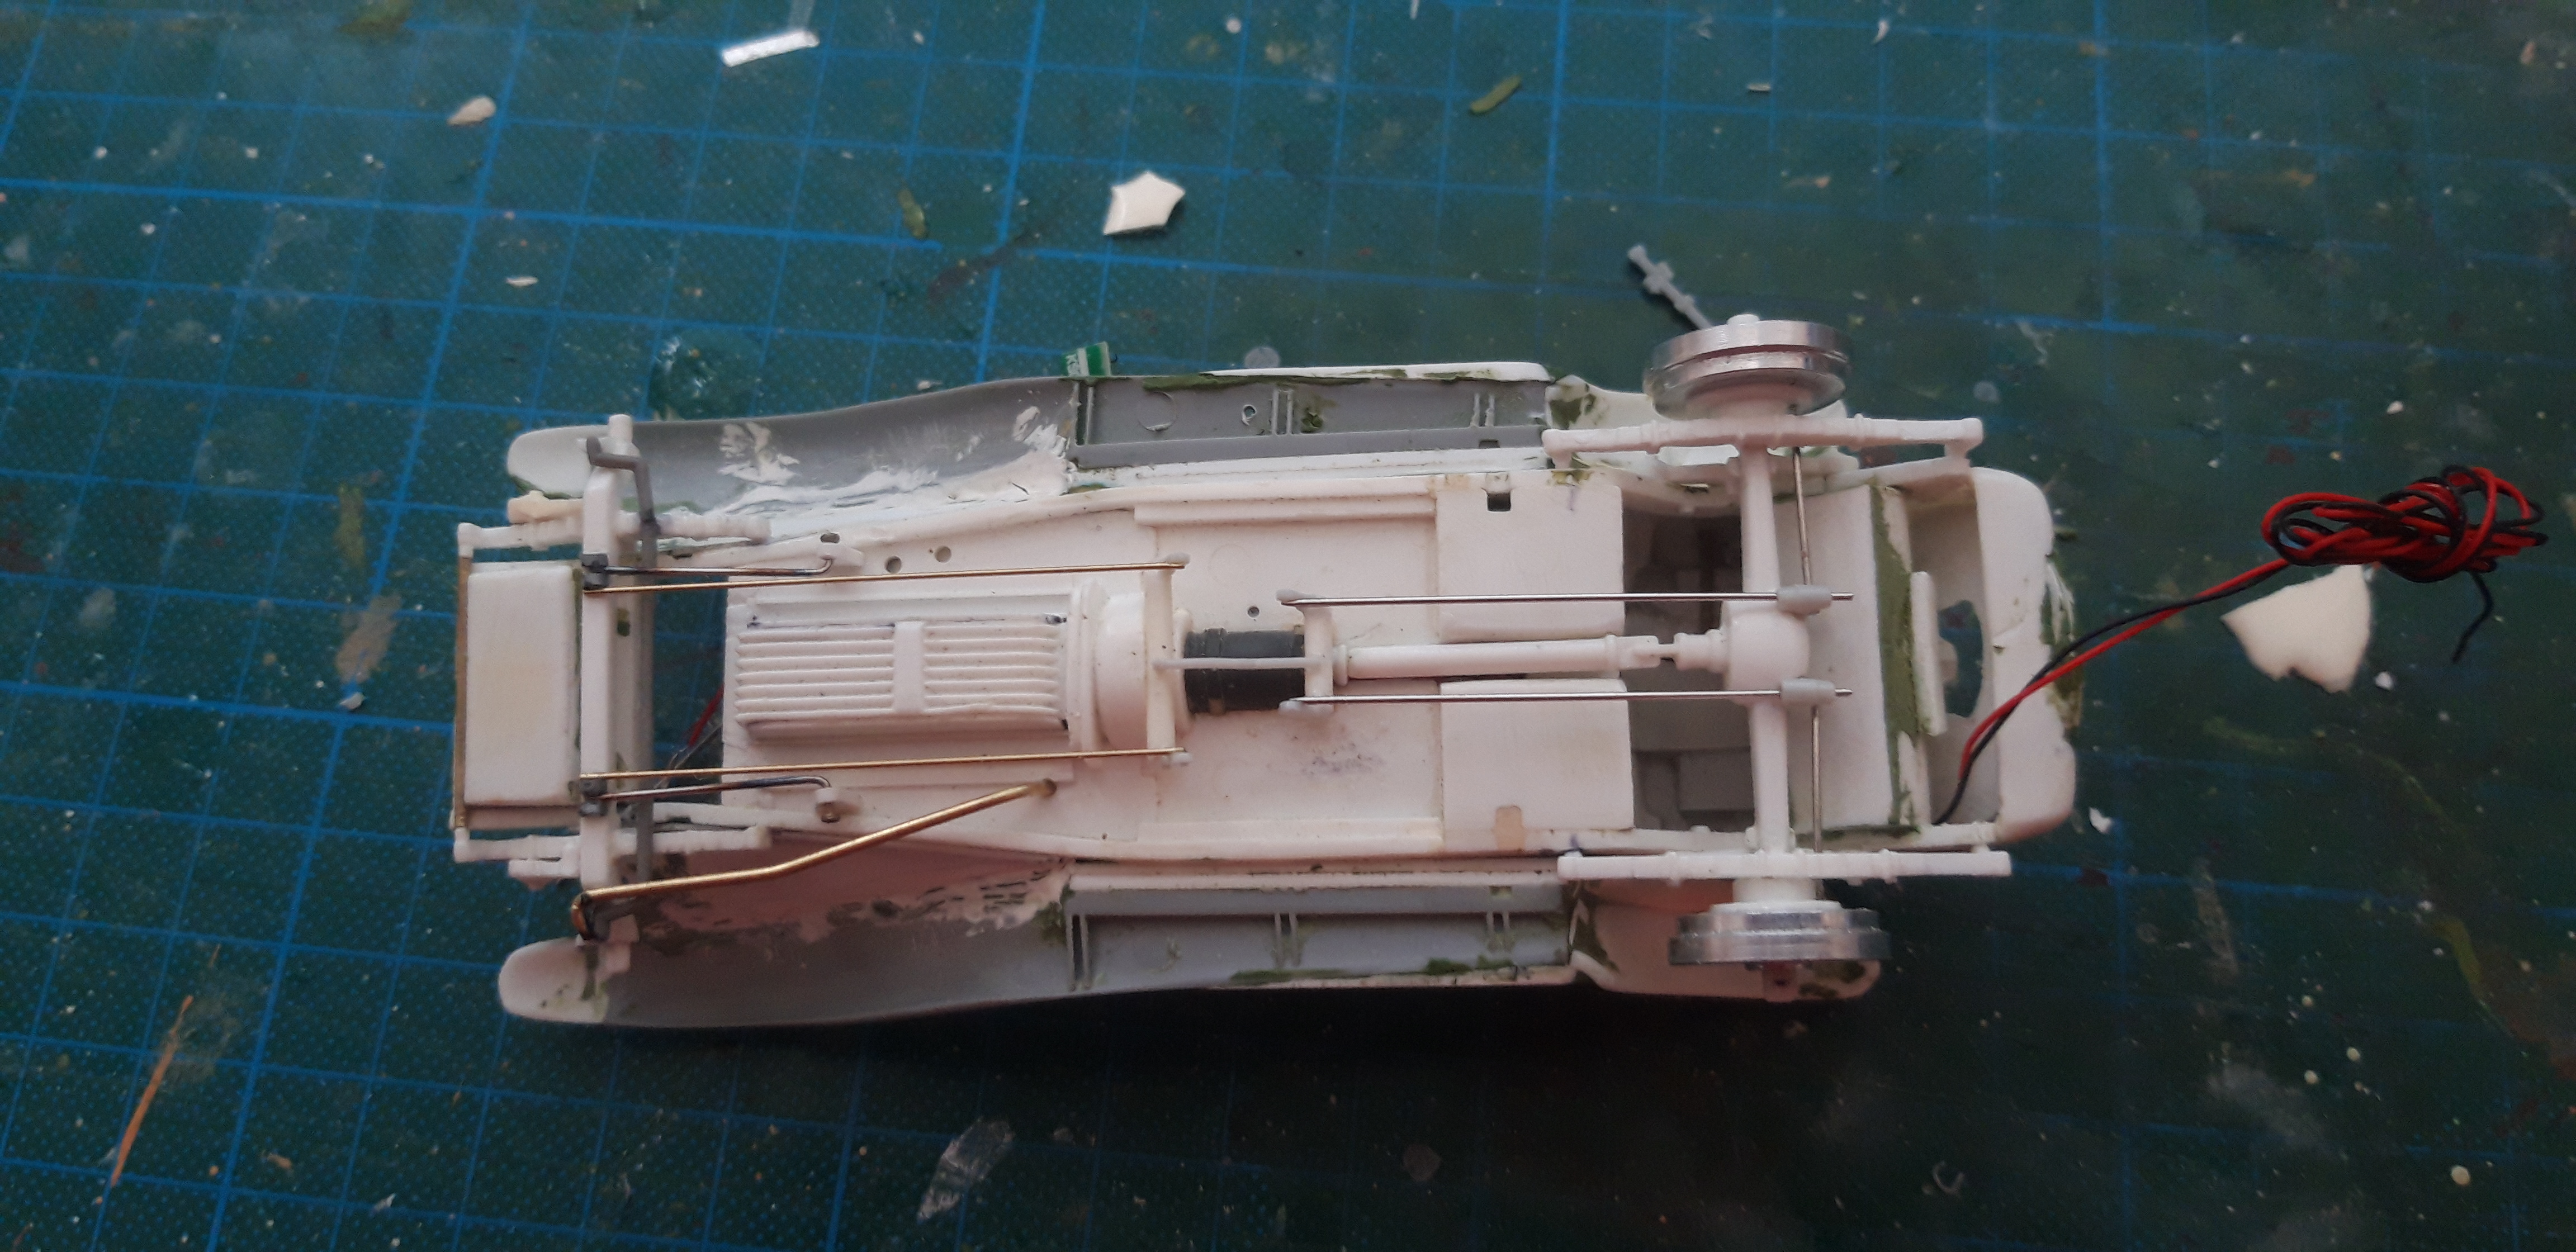
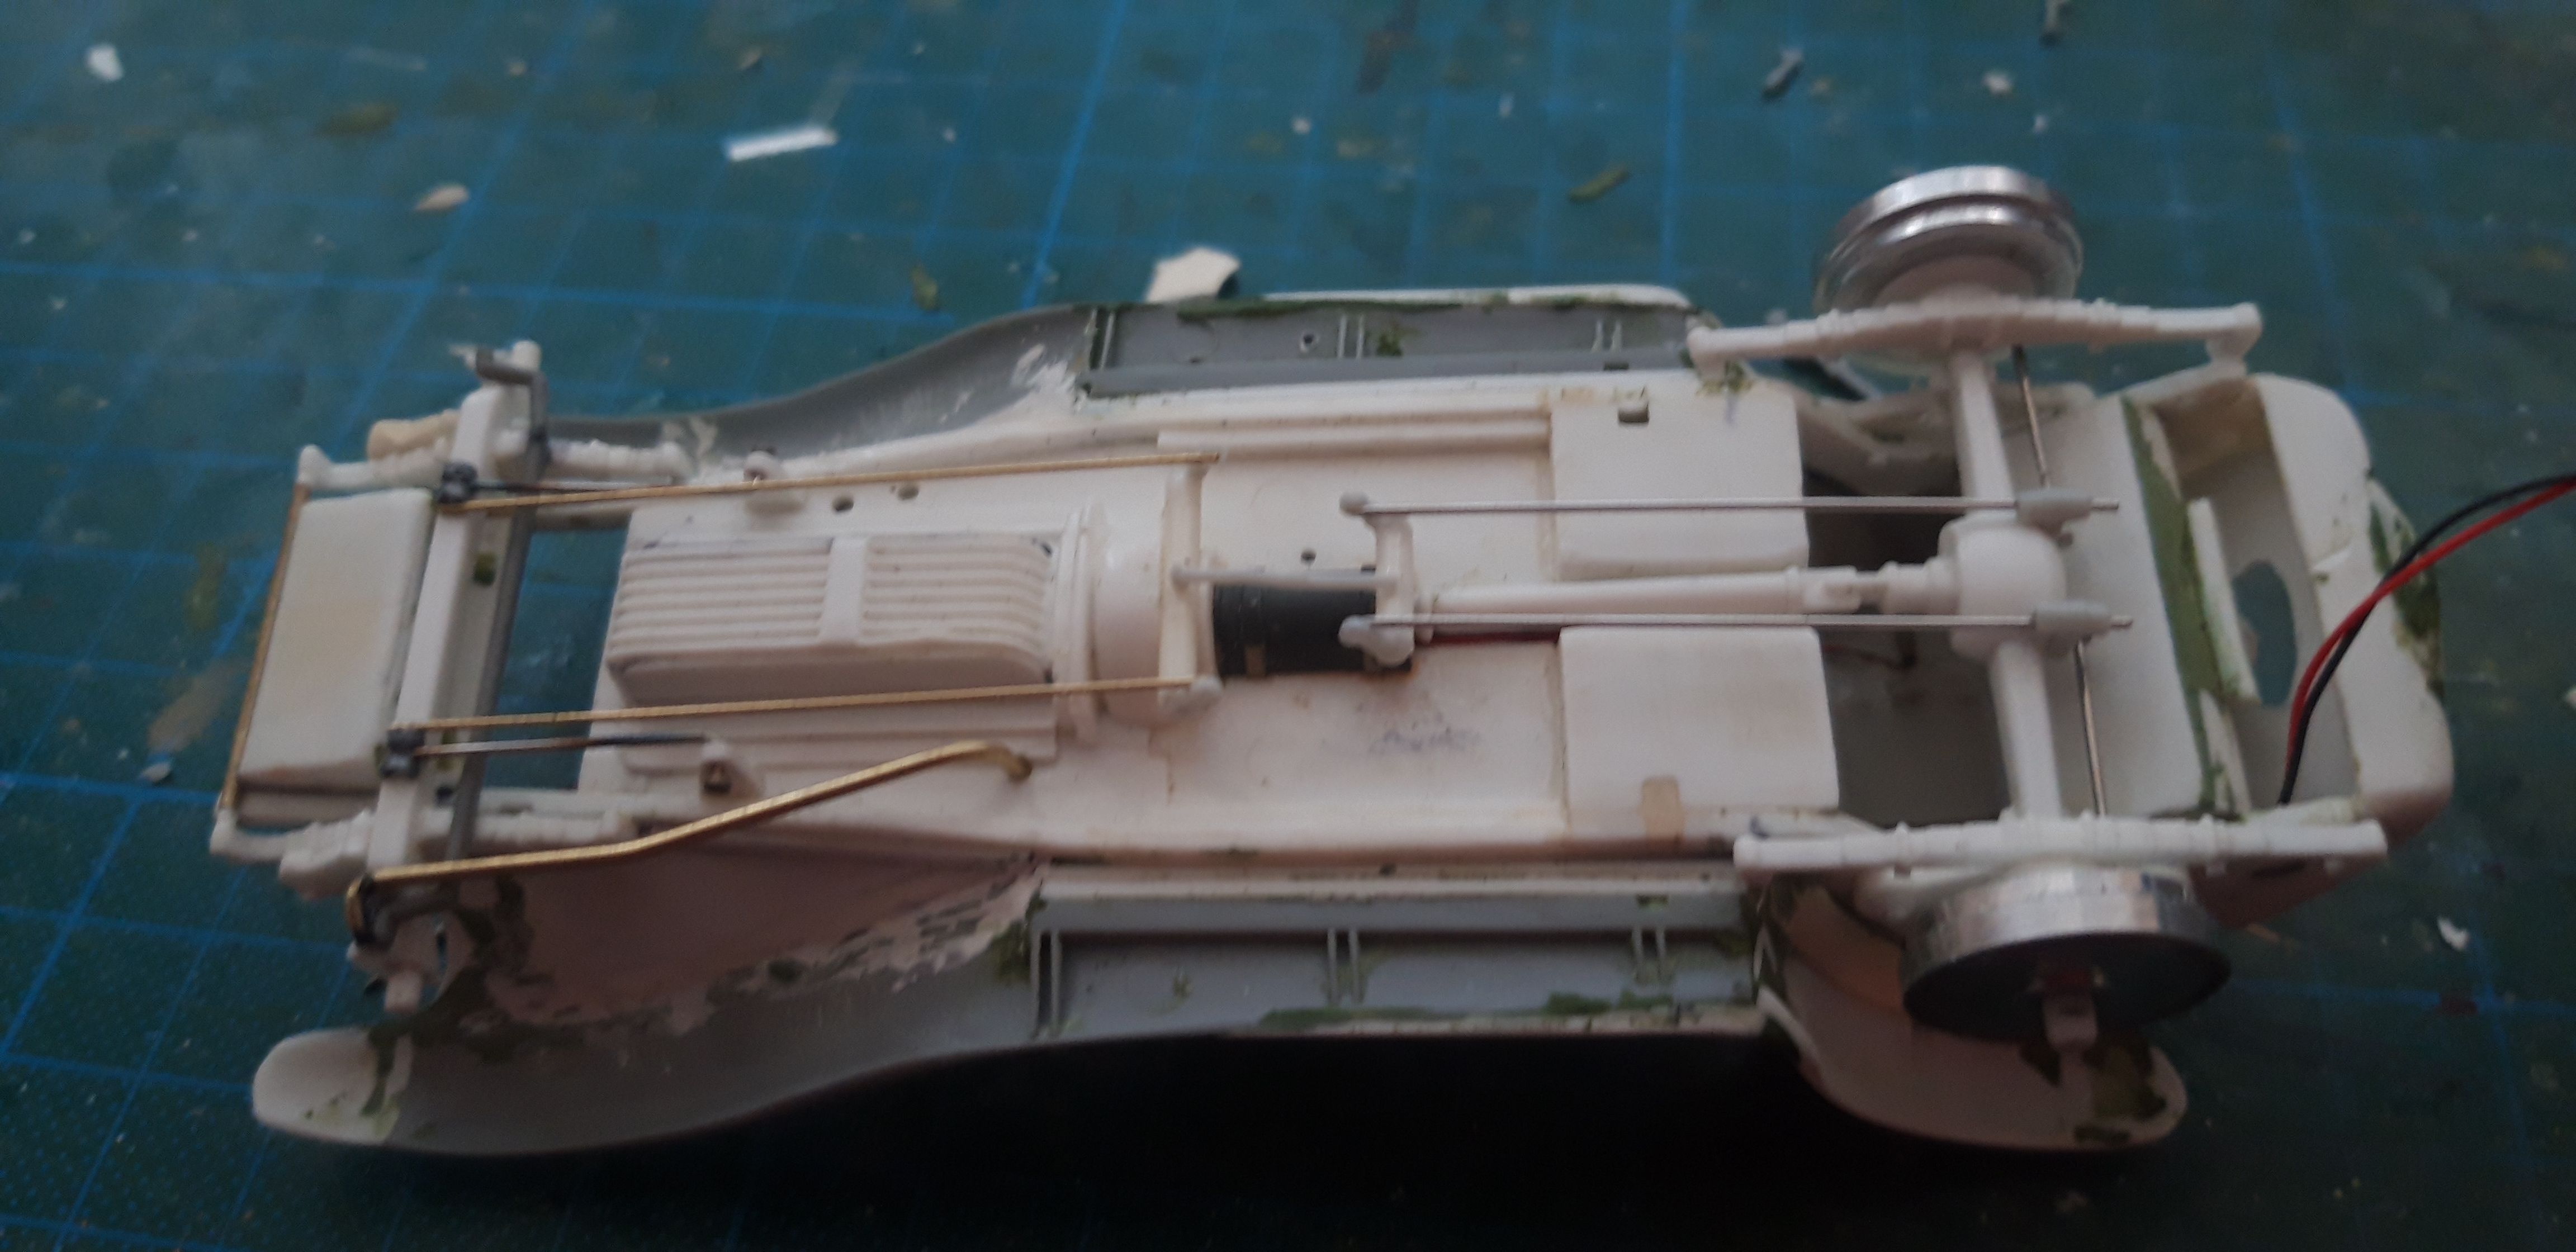
And yes this Car is also Lighted
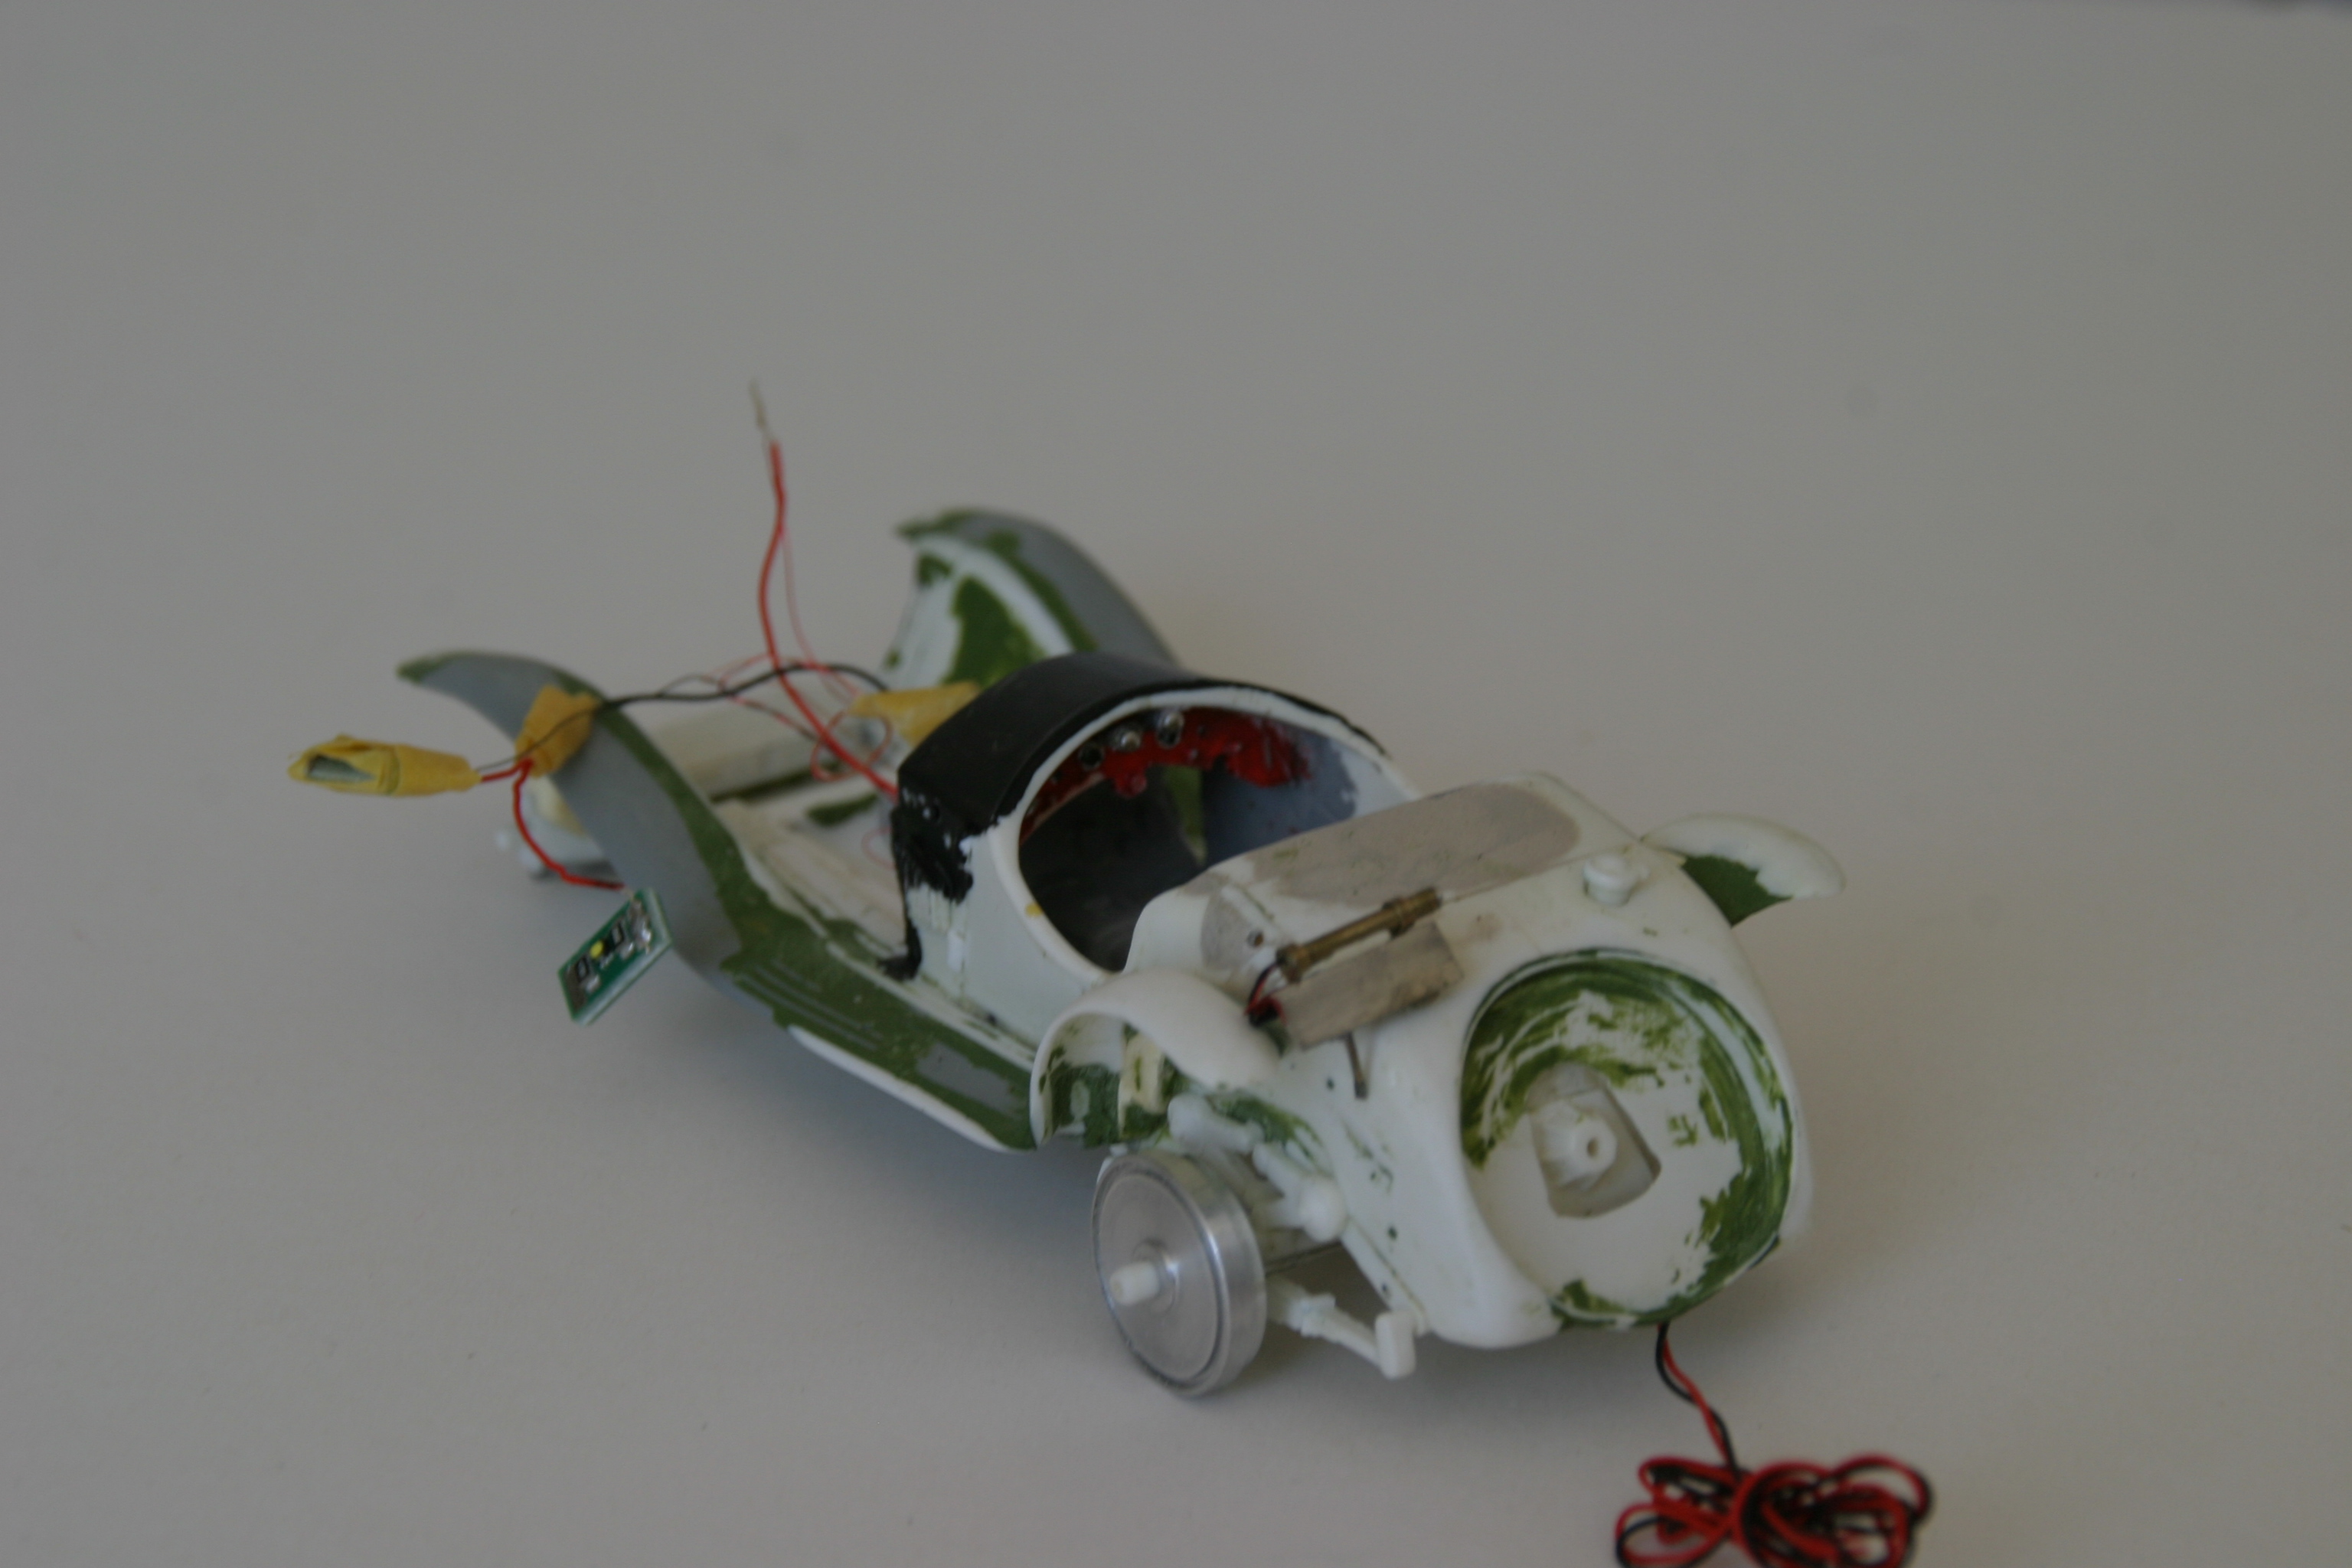
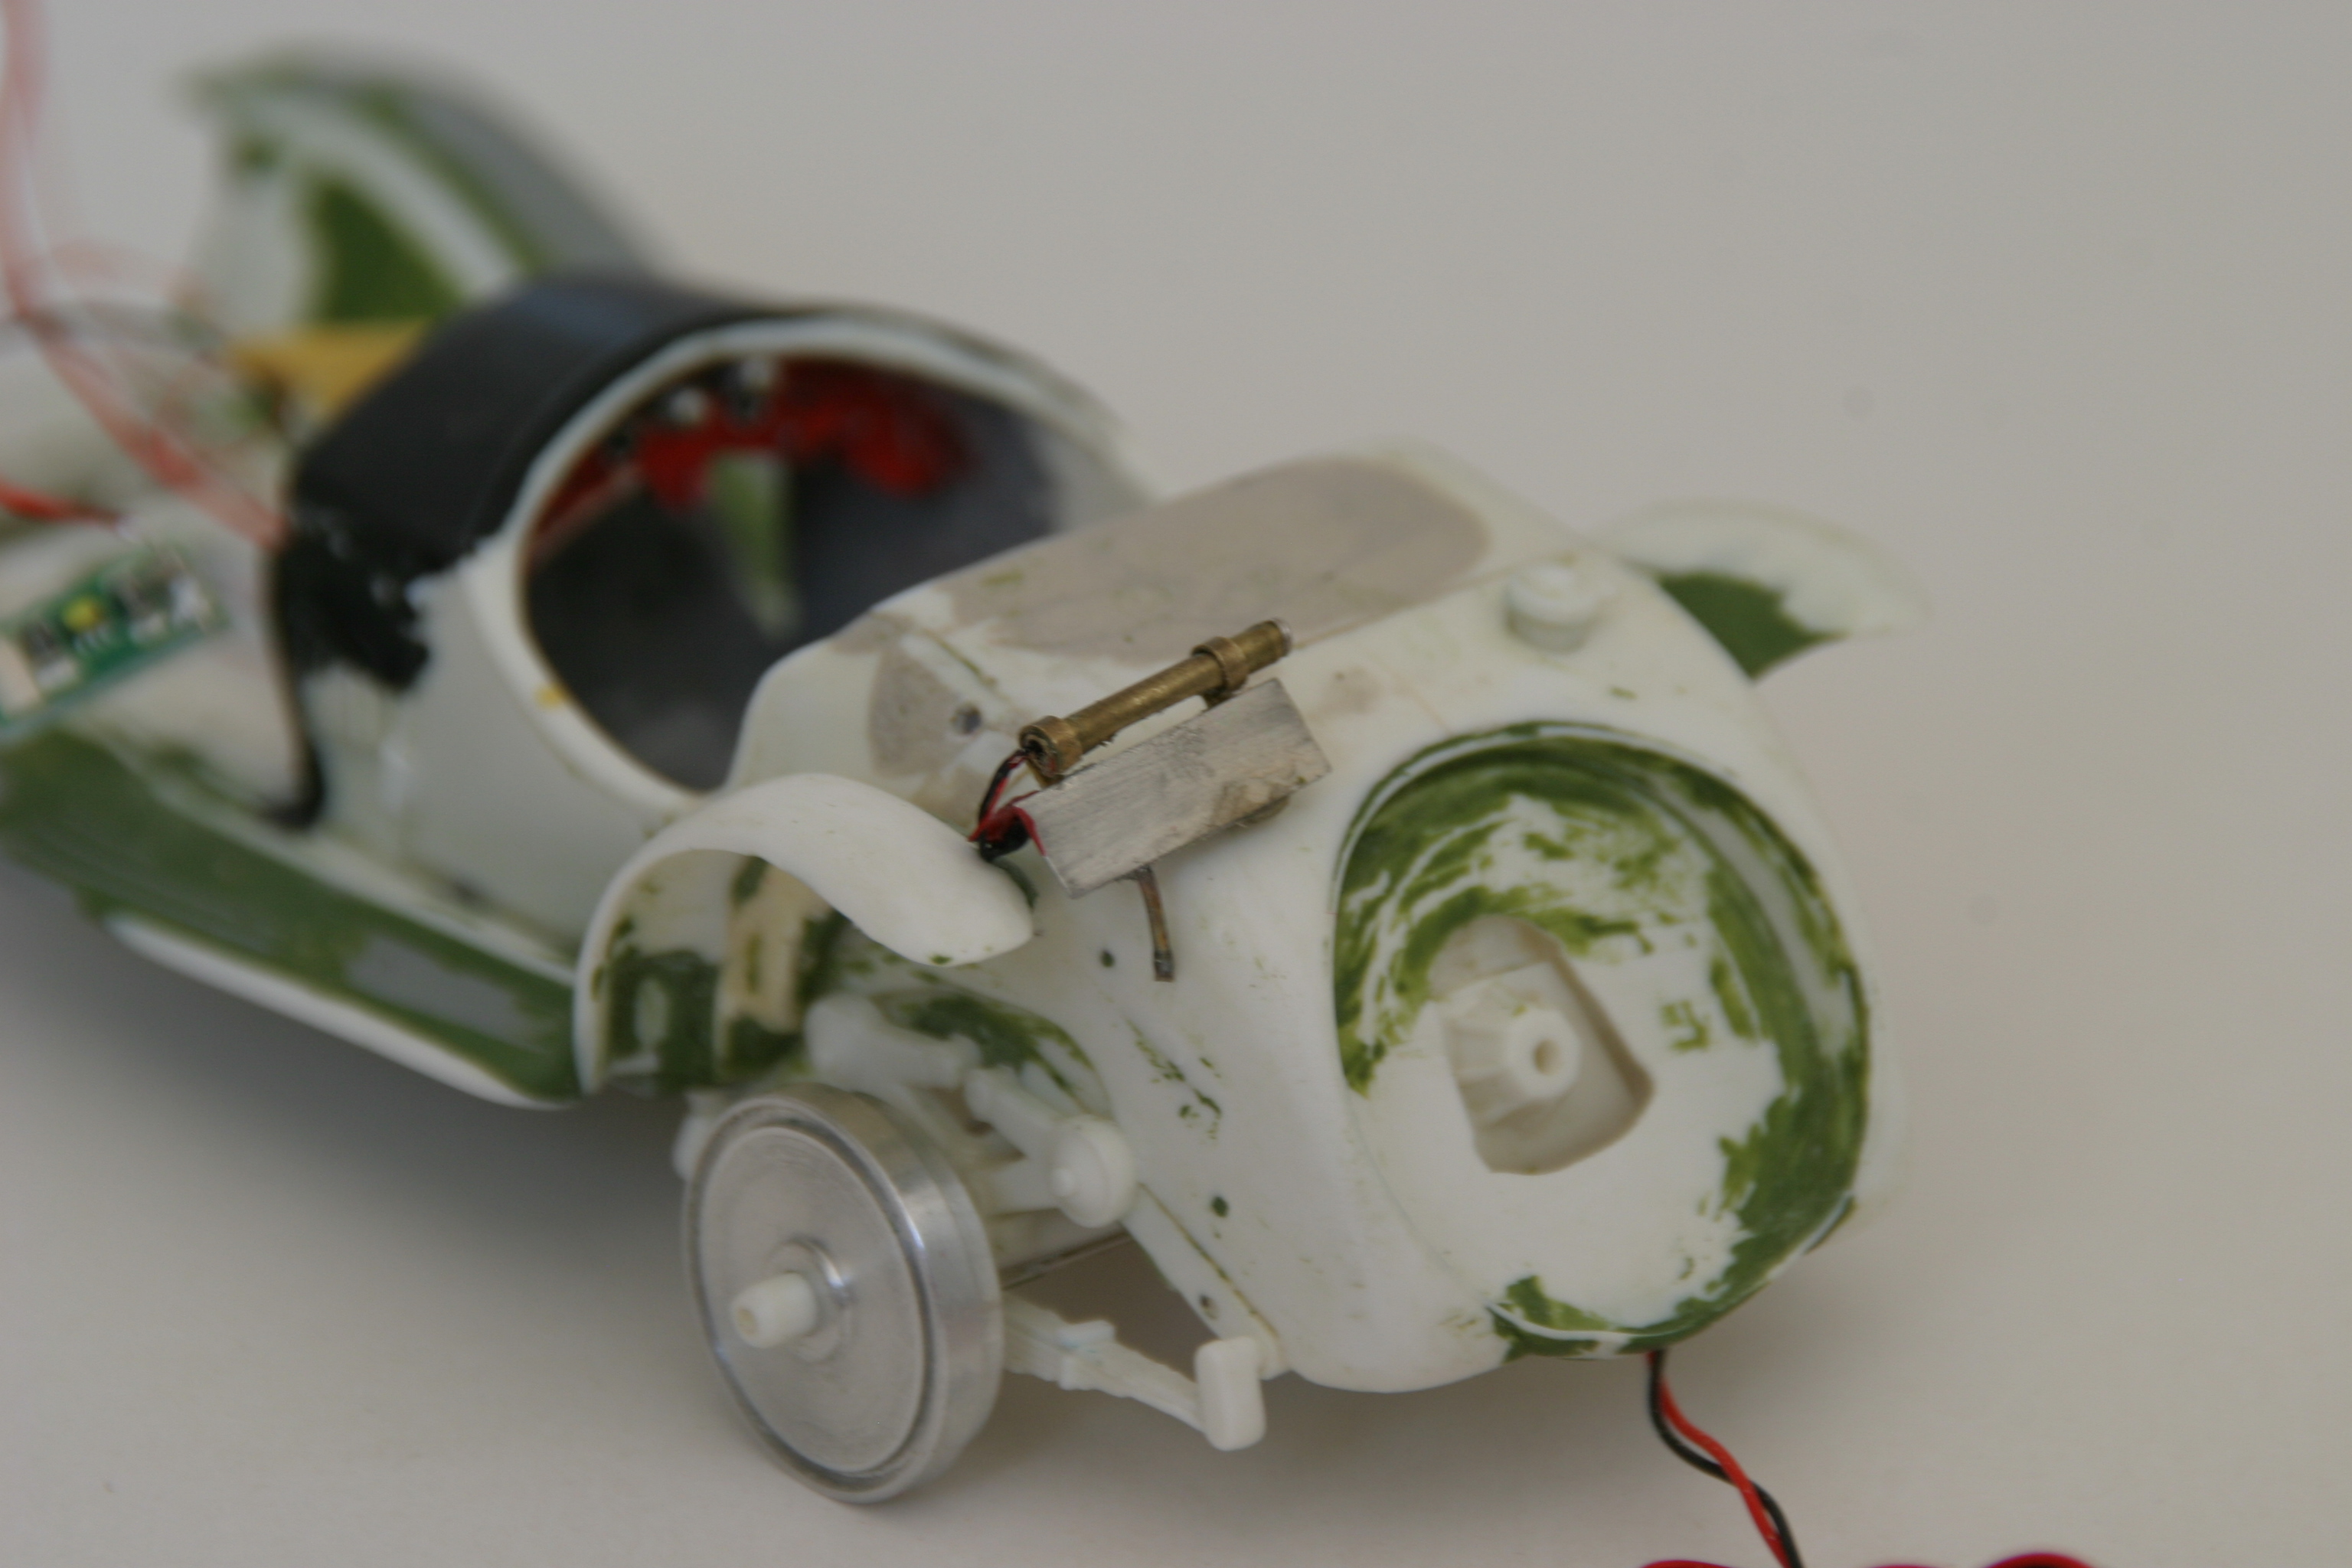
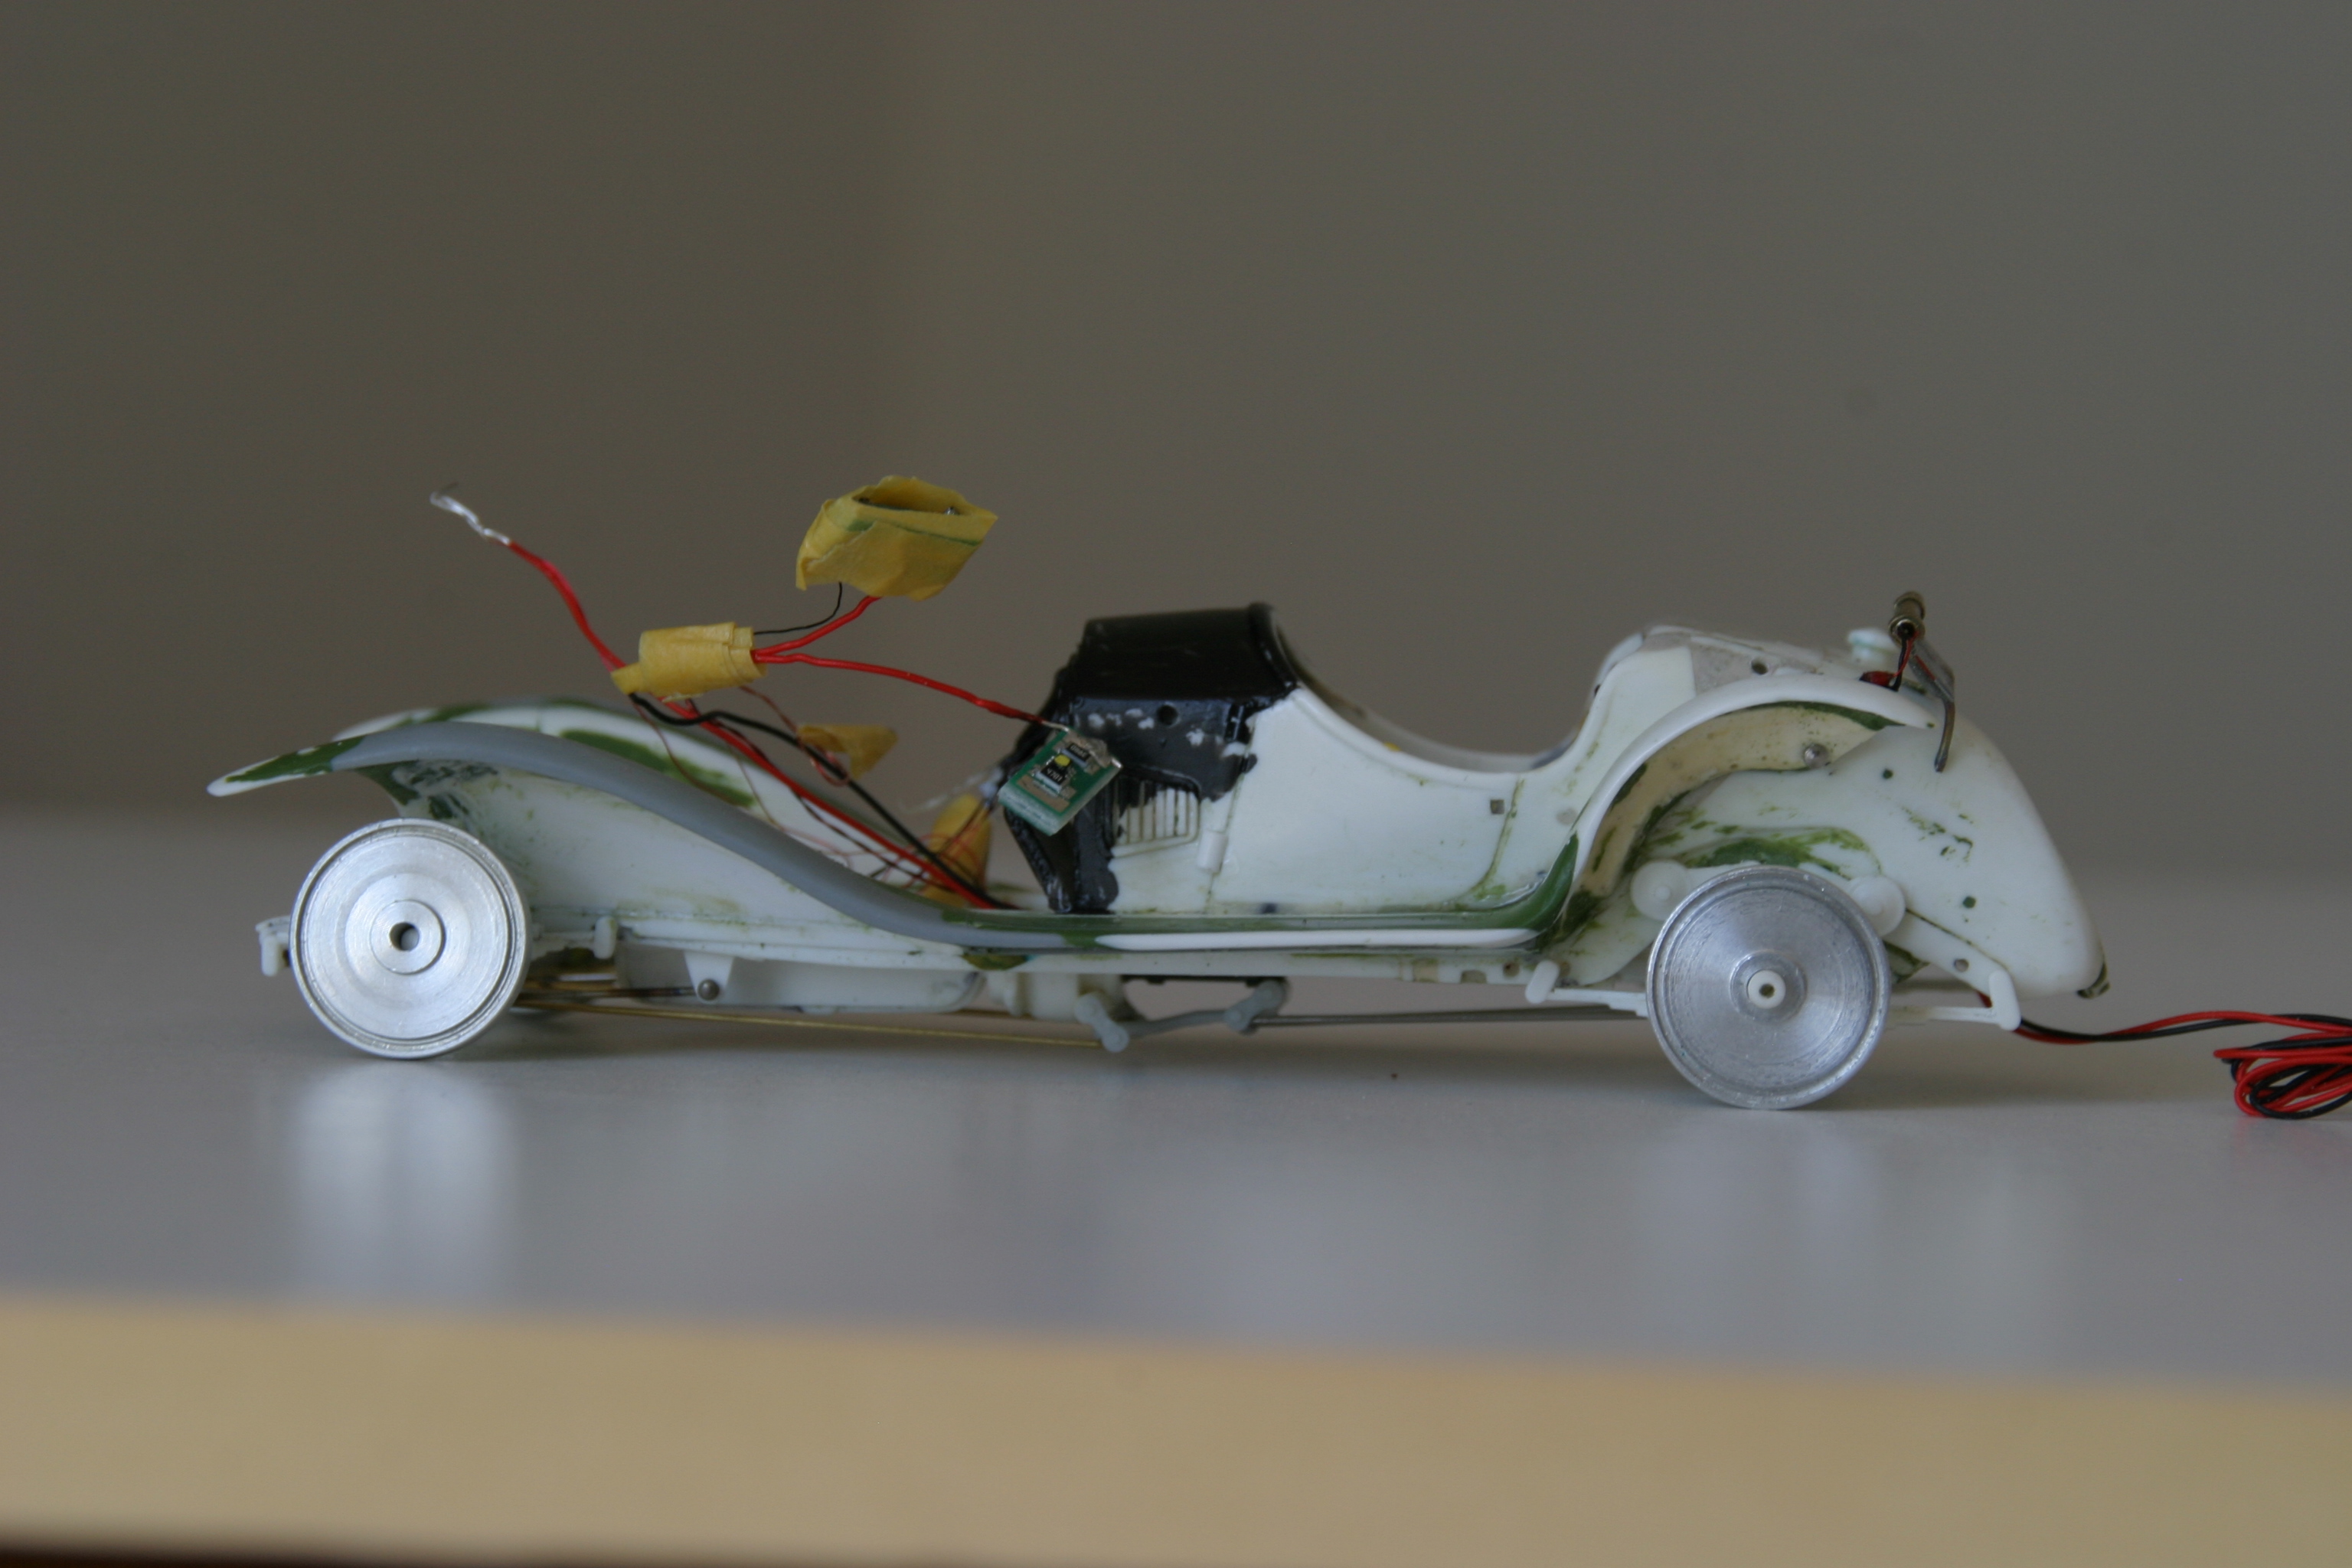
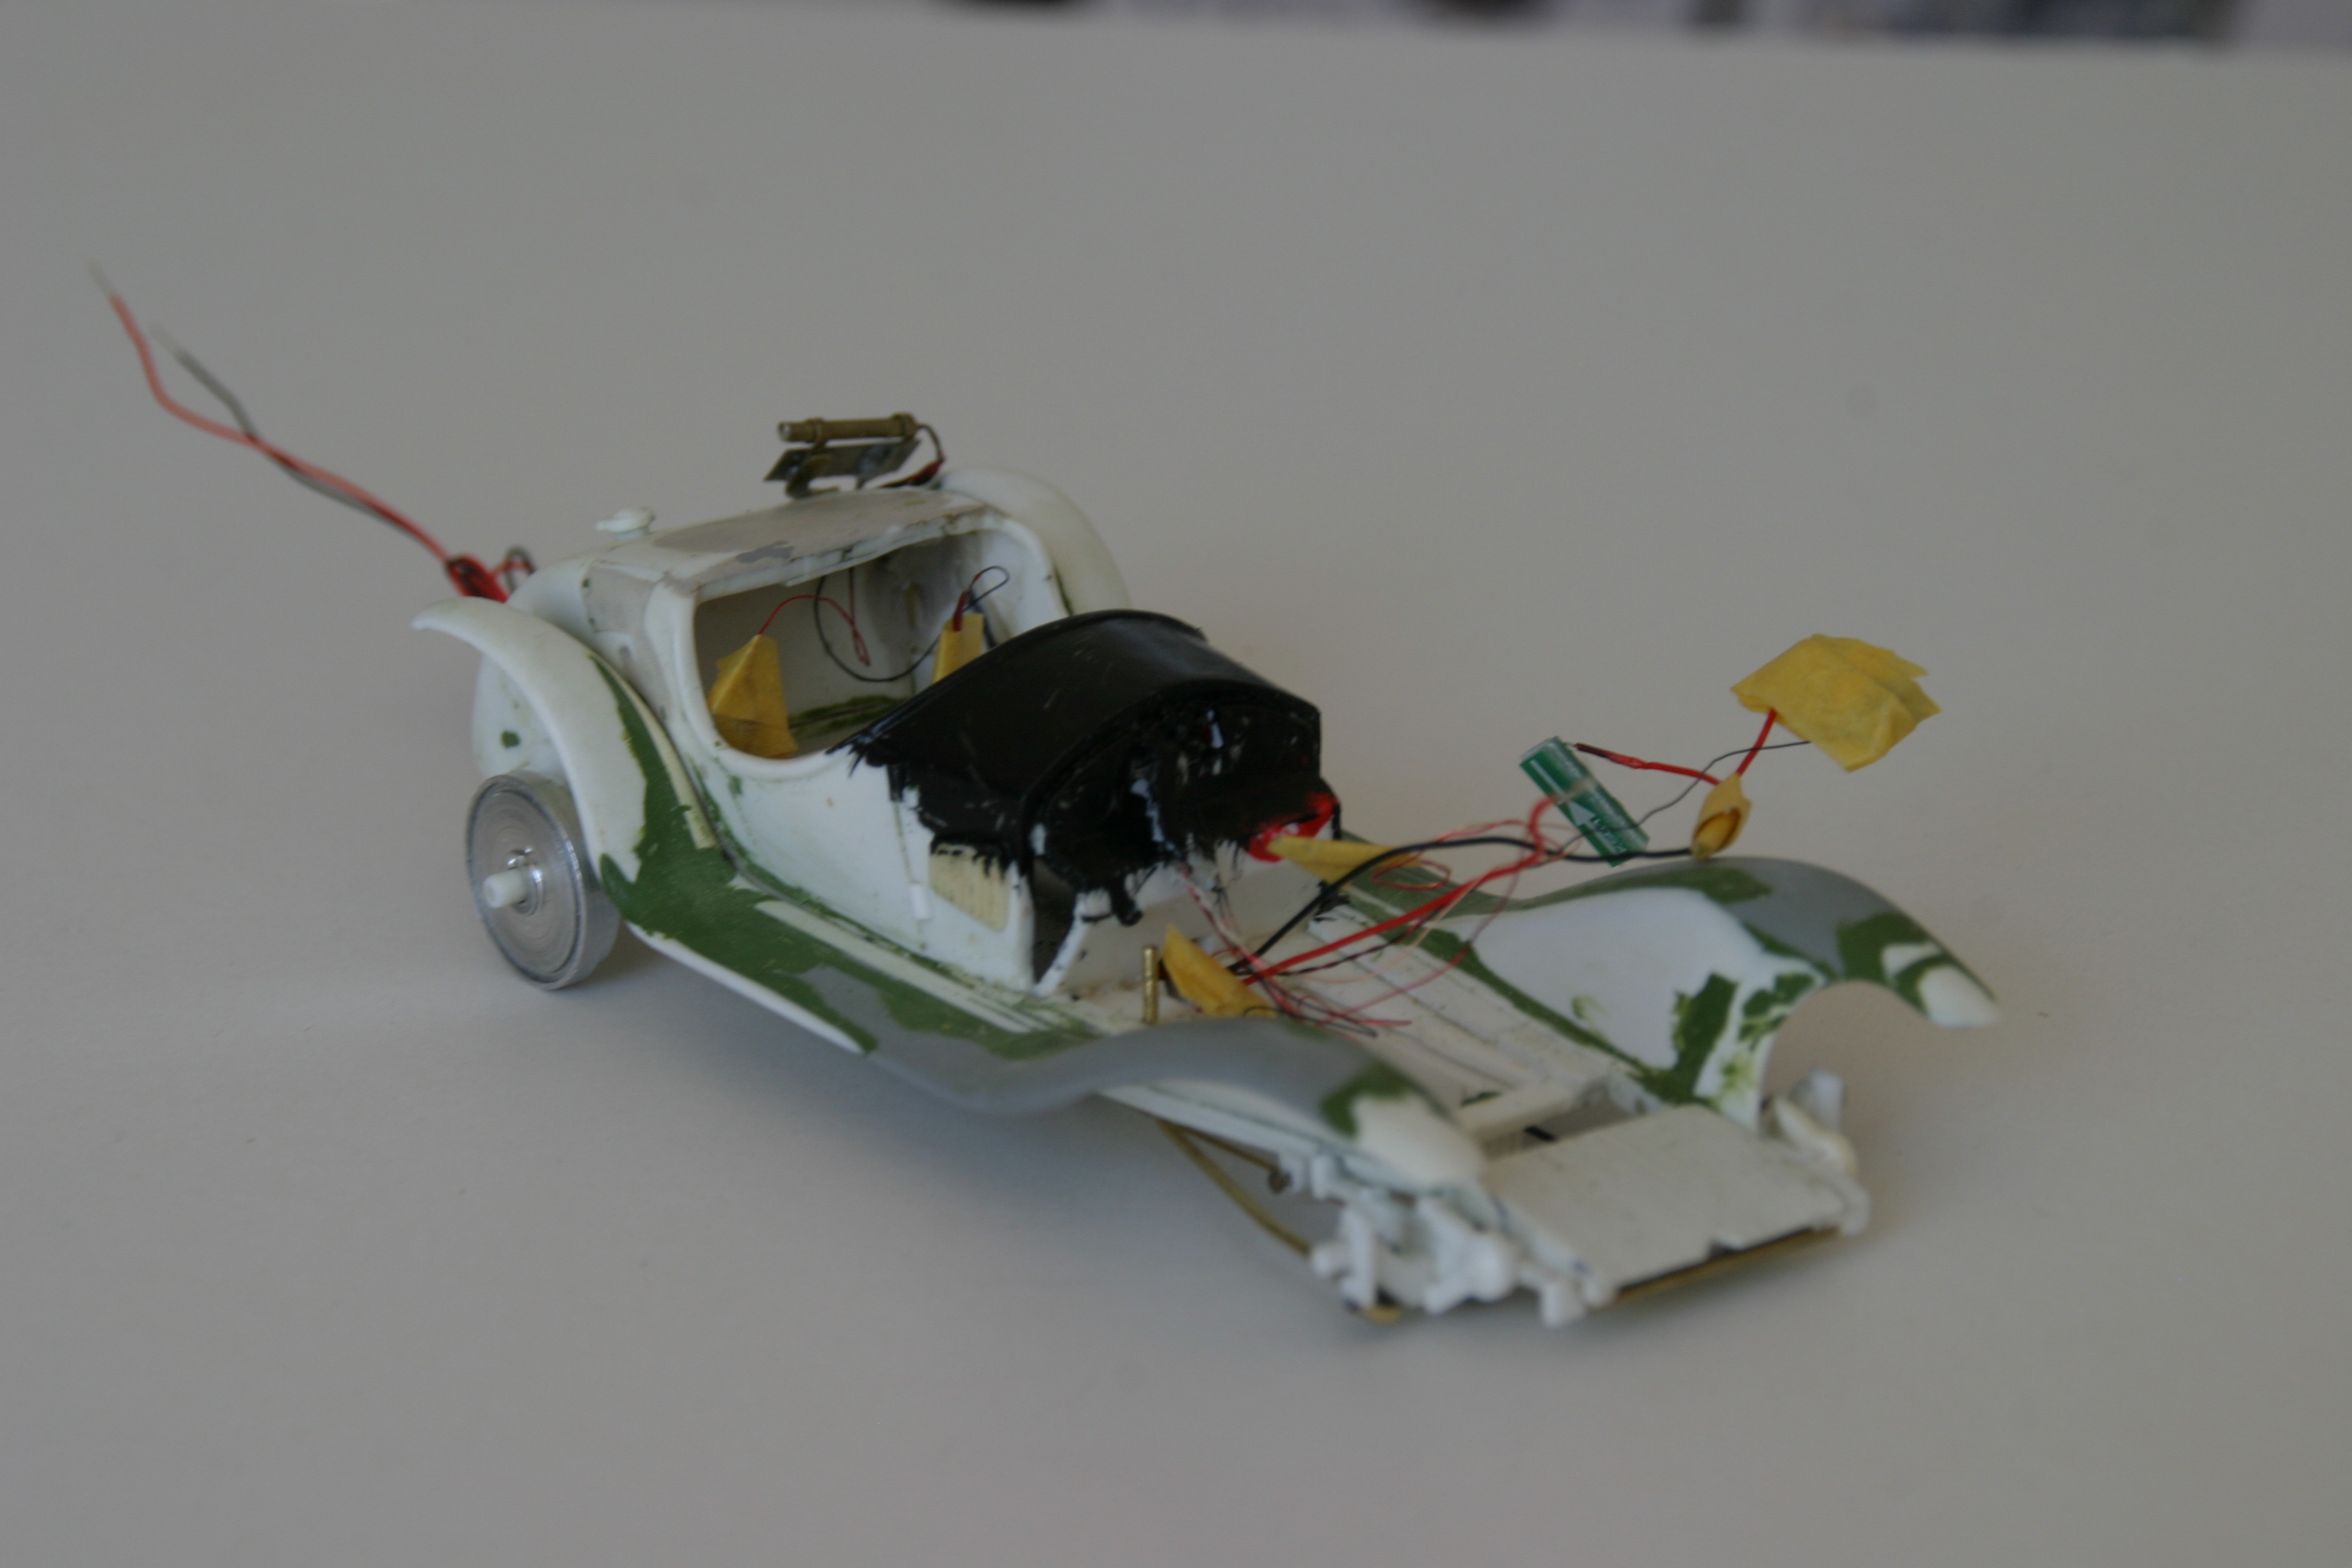

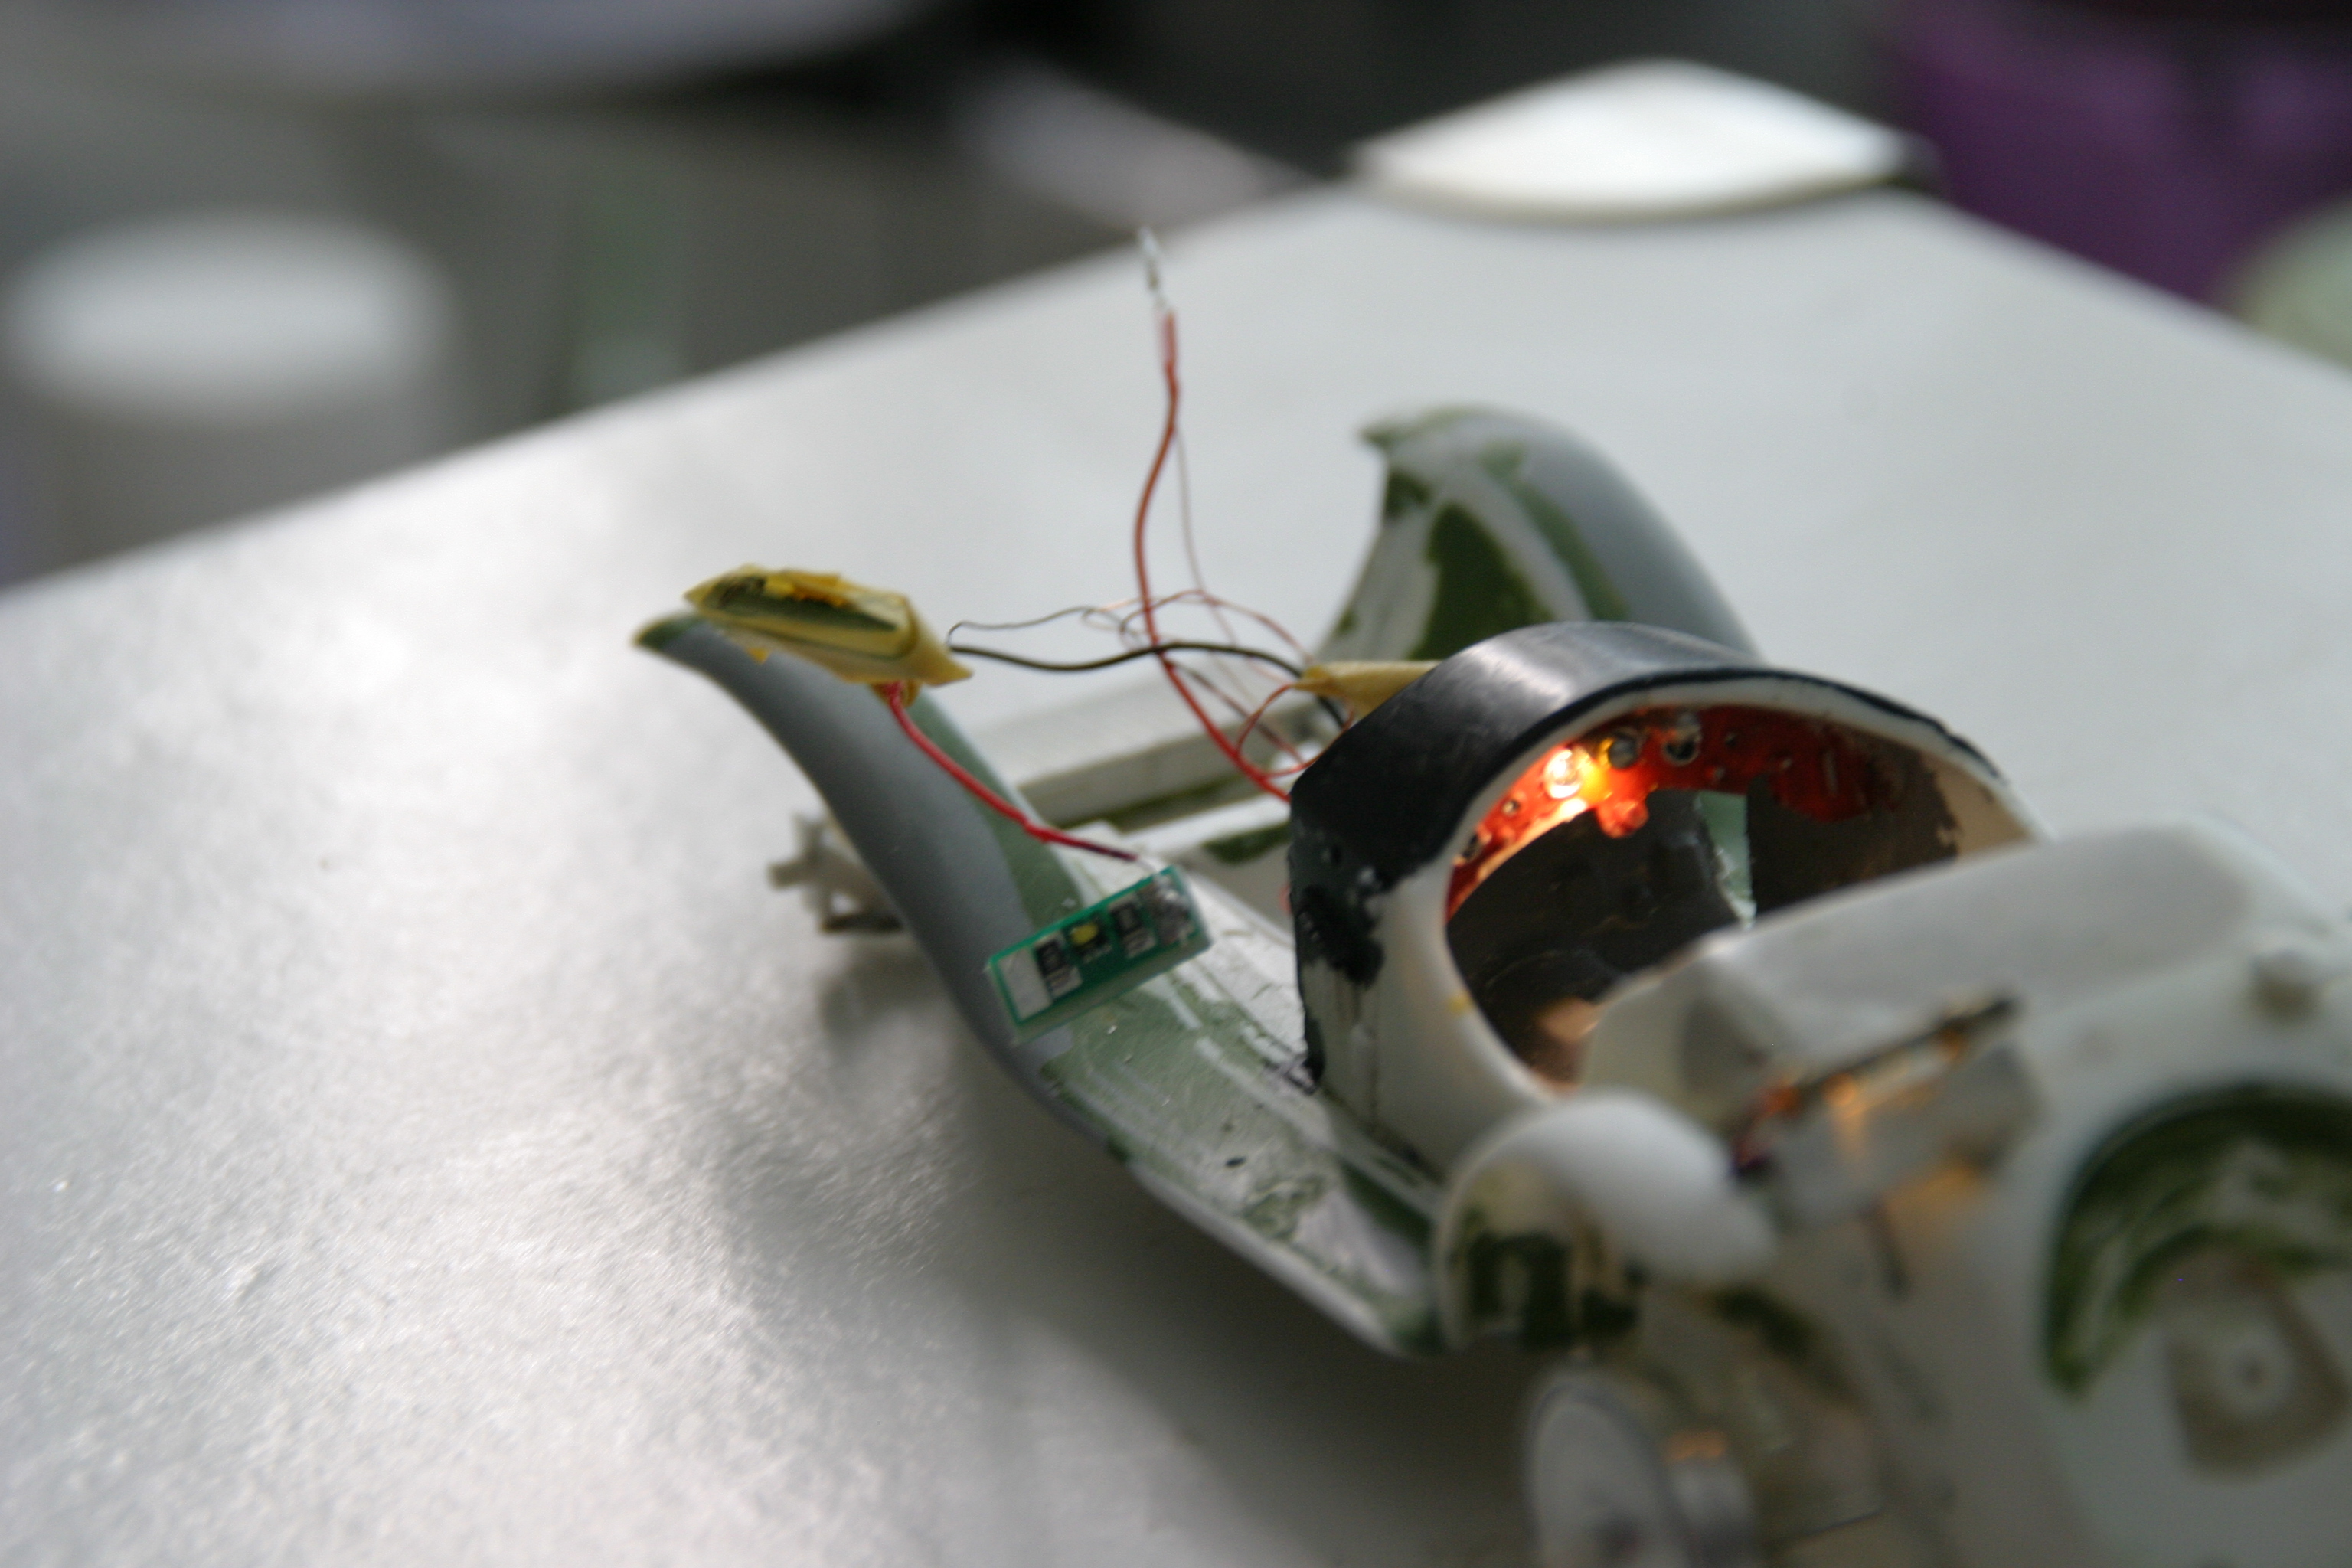
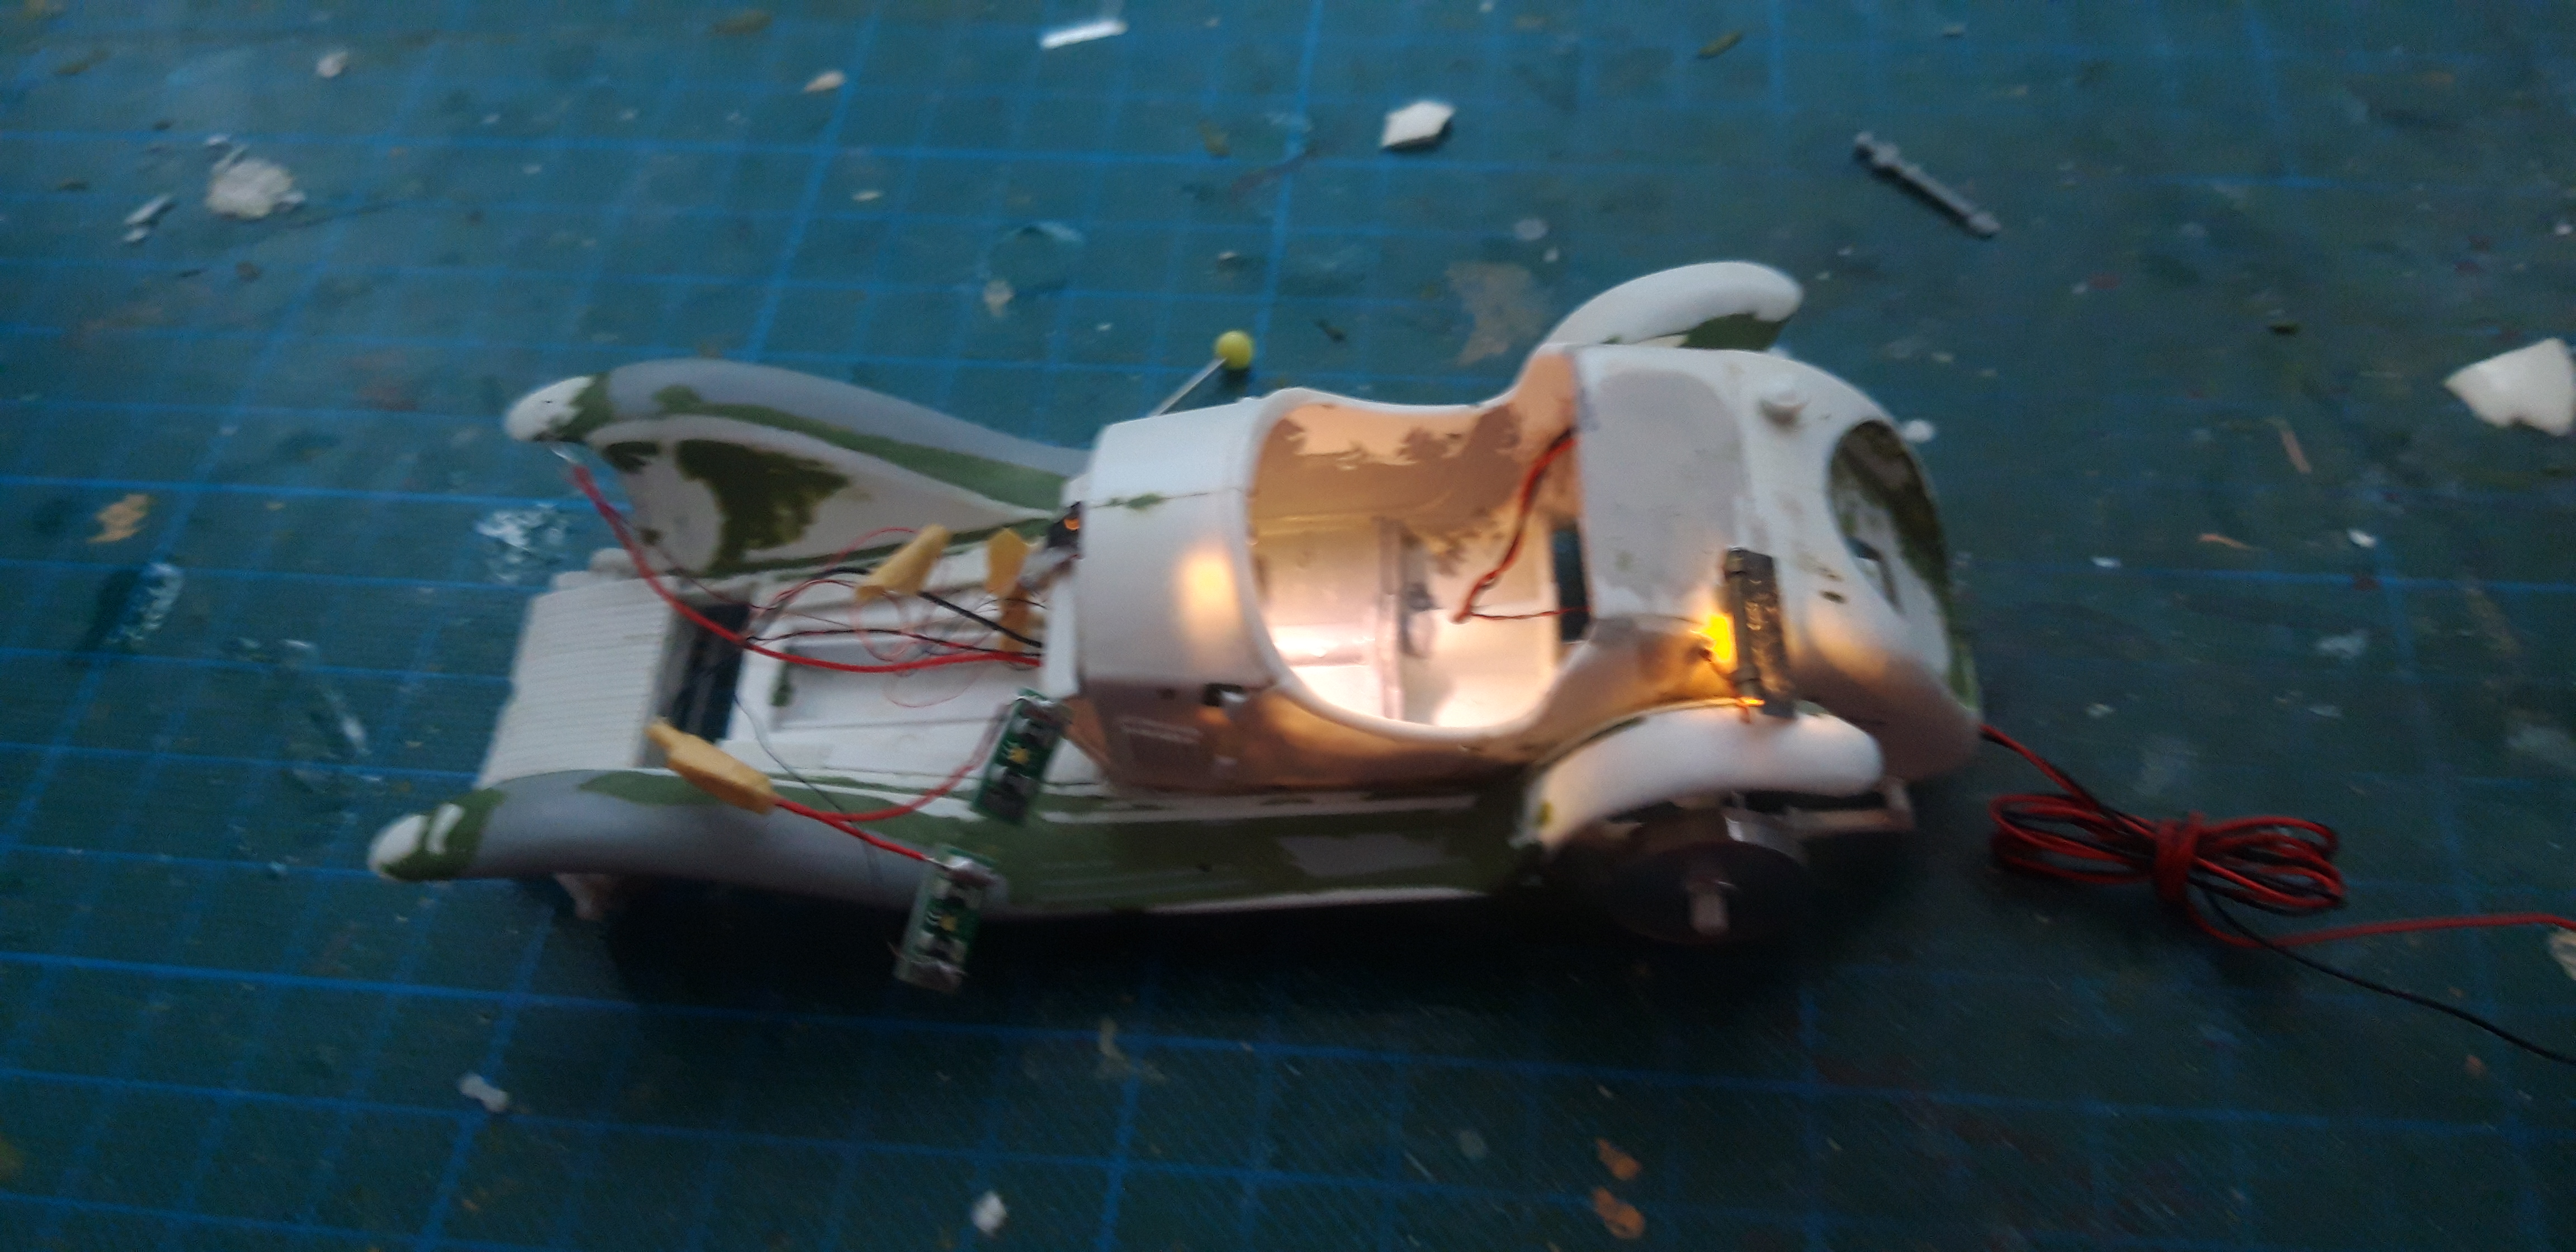
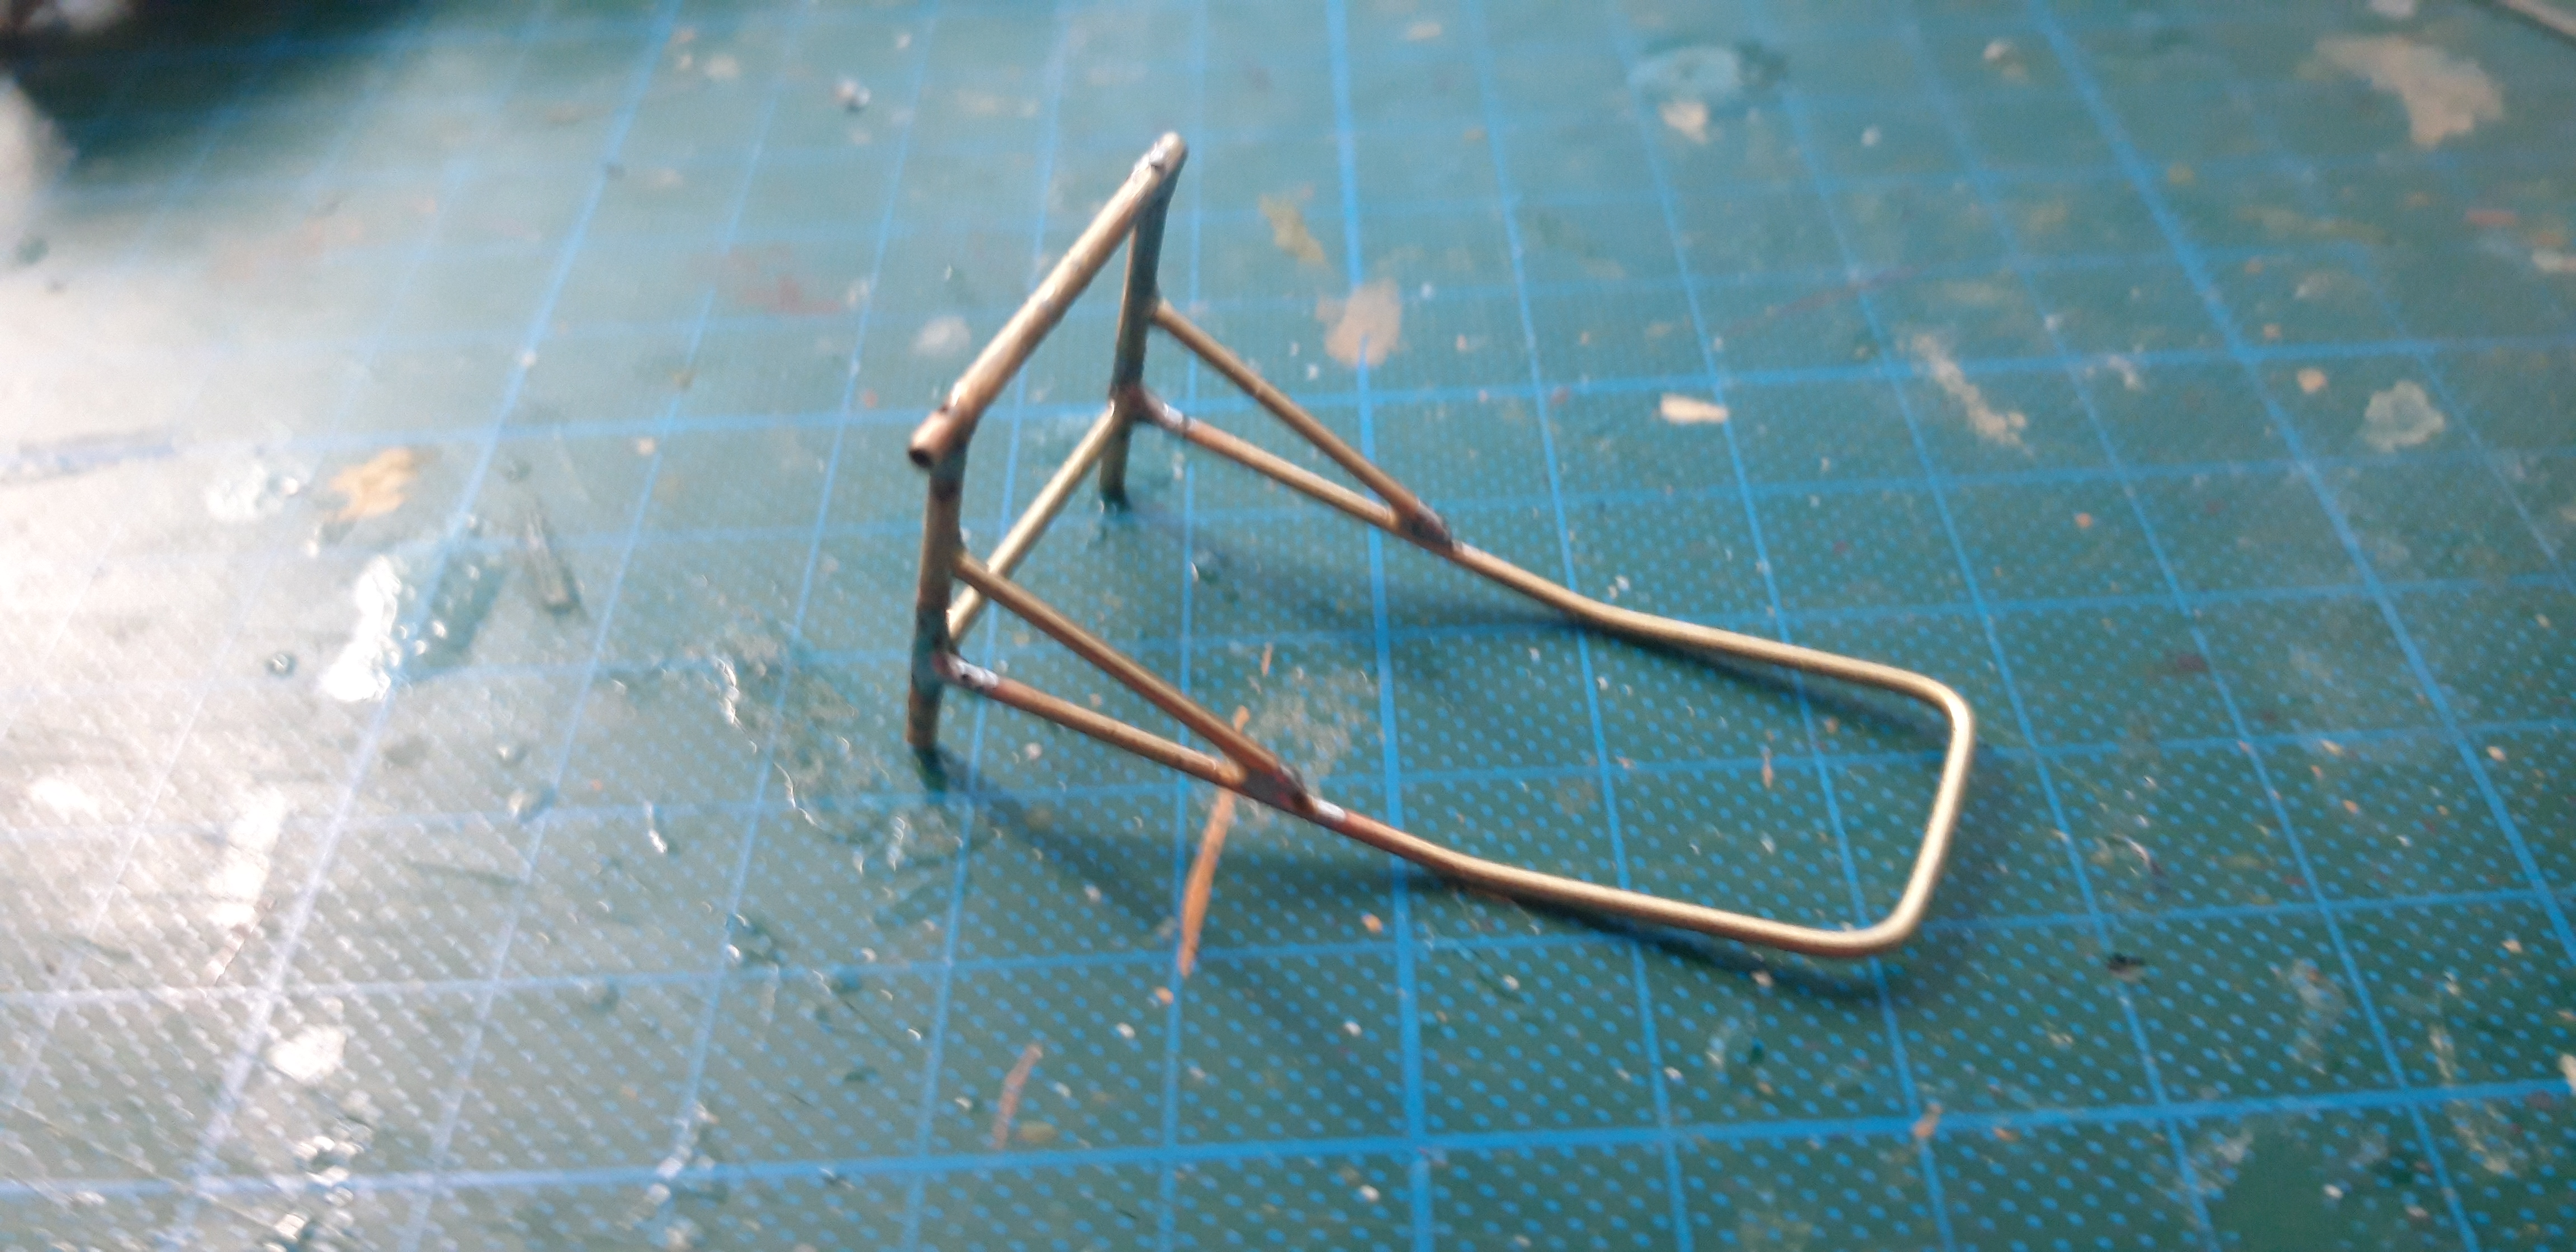
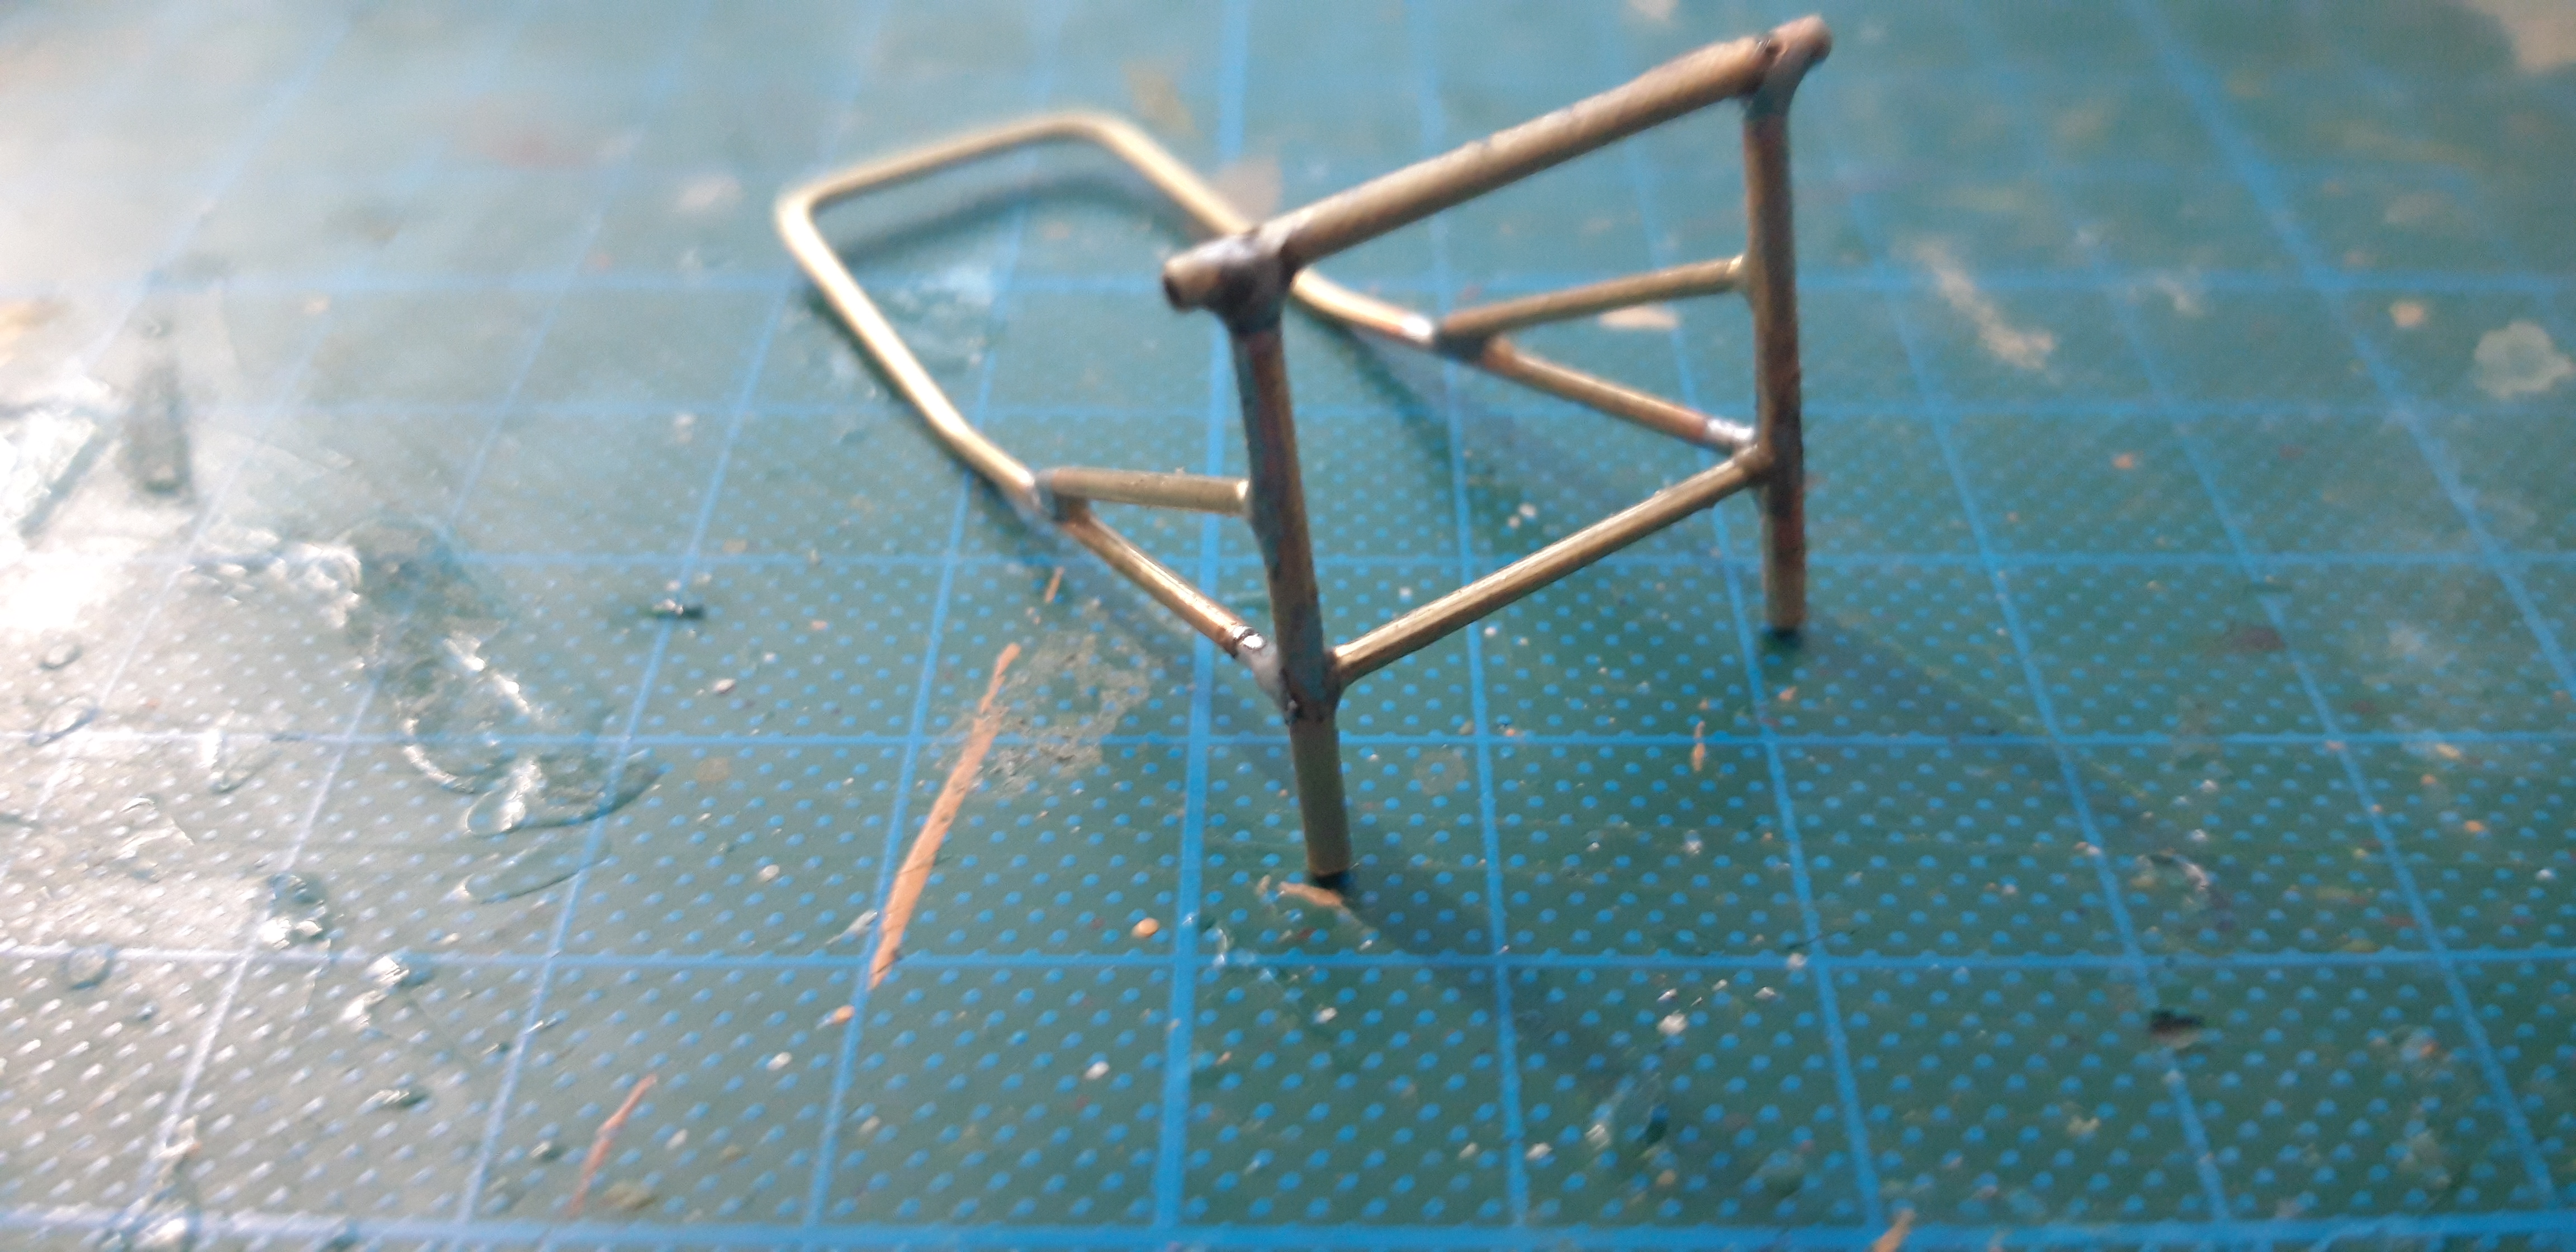
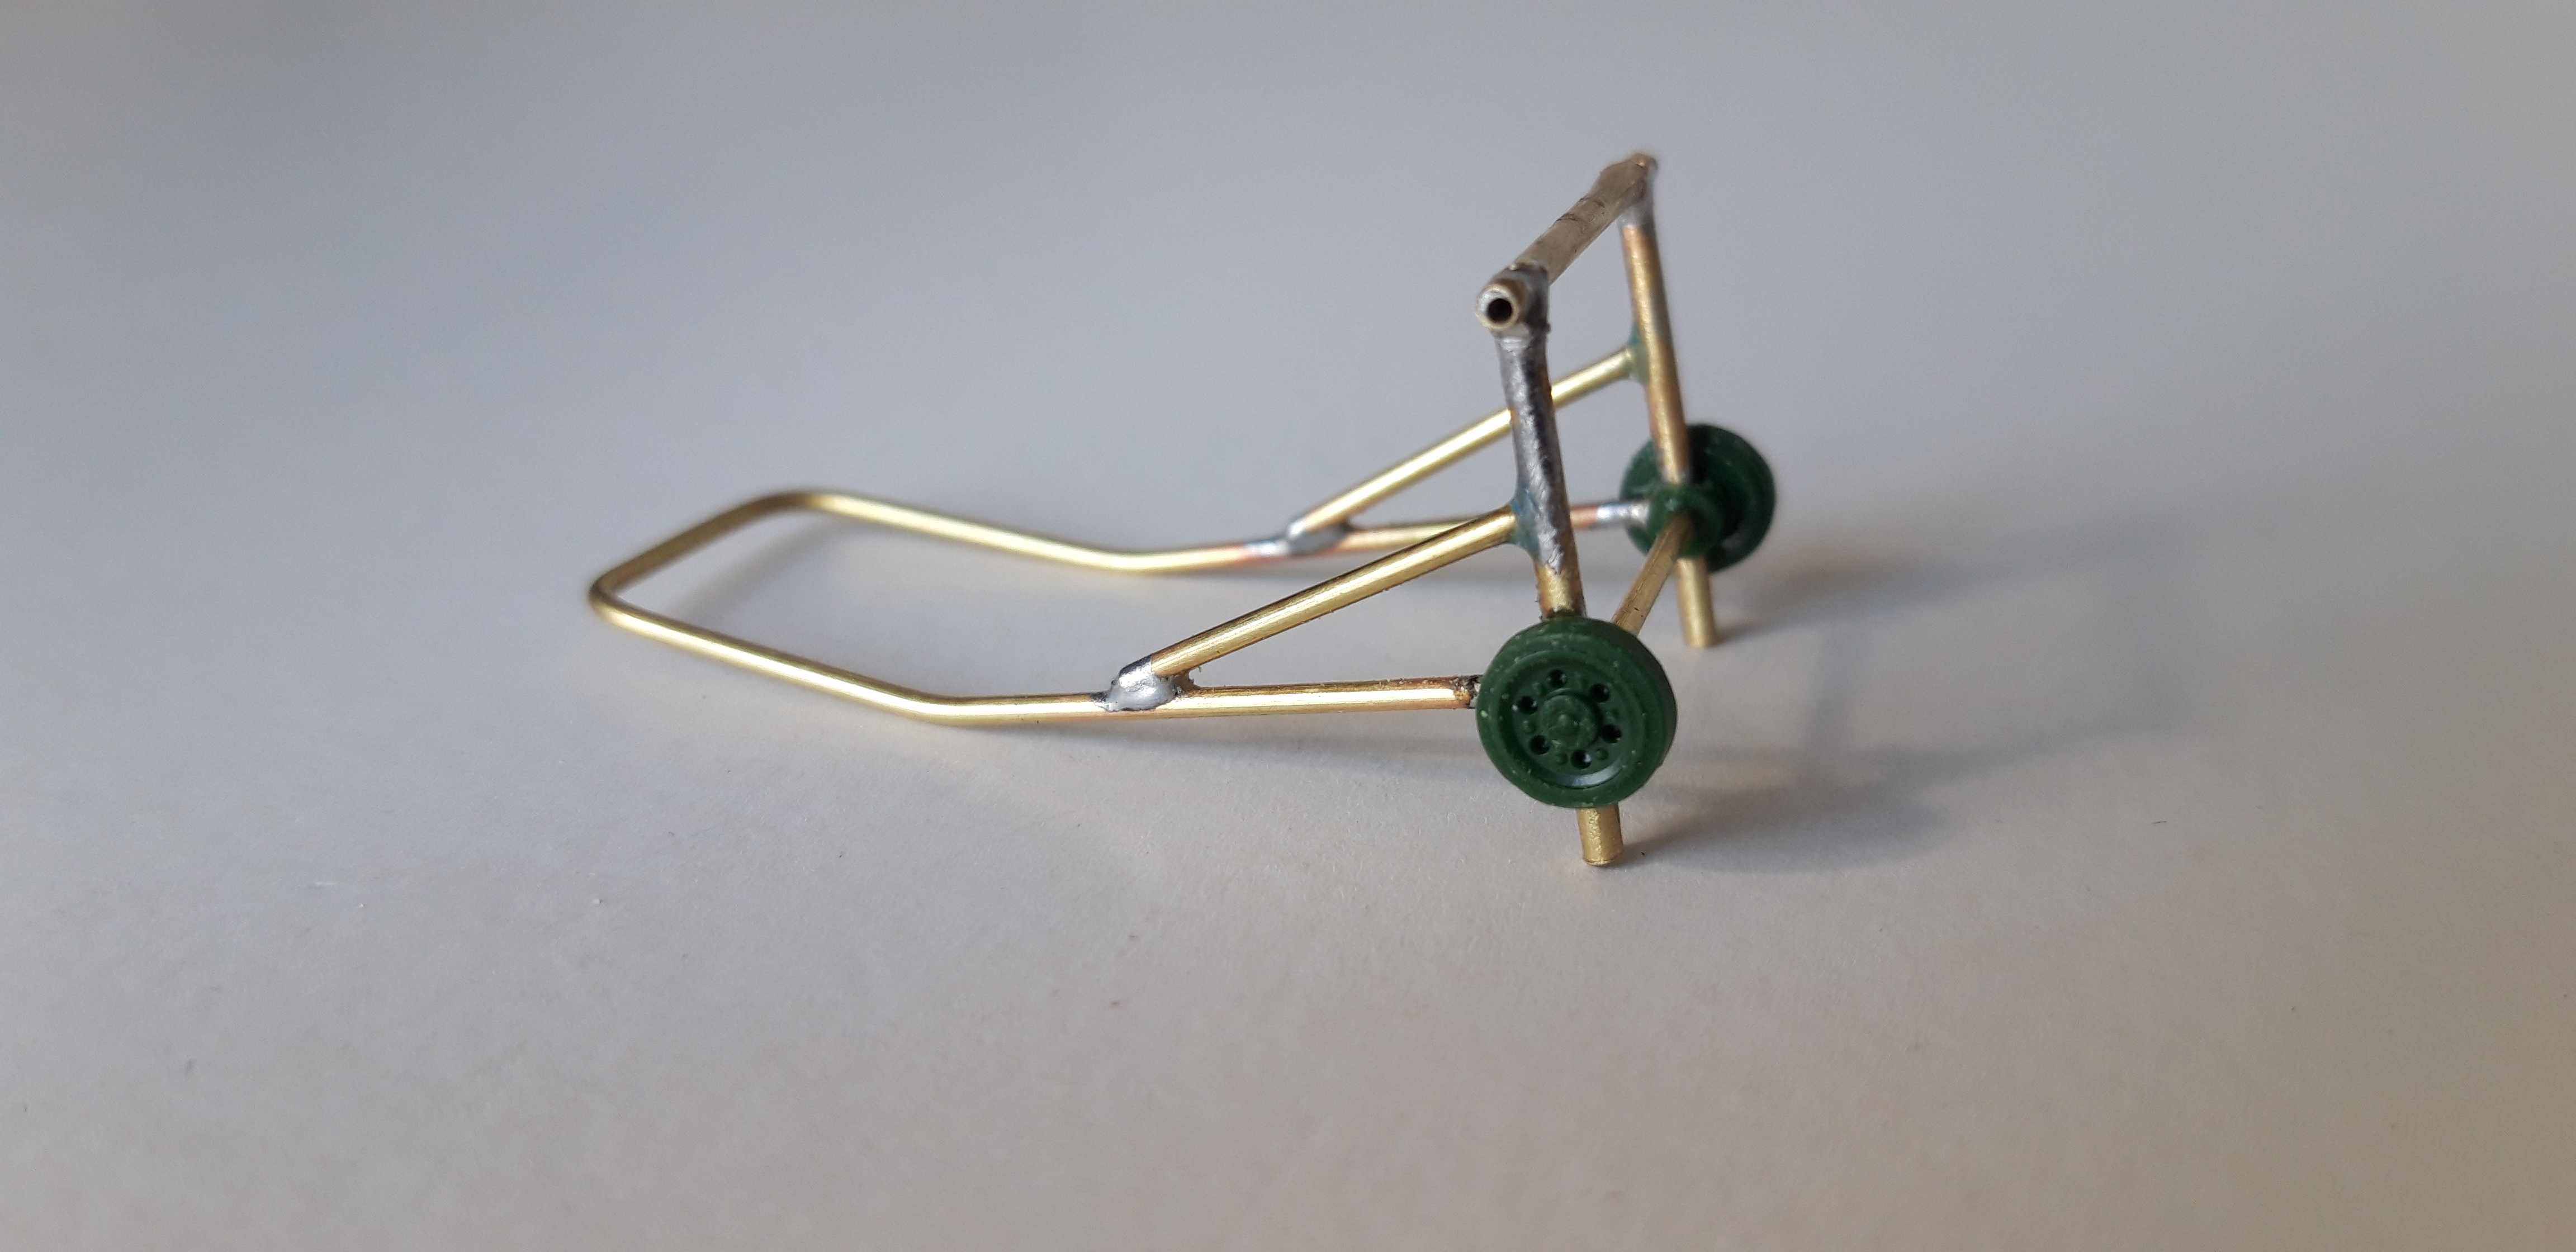
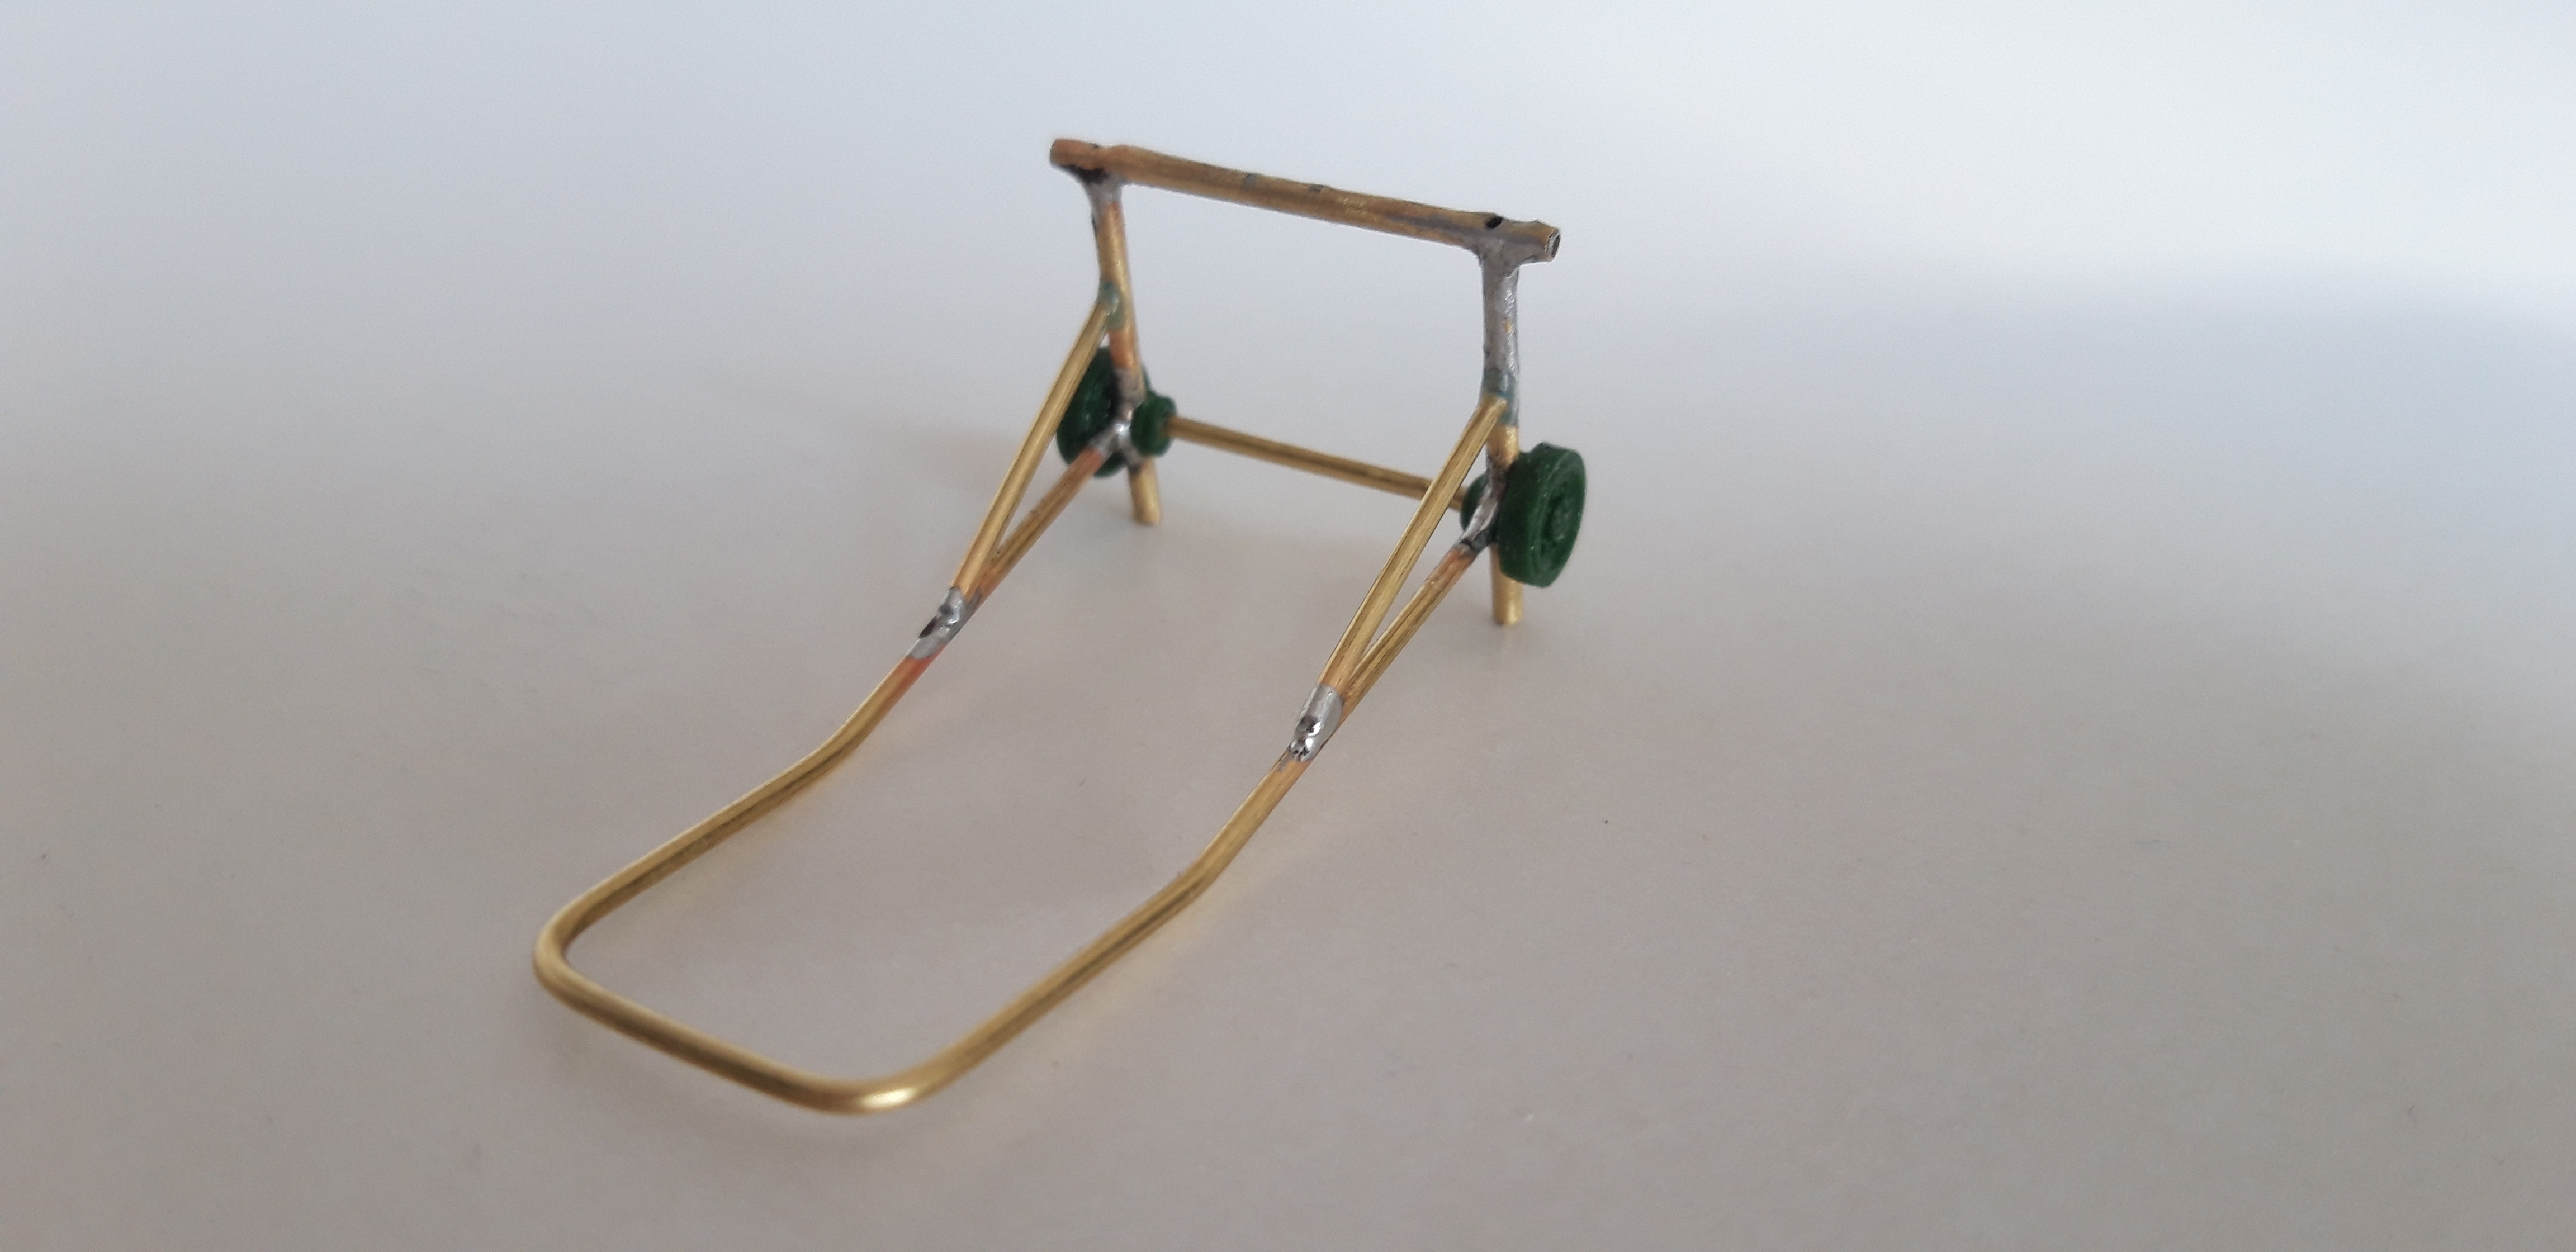
Also build a Carjack out of Brasstube and Wire with Wheels from a 1/72 Tankkit. Throug this the thin Wires go under the Diorama to the Powersupply.
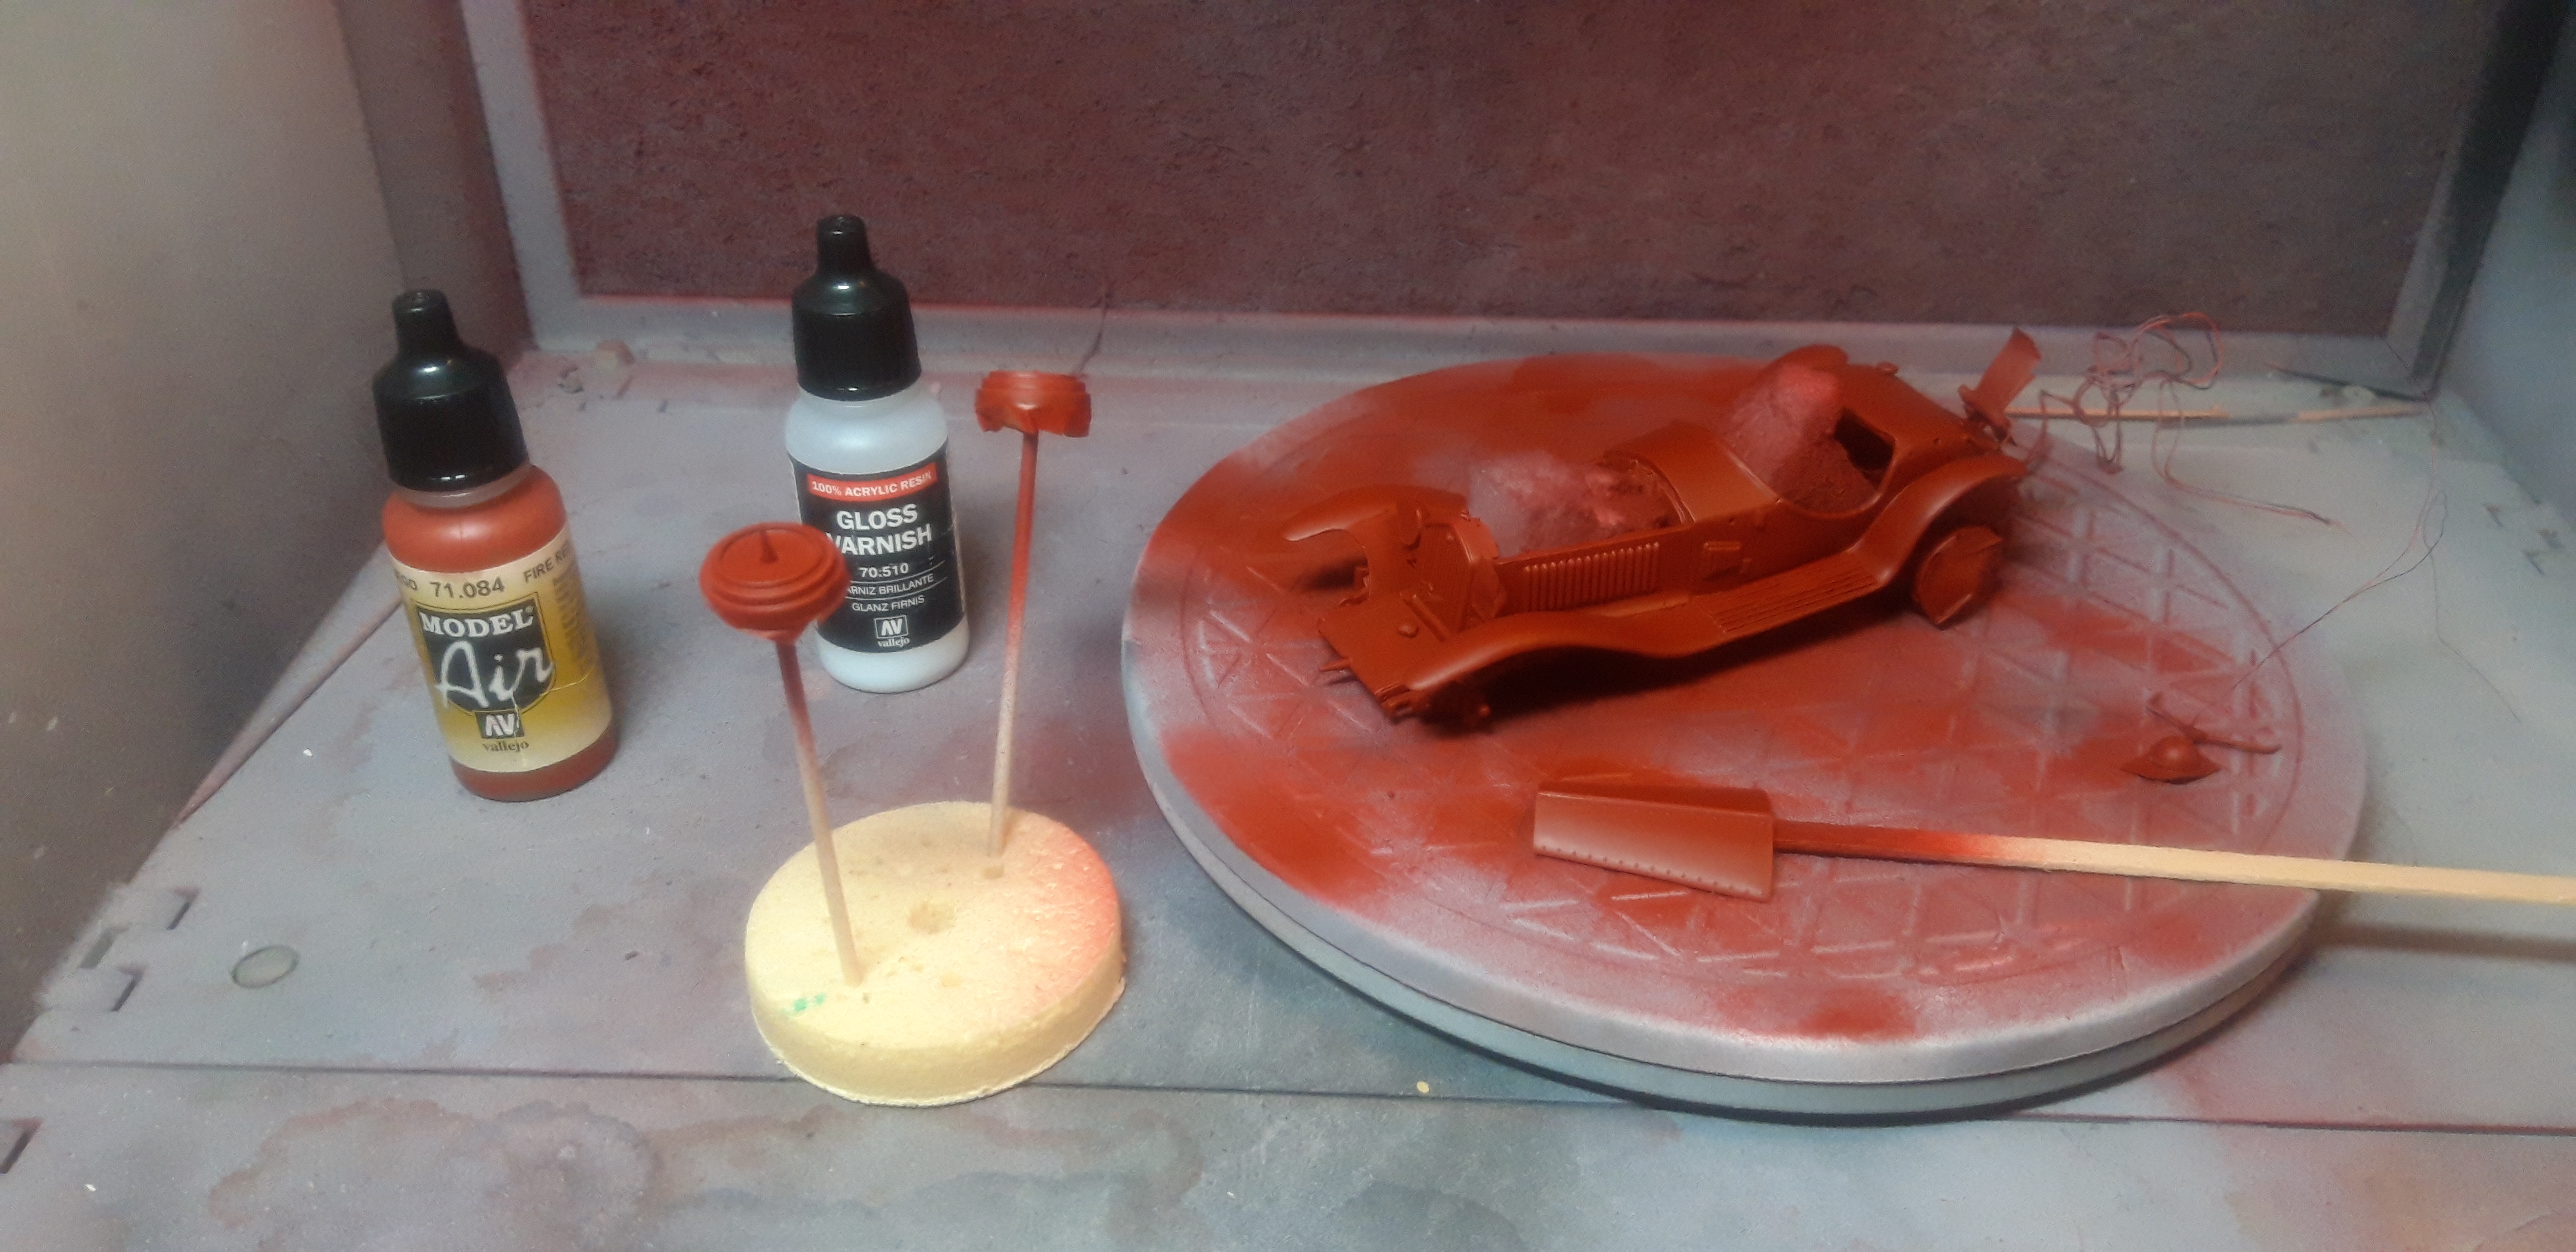
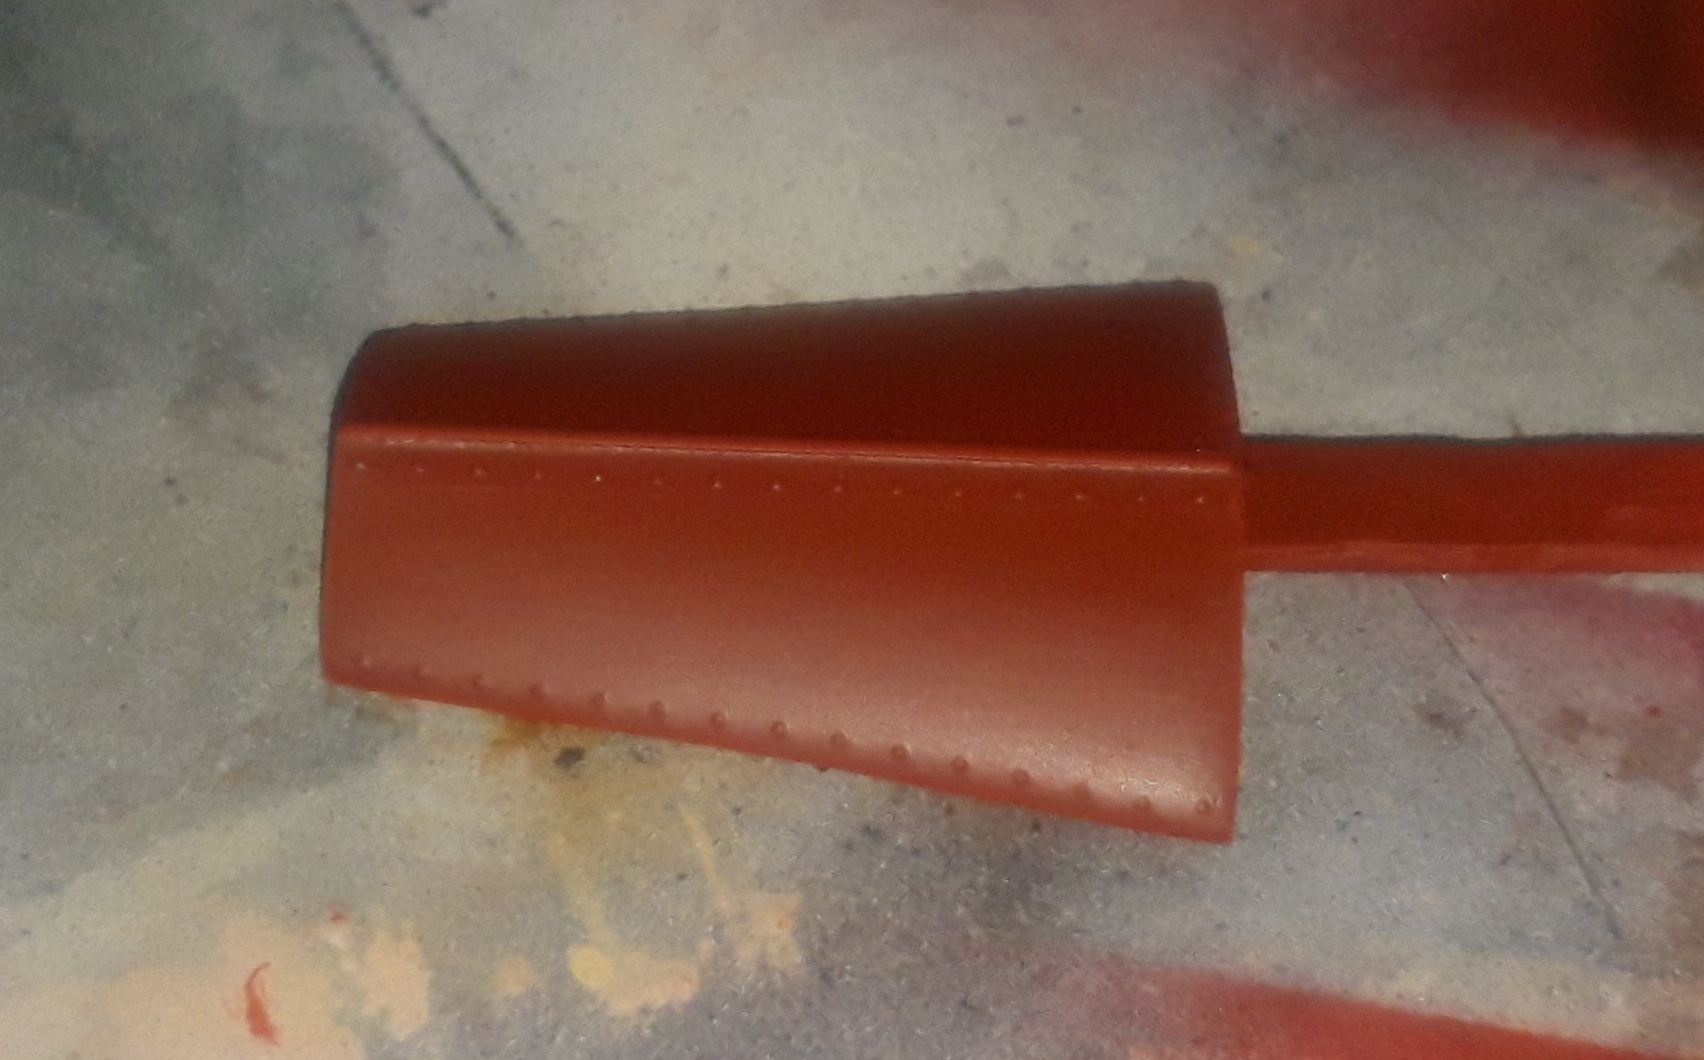
Before i paint this little Thing, i added 3d "Nuts" Decals in Lines on the Bonnett. For the Paint I go with Vallejo Firered , this is a bit Brownish and dark. I think it matches the Old Alfared , described sometimes " a Color like Oxblood.." relativly good. Decals are once again from Brentair Custommade.
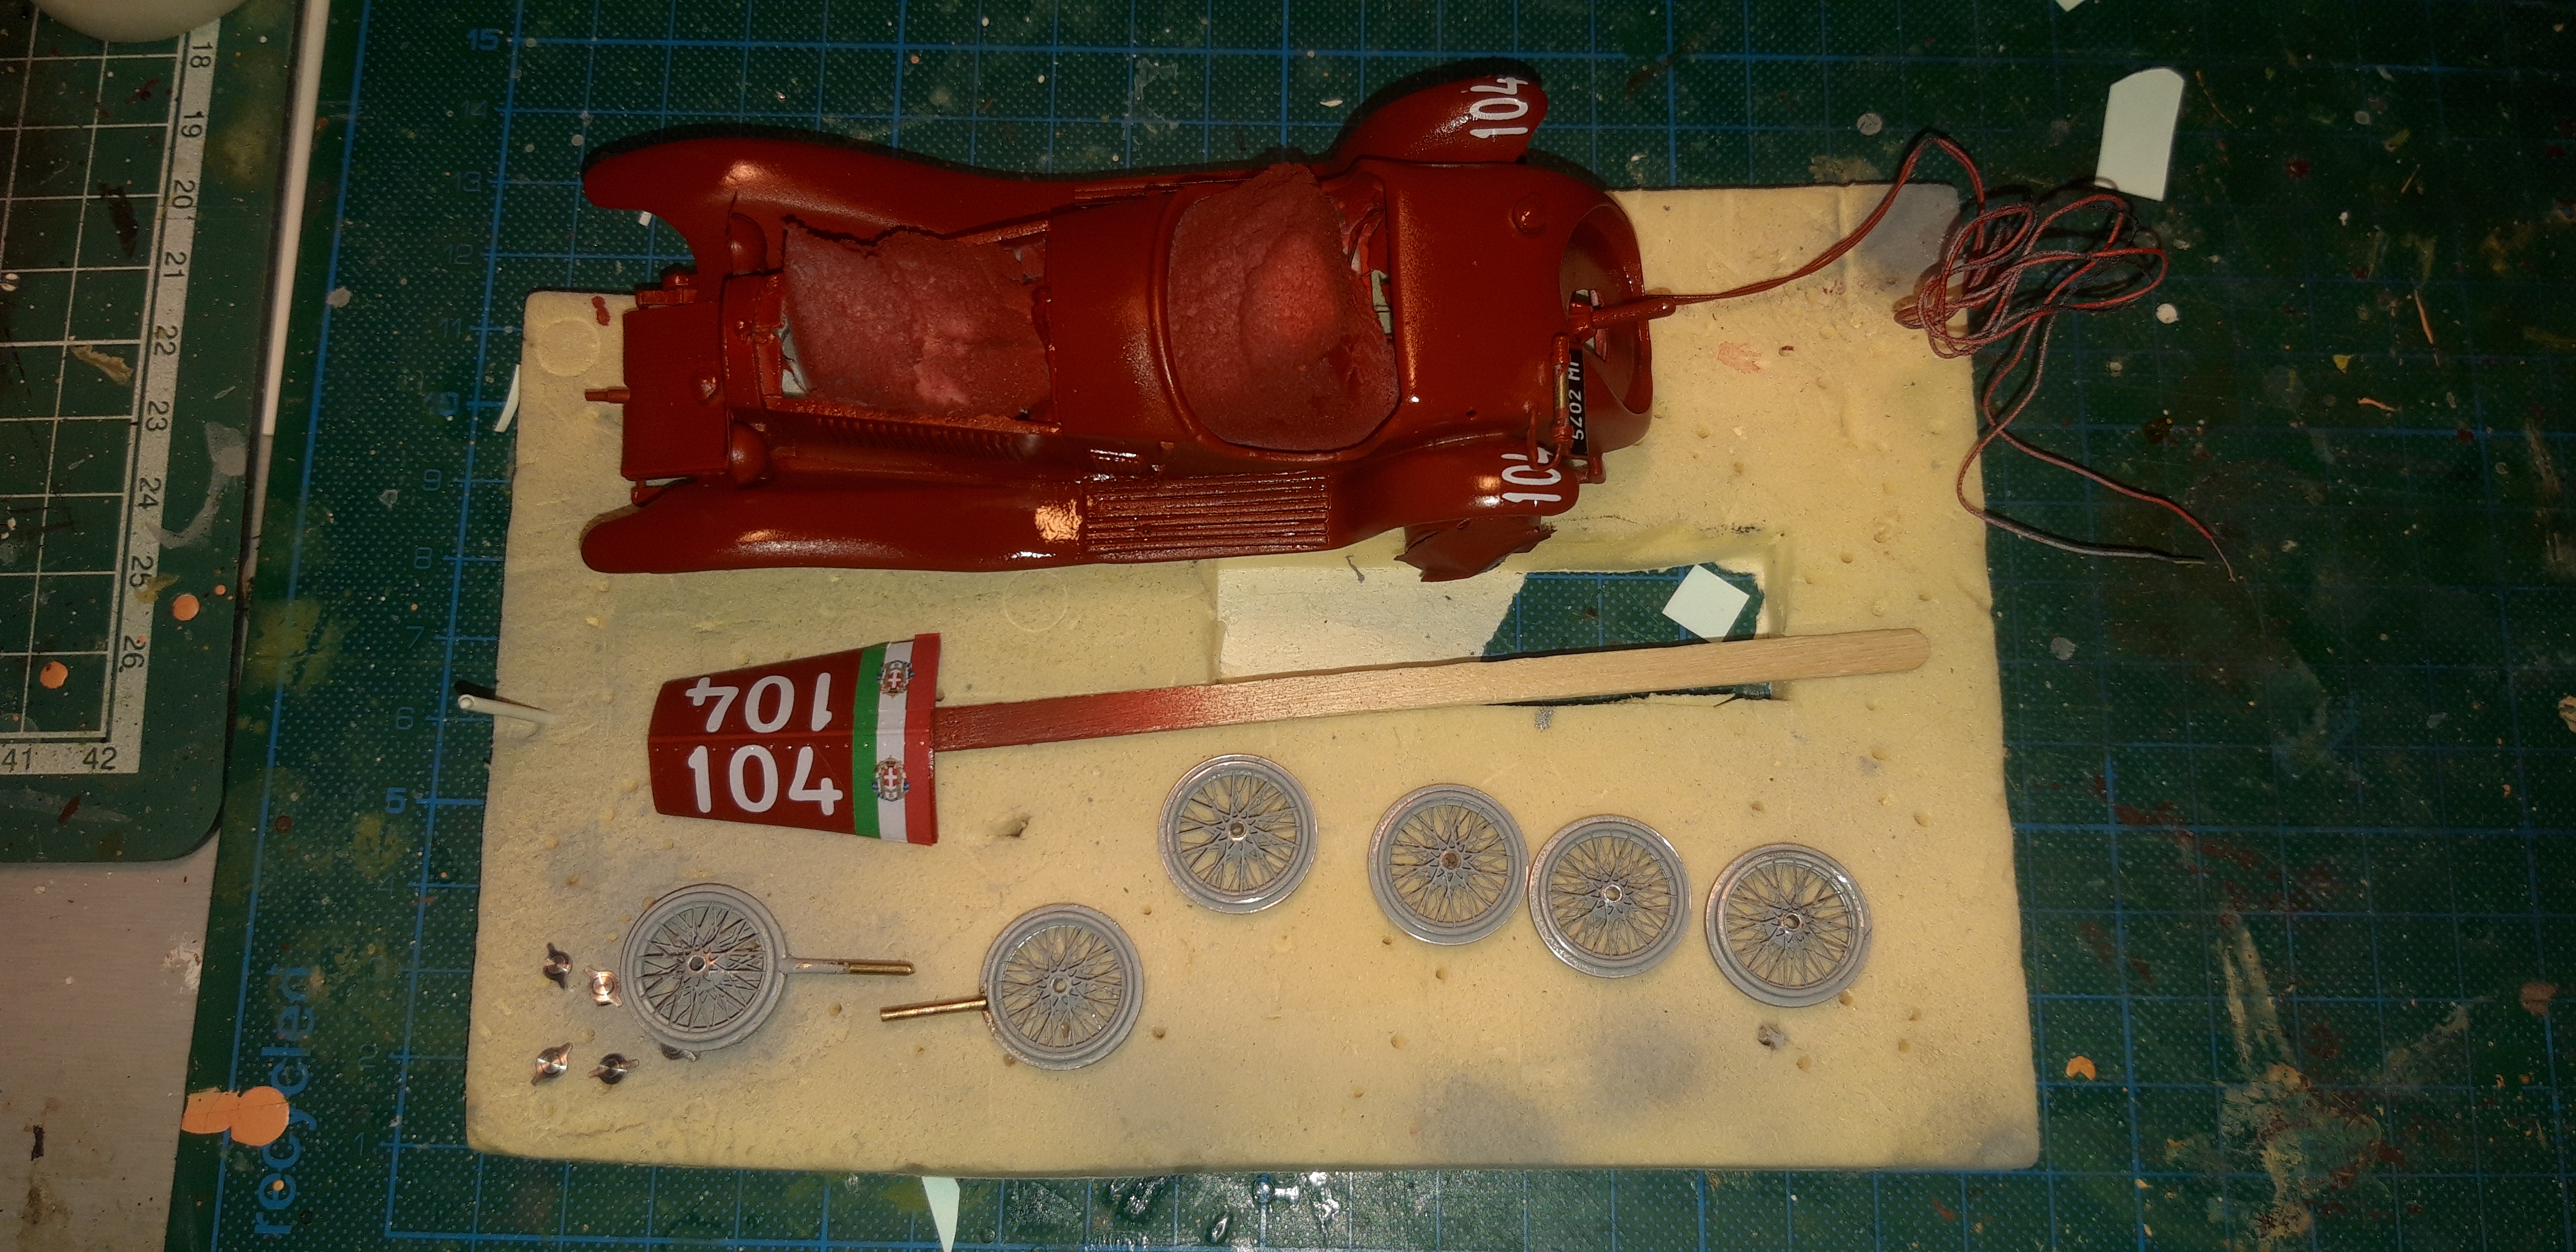
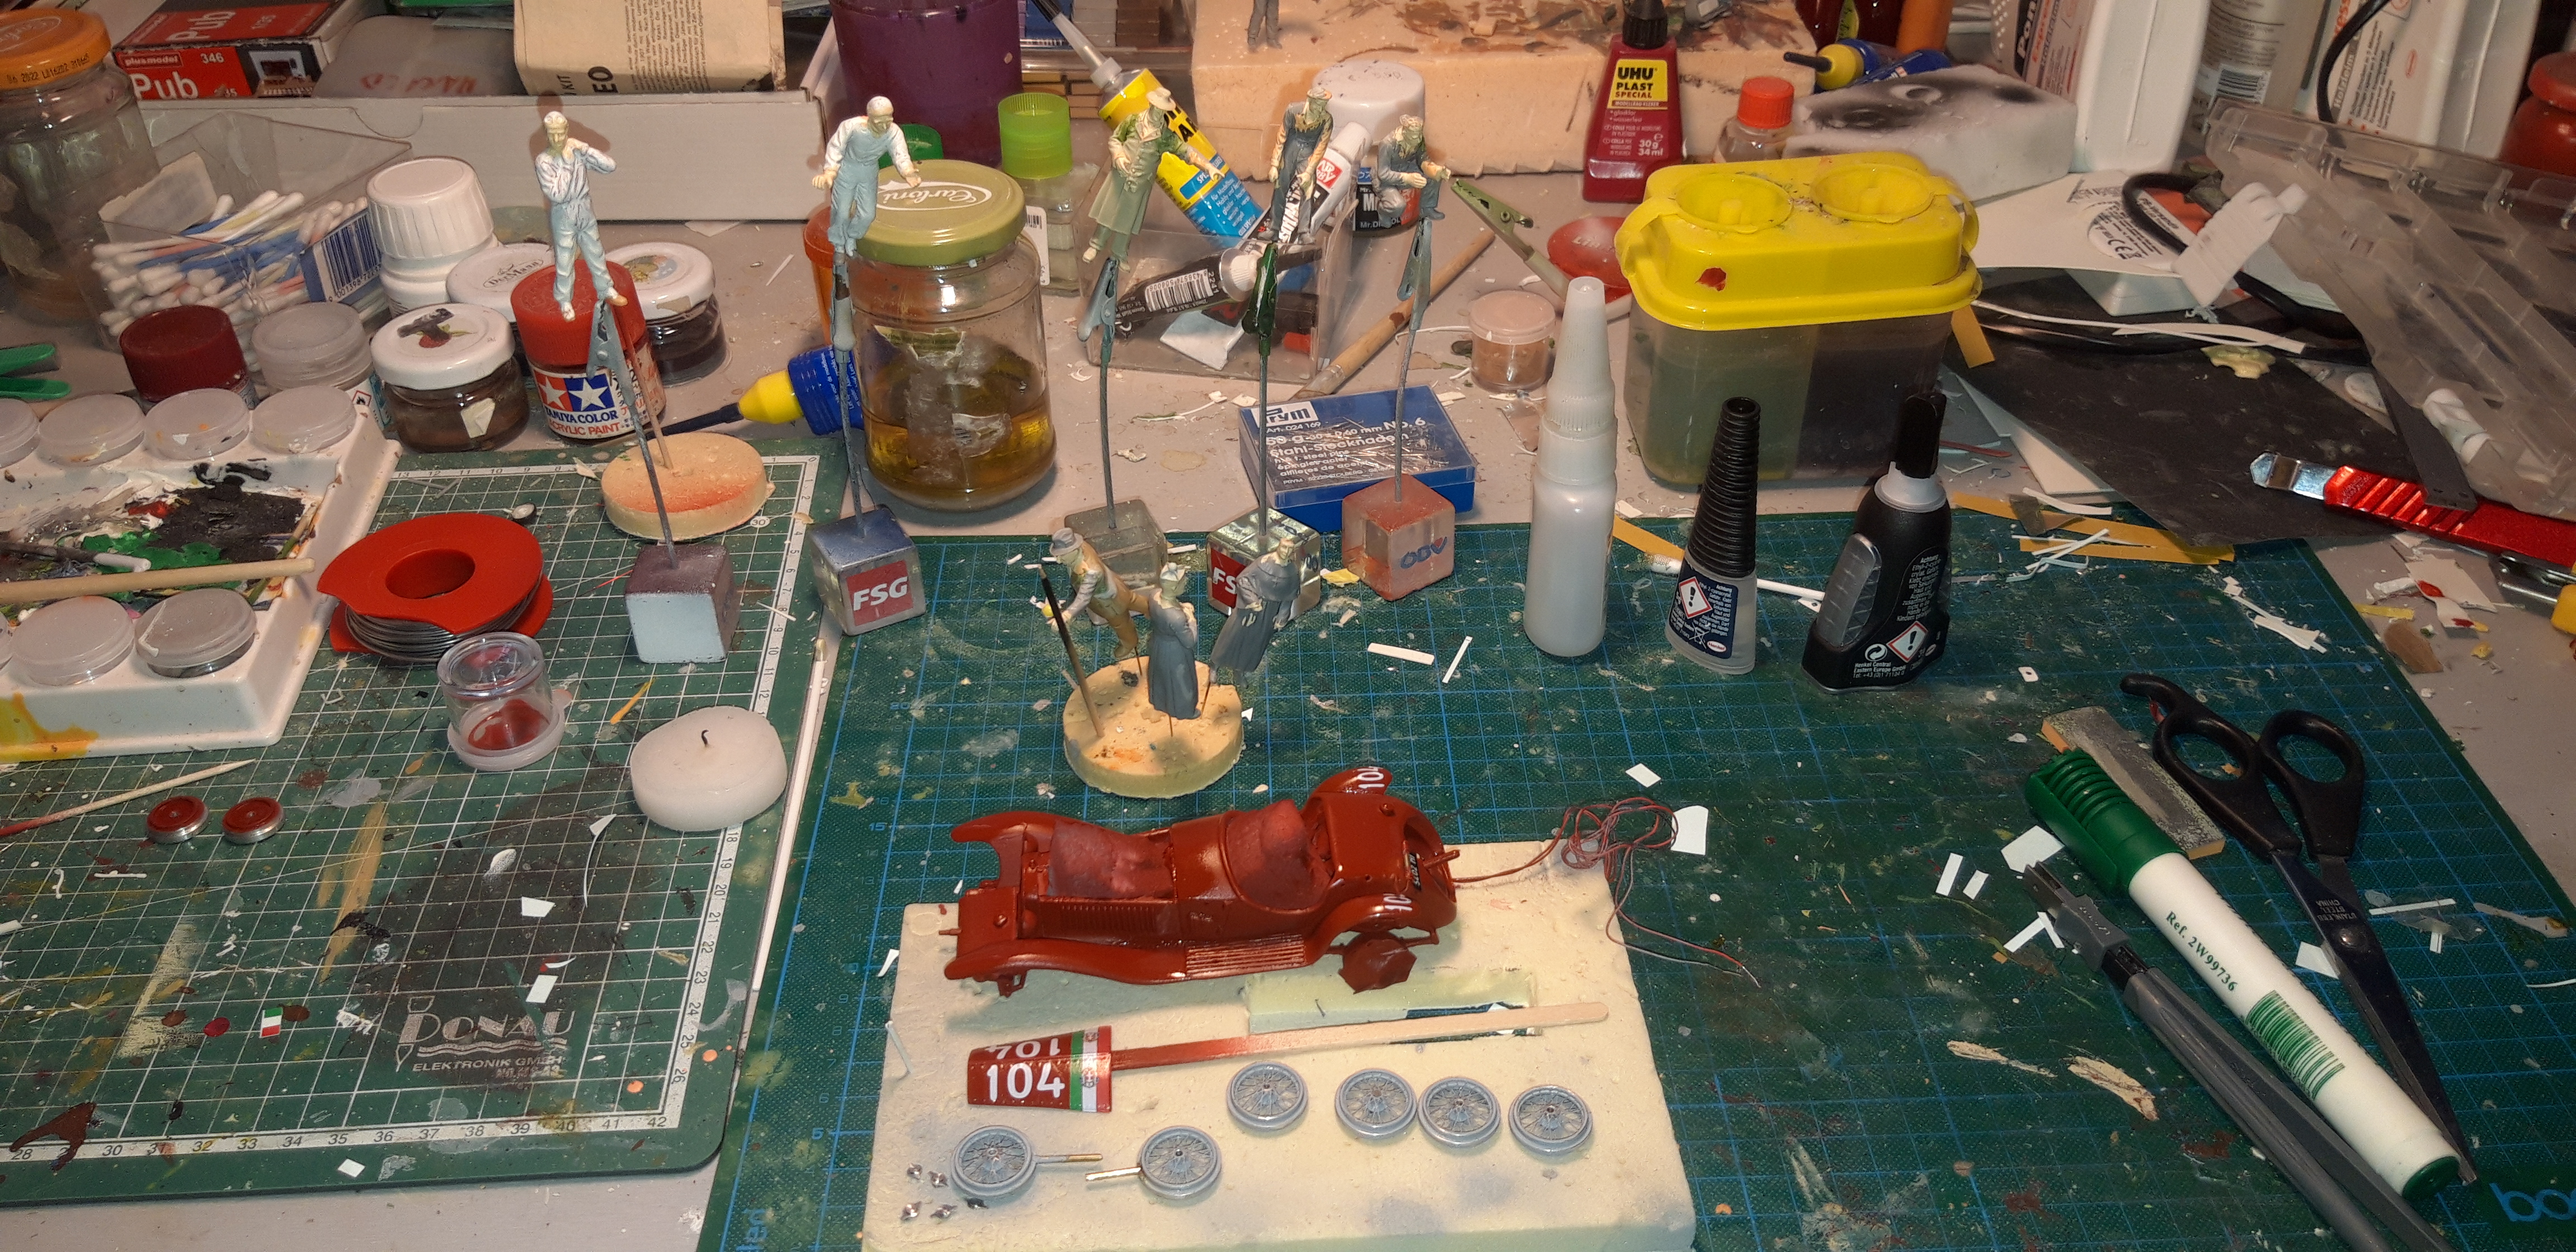
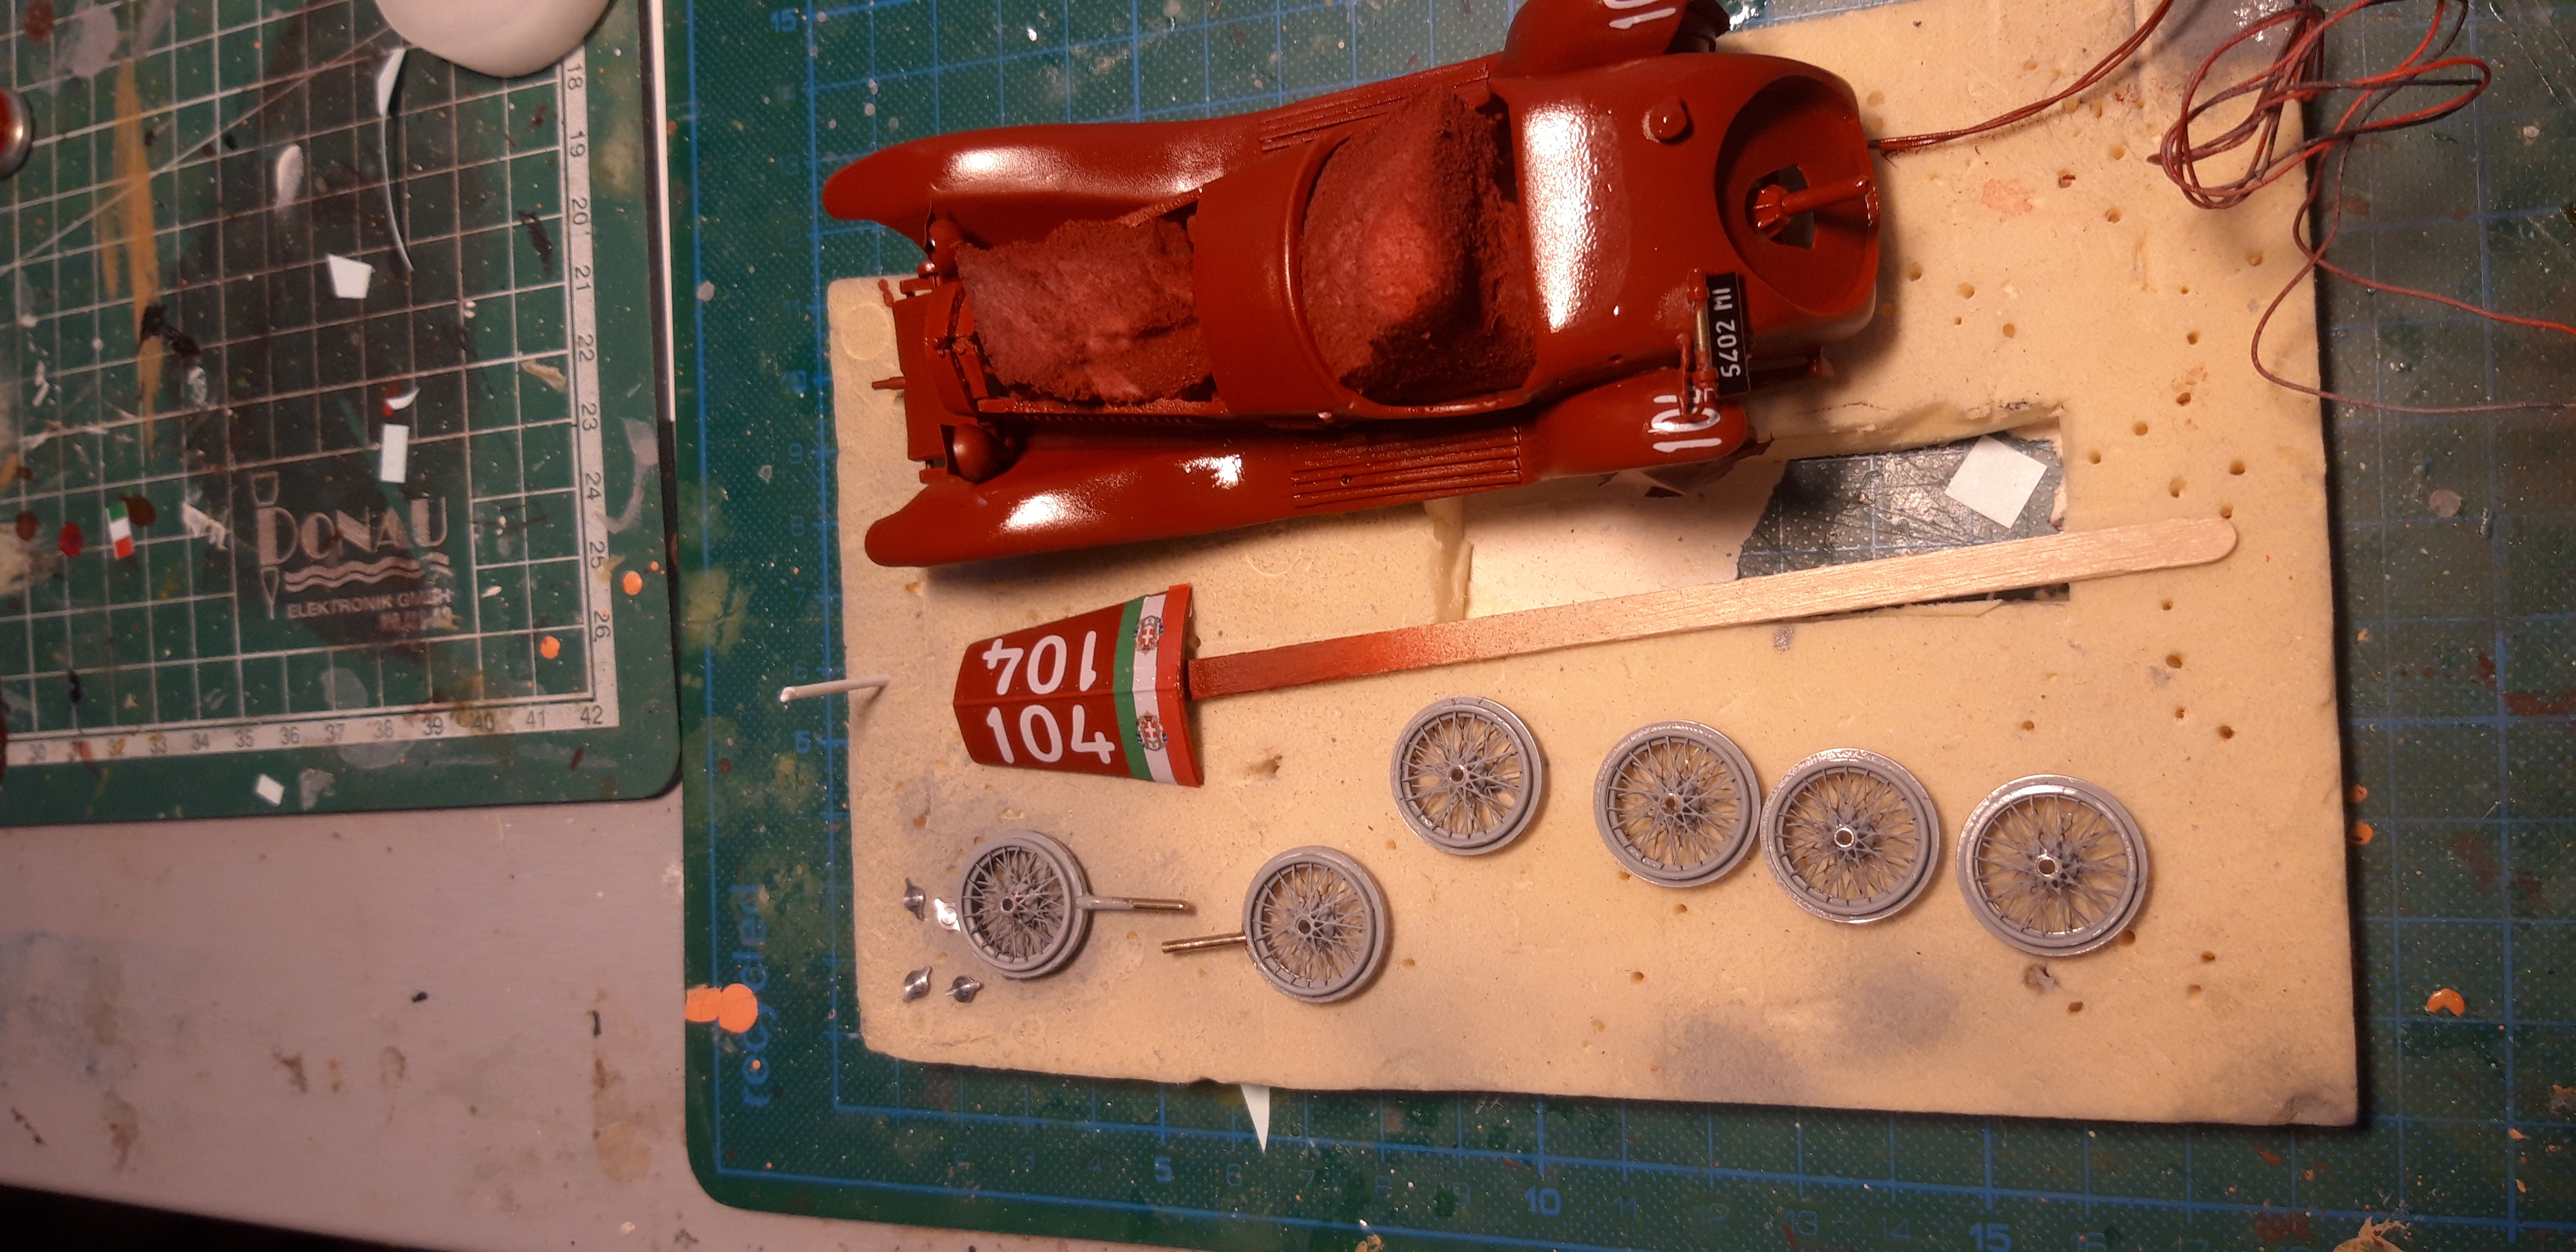
Hope you enjoy it !
regards from Vienna
Harry
One of the many Tirechanges.

So i began a Monthlong search for the only known Plasticmodel , the Long Wheelbase Alfa 8c from Airfix. A very old Kit. After i catch one, i was a bit surprised by some very good Details and on the other Hand some crude Simplifications. But the first Step was to shorten the Chassis, this was very Easy , because Airfix get it right with the Beams. So you can cut it whre it was on the real Car.A bit difficult was the Body. Here i cut a Stripe out, set the Moulding for the Sparewheels a bit back and down. Then begins the funny Part, Putty and Sanding, Putty and Sanding,....and so and so on.

Here you can see the Difference between the Long/Short Wheelbase

Then i scratched or better copy with a Mould from the Pyro 6C the Mudguards. The Airfix Kit comes with the correct 4 seperate Guards.Also scratched a Oiltank in Front of the Cooler and Sidevents.


I also norrowed the Oilpan, Airfix made it way to wide. And i added a bit of a Tankkit to simulate the seeable Part of the Gearbox.

After testing the Headlightphalanx, Carjack and the Figure , i found out that my Mudguards are way too flat and . I used the smaller Wheels from the 6C as a Reference...AAARRRGGGHHHH


For the new Mudguars i use the Casted Rearends, Cut-to-Fit Miniart Merceds 170 Pars, Plasticcard...and yes a Ton of Putty and sanding and putty.....


After this Desastercorrection, i detailed the Chassis. The Kitpart for the Frontaxle is a crude Square Rod without any Detail. I add small Halfround Evergreenparts on the Ends, Pins and small Plasicparts for the Brakelines, the Steeringparts and the Sabilizers. Also for the Rearaxle . This i reinforced with a Wire , because the Brakedrums are real Aluminiumparts . They come in one more Set of Wheels from Peter Saeger Thomas,
The Wheelset


The Frontaxle


And yes this Car is also Lighted


Also build a Carjack out of Brasstube and Wire with Wheels from a 1/72 Tankkit. Throug this the thin Wires go under the Diorama to the Powersupply.


Before i paint this little Thing, i added 3d "Nuts" Decals in Lines on the Bonnett. For the Paint I go with Vallejo Firered , this is a bit Brownish and dark. I think it matches the Old Alfared , described sometimes " a Color like Oxblood.." relativly good. Decals are once again from Brentair Custommade.


Hope you enjoy it !
regards from Vienna
Harry
-

Challenger77
- Posts: 292
- Member since:
18 May 2010, 12:50
-

Challenger77
- Posts: 292
- Member since:
18 May 2010, 12:50
-

Susofrick
 Supporting Member (Gold)
 - Posts: 7720
- Member since:
19 Feb 2008, 12:10
I agree with sberry and Susofrick. It's an astonishing work, Challenger77. 


My best congratulations and much encouragement to complete the project.
Santi.


My best congratulations and much encouragement to complete the project.

Santi.
-

Santi Pérez
- Posts: 2106
- Member since:
28 Aug 2016, 19:42
-

Susofrick
 Supporting Member (Gold)
 - Posts: 7720
- Member since:
19 Feb 2008, 12:10
-

MABO
 Supporting Member (Gold)
 - Posts: 9170
- Member since:
12 May 2008, 18:01
Help keep the forum online!
or become a supporting member
I wouldn't mind to get my hands on that car model but for some other project.
-

Kekso
 Moderator
 Supporting Member (Bronze)
 - Posts: 6884
- Member since:
19 Oct 2011, 18:32
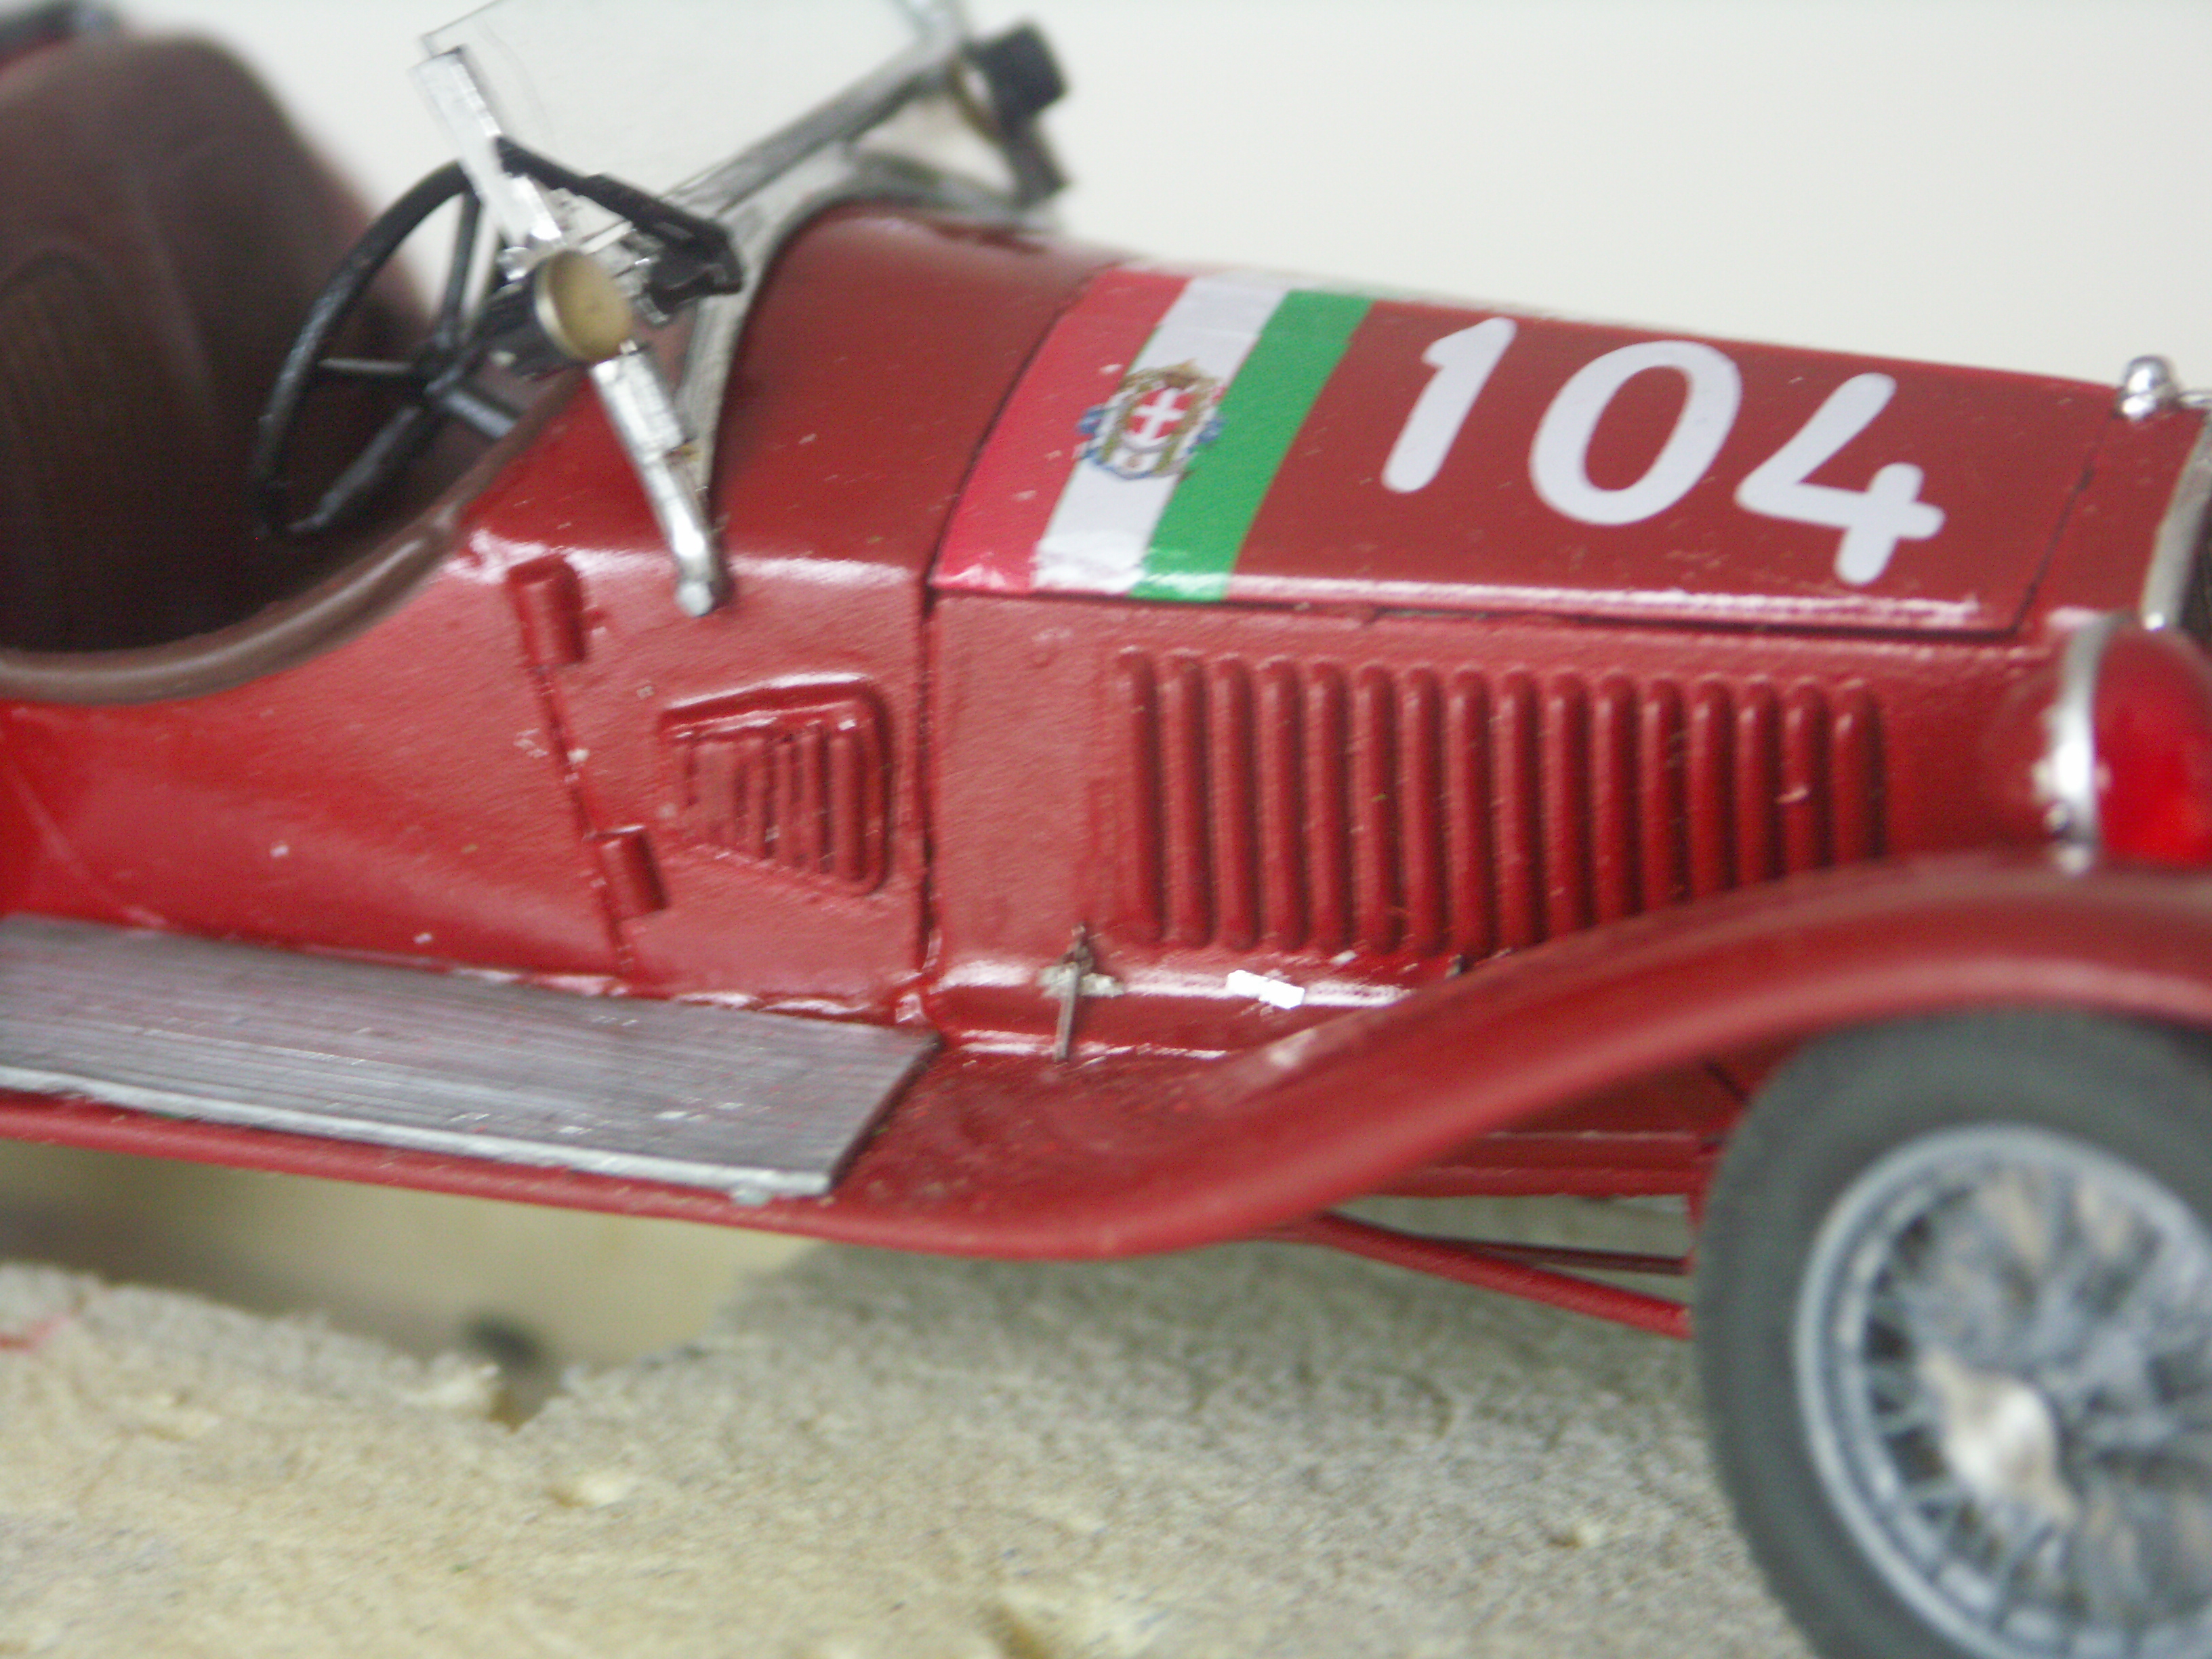
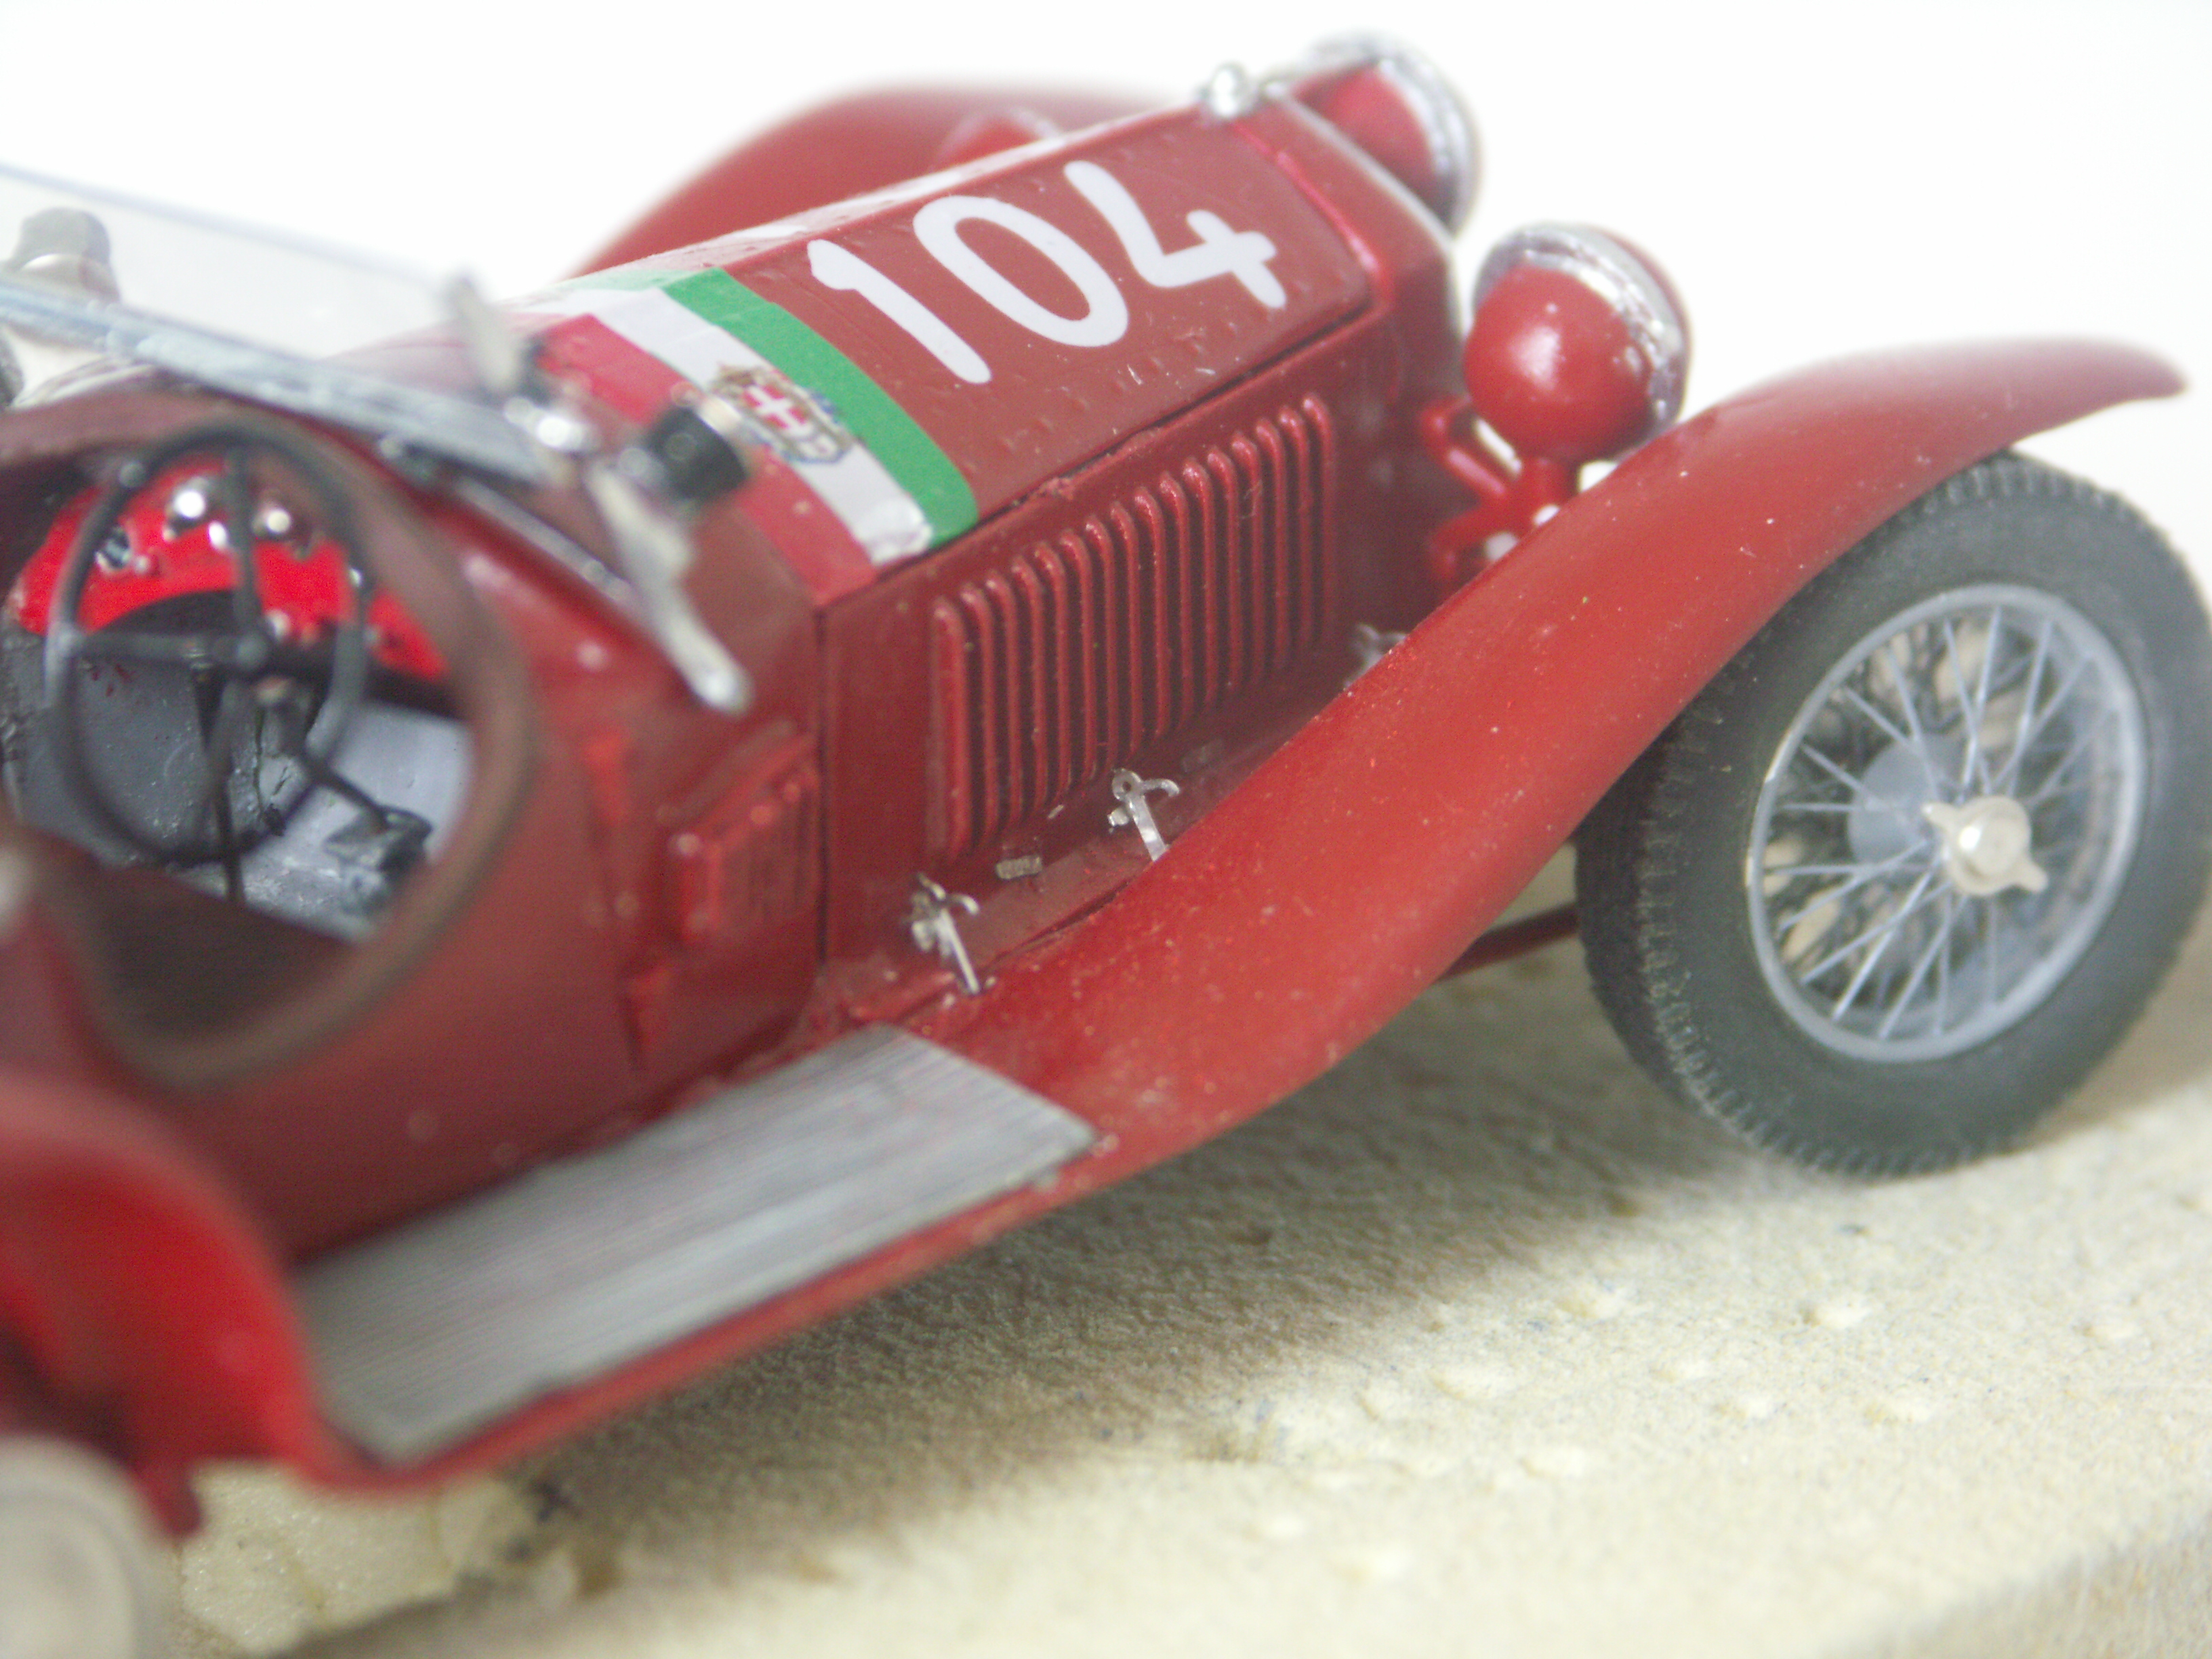
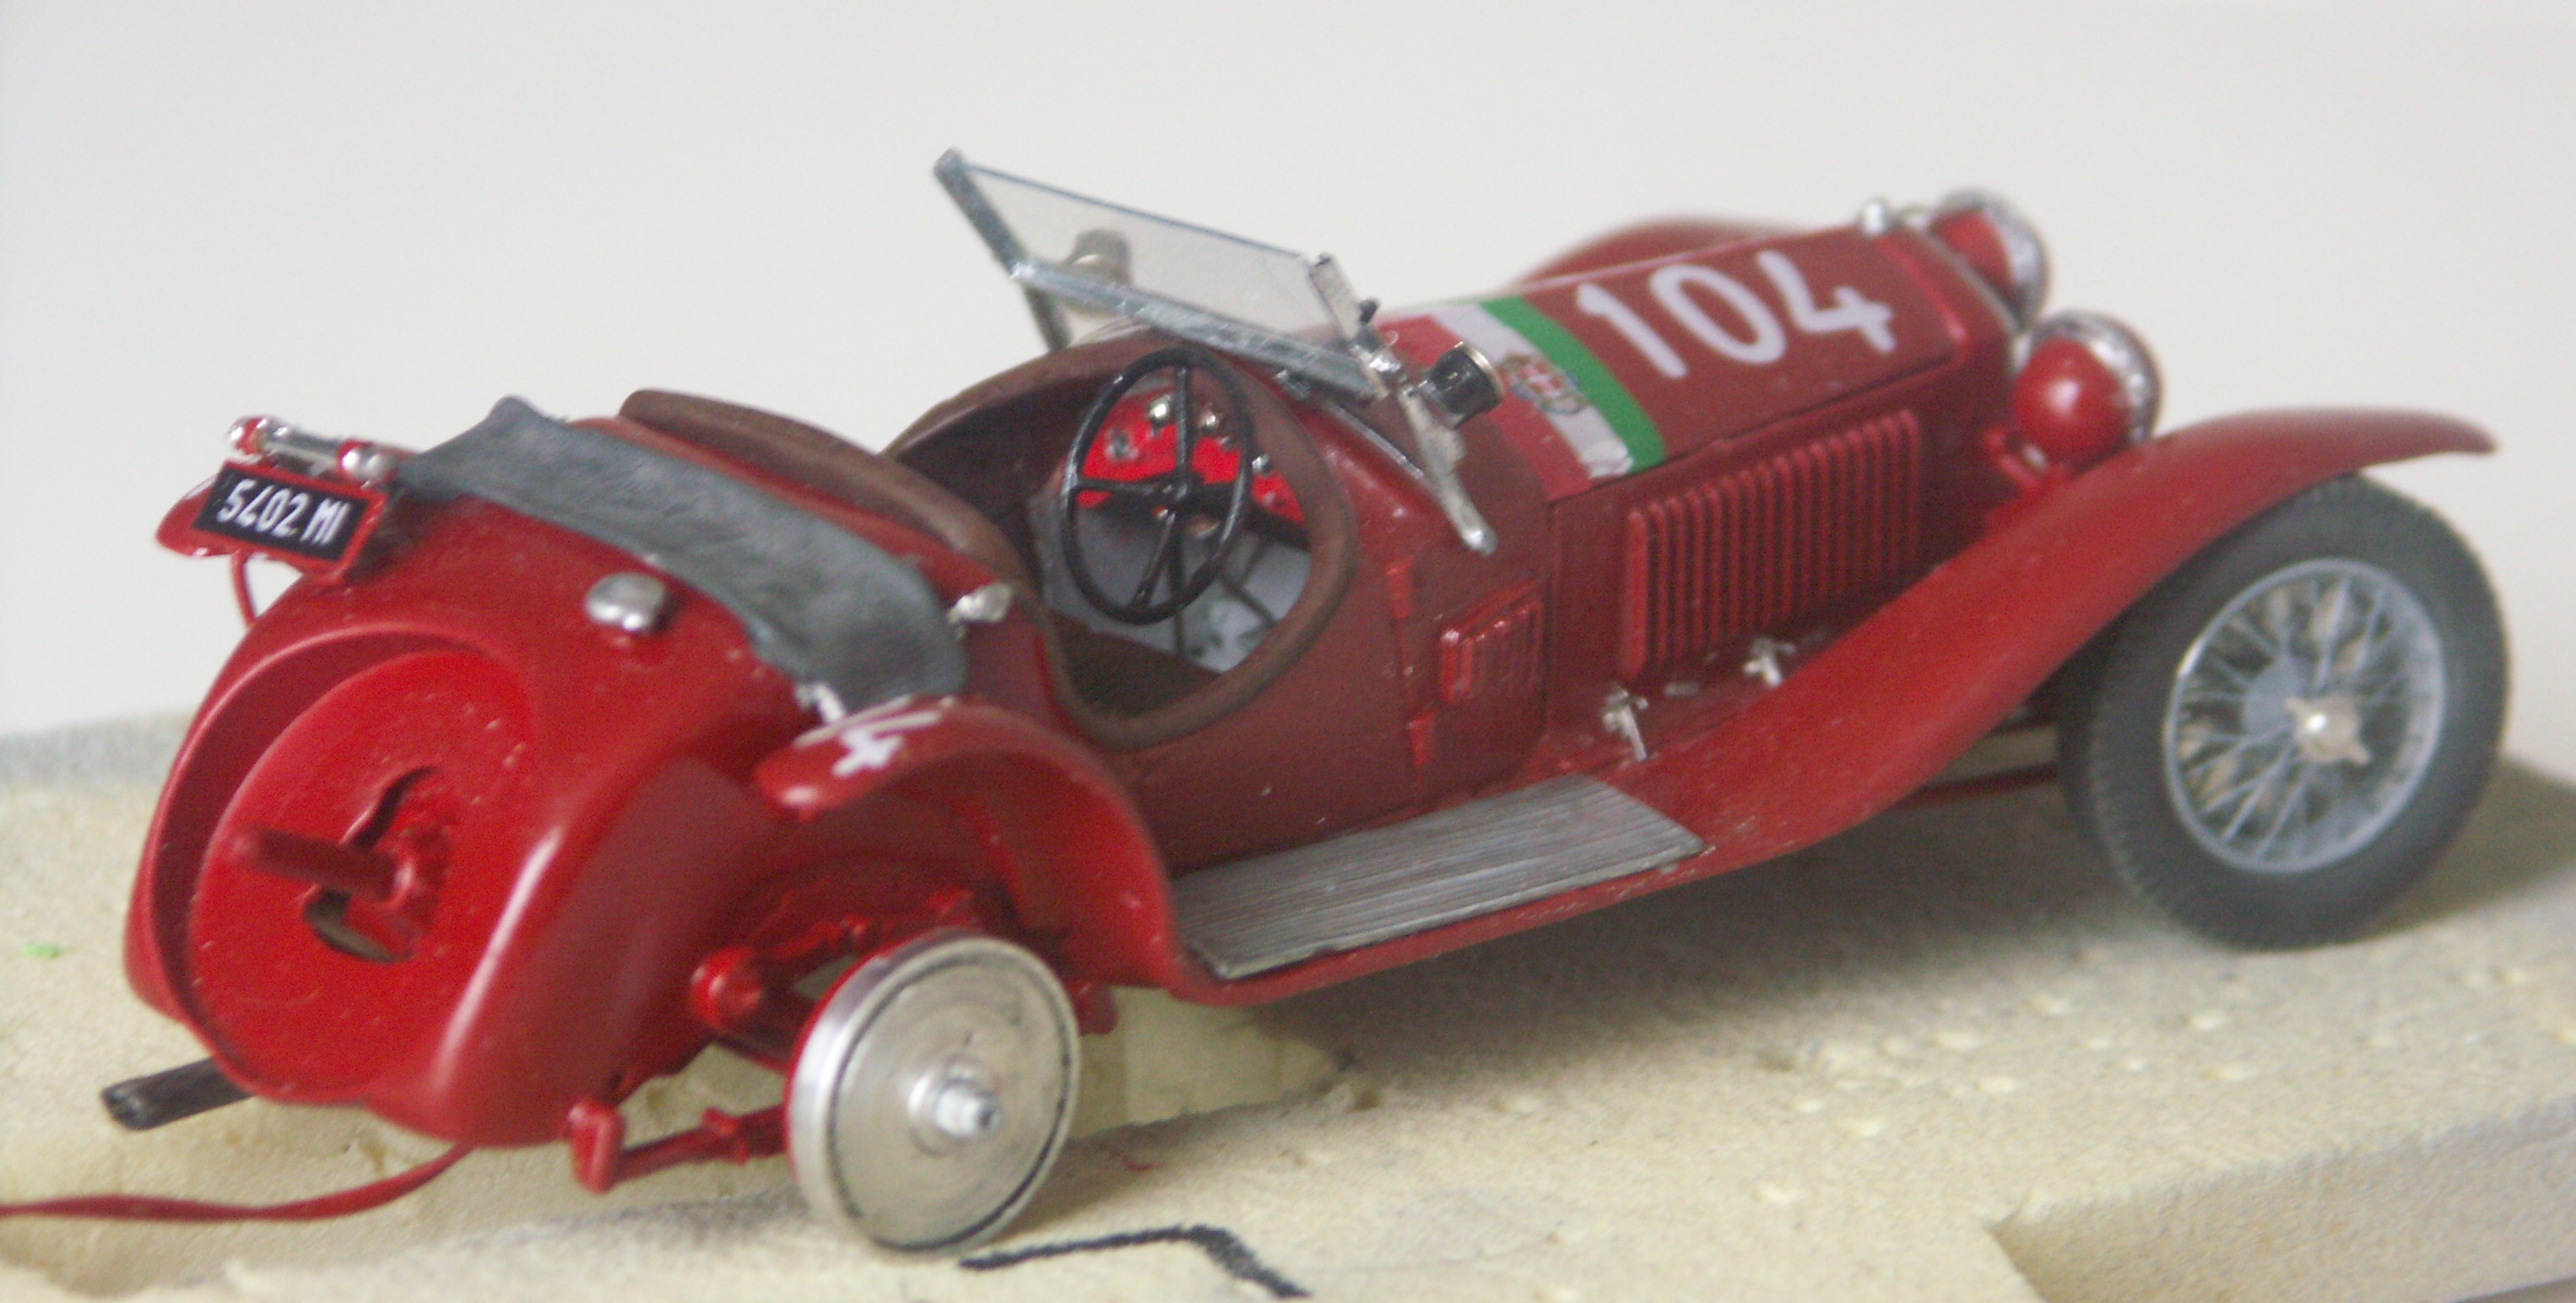
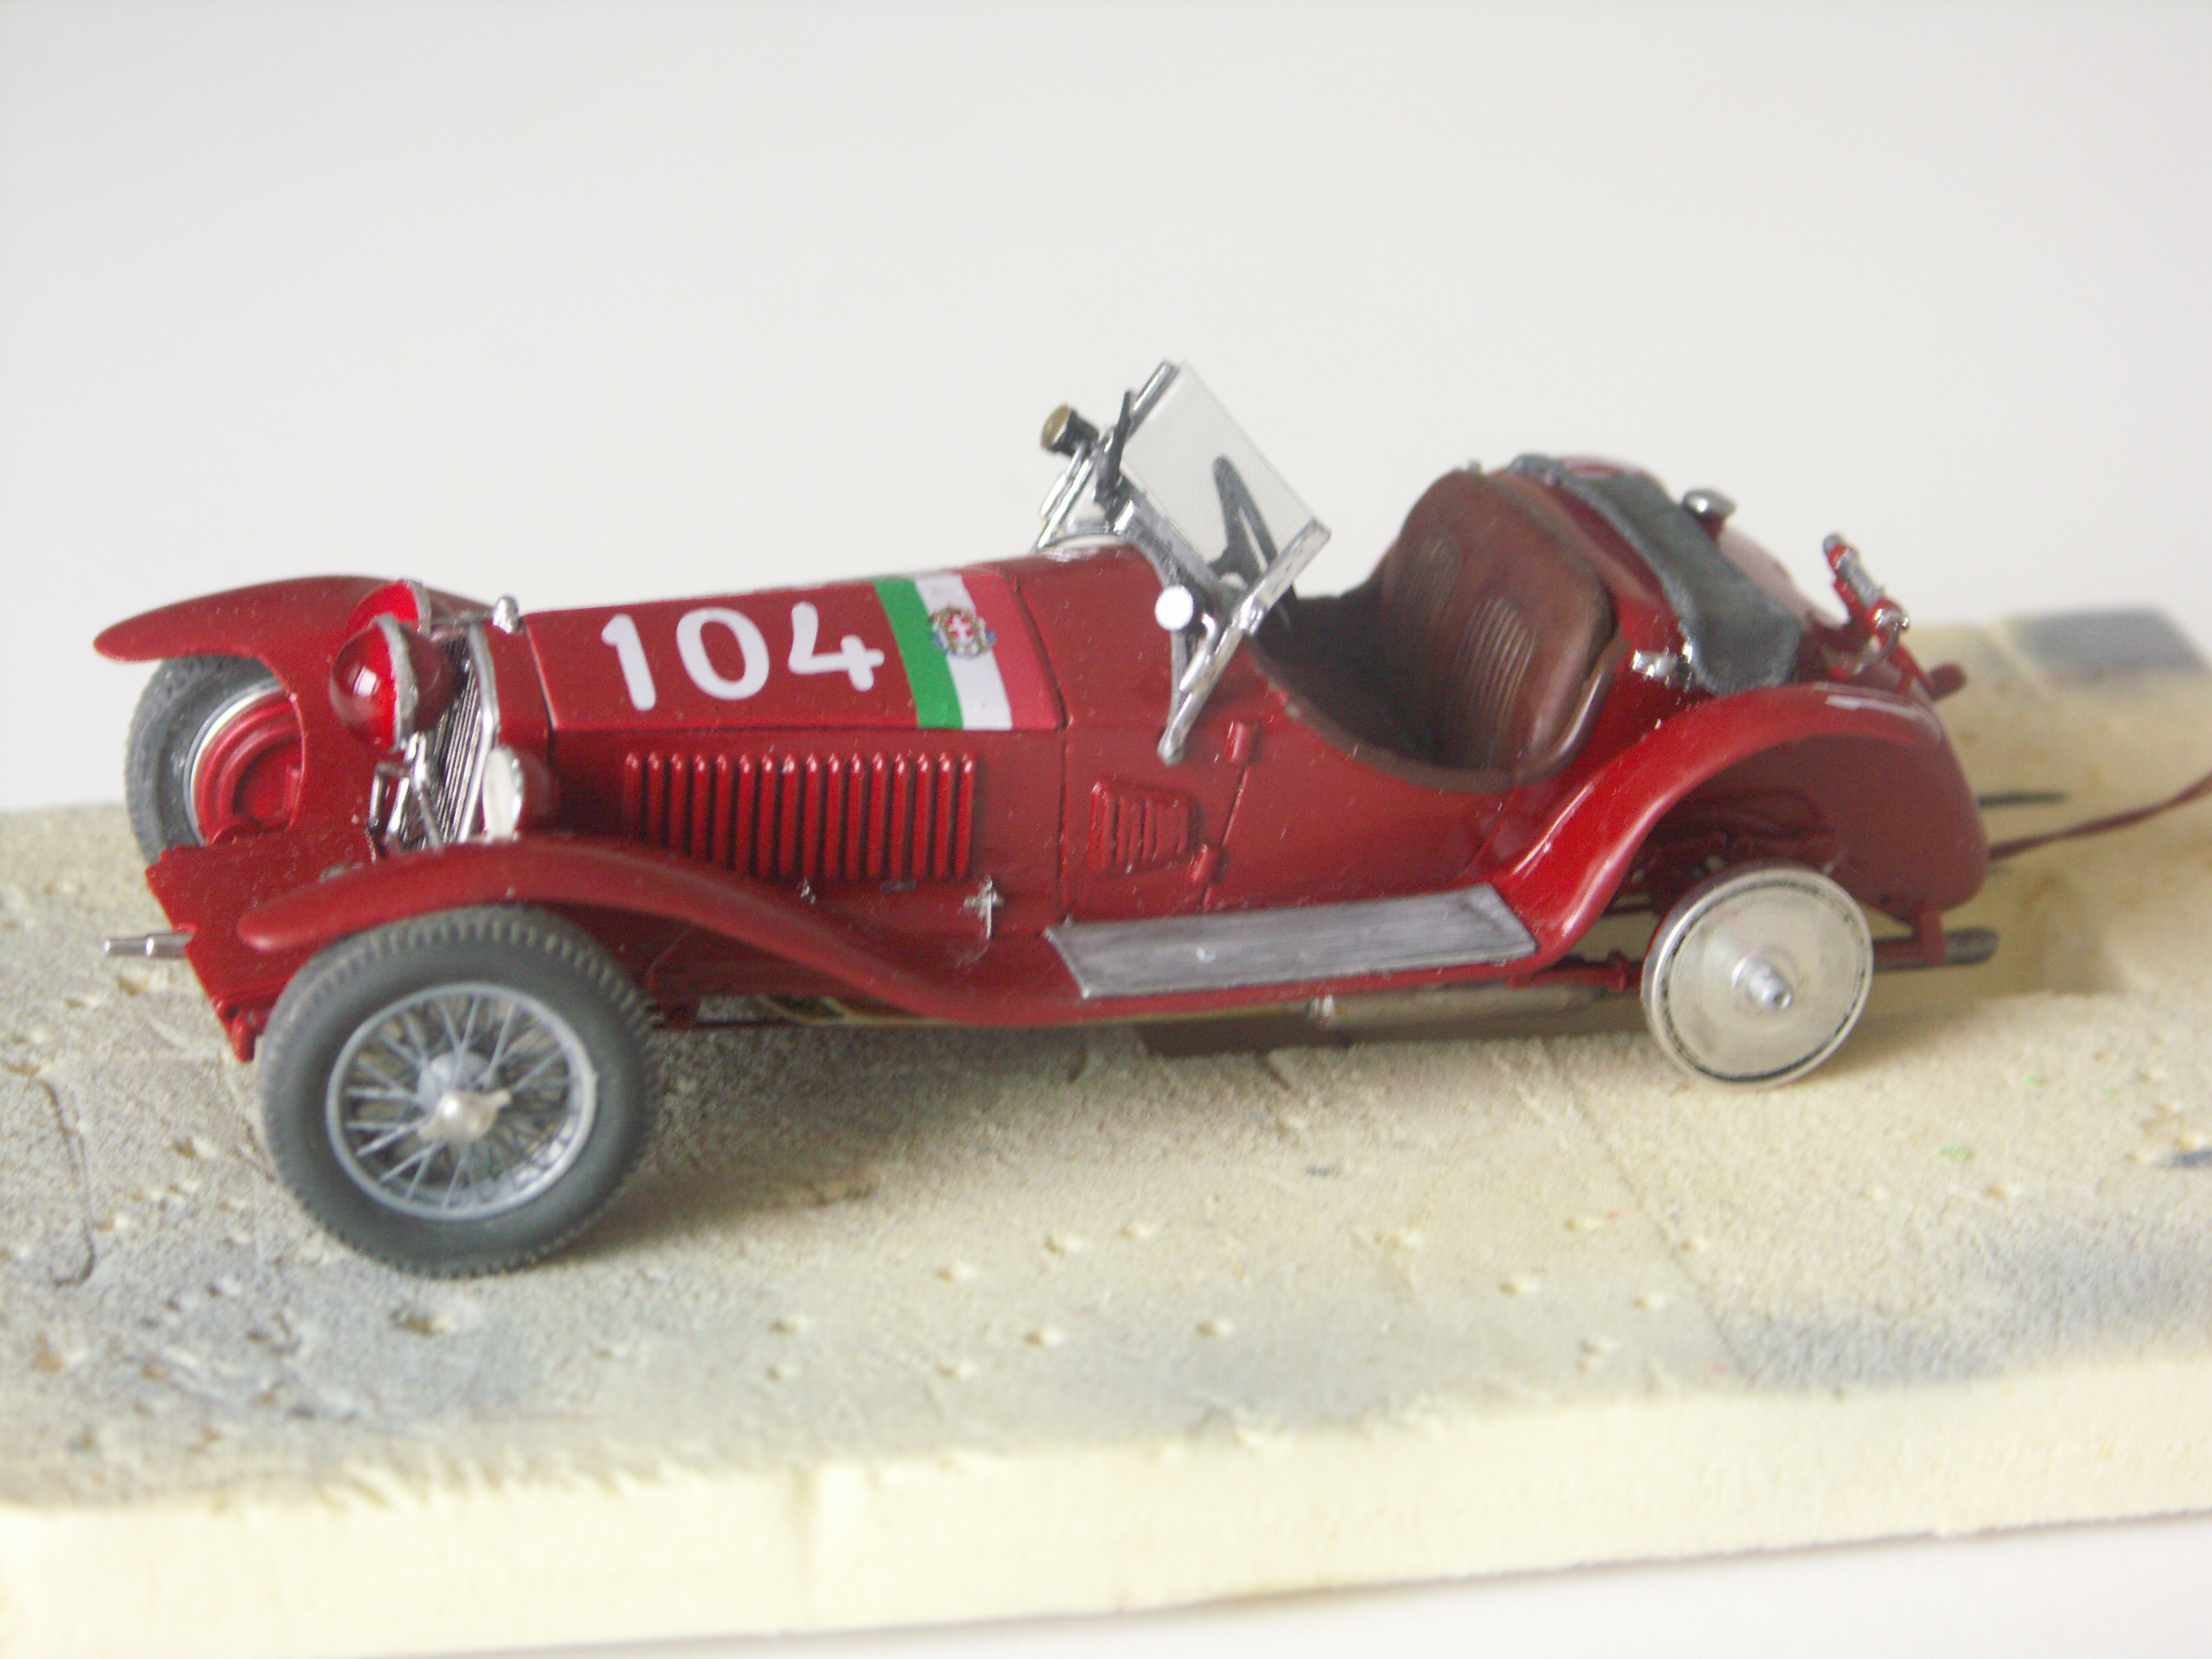
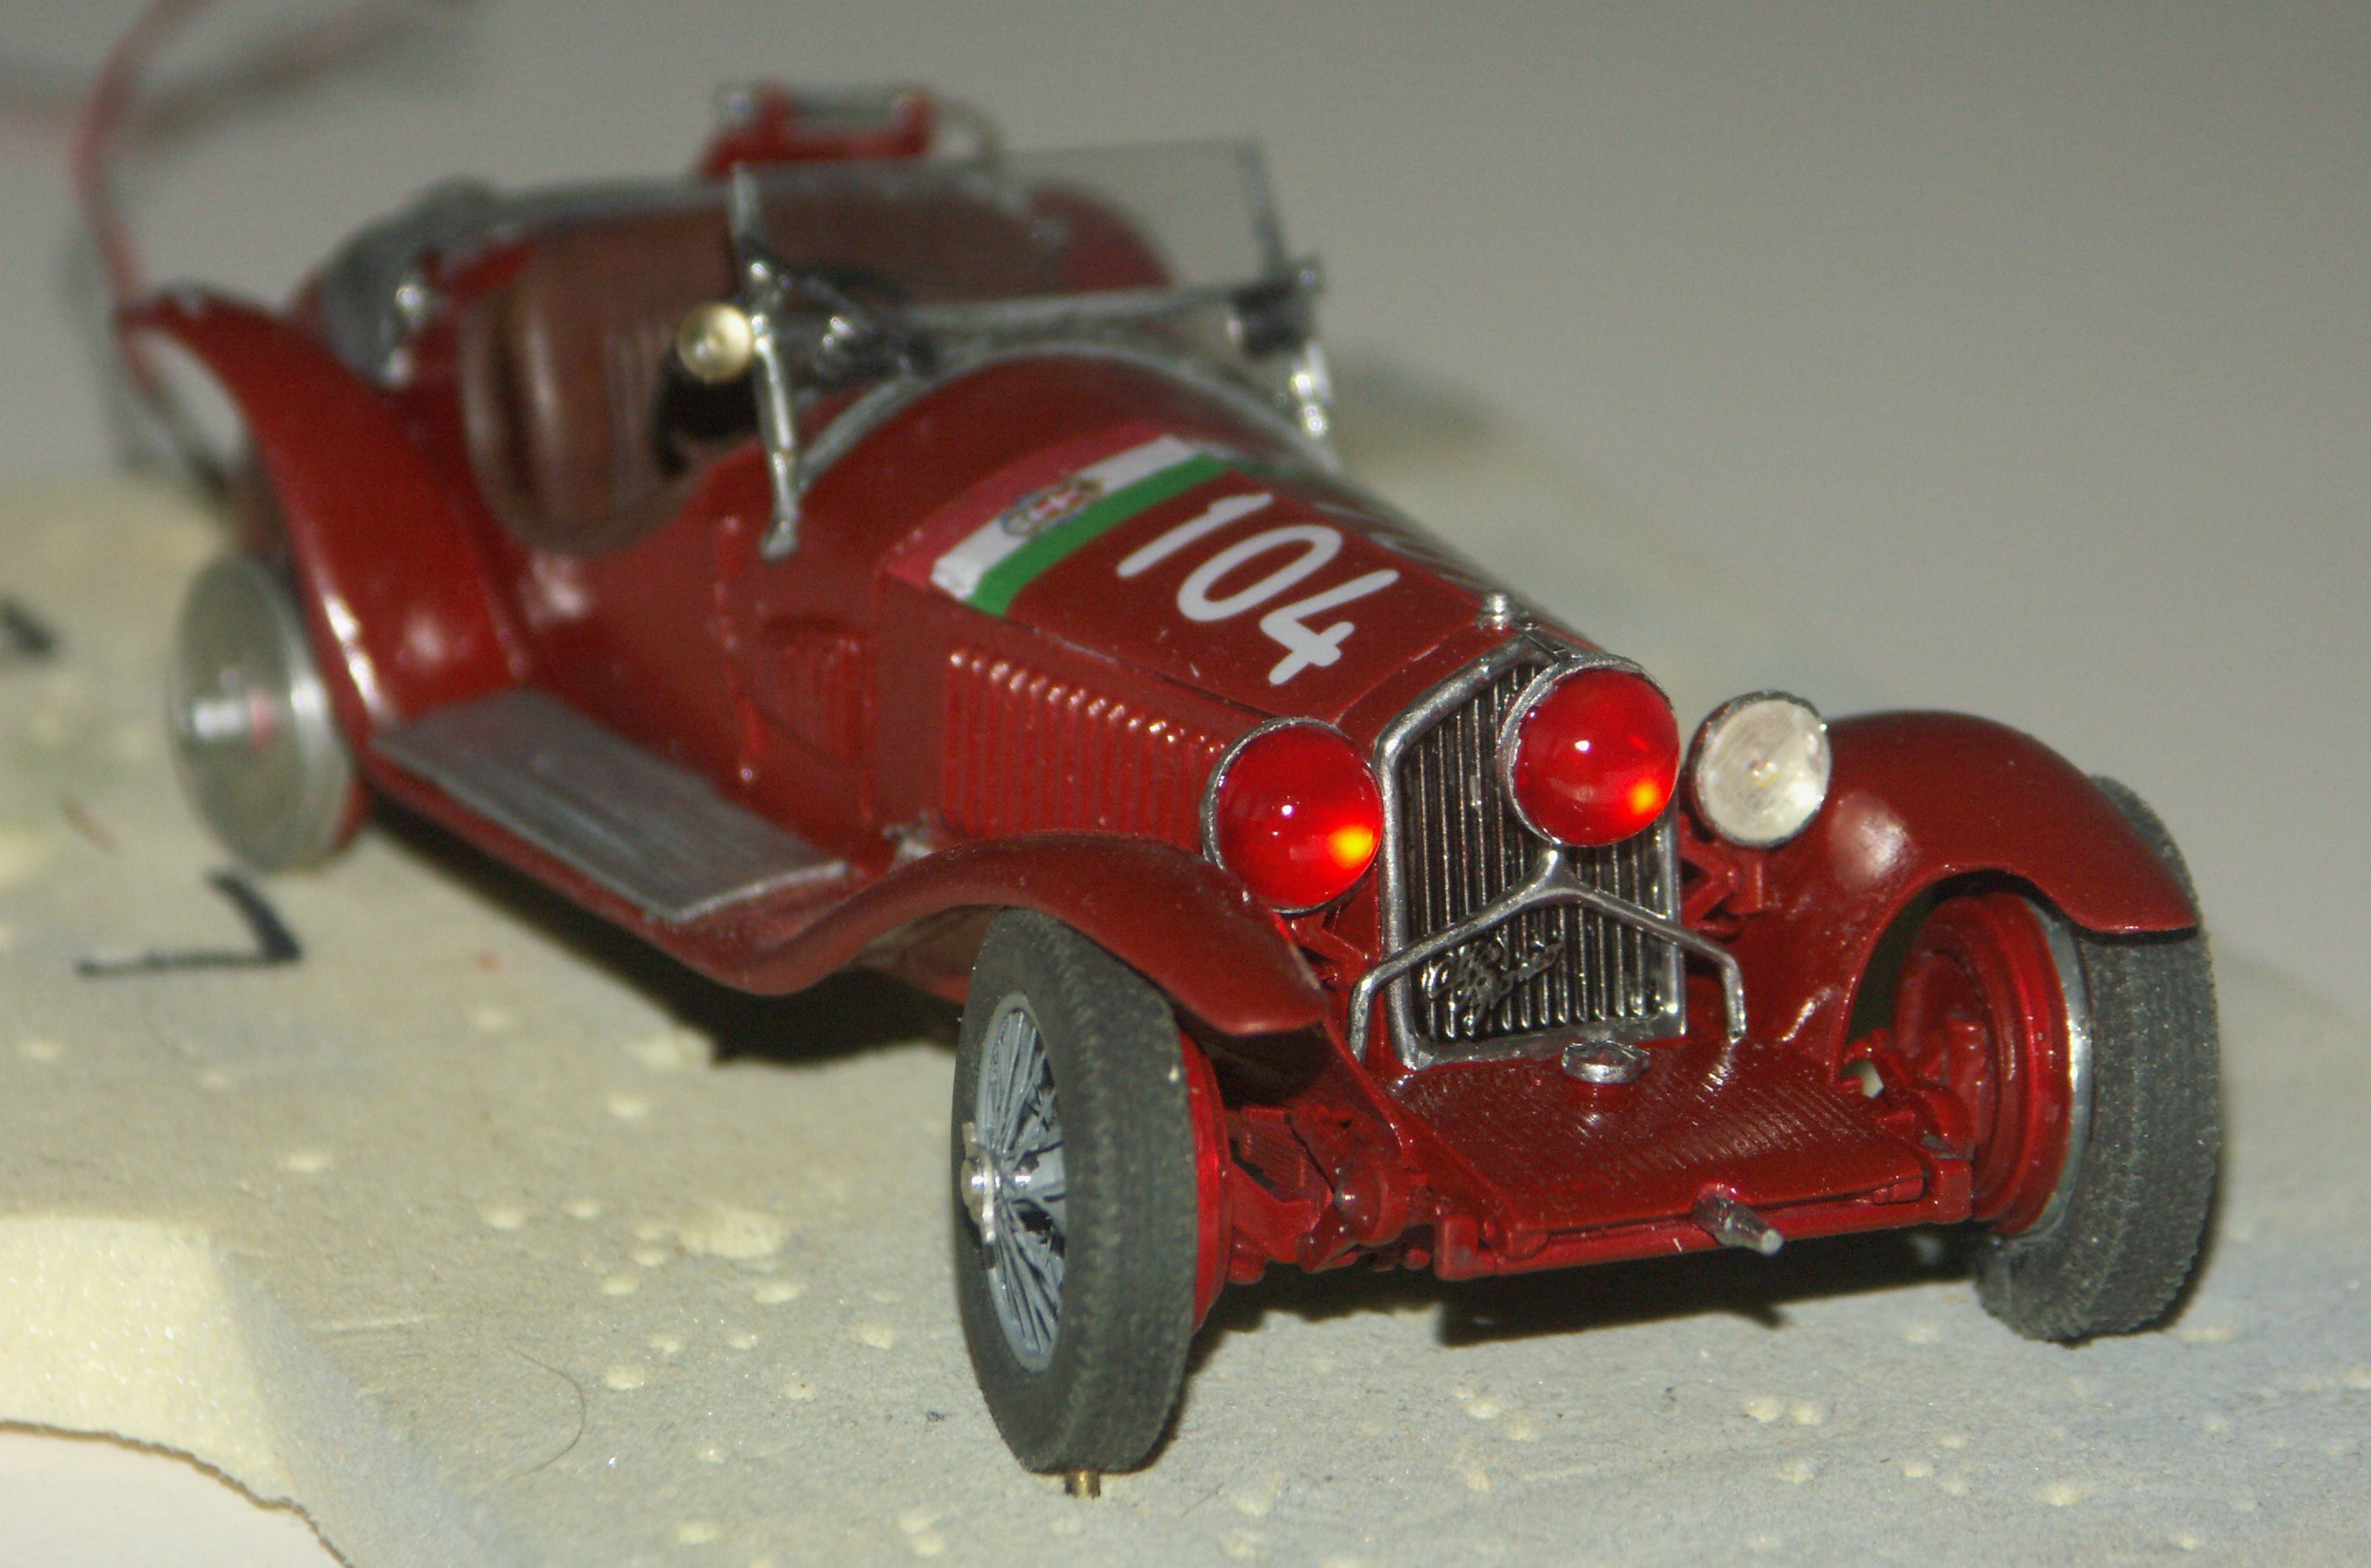
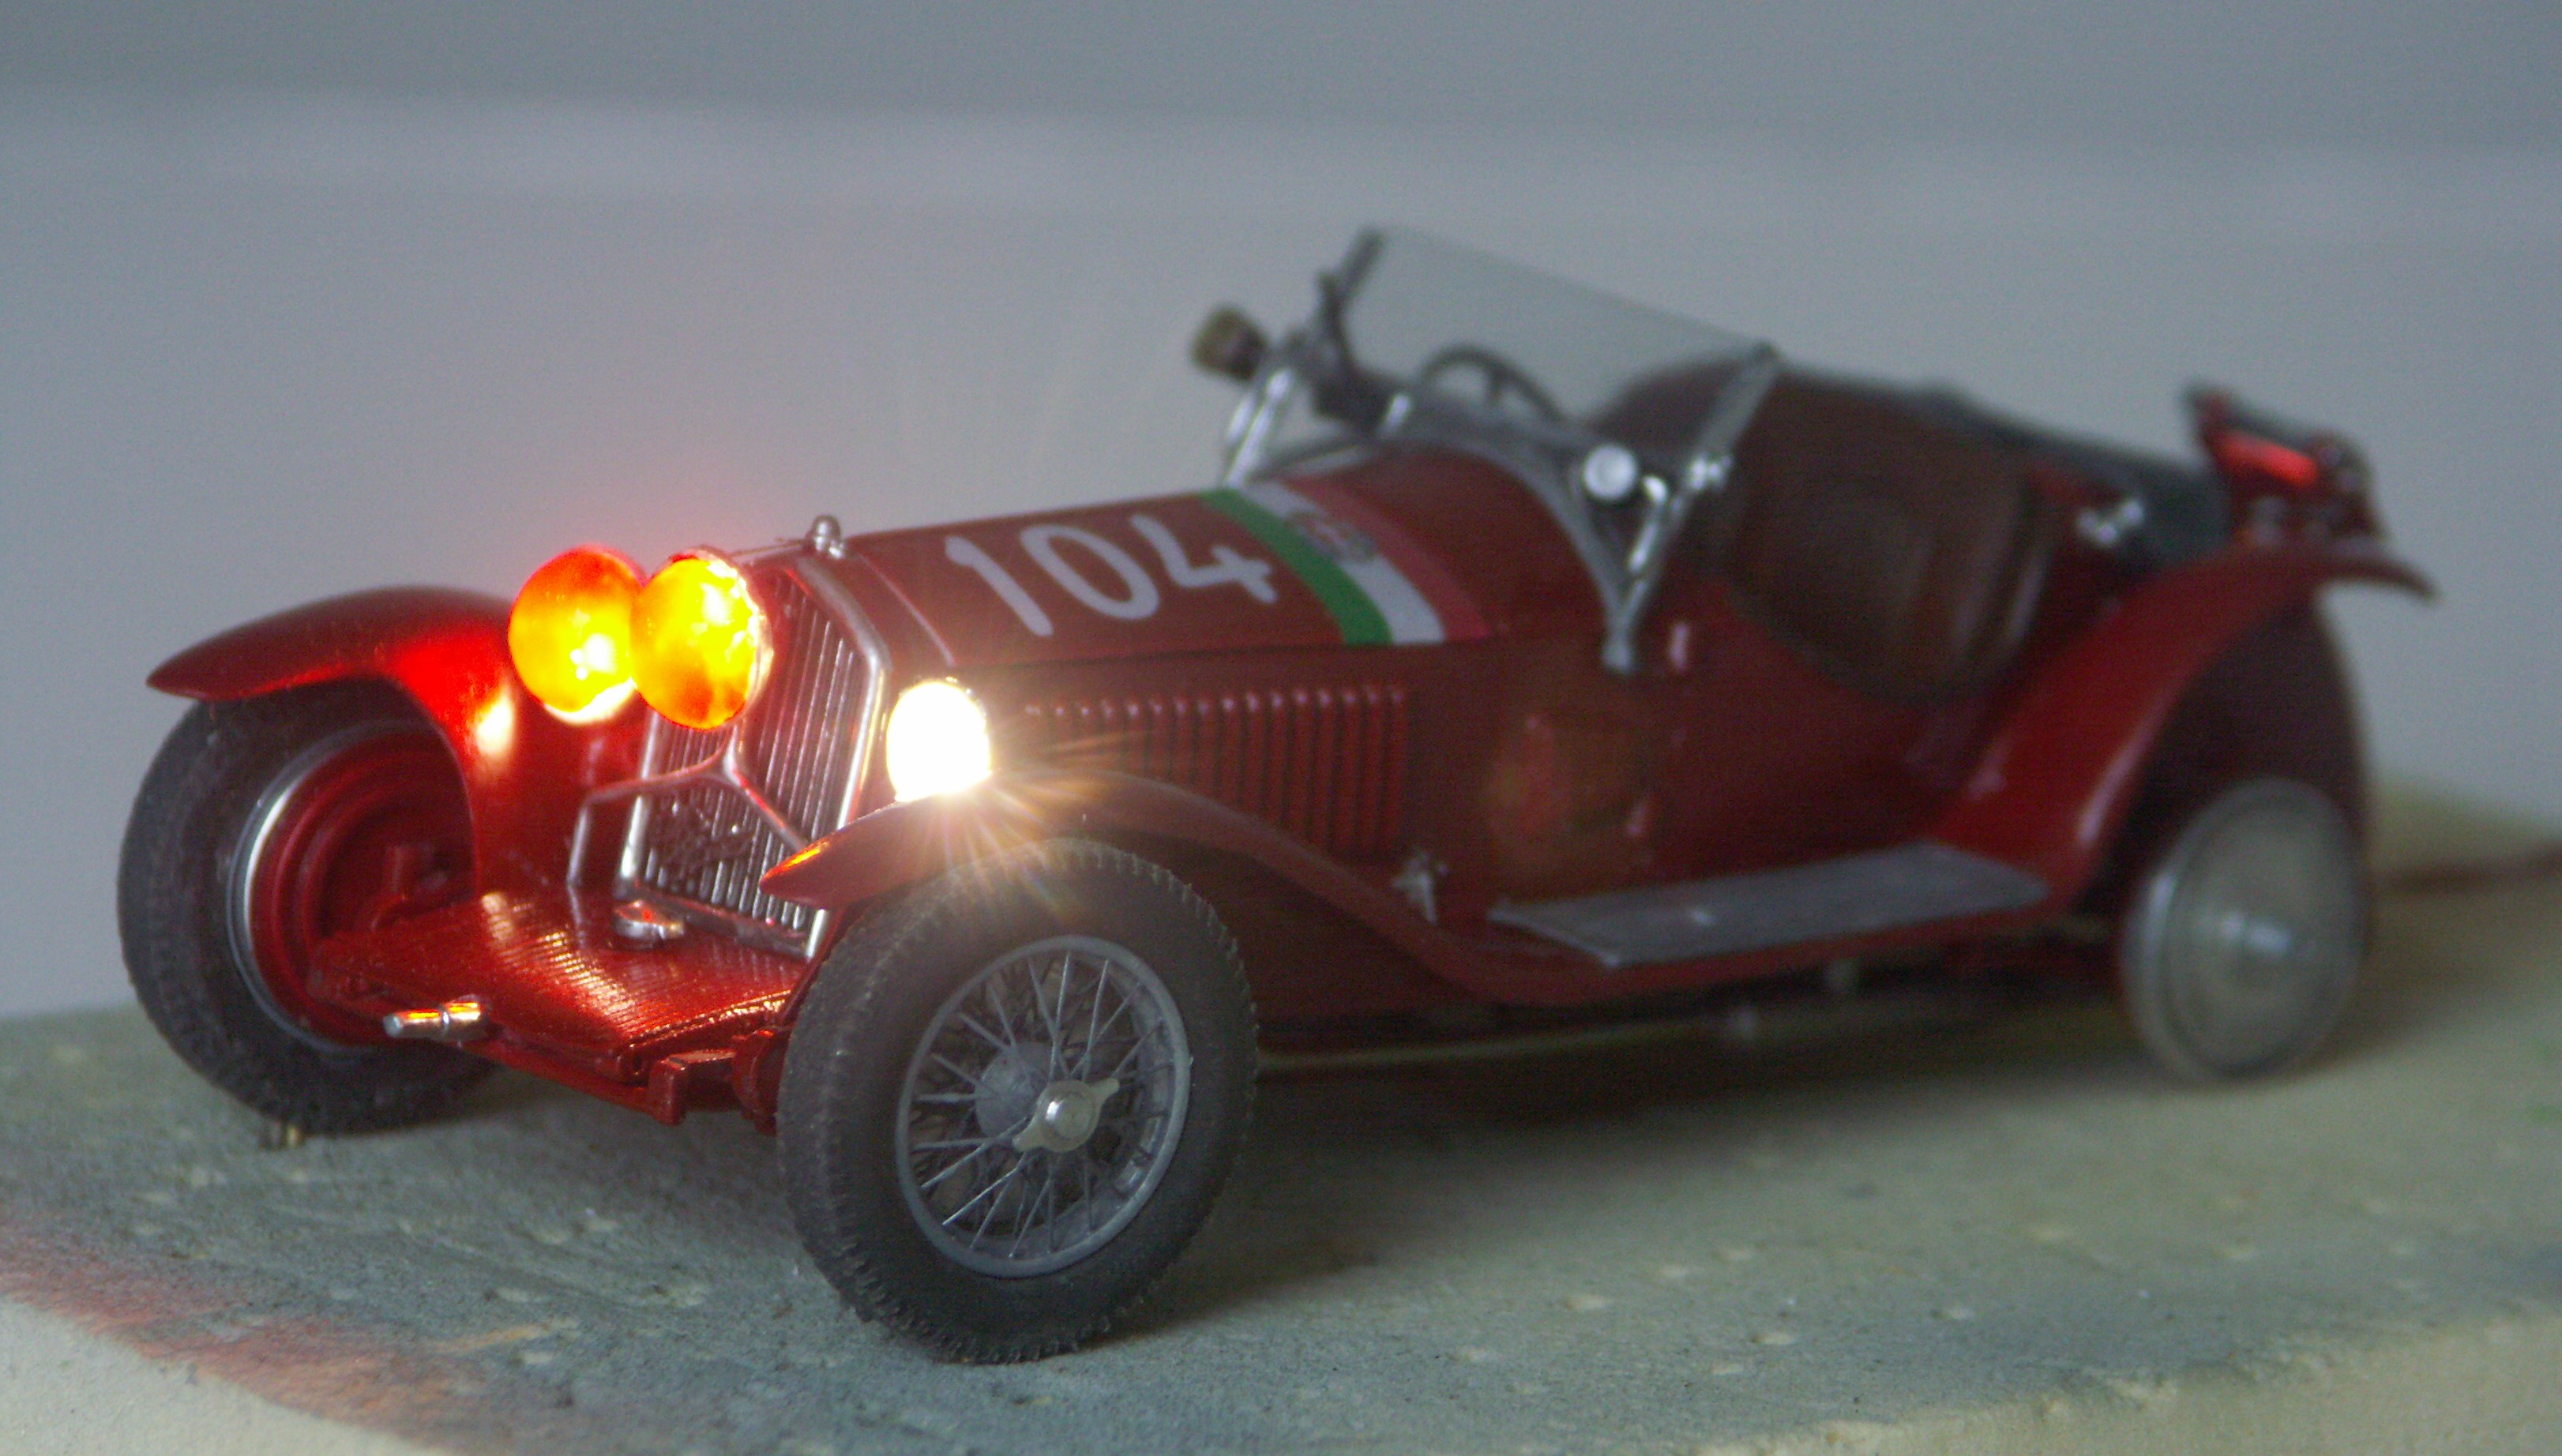
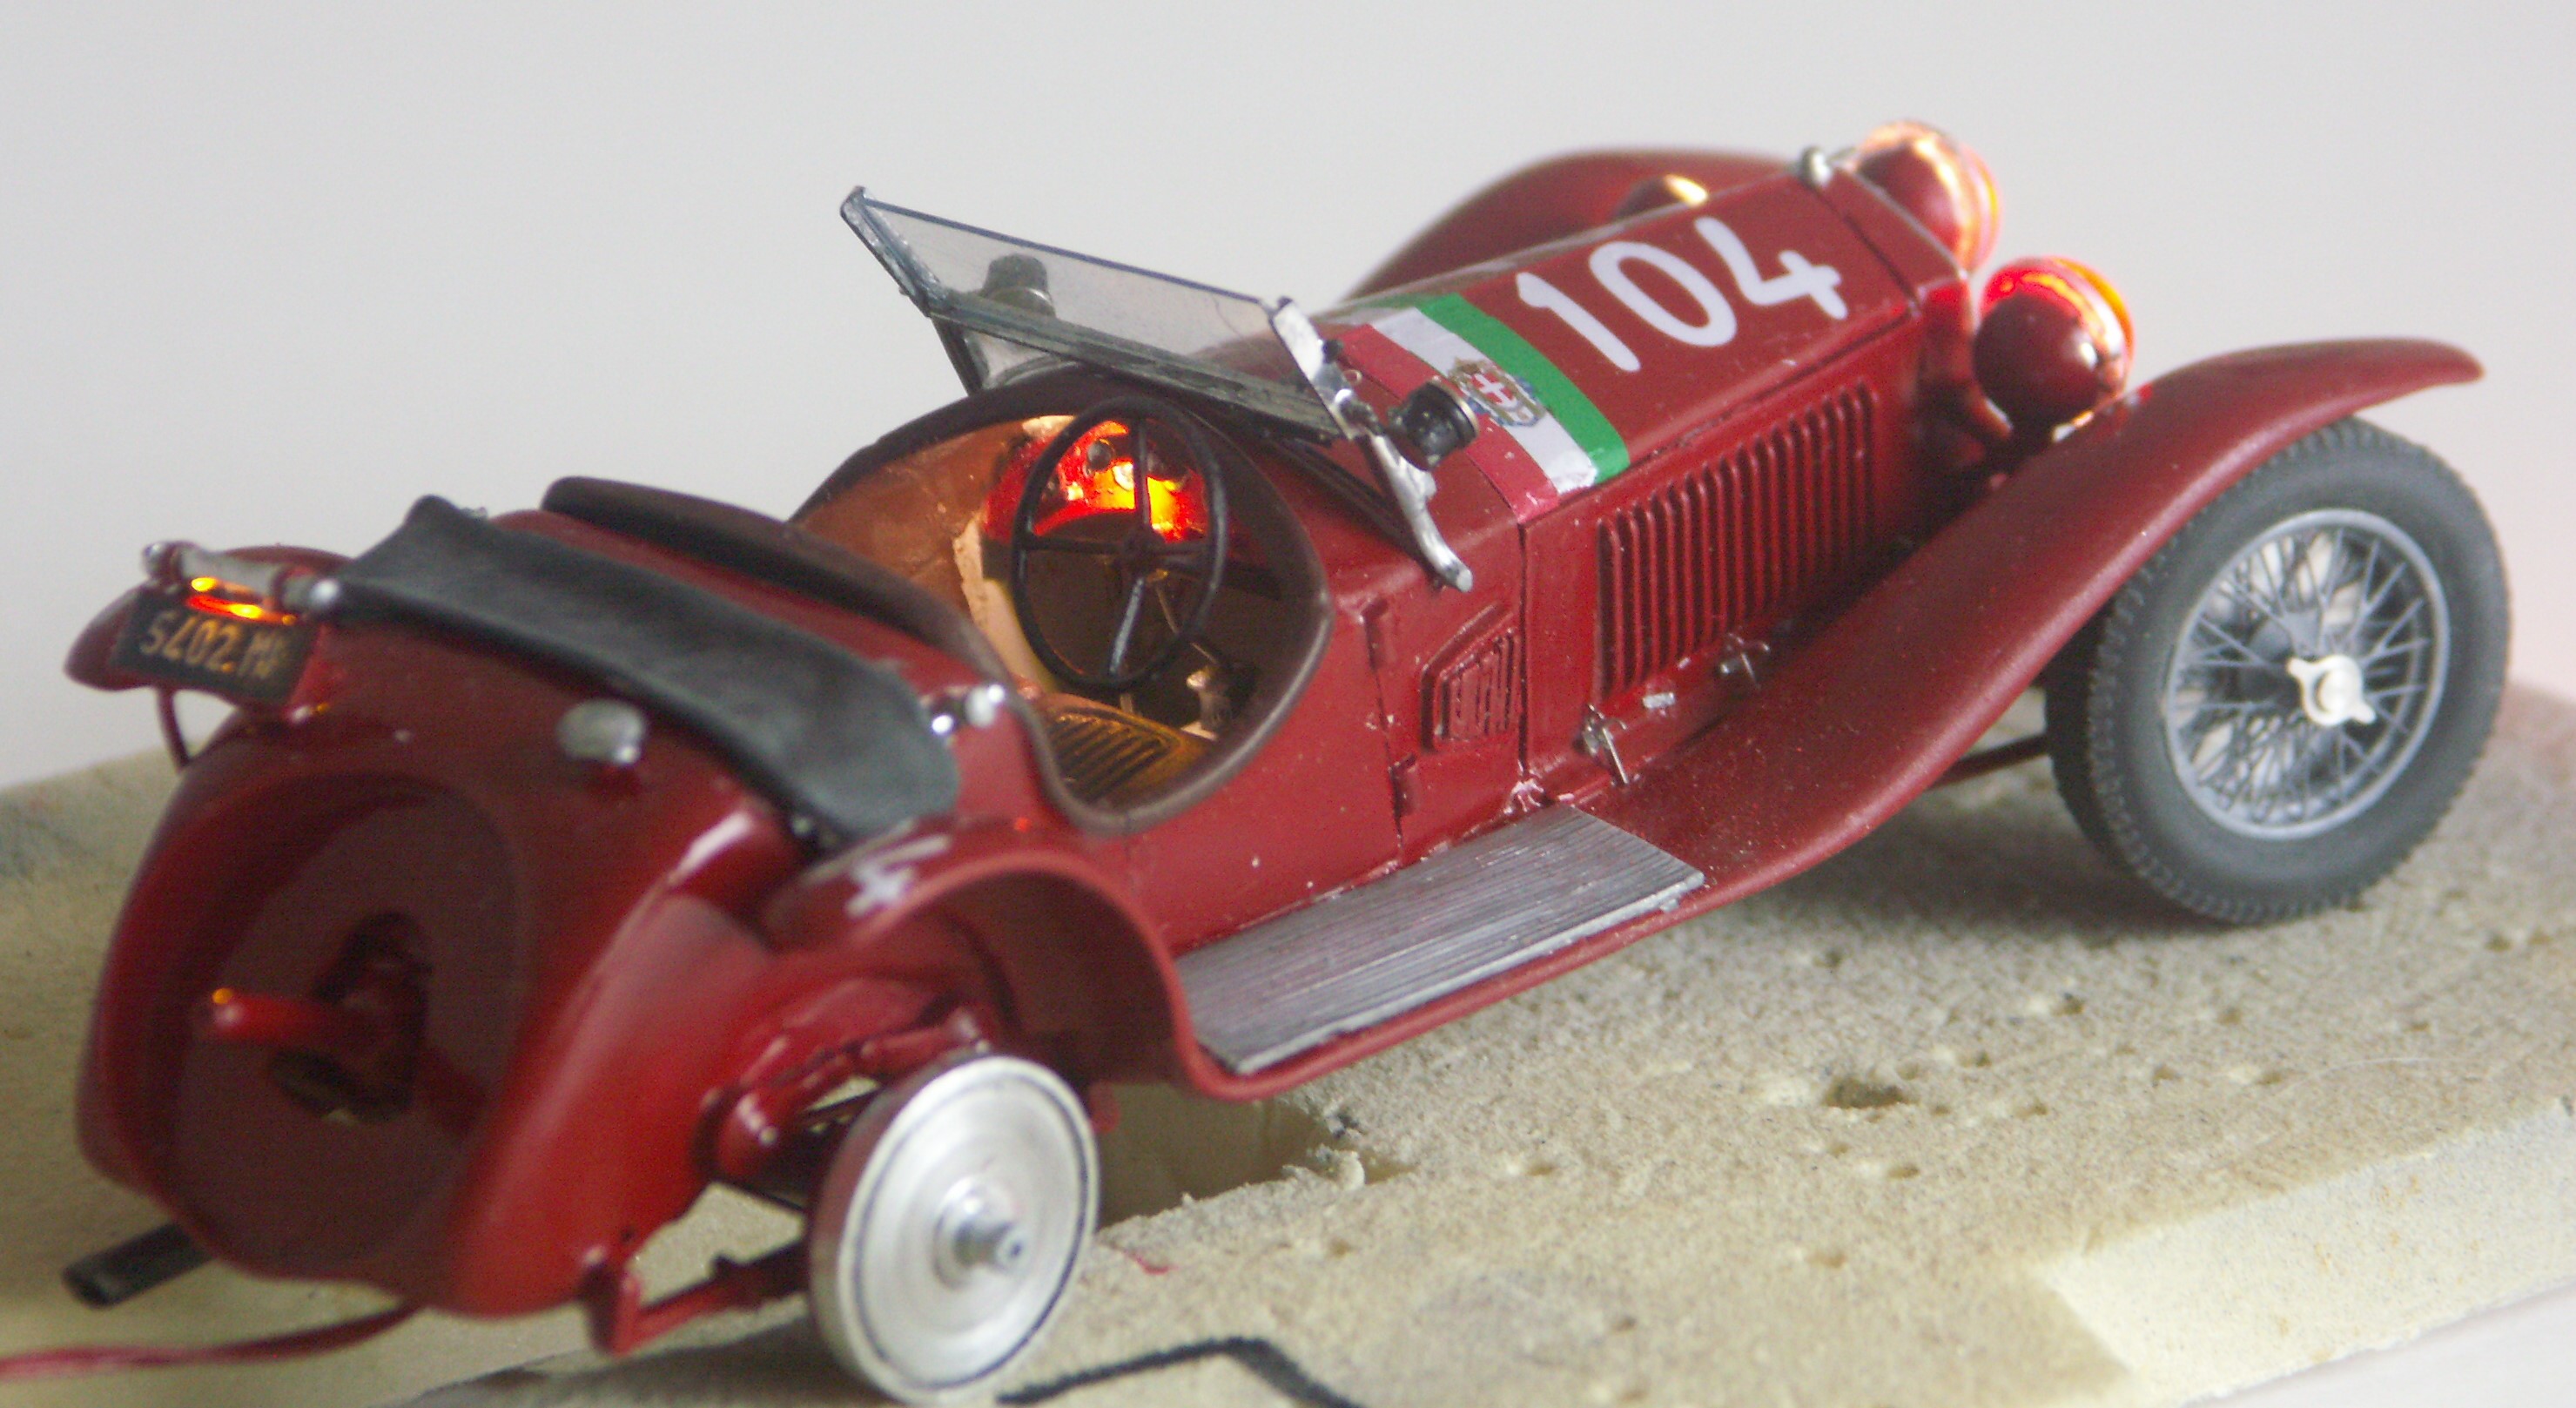
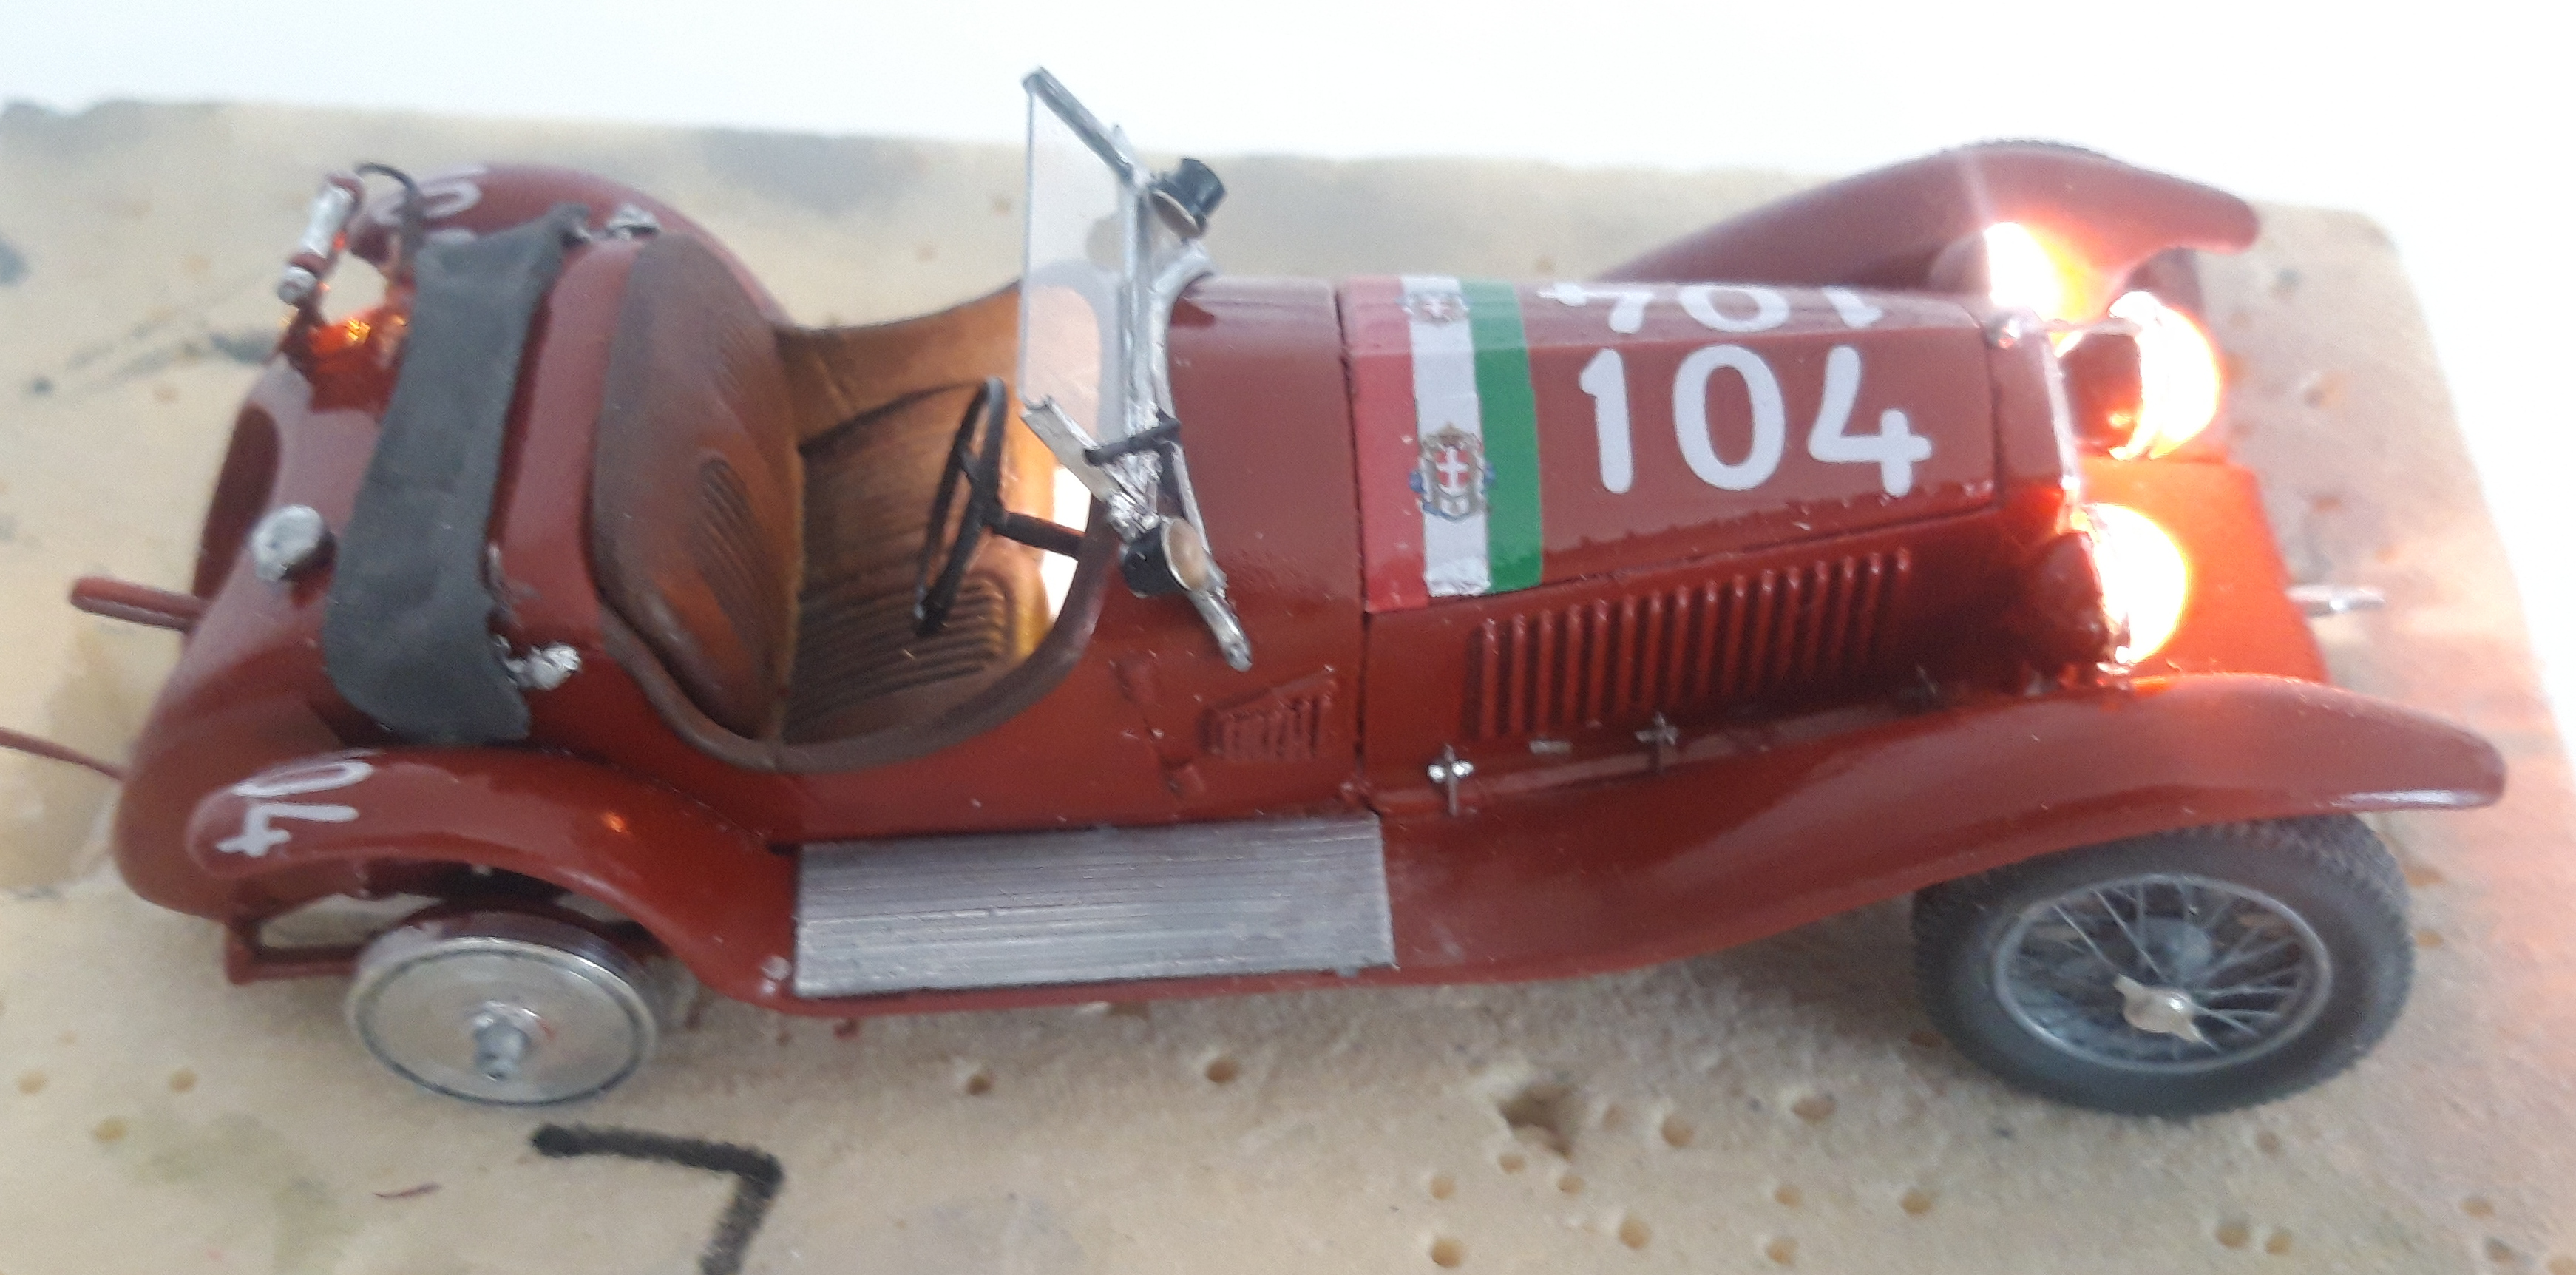
Hello Mates  After 2 Exhibitions, aand a Covid Infection , at last i added a few Details. First the Hood fasteners. build from 2 Etchparts each
  a othe Part simulate the strut for the Middle Headlight. remodelling the Runningboards with carved Thin plasticparts. And one more Time i use Furniture Door Stoppers for the Red Dustcovers. The Left would be removed by a Mechanic. Paint them with Tamiya Clear Red, for the Chromeparts i use grennstuff Chrome for brushes, this is fantastic ! Glued the Frontwheels with a slight Angle, so its not mentonied that they are a bit too Big or the Fenders too shallow. Lights are all ok, so the next and last step is weathering .
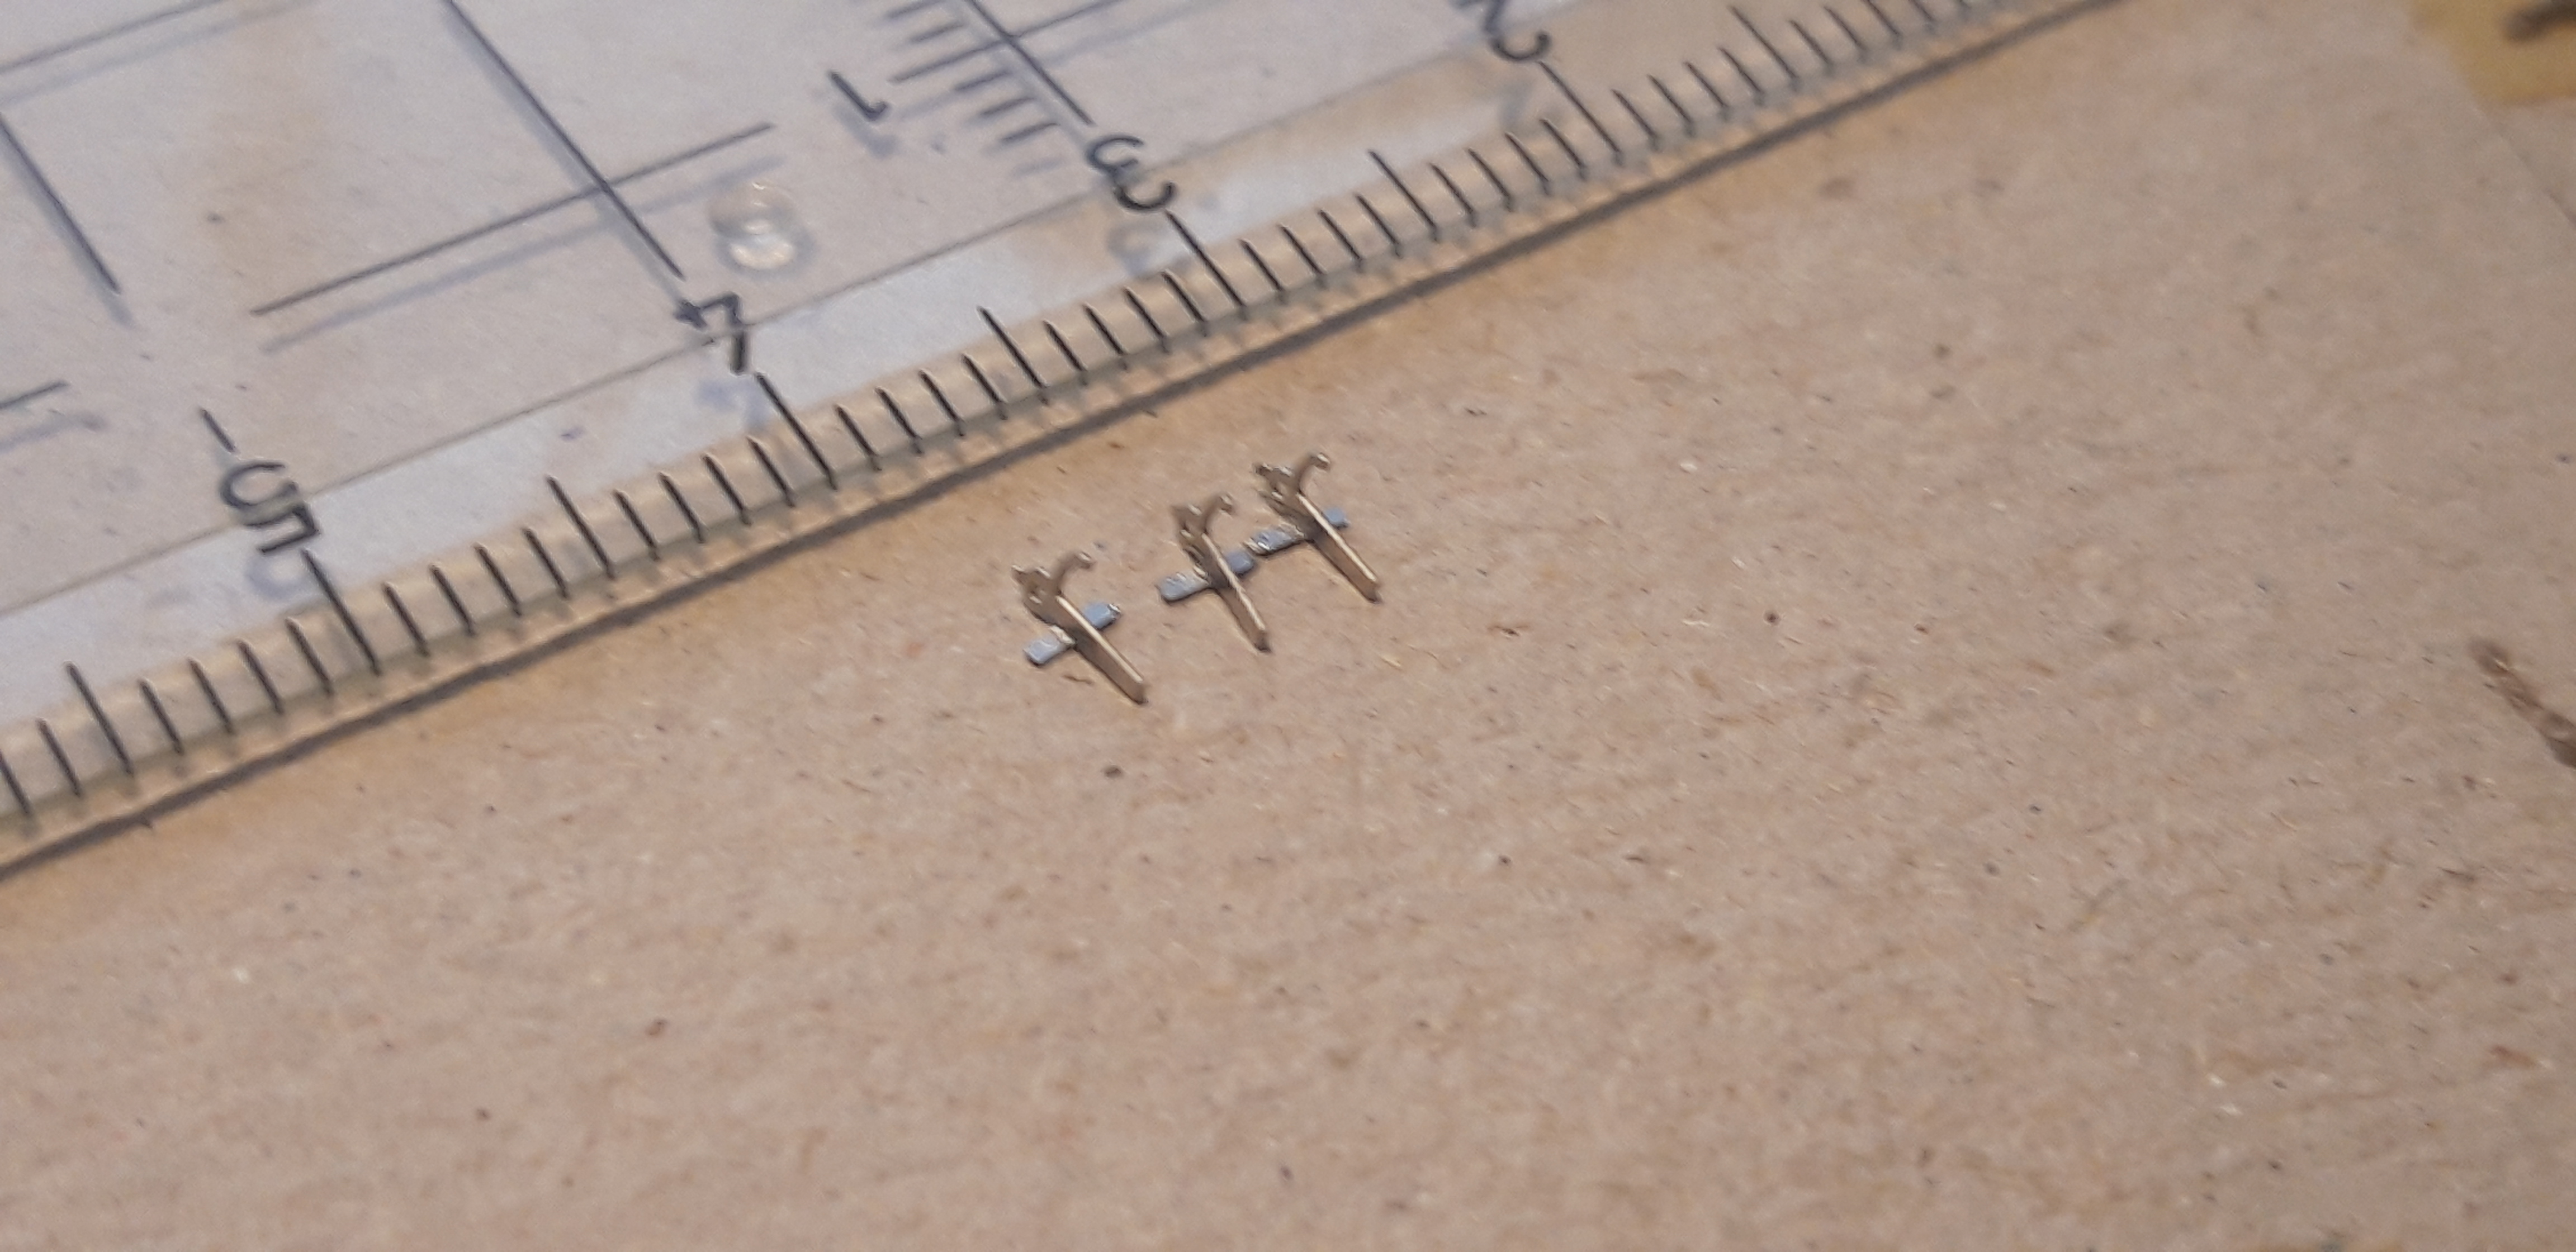



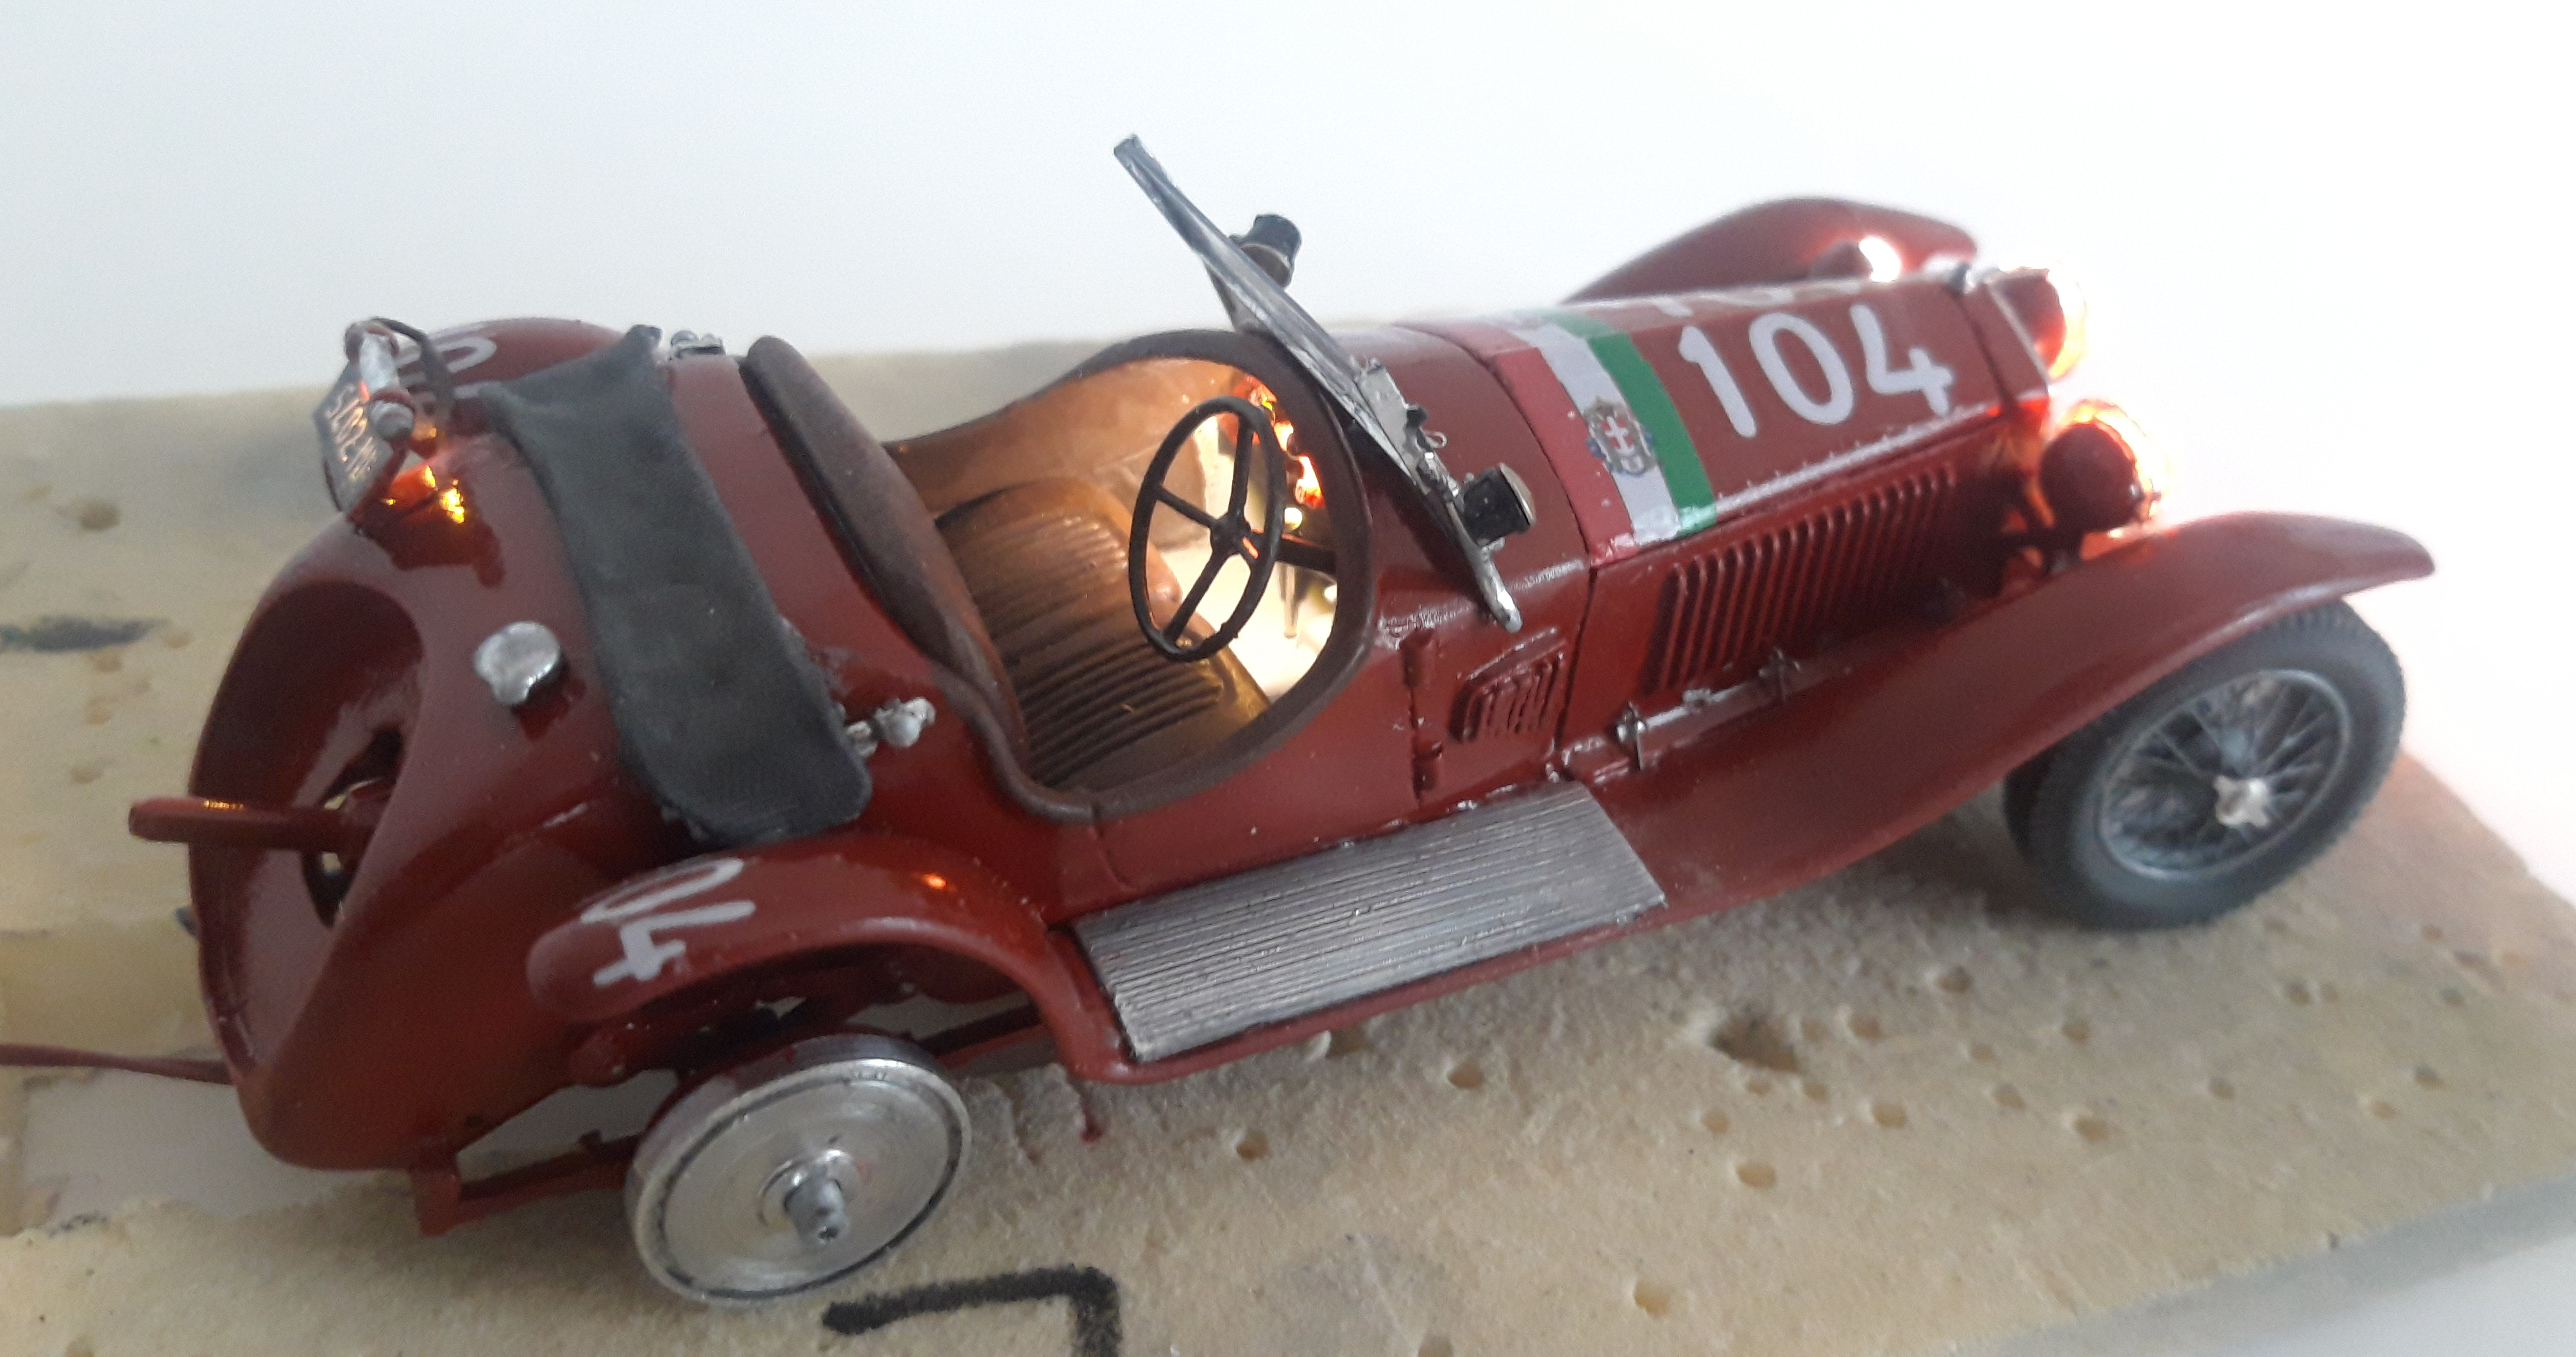
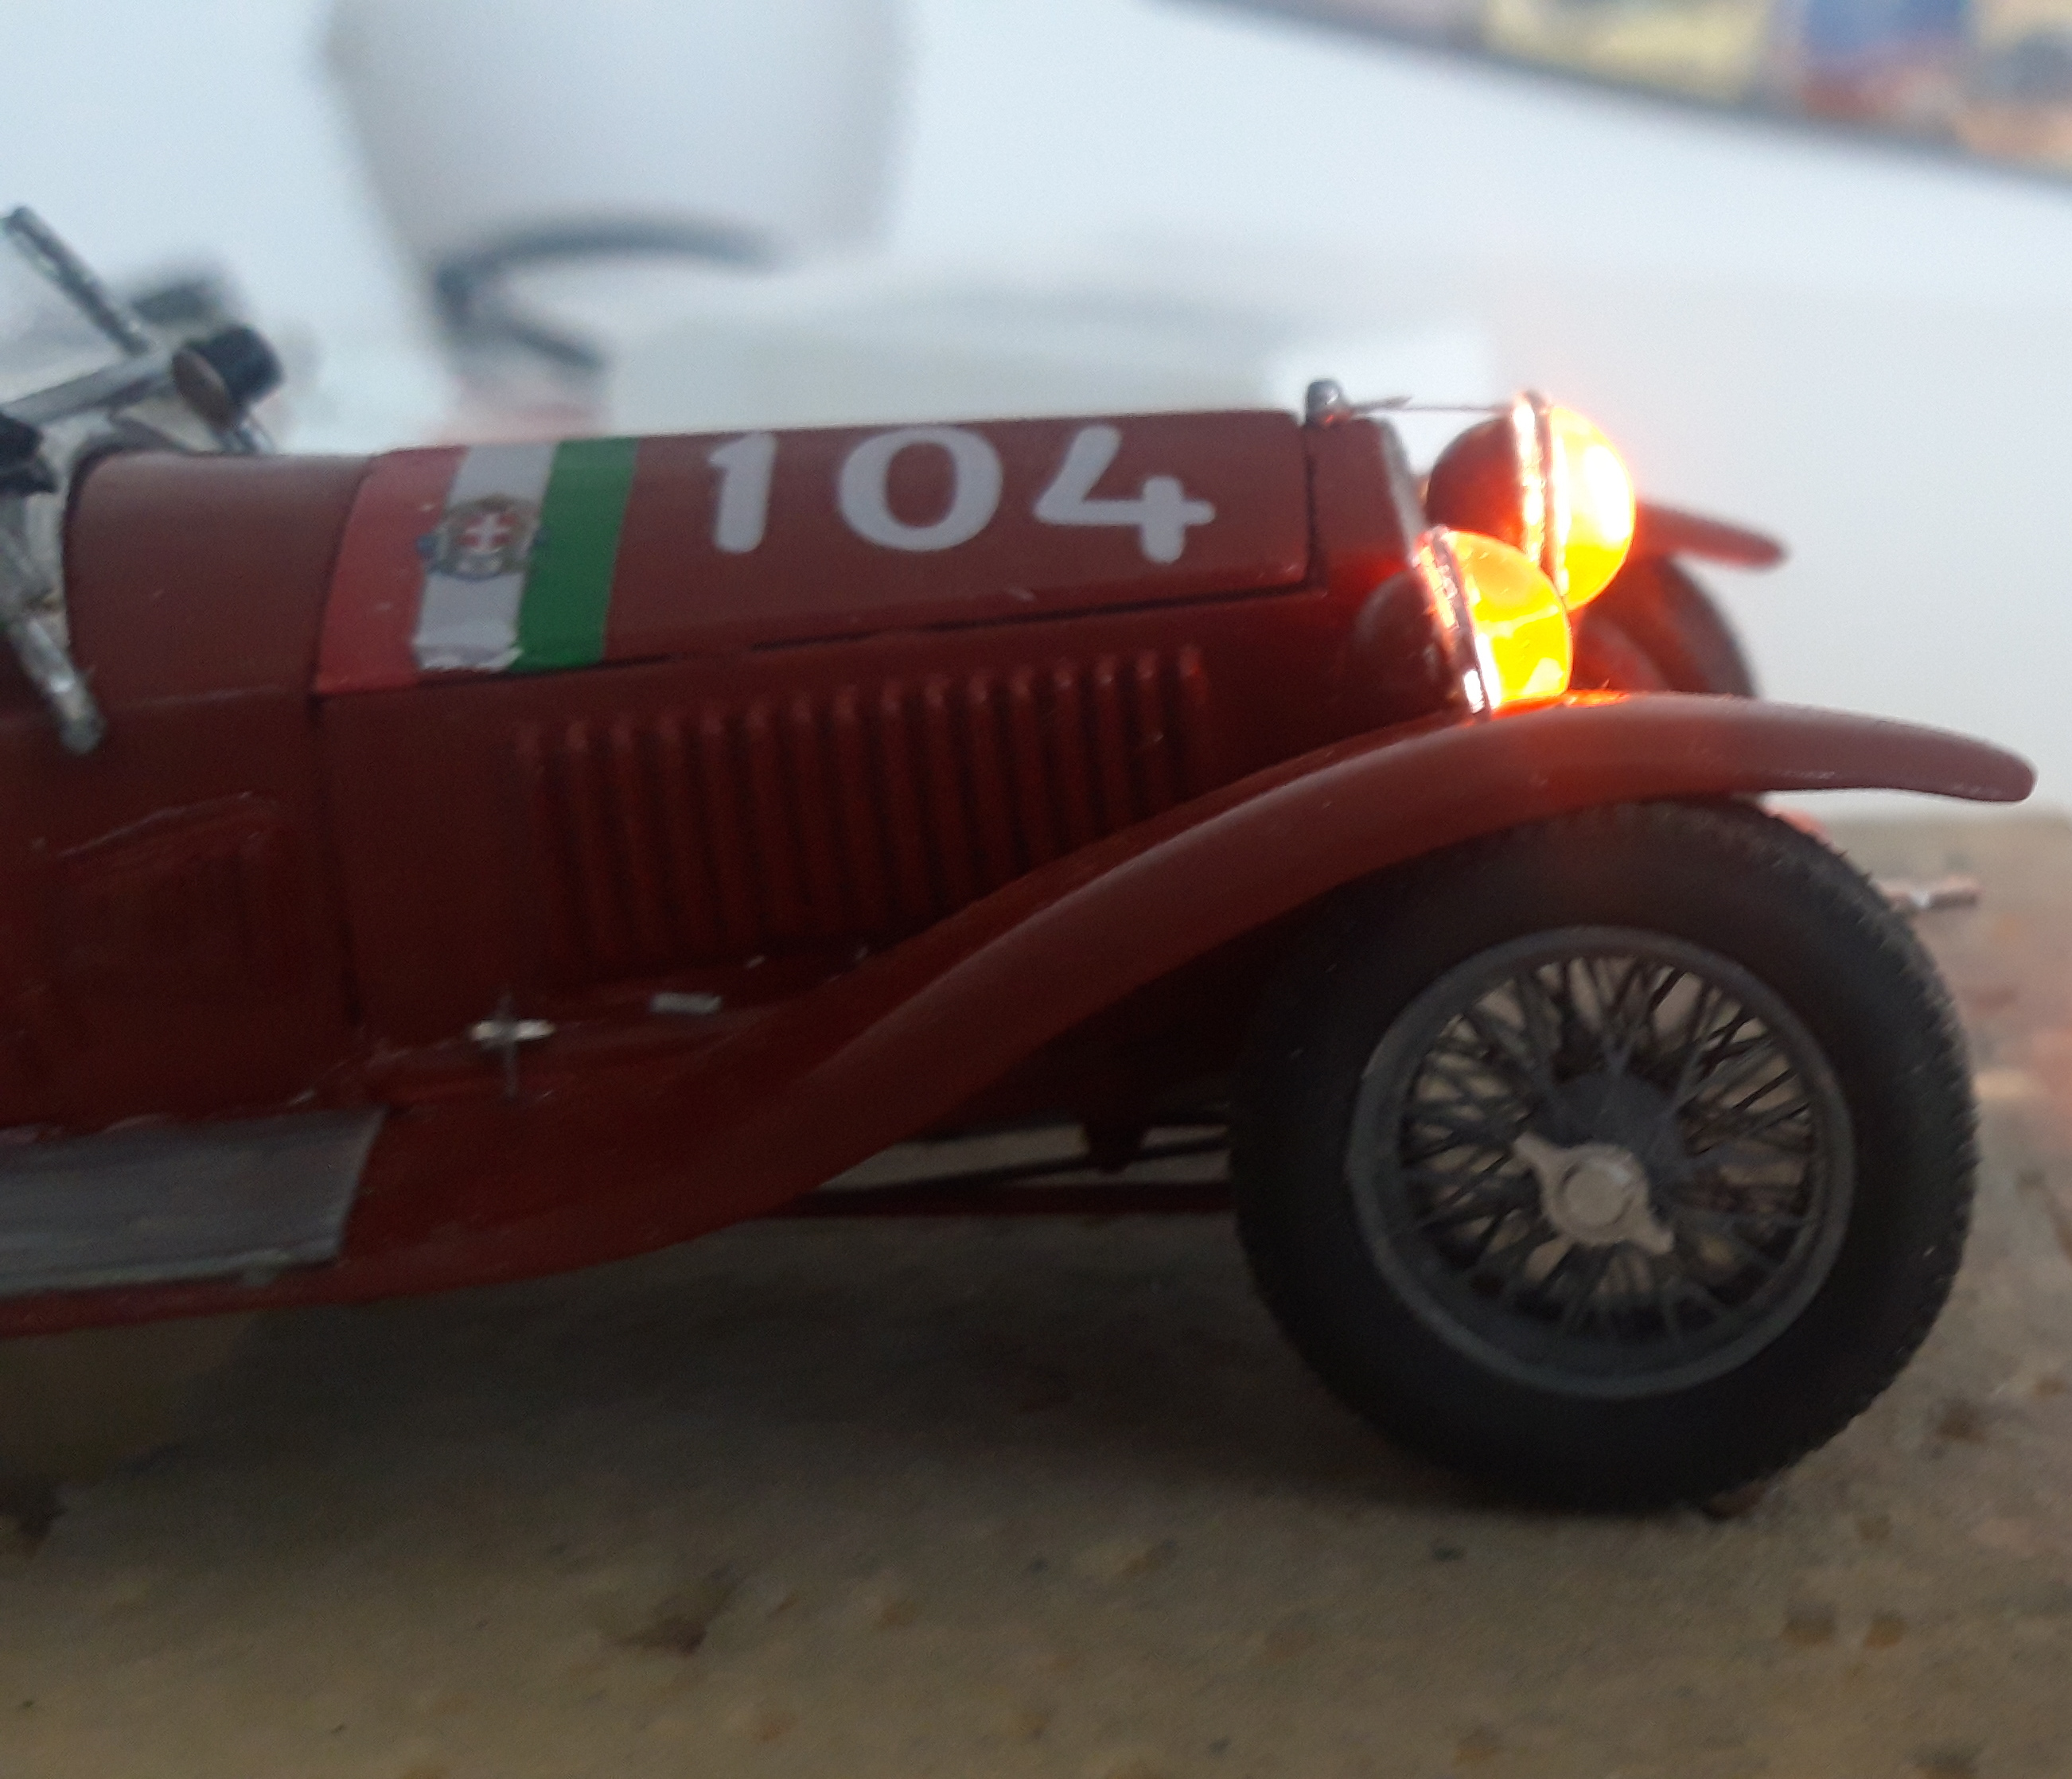


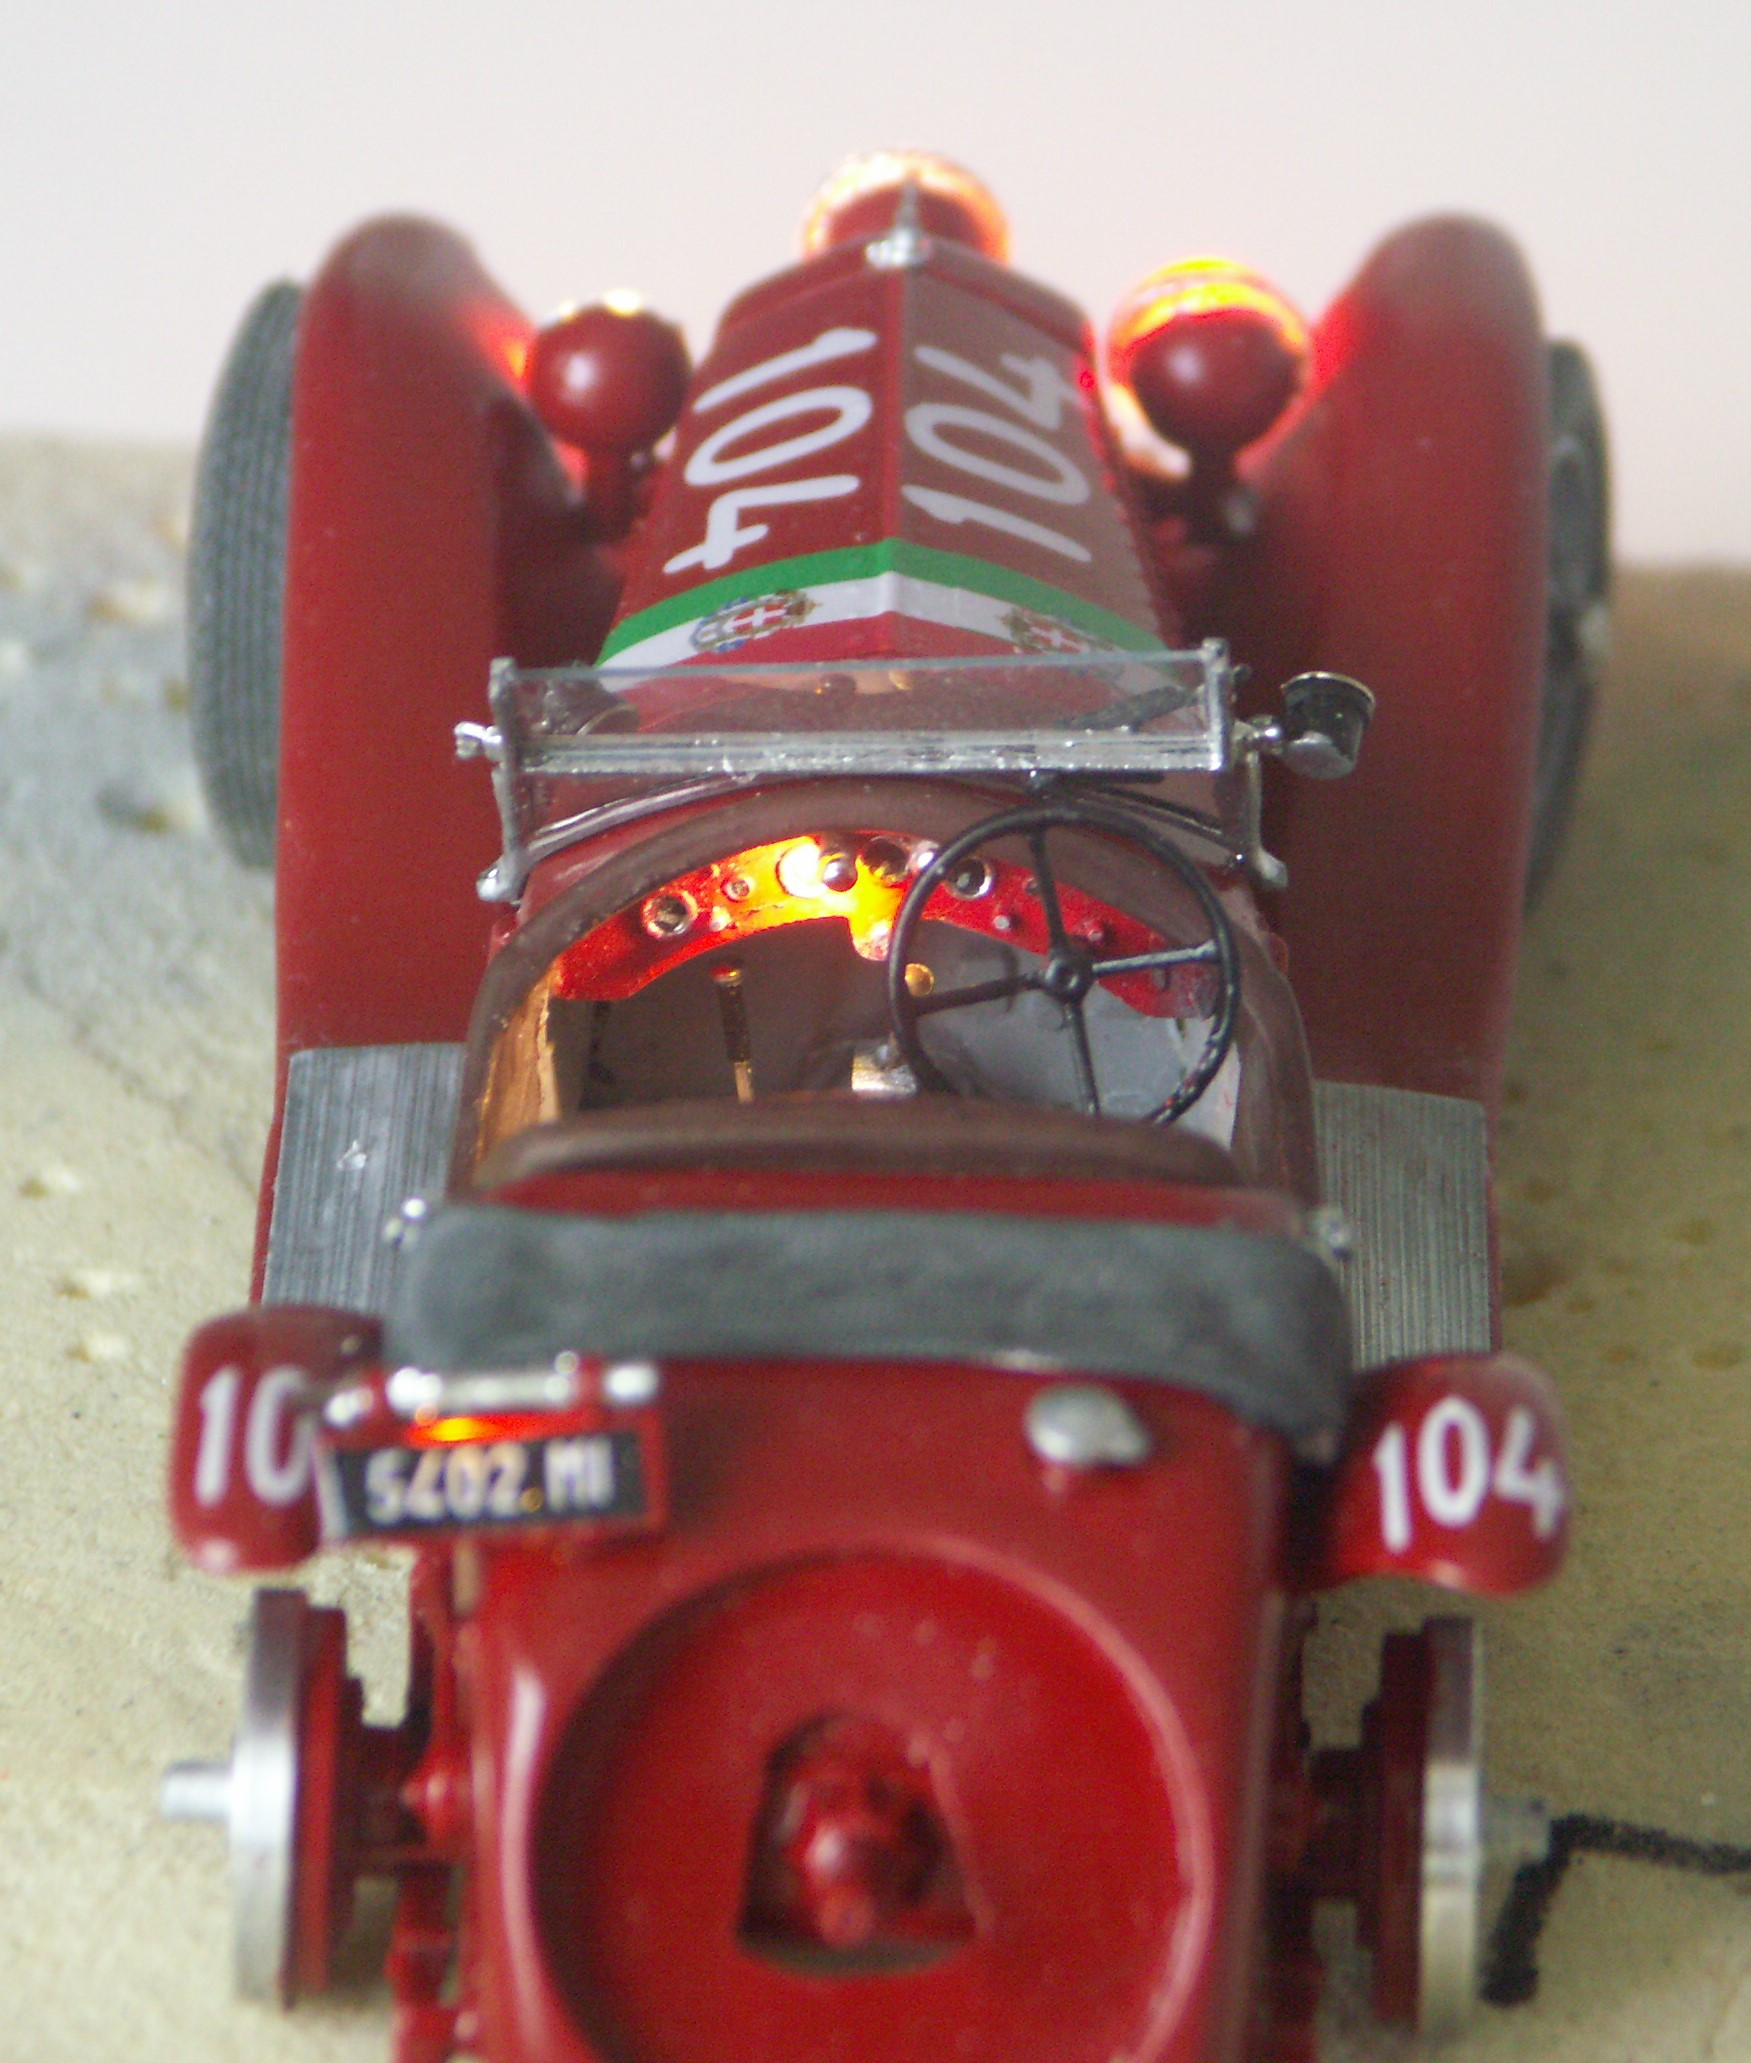
Kind Regards
Harry
 After 2 Exhibitions, aand a Covid Infection , at last i added a few Details. First the Hood fasteners. build from 2 Etchparts each


Kind Regards
Harry
-

Challenger77
- Posts: 292
- Member since:
18 May 2010, 12:50

