Work in Progress

Perry Zulus

Posted by k.b. on 13 Apr 2022, 22:46

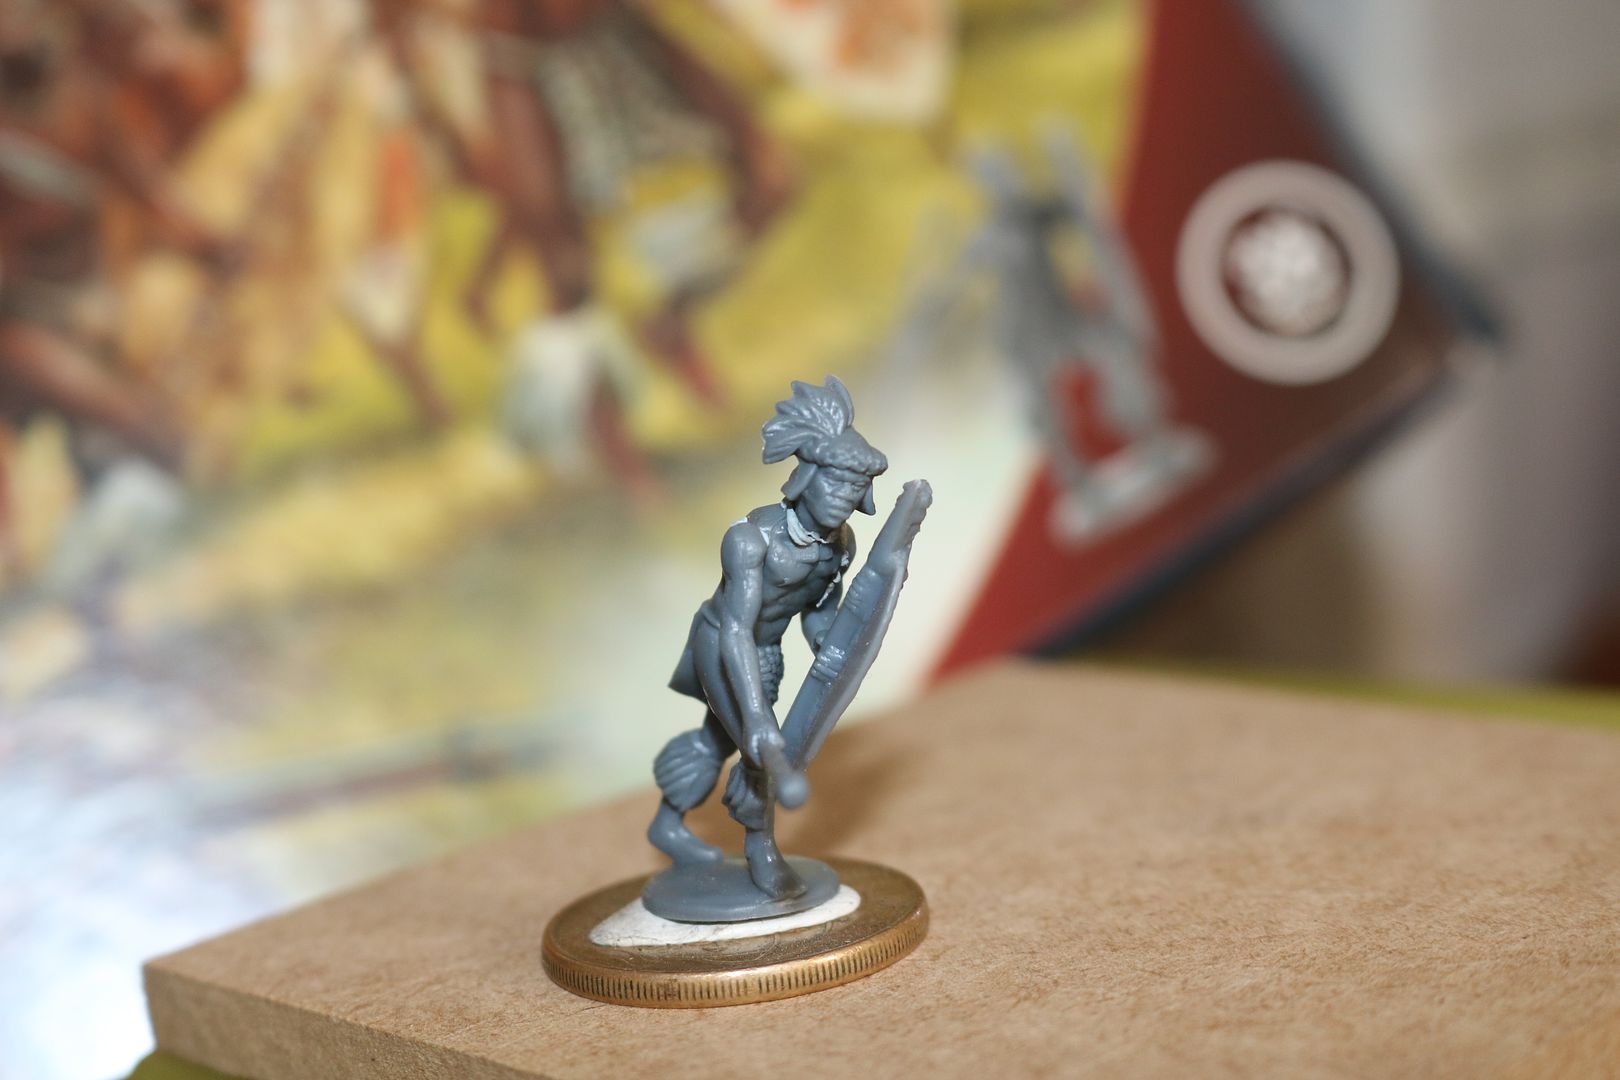
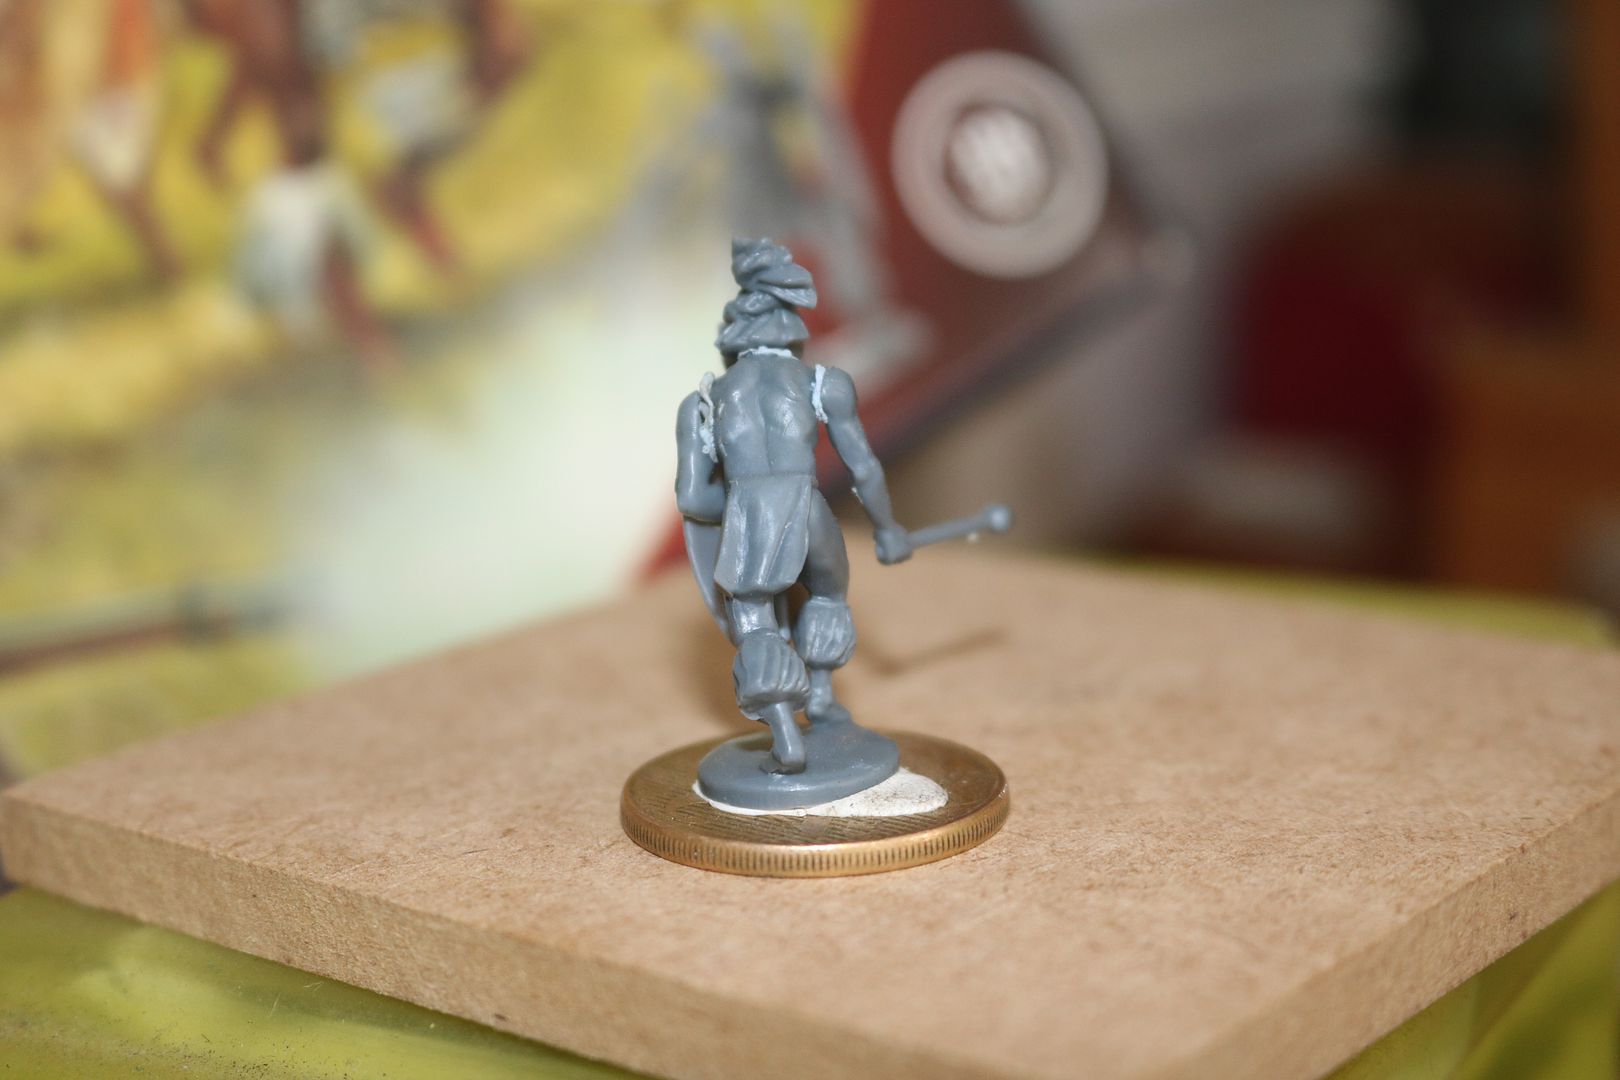
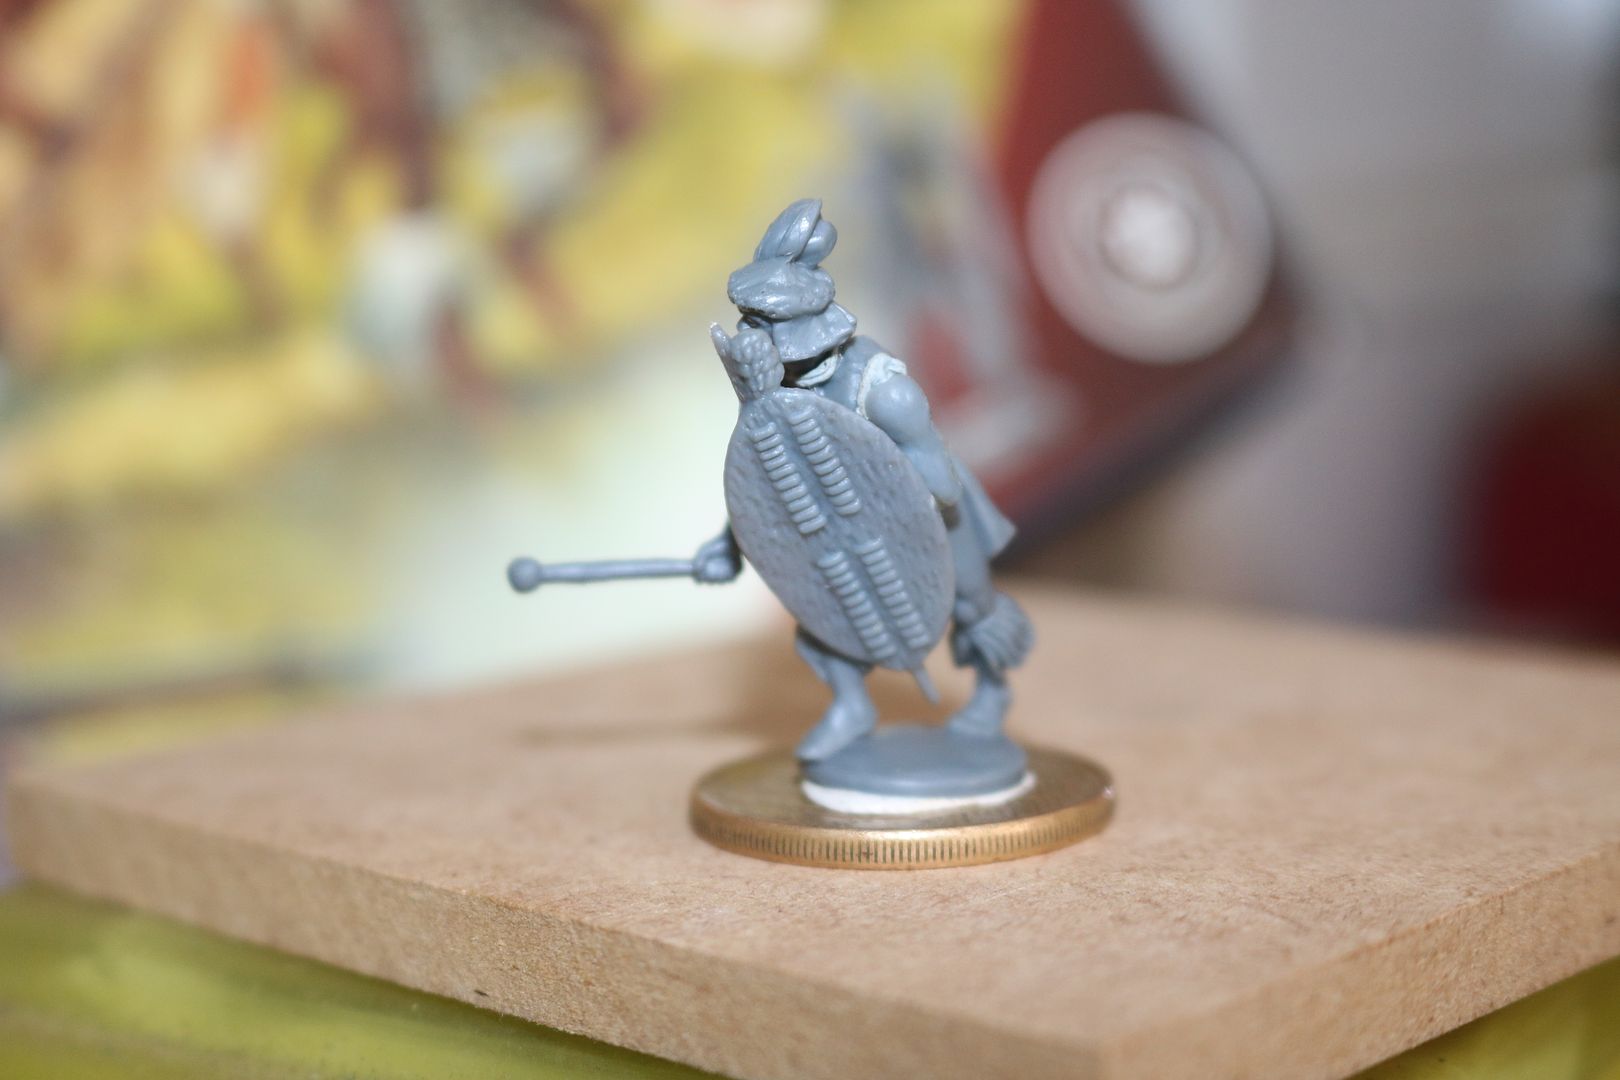
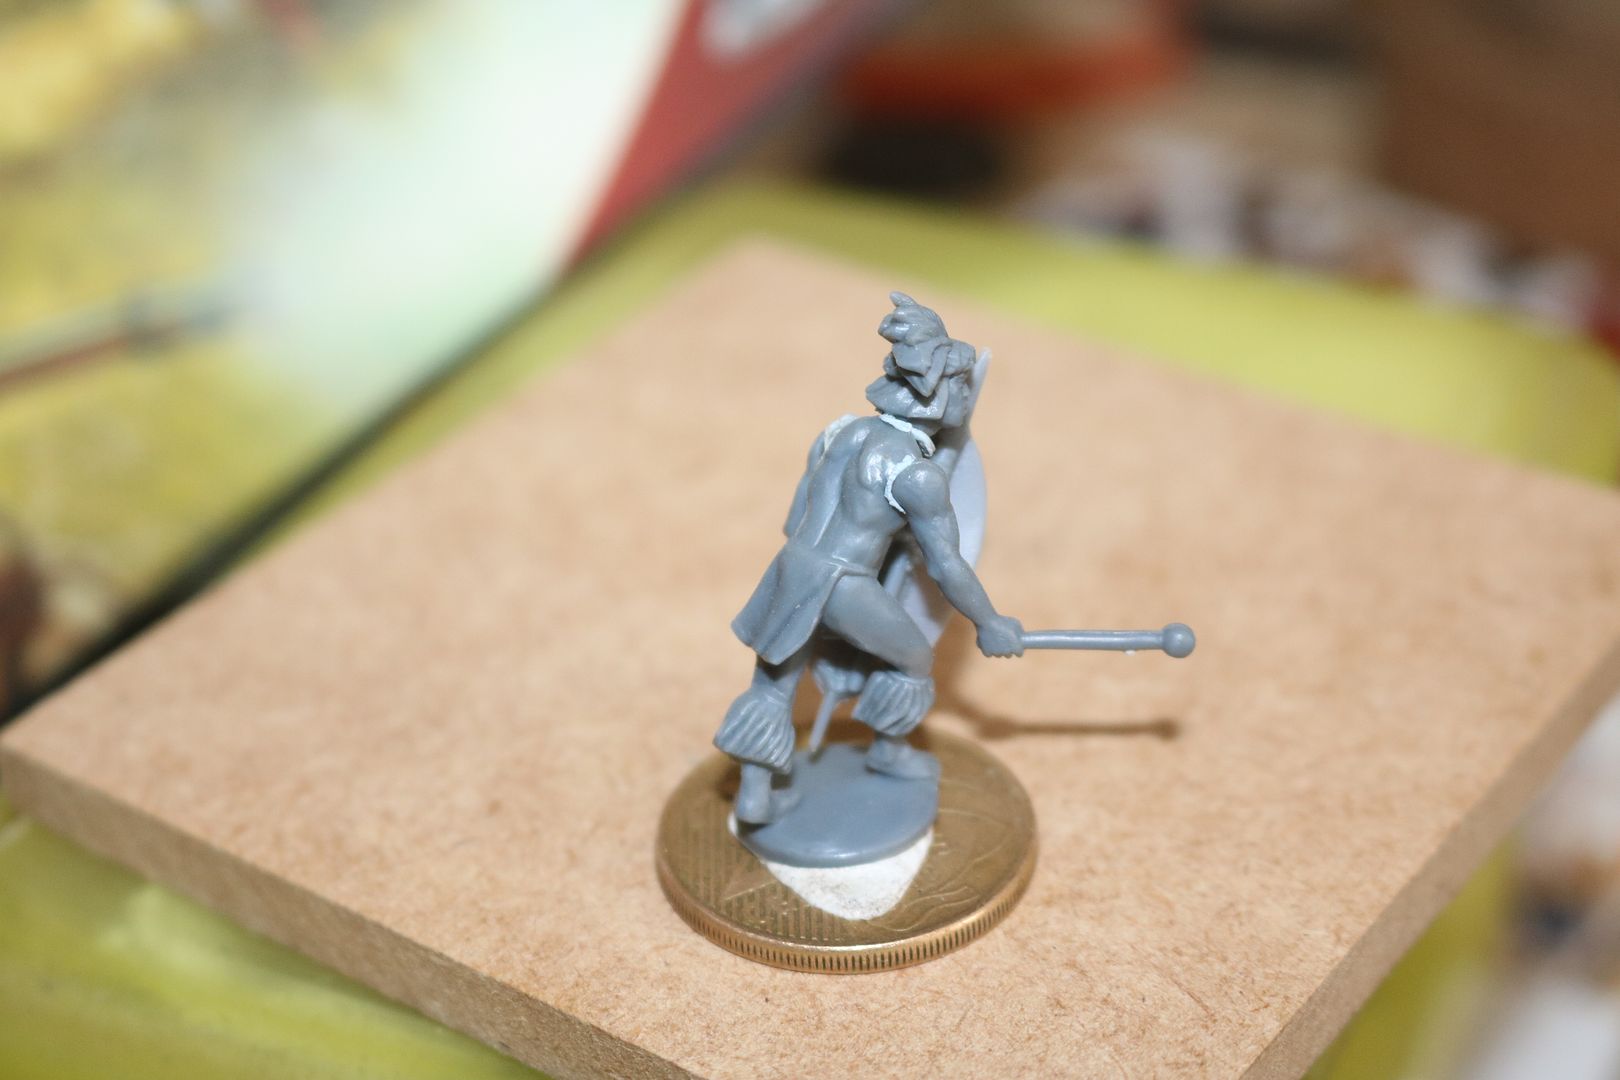
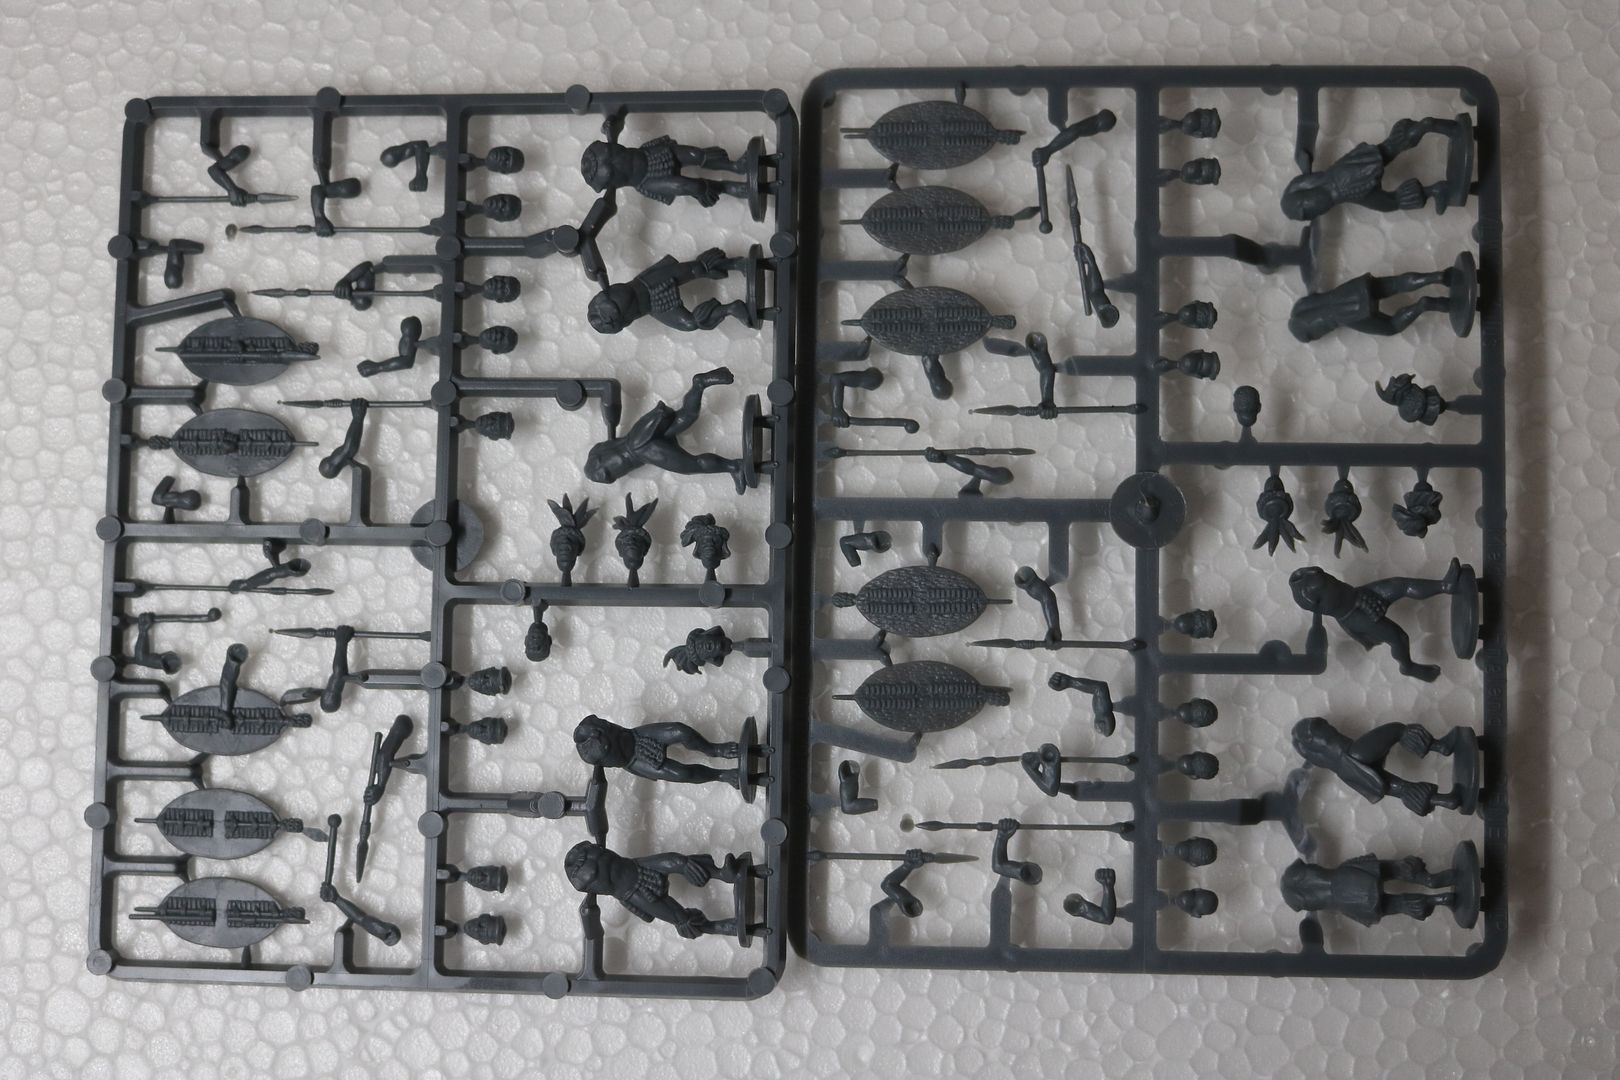
Here i will start from the very beginning of my newest project. Cleaning, assembling, gluing, filling gaps, who knows maybe even adding a few little extras and eventually painting and basing a box of the Perry Bros 28mm plastic Zulus.
Step 1 ; playing around with different head/ limb/ body/ weapon combinations
Image

Image

Image

Image

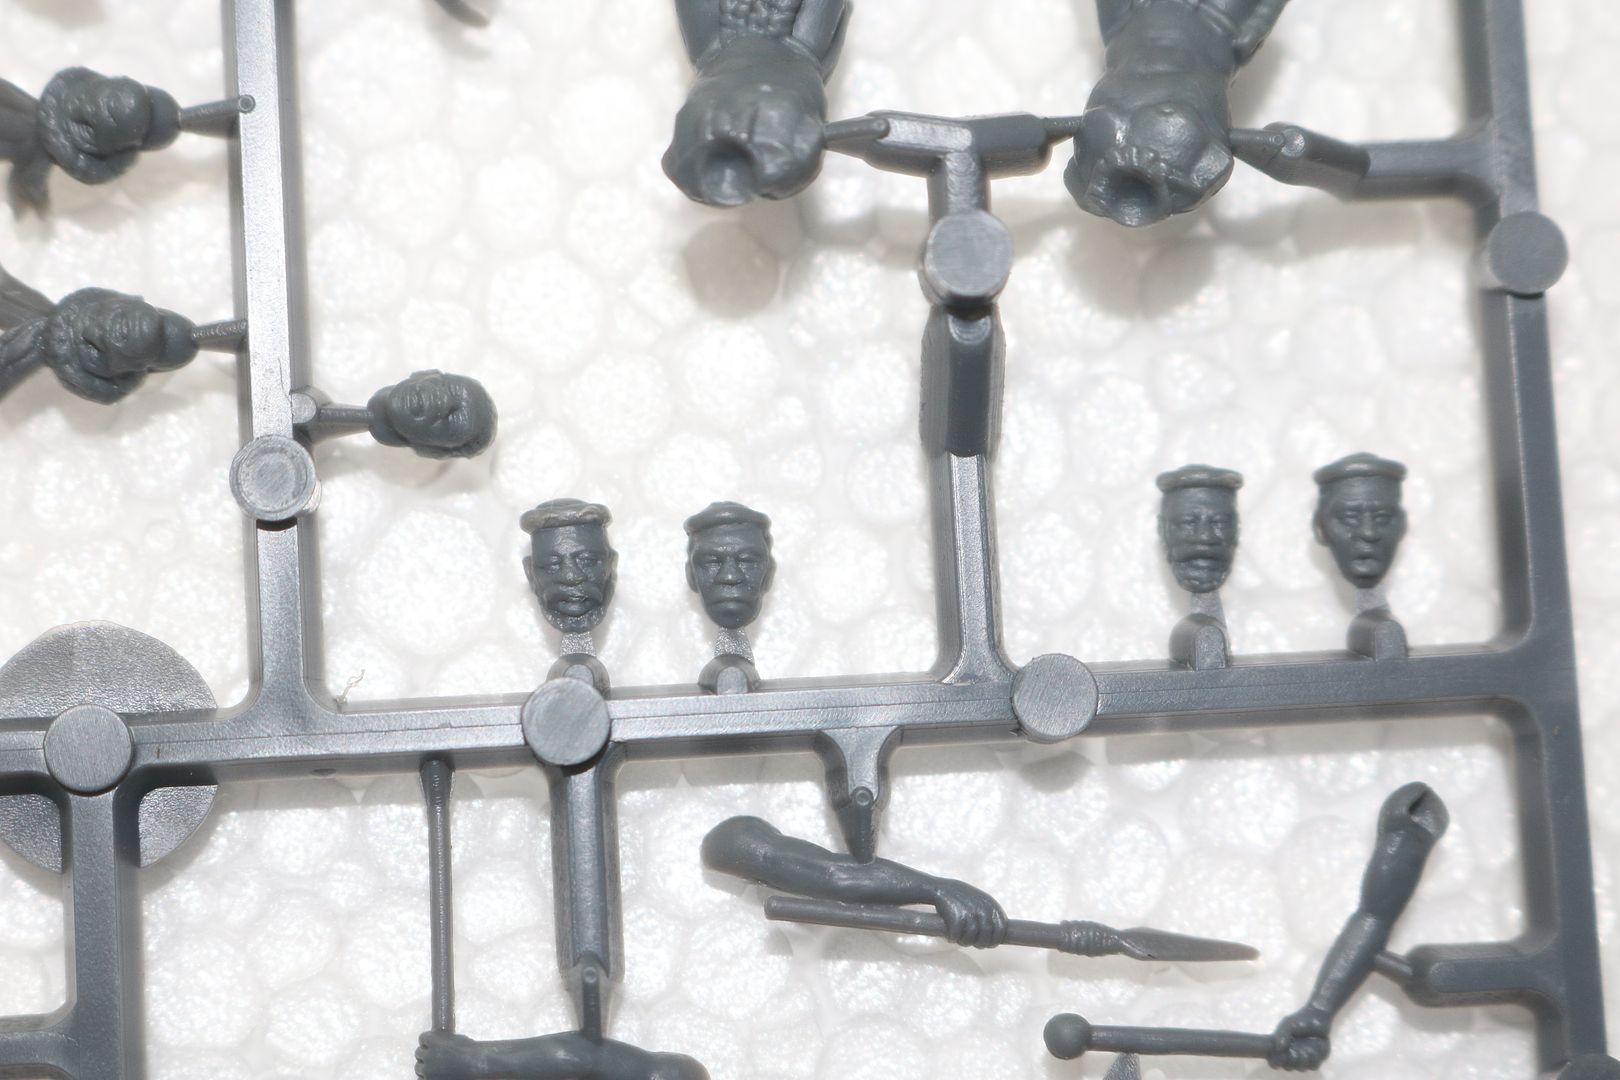
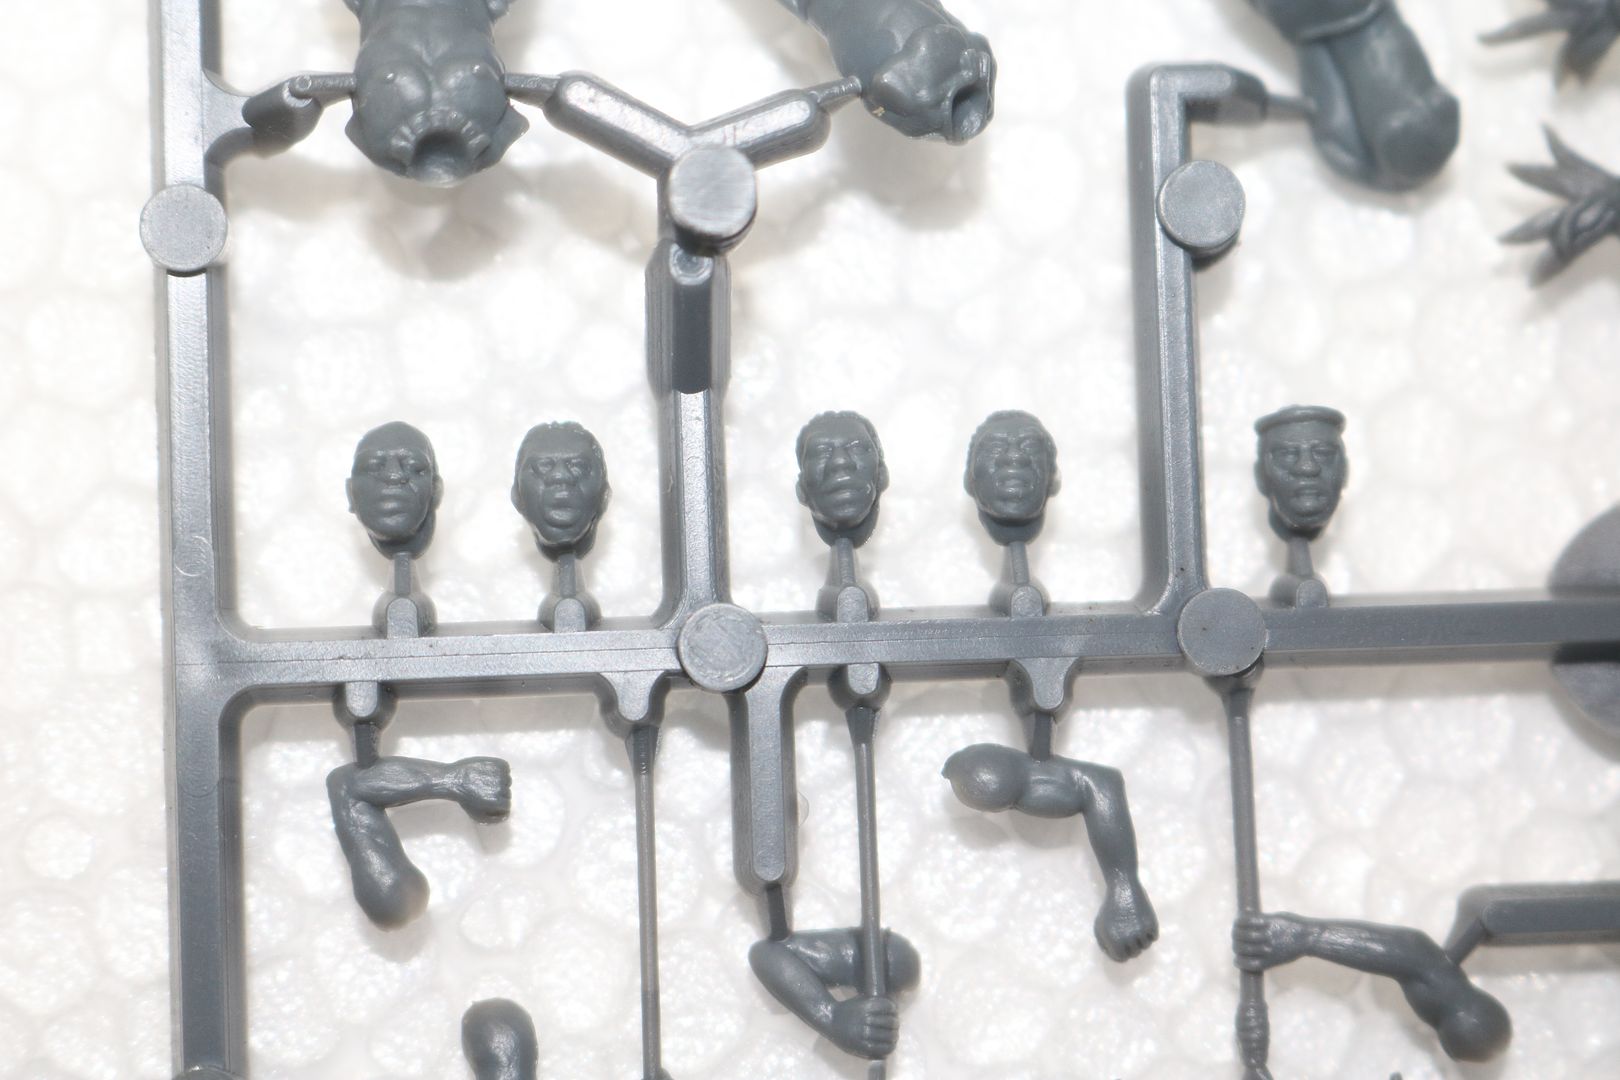
As you can see the figures are delightfully proportioned with great faces. One can choose either to build married or unmarried figures depending on the headring which depicts the more senior married regiments.
k.b.  Brazil
Bronze Brush winner
 
Posts: 1130
Member since:
04 Apr 2010, 03:50


Posted by k.b. on 14 Apr 2022, 11:08

Actually.......why not start at the very beginning....


Image

a few married heads

Image

and some unmarried heads

Image
k.b.  Brazil
Bronze Brush winner
 
Posts: 1130
Member since:
04 Apr 2010, 03:50

Posted by Peter on 14 Apr 2022, 16:55

For a moment I thought you glued them back on the sprue! :mrgreen:

Following this one Keith. Don't forget to tell us what colors you use to paint them. Thanks in advance! ;-) :thumbup:
User avatar
Peter  Belgium

Moderator Moderator
 
Posts: 22751
Member since:
25 Mar 2008, 18:51

Posted by k.b. on 16 Apr 2022, 14:23

Thanks Peter for your interest/encouragement. Here are a couple of shots of a few figures on the production line.

Am experimenting as i go along but basically am painting with an undercoat or two of matt white (humbrol), after scraping, cutting, scratching off any mold lines. Sometimes it's only when the white undercoat goes on that i realise there are mold lines still there - hence, a second undercoat.

After that I have started with a burnt sienna oil undercoat, second figure from left. When dry i then mix in some burnt umber and black/ultramarine blue to add the darker shadows as can be seen in the figure on the left.
Once dry i will start to mix in some lighter tones. Those explanations and colours i will show as and when i start on this phase.

Image

Image
k.b.  Brazil
Bronze Brush winner
 
Posts: 1130
Member since:
04 Apr 2010, 03:50

Posted by Peter on 18 Apr 2022, 19:49

Thanks! :thumbup:

First time I hear ffrom that mix from burnt umber/black/ultramarine blue as a mix for shades. Must try that myself one time. Isn't the drying time of the sienna oil undercoat not a long time?
User avatar
Peter  Belgium

Moderator Moderator
 
Posts: 22751
Member since:
25 Mar 2008, 18:51

Posted by Rich W on 19 Apr 2022, 23:02

I look at that sprue with all the different pieces and it reminds me why my two boxes of 28mm AWI remain untouched...
Rich W  United Kingdom
 
Posts: 1336
Member since:
05 Feb 2018, 23:40

Help keep the forum online!
or become a supporting member

Posted by k.b. on 27 Apr 2022, 10:36

Good morning Peter,
Regarding the drying times of oil paints you are absolutely right - they do take a while , but that suits me fine as i am able to add further colours to my basecoats/undercoats/previous coats and blend them in before they dry.
Which is probably why i am one of the slowest painters out there - and obviously am not a wargamer, rather a painter and collector of wargames miniatures.
k.b.  Brazil
Bronze Brush winner
 
Posts: 1130
Member since:
04 Apr 2010, 03:50

Posted by Peter on 27 Apr 2022, 18:11

Thank you for the answer Keith! :thumbup:
User avatar
Peter  Belgium

Moderator Moderator
 
Posts: 22751
Member since:
25 Mar 2008, 18:51

Posted by k.b. on 29 Apr 2022, 18:10

............a few more photos to show my progress is still ongoing, albeit slow..........

Image

Image

while filling in the gaps with greenstuff i thought i might try my luck at a few little additions, such as the cowtails around this fellows arms, as it's a detail the Perrys opted not to include.

Image

Image

This fellow has had another humbrol enamel undercoat added, after gaps had been filled, and before oil paints were applied.

Image

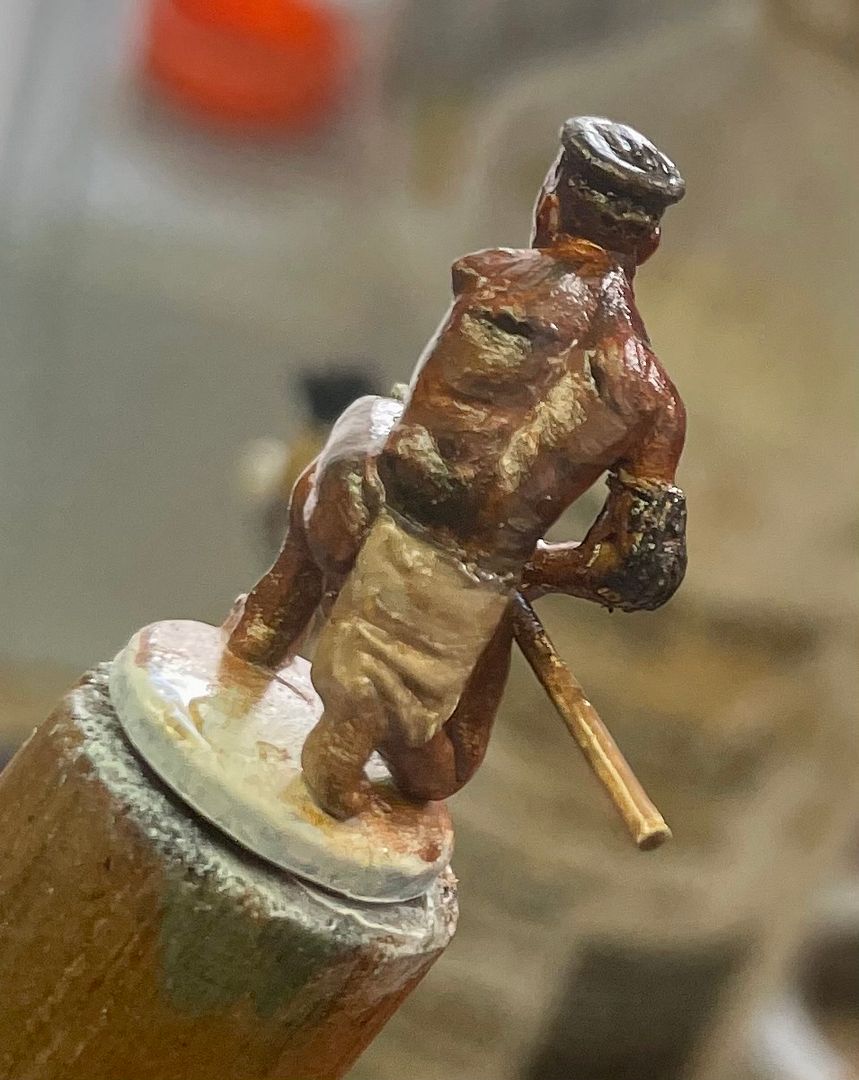
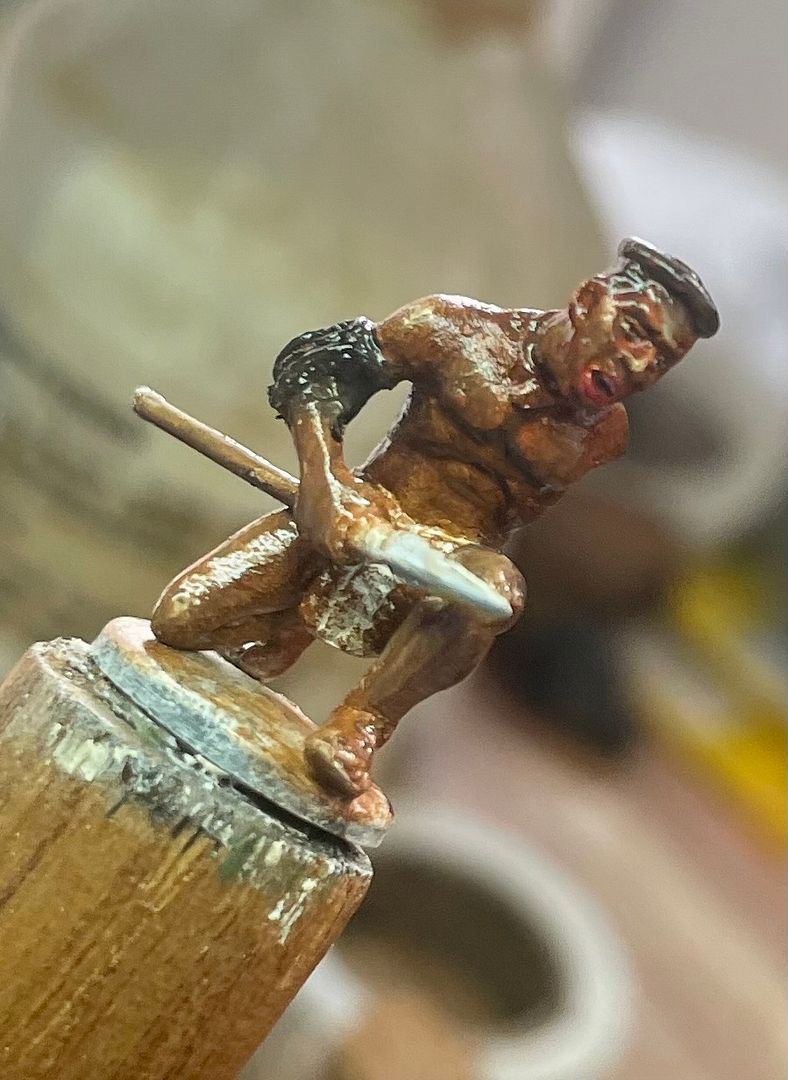
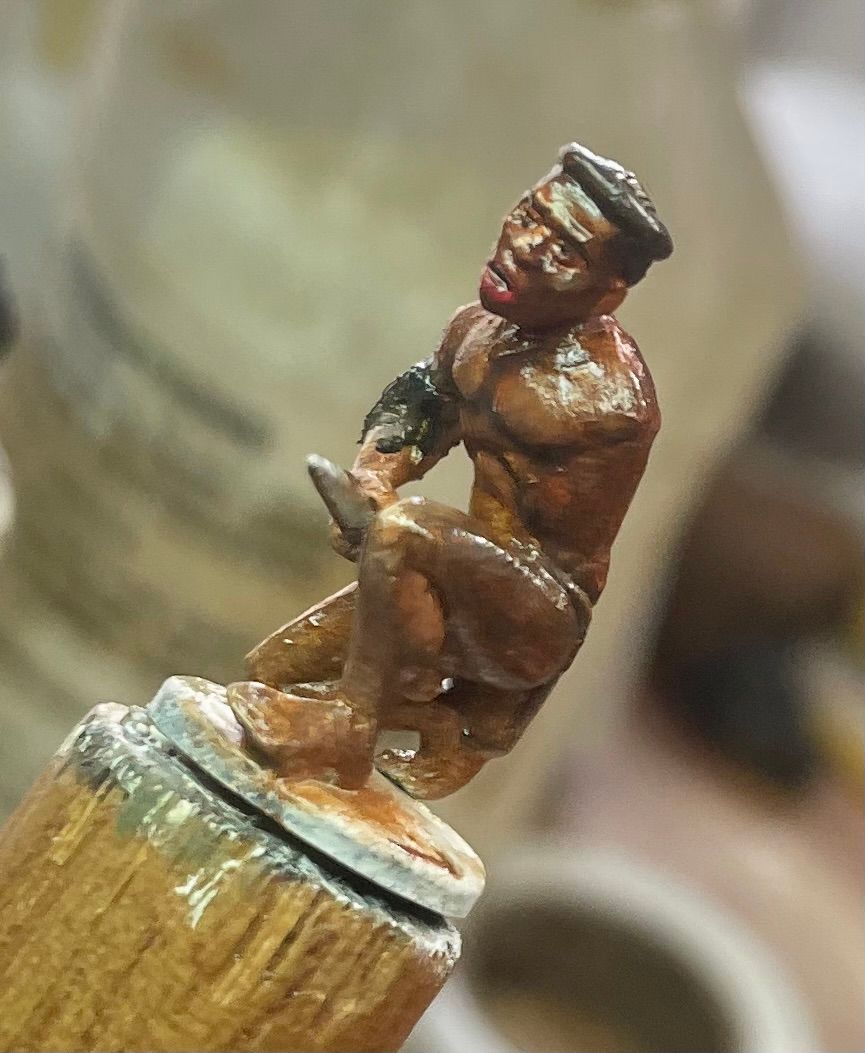
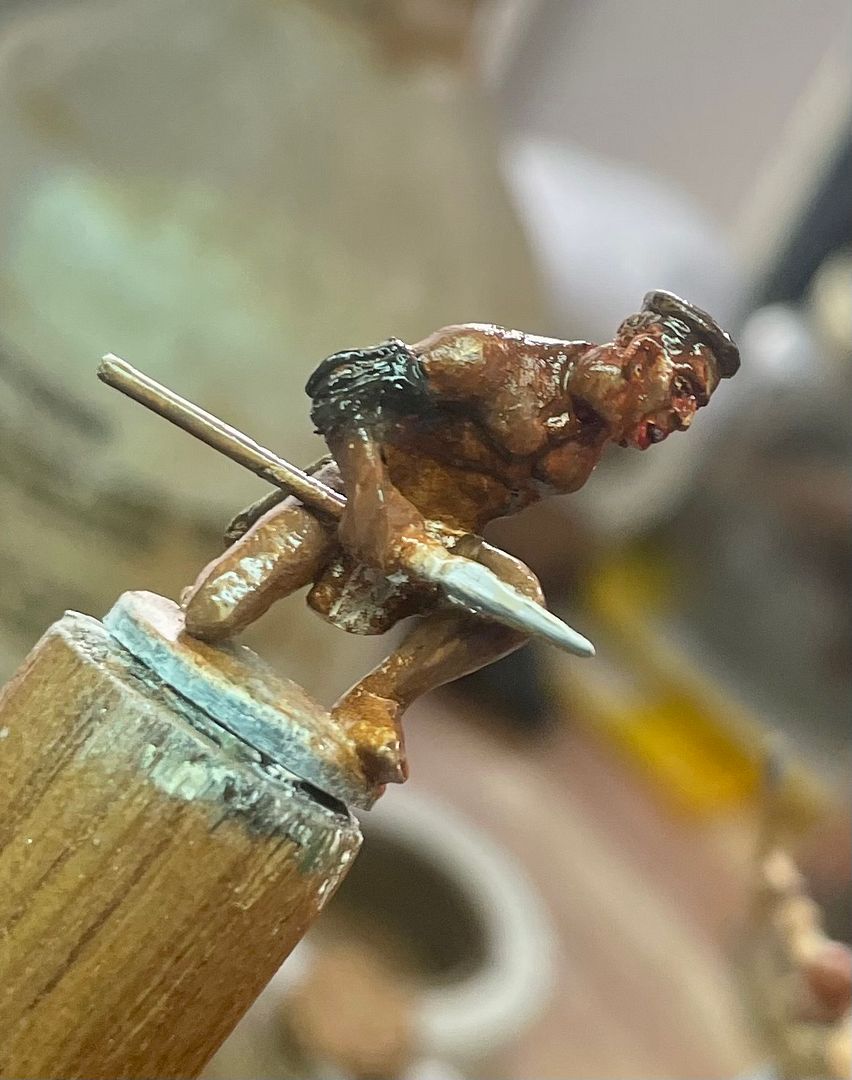
Now back to the kneeling zulu with several shades of oils, including, burnt sienna, burnt umber, ultramarine blue, yellow ochre, raw umber and titanium white. After these colours partially dry i will start to blend in some lighter shades and highlights.
Image

Image

Still need to work on his face to add details such as teeth, detail his eyes, highlight his lips etc., as well as his hands, feet etc. To do this, though, i need to put on my optivisor 'cos my eyes are not what they were.
Image

Image
k.b.  Brazil
Bronze Brush winner
 
Posts: 1130
Member since:
04 Apr 2010, 03:50

Posted by Peter on 01 May 2022, 13:48

Looks fantastic so far! :thumbup:
User avatar
Peter  Belgium

Moderator Moderator
 
Posts: 22751
Member since:
25 Mar 2008, 18:51

Posted by k.b. on 20 May 2022, 18:51

Another warrior and this time i painted the head separately and added it once dried. The problem with these multi part figures is if you build them first to completion before adding paint you run the risk of restricting access to some parts of the figure. That in itself reduces the quality of the painting.

If, on the other hand you decide to paint in parts, gluing additional painted elements as one progresses, that means that when the figure is fully painted, and limbs, in this case head, weapons, and ultimately shields are added, one may need to fill joints with putty and then touch it all up when dry.

Either way, in short, one needs the patience of Job to paint up a single figure to completion!
Imagine an entire Impi.....
Am curious to know how others go about building/painting these multi part miniatures...

Image

Image

Image
k.b.  Brazil
Bronze Brush winner
 
Posts: 1130
Member since:
04 Apr 2010, 03:50

Posted by Londoncopper on 20 May 2022, 20:29

I have a few sprues of these on the painting bench myself. I did consider painting before assembly but decided against it , scraping the paint from both joints would be a pain and the glue might damage the paint, so I decided to assemble and paint, I am following this thread with interest.
Londoncopper  United Kingdom
 
Posts: 68
Member since:
01 Nov 2014, 14:04

Posted by k.b. on 28 May 2022, 18:24

Here are a few more photos to show most of the minis roughly assembled and waiting to be painted. Have decided they need to go on larger bases, otherwise, they'll fall over at the slightest gust of wind or uneven landscape they may be placed on.

Image

Image

As you can see i am still experimenting as i go along in terms of which parts i paint first.
I have definitely decided that some filling needs to be done between torso and arms but up to now think I prefer to paint the body, then add the right arm, (already painted may i add), before filling in gaps with greenstuff. Then am gonna paint the joint before adding the left arm (again pre-painted), filling the gap and then paint over the putty once dry, thus concealing the joint.

Image

Image

Image

Image

However, artistic licence is the order of the day and as it's my own peculiar way of working that doesn't mean the sequence will always be the same. Yours truly has problems with the tedium demon from time to time and as such disorder is my order of the day......... if you get what i mean. That is, variety is my spice in life.

S'pose that explains how this aging Englishman enjoys life in Brazil so much. Even my son thinks i'm insane. And instead of paying large quantities of money to a psychologist or the like, I simply paint toy soldiers!
k.b.  Brazil
Bronze Brush winner
 
Posts: 1130
Member since:
04 Apr 2010, 03:50

Posted by Peter on 28 May 2022, 19:13

It's the final result that counts Keith! How you get that is how you like to do it! ;-) :thumbup:

Go on please! :-D :-D
User avatar
Peter  Belgium

Moderator Moderator
 
Posts: 22751
Member since:
25 Mar 2008, 18:51

Posted by k.b. on 22 Jul 2024, 04:06

I cannot help but post this Zulu Induna who I am about to paint, even though he is not actually a Perry Zulu. Instead, he is my favourite ever 28mm Zulu and comes from a firm called Redoubt Miniatures. Believe it or not but i bought this Induna over 30 years ago and I am sure in saying that the Redoubt collection most certainly played a big part in inspiring the Perry Brothers to build multi part figures. Redoubt had done it all those years ago but in metal, not plastic. Admittedly the two Indunas were 1 part castings but many of their other zulus had upper and lower bodies which permitted us to vary our figures to some extent. Obviously not to the degree we can today with the Perry plastics which provide so many more possibilities with not only married and unmarried heads but also different arms and legs not to mention shields and spears of varying lengths.
Without further ado, here he is with the basic colours blocked in. Next step i will paint his face so let's see what kind of paint job i am able to produce today, nigh on 40 years after i painted one of these chaps for the first time. Undoubtedly my eyes are not what they were, but let's see how all my added experience with a brush in hand along with my trusty Optivisor can give my first painted version a run for his money...........
Image

Image

Image

Image

Image

Image
k.b.  Brazil
Bronze Brush winner
 
Posts: 1130
Member since:
04 Apr 2010, 03:50

Posted by k.b. on 24 Jul 2024, 18:18

Next step was to work a little on the flesh tones, trying to keep my style as loose as possible and thus avoid the usual bad habit of worrying too much about the details too soon.
Need to remember that a darker background works better for these zulus.......
Image Image

Image Image

Image Image

Image

My only reservation about this Induna is his gigantic ..... wait for it ...........feet
k.b.  Brazil
Bronze Brush winner
 
Posts: 1130
Member since:
04 Apr 2010, 03:50

Help keep the forum online!
or become a supporting member

Posted by Peter on 02 Aug 2024, 17:45

Are you sure he isn't an Indian, with the name "Chief Bigfoot"? :mrgreen:

I like the figure! :thumbup:
User avatar
Peter  Belgium

Moderator Moderator
 
Posts: 22751
Member since:
25 Mar 2008, 18:51

Posted by k.b. on 02 Aug 2024, 23:45

Good one Peter..........he could be. Here he is again after some more licks of paint and brandishing a few possible weapons.......
Image Image

Image Image
I know that historically speaking married regiments carried predominantly white shields but the rebel in me thought it might be worth seeing how he looked with a black one, and then a white.
Image Image
Most probably I'll equip him with a white shield with large black markings, but first i need to paint it.
Image

Image
k.b.  Brazil
Bronze Brush winner
 
Posts: 1130
Member since:
04 Apr 2010, 03:50

Posted by Peter on 03 Aug 2024, 14:17

He looks better and better every time! :thumbup:
User avatar
Peter  Belgium

Moderator Moderator
 
Posts: 22751
Member since:
25 Mar 2008, 18:51


Return to Work in Progress