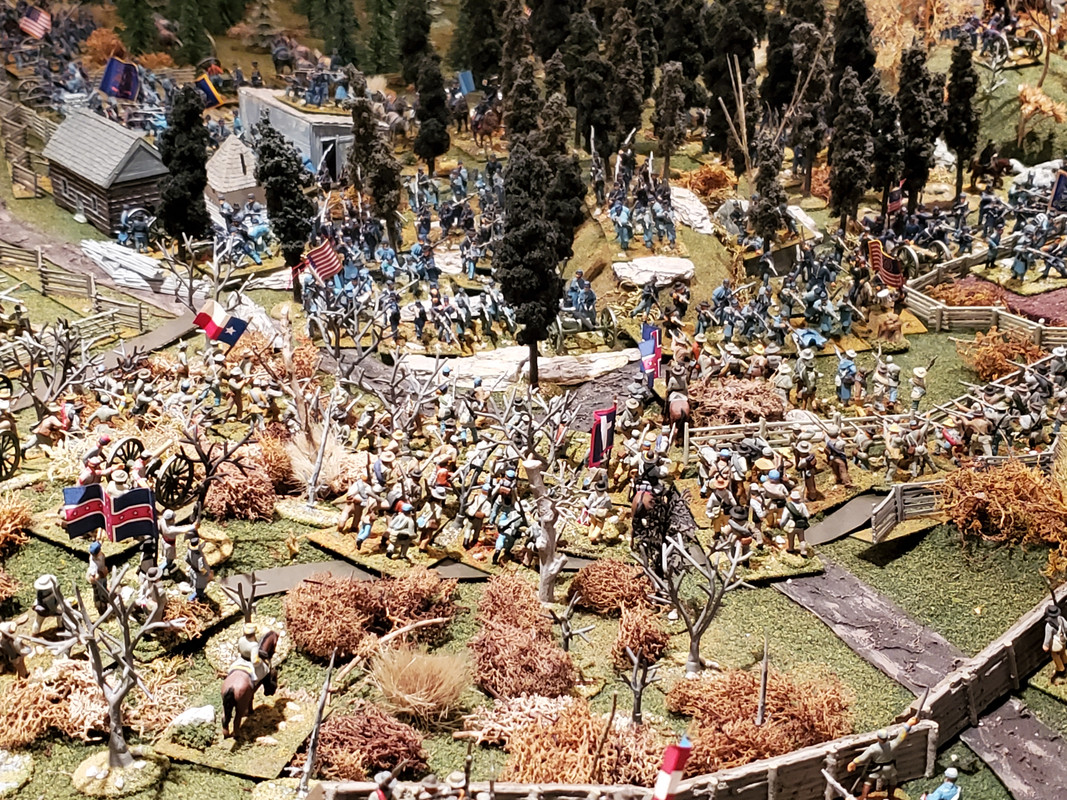
When I left the previous report, most of the Union right wing had been rolled up by Hardee's corps, 3 of Withers' 4 brigades were assaulting Sheridan's position (the last intact portion of the Union right). And at the other end of the field (and on the east side of the river), Van Cleve's division was in position to attack the Orphans brigade, Breckinridge's northern-most unit, entrenched on Wayne's Hill. Here's what came next:
Baldwin's brigade falls back to connect with Sheridan, while Cleburne's division spreads out and destroys most of the remainder of Johnson's and Davis' "surprised" Union divisions.

Van Cleve's division begins its assault on Wayne's Hill.

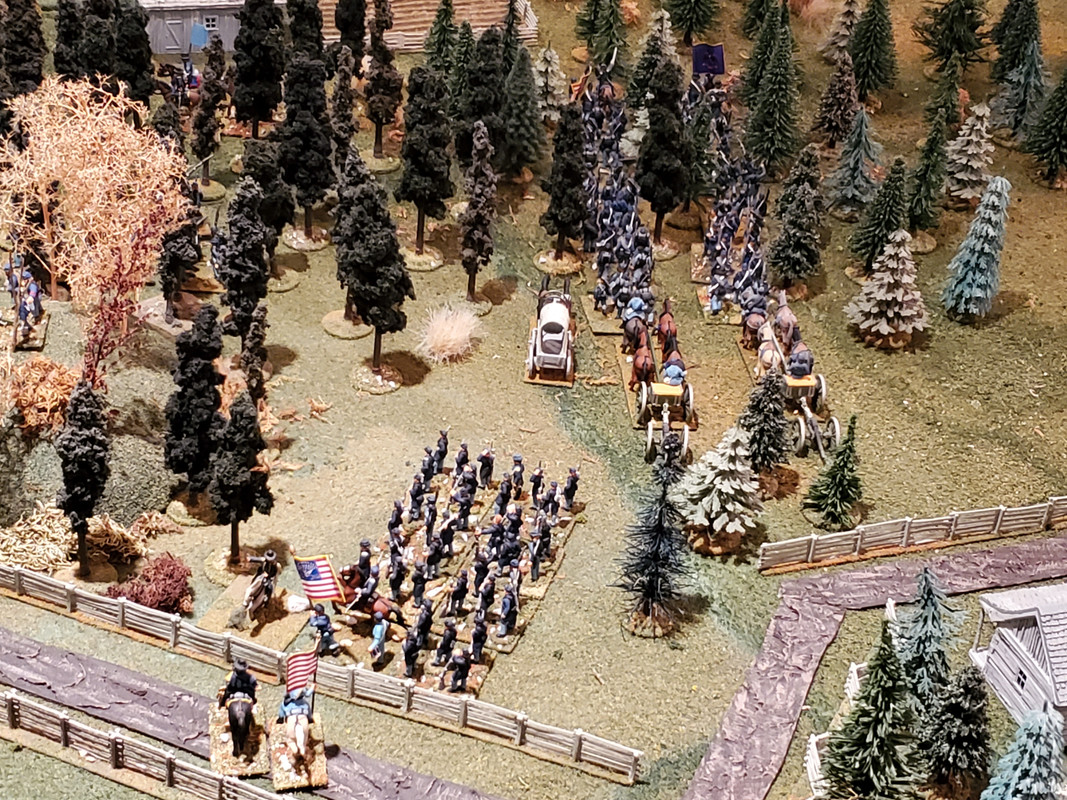
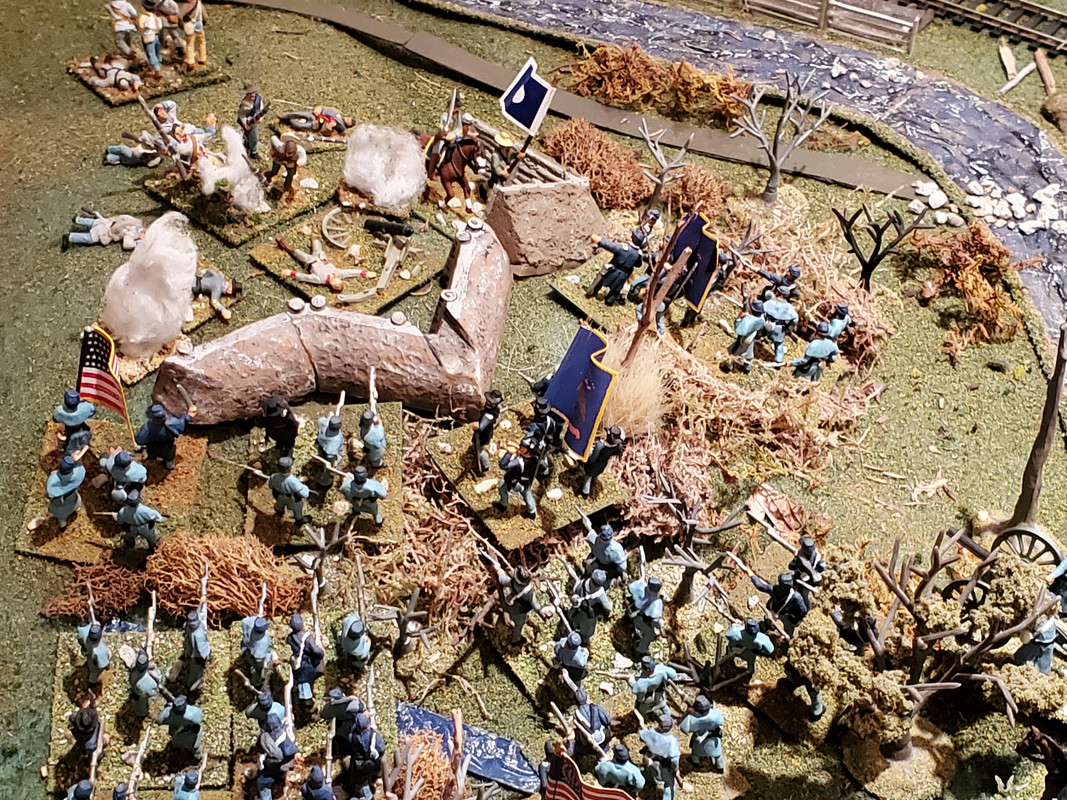
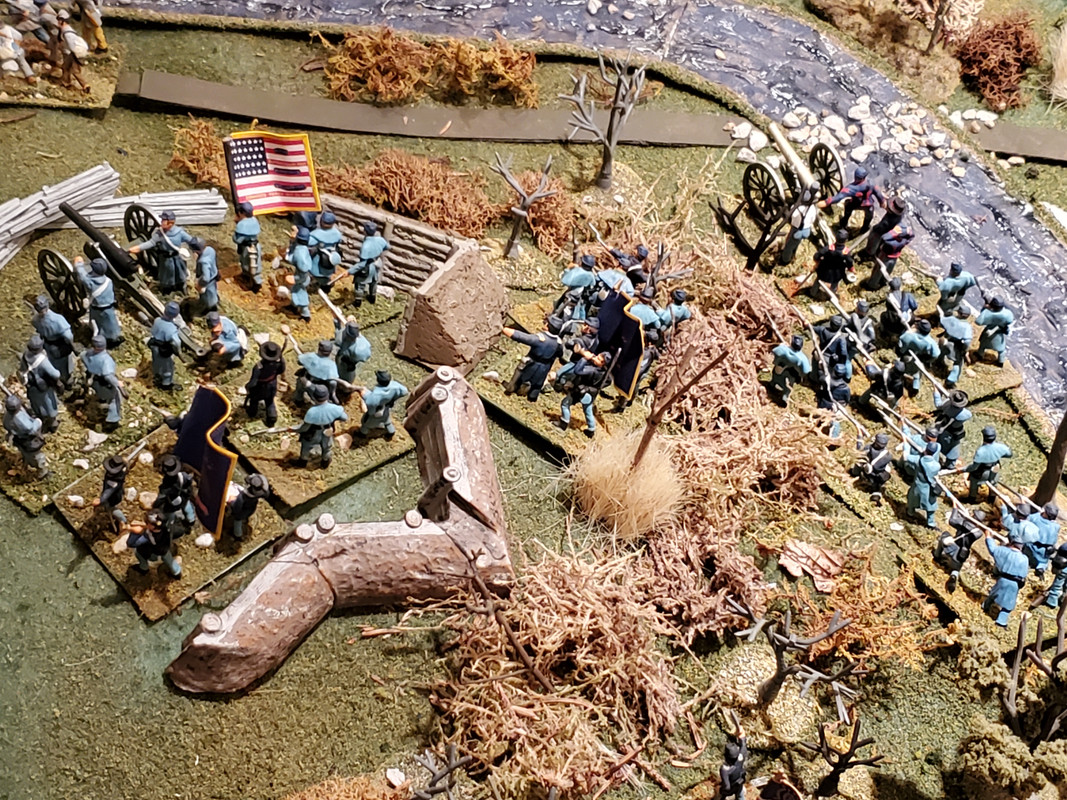
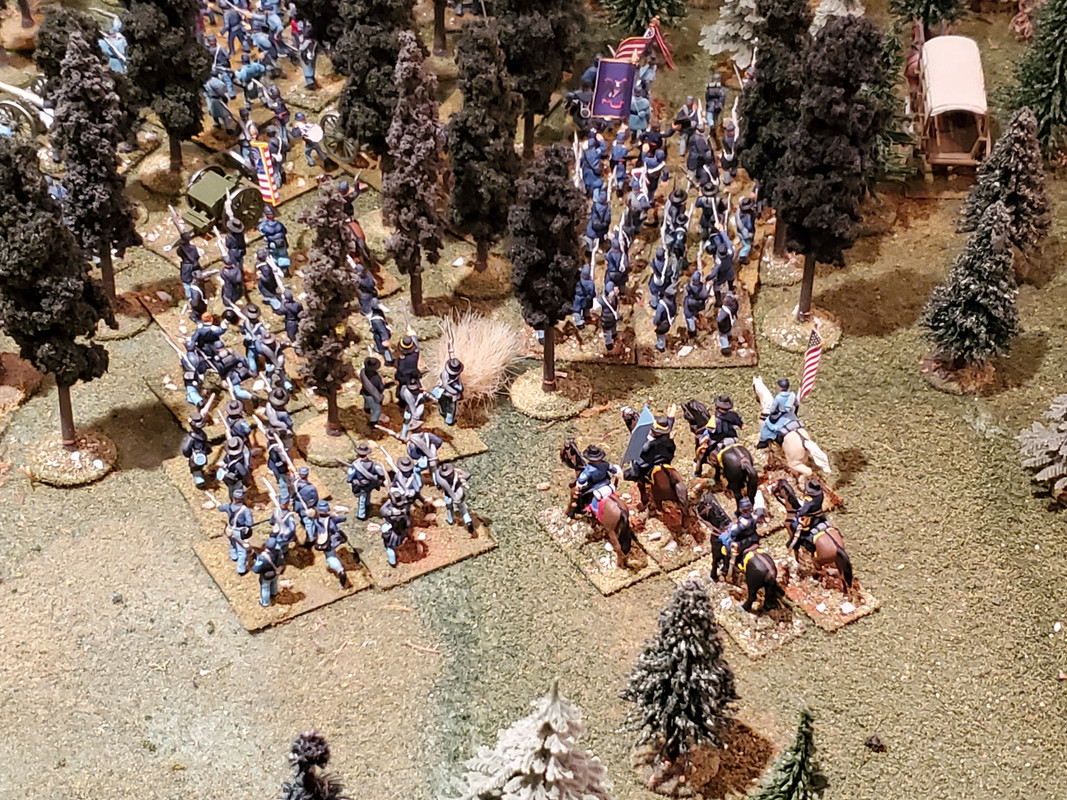
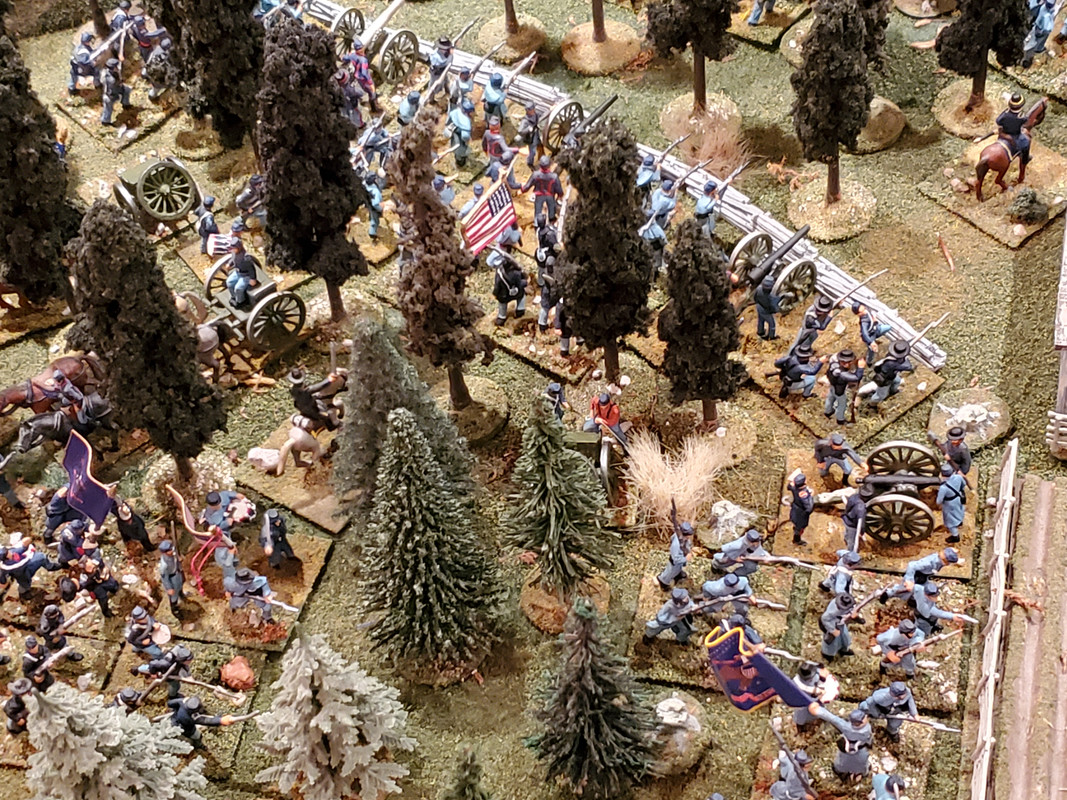
Rosecrans, finally made aware of what was happening on his right, sends 2 of Rousseau's reserve brigades, along with Rousseau's attached batteries, to form a new line along the Wilkinson Turnpike.
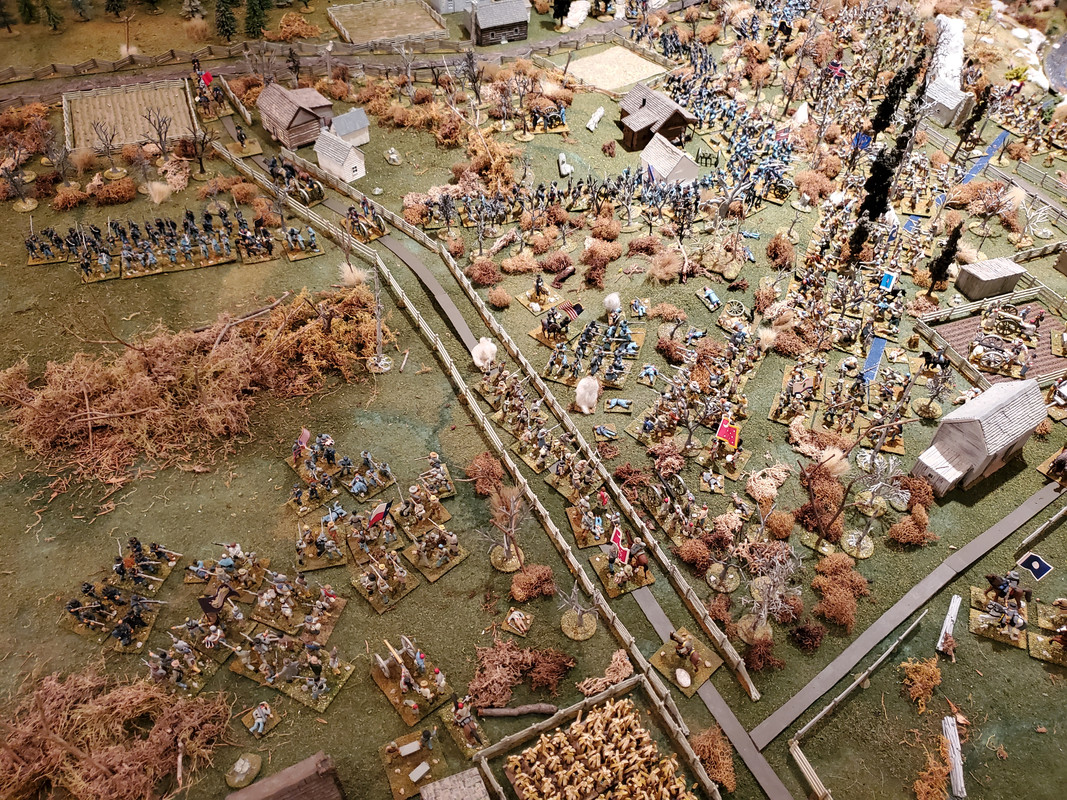
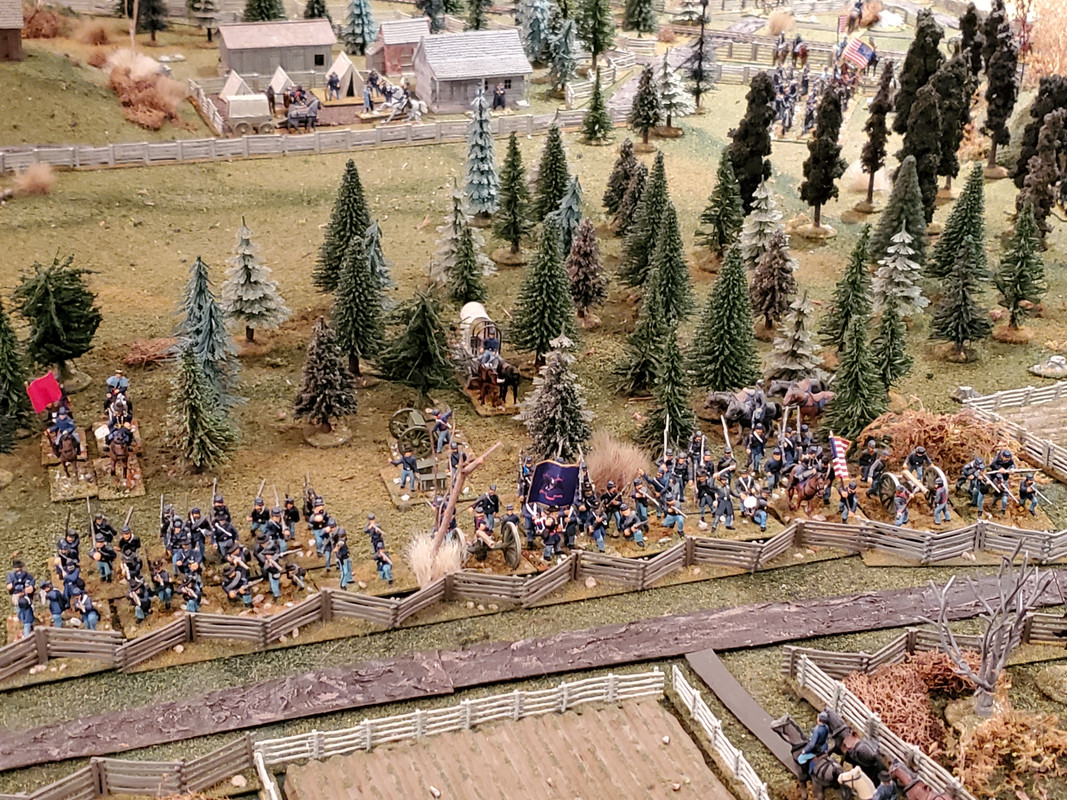
Sheridan counters Withers' attack by wheeling Roberts' Illinois brigade to the left, taking Withers' rightmost brigade in its flank. Withers' other two brigades, attacking uphill through rough ground, are beaten back decisively, and their retreat temporarily blocks the belated advance of Maney's and Vaughan's brigades (from Cheatham's division).

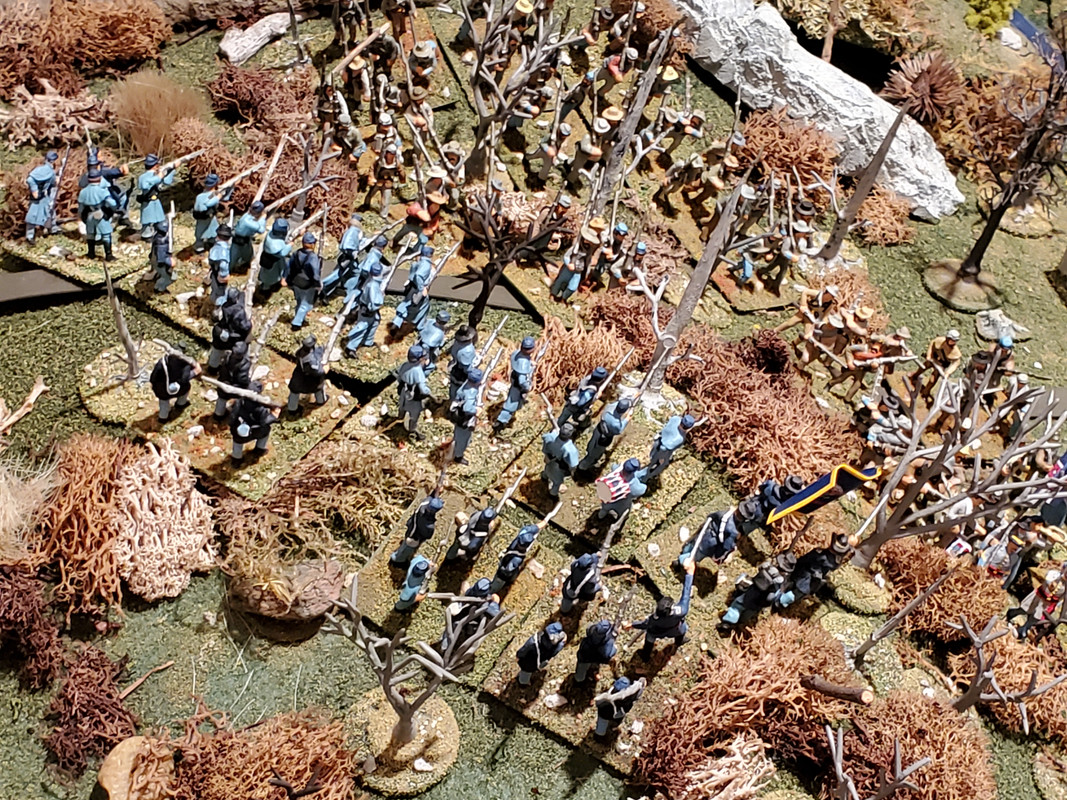
Sheridan has two brigades low on ammunition. Cleburne has one, along with one brigade that retreated along with Withers' troops. Sheridan uses the momentary lull in the combat to withdraw across the Wilkinson pike.
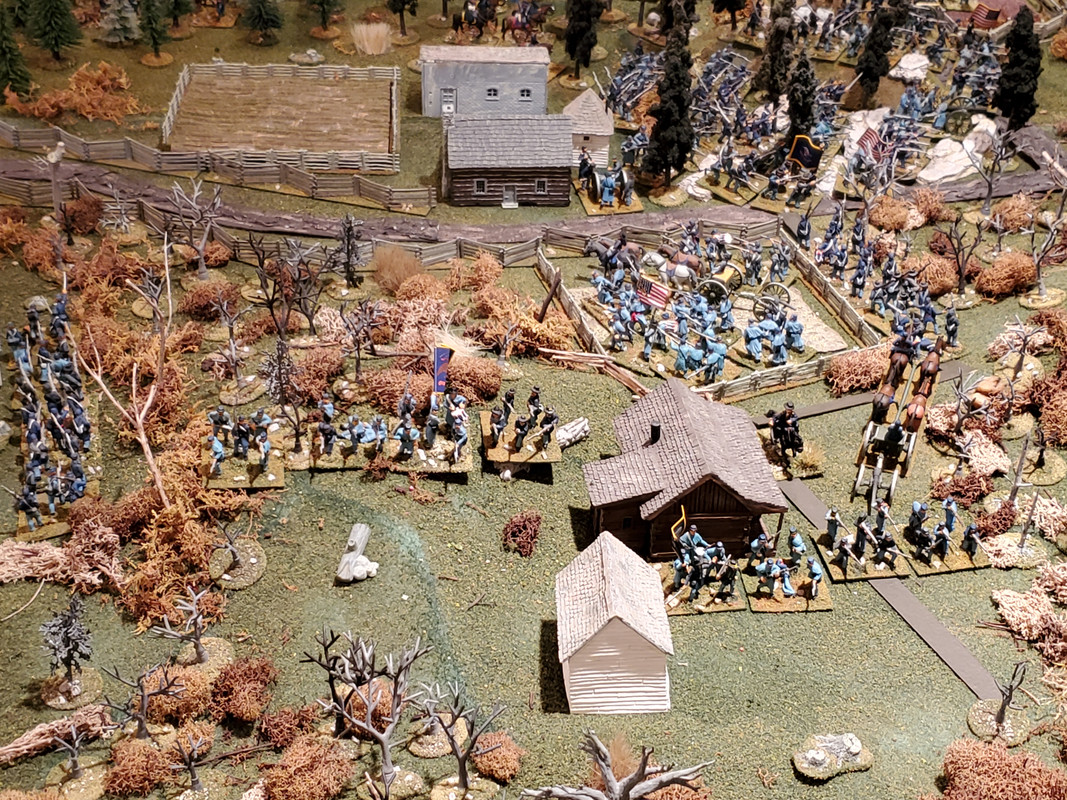
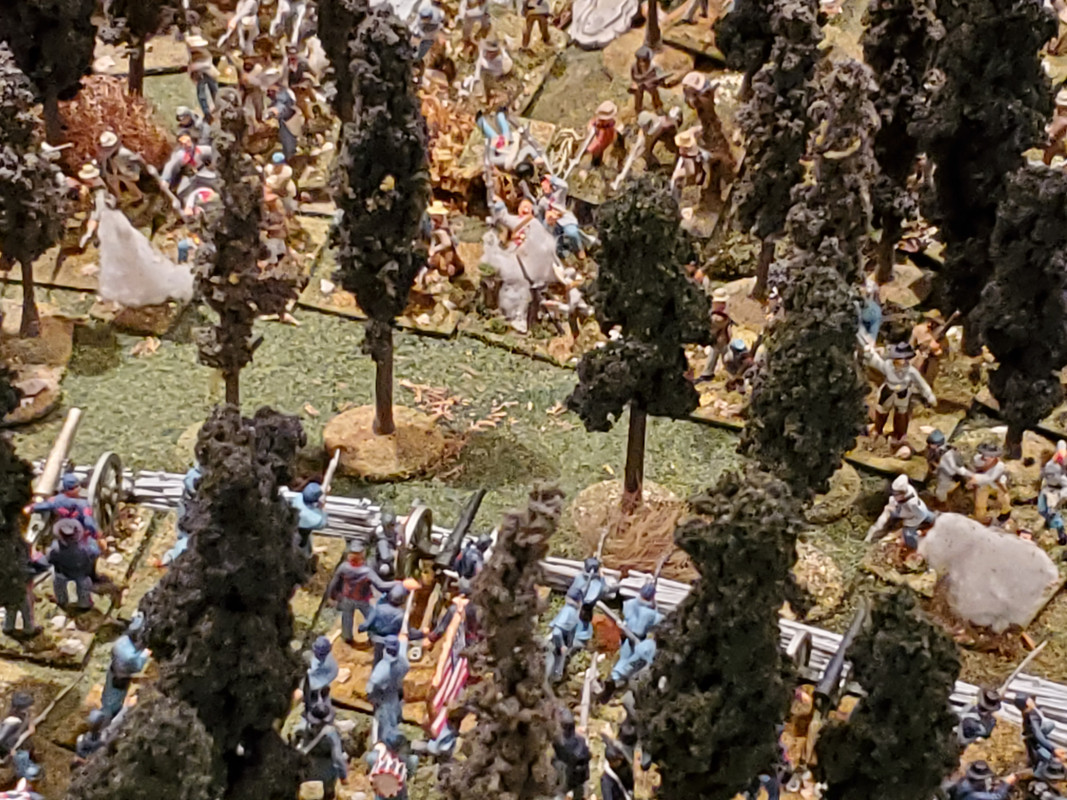
Sheridan's best remaining troops take up positions around the Blanton farm, while the others are refitted behind the lines. Sheridan's new line connects to Rousseau's brigades, the whole running westward along the Wilkinson Pike from the Slaughter Pen.
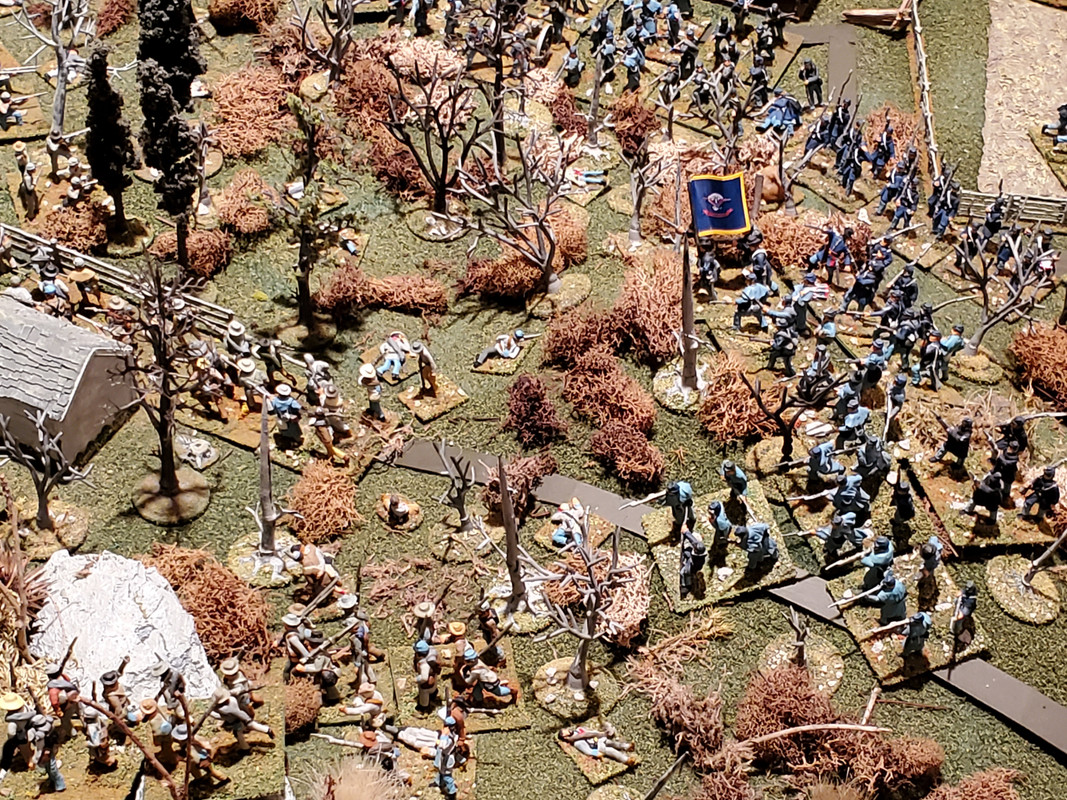
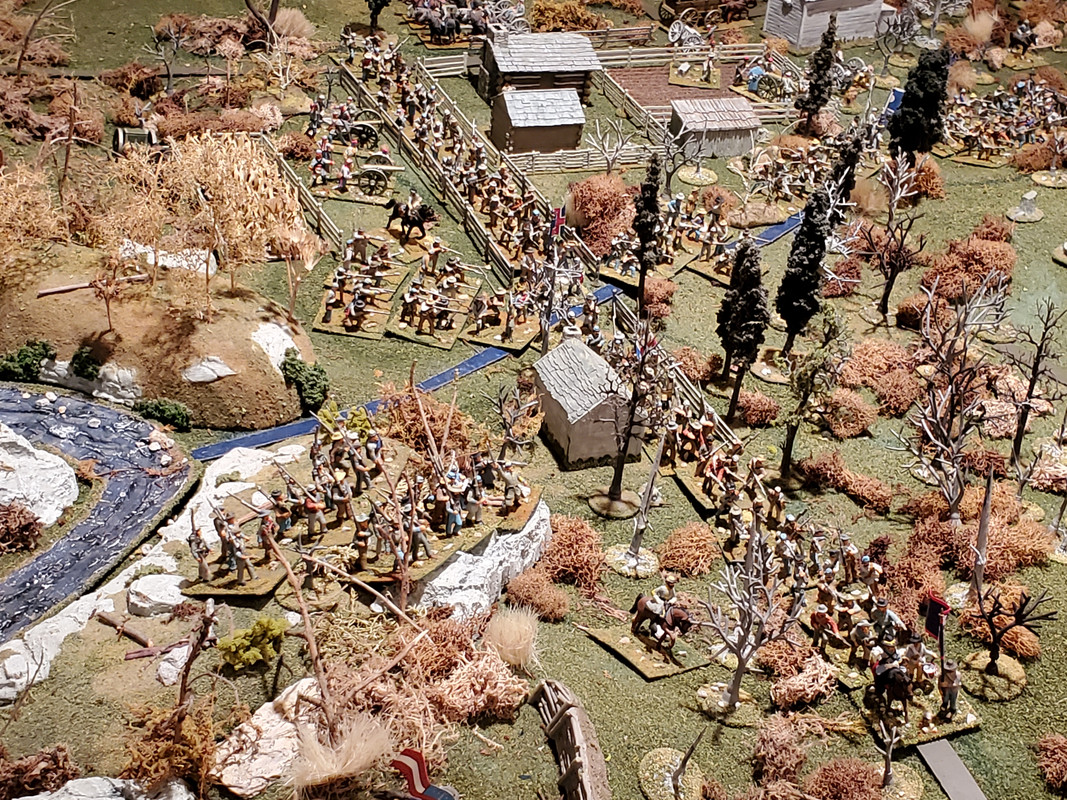
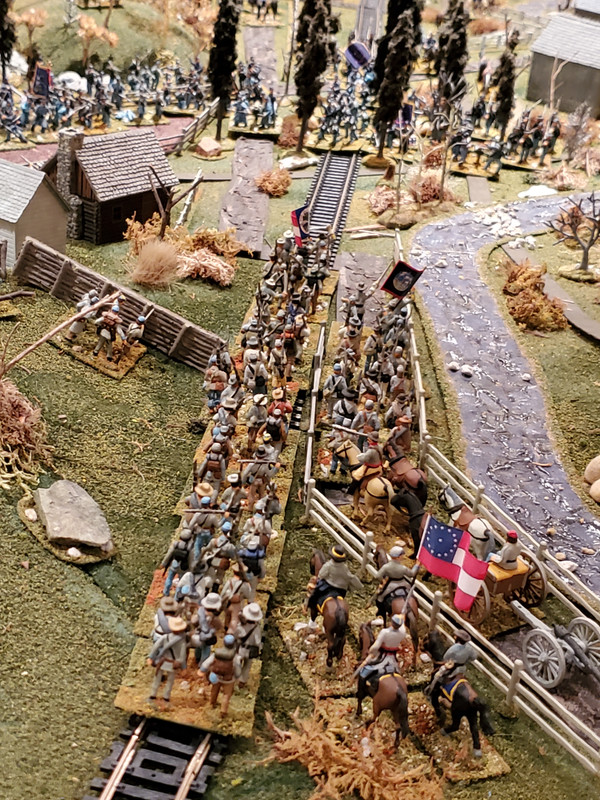
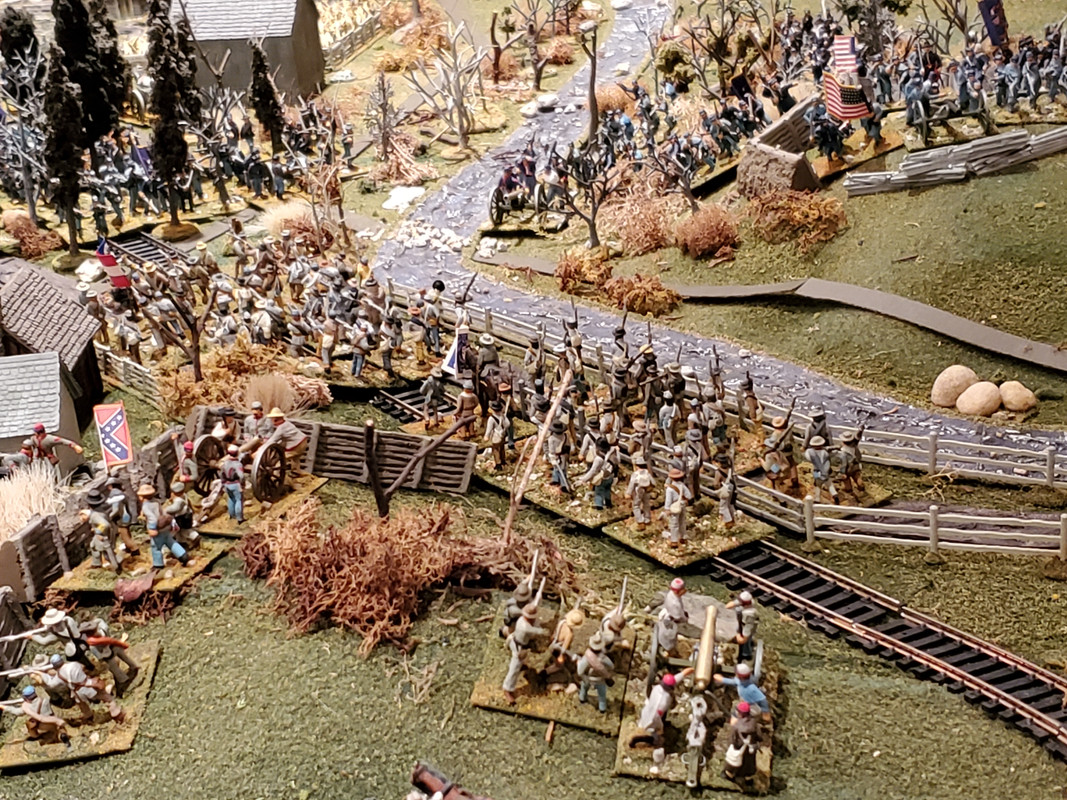
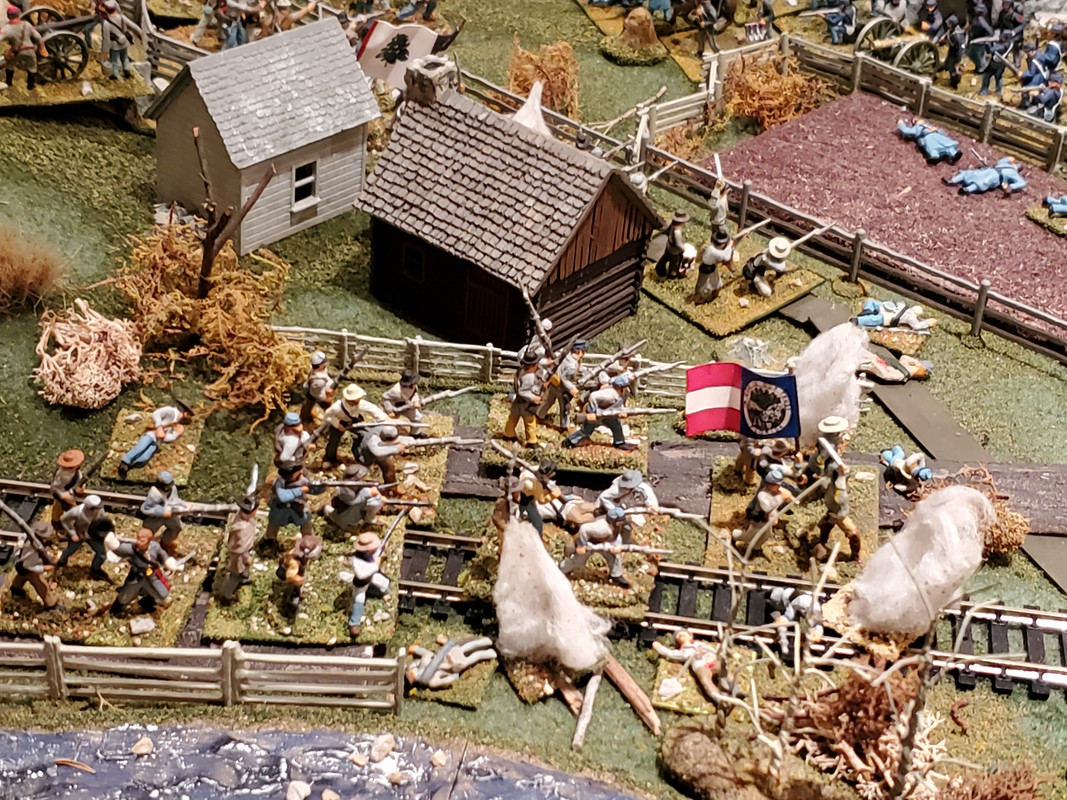
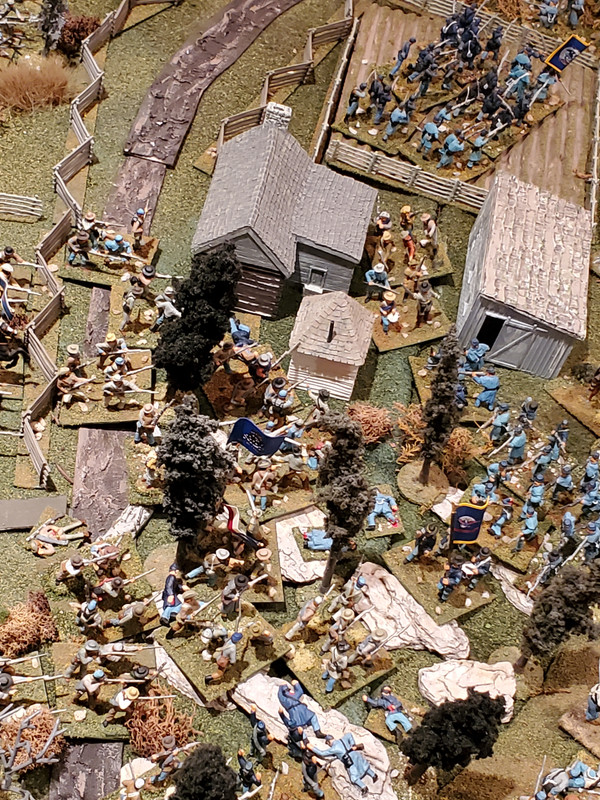
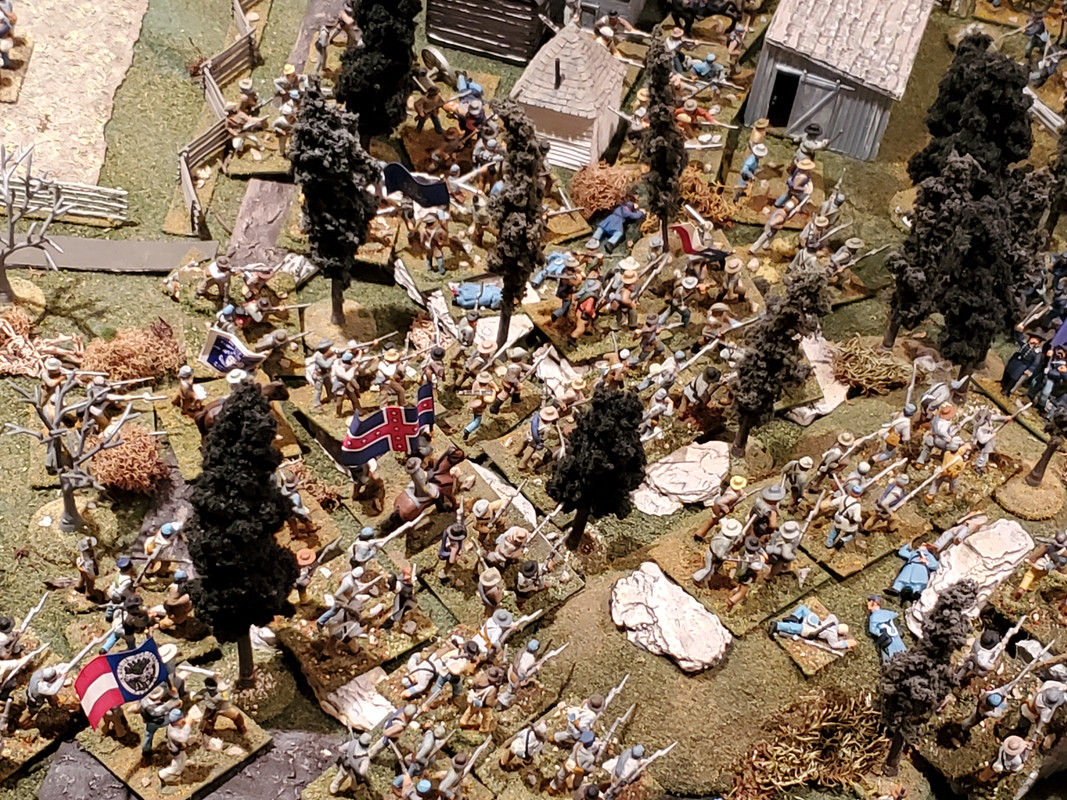
Meanwhile, Cheatham's brigades and some of Withers' rallied troops head north, while McCown's division advances on Baldwin's wavering brigade. Baldwin breaks, half his troops skeddadling off the table while the other half retreat, disordered, across the Pike. Cleburne's division advances once again, and the bulk of the Confederate forces converge on the Slaughter Pen.

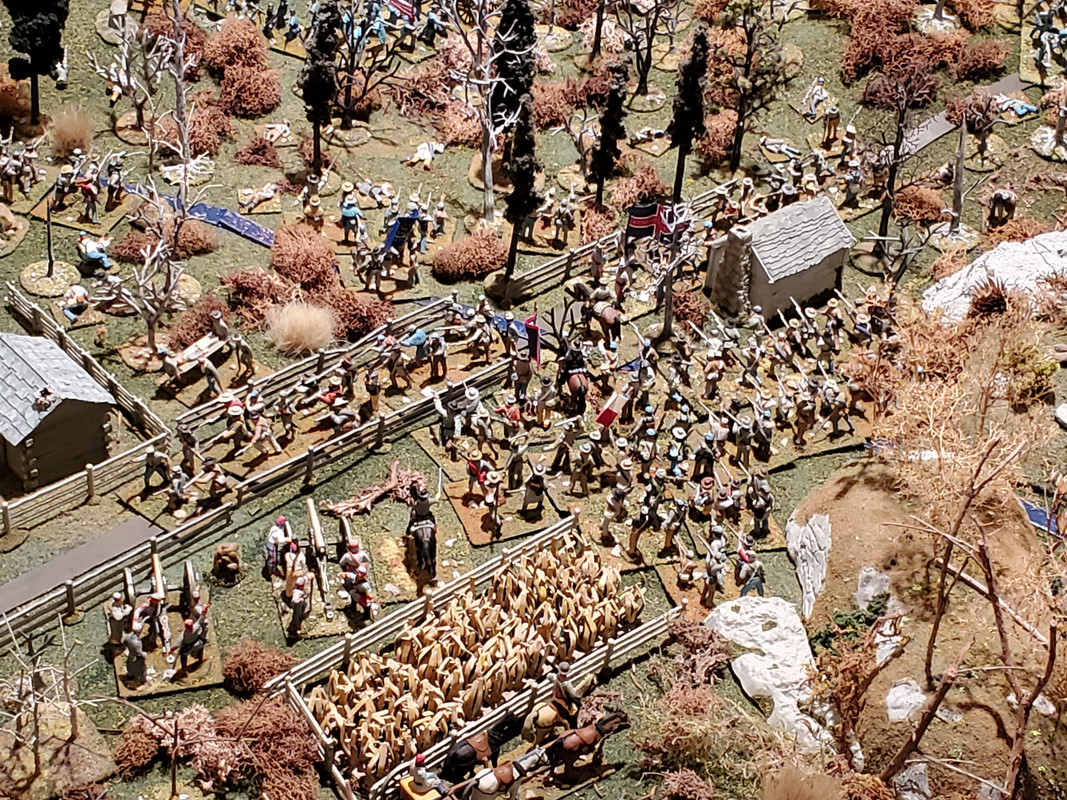
On the Confederate right, Breckinridge brings the brigades of Jackson and Preston, along with a battery, across the river to attack the Round Forest. While he is finally bringing his "corps" into action, however, Van Cleve's division, on the Union left, overruns the Orphan's brigade and takes Wayne's Hill.
With a full Union division east of the river and now unopposed, and with only token forces remaining between them and Murfreesboro, Breckinridge is forced to recall Jackson's brigade and the supporting artillery. Polk sends in Stewart's brigade (from Cheatham's division) and a few of Wither's troops to replace Breckinridge's men. But the attack is doomed from the start, as it is now subject to fire from both the front and the right. It breaks quickly.

Back on the Union right, there is a stalemate along the Wilkinson Pike, where Hardee no longer has sufficient numbers to force the Union line. Two Confederate assaults fail.

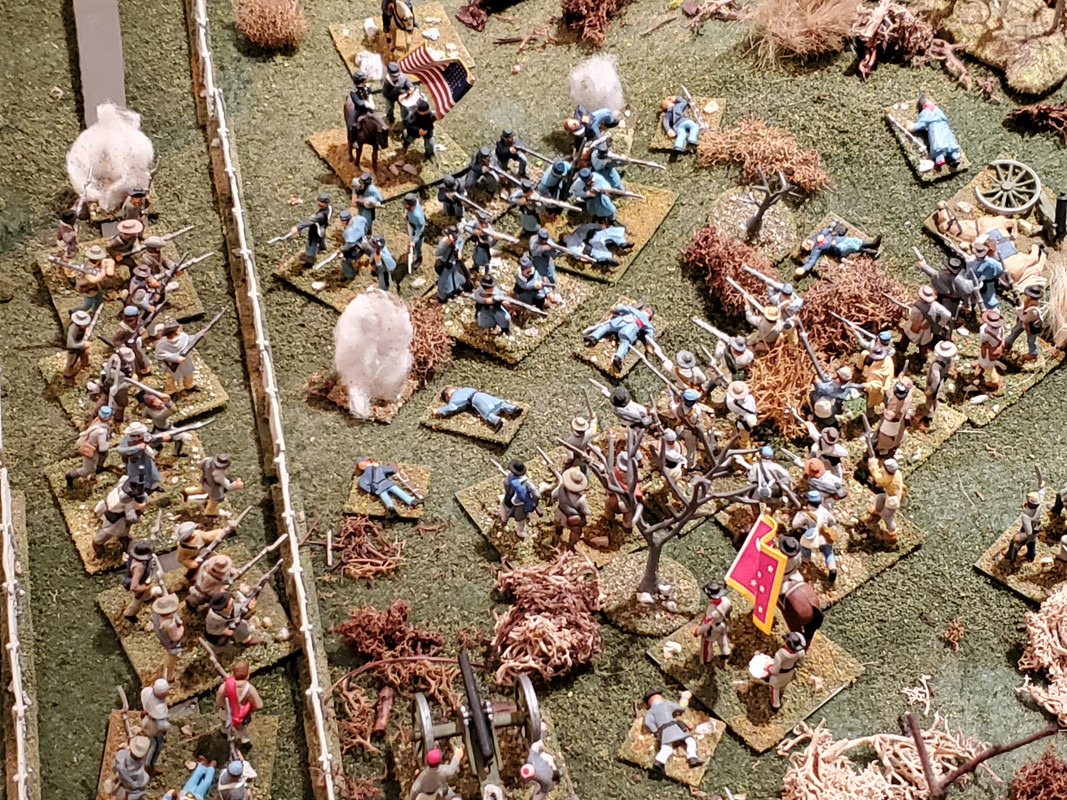
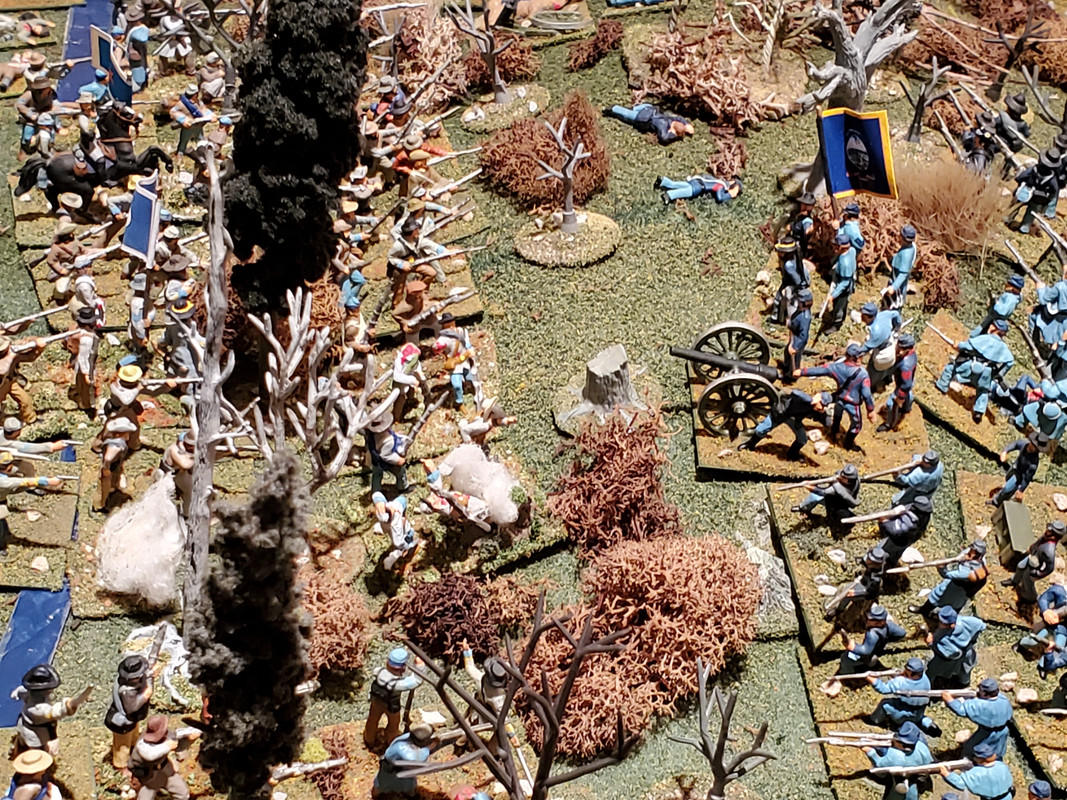
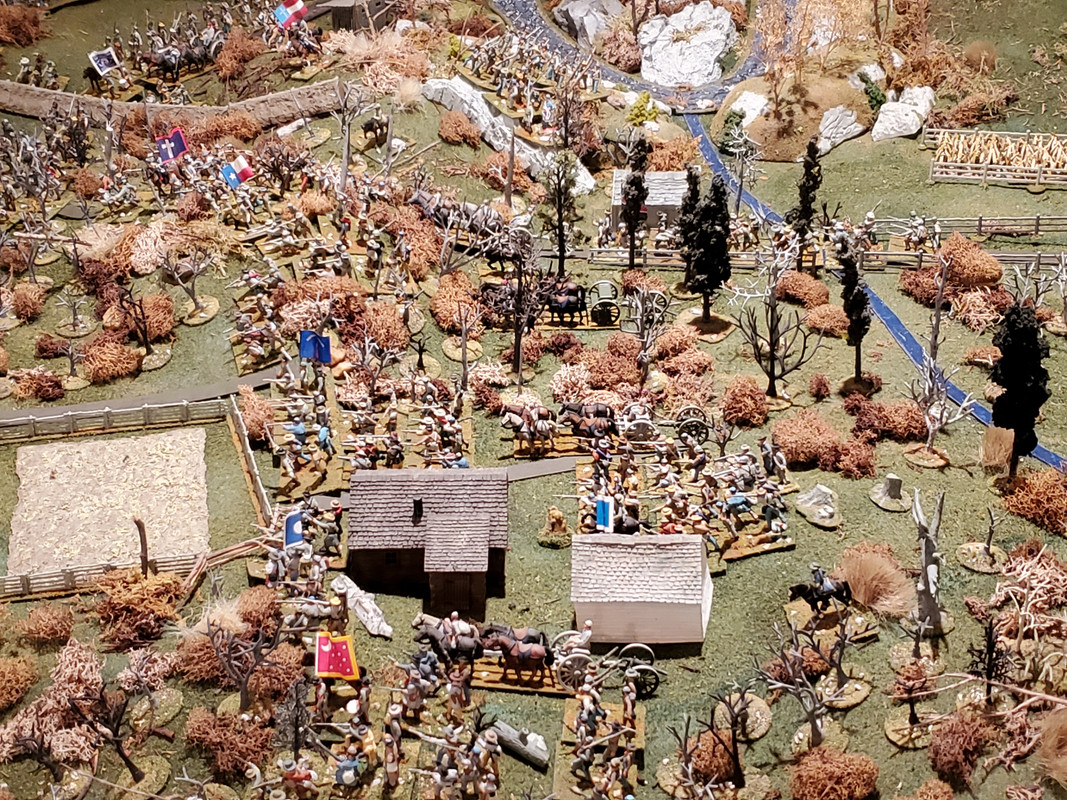
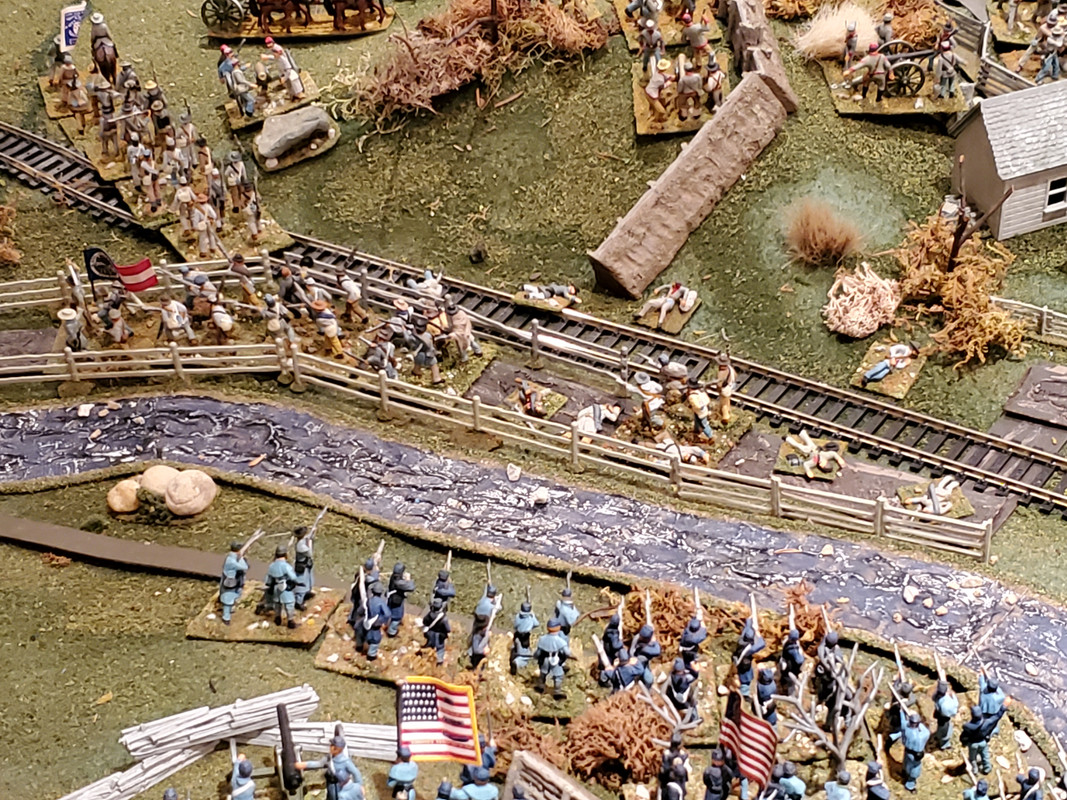
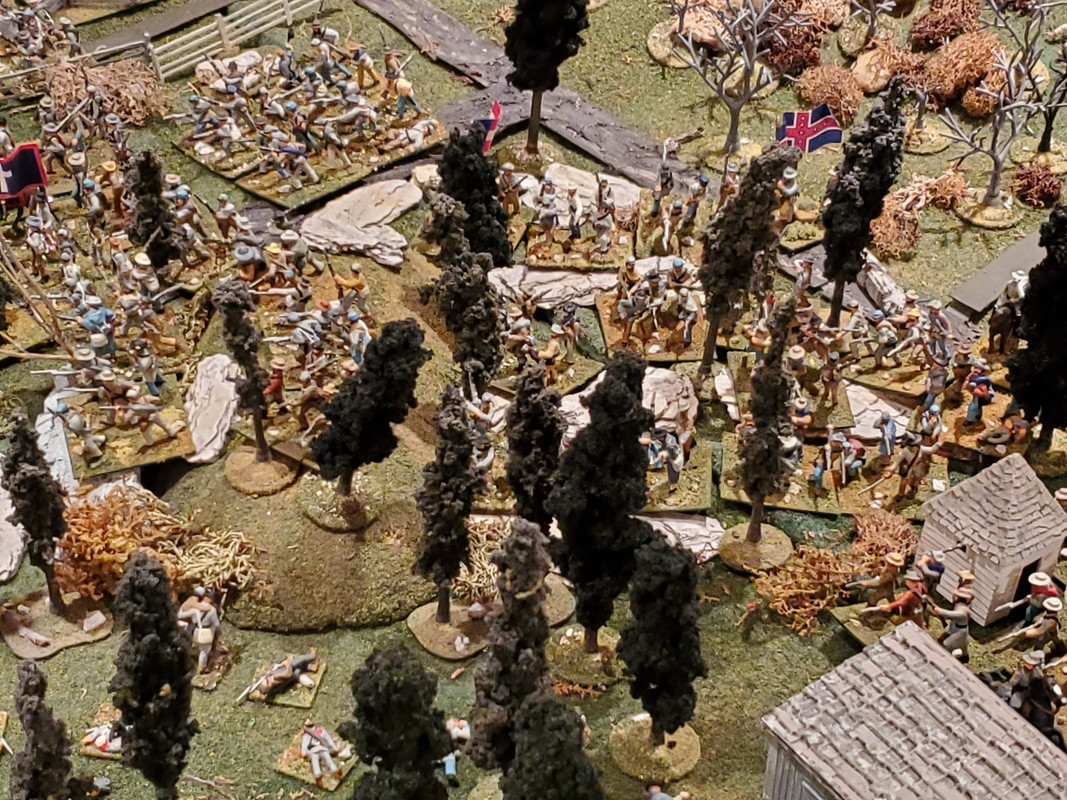
At the same time, the main Confederate attack on the Union center begins.
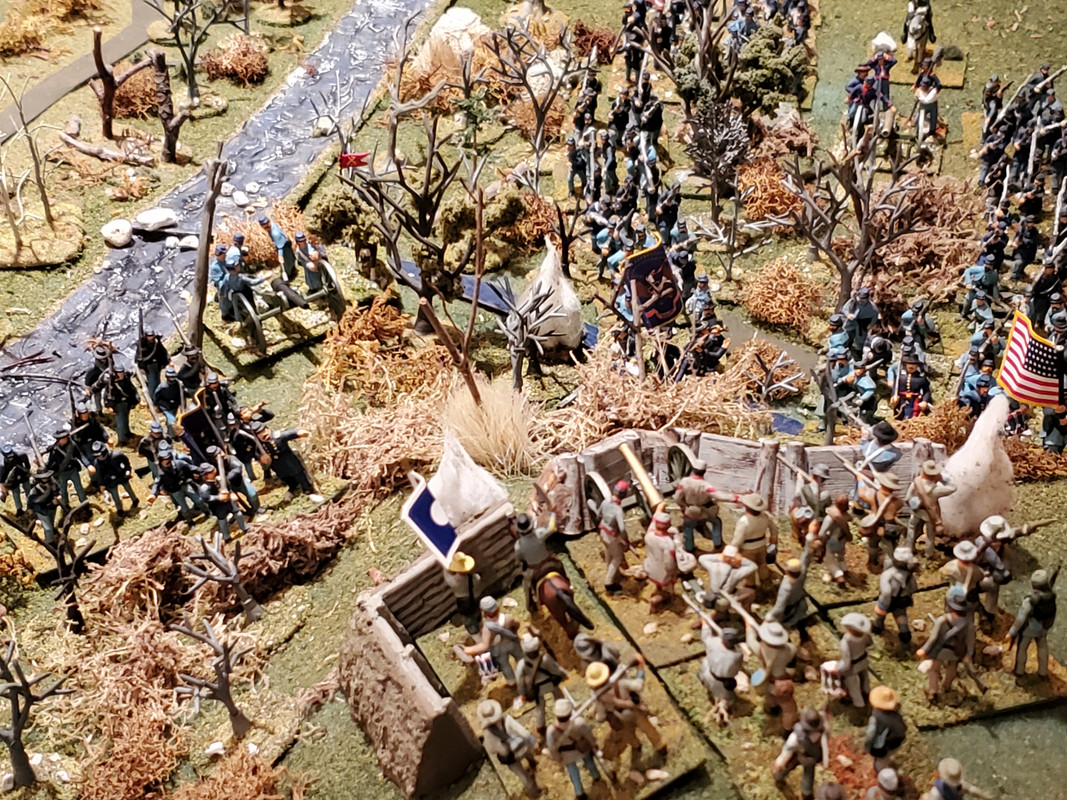
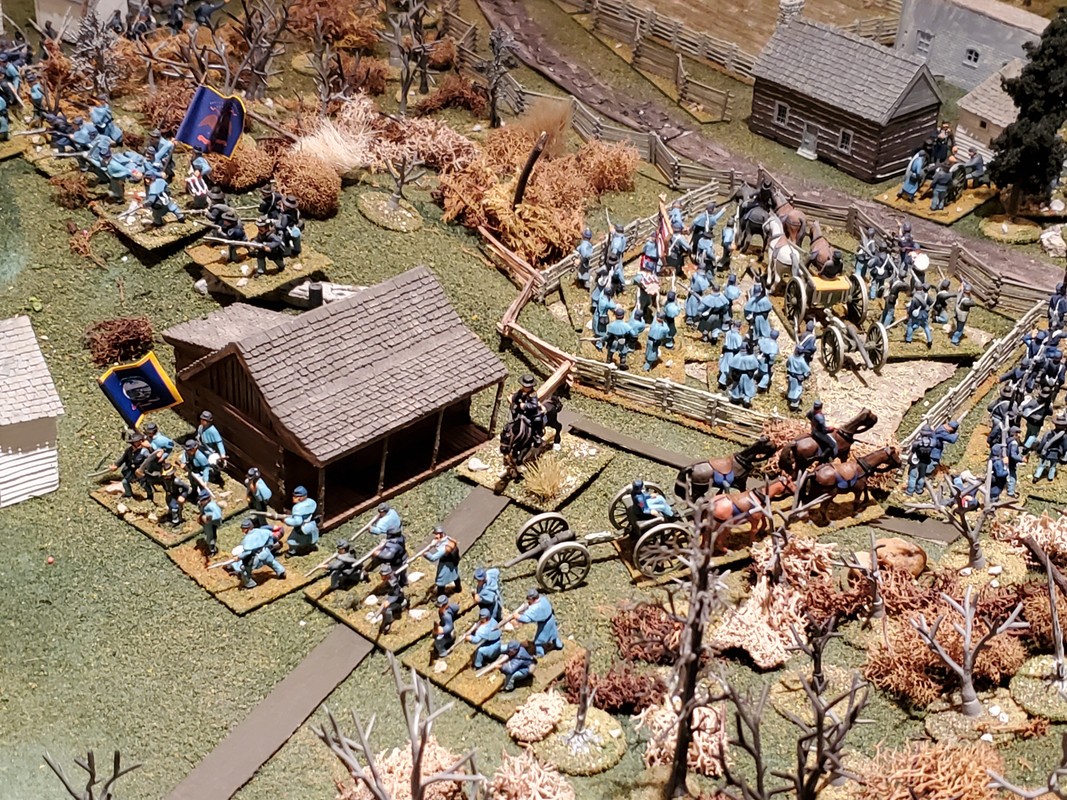
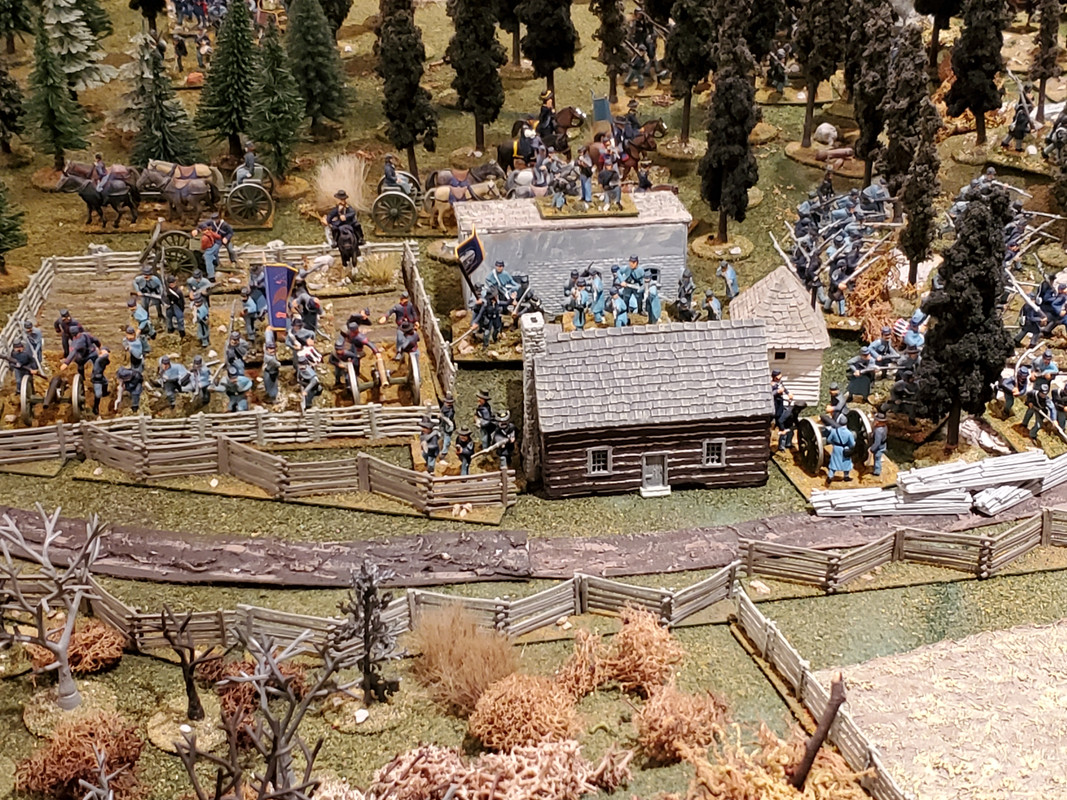
The Confederate attack succeeds in driving Union forces out of the Slaughter Pen and the Blanton farmyard.
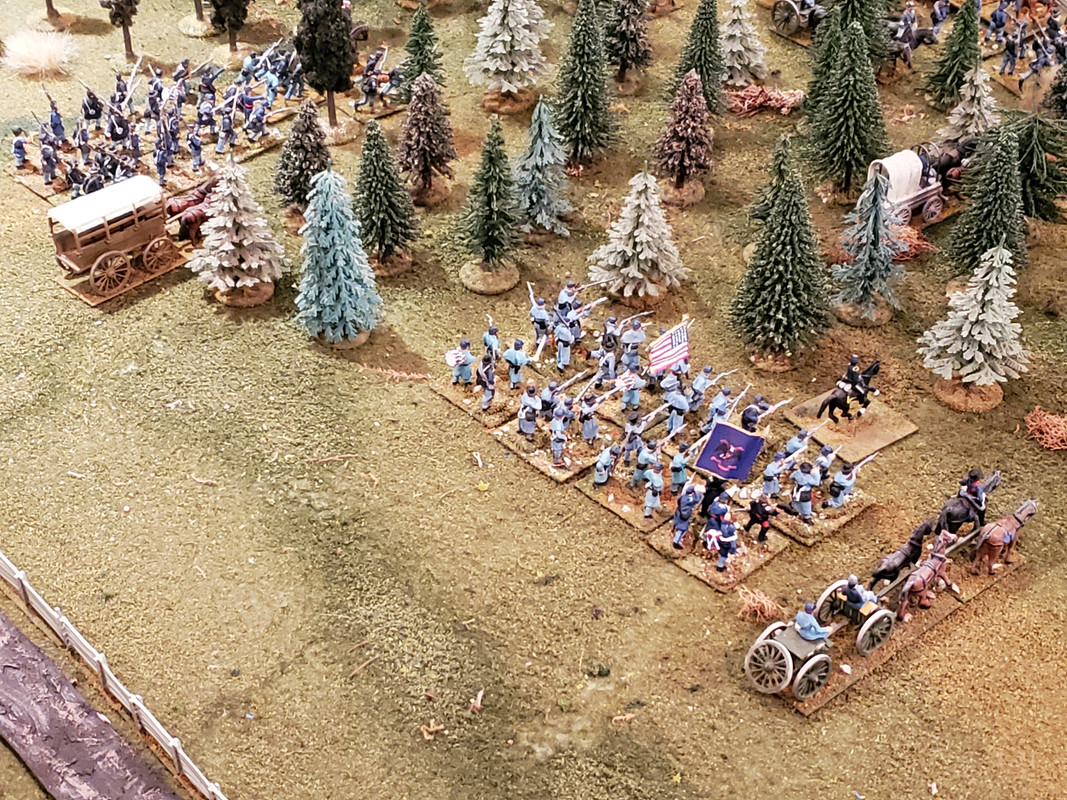
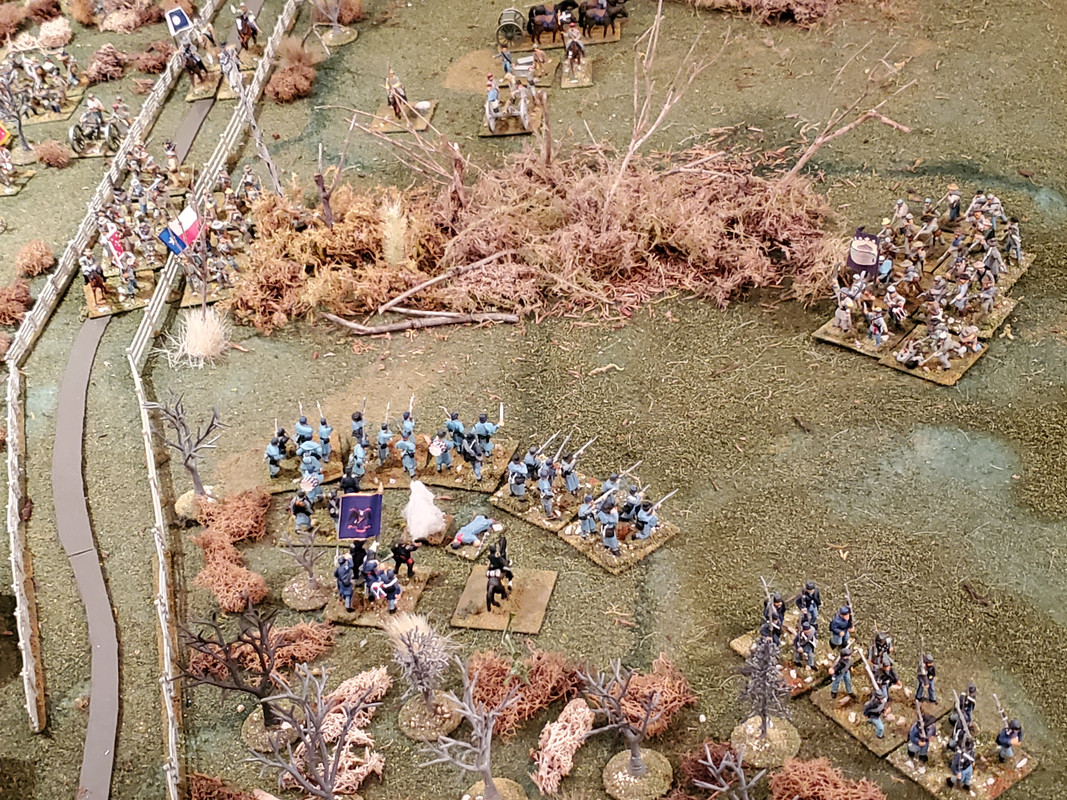
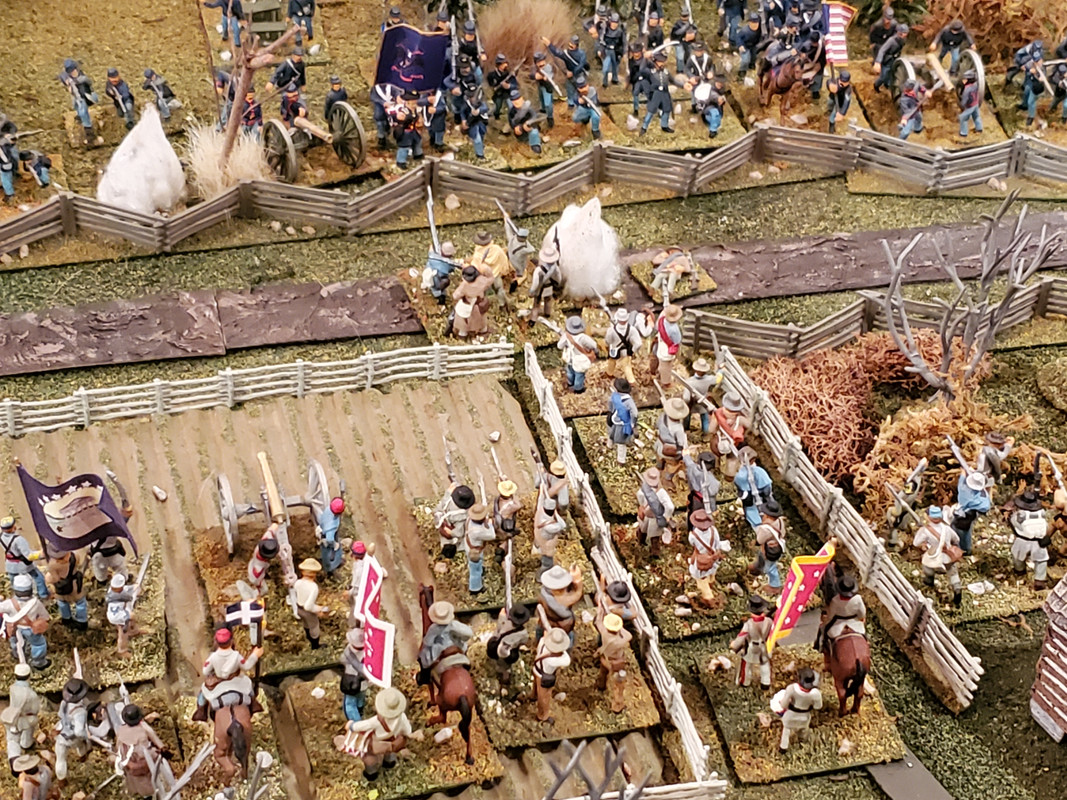
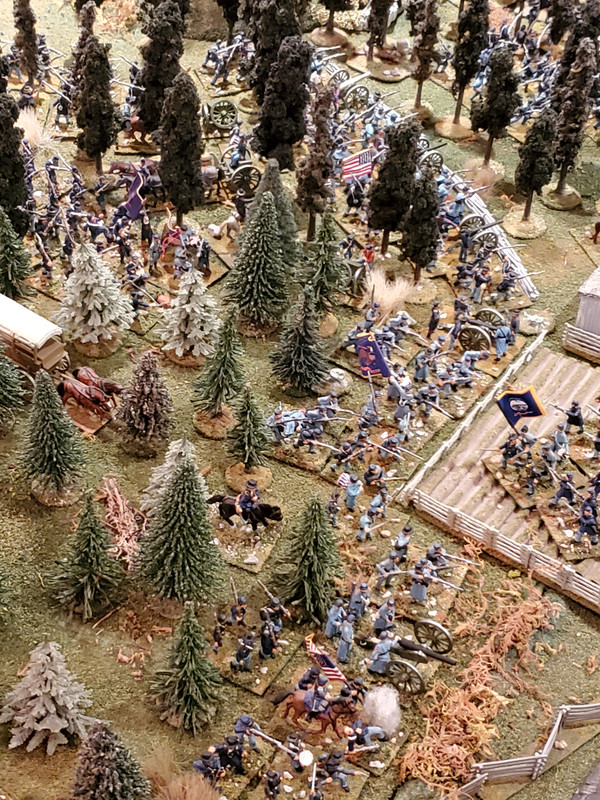
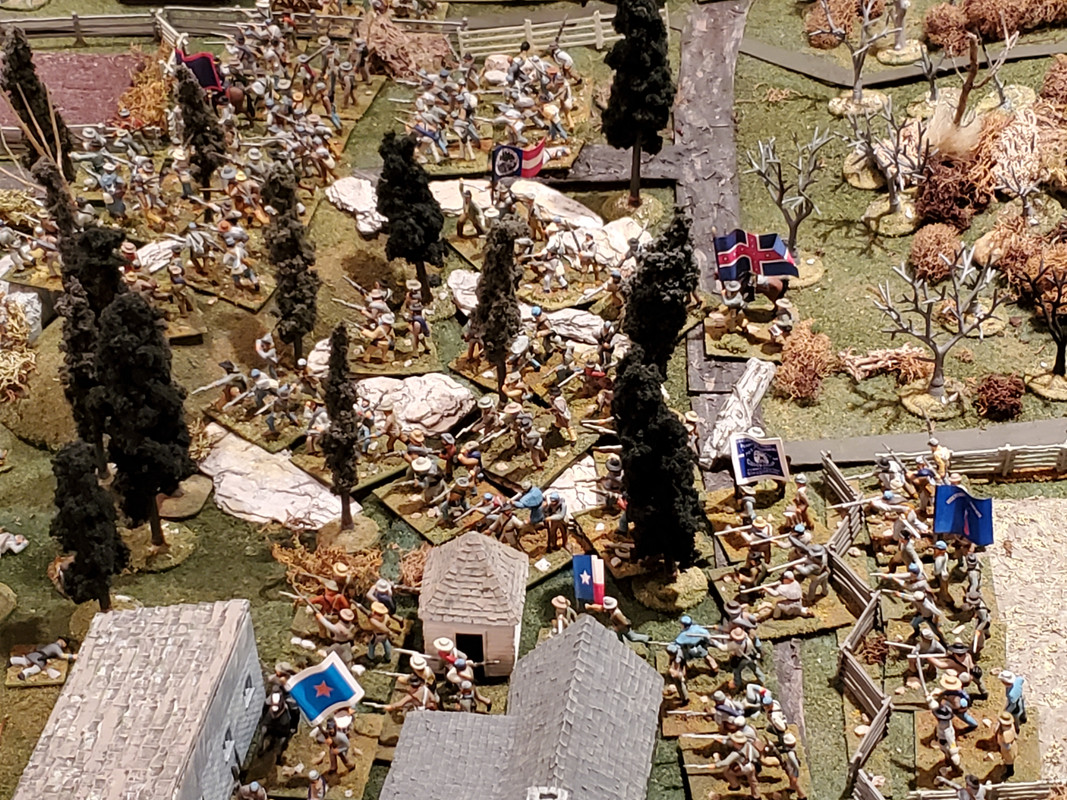
Rosecrans, finding his left and right wings secure, draws batteries and troops from both to form a new line in the woods behind the Slaughter Pen. The new line stops the Confederate advance.
Confederate troops, still in possession of the Slaughter Pen and Blanton farm, withdraw to form new lines.
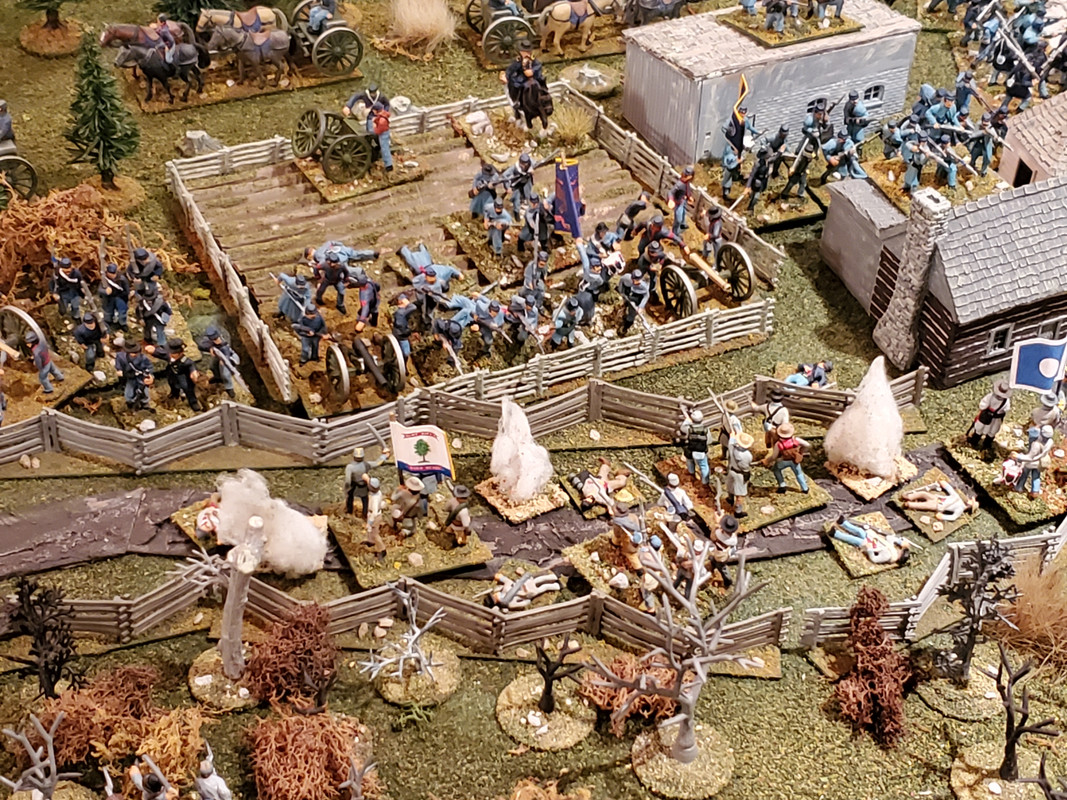
The two forces remain within striking distance of one another as night falls and our game ends.
Neither army achieved any of its victory points, so the battle ended as a draw -- more or less as did the actual battle. The Union forces, however, did slightly better than their historical counterparts: they retained control of slightly more ground than they did in the actual battle, they saved more of their right wing than in 1862-3, and their possession of Wayne's Hill at game's end protected their right from a future attack by Breckinridge forces.


") Supporting Member (Bronze)
Supporting Member (Bronze)


 Moderator