Tutorials

Making Stuff from Packaging

Posted by Beano Boy on 06 Dec 2017, 06:21

Making Bases.

I made my first base when i was a boy of 11,because i come from a generation of make do.
As i near becoming 69 i thought it was time i passed the process along.

Image

A few days ago the mail arrived,and with lots of free packaging.
"I`ll use some of this".i said to MrsB."___ She smiled.
Well i was in between model making toys as things were glued up and drying.

Image

So i selected and cut good size pieces to the required size. These will cost a few Pennies for PVA Glue,and dry sand used. The two will be glued together one on top of the other.

Image

The corrugated groves reinforce this base by running opposite__ across each other. ;-)

Image

Once glued together it was laid out upon a flat surface to dry out.

Image

When it was completely dry one side was brushed over with glue.

Image

It was then time to lay it flat and sand it for the first time. One just need patients waiting for it to dry.

Eventually It was turned over and the sand moved aside.
Glue was applied like before and after laying it flat. Yes it was sanded.

So each side was sanded this will stop it from bending.

Once dried out it was turned over and that side glued up and sanded again .
Then after drying out the other side was re-sanded as before.

When dried hard it remained flat,and so it was time for the edges to be treated.
Brushed with the glue,and making sure it was worked into the groves it was laid out flat and sand was poured over it and pushed into the glue.
This process was repeated on all the edges.

I actually made two good bases for this demonstration.

Image

After a tidy up they were left flat for a couple of days to completely go rock hard,and without bending a bow.

Image

I love it when a plan of action requiring very little work time comes together.

Image

Flat hard as rock on both sides,and cheaper than chips to produce.

Image

My friend Blucher1815red,said of me on You Tube," Paul makes things out of nothing." Of course one must have something to botch a playful brush upon,.......

Image

.. but in this case cardboard packaging was a good strong no extra cost something to use.

Image

There you go job done and sand brushed away.
They are ready for any artful imagination to gander a smile upon.

Yes one can buy ready made tiles or bases,
but this is quite a fun time satisfying playful easy thing to do.

Upon my large table top i actually made more sanded things,but they are for showing upon another day. Thanks for taking time out to look. :-D BB
Beano Boy  England
Supporting Member (Gold) Supporting Member (Gold)
 
Posts: 8126
Member since:
03 Sep 2013, 14:45


Posted by Beano Boy on 06 Dec 2017, 08:21

I just checked these out,and realised they are well fit for purpose and really in terms of price cost nothing at all to produce.


Image

Here they are my other flat double sided shaped bases. However all is not as it first appears to be,because by pealing off the facing paper from the cardboard on one side then sanding it in the same way as already described.

Image

Other uses come into play. unfolded before your very eyes, a stretch of garden or just a 15mm field.
All they need is a little bit more of imagination to colour and dress up. Perhaps even yours?

I hope some have found this topic interesting?
Like the cardboard this information comes for free.BB
Beano Boy  England
Supporting Member (Gold) Supporting Member (Gold)
 
Posts: 8126
Member since:
03 Sep 2013, 14:45

Posted by Beano Boy on 08 Dec 2017, 07:50

A delivery of very large cardboard arrived yesterday,
and is large enough for 28mm ploughed bases. :-D Magic! BB
Beano Boy  England
Supporting Member (Gold) Supporting Member (Gold)
 
Posts: 8126
Member since:
03 Sep 2013, 14:45

Posted by Wiking on 08 Dec 2017, 15:24

Nice use of stuff.
The shape of the things in your last pic look like you use your old soles too. :oops:
User avatar
Wiking  Germany
 
Posts: 2834
Member since:
14 Sep 2015, 10:03

Posted by Beano Boy on 10 Dec 2017, 03:21

Yes Mrs B,and i realised the shoe shape shuffle of sandy dandy things too.
Top Tip, is to stop them bending sand the bottom too.
It only entails another couple of minutes extra work.
Another tip is, cutting bends and curves into the pieces actually make them stronger than straight line of sight bases.
As for fields they come in all shapes and sizes. Cardboard offers many a choice other than using carpet or doormats. I will be doing a few walls next. Perhaps a complete building later.
I wonder how that sandy dandy will turn out ? ;-) BB
Beano Boy  England
Supporting Member (Gold) Supporting Member (Gold)
 
Posts: 8126
Member since:
03 Sep 2013, 14:45

Posted by Beano Boy on 13 Dec 2017, 20:12

THE START OF SOMETHING

Image

Part of a plastic reel that came in a Garden Plant Wire Tie roll delivery. The plastic is very brittle and so therefore is not suitable for conversion,but has a good use as a tool.

Image

Here i used it as a pattern to trace around,and once mapped out my salotape role was placed so the drawing was in the middle,then i drew around the outside of the tape.

A START OF A SOMETHING ELSE____________ A WATER WHELL

Image

This sure saved time on measuring and marking out , and apart from a ballpoint pen and a craft knife no more tools were needed to make both sides of this wheel.
It sure is surprising how packaging can help out the model maker. One just has to have eyes for it.

The next part will follow shortly. BB
Beano Boy  England
Supporting Member (Gold) Supporting Member (Gold)
 
Posts: 8126
Member since:
03 Sep 2013, 14:45

Help keep the forum online!
or become a supporting member

Posted by Beano Boy on 13 Dec 2017, 20:34

A WATER WHEEL! I type far to quick. :eh:
I`ll try and use throw away stuff on this one. BB
Beano Boy  England
Supporting Member (Gold) Supporting Member (Gold)
 
Posts: 8126
Member since:
03 Sep 2013, 14:45

Posted by Beano Boy on 15 Dec 2017, 23:23

Before the actual scratch-build using throw away cardboard stuff i decided to make the entire water wheel so Just follow along if if you have a wish to.

Having never before made one,
anything misshape might well happen along the way. ;-)

:mrgreen: " There`s always a first for anything!"

The first cutouts were stuck onto a piece of paper card. This in turn when dry was trimmed out and with the paper side glued up nicely it was stuck onto another sheet of balsa wood. The paper card formed a good strong membrane between the two softer sides.

Image

Sure it looks a crude kind of something,which is perfect for me.
:eh: "I`m confused already."

Image

All cut out again,and scribed out. All the edges rounded over with a pen. This further strengthens the edges,and hopefully improve the visual aspect of the work.

Image

Cross sections cut to size....... :sst: " and steel balls"

Image

This is where they will go. The center hole for the pivot needed cutting out first.
I used my craft knife to bore them out,and my pen the same size as the drive shaft ( Spindle ) tidied each one up perfectly for a later fixing into place.

Image

I find the empty pen a darn good tool. A tiny jig forms the space needed between each double sided wheel. This is shown only by way of illustration at this time.

Image

So each cross section has been glued into place,and the spacing jig is seen in a better light,but what are the steel shot gun pellets for? That is for revealing at another time. :coffee: "i hope ta see ya then."BB
Beano Boy  England
Supporting Member (Gold) Supporting Member (Gold)
 
Posts: 8126
Member since:
03 Sep 2013, 14:45

Posted by Kekso on 16 Dec 2017, 15:11

Boy oh boy, that water wheel is gonna be so cool when finished
User avatar
Kekso  Croatia

Moderator Moderator
Supporting Member (Bronze) Supporting Member (Bronze)
 
Posts: 6884
Member since:
19 Oct 2011, 18:32

Posted by Beano Boy on 16 Dec 2017, 21:38

Thank you Dalibor, i will try not to disappoint.
The sauce of inspiration for this piece comes from on line photographs of old abandoned Water Mills. The tumble, ramshackle, broken - down appeals to my rickety self style way of free expression. BB
Beano Boy  England
Supporting Member (Gold) Supporting Member (Gold)
 
Posts: 8126
Member since:
03 Sep 2013, 14:45

Posted by Beano Boy on 17 Dec 2017, 19:23

Image


Both sides have cross beam supports now added ,and the old Mill Wheel is steadily falling bit by simple bit into some kind of make sense place.

Recycling Packaging!

Image

Iron ring housings from ordinary cardboard.
Each strip was cut out and flattened.

Image

Each strip was glued up then wound around my pen.

Image

So they fitted nicely onto my dowel.


Image

Each tiny piece of metal shot represents large iron work.
They are stuck fast tight ,and are big bold and i feel most fitting for this kind of make do project.
Both side of each wheel is to be fitted out with iron as is the metal housing ring. BB
Beano Boy  England
Supporting Member (Gold) Supporting Member (Gold)
 
Posts: 8126
Member since:
03 Sep 2013, 14:45

Posted by Peter on 17 Dec 2017, 20:42

Fantastic work so far Paul! :thumbup:
User avatar
Peter  Belgium

Moderator Moderator
 
Posts: 22757
Member since:
25 Mar 2008, 18:51

Posted by Beano Boy on 18 Dec 2017, 01:58

Thank you Peter, for your comment.

Image

This shows the principles of an above style sluice that drives the wheel,and although mine does not resemble it in features, this over the top down-pouring water-wash is what i am aiming for.

As for my Mill Wheel the paddles are next to be cut out and then fixed into place.

A Plan B Mill Wheel is being developed and built!
I`m a couple of days behind the first one in working on it. Why?
Just in case things go wrong with plan A. ;-)

:mrgreen: " Perhaps even a Plan C."
:sst: " it does make it more interesting.",said the bright beaming little button.


Like all things i make they are live viewing on a daily bases,
and not just snap shots of former deeds already done.
It is cutting and sticking and pushing the boundaries of absolute retirement fun. :-D BB
Beano Boy  England
Supporting Member (Gold) Supporting Member (Gold)
 
Posts: 8126
Member since:
03 Sep 2013, 14:45

Posted by ironzentaur on 18 Dec 2017, 19:18

Unbelievable! I am really amazed and inspired by your way of modelling!
This is back to the roots. And if you dont mind, - greetings to your smiling wife!
ironzentaur  Germany
 
Posts: 63
Member since:
21 Jul 2008, 20:34

Posted by Beano Boy on 18 Dec 2017, 23:06

Image

The steel shot gun pellets which one can buy in order to weigh down Teddy Bears upon a shelf,is a sure fired winner for this over the top project. I tried looking for my humpbacked railway bridge in order to finish it off complete with these hardened steel balls,but alas it could not be found. Bah Humbug!

Thank you ironzentaur, yes that`s A OK! Mrs B,is smiling while reading your request. :-D BB
Beano Boy  England
Supporting Member (Gold) Supporting Member (Gold)
 
Posts: 8126
Member since:
03 Sep 2013, 14:45

Posted by Beano Boy on 22 Dec 2017, 00:21

Image

Plan B
Constructed in the same way using the empty packaging above as a pattern to draw around and already dealt with. So another rather basic system ,but with a few subtle changes.

Image

Wooden pegs,and how they are stuck into the smaller paddle support. Another shows how they look when cut off but left sticking out proud of the wooden piece.

Image

This second Mill Wheel will have those wooden pegs fixed to both sizes of extended paddle supports.
Both wheels will be finished off and will fit and slip into place into whatever i decide to build.
That will develop as i draw it out from my own imagination.

Tools used as before. One empty half of that seen above used as a pattern to draw around, A pen, a safety ruler ,a sharp pointed craft knife. :sst: " and a medium and small paint brush." added the little button that is always willing to help.
Materials used, Balsa Wood,and PVA Glue.

Another update soon will be showing both wheels finished off. BB
Beano Boy  England
Supporting Member (Gold) Supporting Member (Gold)
 
Posts: 8126
Member since:
03 Sep 2013, 14:45

Help keep the forum online!
or become a supporting member

Posted by Kekso on 22 Dec 2017, 15:54

I'm under impression that this watermill will be fully functional even in small scale version.
User avatar
Kekso  Croatia

Moderator Moderator
Supporting Member (Bronze) Supporting Member (Bronze)
 
Posts: 6884
Member since:
19 Oct 2011, 18:32

Posted by Paul on 22 Dec 2017, 19:39

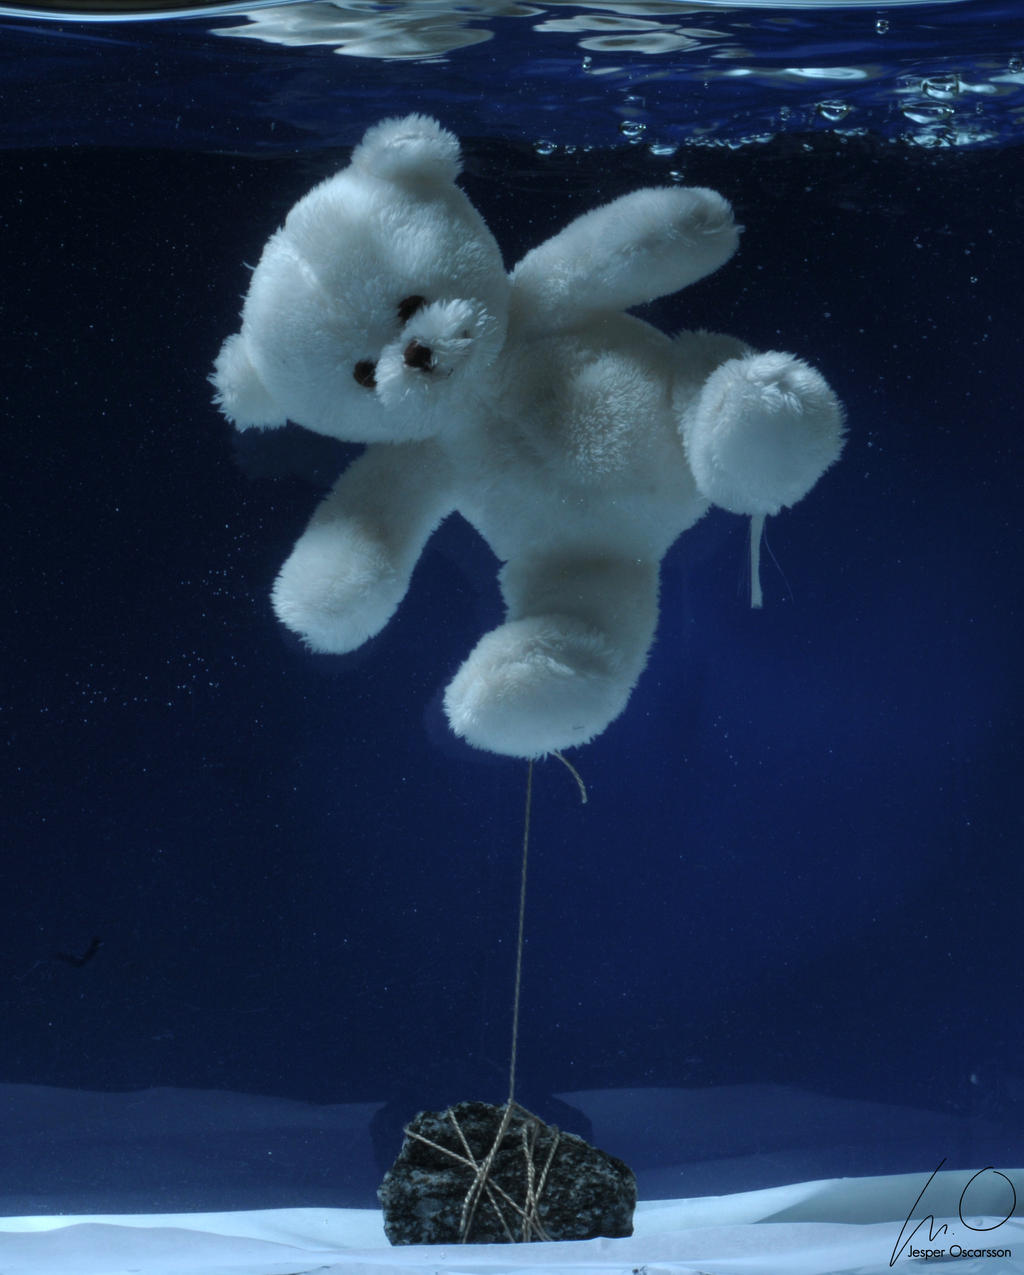
Beano Boy wrote:The steel shot gun pellets which one can buy in order to weigh down Teddy Bears

I prefer the traditional method
Image
User avatar
Paul  China
 
Posts: 11724
Member since:
25 Nov 2008, 09:31

Posted by FredG on 22 Dec 2017, 20:42

:shock:
User avatar
FredG  United Kingdom
 
Posts: 1594
Member since:
09 Dec 2011, 21:47

Posted by Beano Boy on 23 Dec 2017, 10:56

Image
Beano Boy  England
Supporting Member (Gold) Supporting Member (Gold)
 
Posts: 8126
Member since:
03 Sep 2013, 14:45

Next page

Return to Tutorials