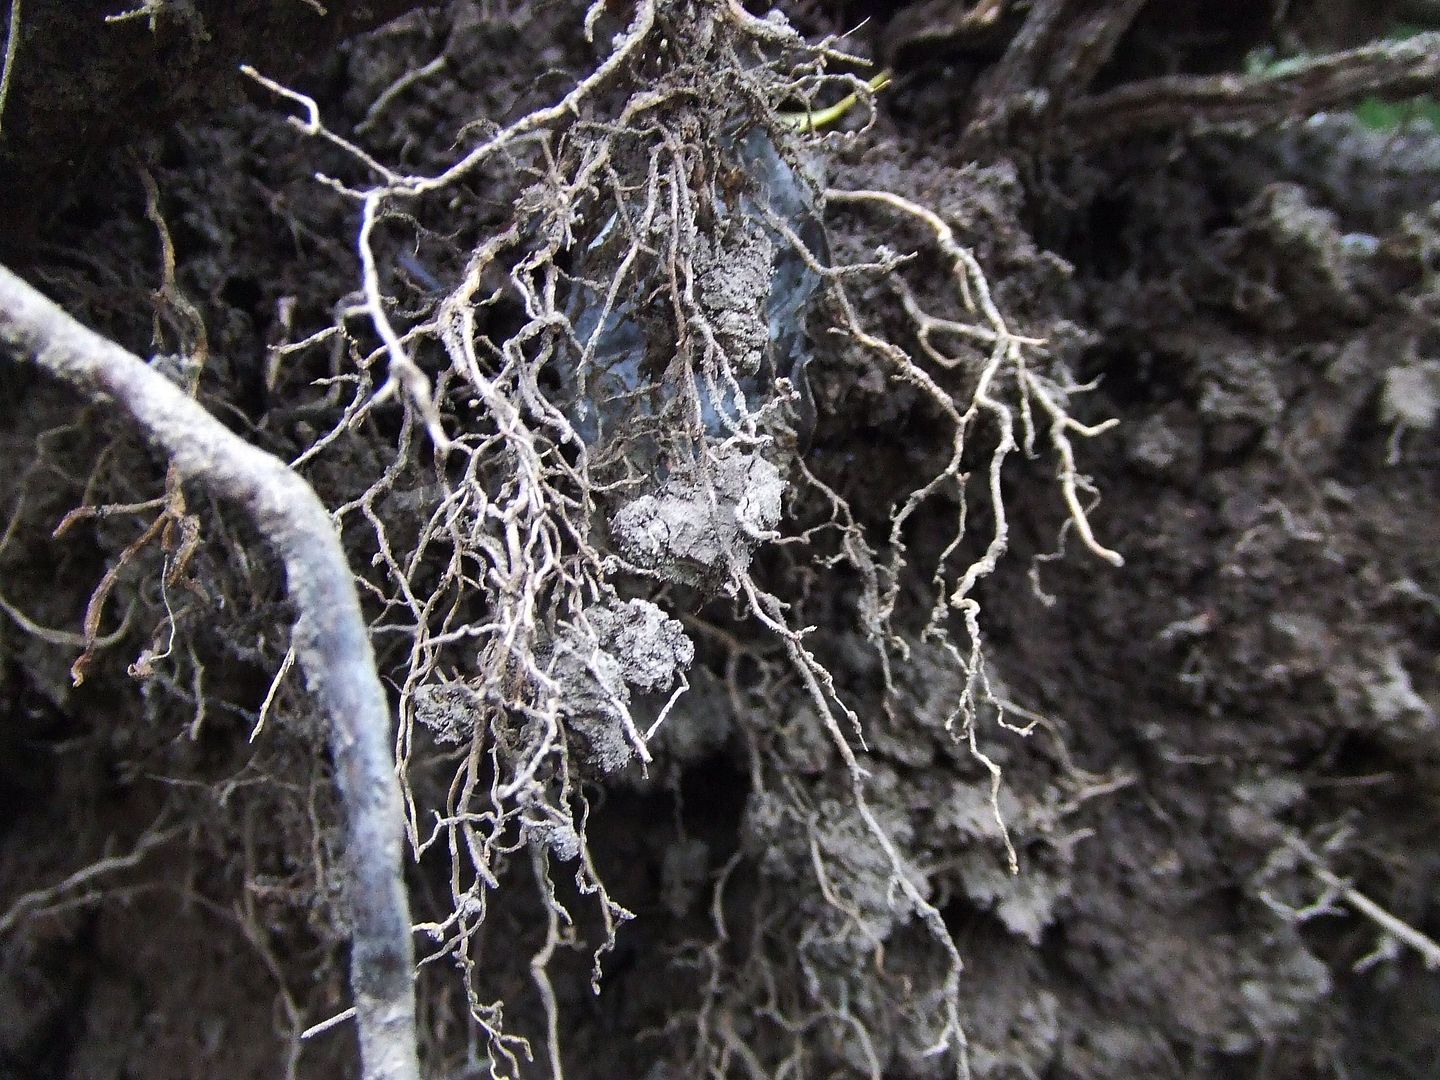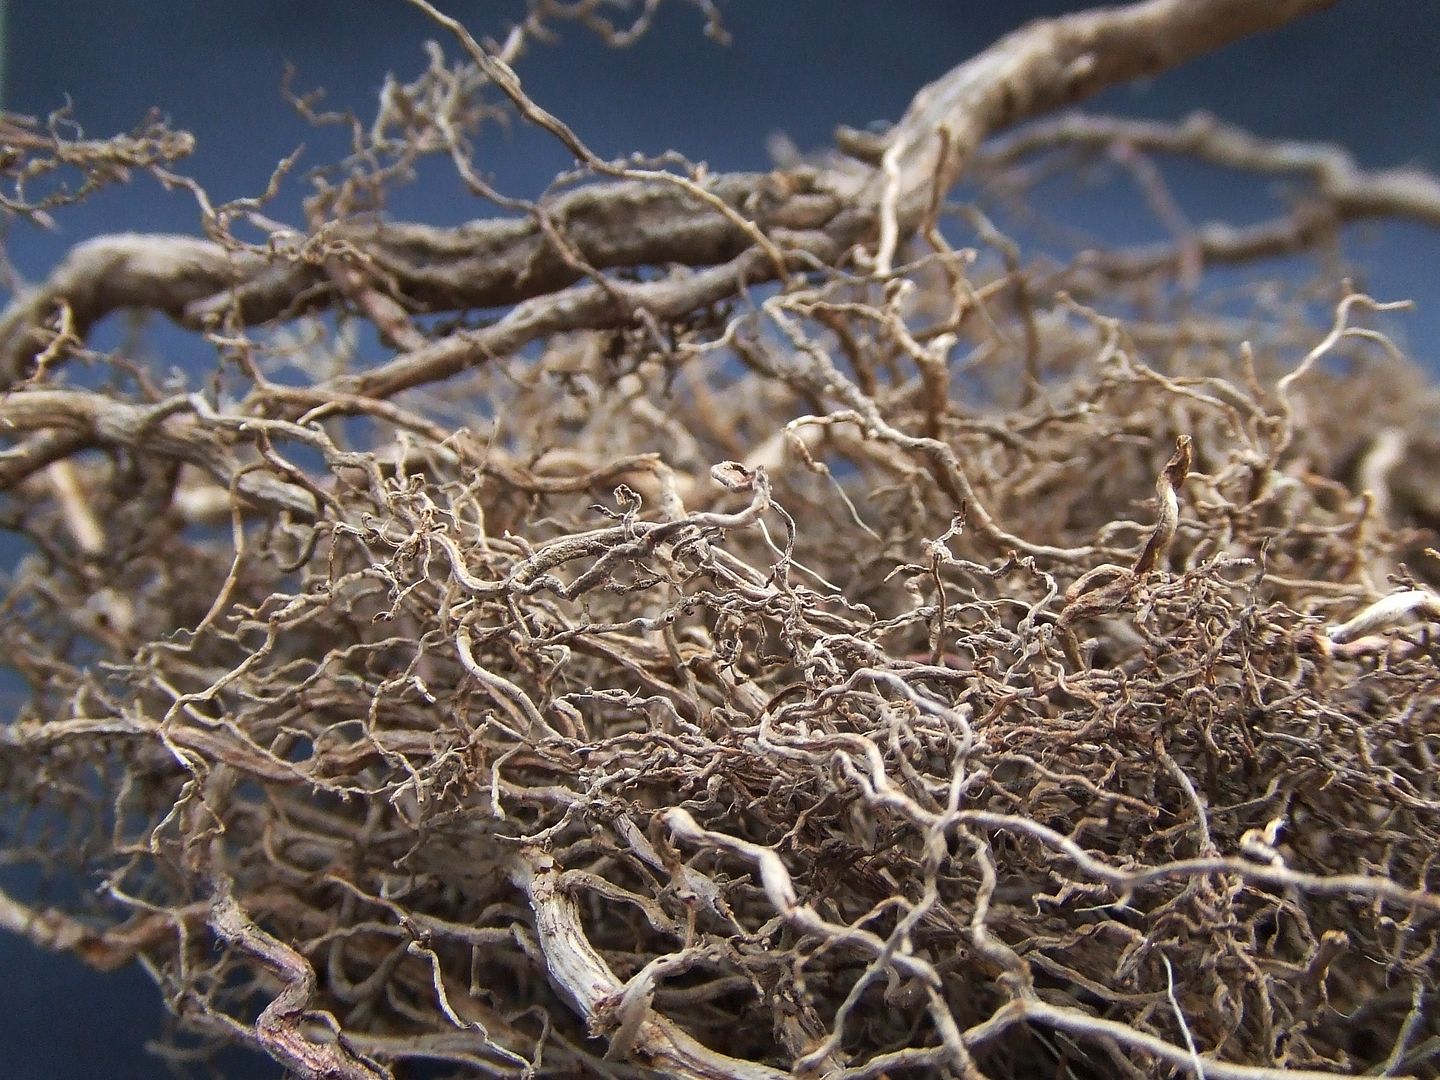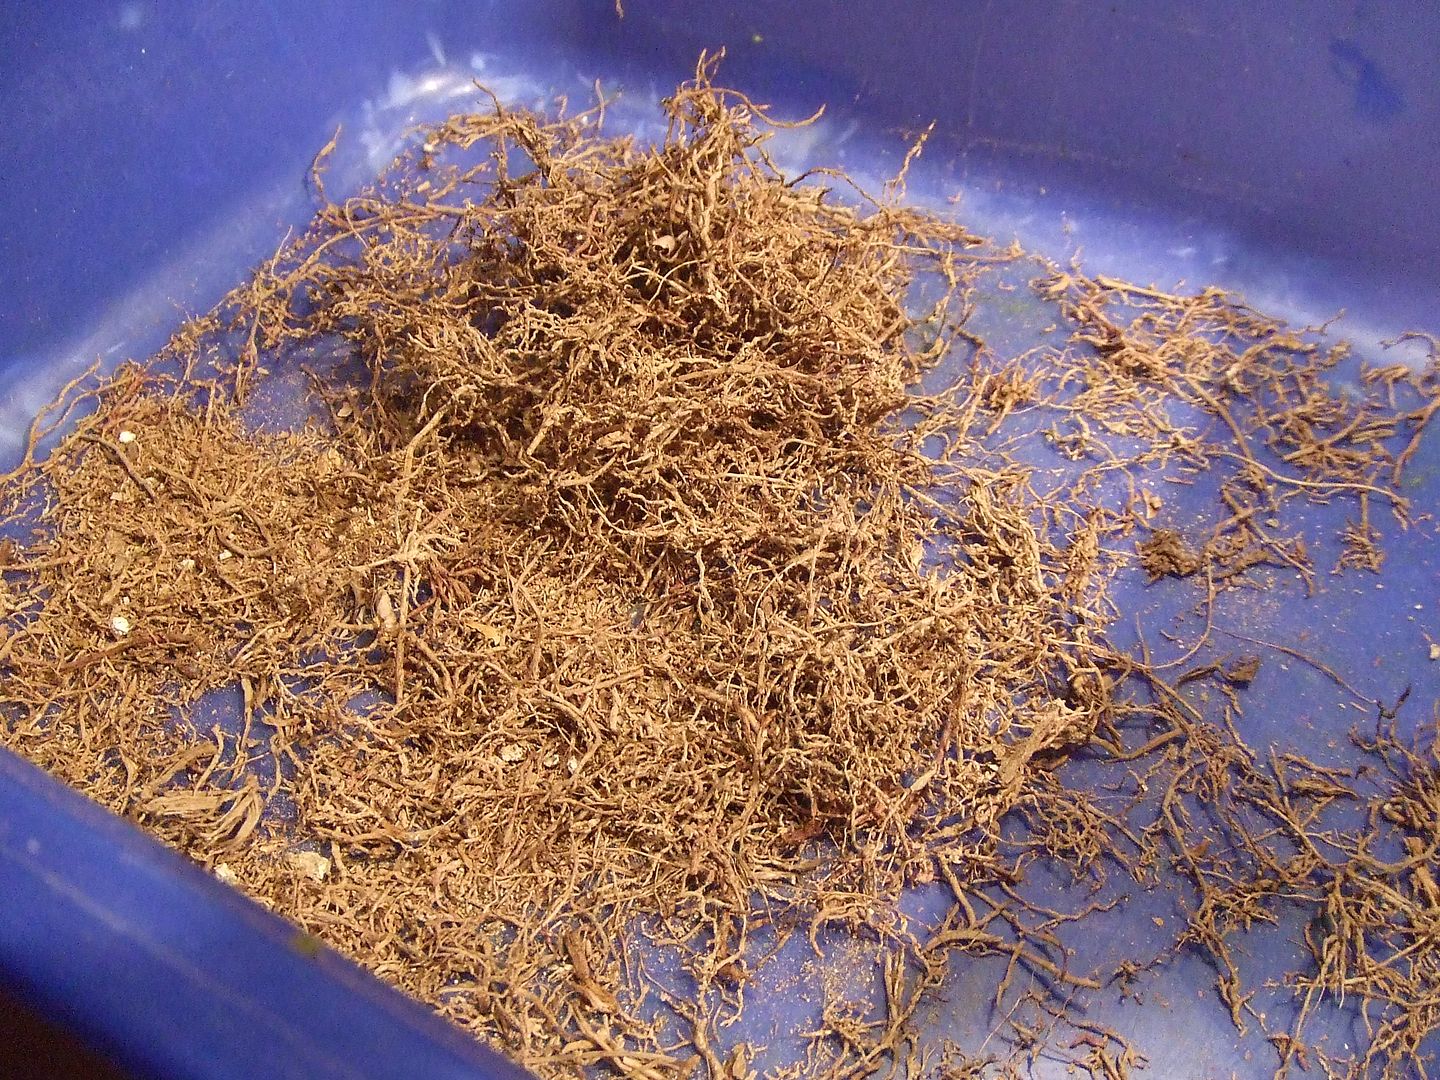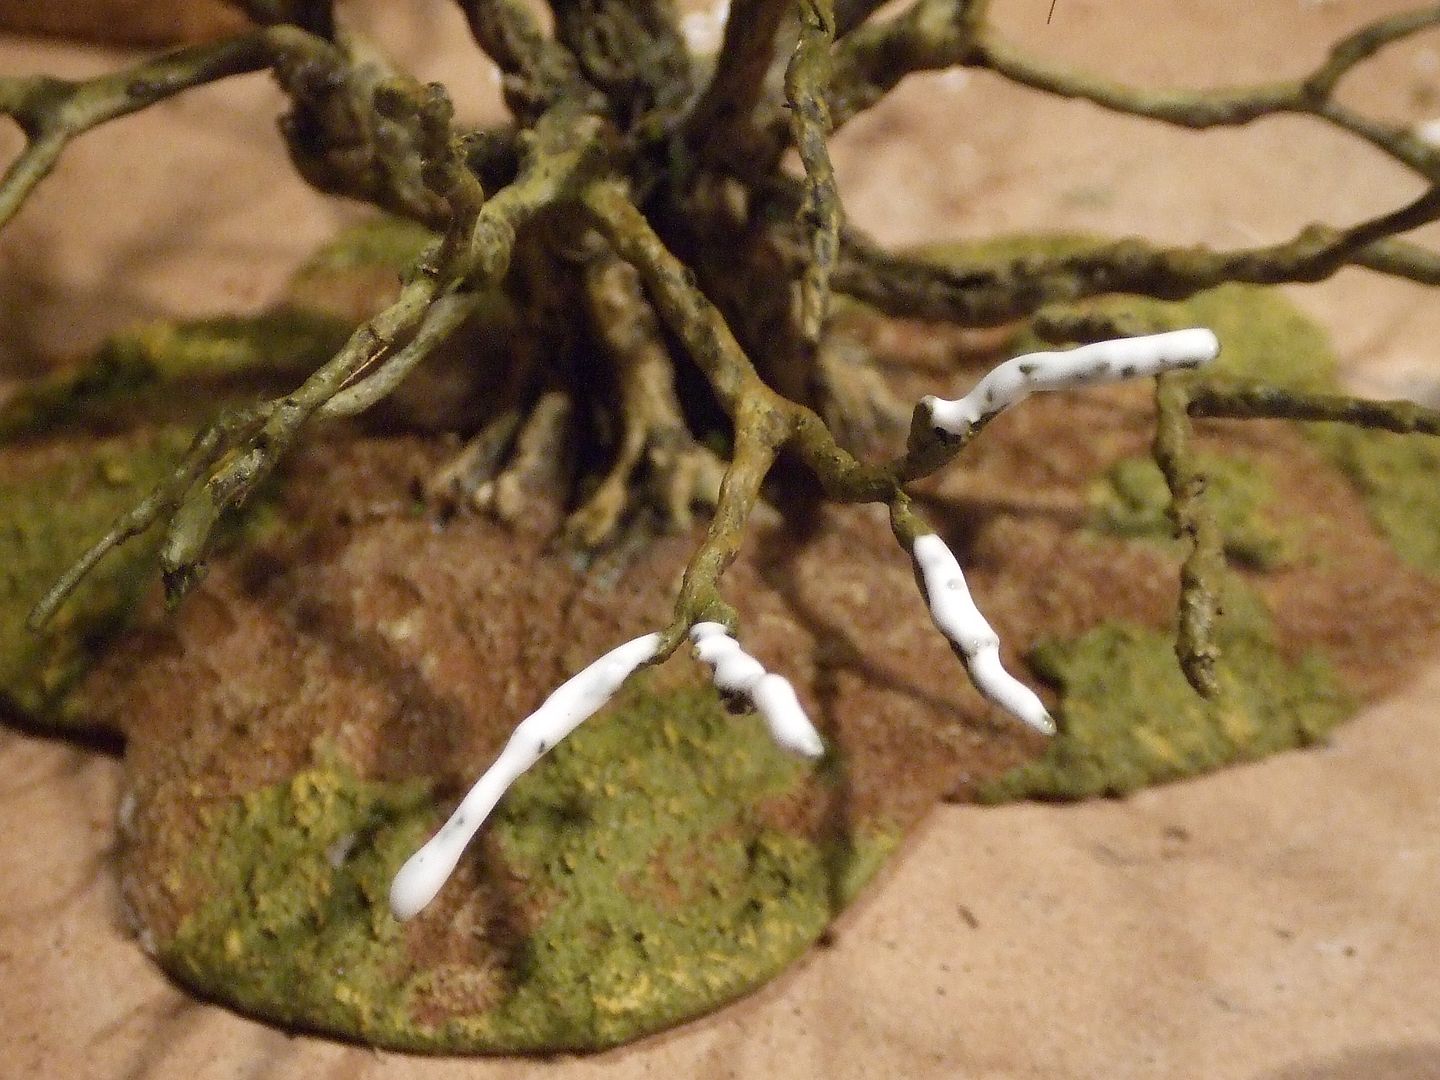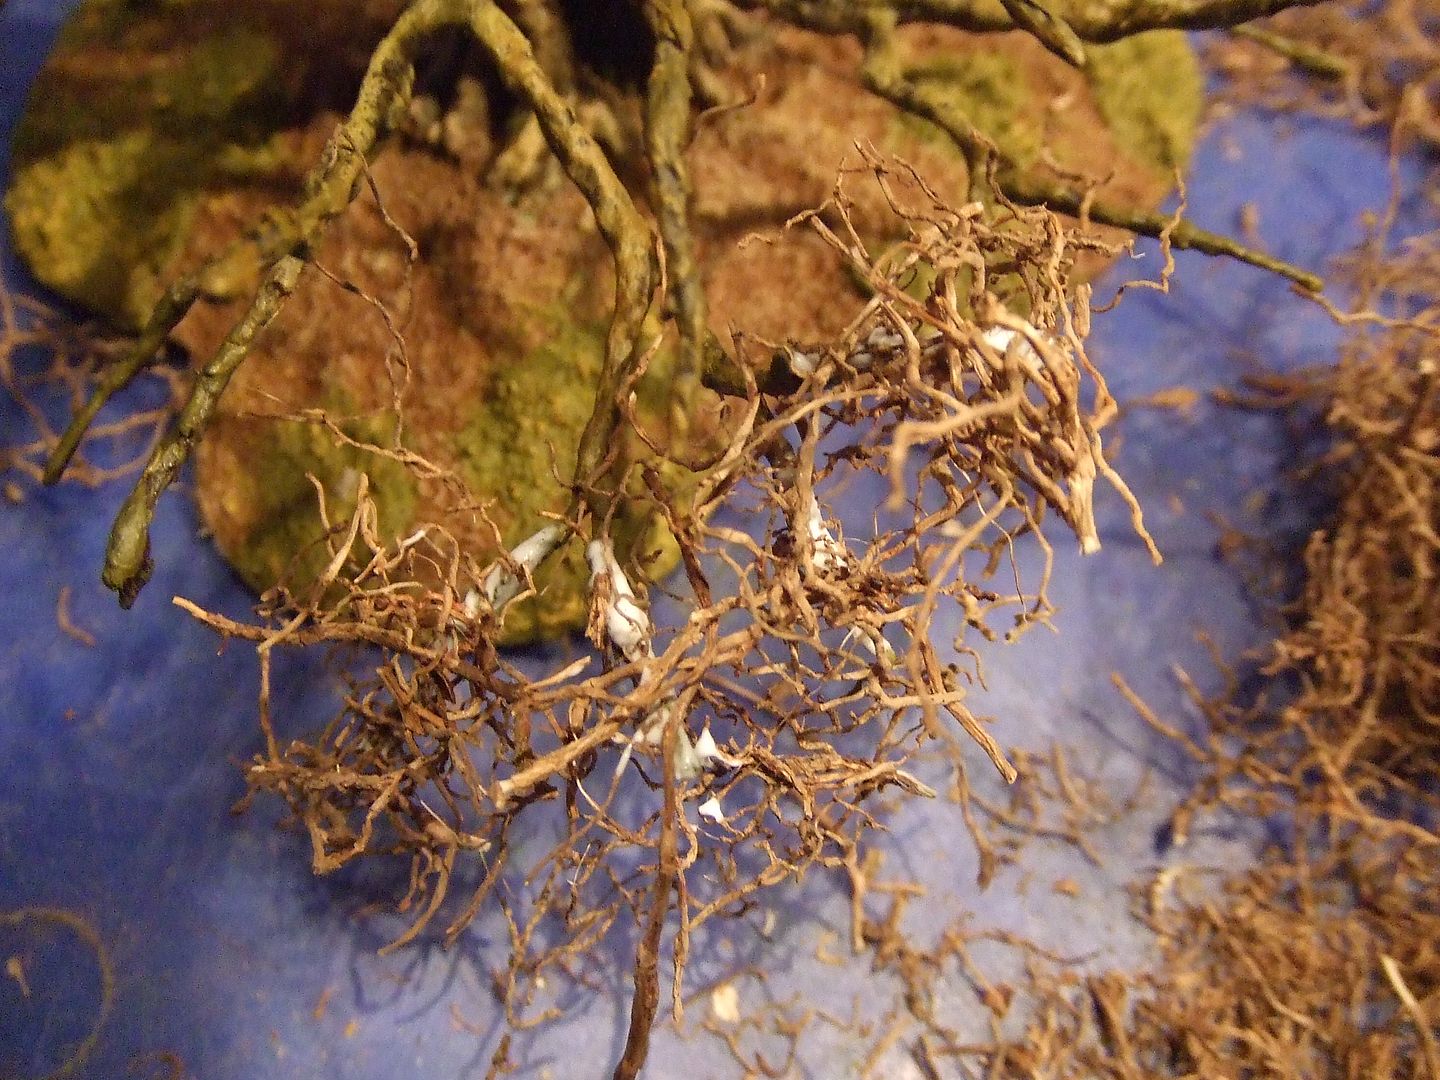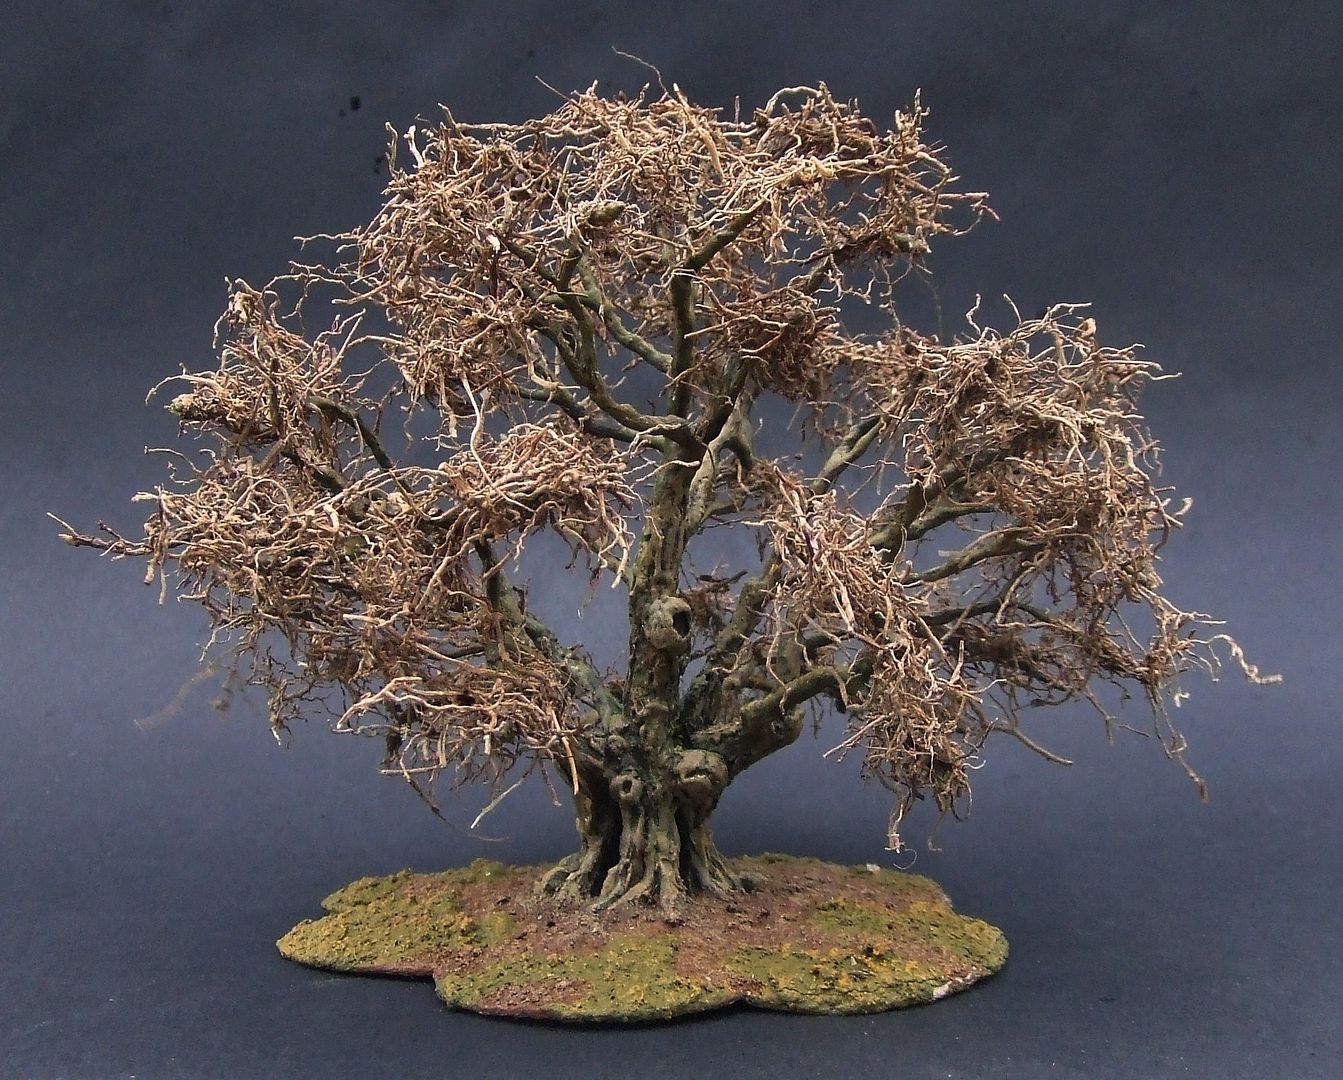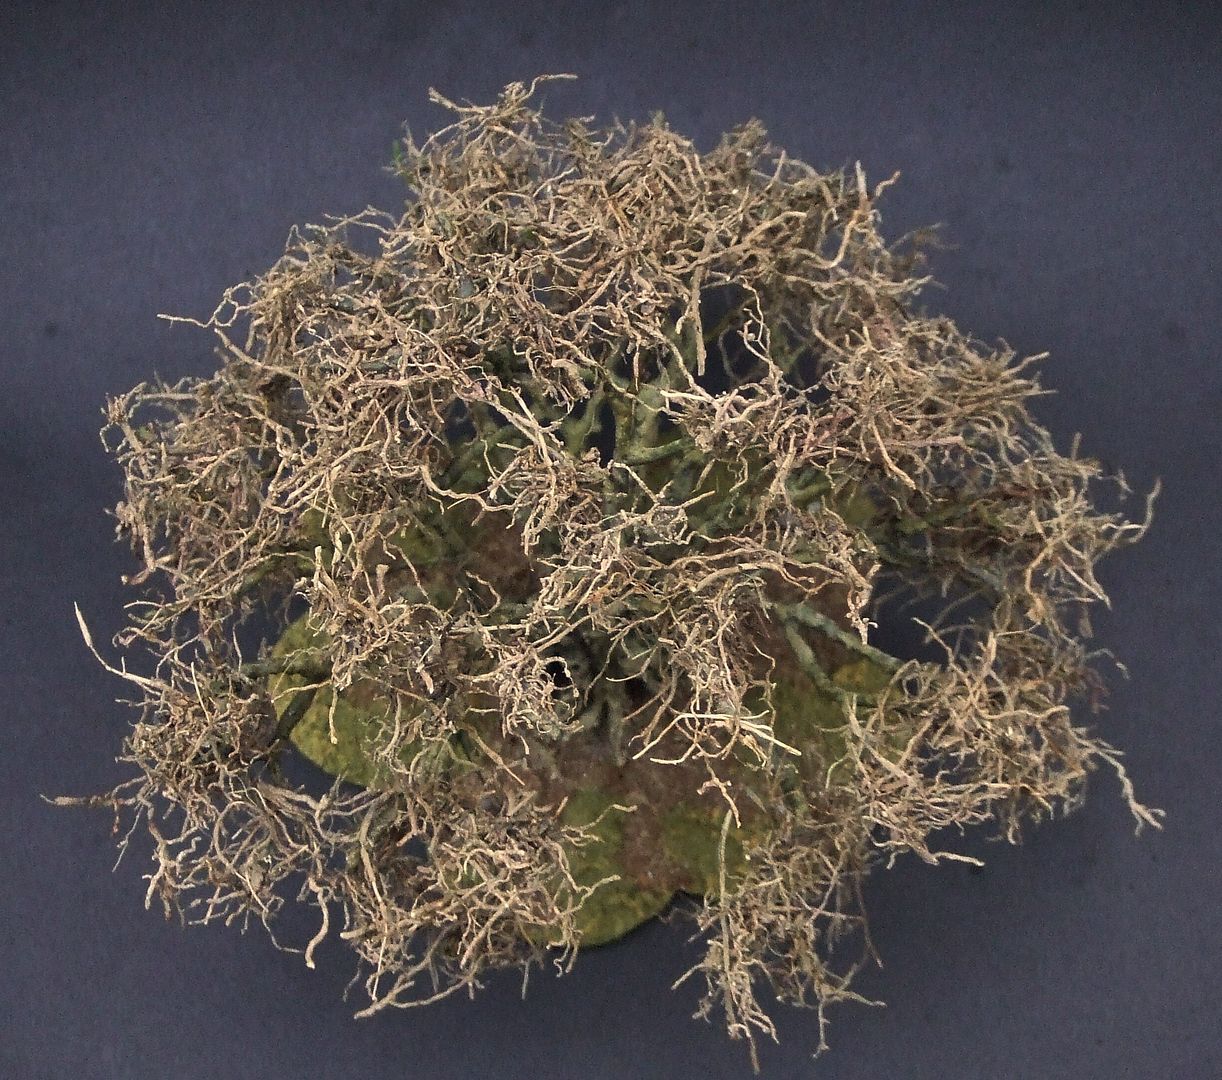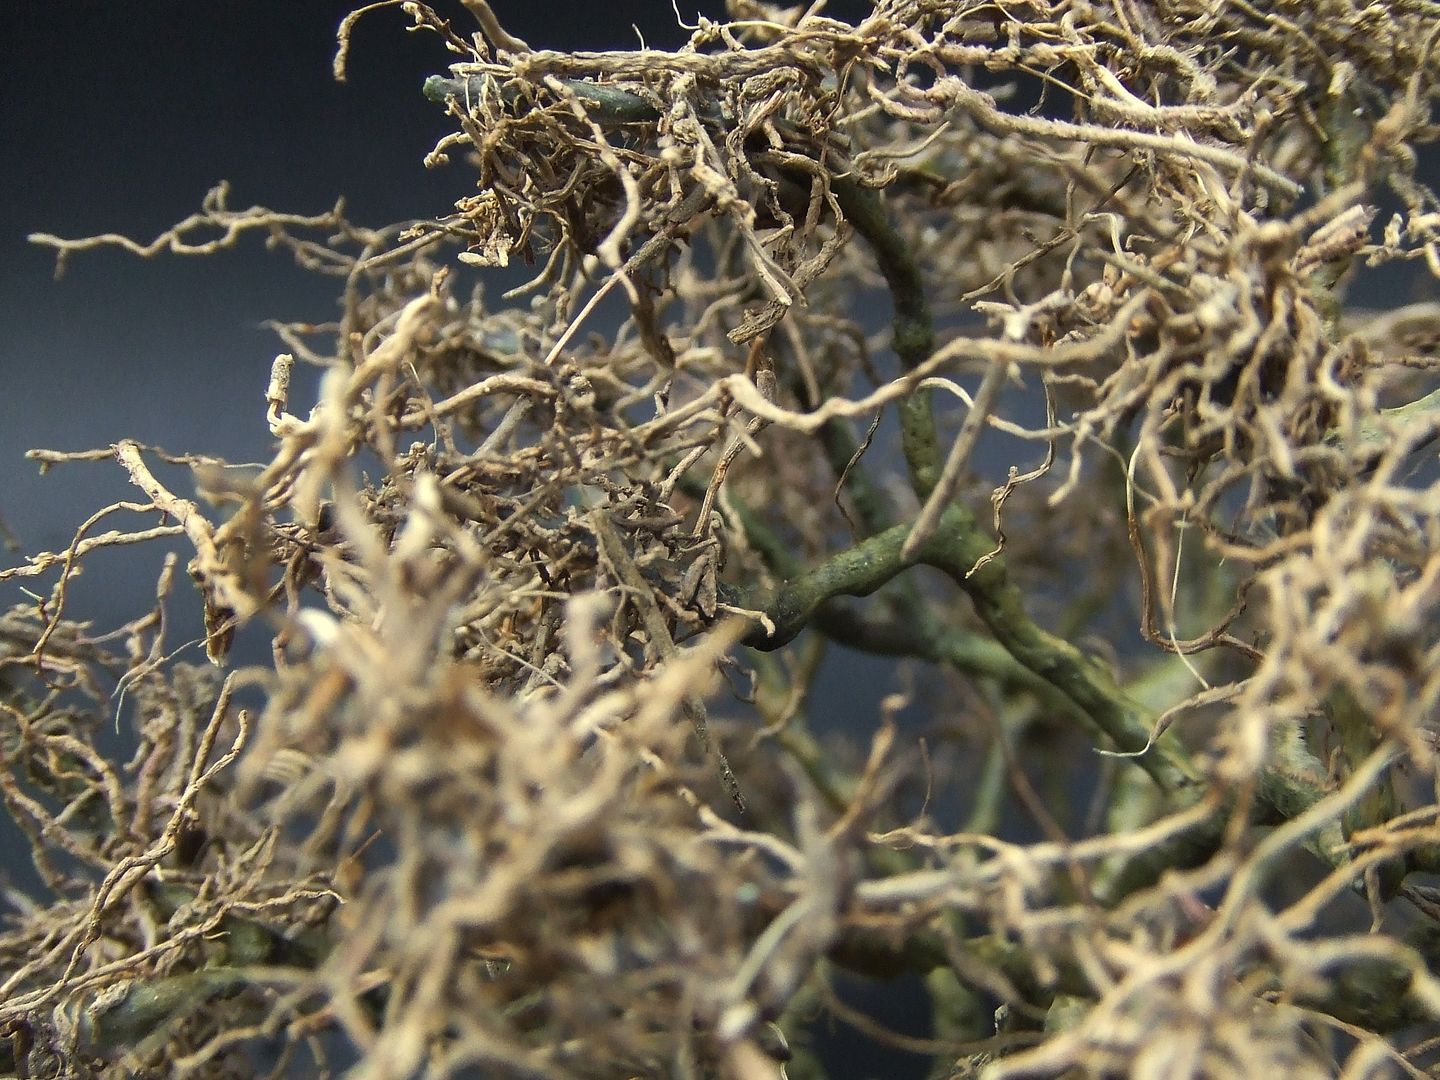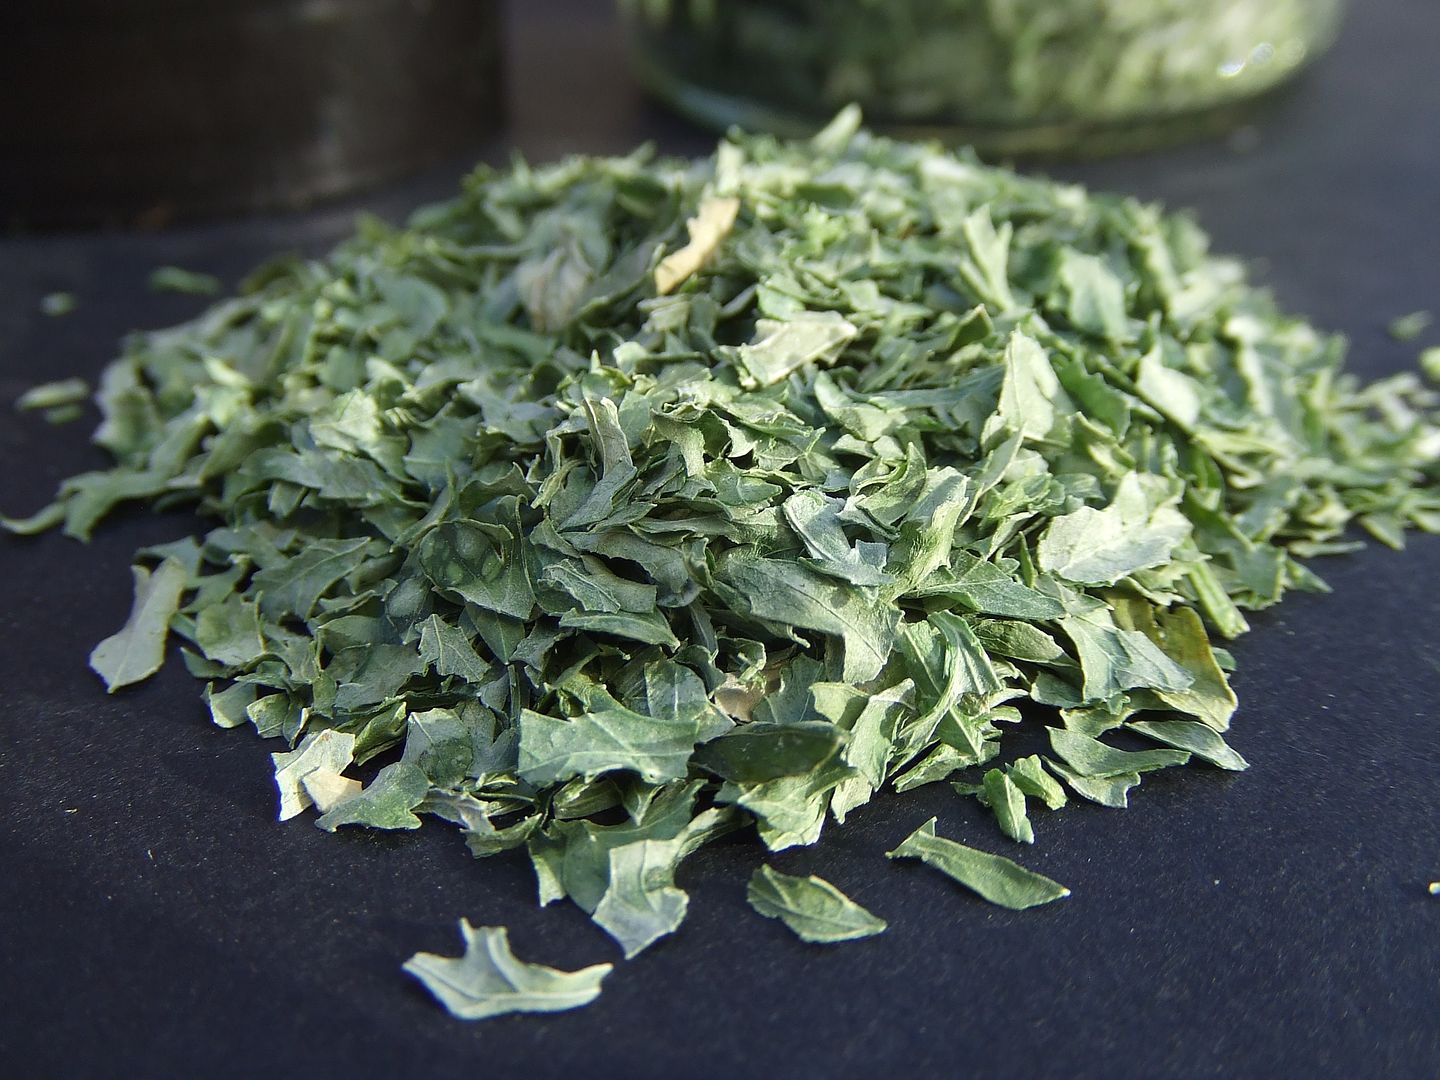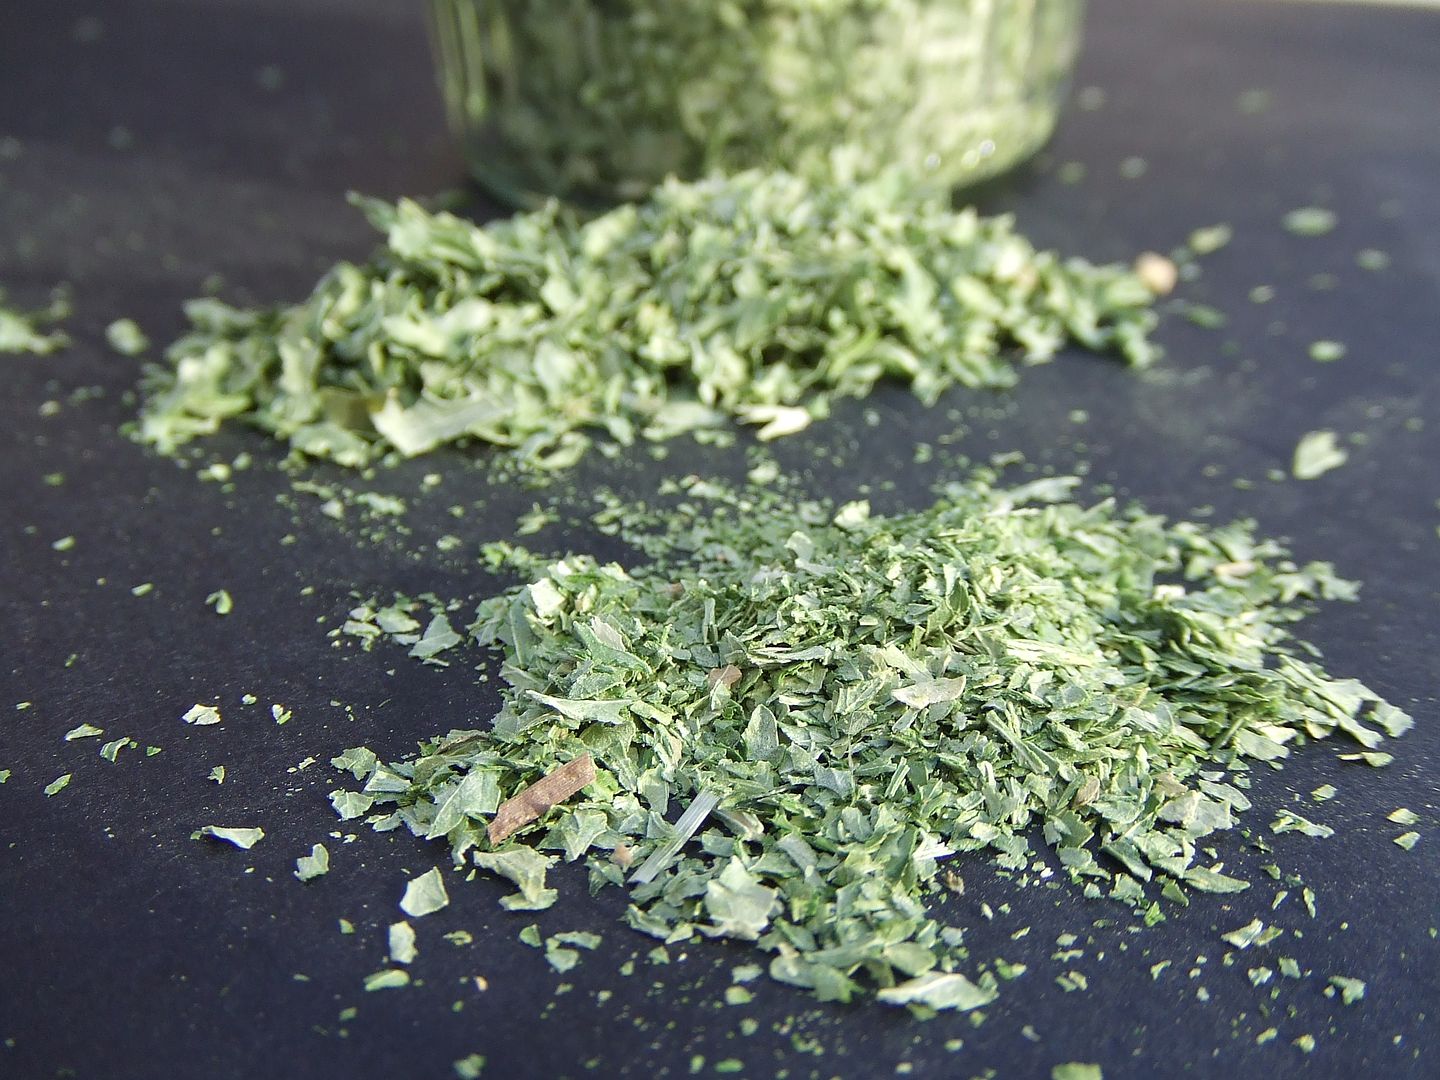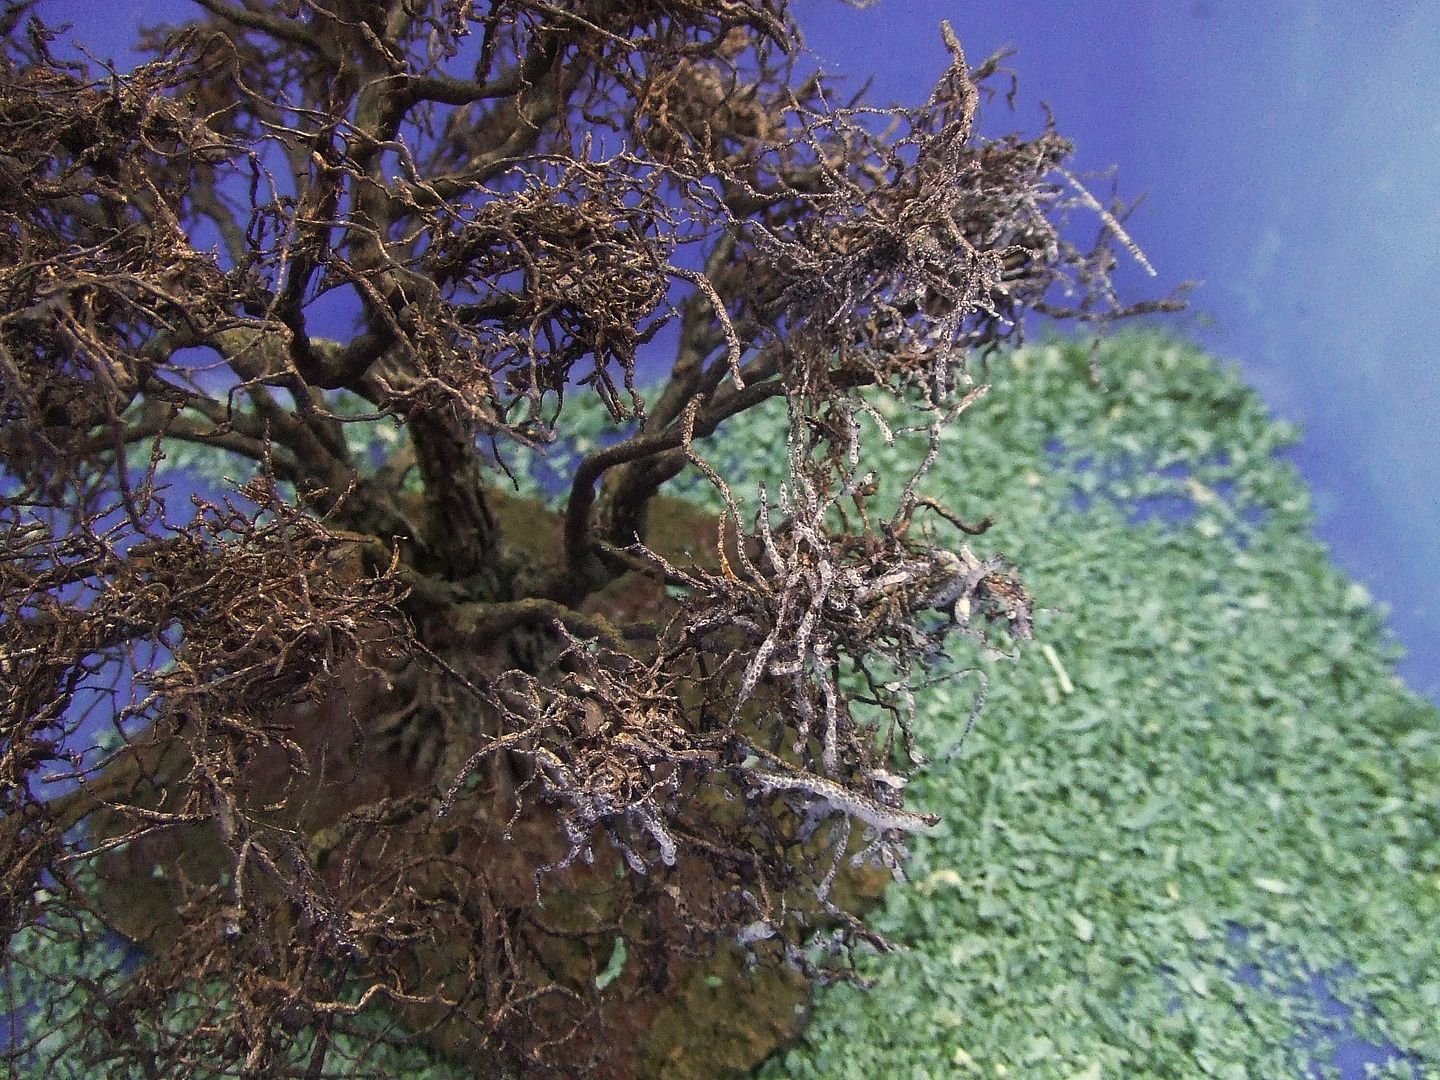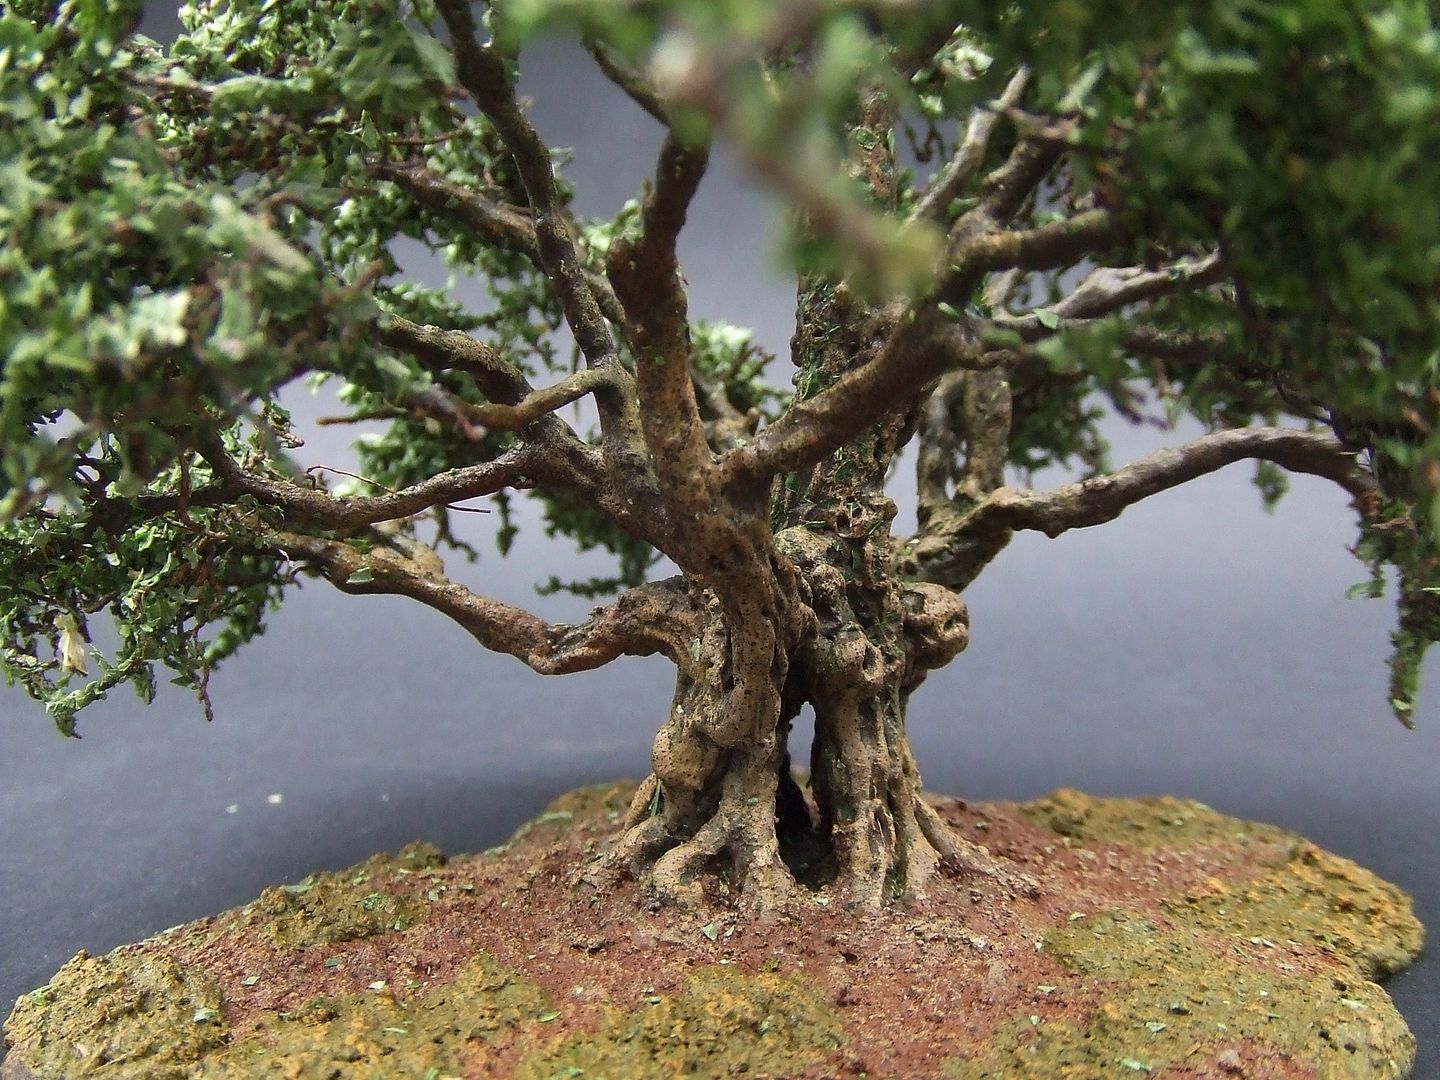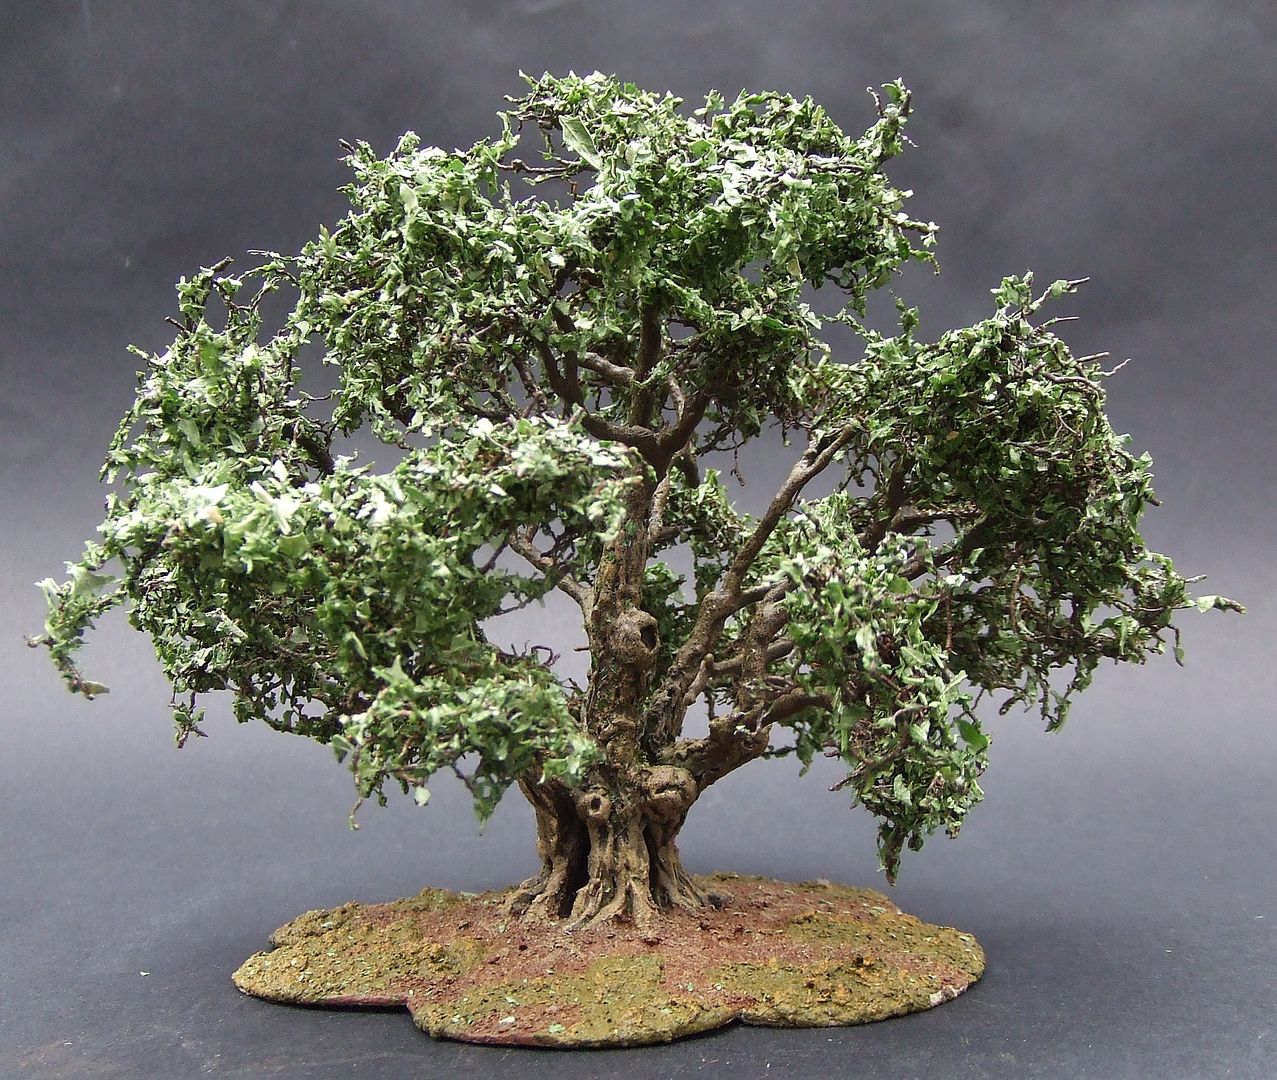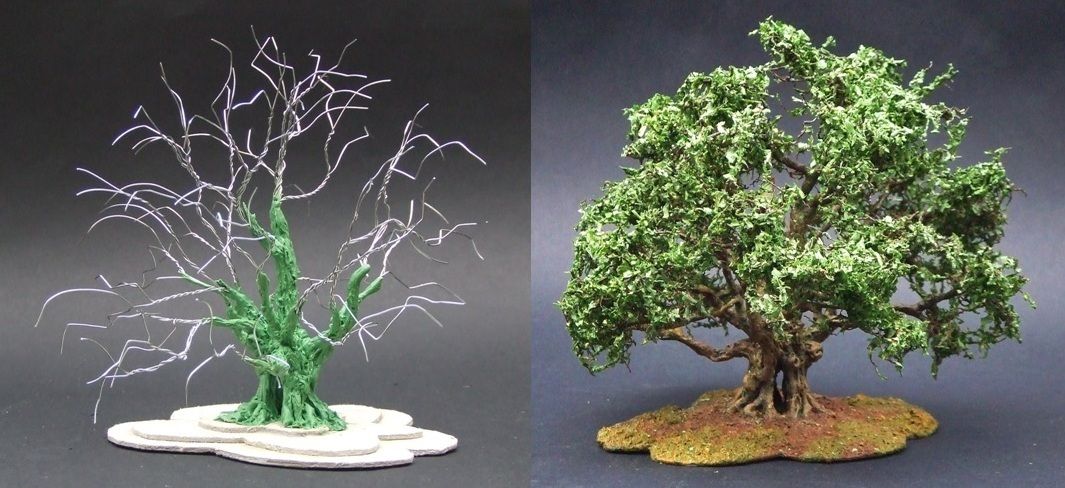
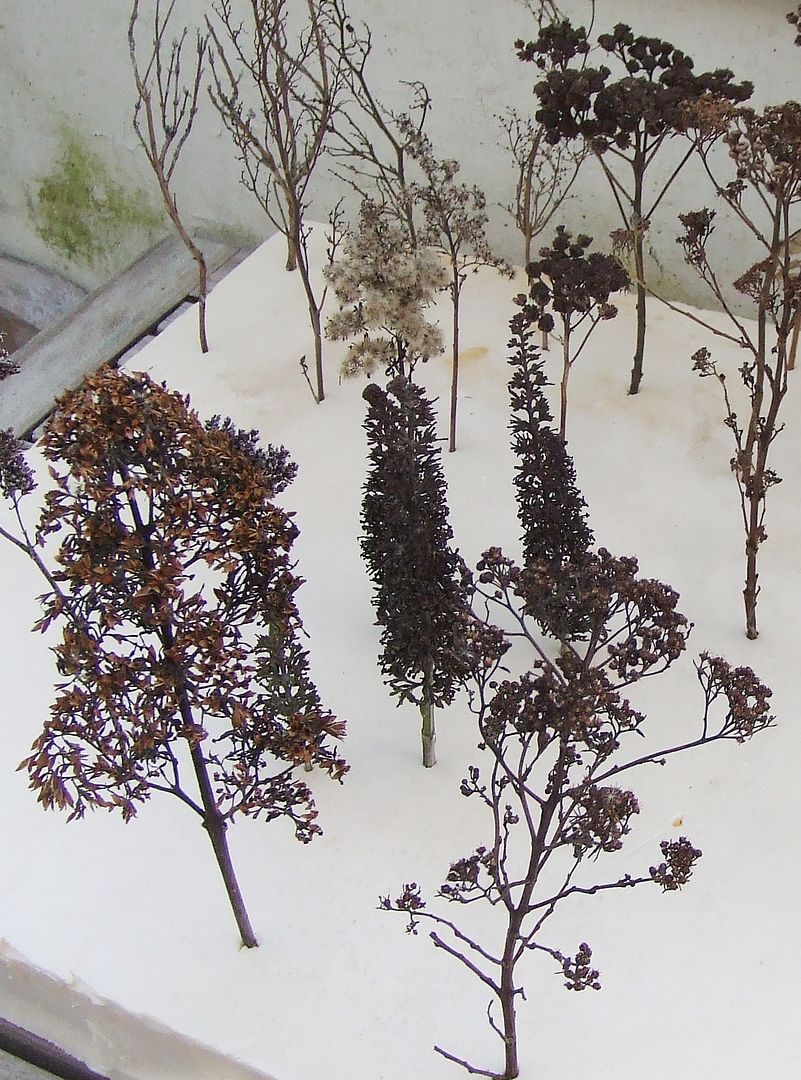
…and real plants…
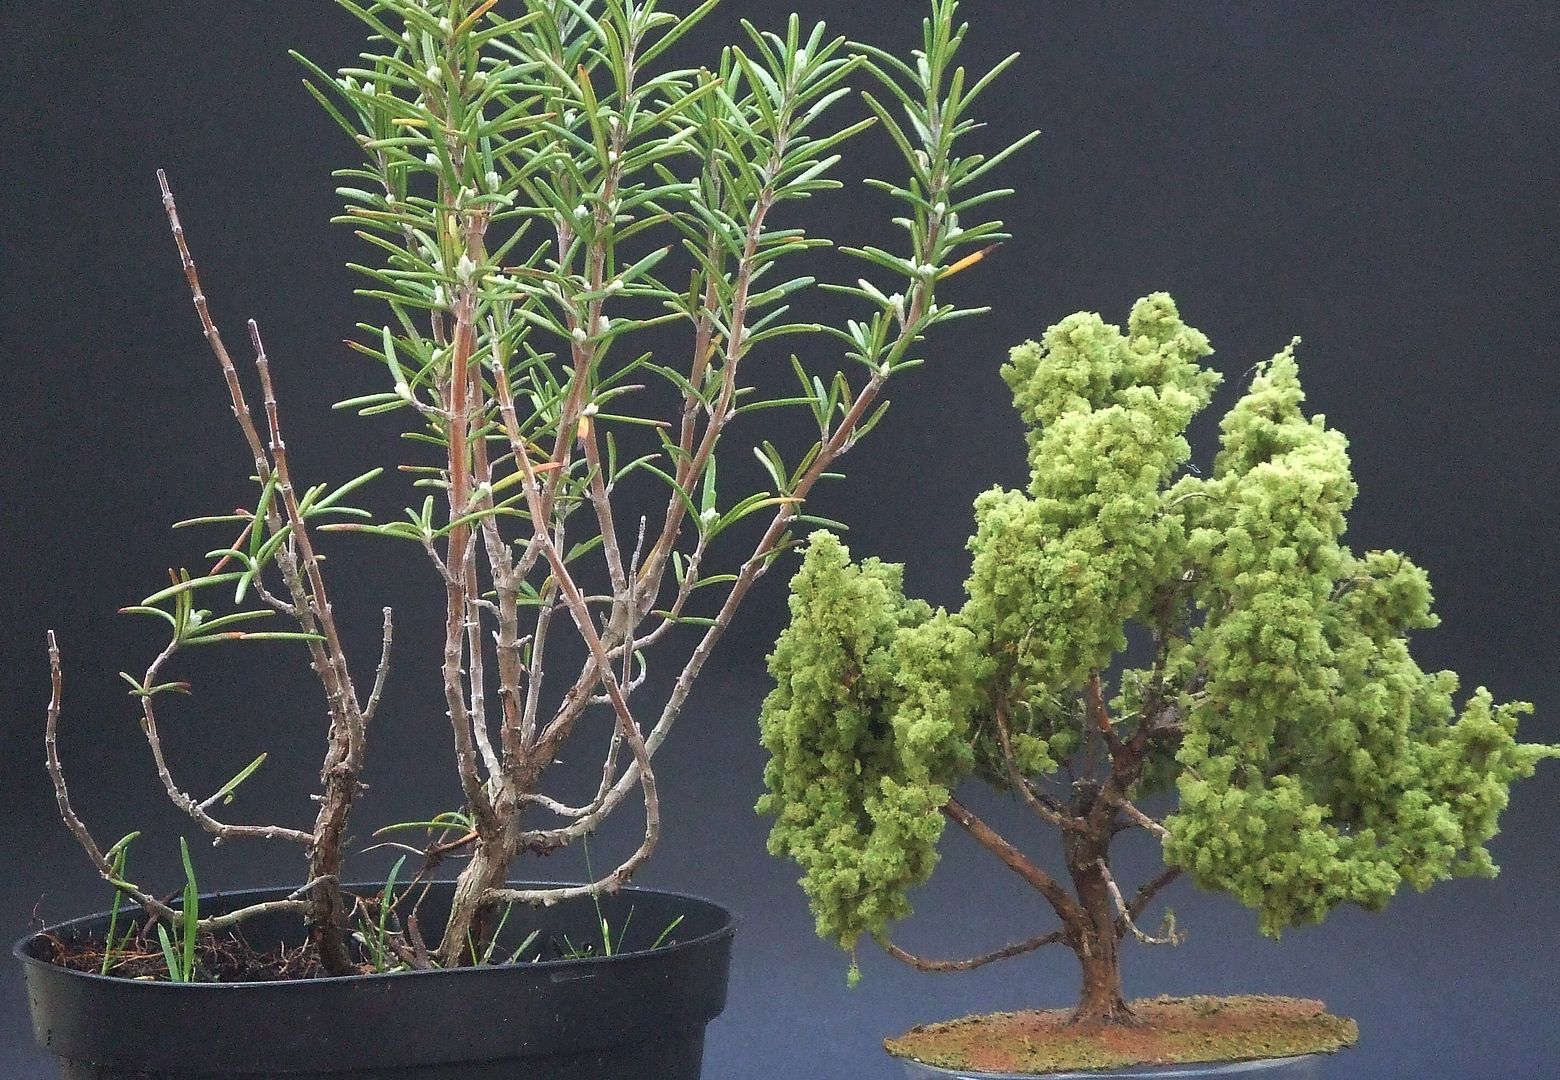
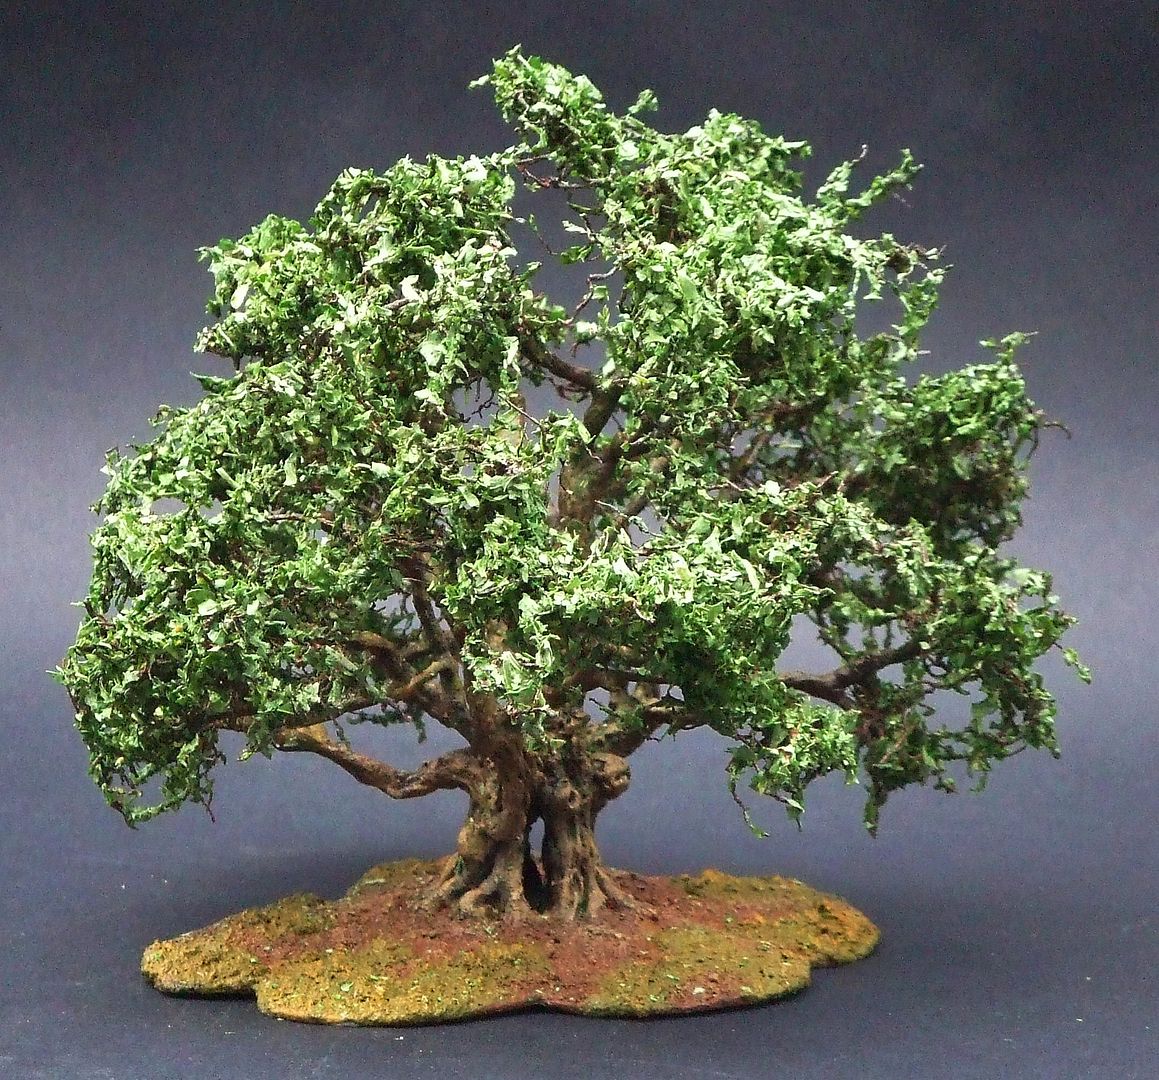
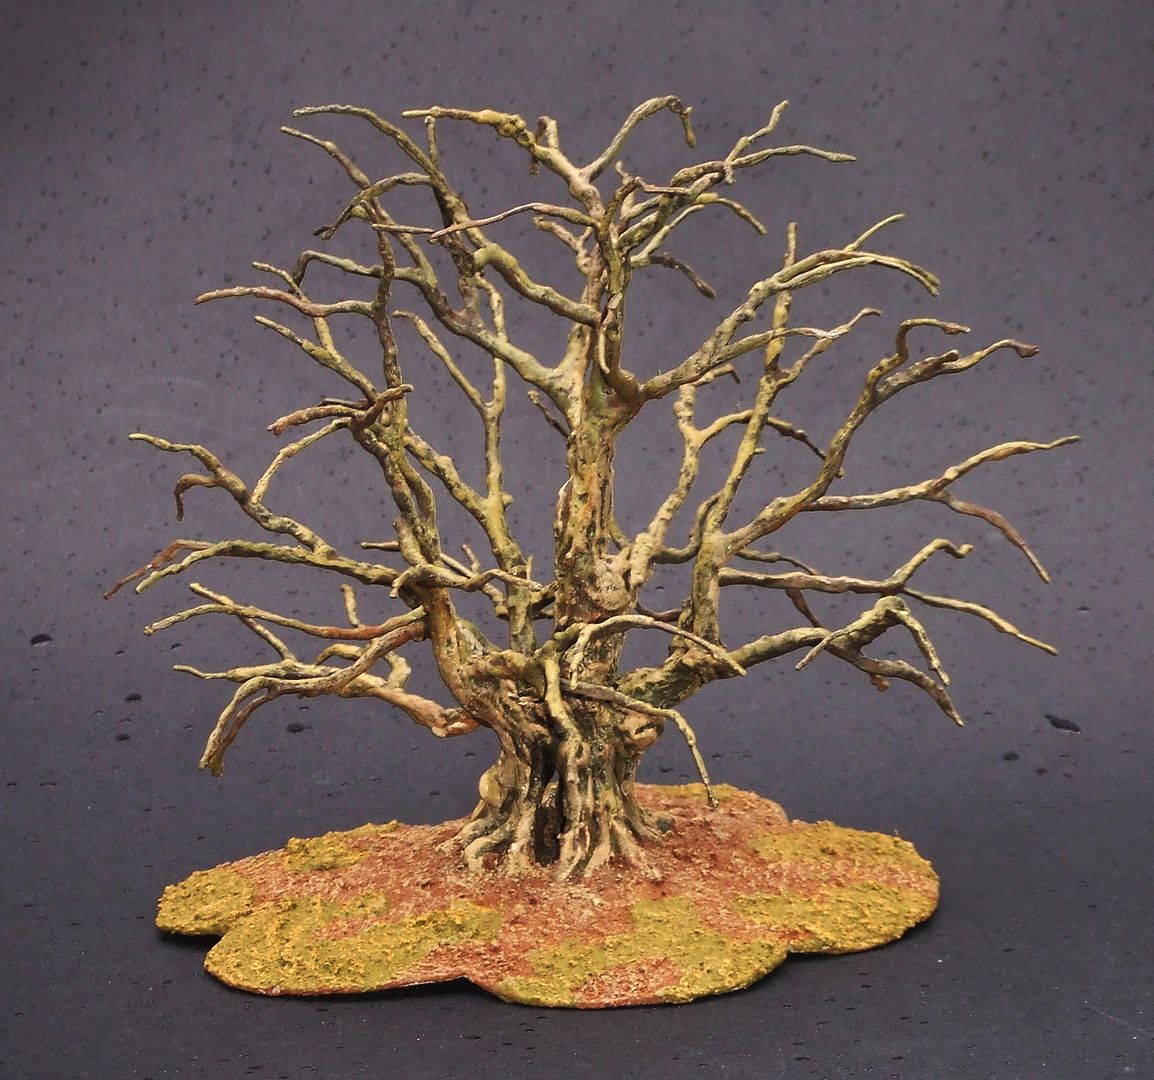
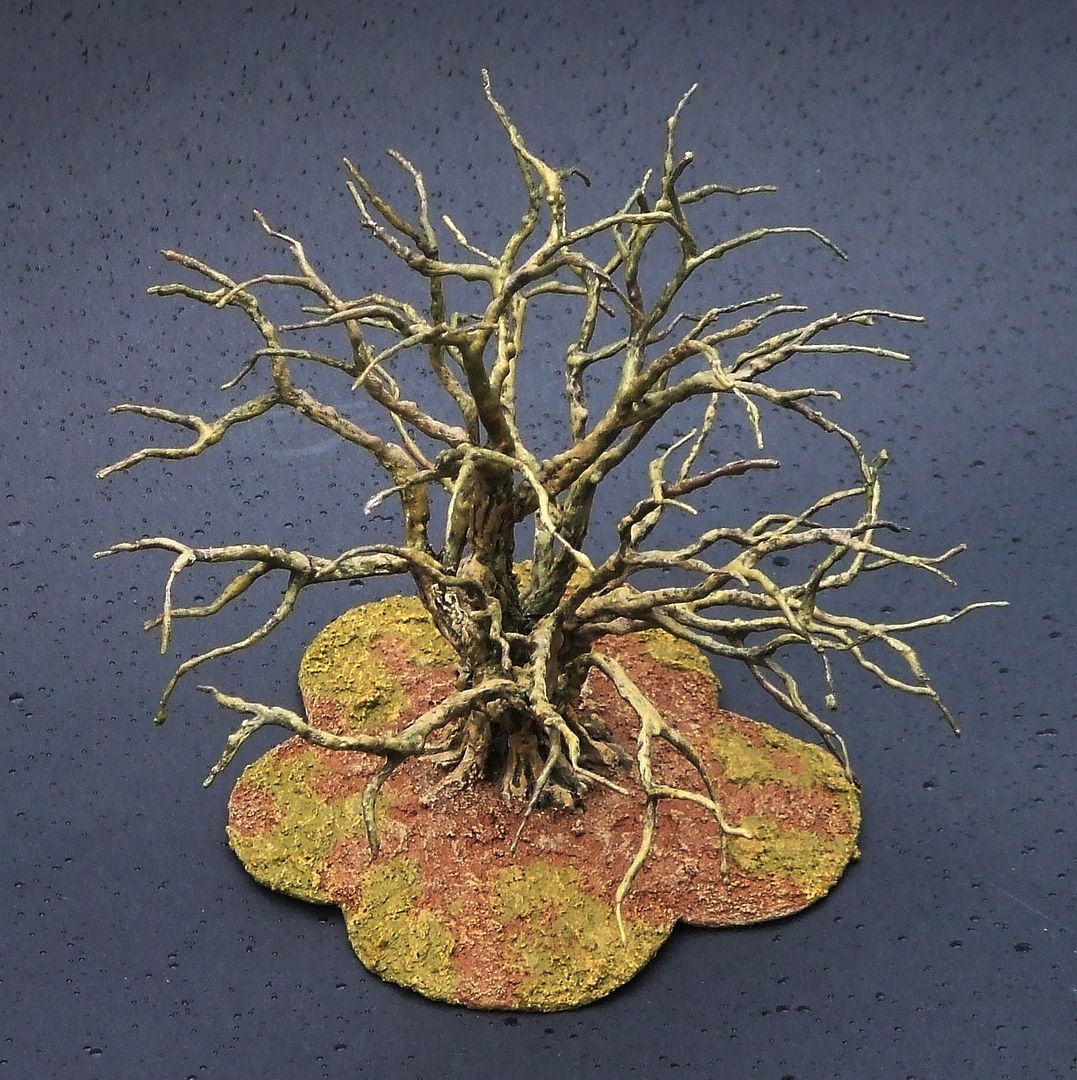
…to create miniature trees for both gaming tables and dioramas matching scales from 1:100 up to 1:32.
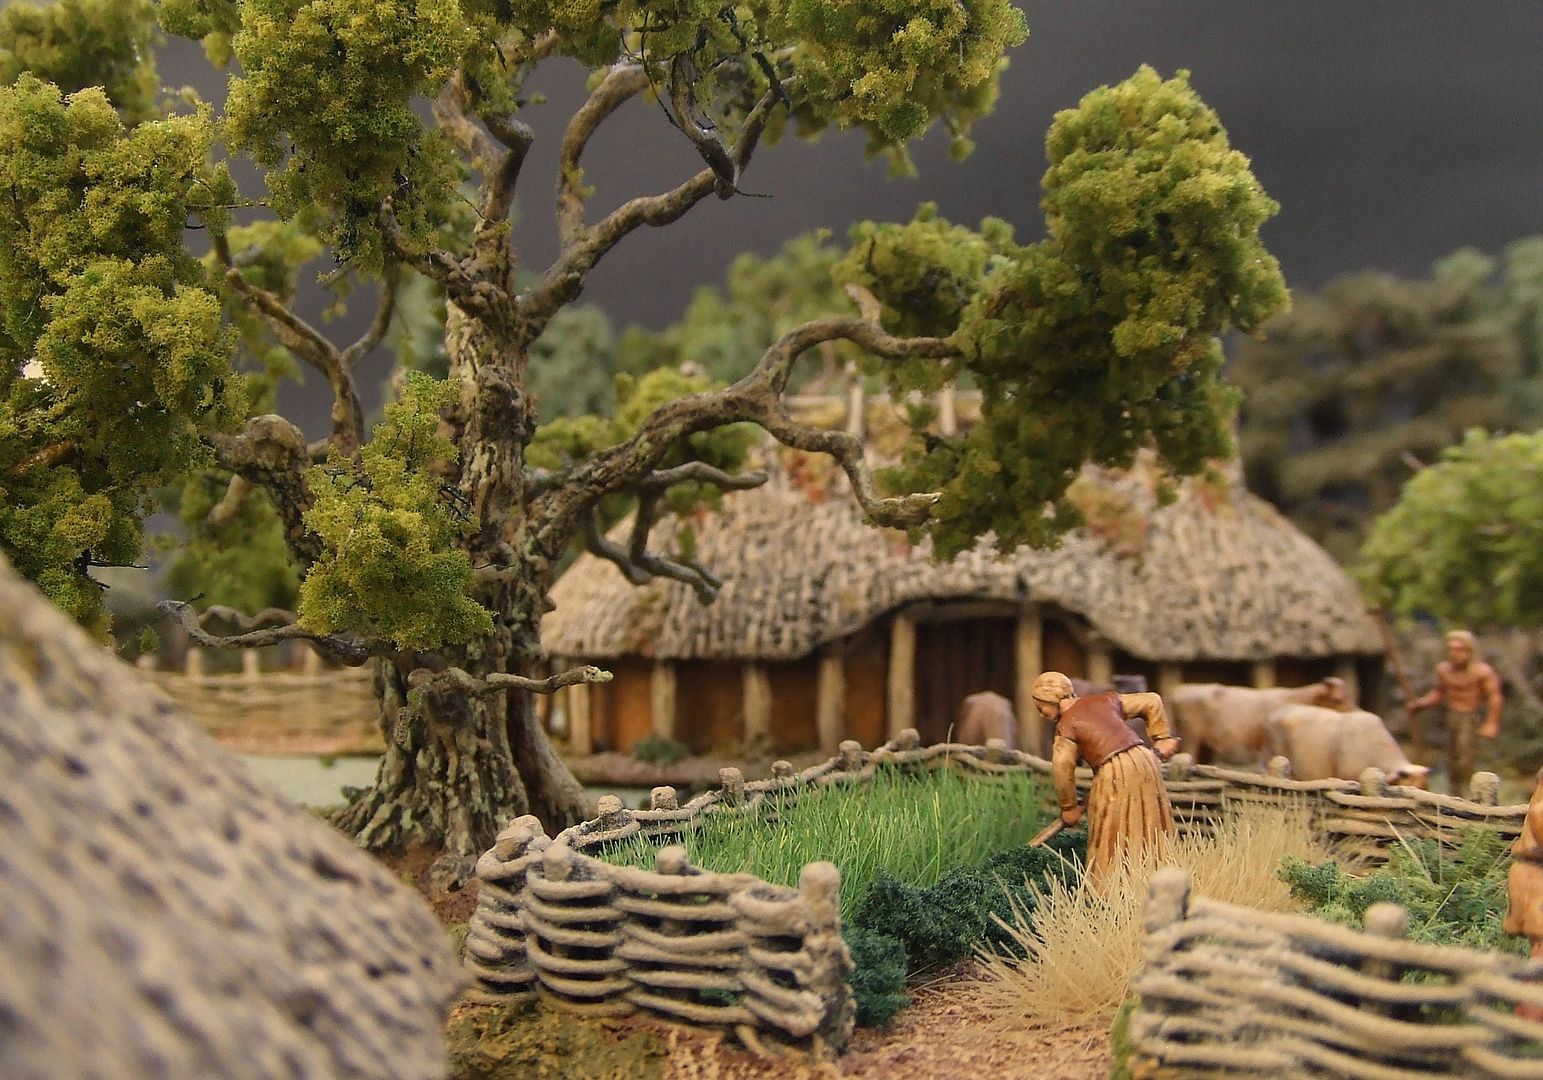
Using real plants is a quick and easy method but diversity of shape is limited and organic structures are often fragile so unfavorable for gaming purposes.
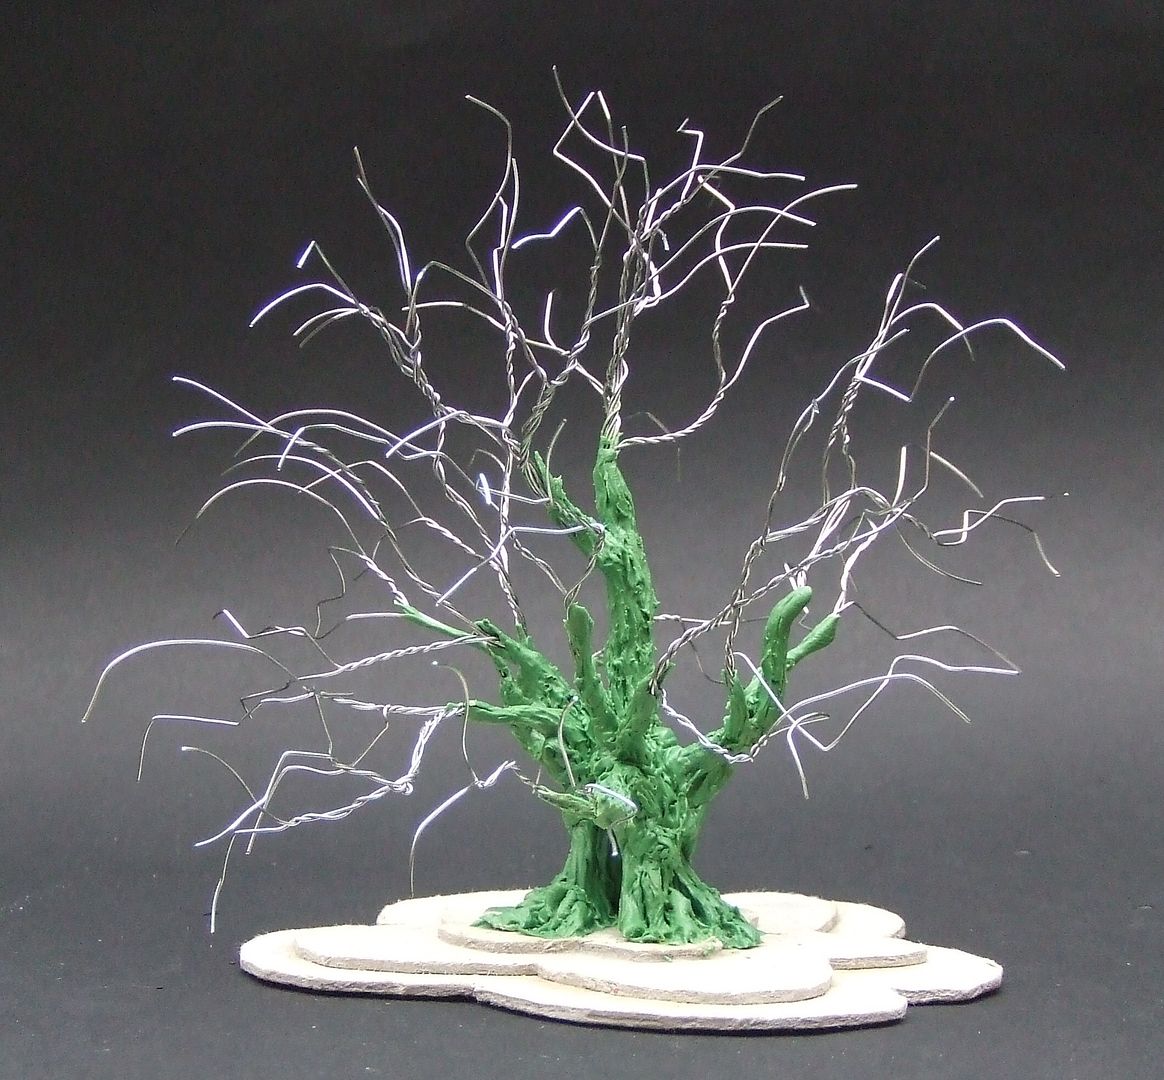
Metal wire framed trees are stronger and give far more possibilities to recreate nature in scale.
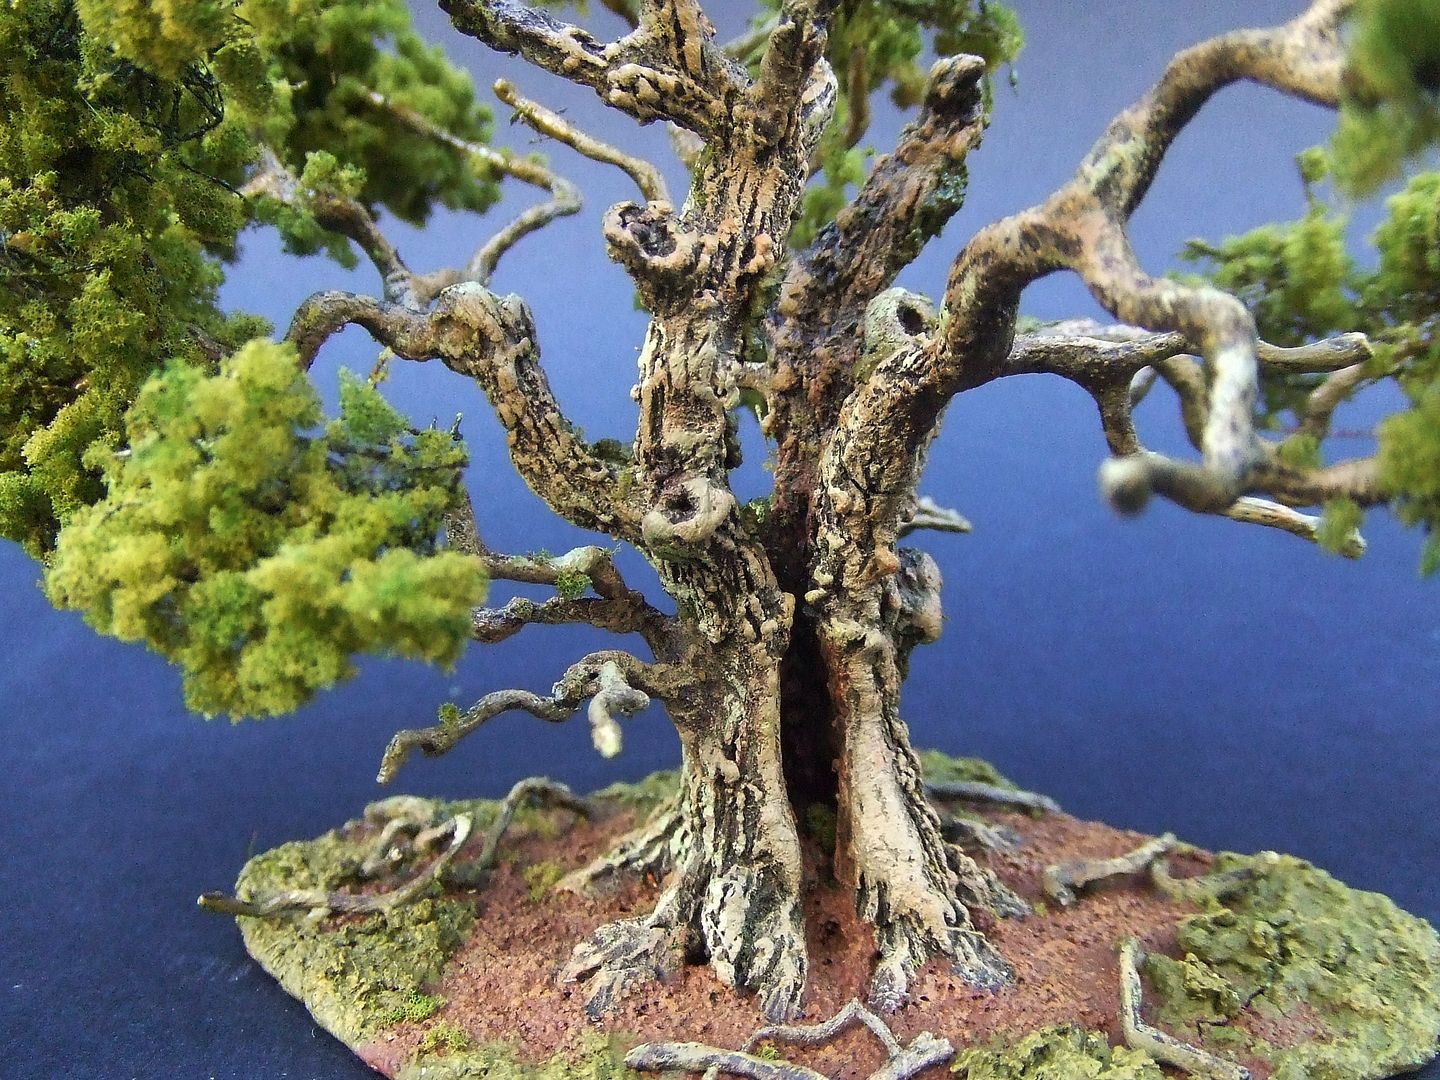
This metal wire technique will be treated first.
BUILDING A WEEPING WILLOW
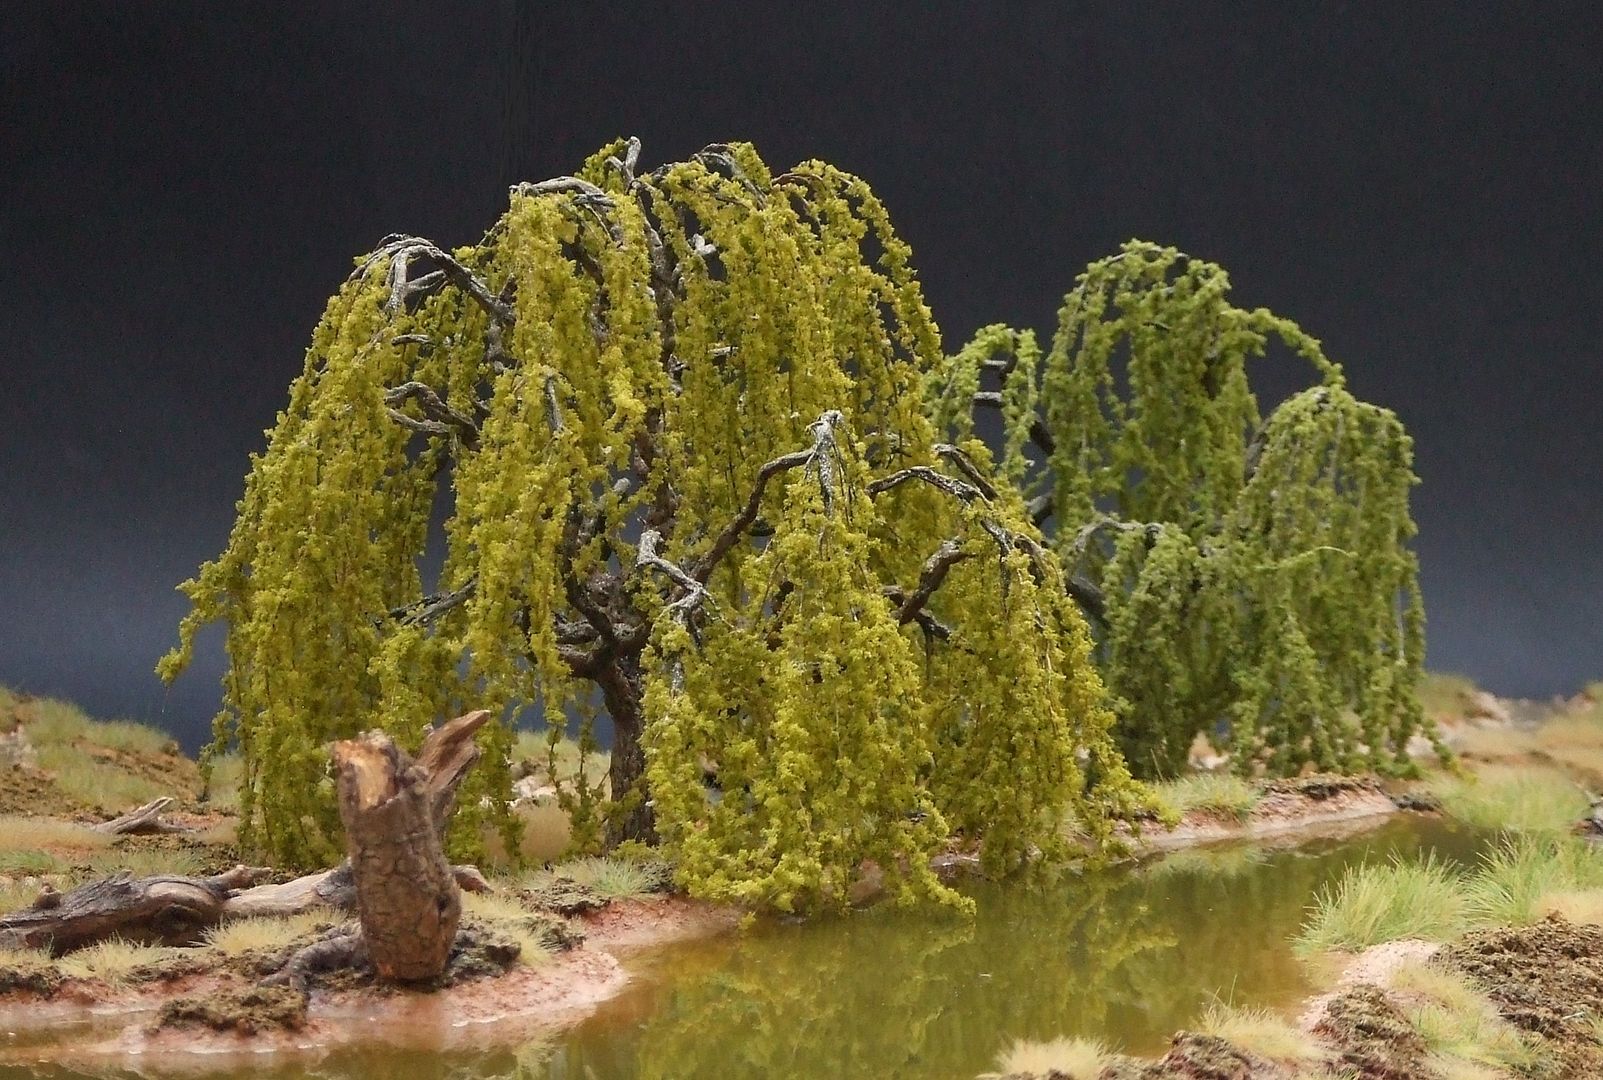
Latin name: Salix Sepulcralis Chrysocoma or Salix Babylonica

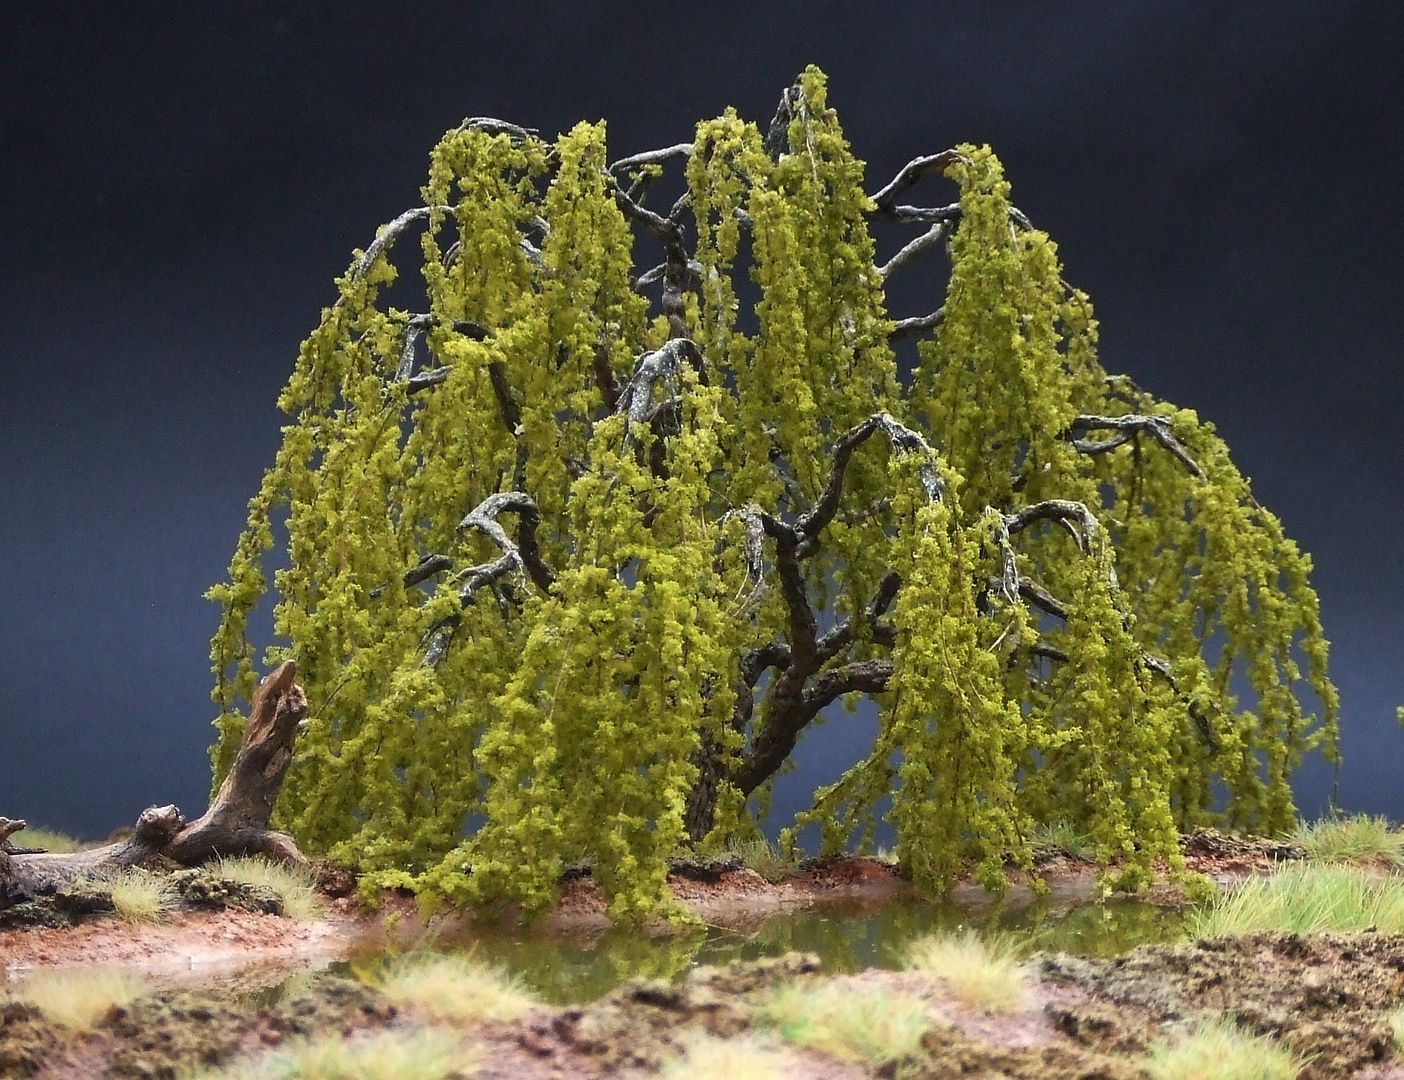
Heigth of the model is 14 cm matching H0, 1/72 and 28mm ranges.
CHOOSING THE RIGHT TREE FOR THE RIGHT SETTING
Make sure the tree fits the seasonal, geographical and historical context of your diorama or gaming table.
Many tree species we see in Europe today are imported exotics from the 18th century and after.
The weeping willow is not a natural species. It has been cultivated by crossbreeding in ancient China and found its way along trade routs to Syria and finally to Europe and America at the end of the 18th century.
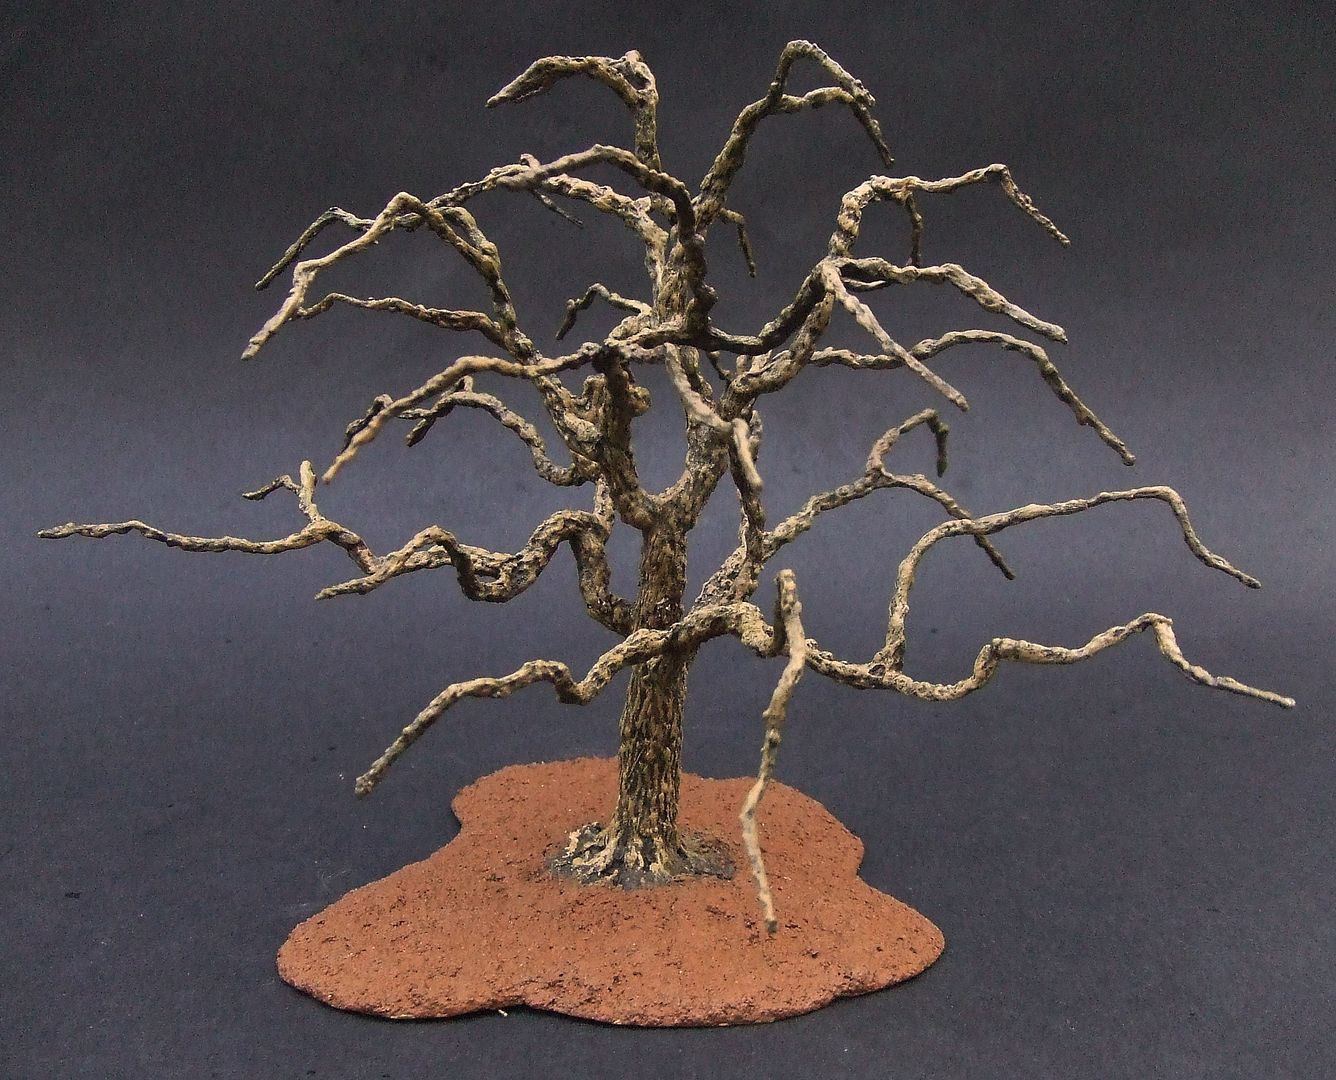
For this reason weeping willows can not be used for sceneries representing ancient, medieval or renaissance Europe.
Start looking at living trees first.

Make or collect different pictures of similar species…

…to learn about variety of shape and colour.

Choose season…

… and age of tree.

Keep in mind most weeping willows, like all other cultivated trees, have been planted by men and lost their natural shape during growth by trimming and sawing.


Unless you want a tree to look mutilated by gardeners…

… search for examples in their most natural appearance.

THE METAL WIRE FRAME
Use metal wire between 0,5mm and 0,2mm thick.
This is the thickness of a pin or needle or even thinner.
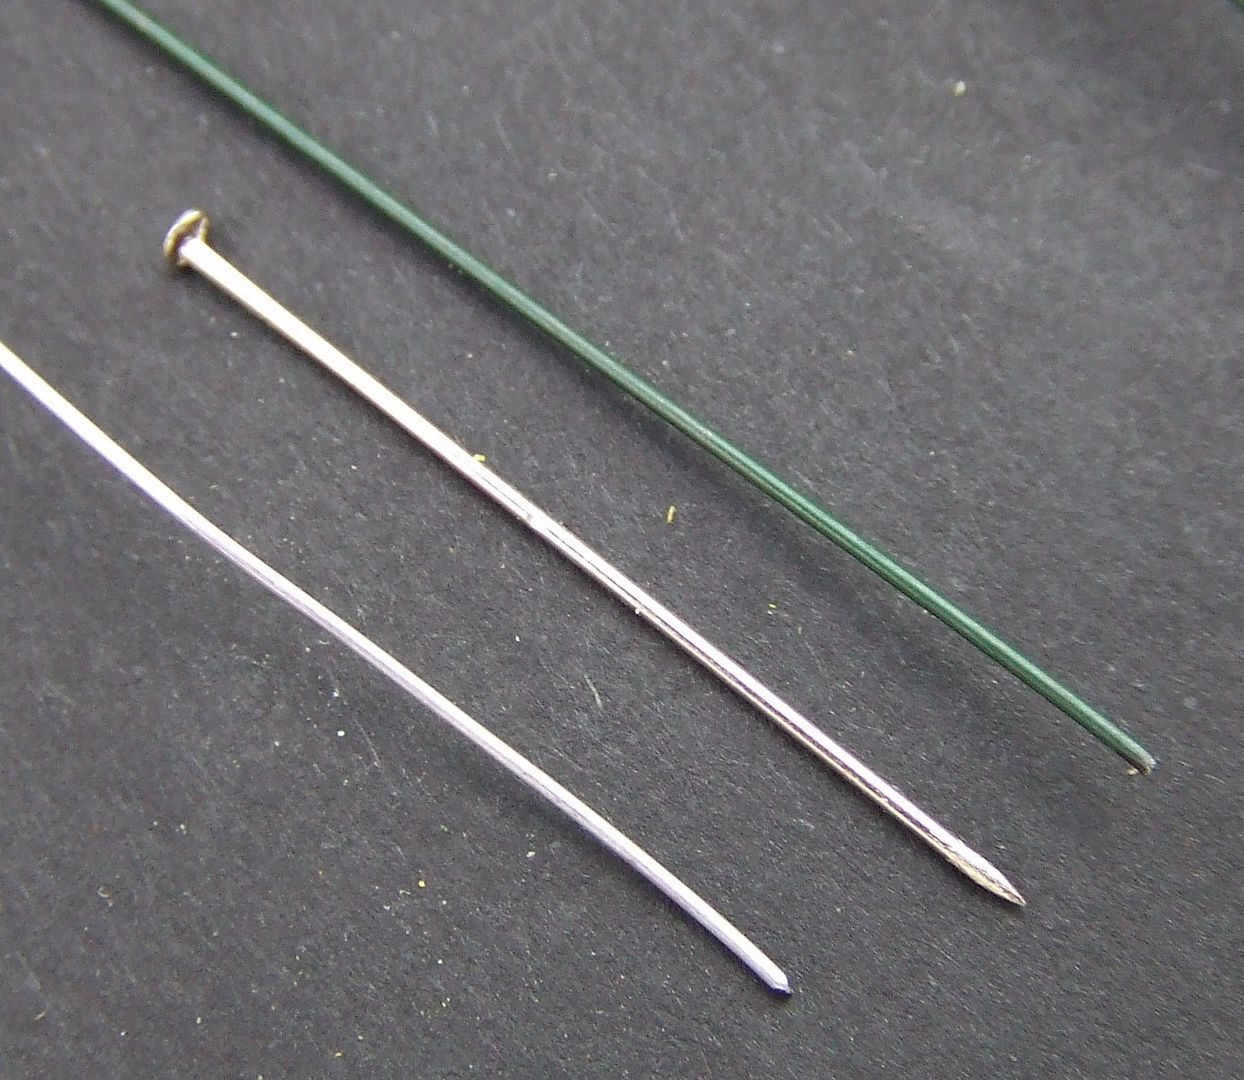
Use plain or painted metal wire.
Make sure you can bend it easily without tools.
Though very thin, single wired guitar or piano string will be too stiff.
Copper or brass wire might be too soft.
DO NOT use plastic coated wire produced for gardening, electra or closing garbage bags.
Or remove the plastic coating first.
Plastic coating weakens the construction, frustrates proper shaping and makes it all unnecessarily clumsy.
Start with 16 wires (or any number between 4 and 25 depending on scale and age of tree)
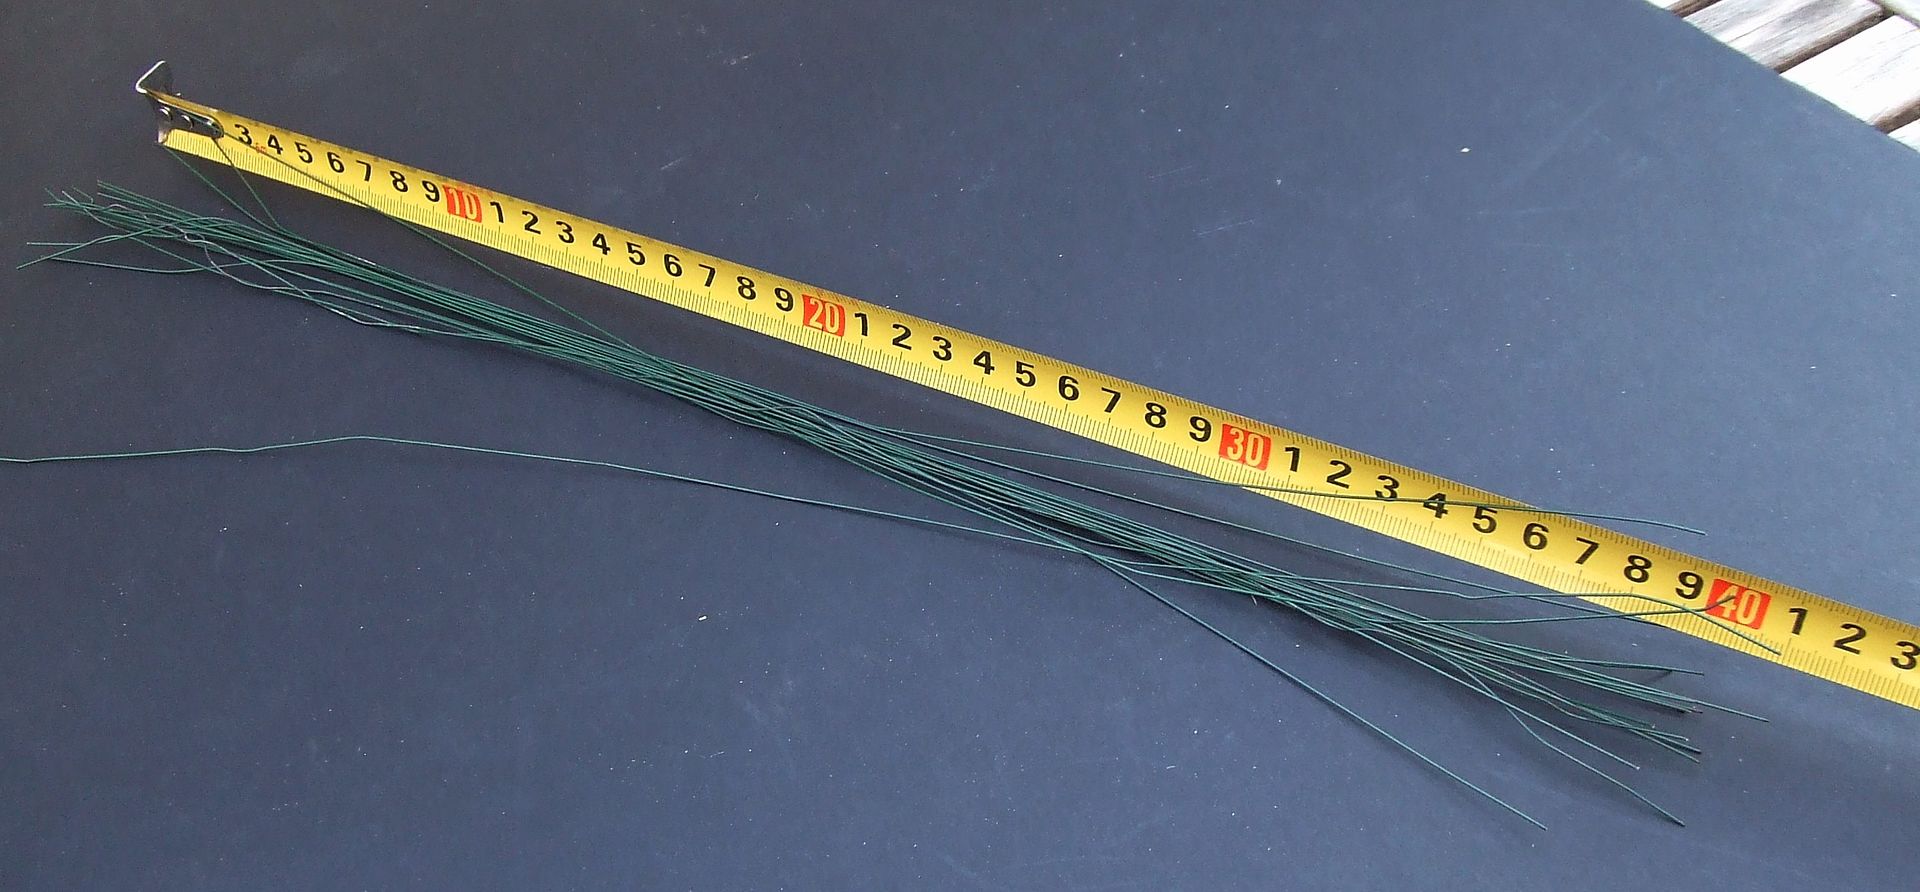
40 cm length each (depending on scale and age)
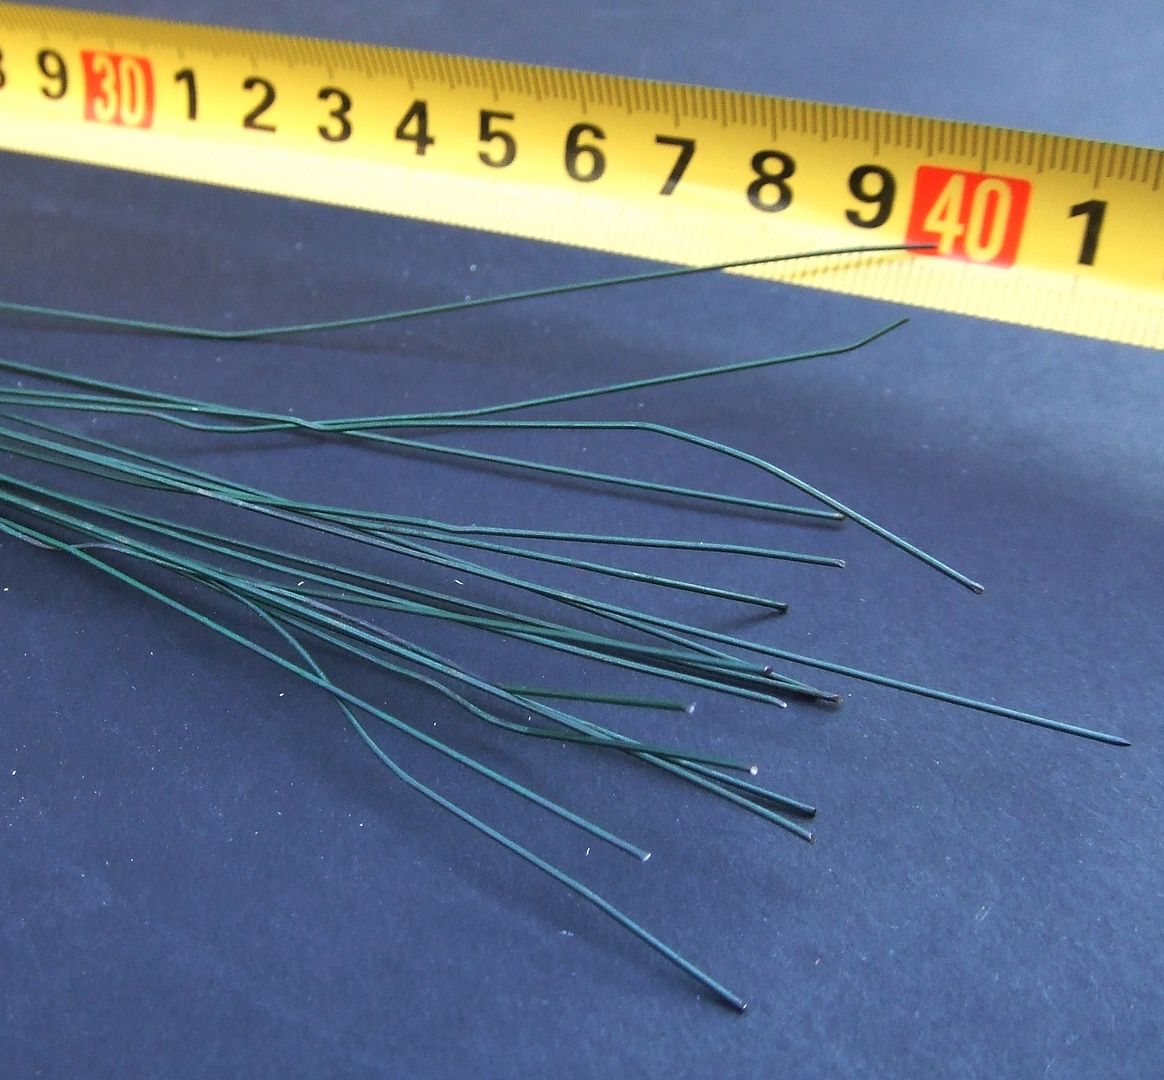
After folding all wires halve way once, this makes 32 lines of 20 cm length each, running all the way from root to crest.
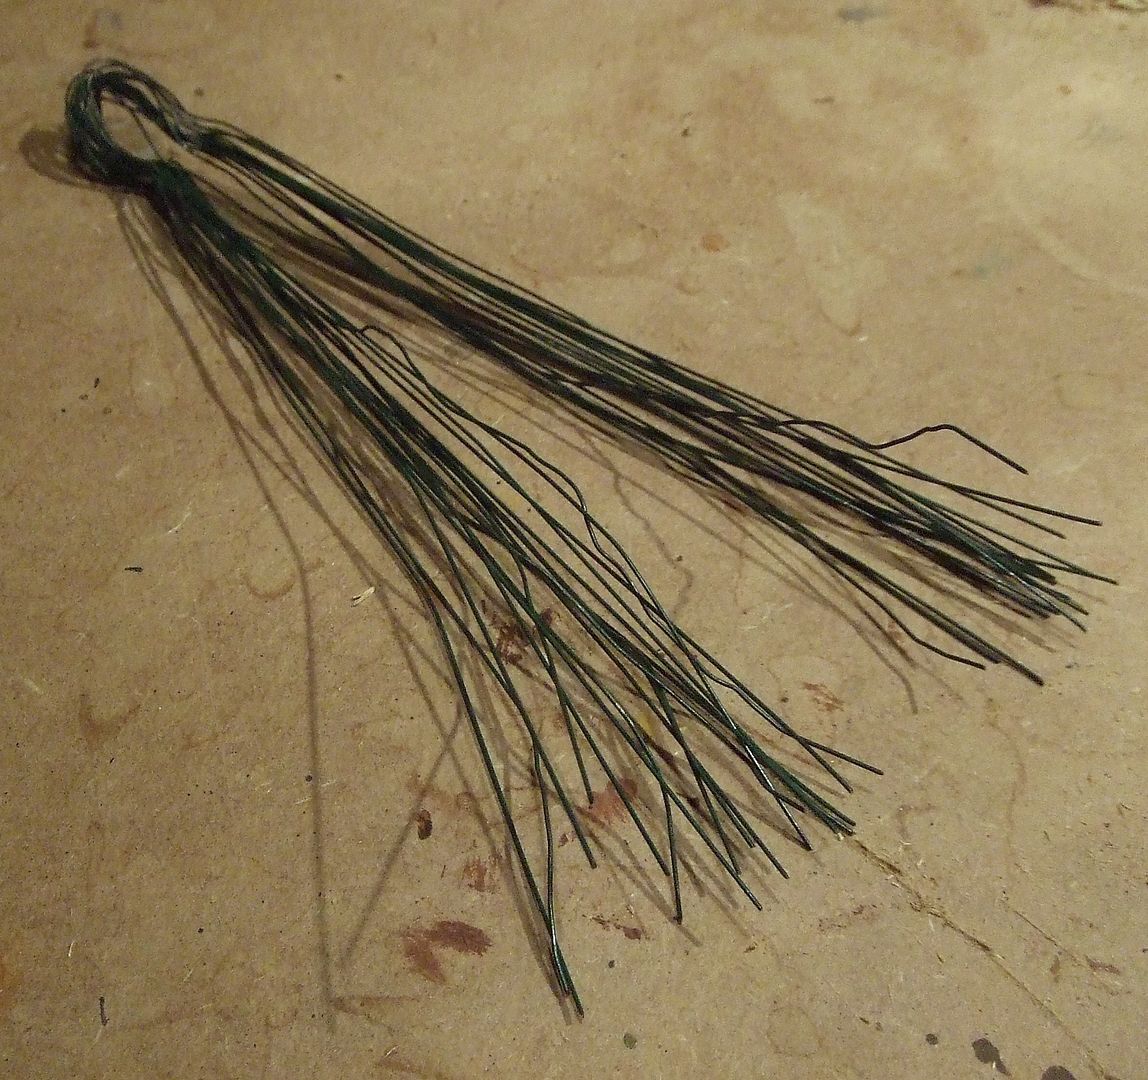
This length will decrease during construction by twisting the wire and spreading roots and branches sideways.
Position the foldings over a brush handle or similar object.
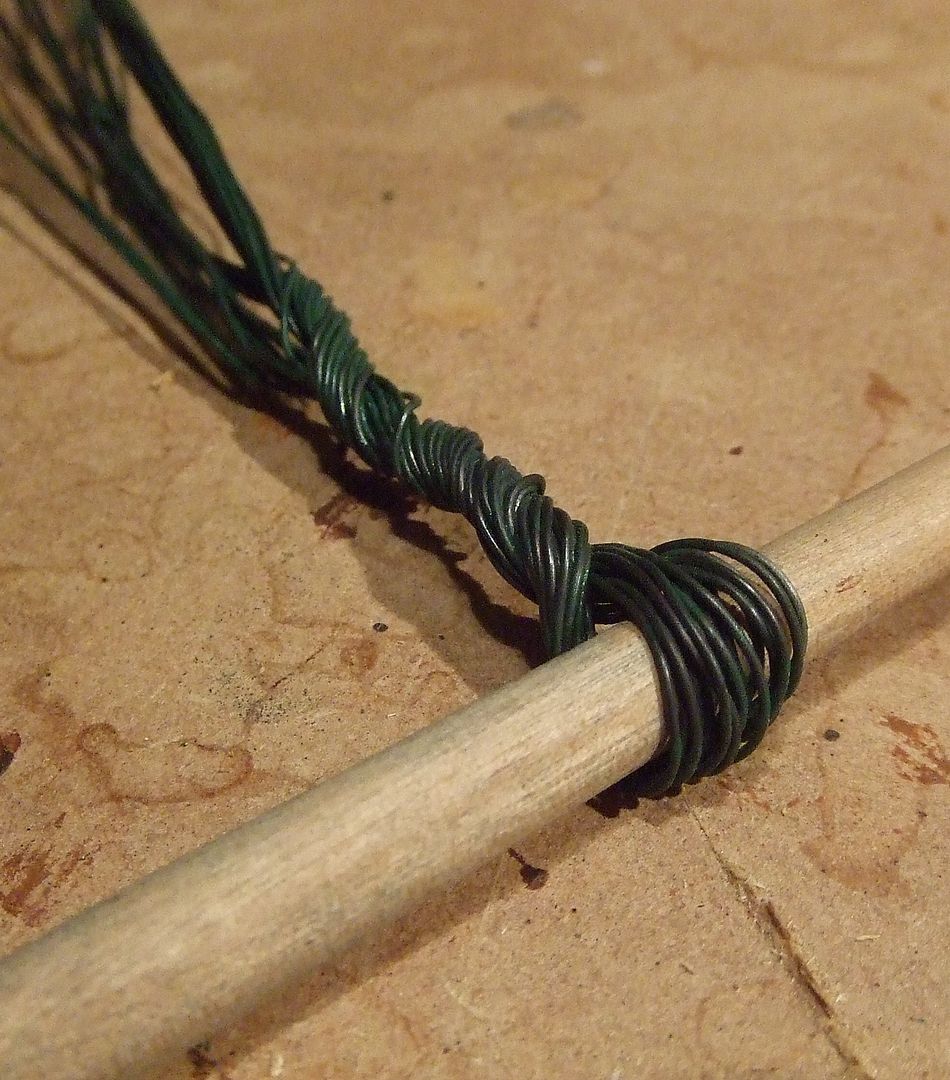
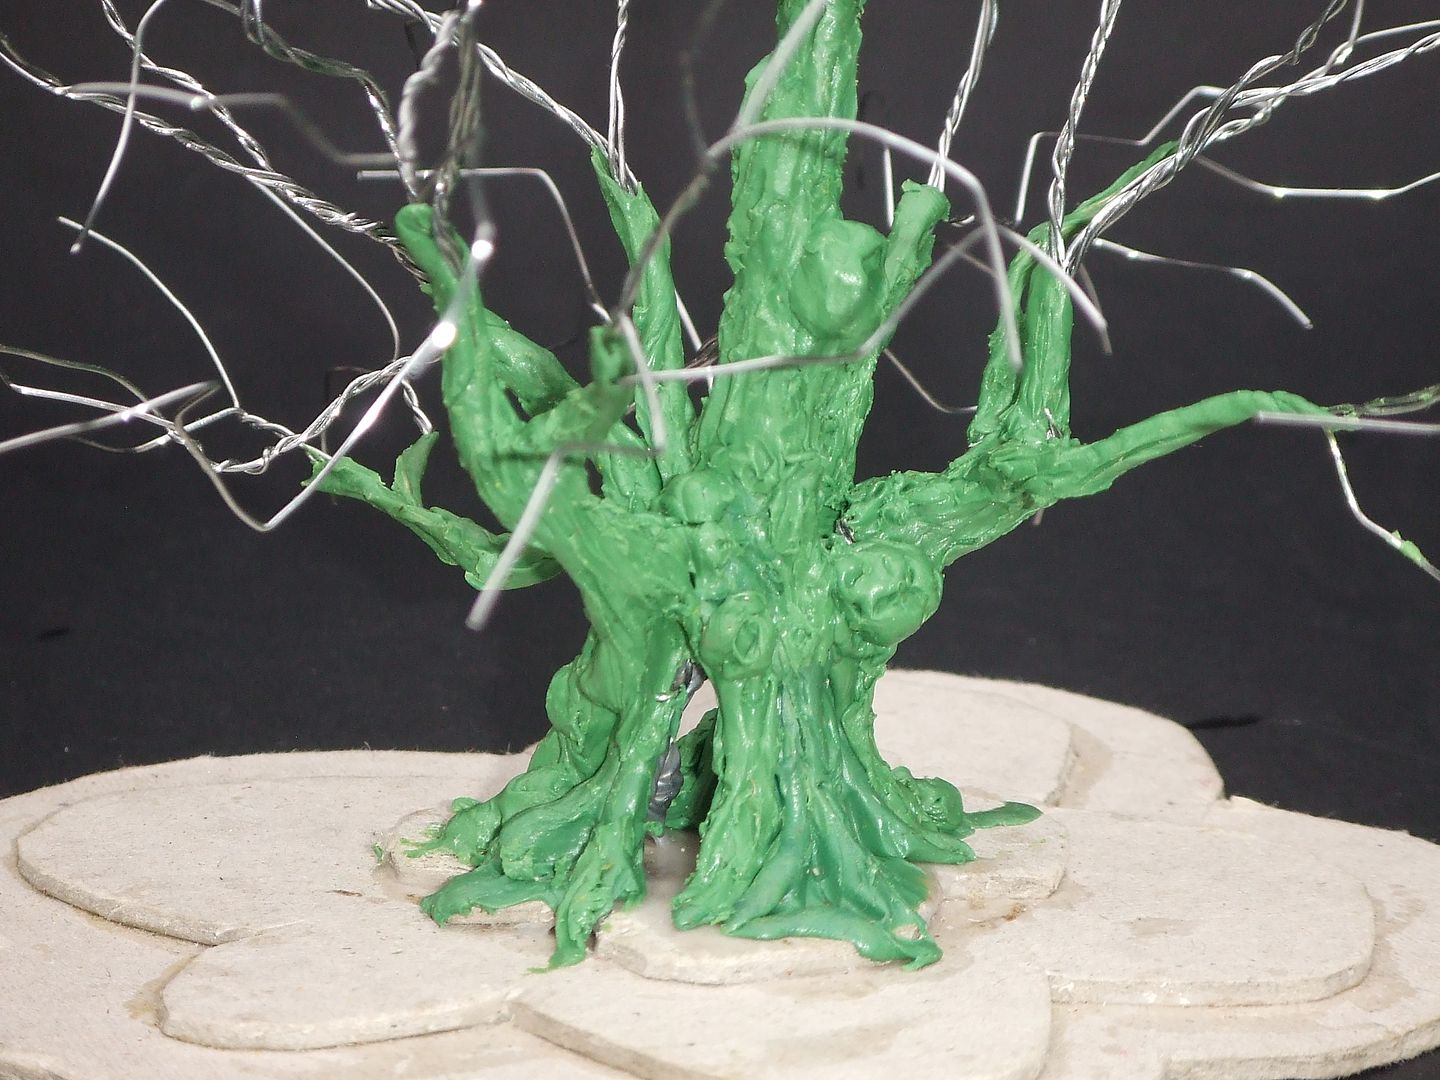
Twist all wires together by hand for about 3 cm: this will be the trunk.
Now comes the most important part of all.
Choose the spots where branches split from the main trunk.
The work is easy and goes very fast.
But once you twisted a branch, you can not undo it again.
The wire needs to be perfectly straight for making a new twisting.
If untwisted and twisted again, the frame will become messy and difficult to plaster in a later phase.
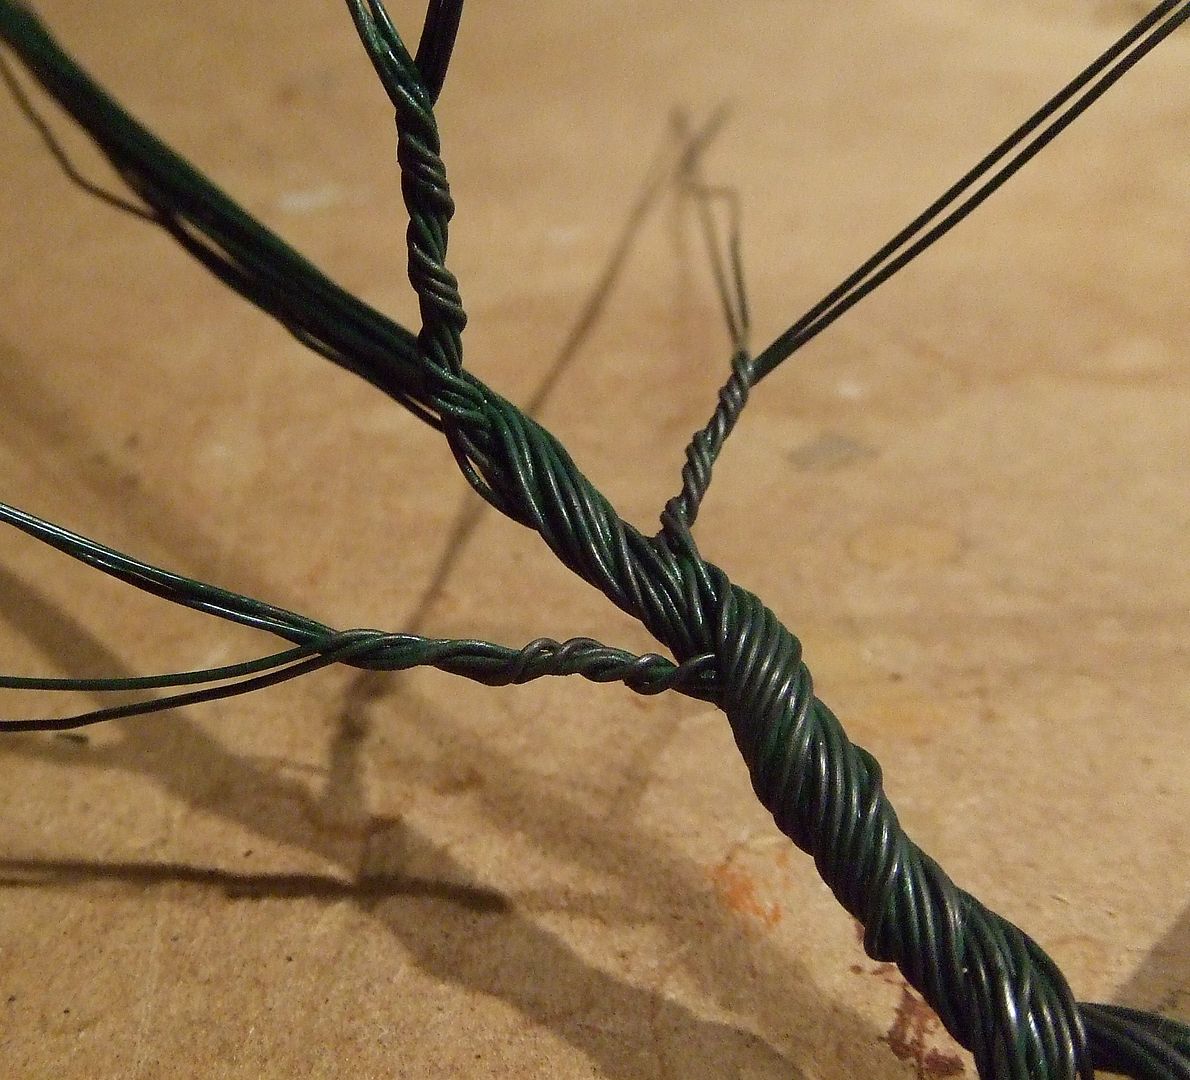
Twist branches in same or opposite direction as trunk.
Twist branches from 2 up to 12 wires together.
Branches of 4 to 6 wires are average.
Always keep the largest group of wires as central main trunk growing all the way upwards, unless you make a twin or splitted tree.
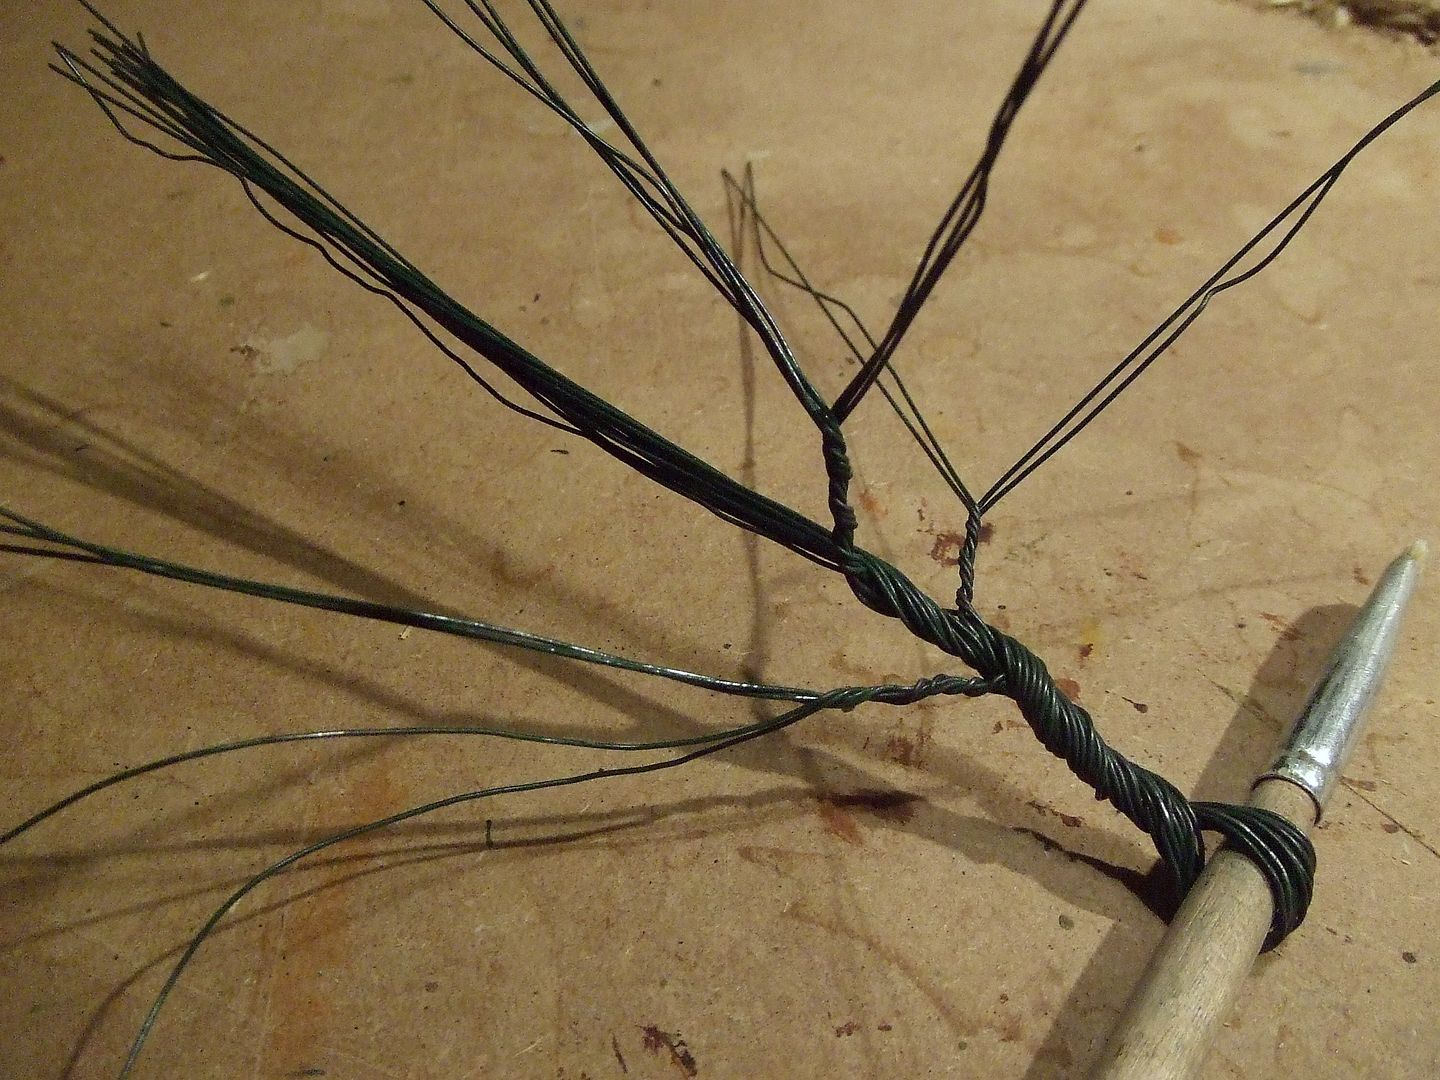
Bending and swinging trunk and branches will be done later.
Keeping the wires straight at this stage facilitates easyer twisting work.
A real tree in wintertime gives the clearest example for how to position and split the branches.

Don’t panic when real nature looks too complicated.

In this case an abstraction of the subject, like a graphical artists impression, might be helpfull.
Because a model tree is, apart from a deminishing, also an abstraction of a real one anyhow.

Avoid triple junctions.
2 branches leaving the trunk at the same spot is unusual for most trees including the weeping willow.
A branch splitting in 3 or 4 smaller branches at the same spot is unusual too.
Though not impossible.

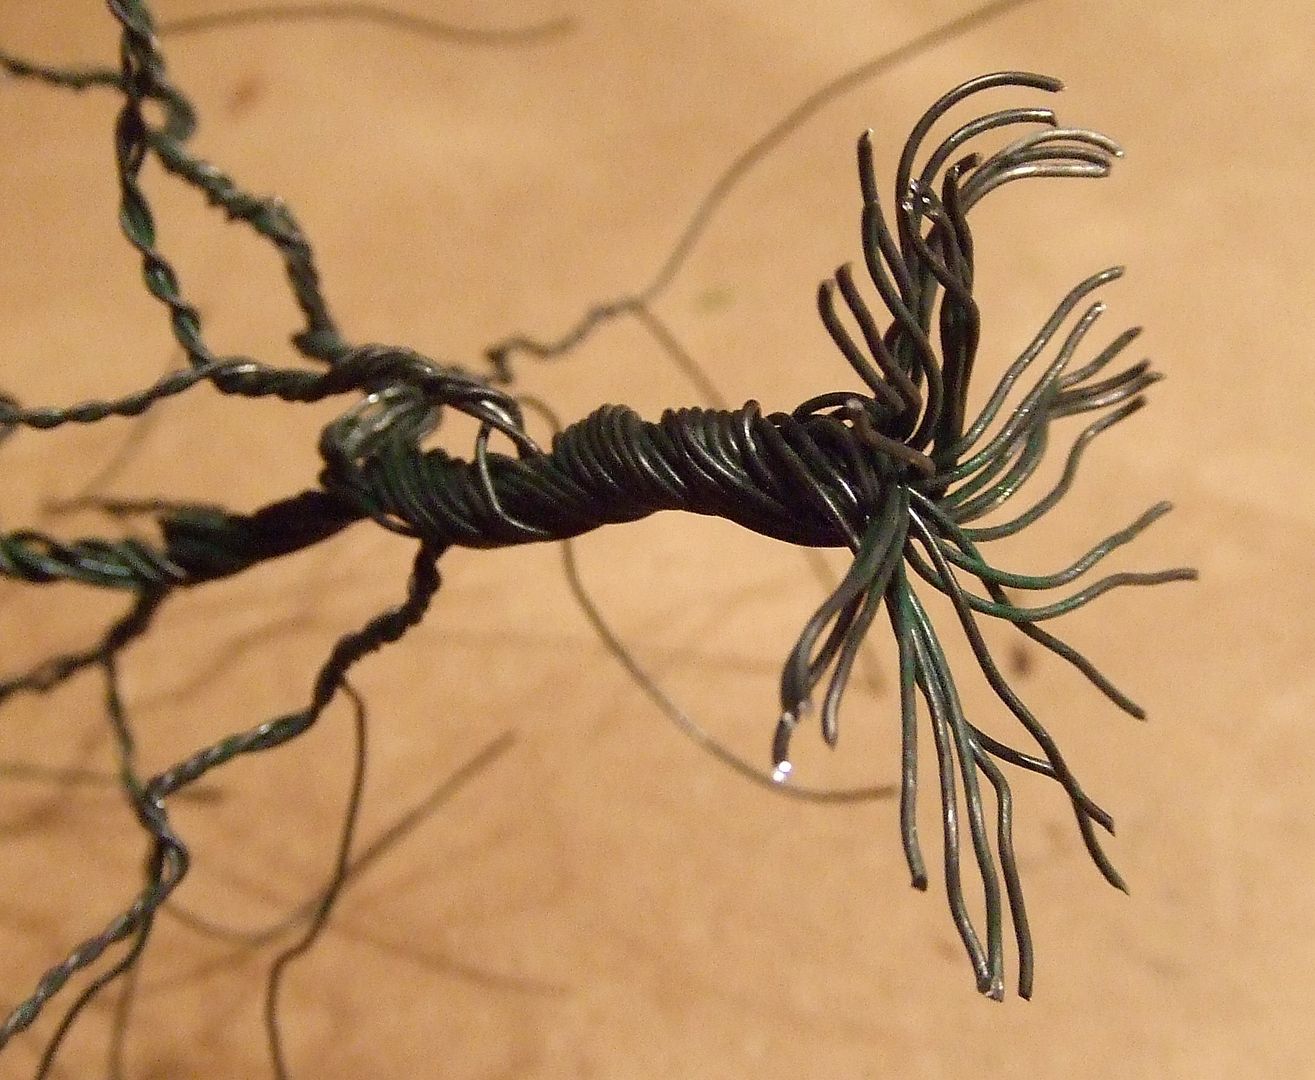
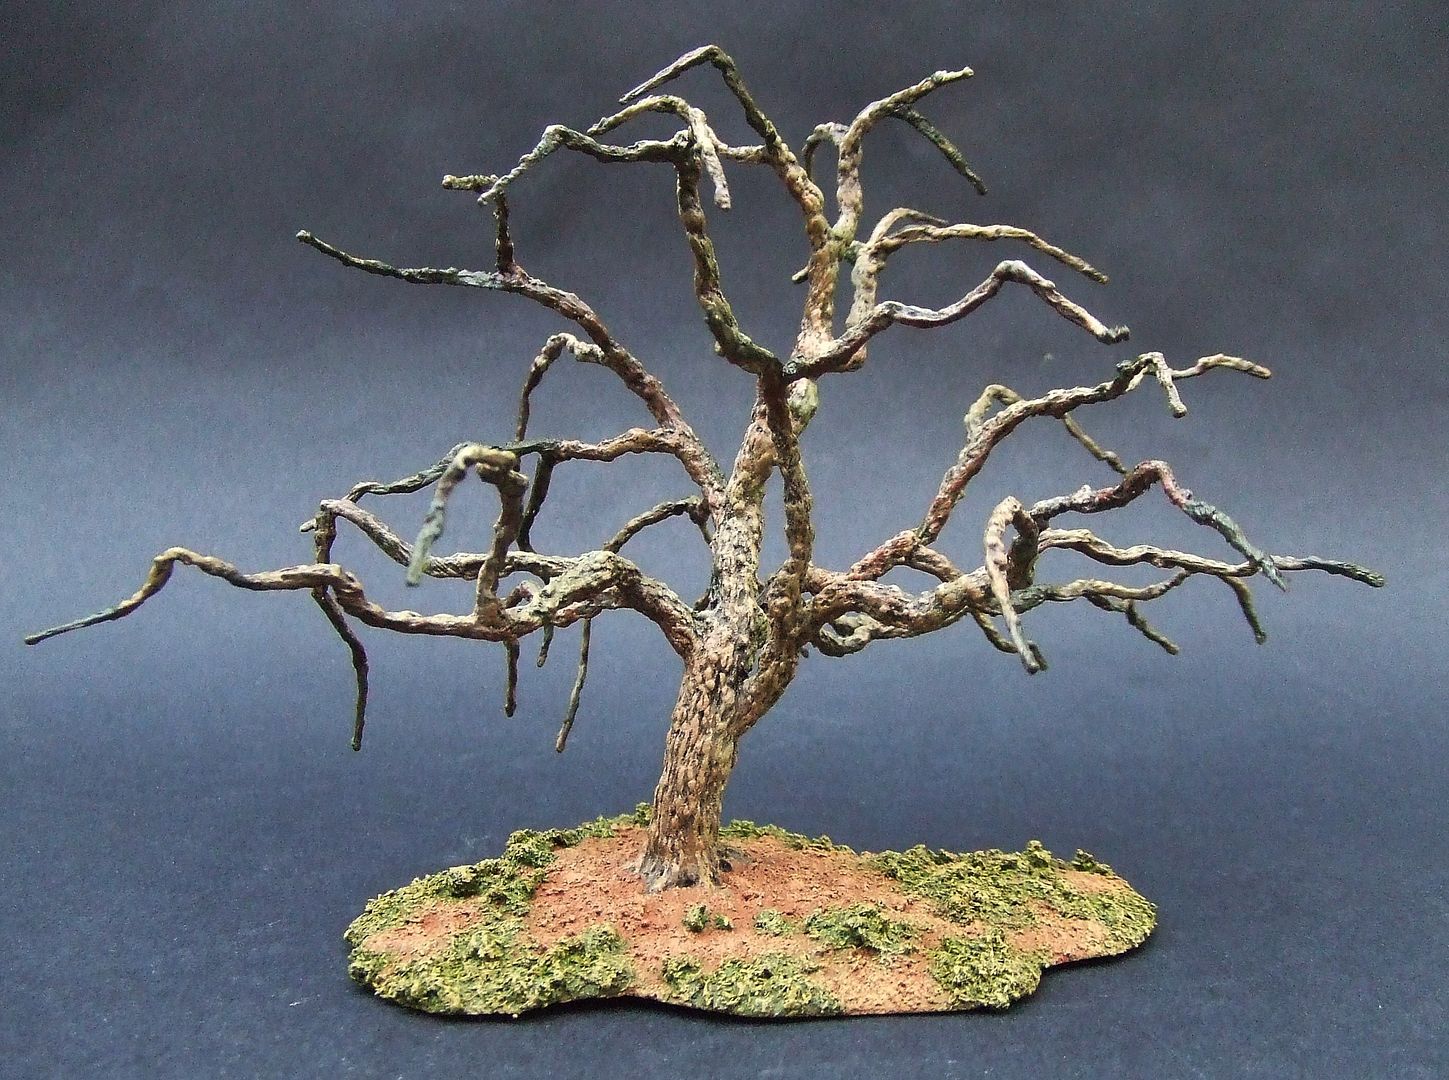
Split up every branch again and again until 32 single wire heads project to all directions.
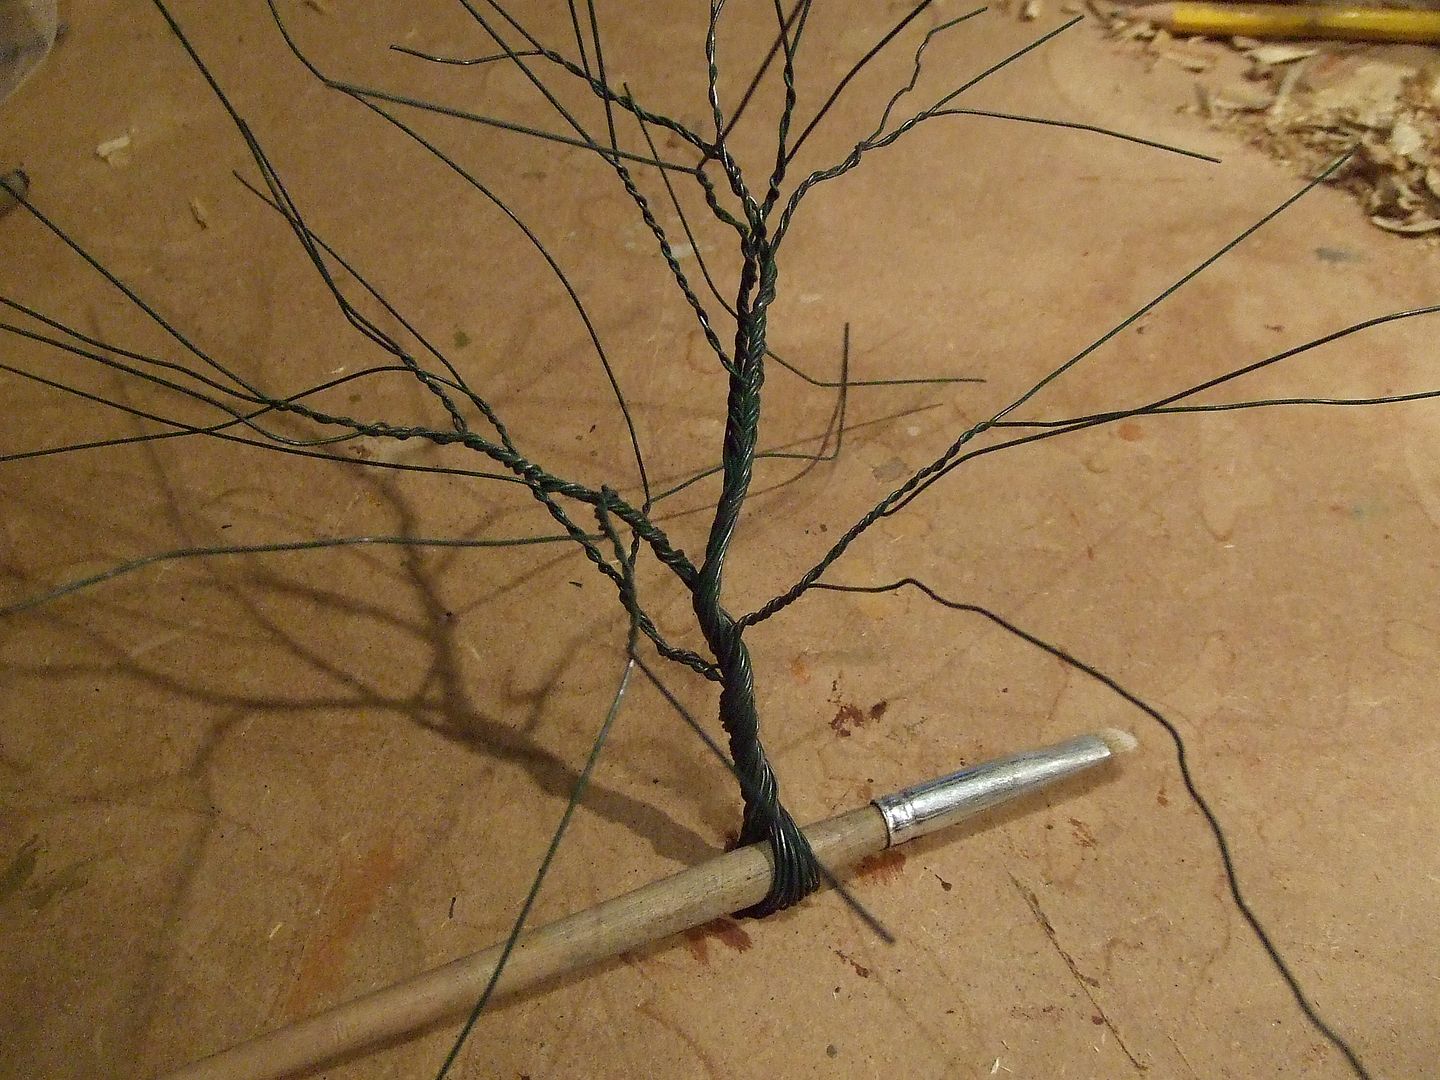
After wire twisting is finished, bending of trunk and branches can be done and undone easily.
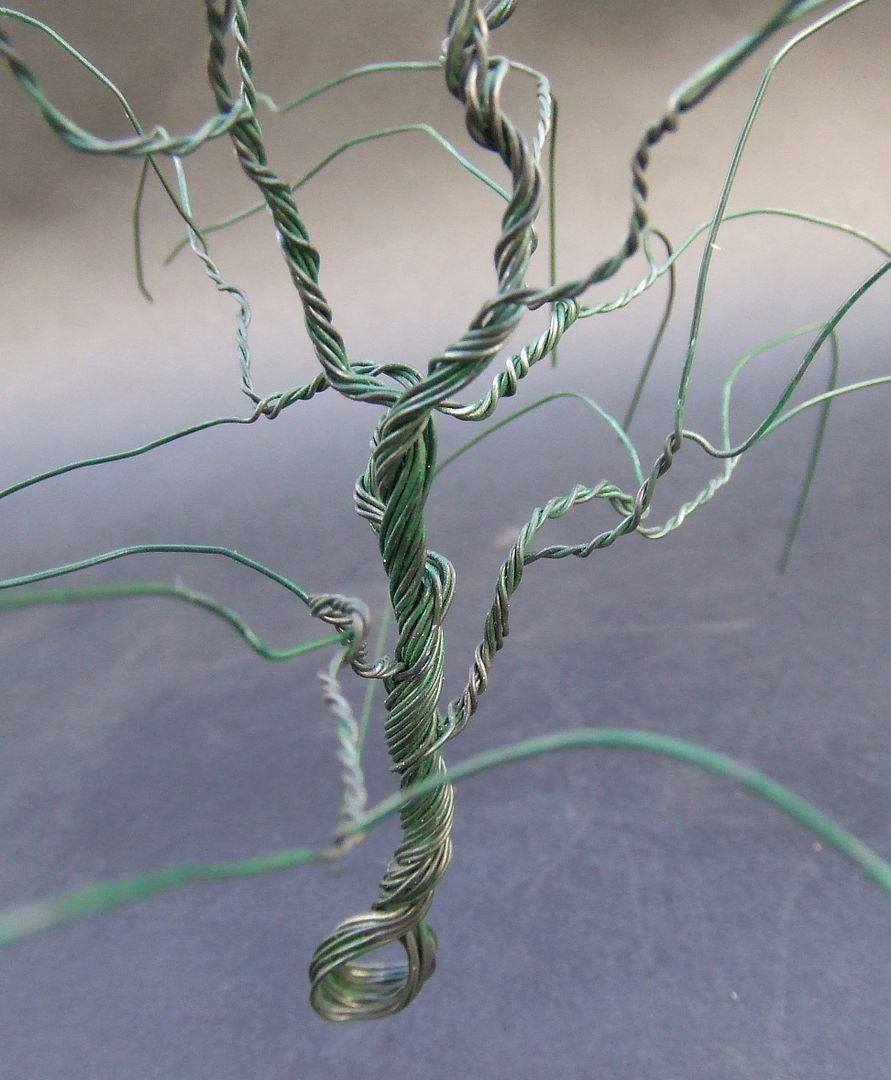
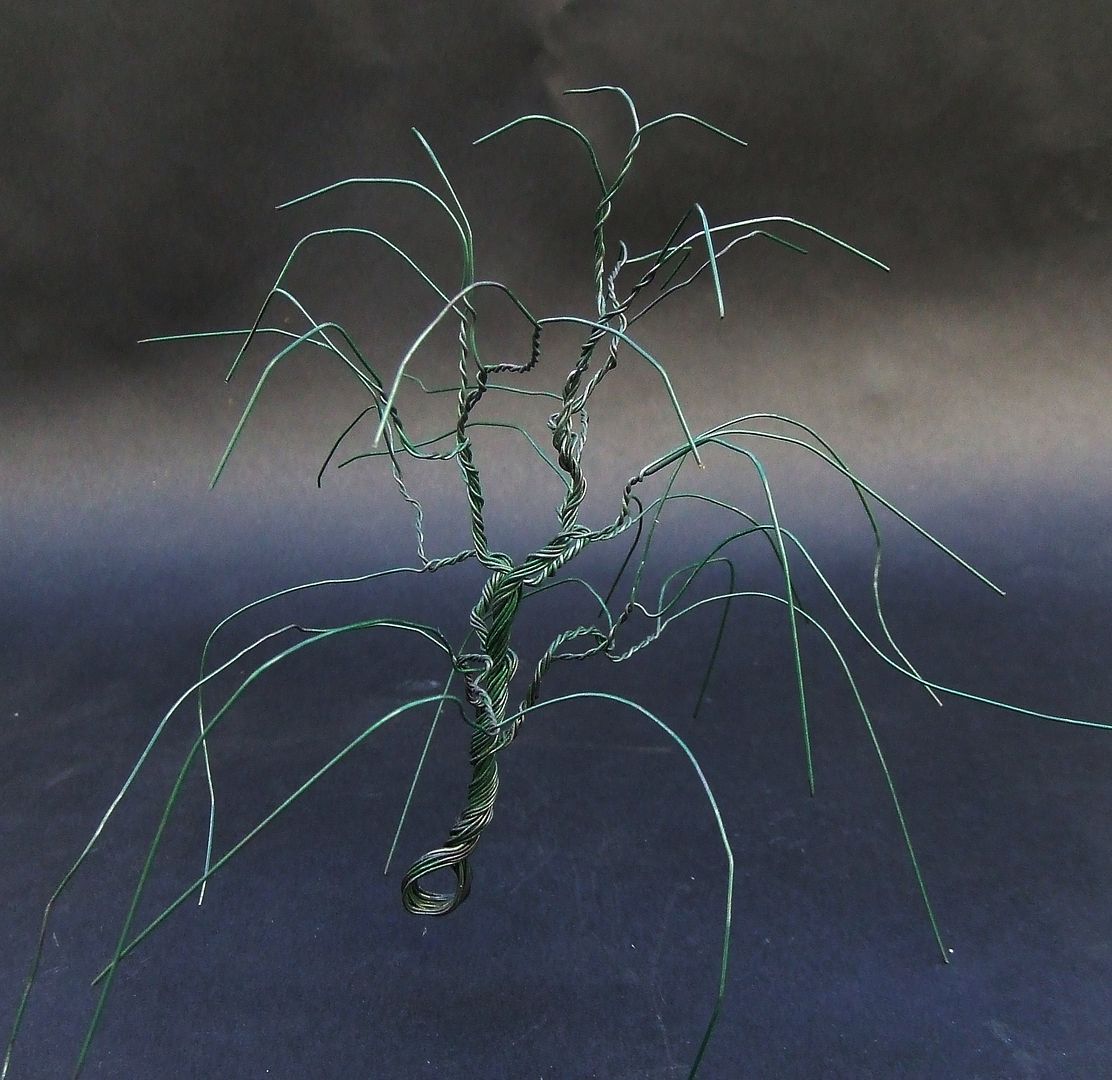
Bend the single wire heads a little downward.
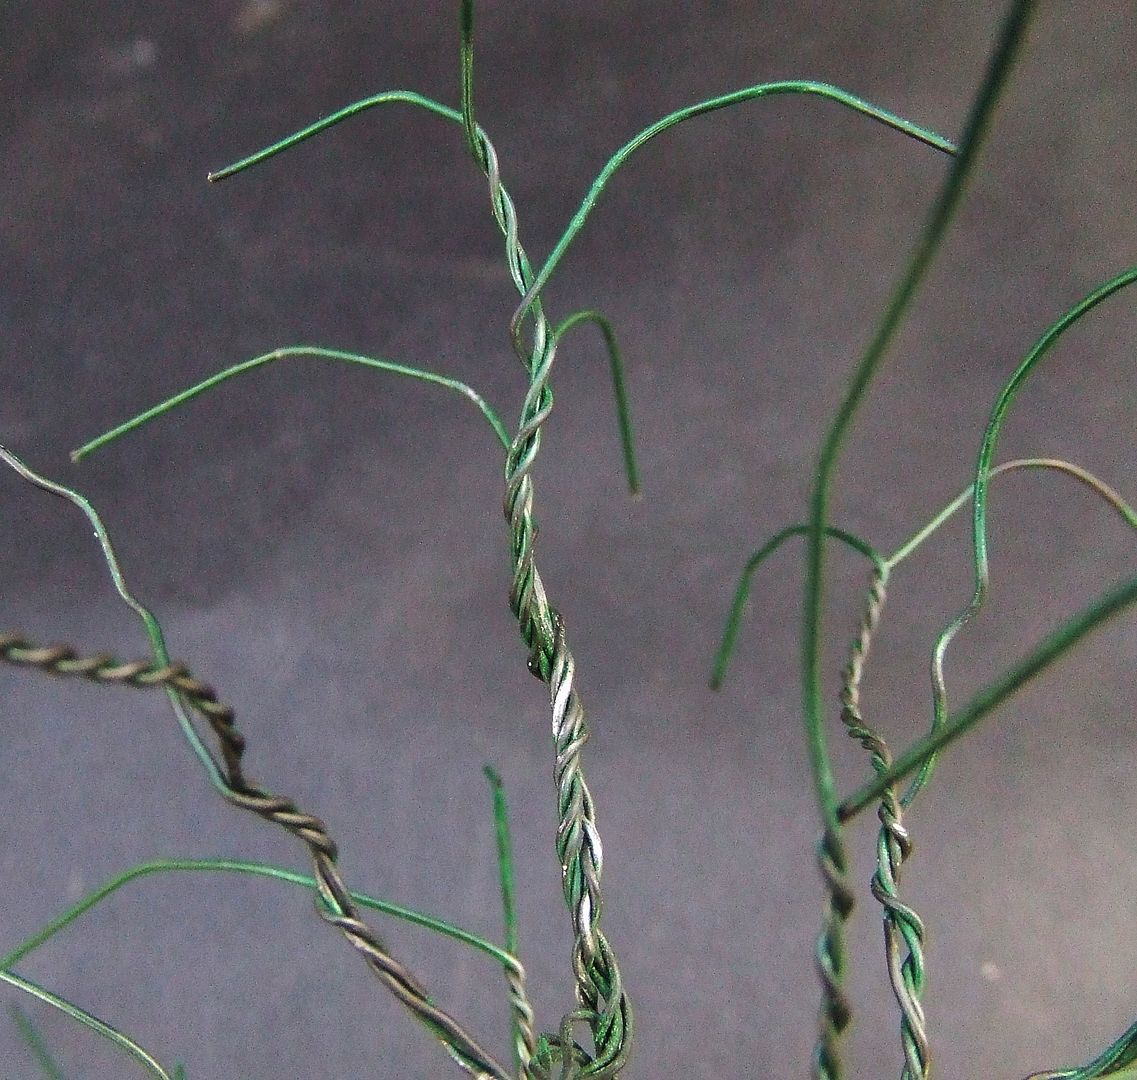
These wire heads represent the endings of the stiff wooden branches, NOT the hanging down twigs holding the leaves.

Cut lower branches to preferred length.
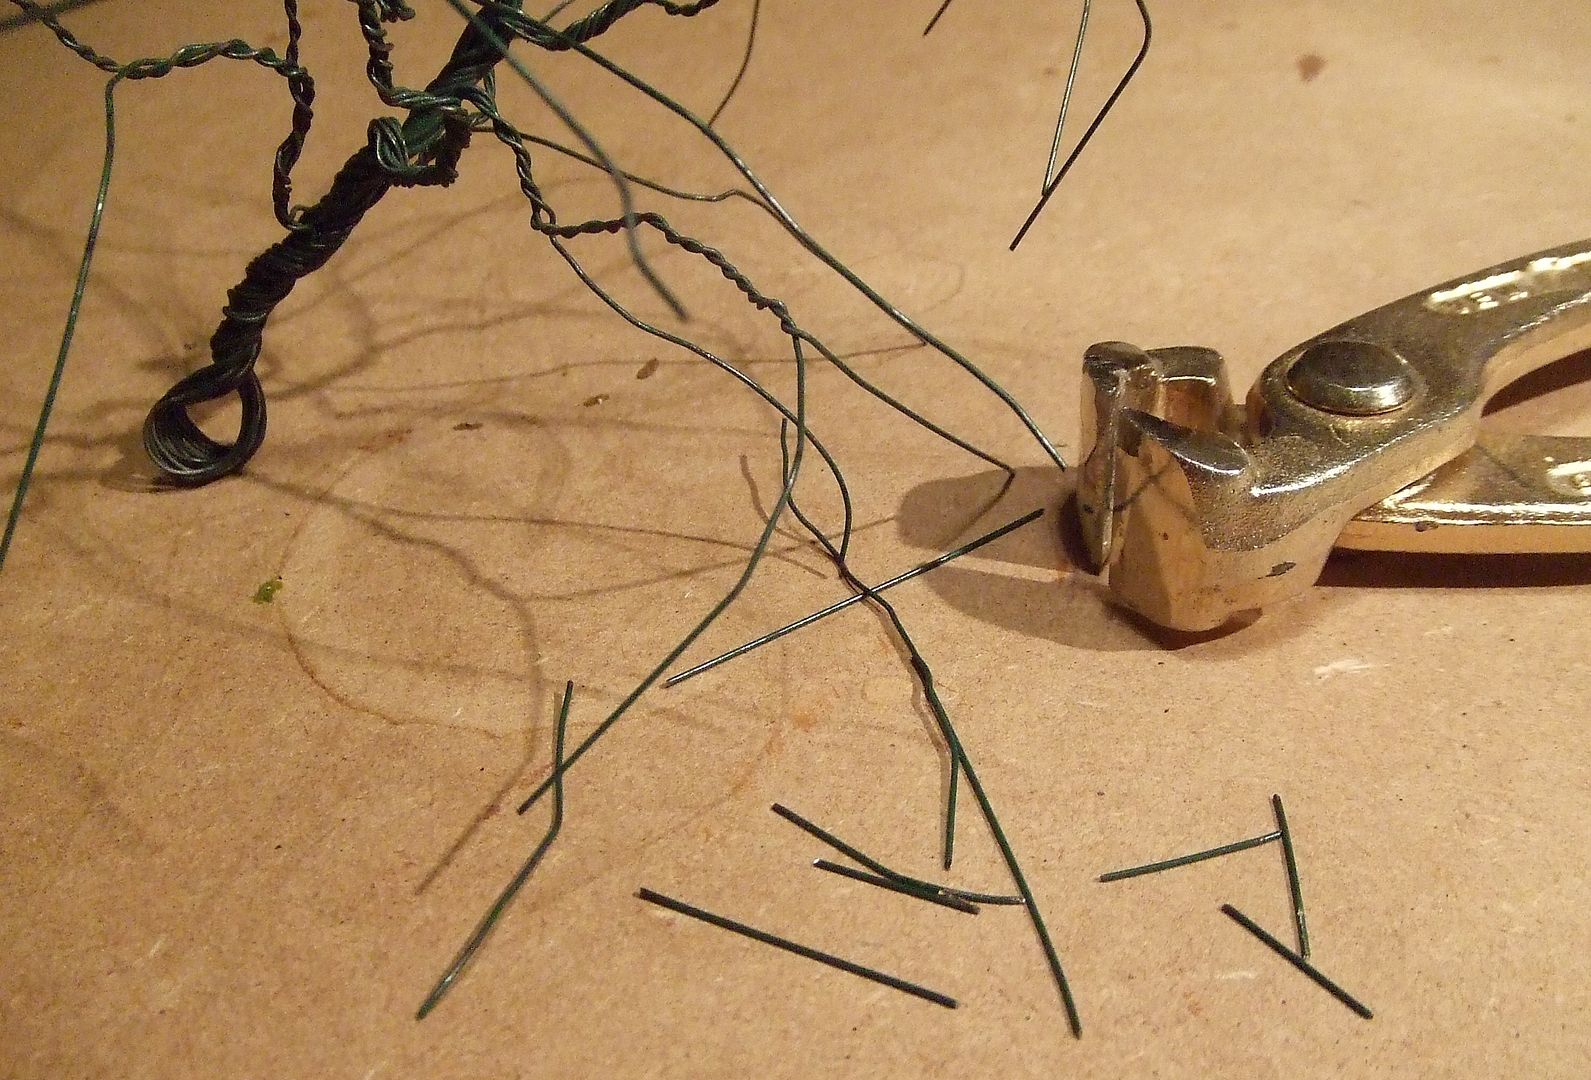
Cut wire foldings at bottom.
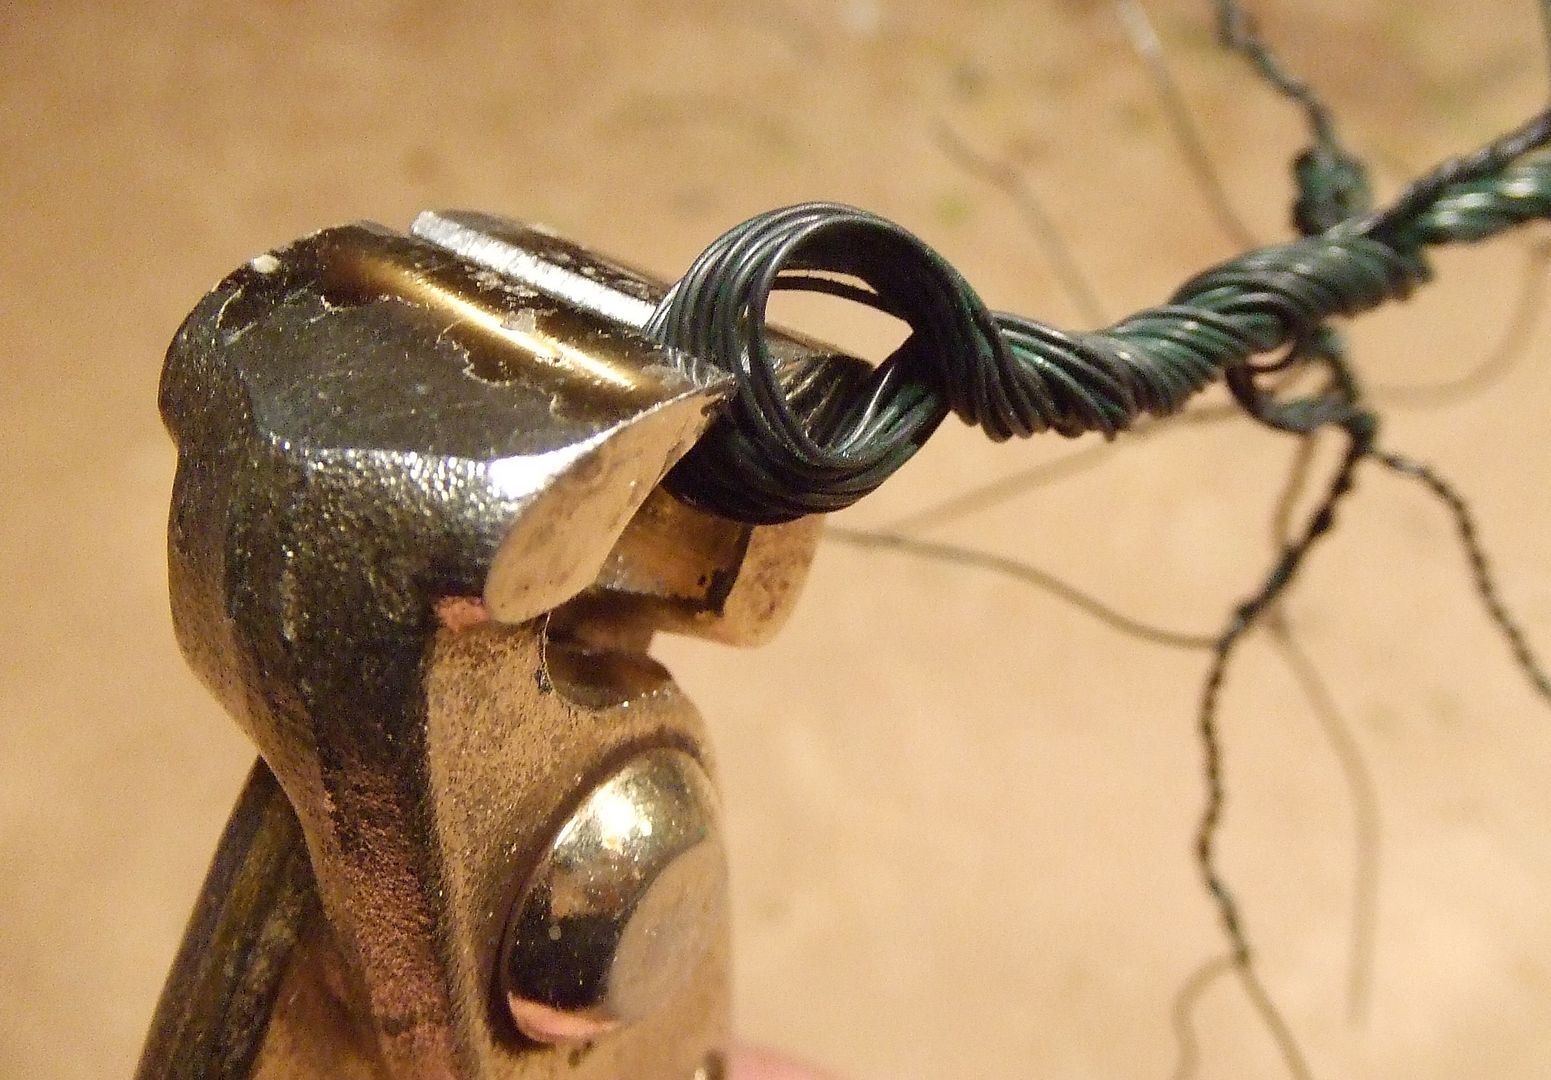
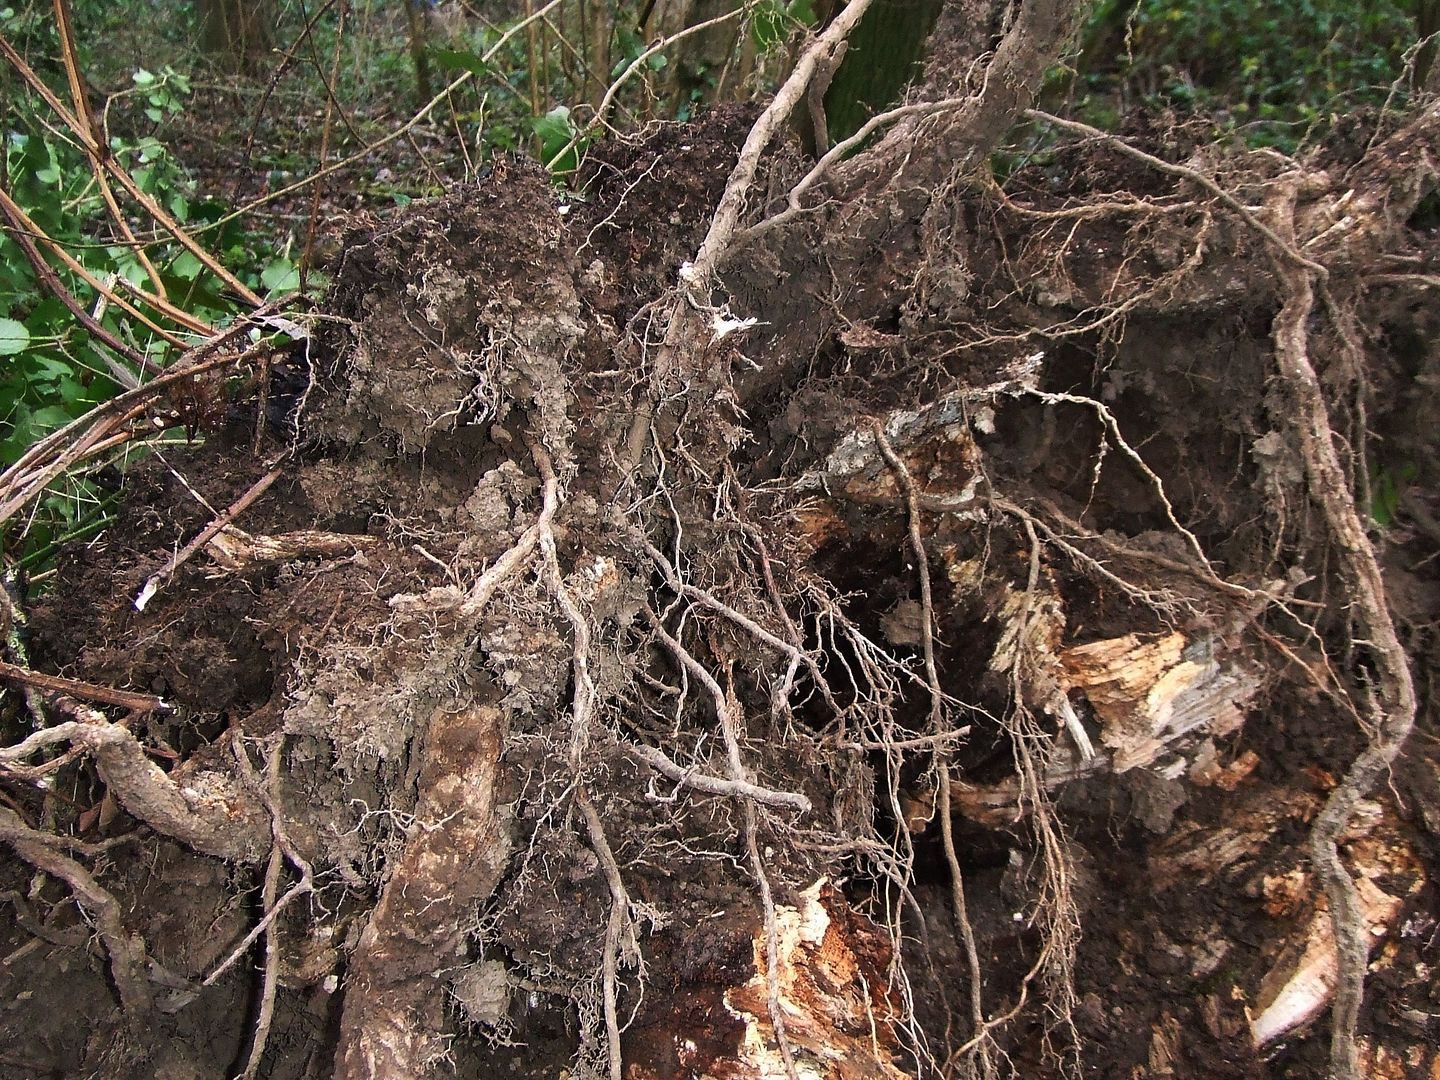
Spread bottom ends like roots for attaching to base.
If twisting went wrong, if the ratio of the mutual branches looks silly, or if the wire frame turnes out not to represent the character of the tree it must represent…
…start all over again from the start with new straight wire.
This may sound harsh.
But it saves lots of frustration and disappoinment later on.
Making several wire frames first is recommended before continuing with the best one.
BUILDING THE BASE
This section is especially for gaming purposes.
Use any kind of plywood, fibreboard, MDF or card board.
Three-ply is preferrable.
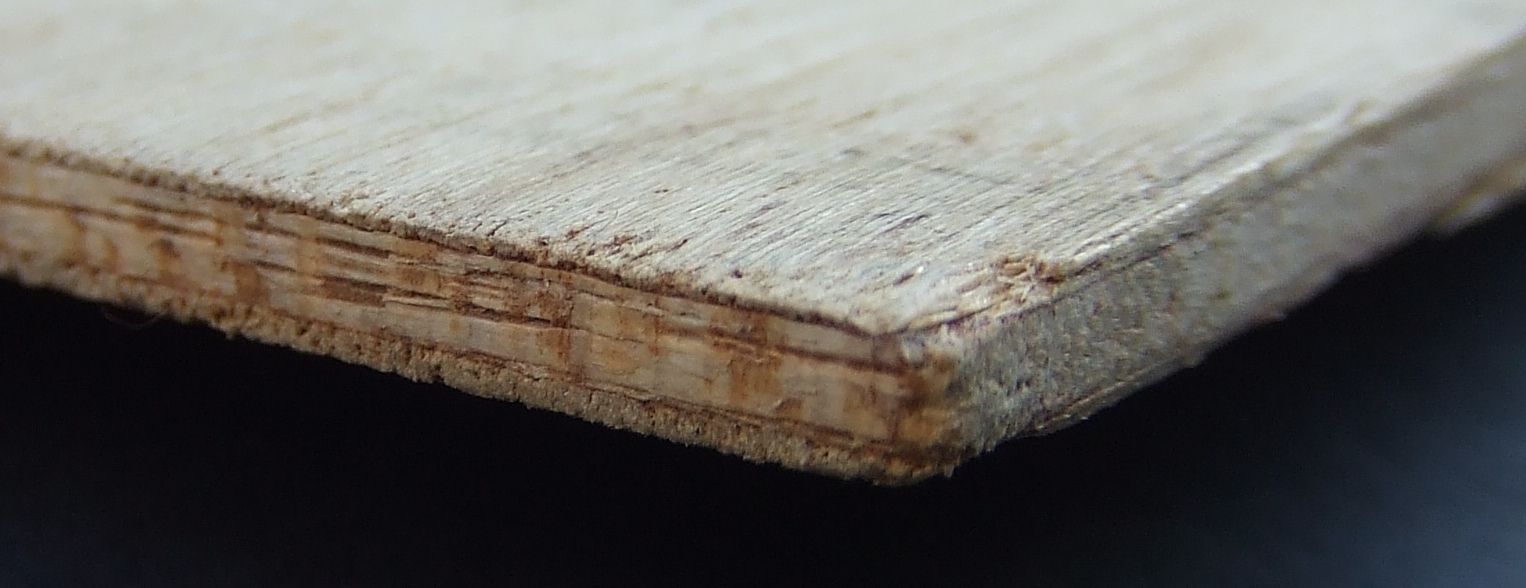
Thickness 3 to 5 mm.
Drawing rough shape of the base in straight lines…
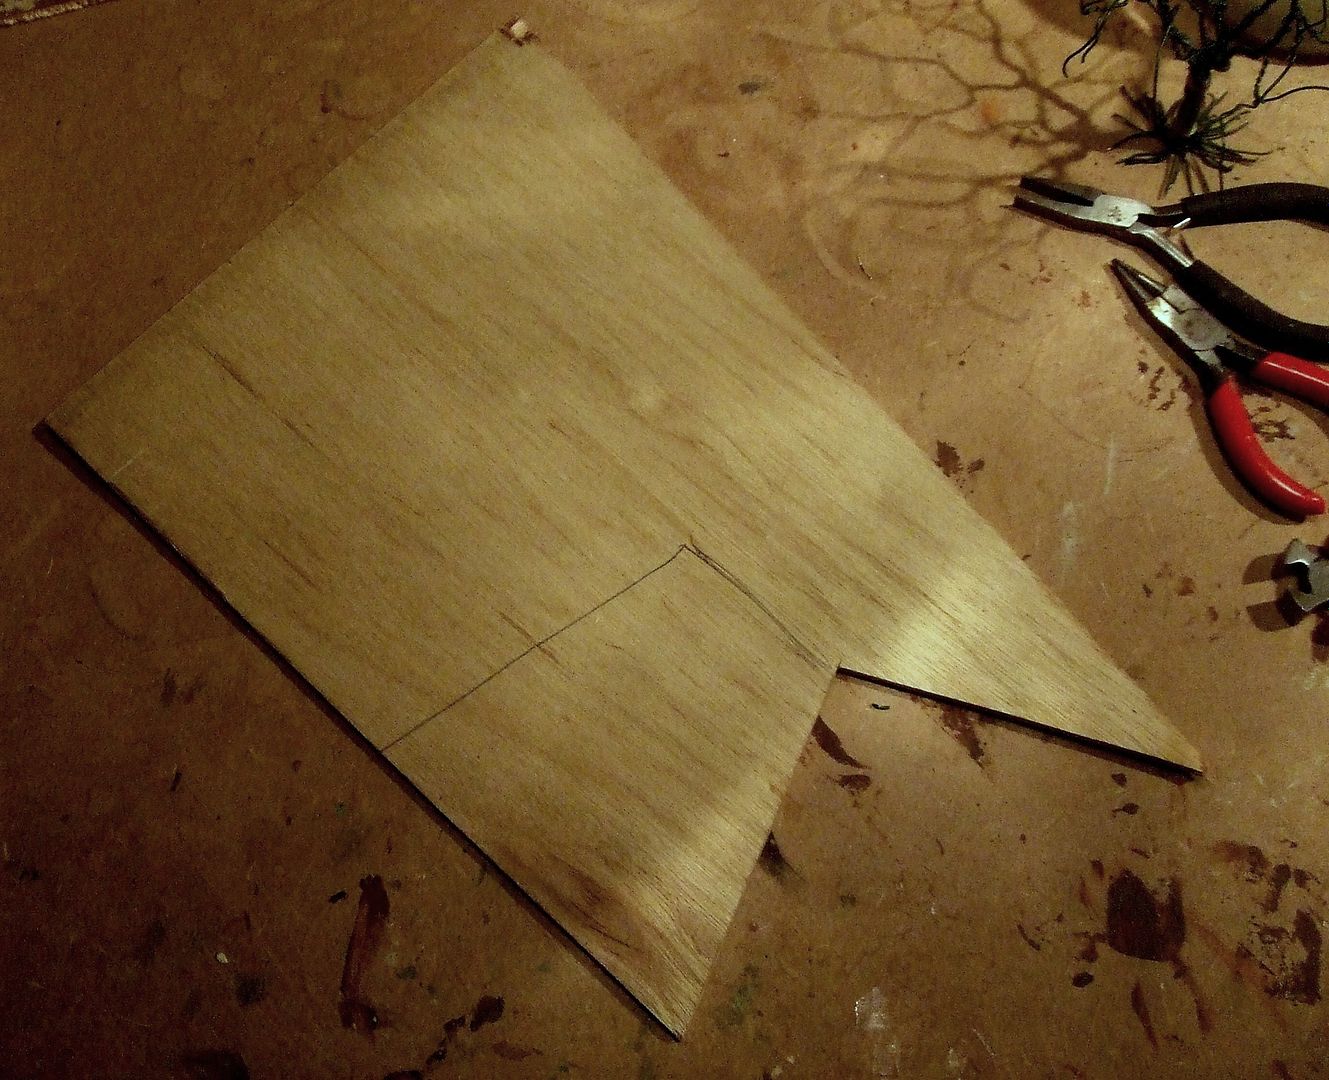
…makes easy sawing or cutting.
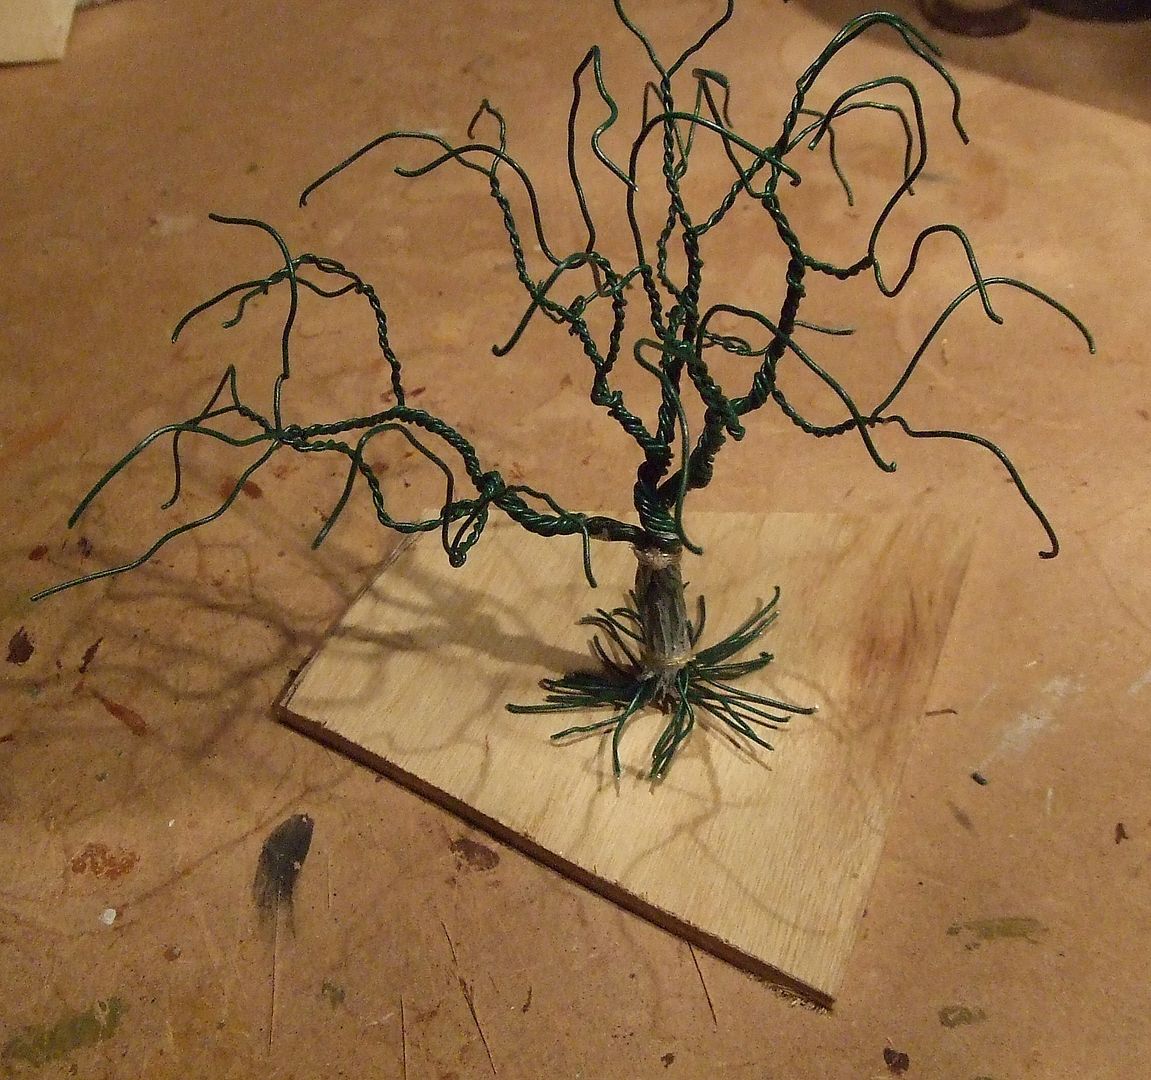
Make sure the base is large and heavy enough.
It must resist indoor and outdoor blasts of wind, without the tree toppling over.
It must resist players bumping their (fat) bellies into the edge of a shaky gaming table when they try to reach their most forward positioned gaming elements, while the scale tree stands on a gentle slope without toppling over or sliding down.
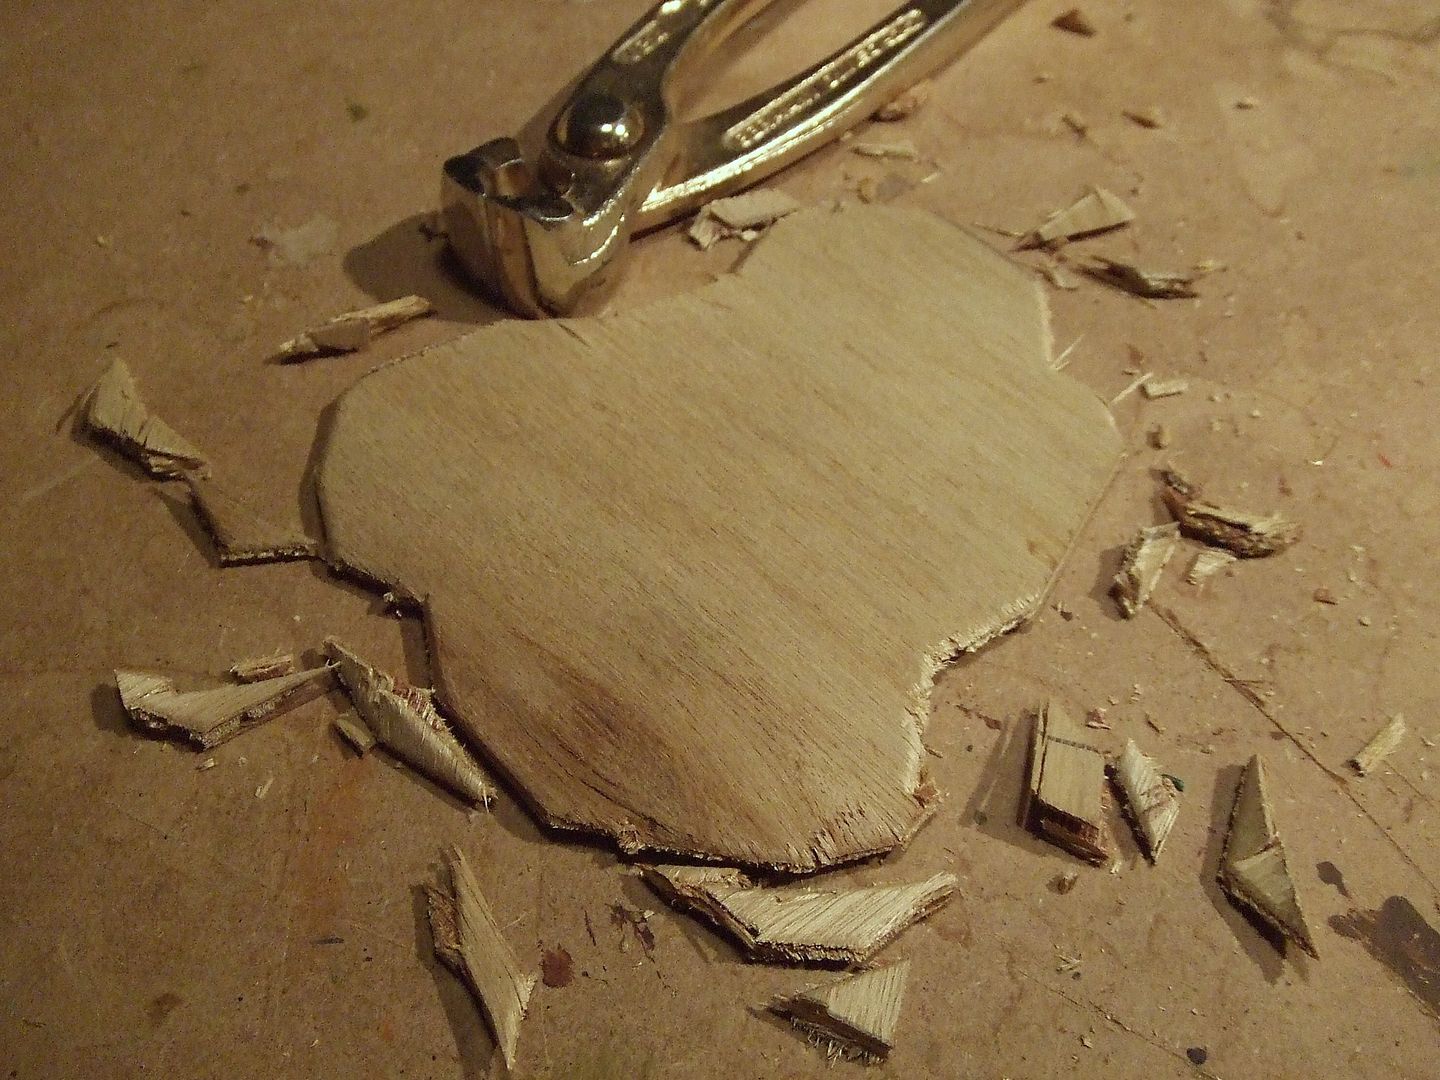
Snipping is more easy than sawing or knifecutting when it comes to smaller pieces.
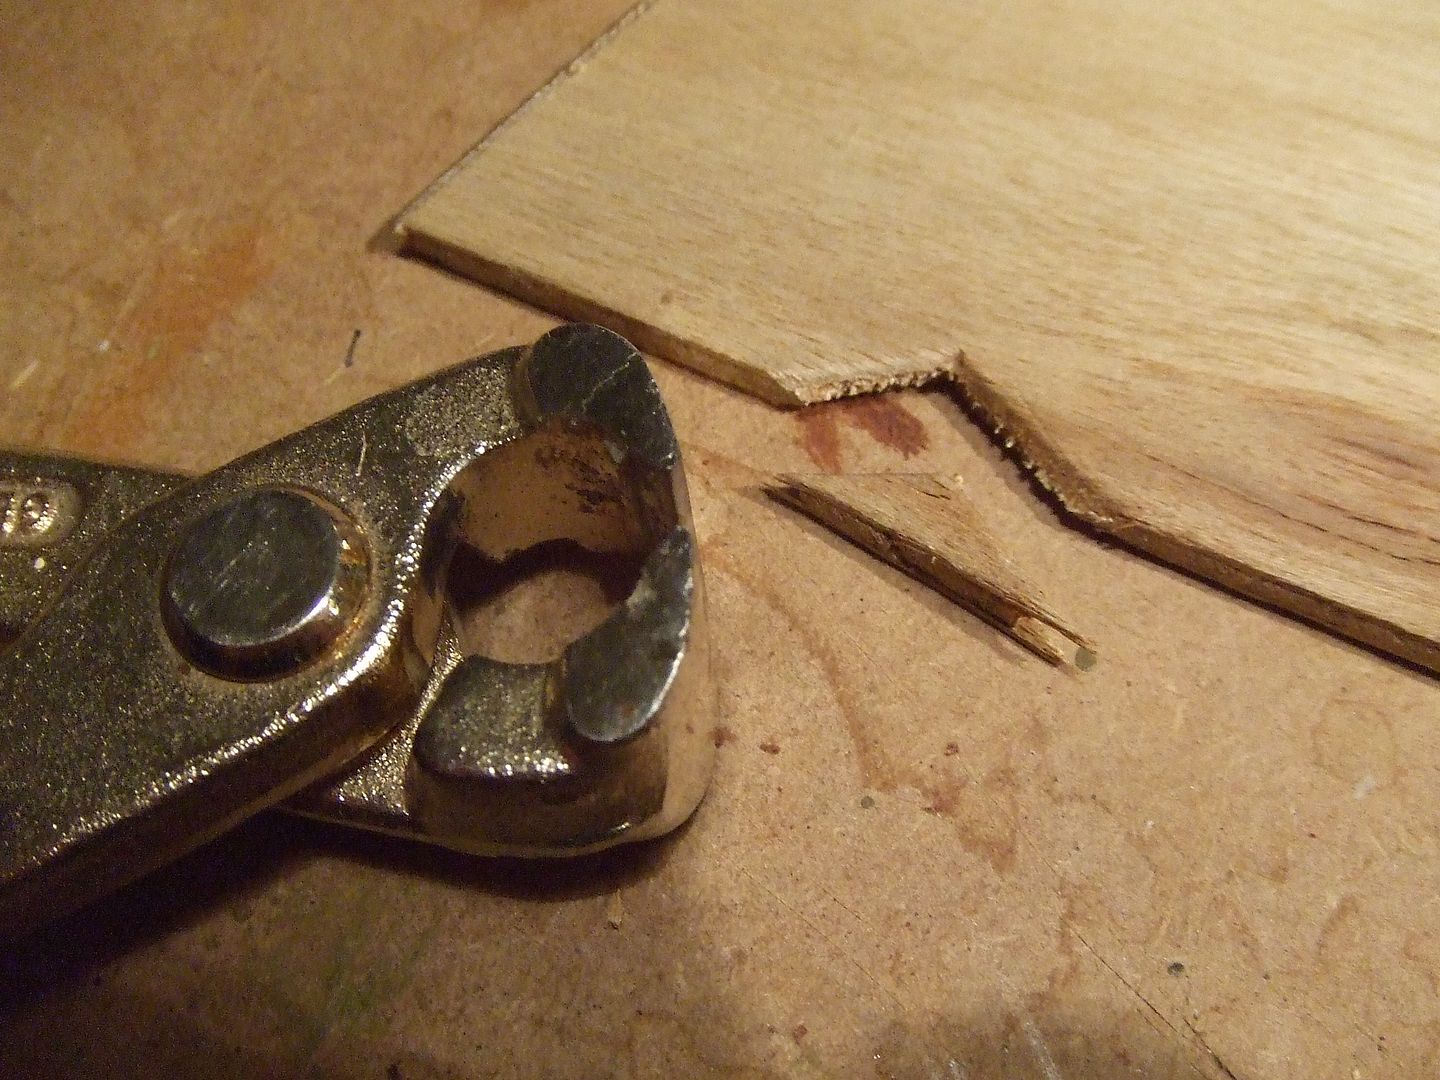
Give your base an irregular organic shape which minimizes optic pollution of your natural looking scenery.
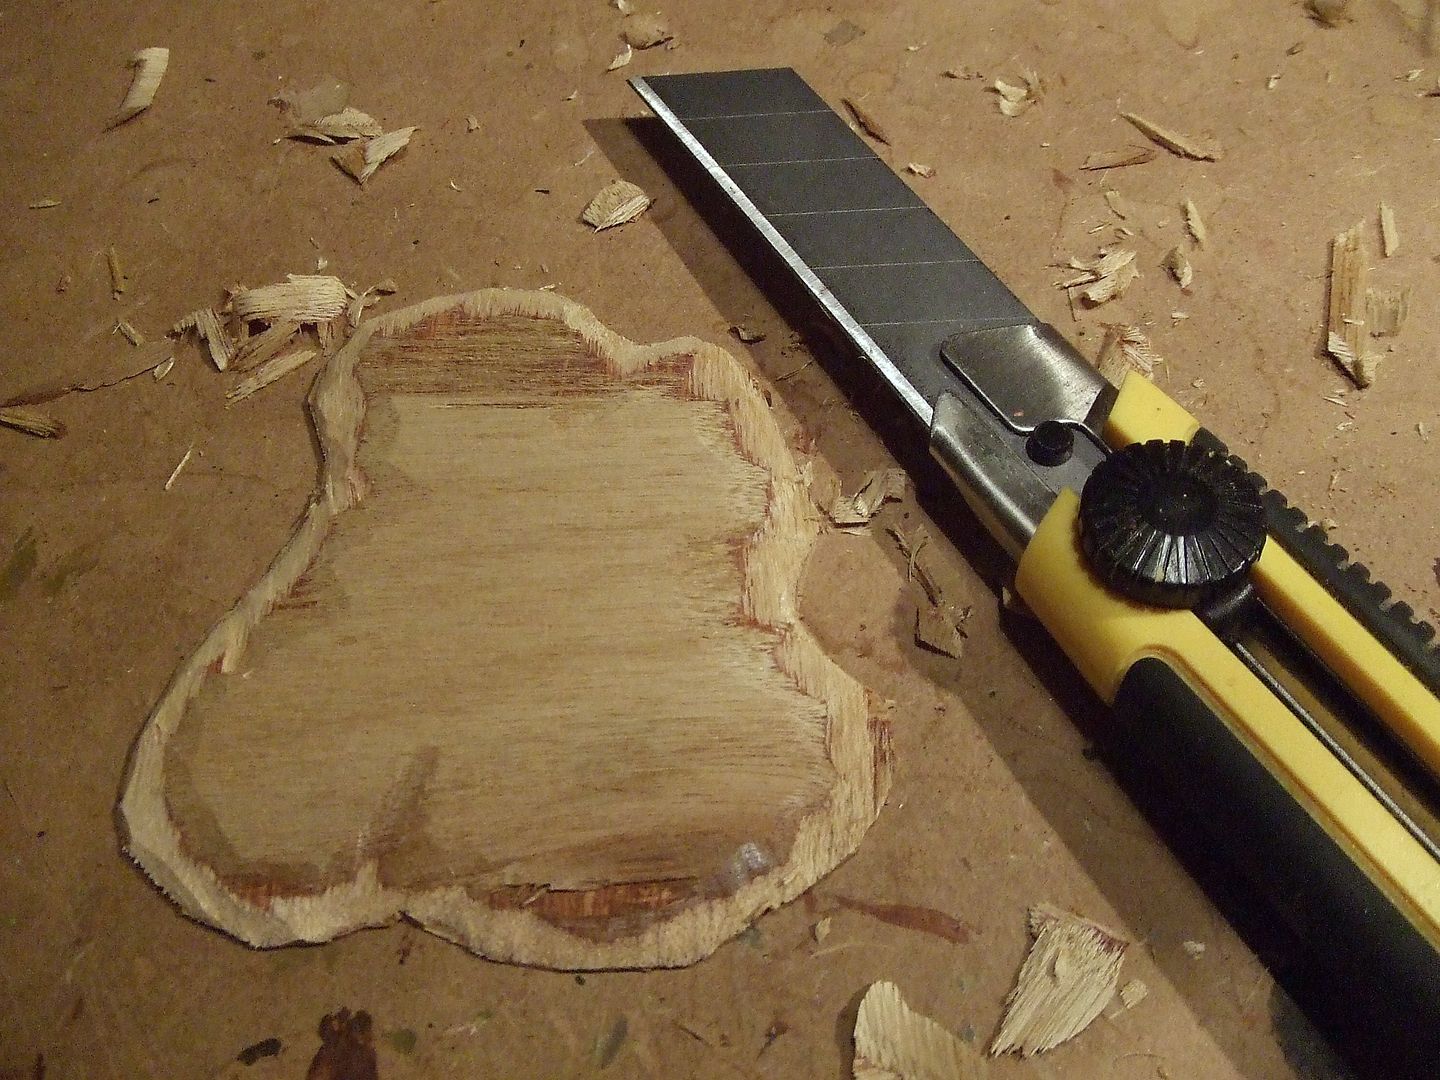
Carpetcutting knife for slanting down the base edges.
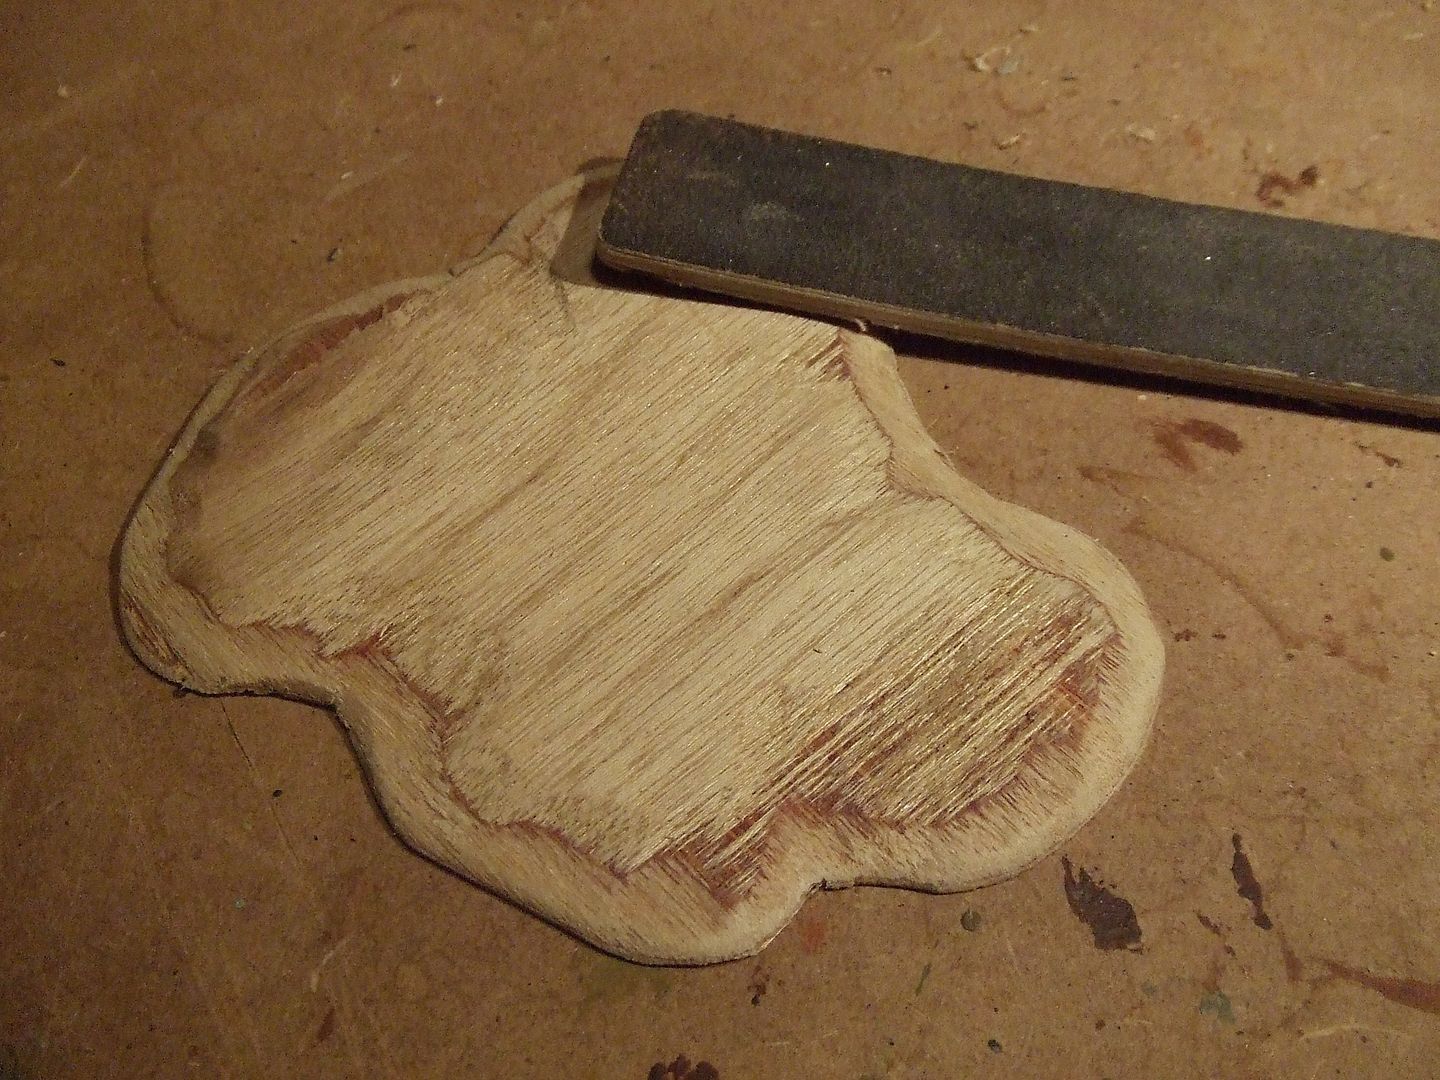
Lower grit raw nail file for removing splinters.
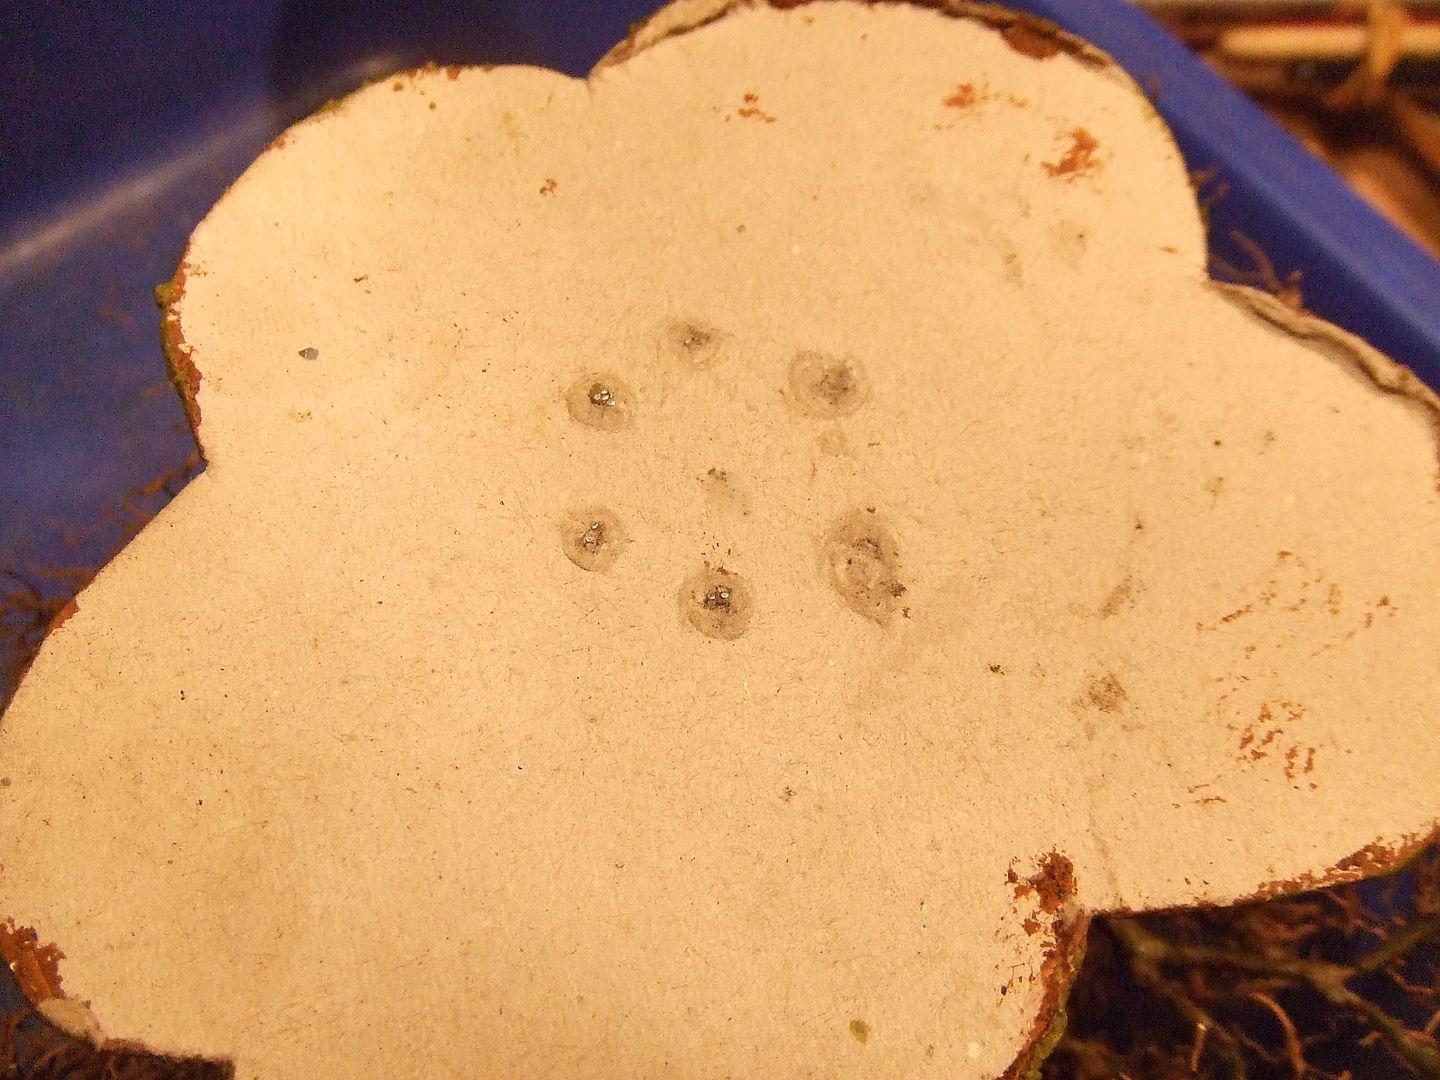
Scoop out the bottom side of the base for better grip on slopes.
- It stops the tree from sliding down.
- When positioned on a bulging surface like a hilltop, it will fit a little better in stead of balancing on top of it.
- It helps keeping the base from popping up and ‘floating’ above the ground when placed upon fibre covered tabletops or grasstufts. A narrow contact-surface (thin edge) between base bottom and tabletop will make your base ‘sink’ more easily ‘into’ this fibre vegetation.
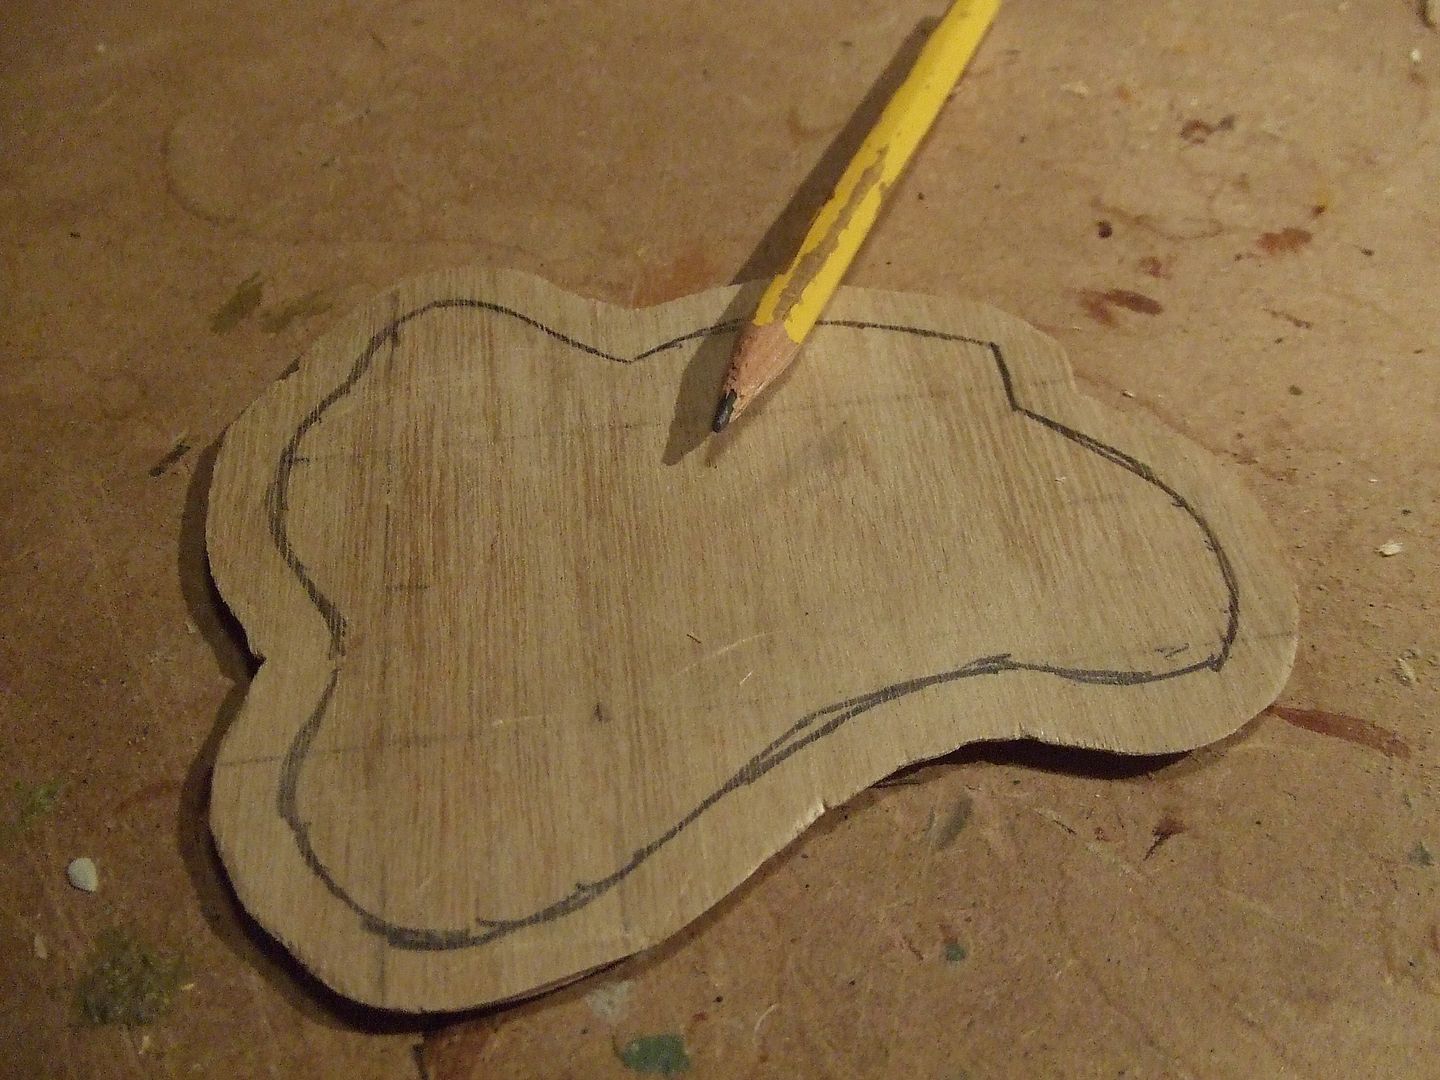
The thinner the edge, the better.
This is why triplex is preferrable.
But less than 5mm wide edges become vulnerable for damage during cutting.
Cut away the centre until the next layer of wood appears.
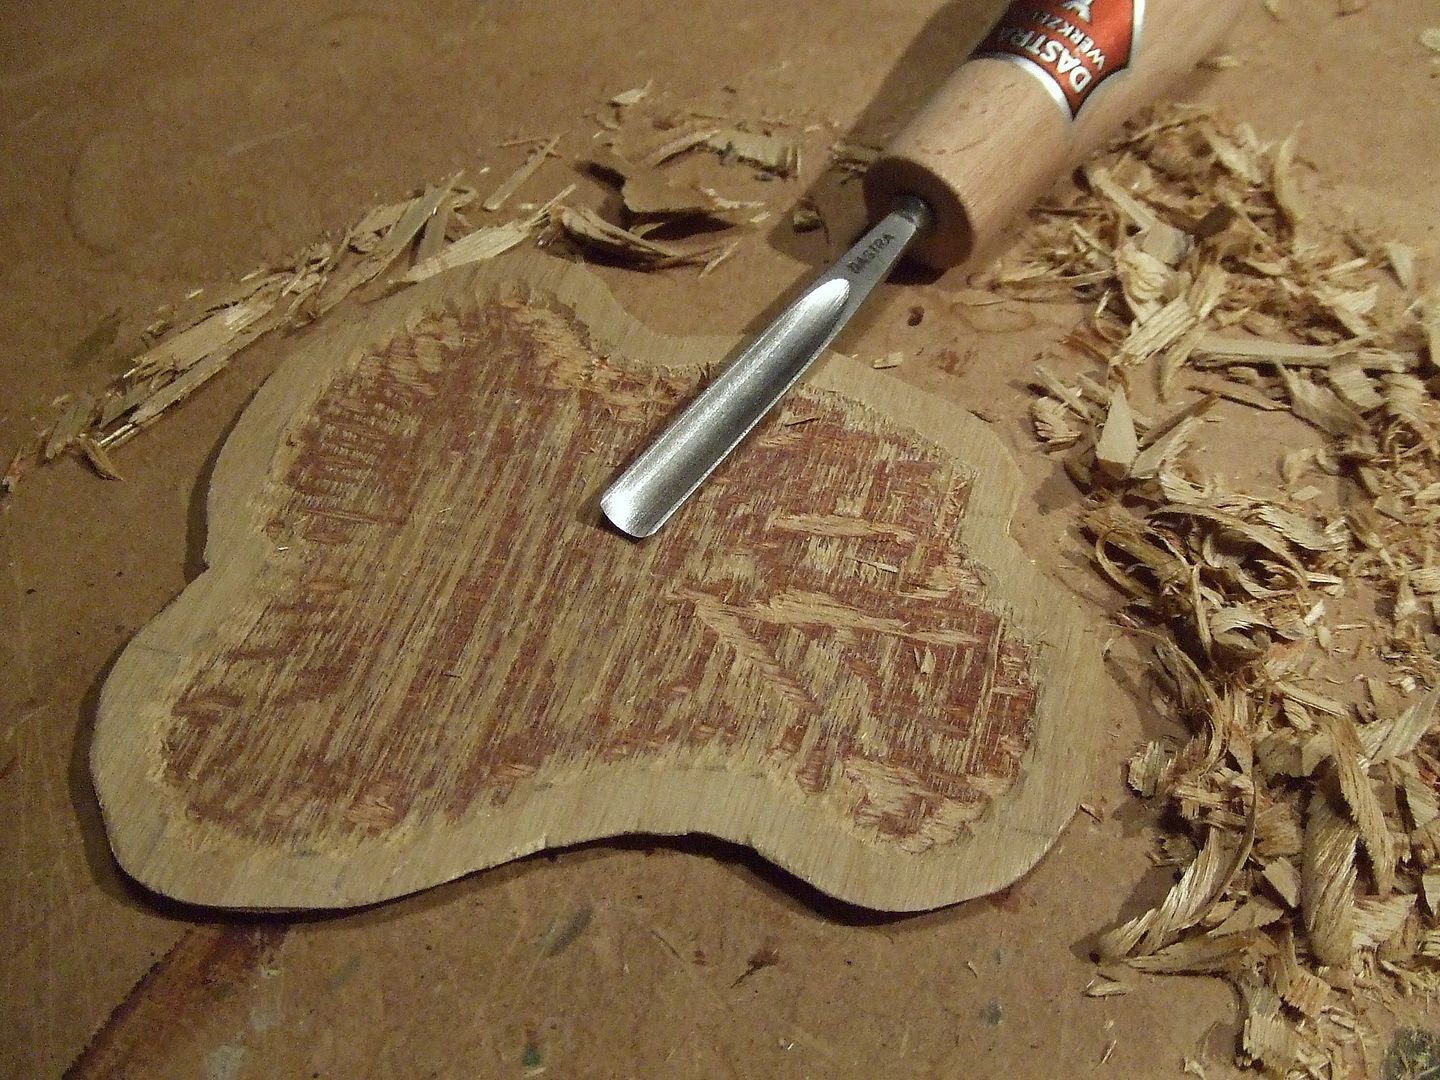
An electric sanding wheel can be used as well but think of the noise and dust it produces.
FIXING THE TREE ON ITS BASE
Any kind of epoxy, glue or model paste will do.
For optimal strength and sinking the roots into it, a 5mm thick layer of adhesive material is needed.
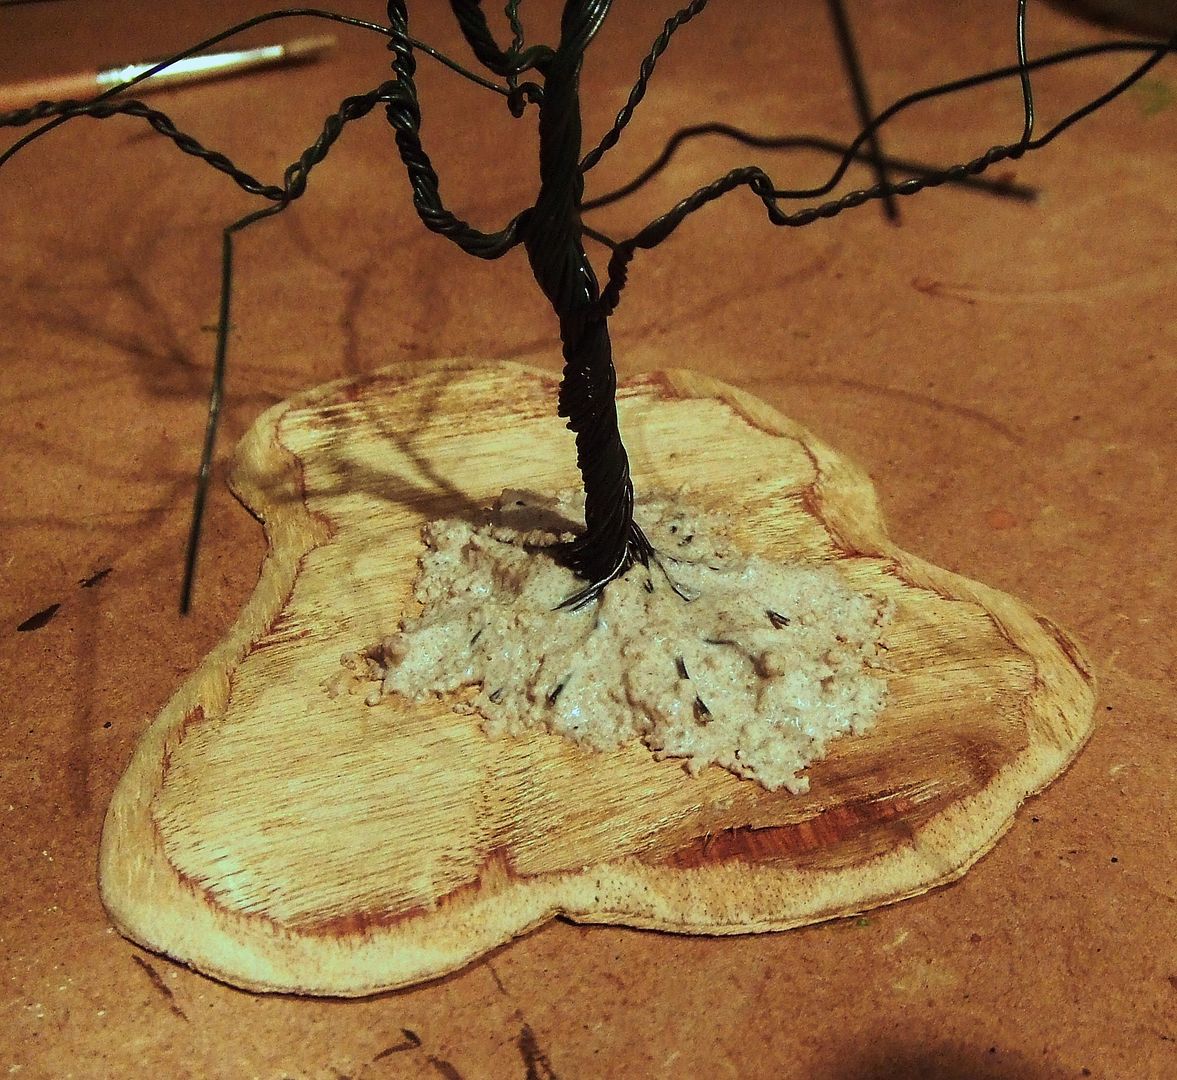
This much of glue takes time to dry.
Epoxy like Green Stuff, Magic Sculpt or Plastic Wood is expensive but hardens fast.
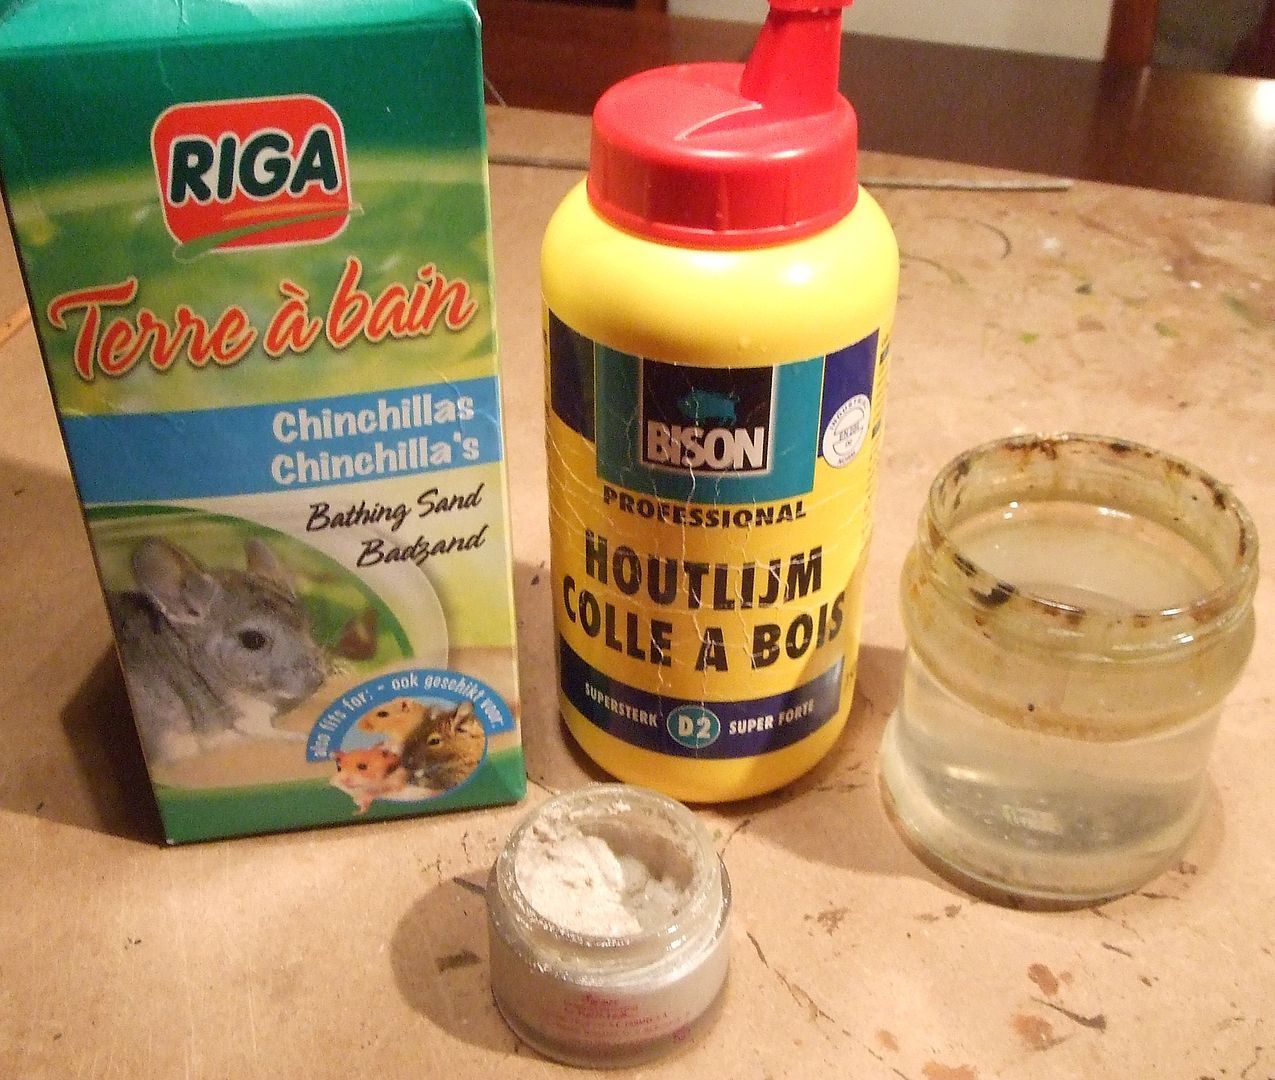
Chinchilla bathing sand mixed with white glue and water is perfect too and much cheaper.
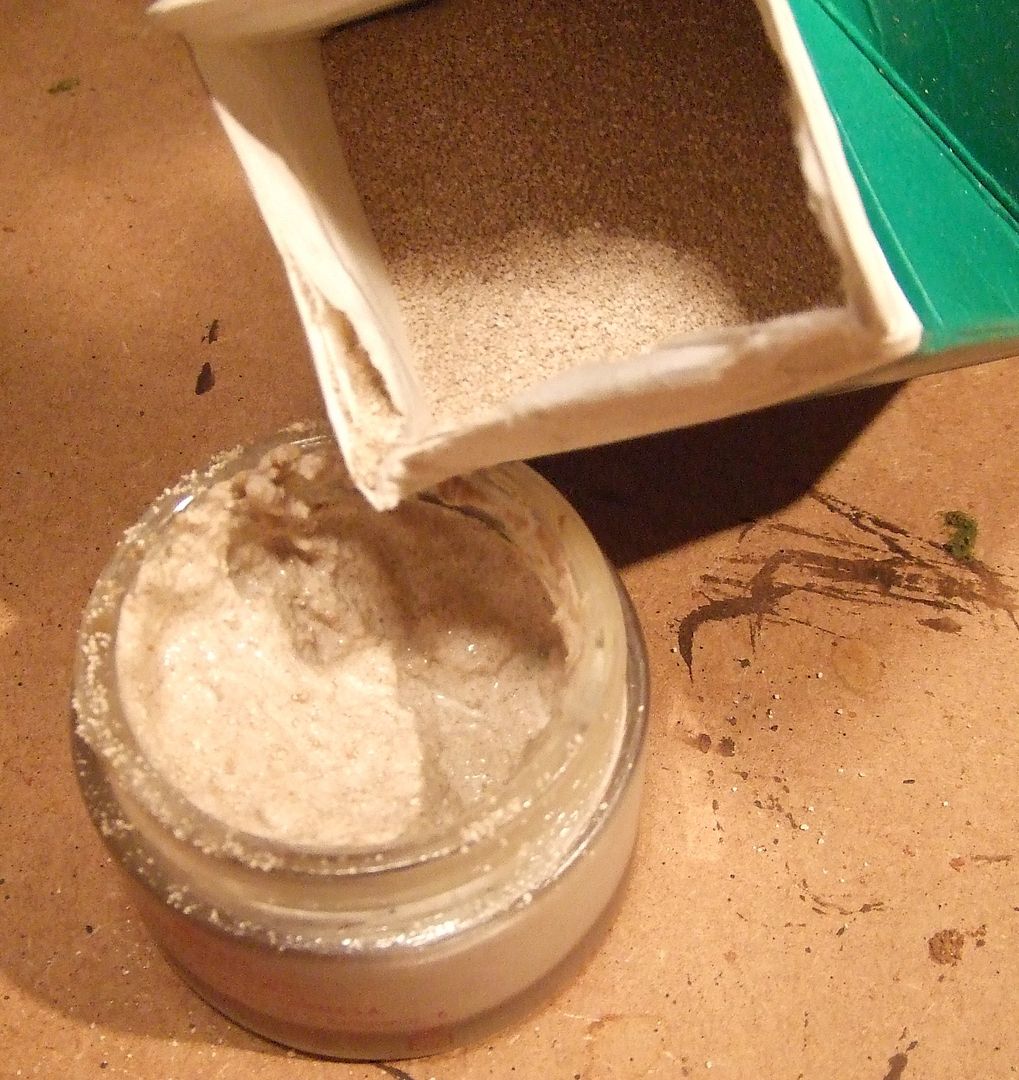
Bathing sand is vulcanic dust absorbing the water in the mix.
So this mix dries fast and turns out to be very strong.
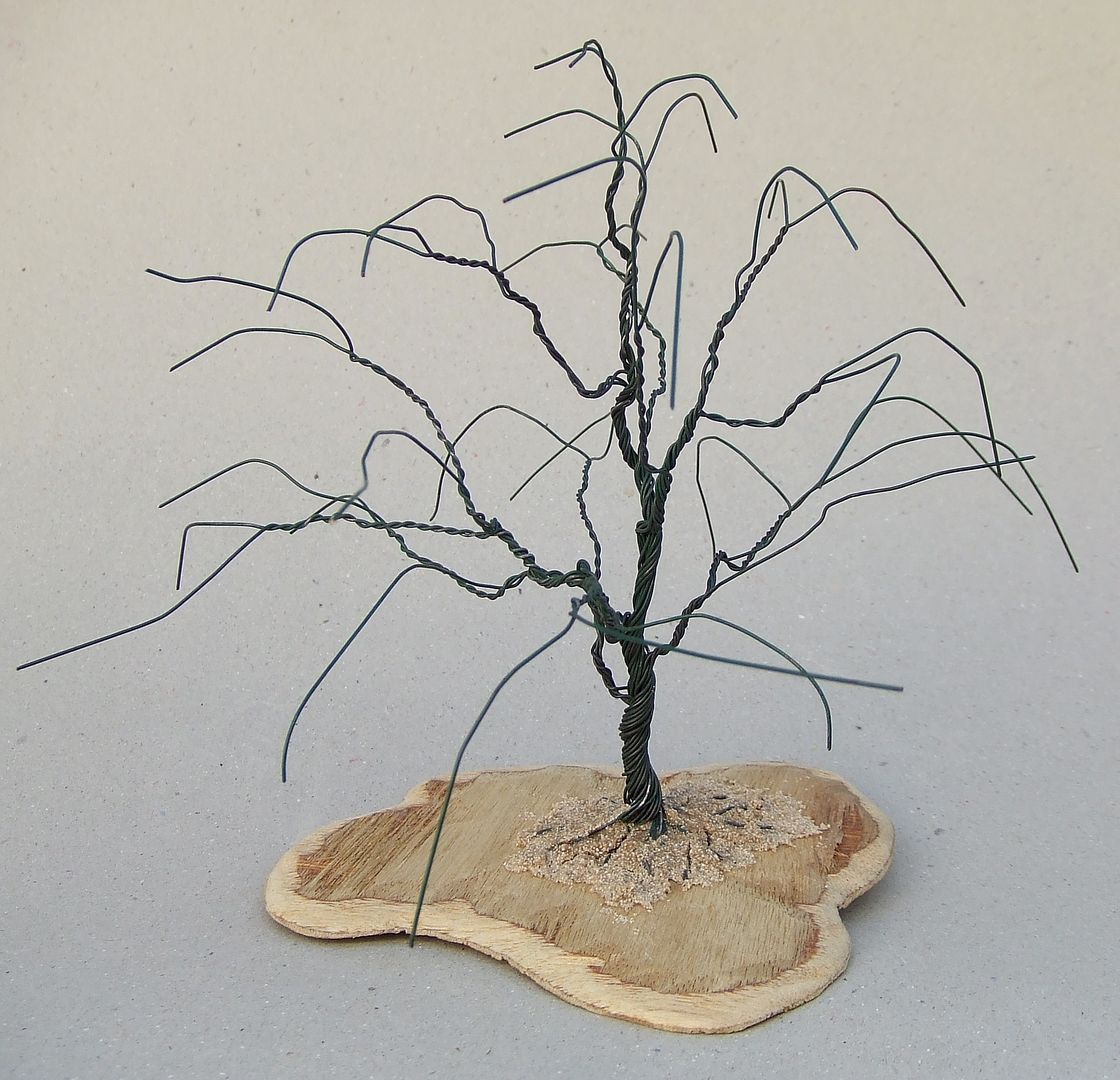
Bathing sand mix cracks so do not use it for fine sculpting.
MAKING FLEXIBLE PLASTER
To camouflage the twists of the wire, it must be plastered.
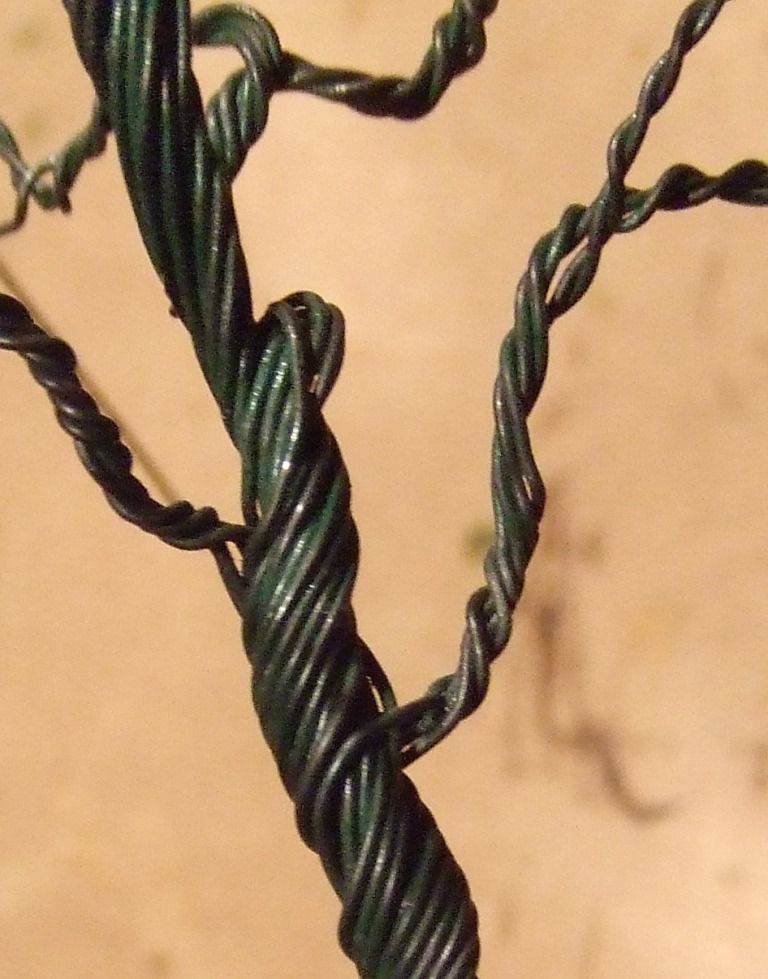
A plaster that stays flexible after drying is preferred.
Hard plaster will break or crumble while bending the branches.
Bending the branches will be helpfull during production and shaping the final character of the tree.
It will give the tree more durability too which is important for gamers.
Only a few products stay flexible after drying.
Like Green Stuff which stays semi-flexible after drying.
Acrylic products are less expensive and stay even more flexible.
Like acrylic modelpaste, acrylic sealer and white glue.
These products are all related to polyvinyl acetate.
White glue is best available and cheap.
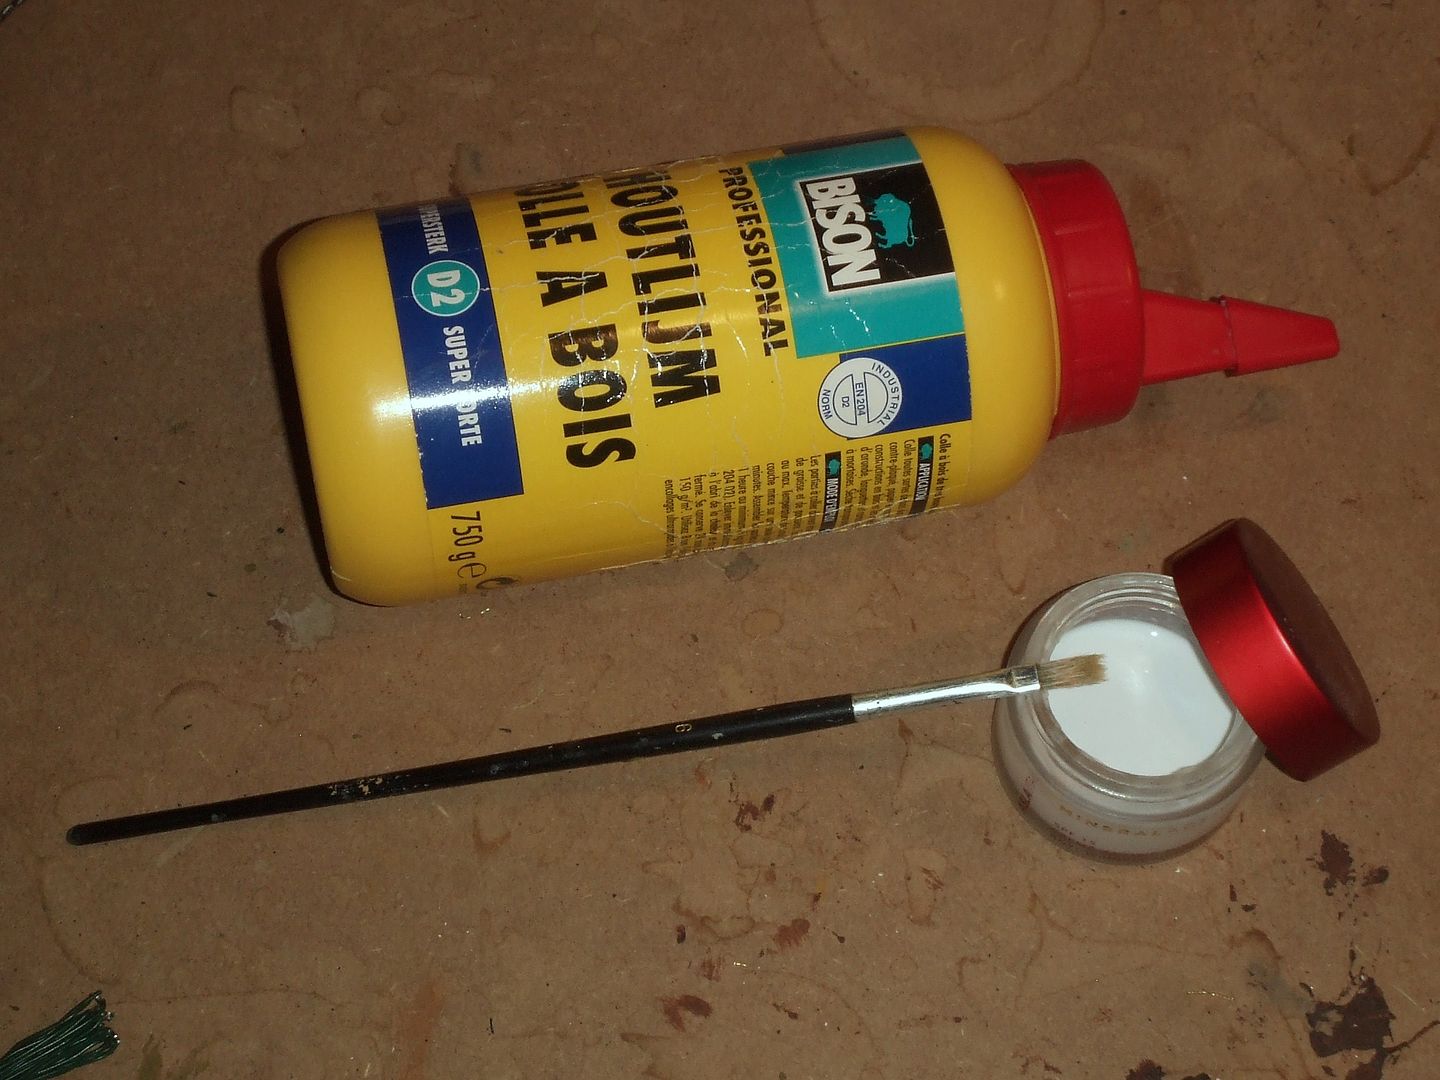
Types D1 and D2 can be decomposed by water, even after drying.
To give white glue more volume it can be mixed with powder.
Powders can be very fine sand, saw dust or other organic material.
Like coffeepowder, which is available all around us.
Safe used wet coffee powder.
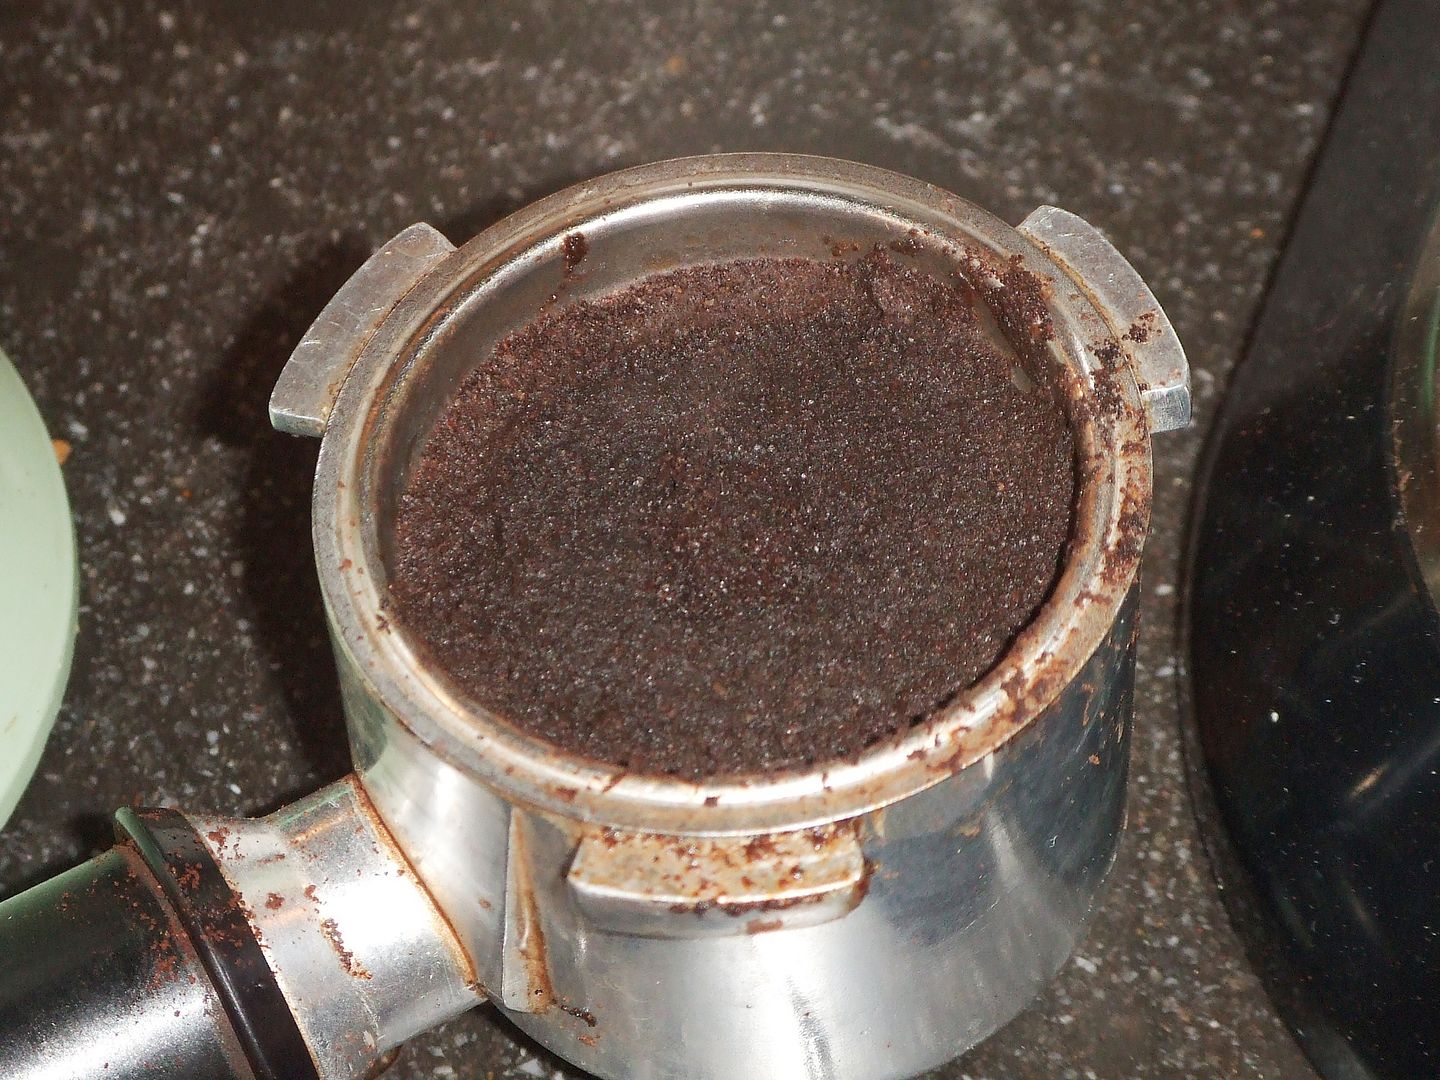
Collect it in a plastic tub.
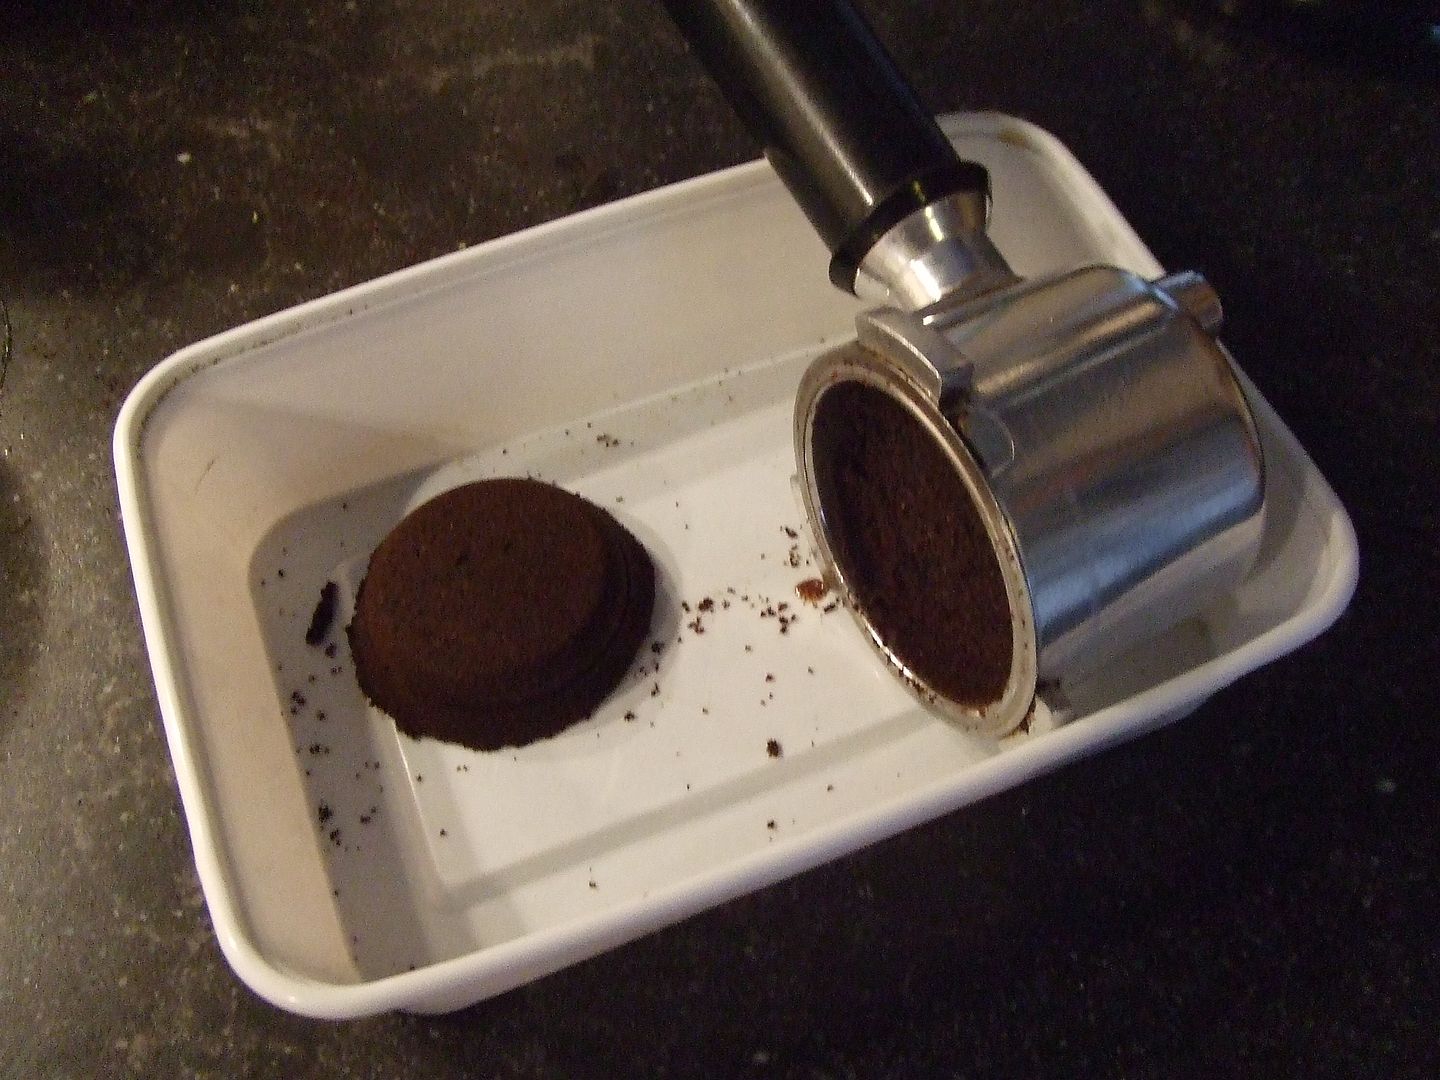
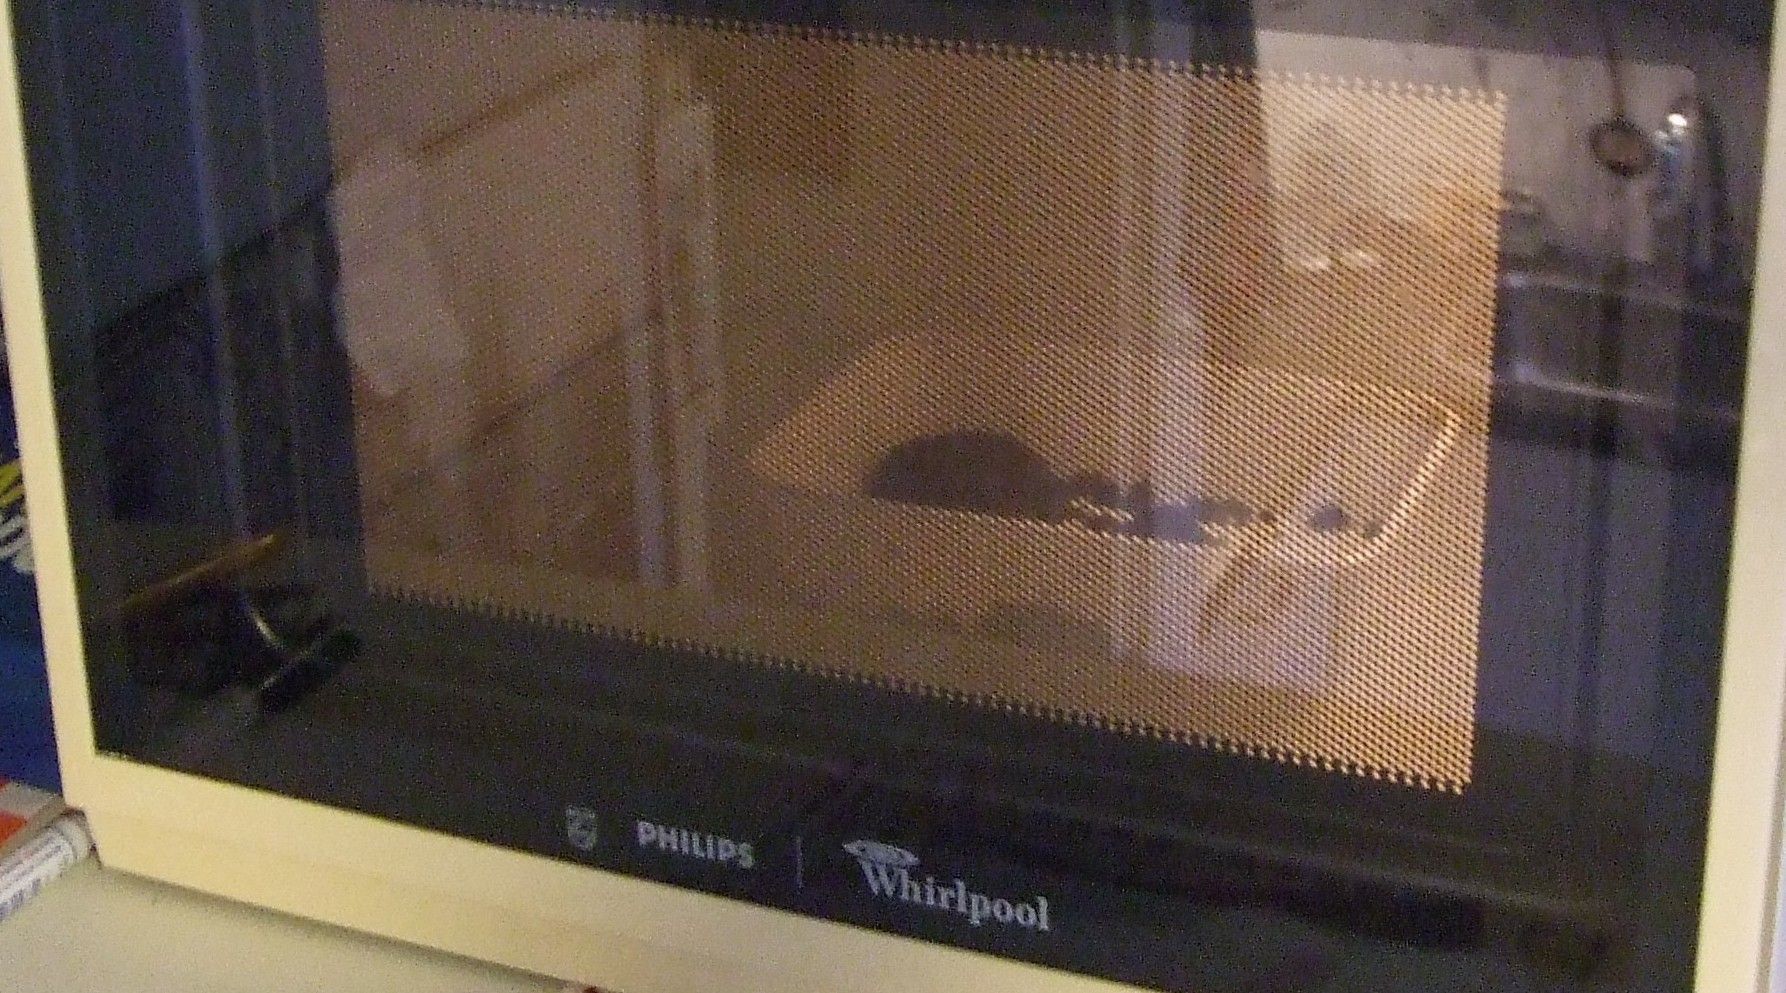
Heat it in the microwave for drying.
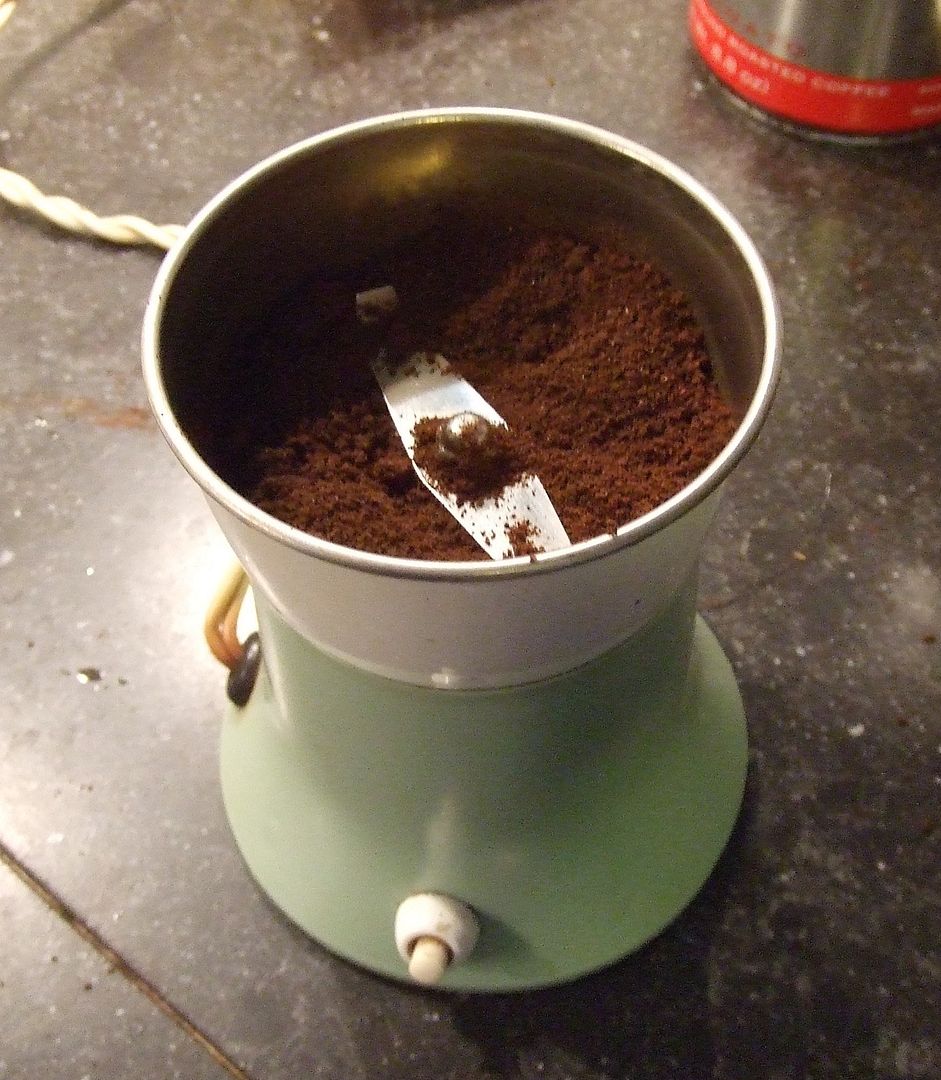
Grind it again untill it is small enough.
Mix coffee dust with white glue and water
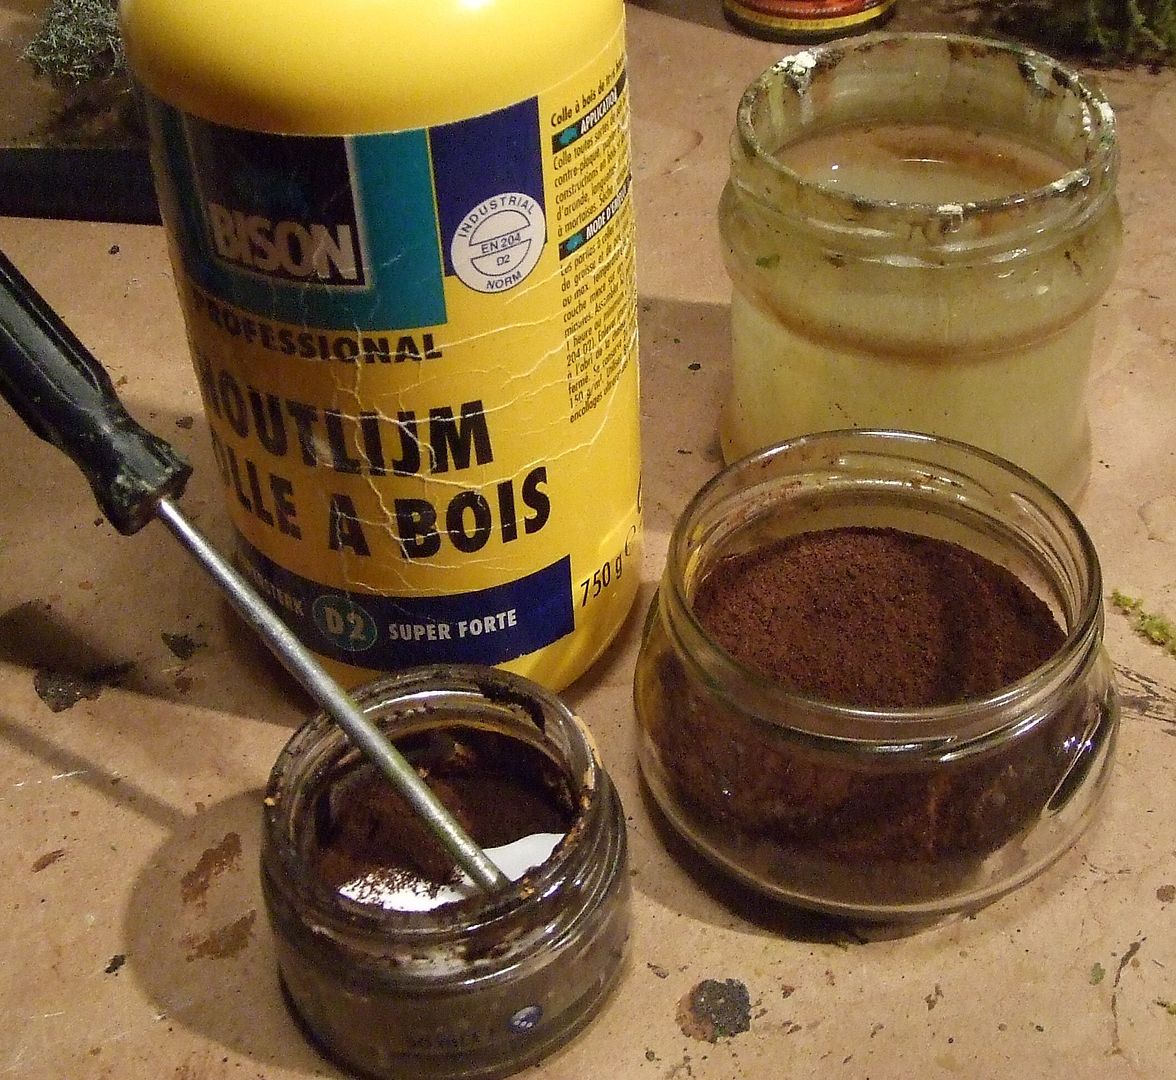
It can be applied by brush.
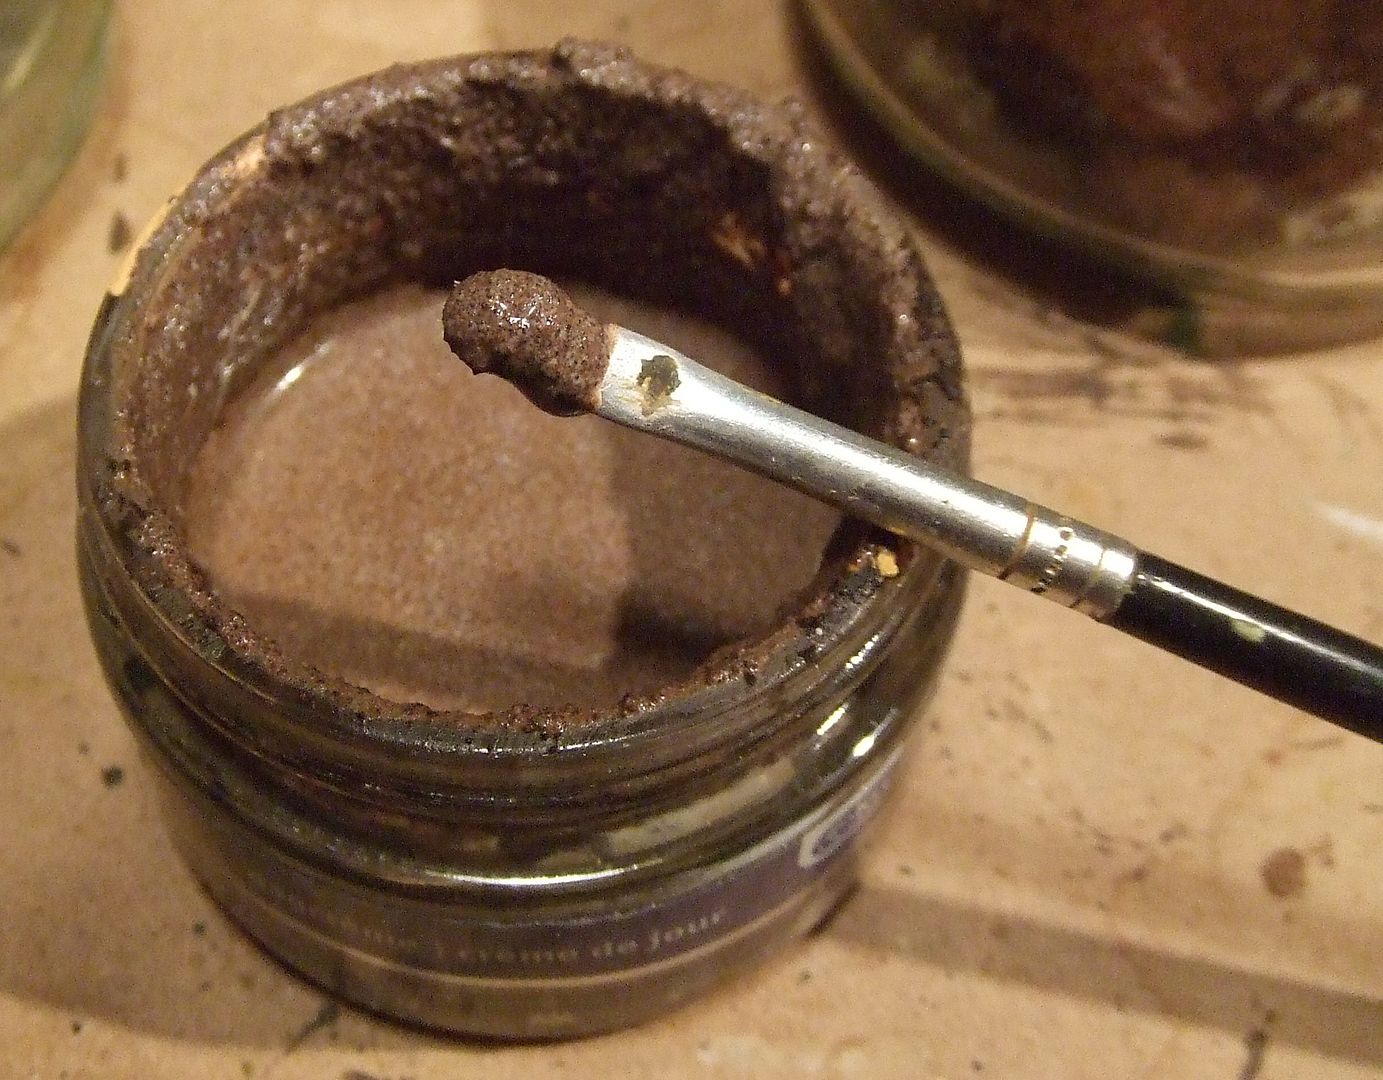
Apply mix to trunk and branches.
Several layers may be needed to give volume to trunk and heavy branches.
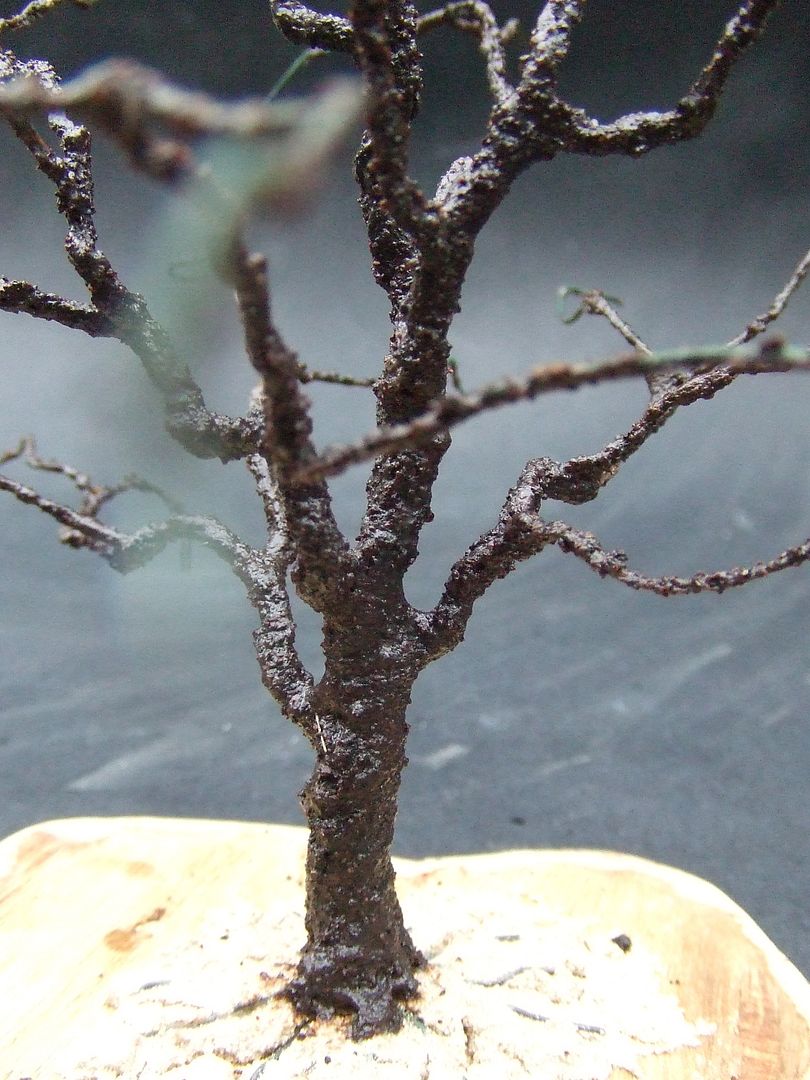
For the thinner branches the coffee grinding may turn out to look too crude after drying.
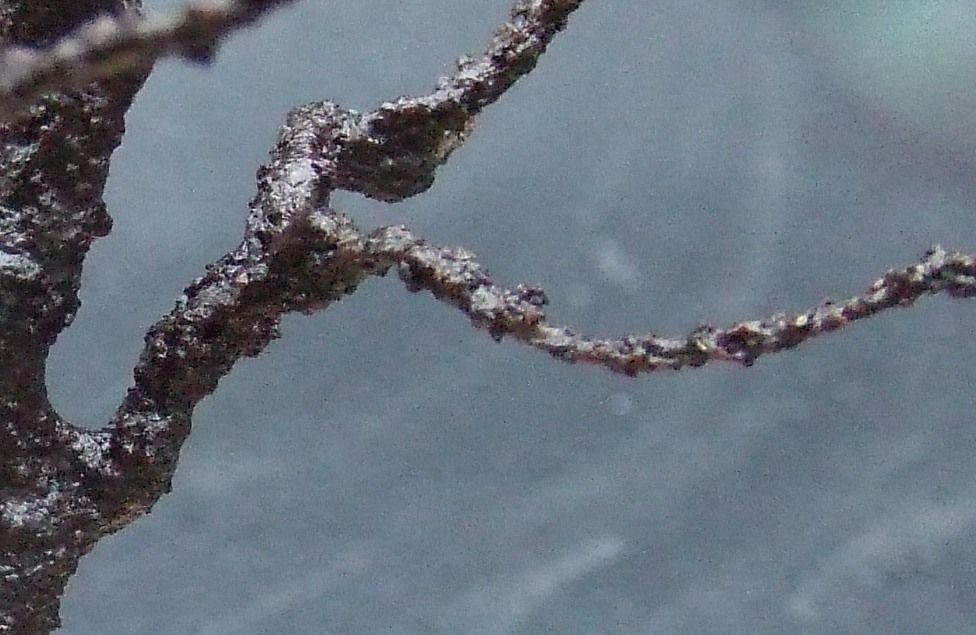
If so, remove it by peeling off the glue mix from the thinner branches.
Grind coffee again until the preferred finer grain size.
Make new mix and apply again to smaller branches.
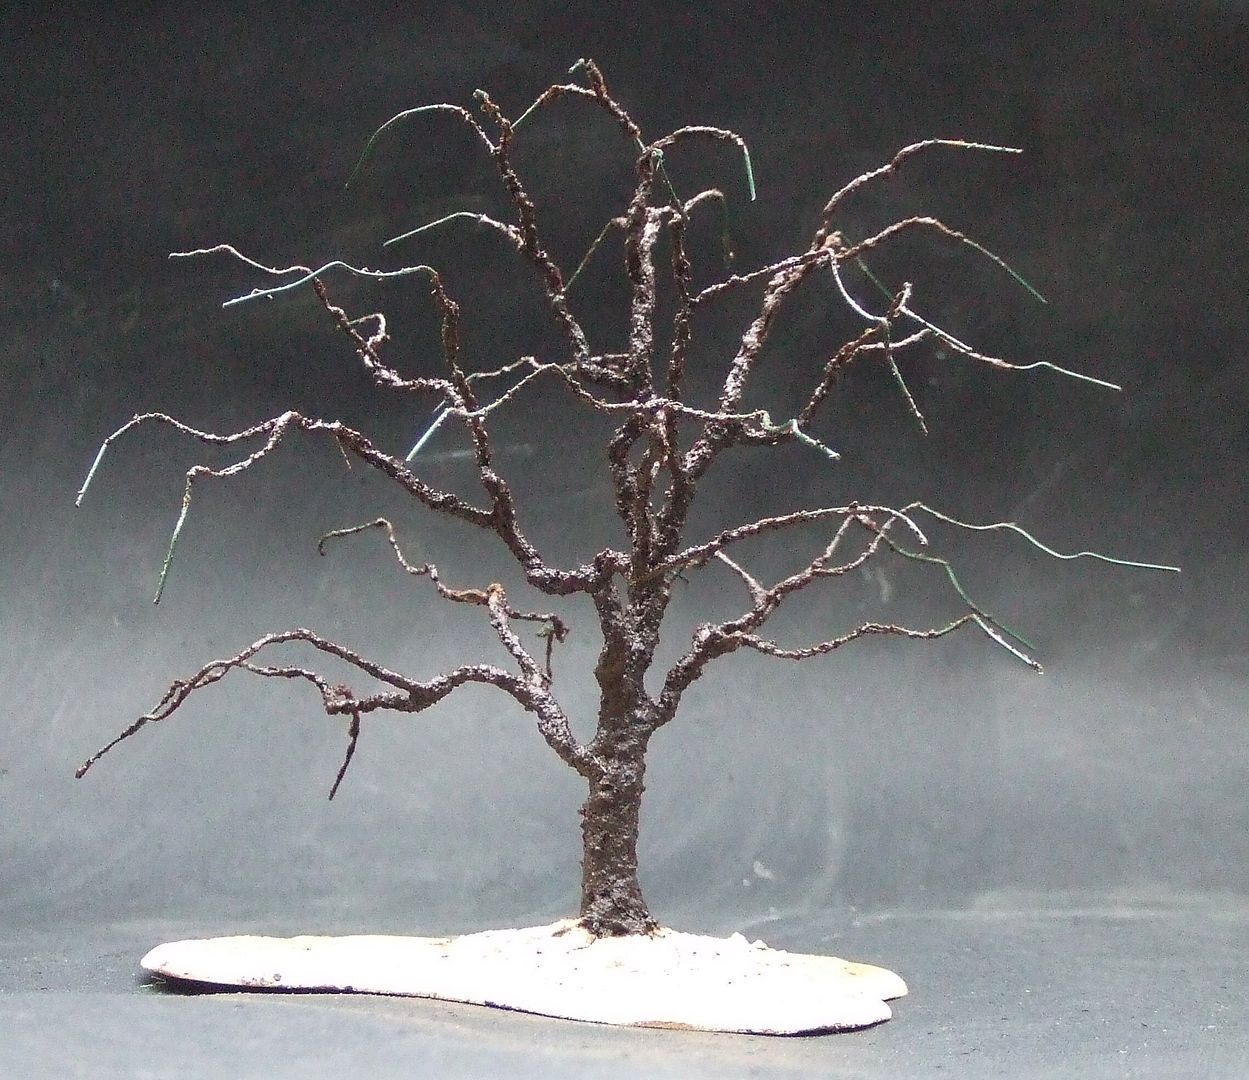
For some tree species, like pines, this type of plaster will represent its final bark structure.
But not for the weeping willow.

The weeping willow needs lining on both trunk and heavy branches.
Acrylic modeling paste stays flexible after drying and can be sculpted to a certain extent.
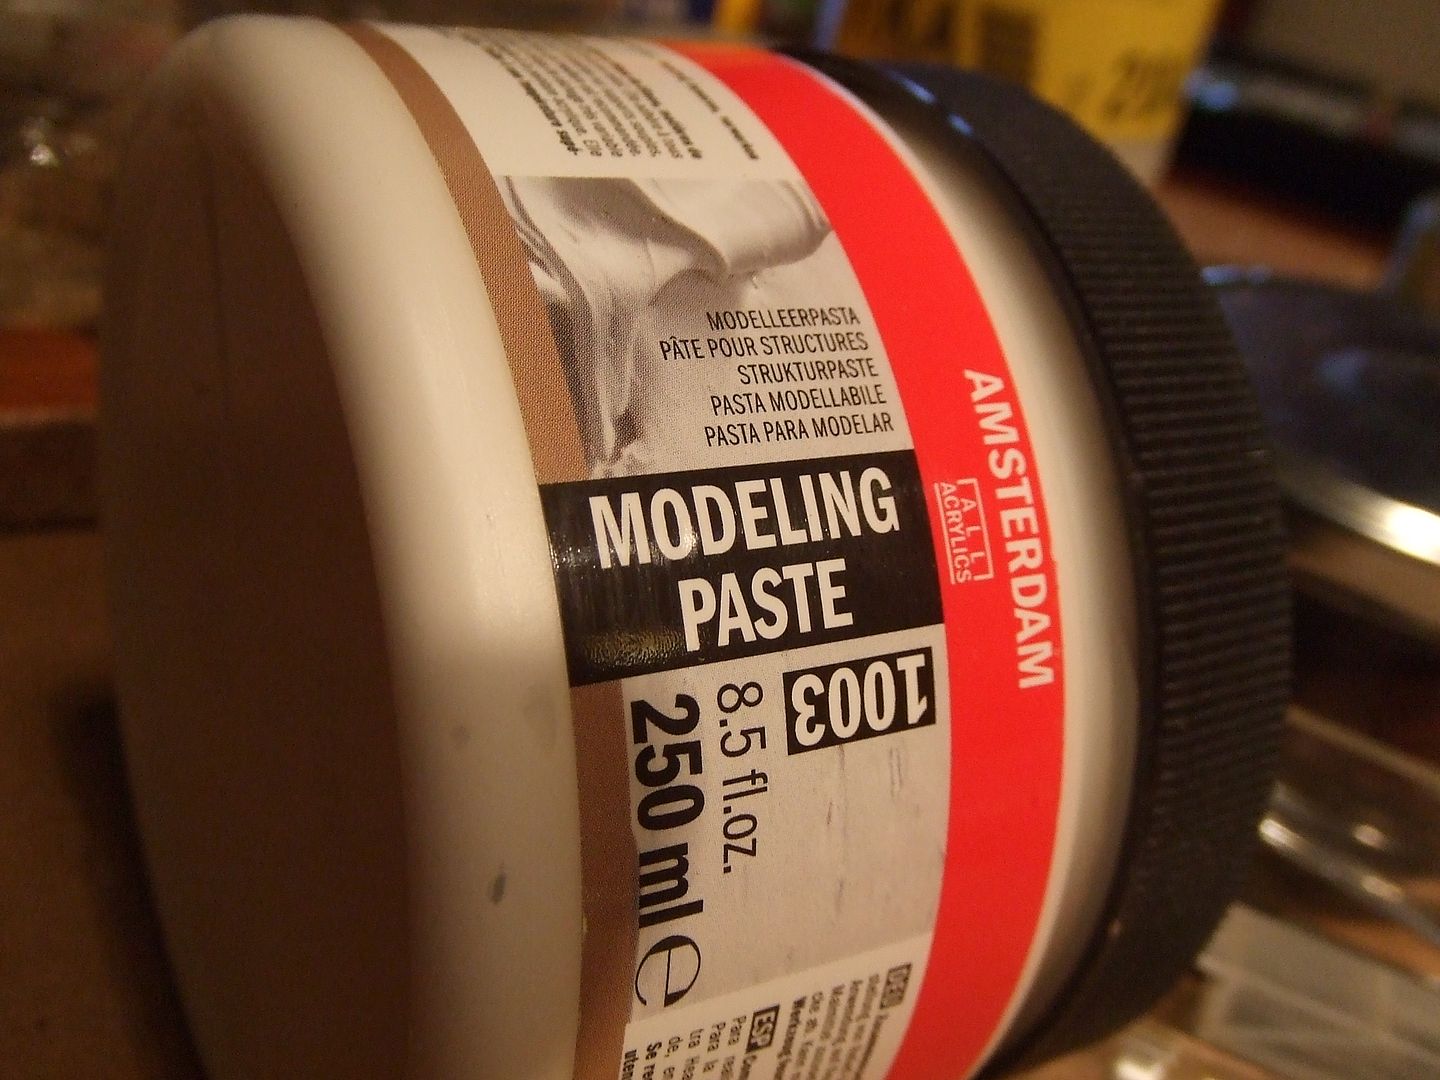
It is also possible to skip ‘the coffee powder and glue part’ and only use acrylic paste as plaster.
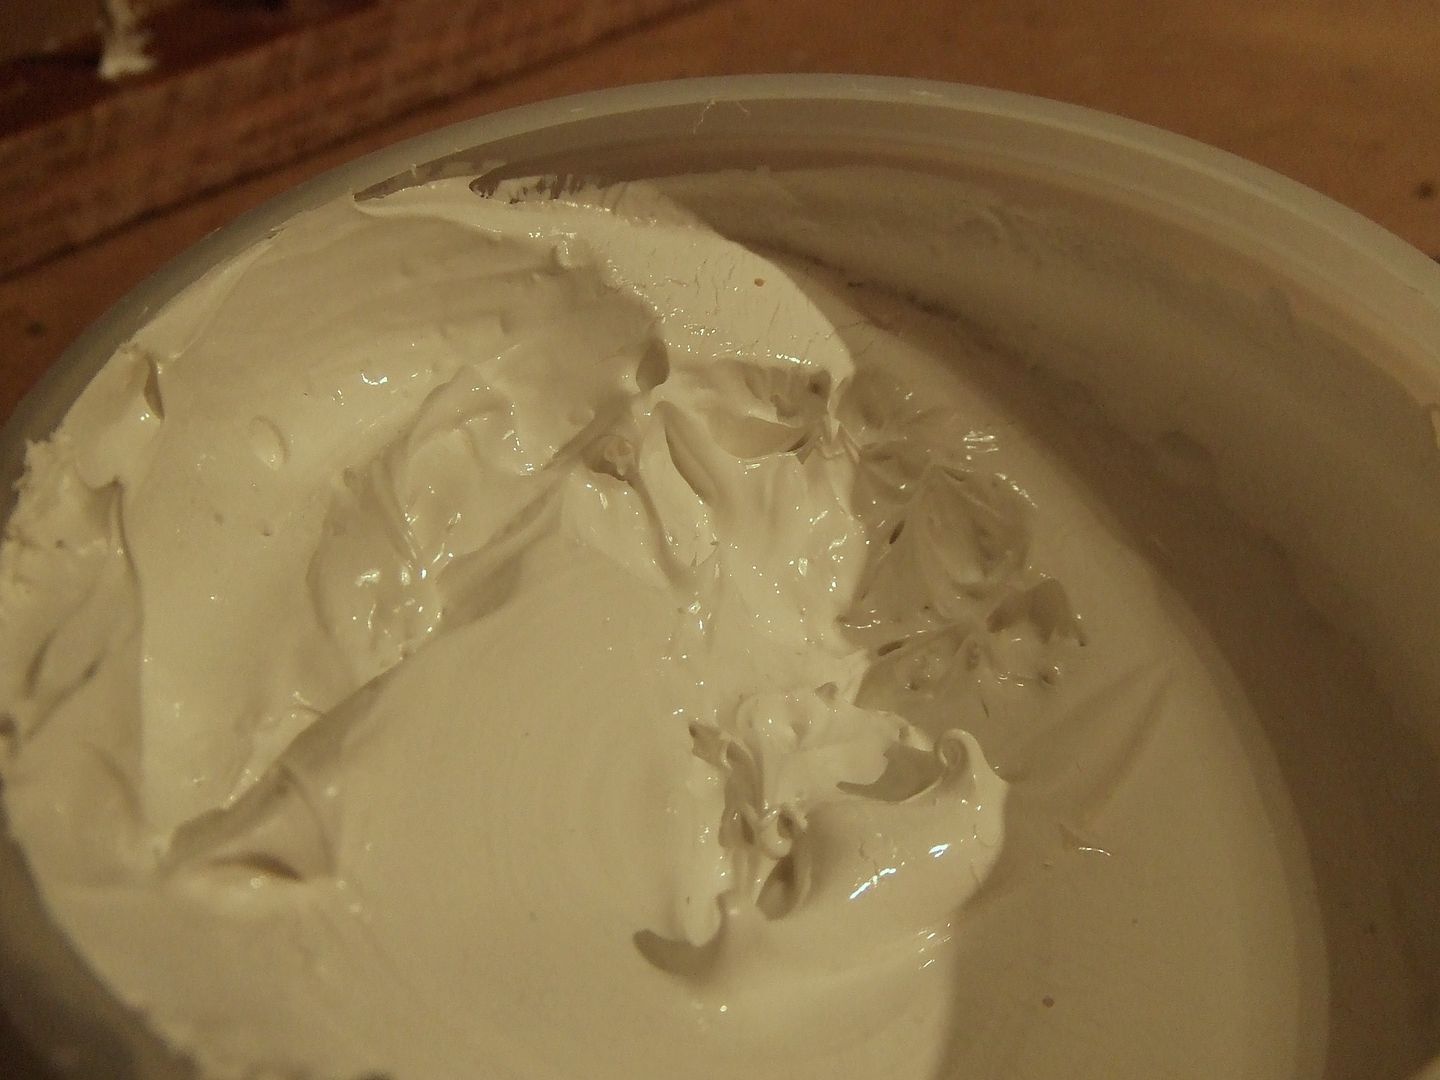
But acrylic paste is less effective for giving volume to trunk and branches.
It will need several more layers.
It does not attach evenly and does not level its bark by itself like white glue does so easily.
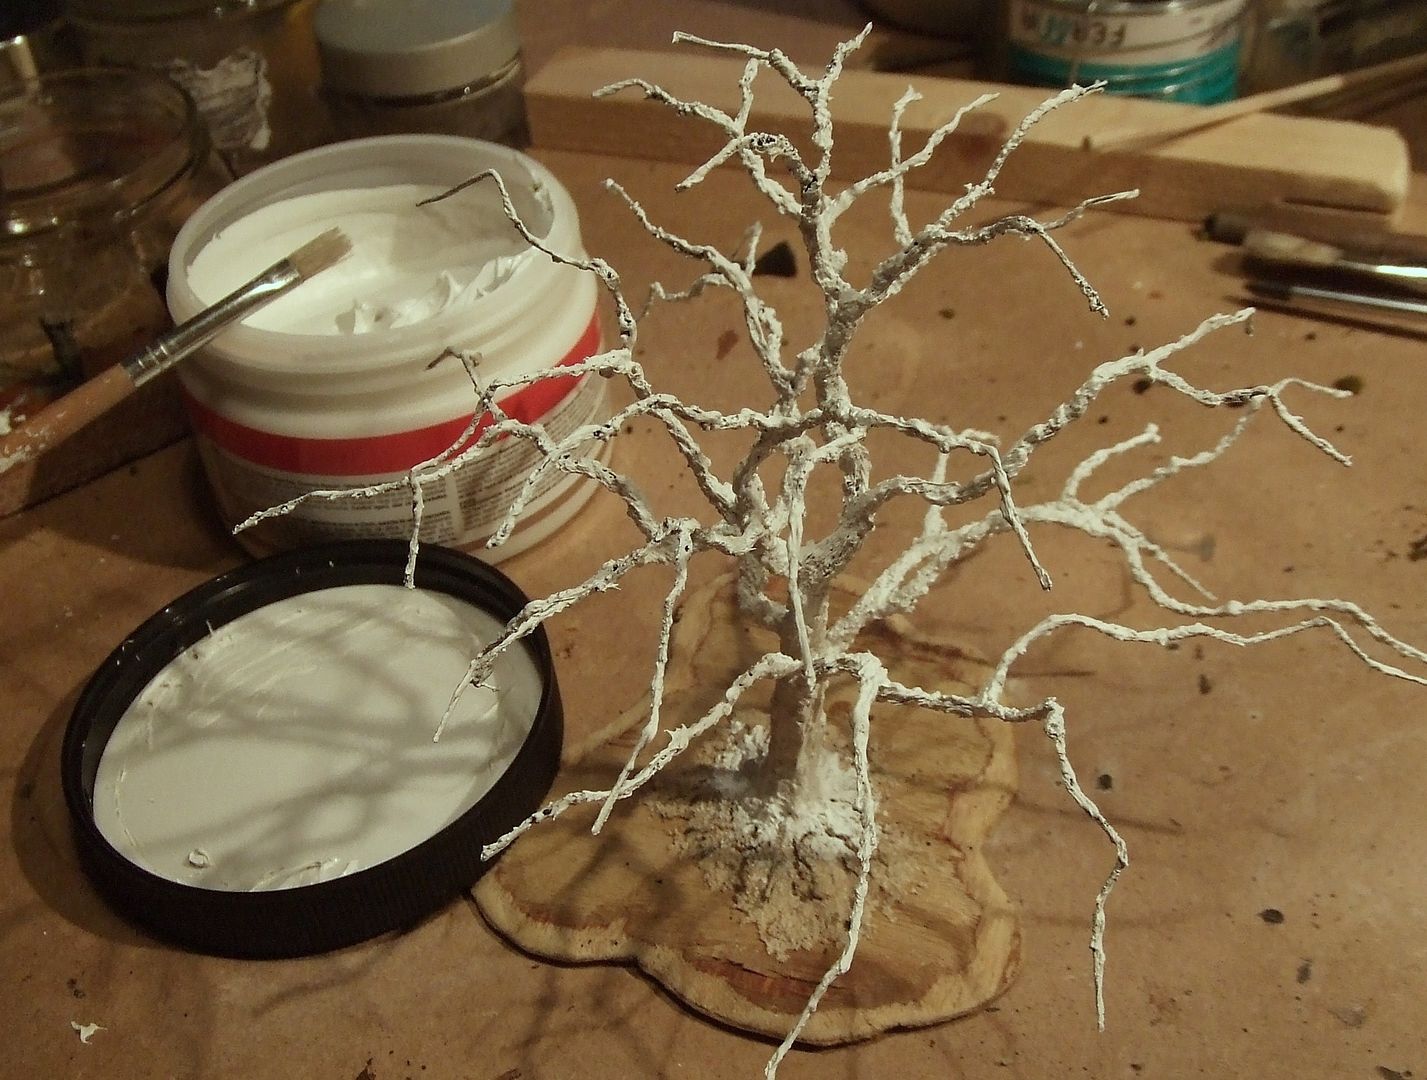
Apply the paste all over the tree by brush
For sculpting use a pointed tool.
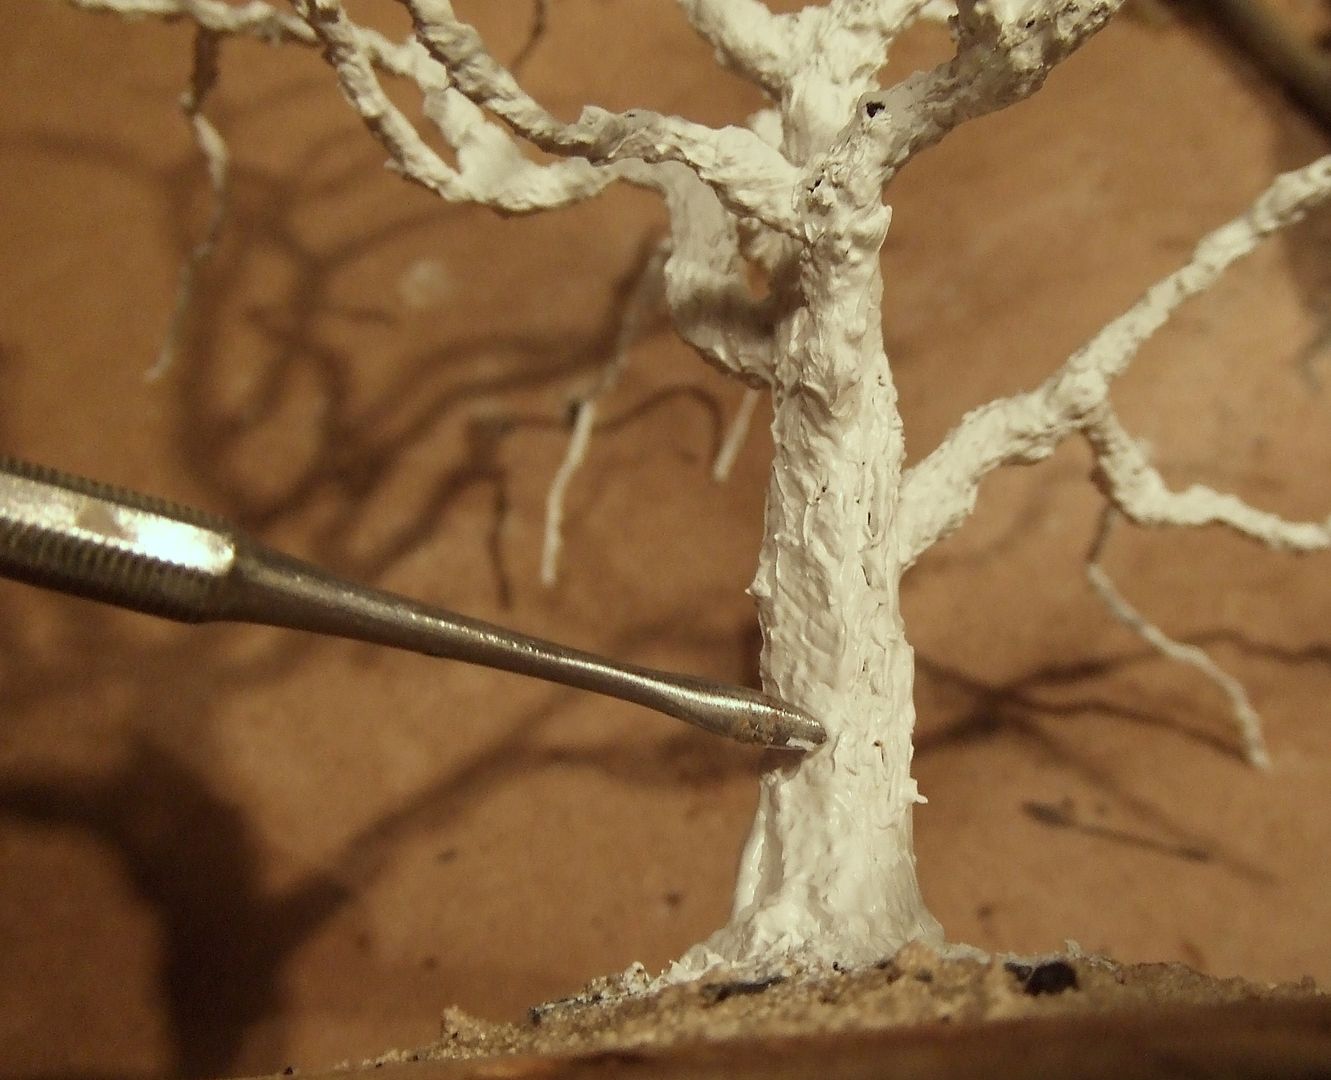
Draw short irregular lines into the layer of modeling paste.
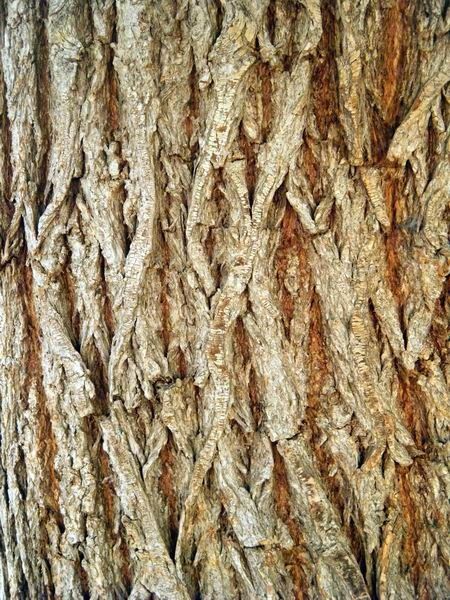
Draw all of them more or less in the same direction: from the root up to the trunk…
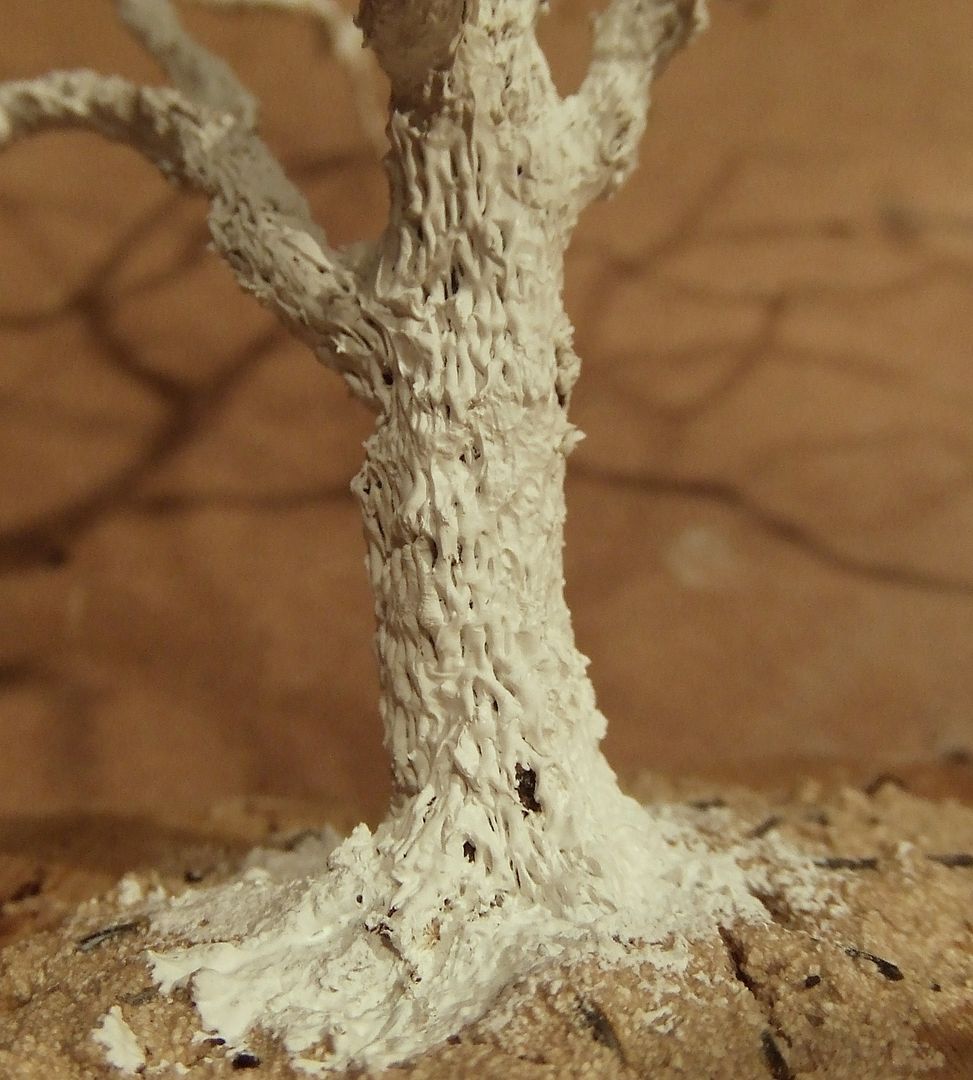
…and all the way up to the branches.
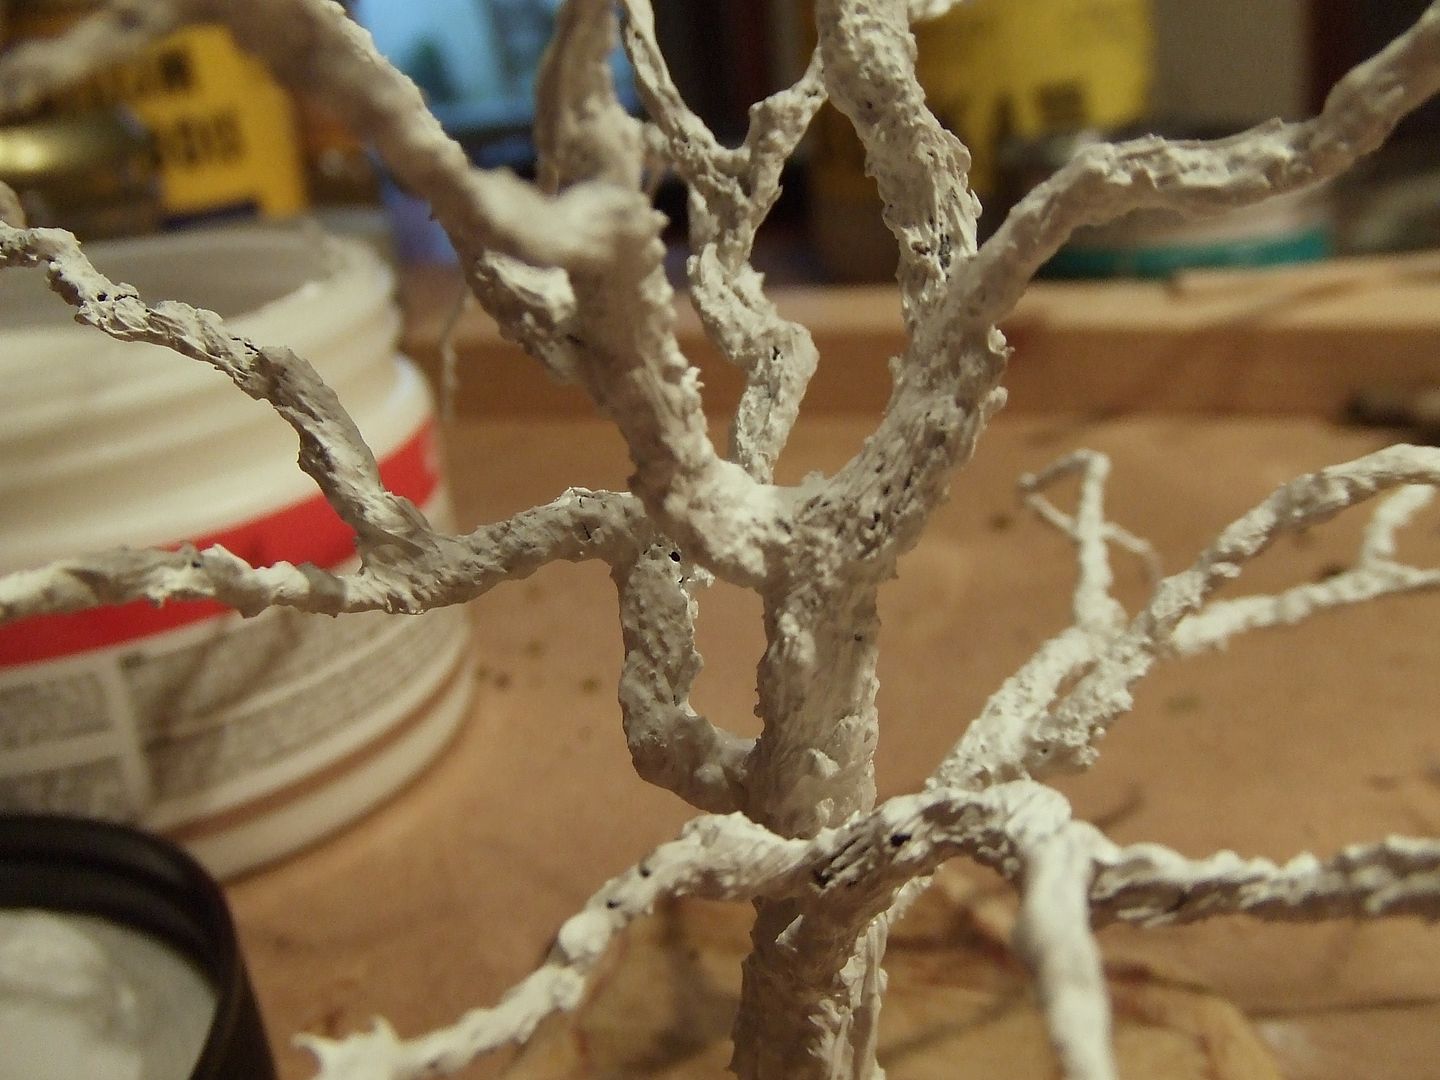
If the relief is not deep enough, repeat after drying: apply new layer of paste and sculpt again.
Unwanted quantities of paste will arise in branch junctions by clotting and dripping.
After 30 minutes of drying it will even look worse.
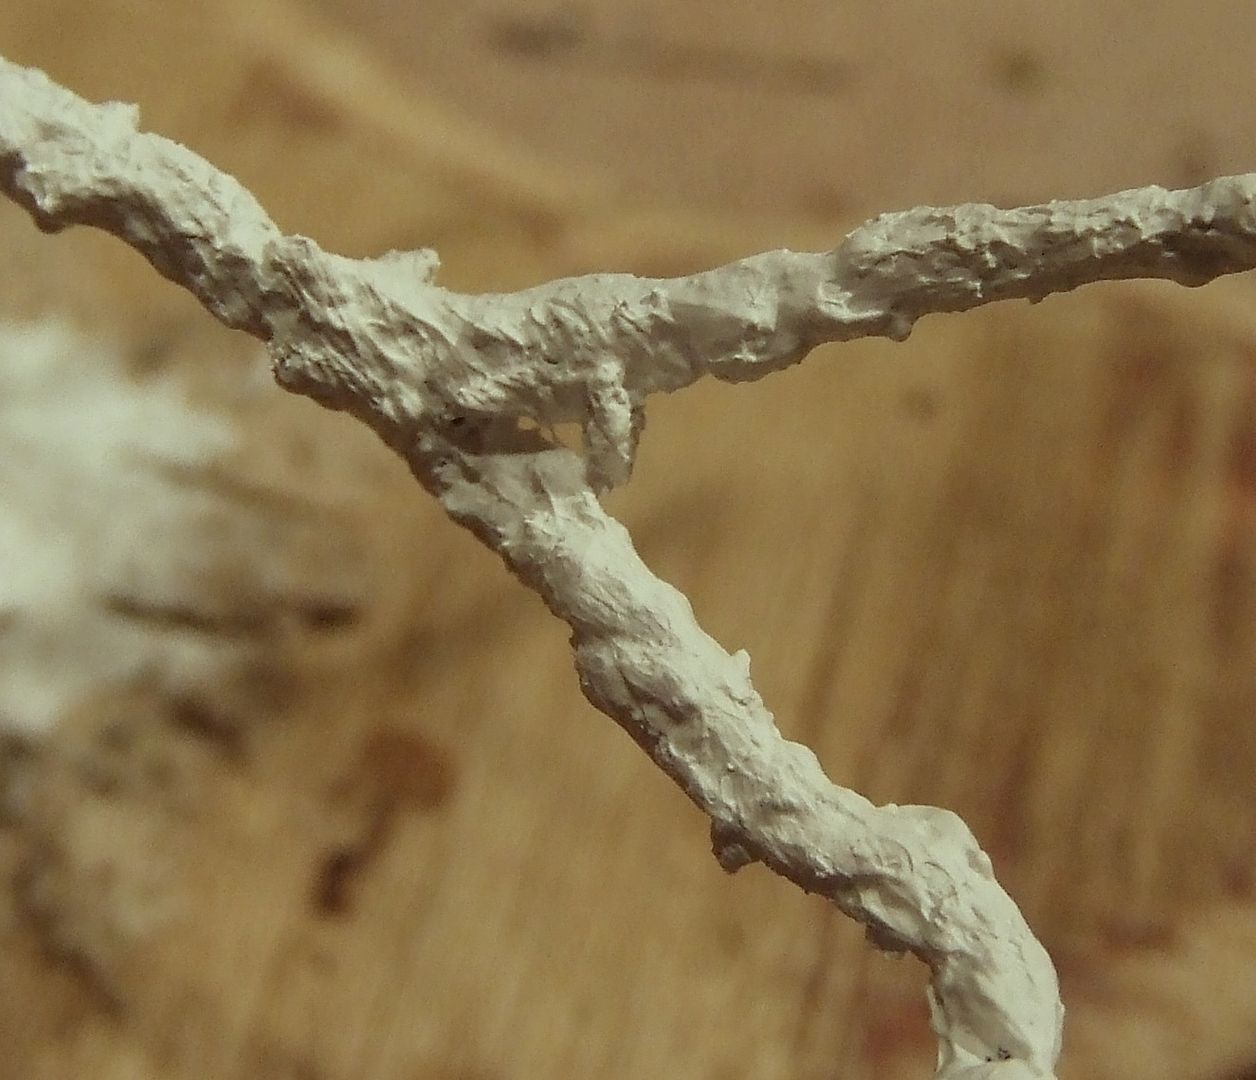
Cut these inaccuracies with scissors.
Cutting with knive or polishing with file does not work since the dryed paste is still flexible.
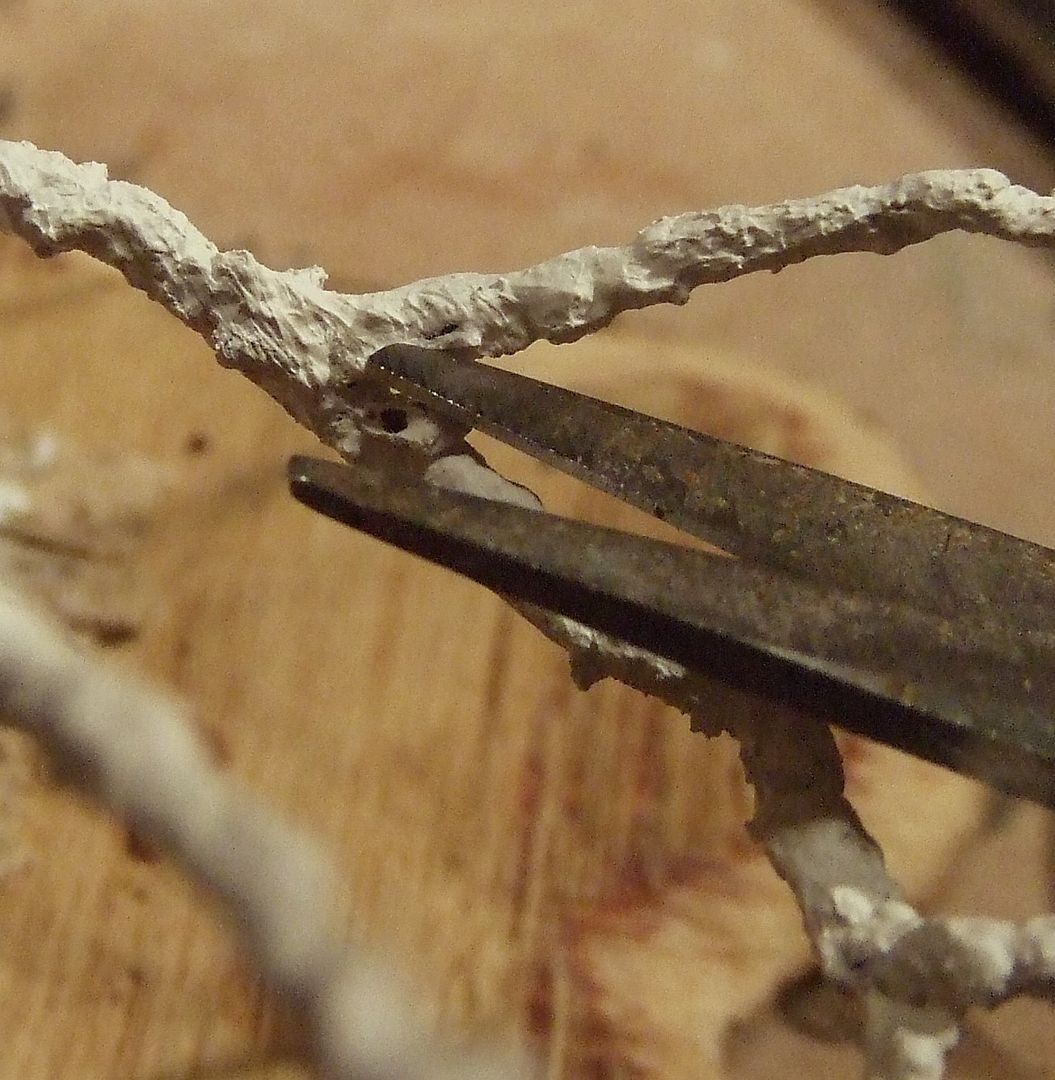
Branches need similar correcting treatment.
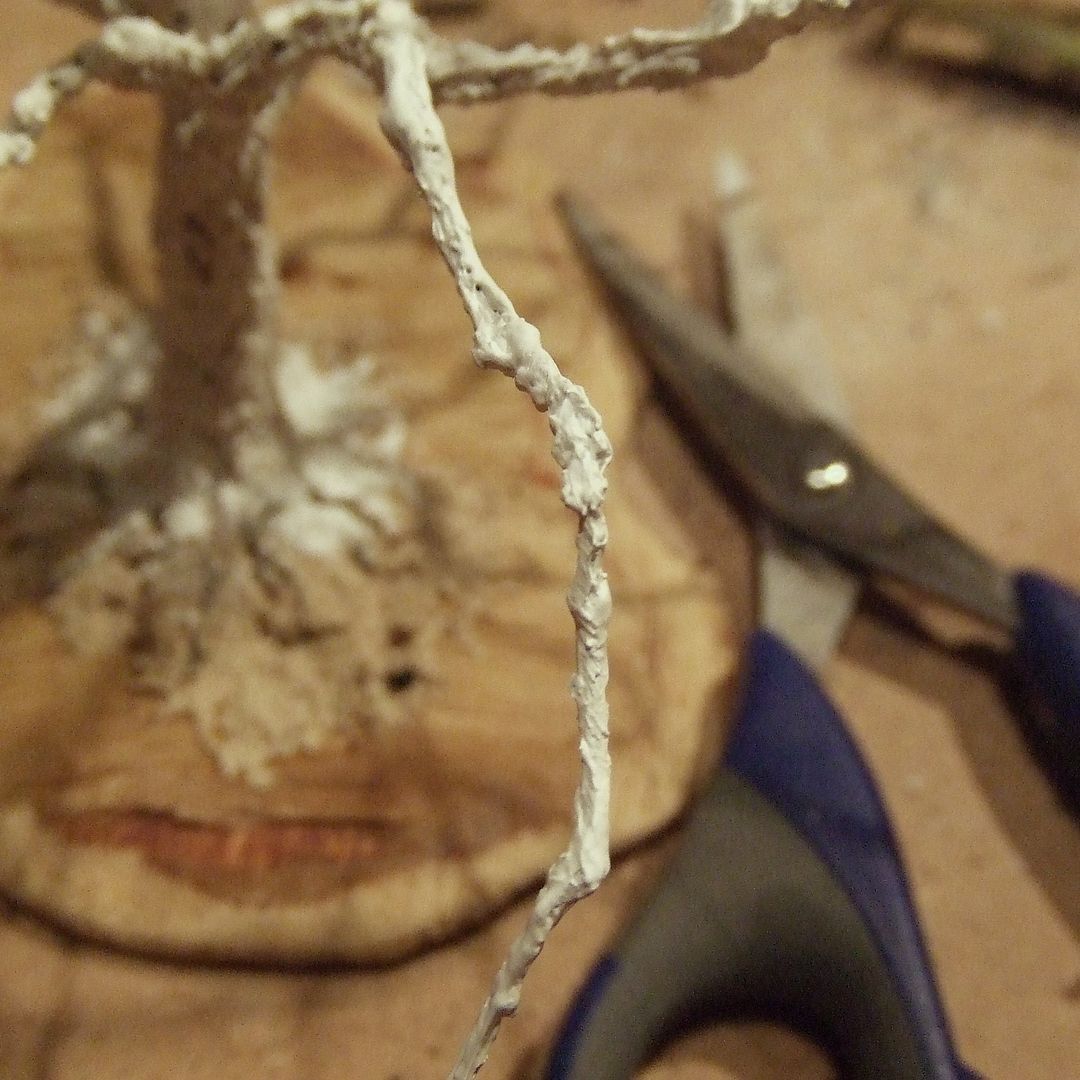
Fill up the holes with fresh paste.
Or just let them be: nature has its irregularities and it will be painted over anyhow.
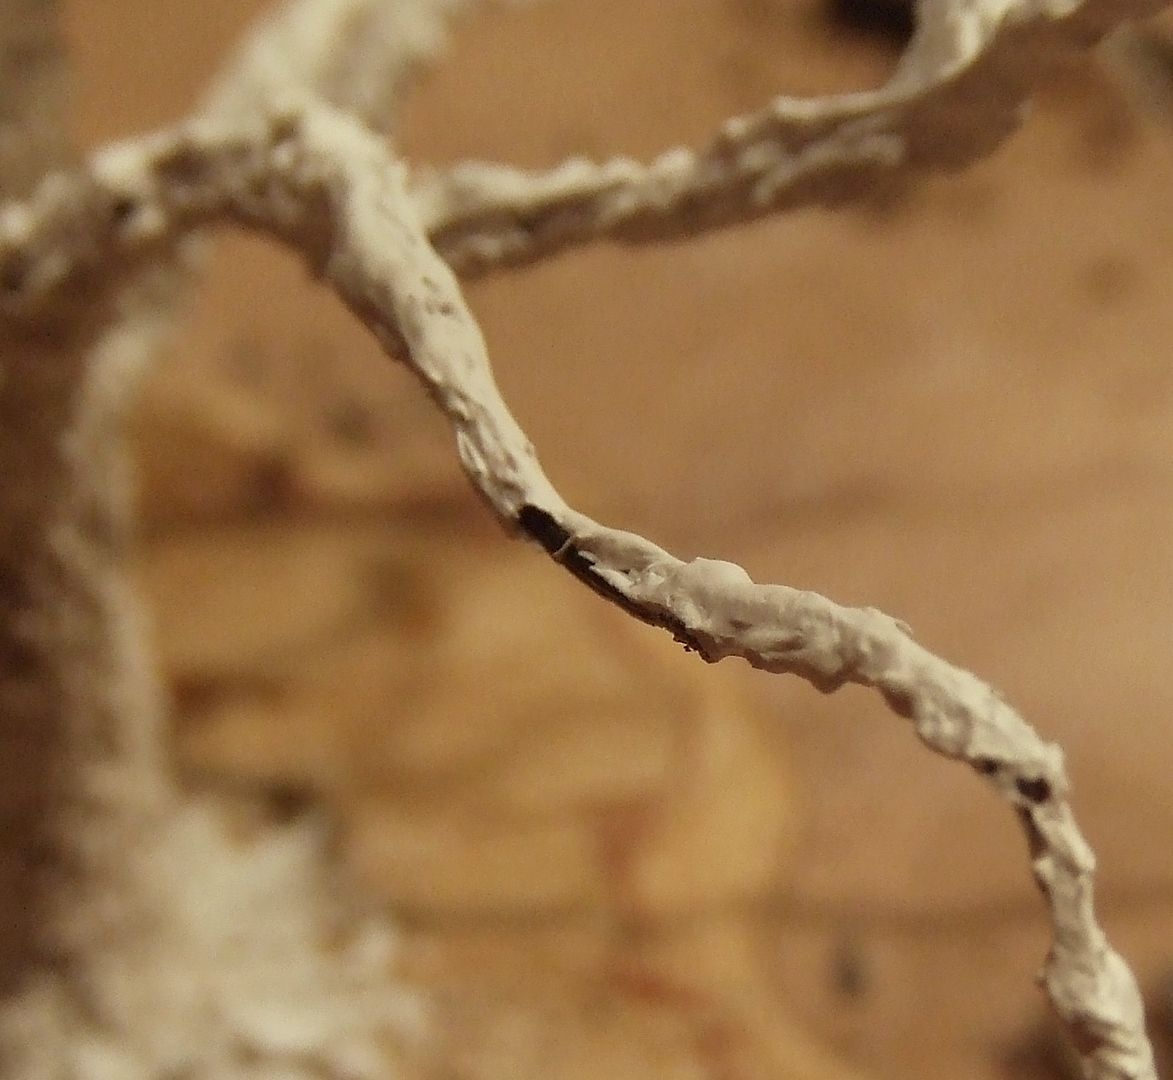
The thinner the branches, the smoother their bark relief needs to be.
In stead of acrylic paste, use pure white glue for the most outer parts.
These branch heads do not need any sculpting at all.
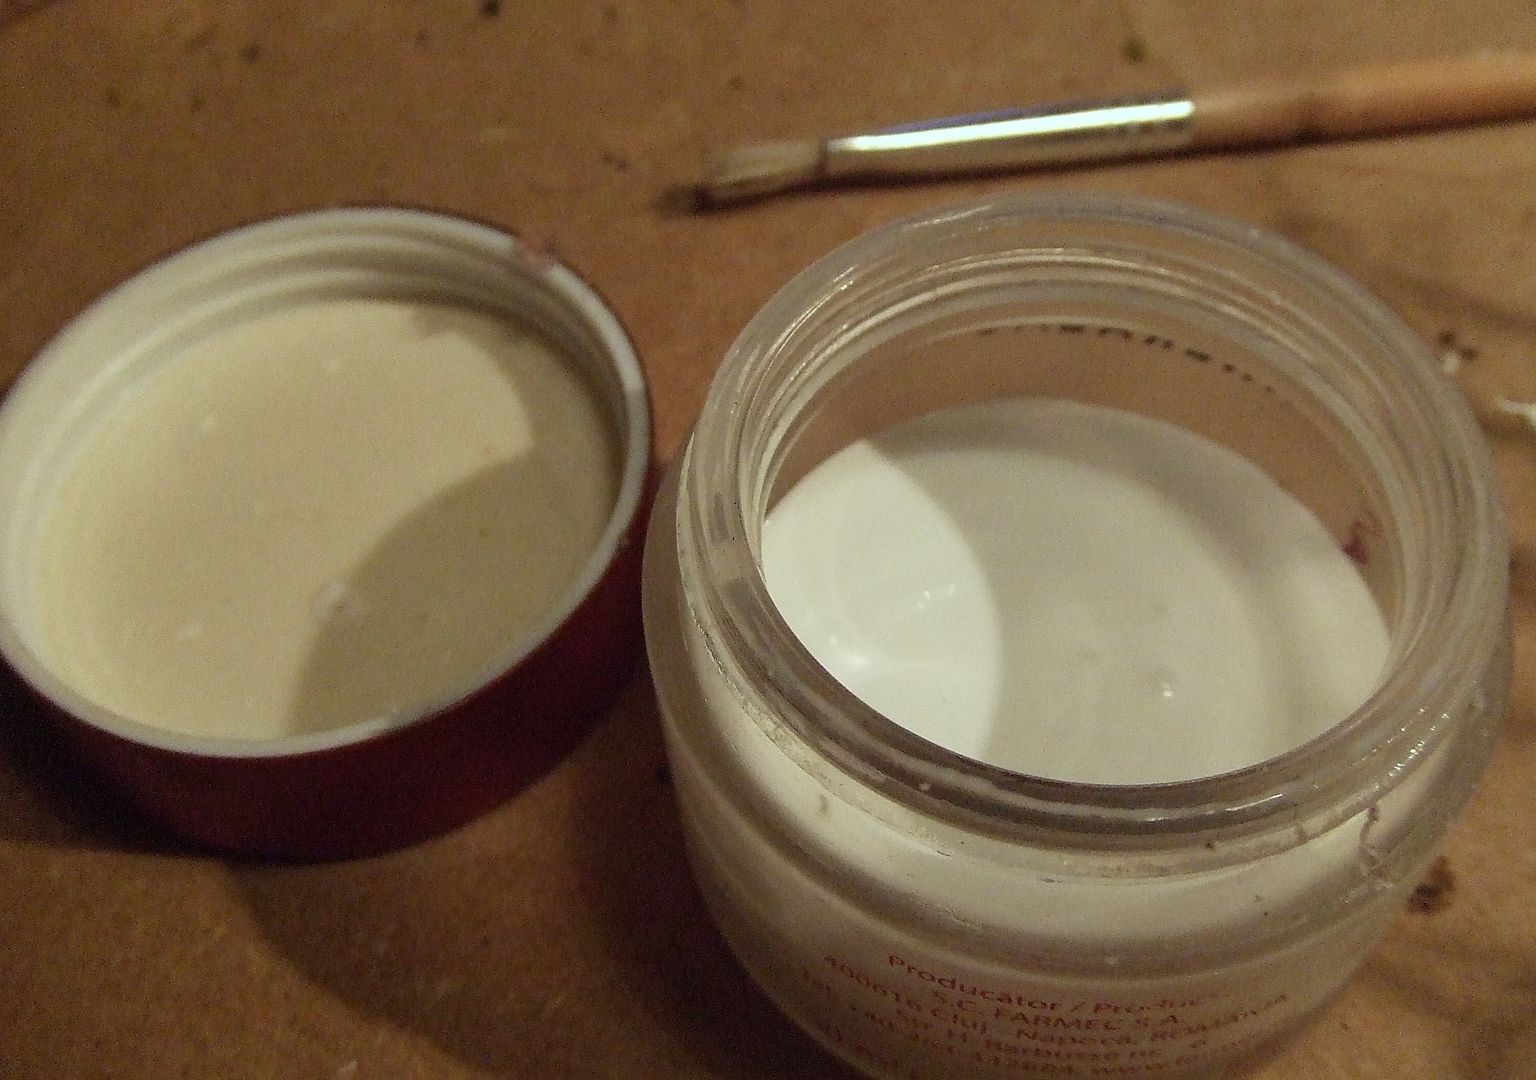
White glue can also be used on top of the paste to smooth it out.
It will fill up small indentations and dimples.
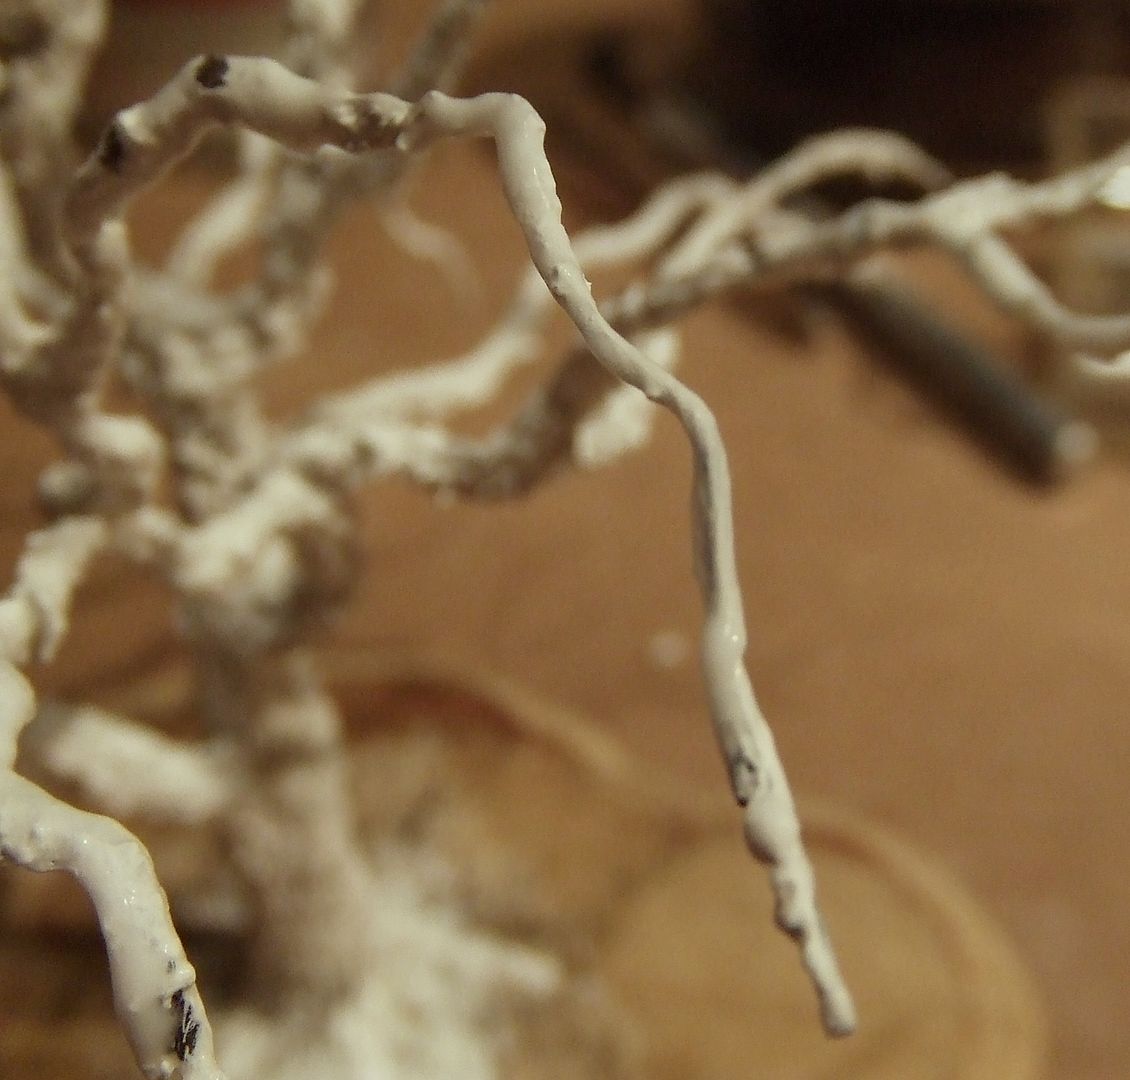
All branches and even the trunk can still be bended at this stage.
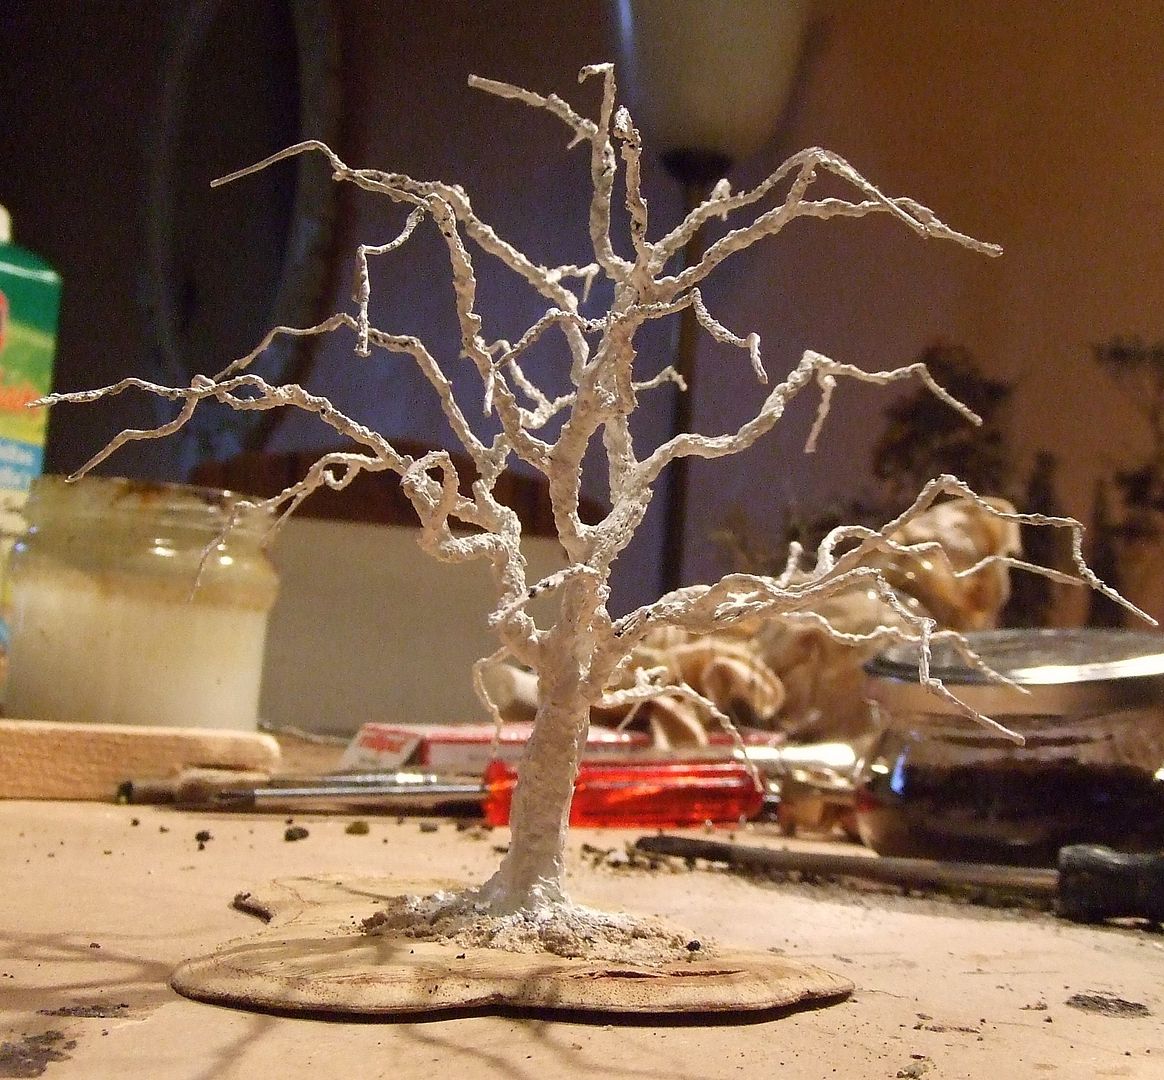
Bend trunk and branches in desired shape.

PLASTERING THE BASE
Weight can compensate size of a base.
Mineral sand (like sand from granite) is heavy.
Also shell sand (for birdcages) will do.
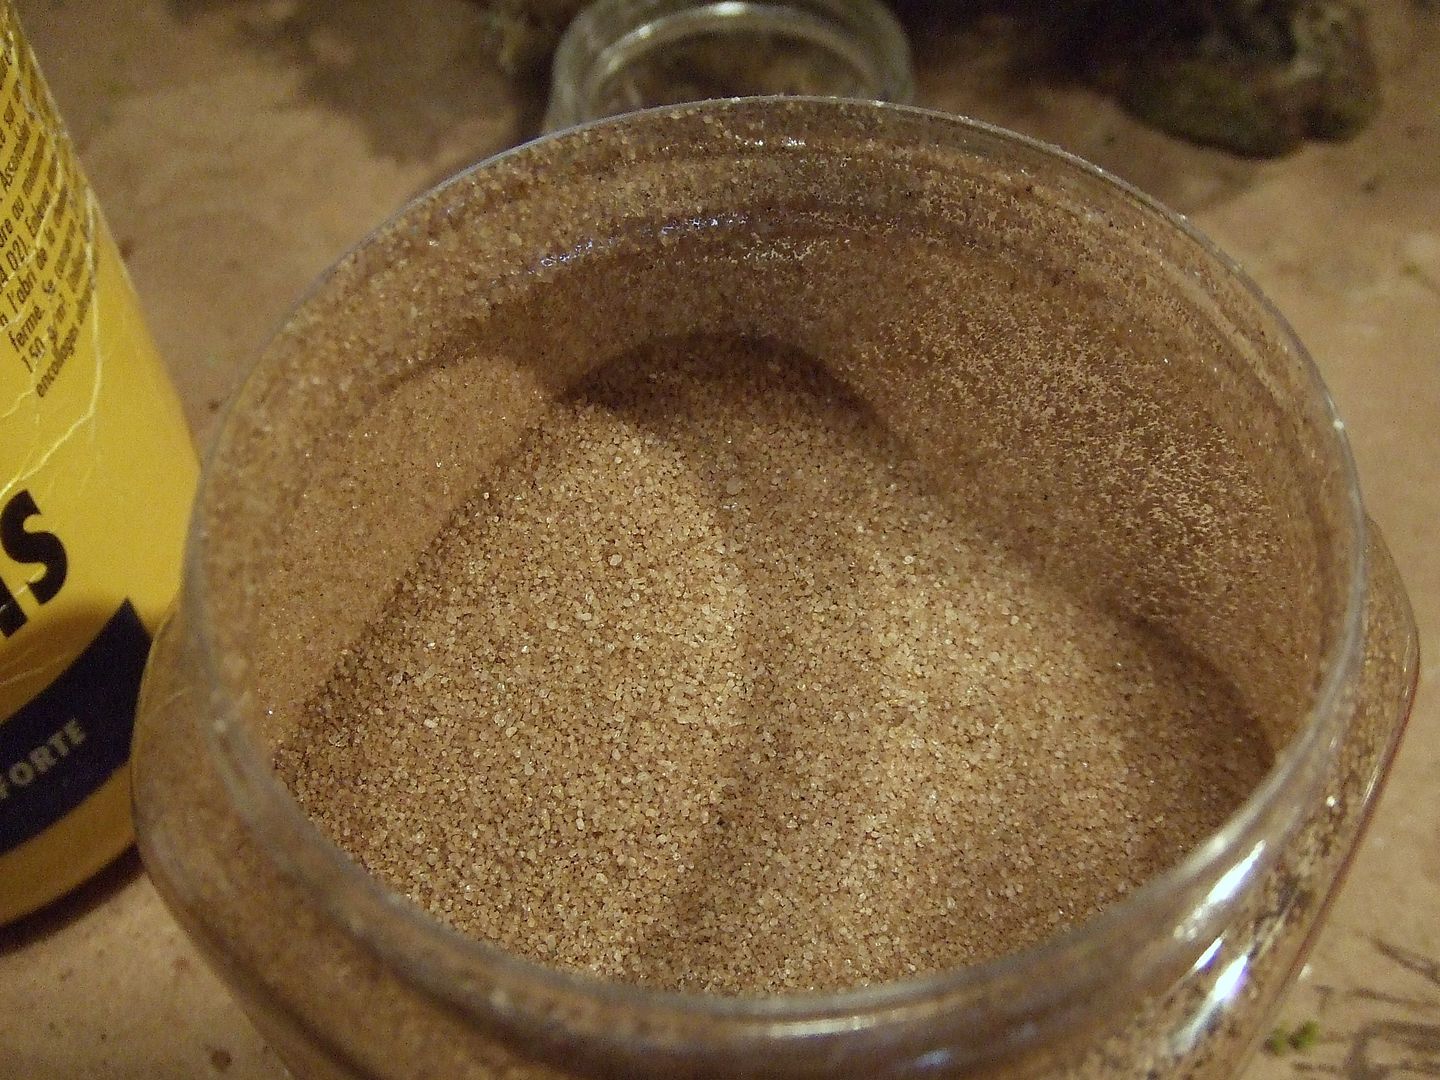
Mix it with acrylic earth colours…

…white glue and water.
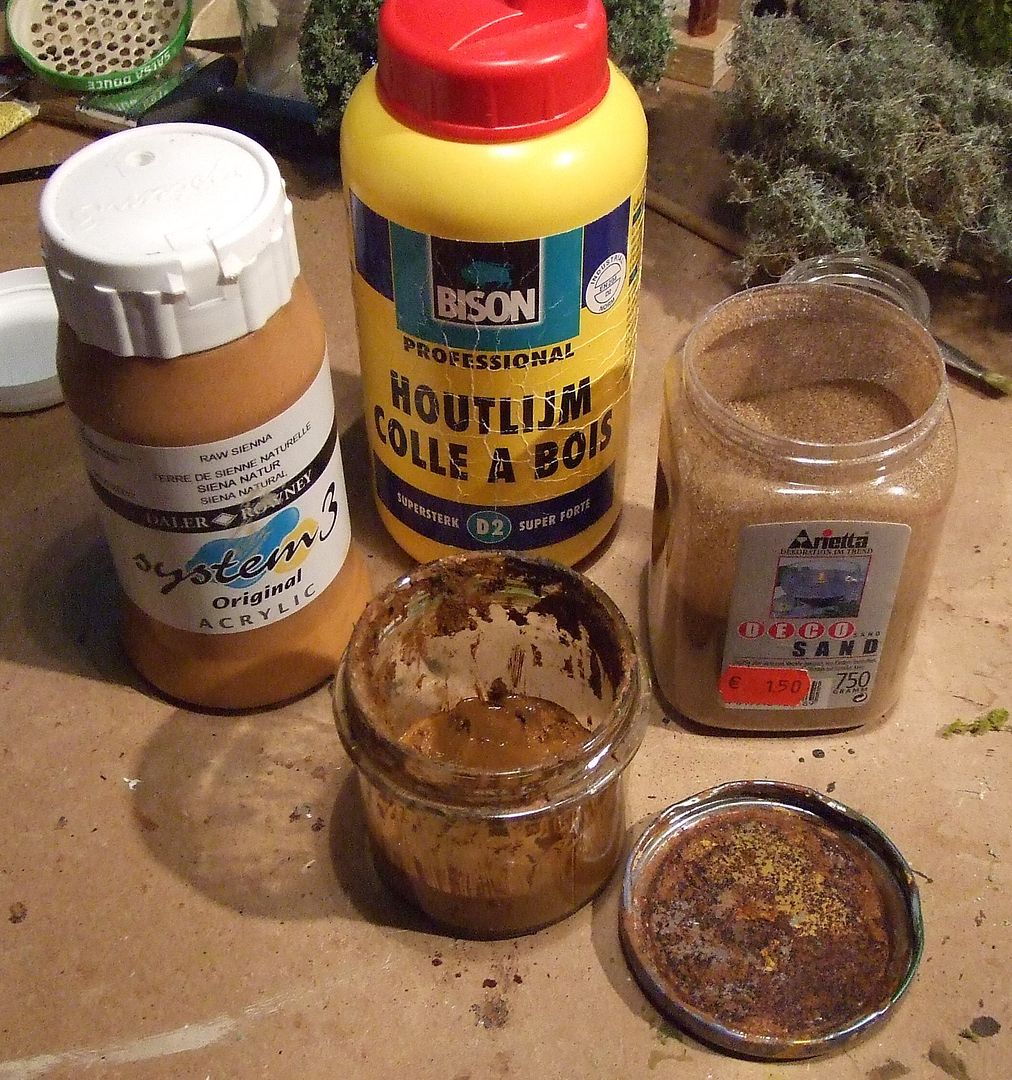
It must be barely liquid.
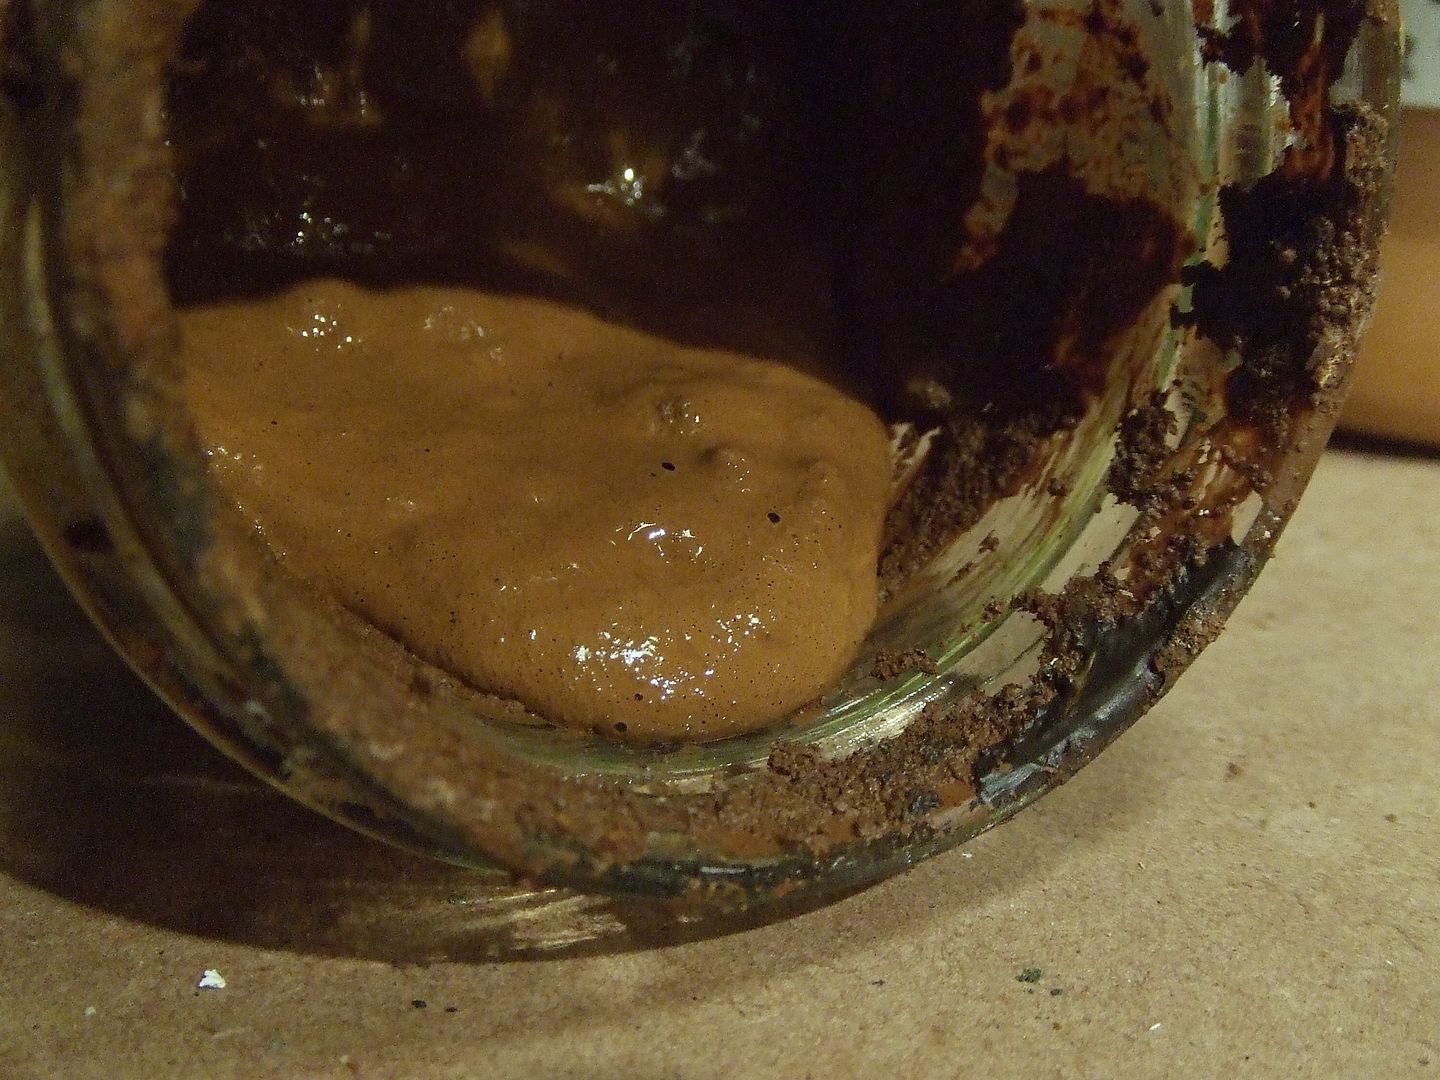
Apply to base with brush
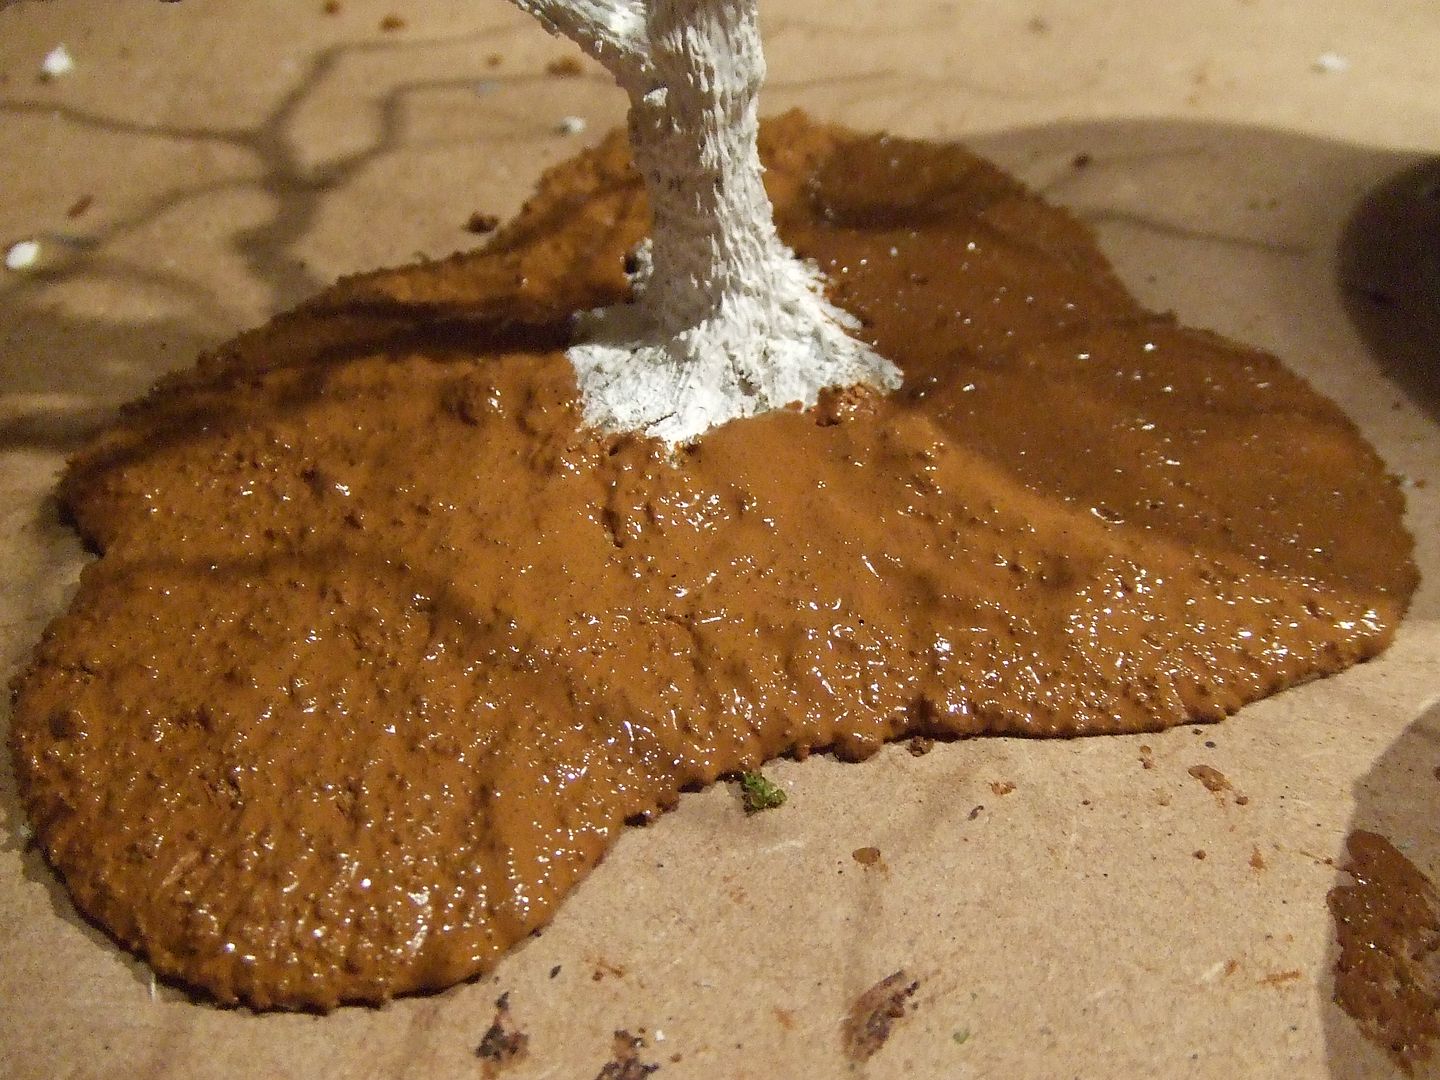
After drying it will need a second layer to achieve optimal texture.
PAINTING THE TREE
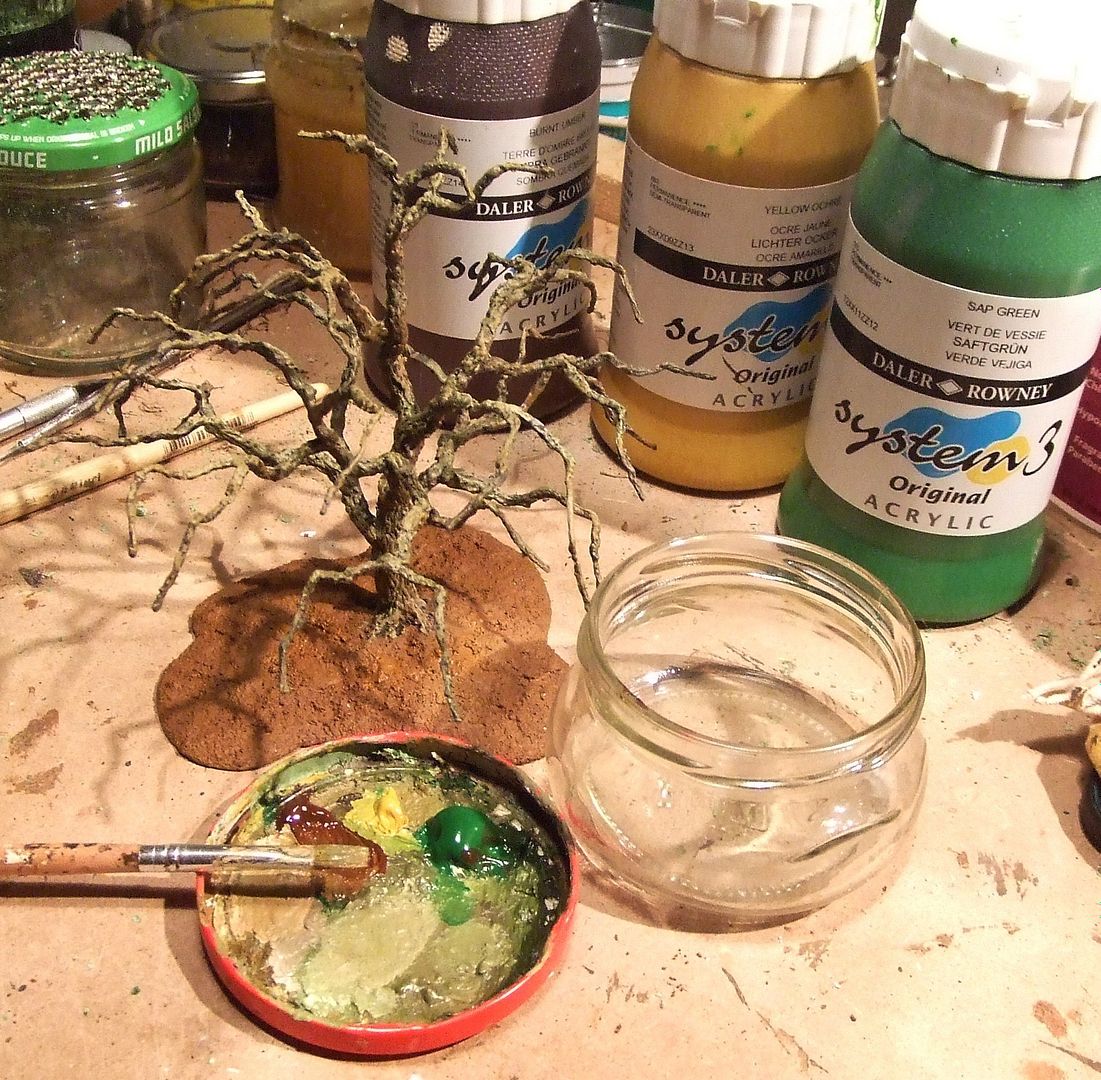
Mix or choose natural acrylic colours.
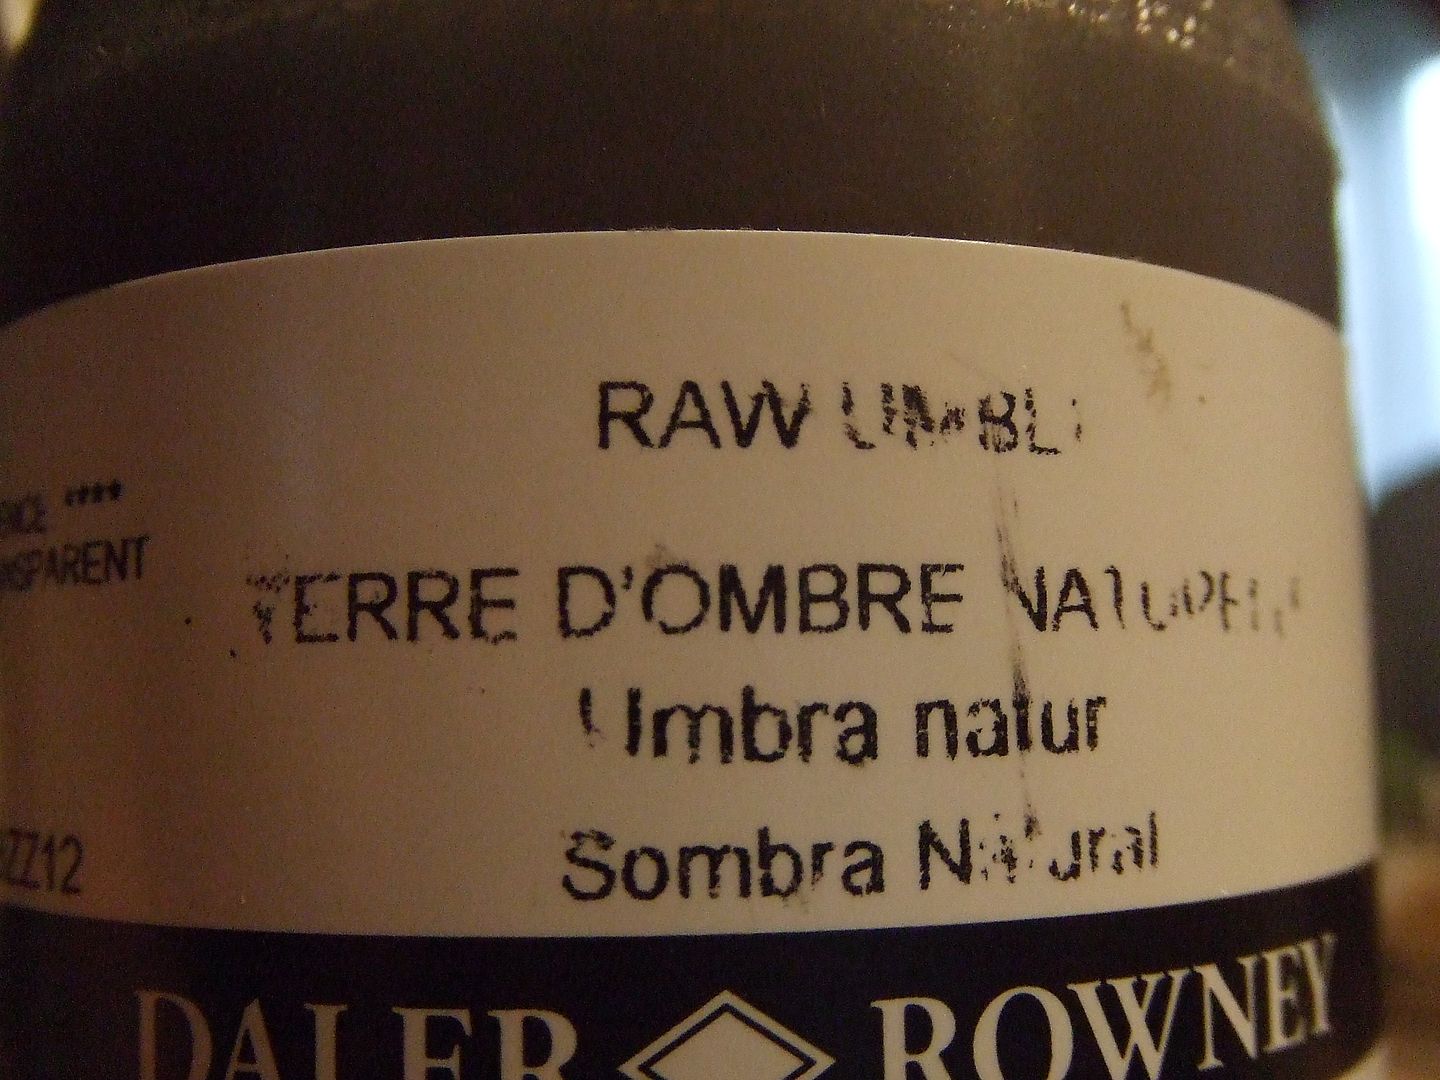
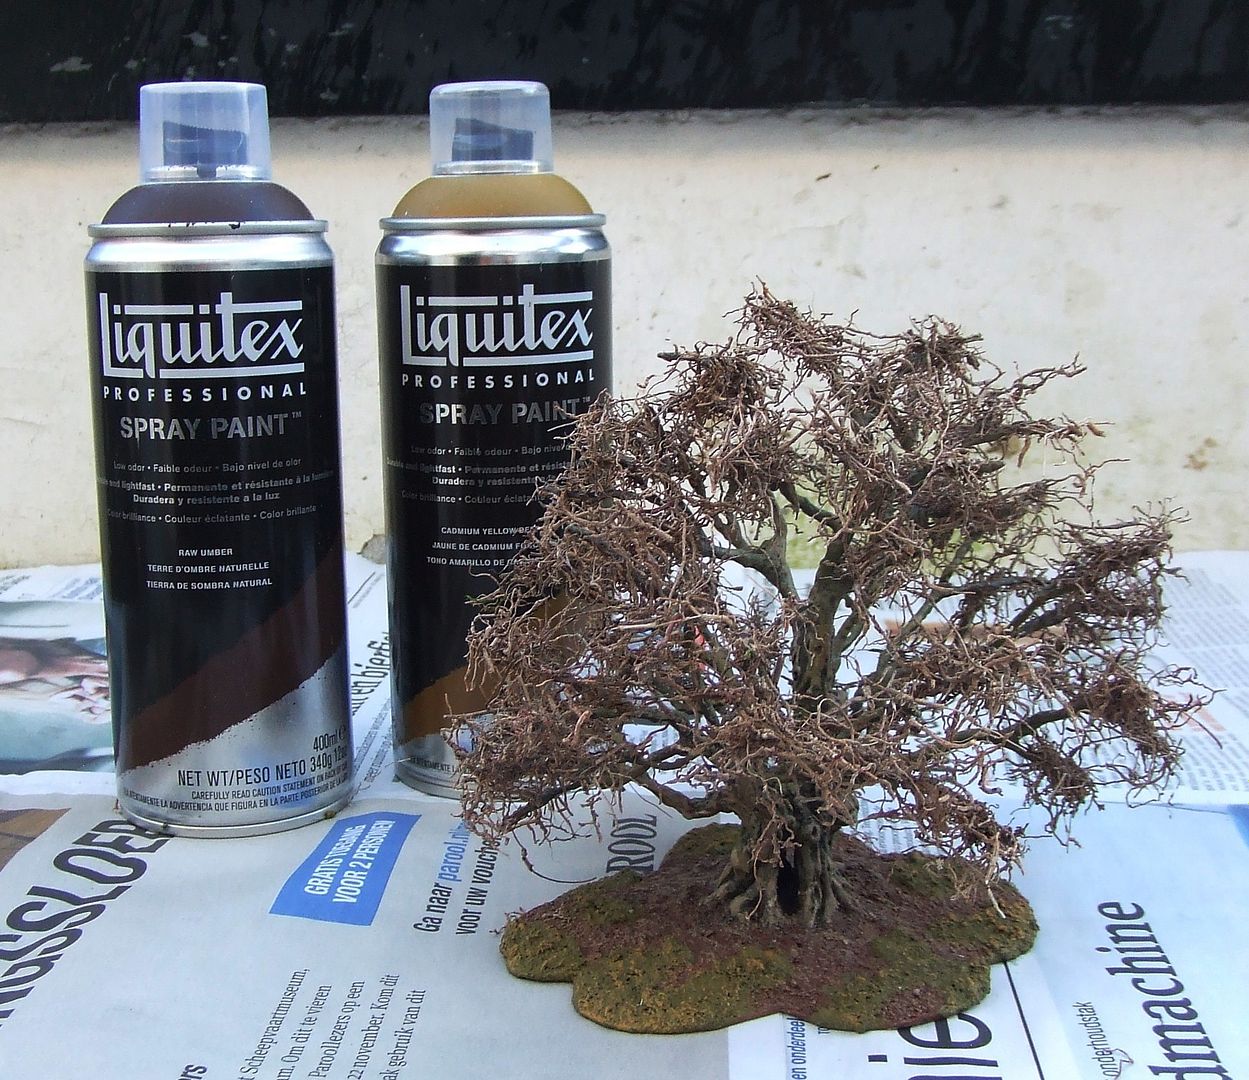
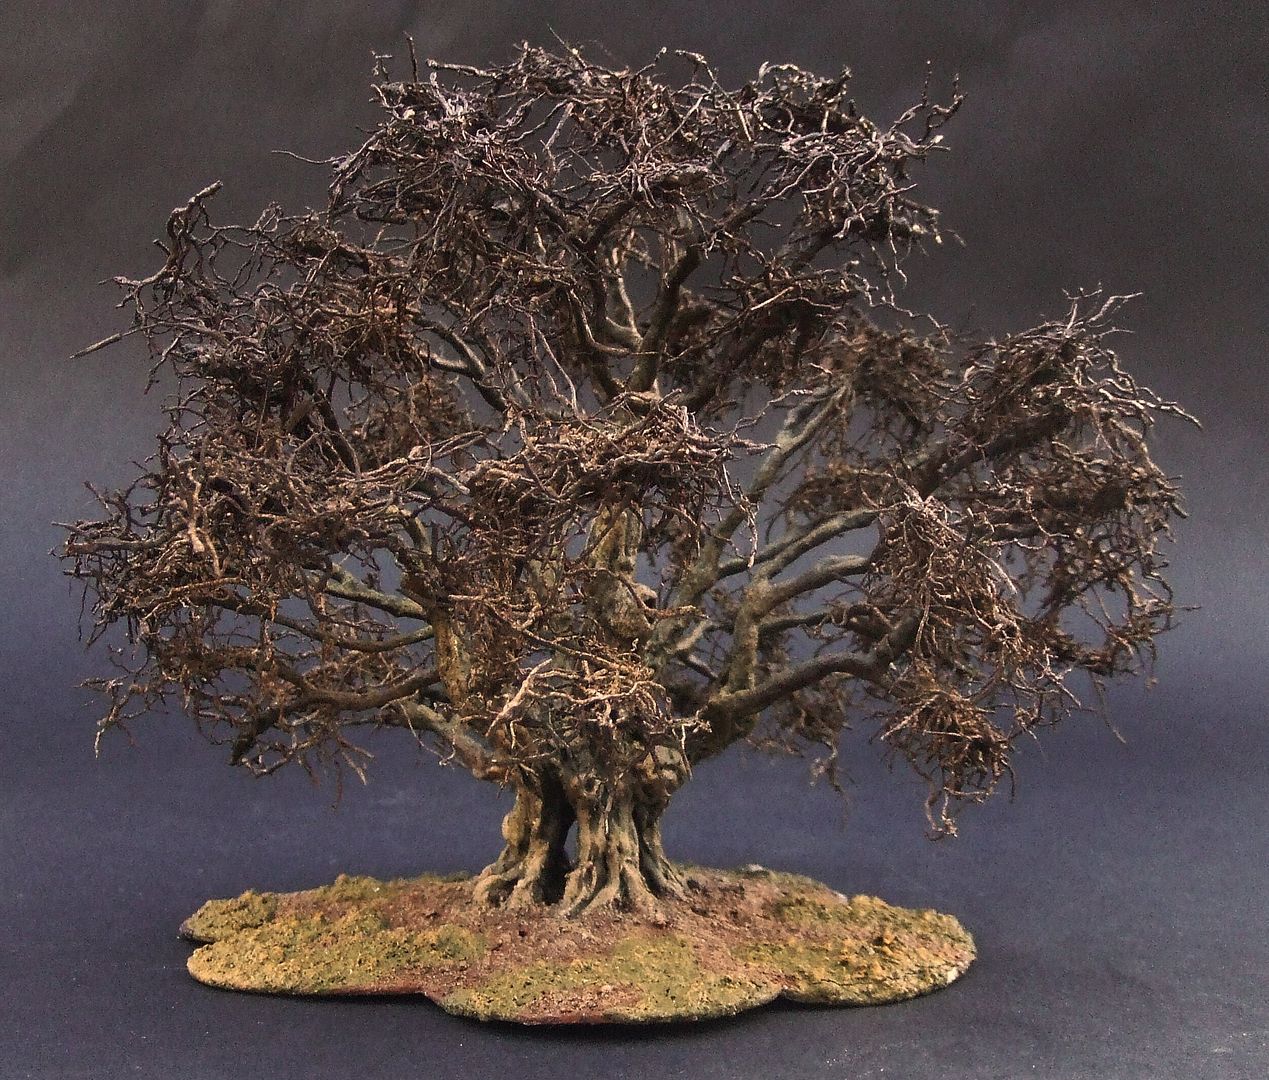
Start with a dark priming colour like raw umber.
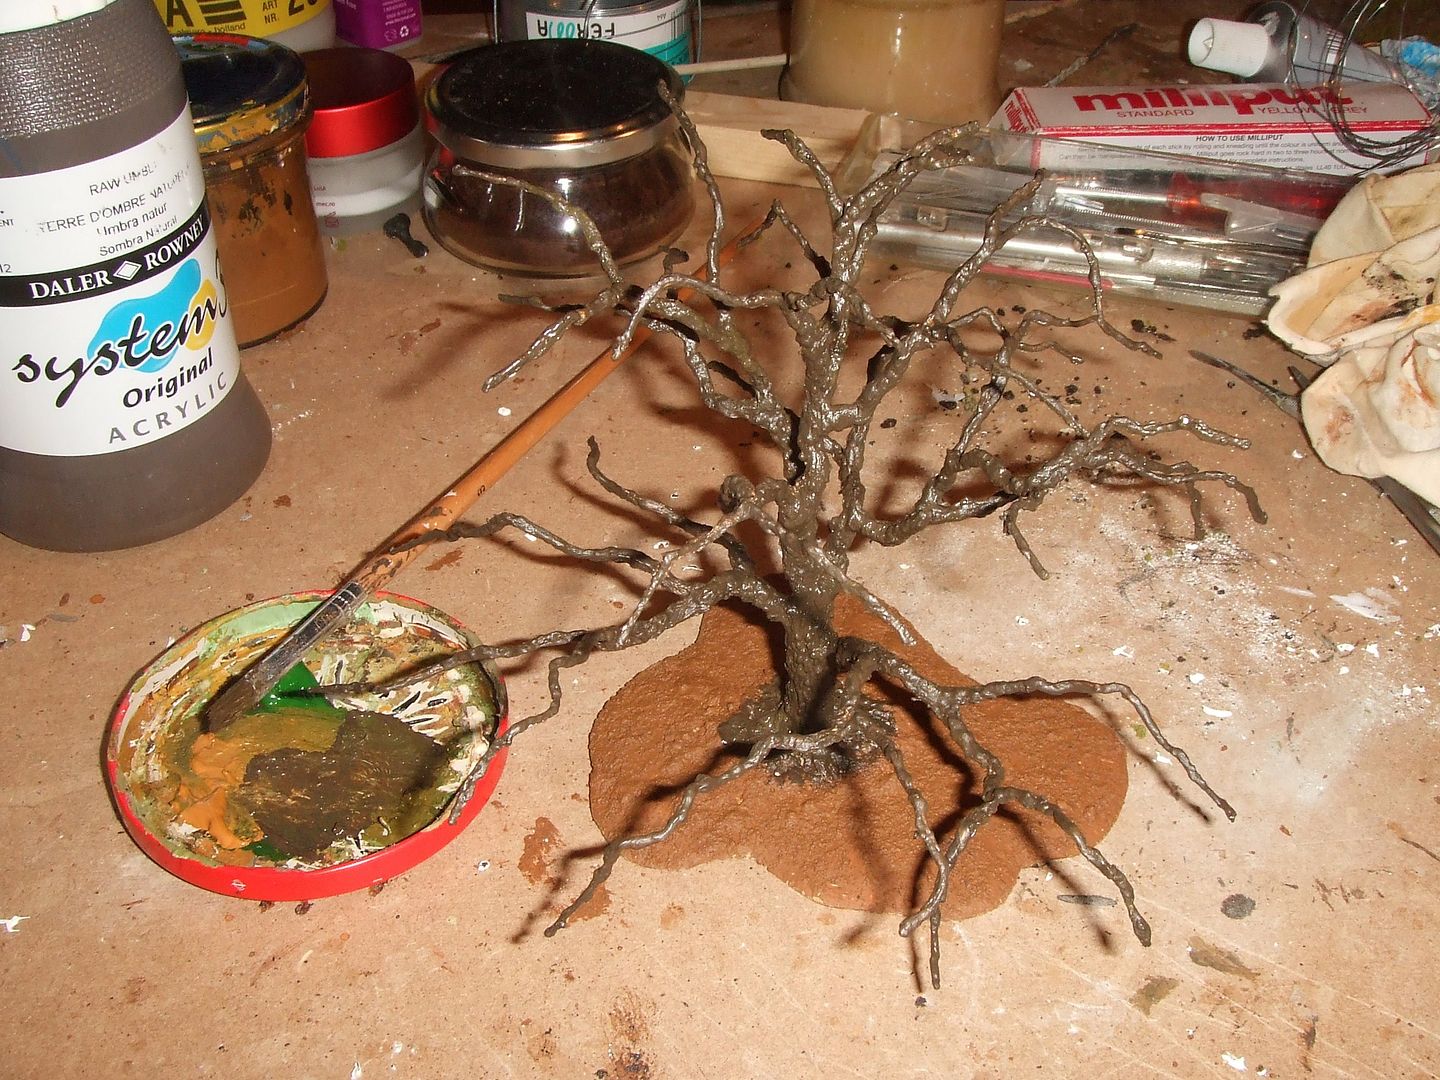
Apply with rough brush.
Mix lighter natural colours.
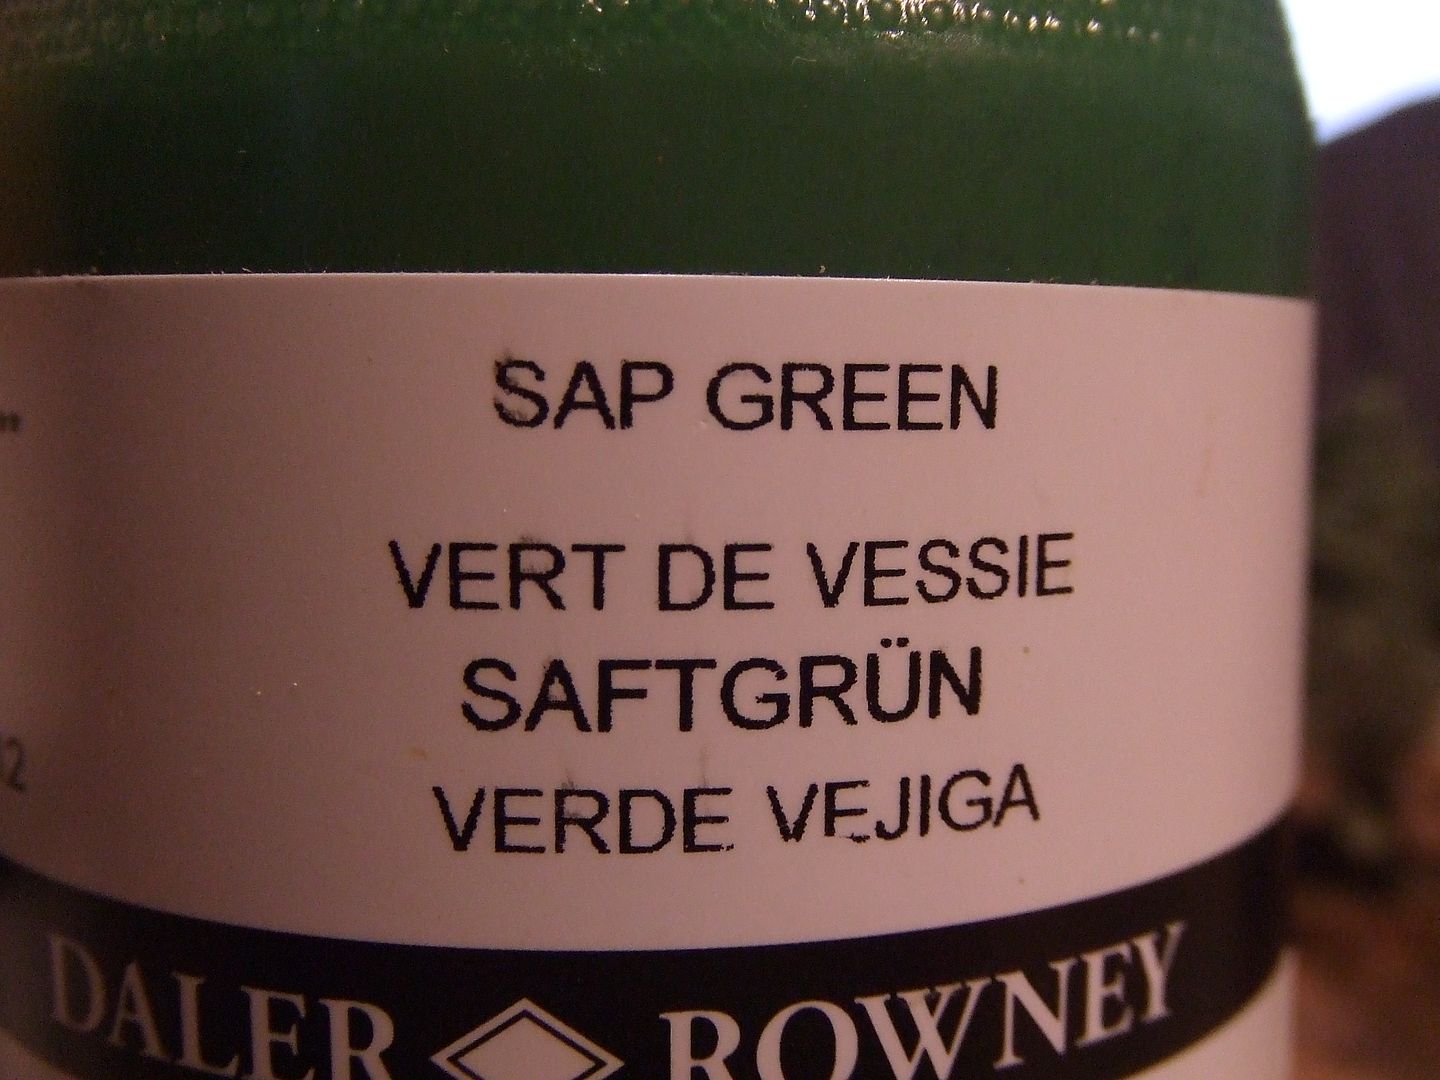
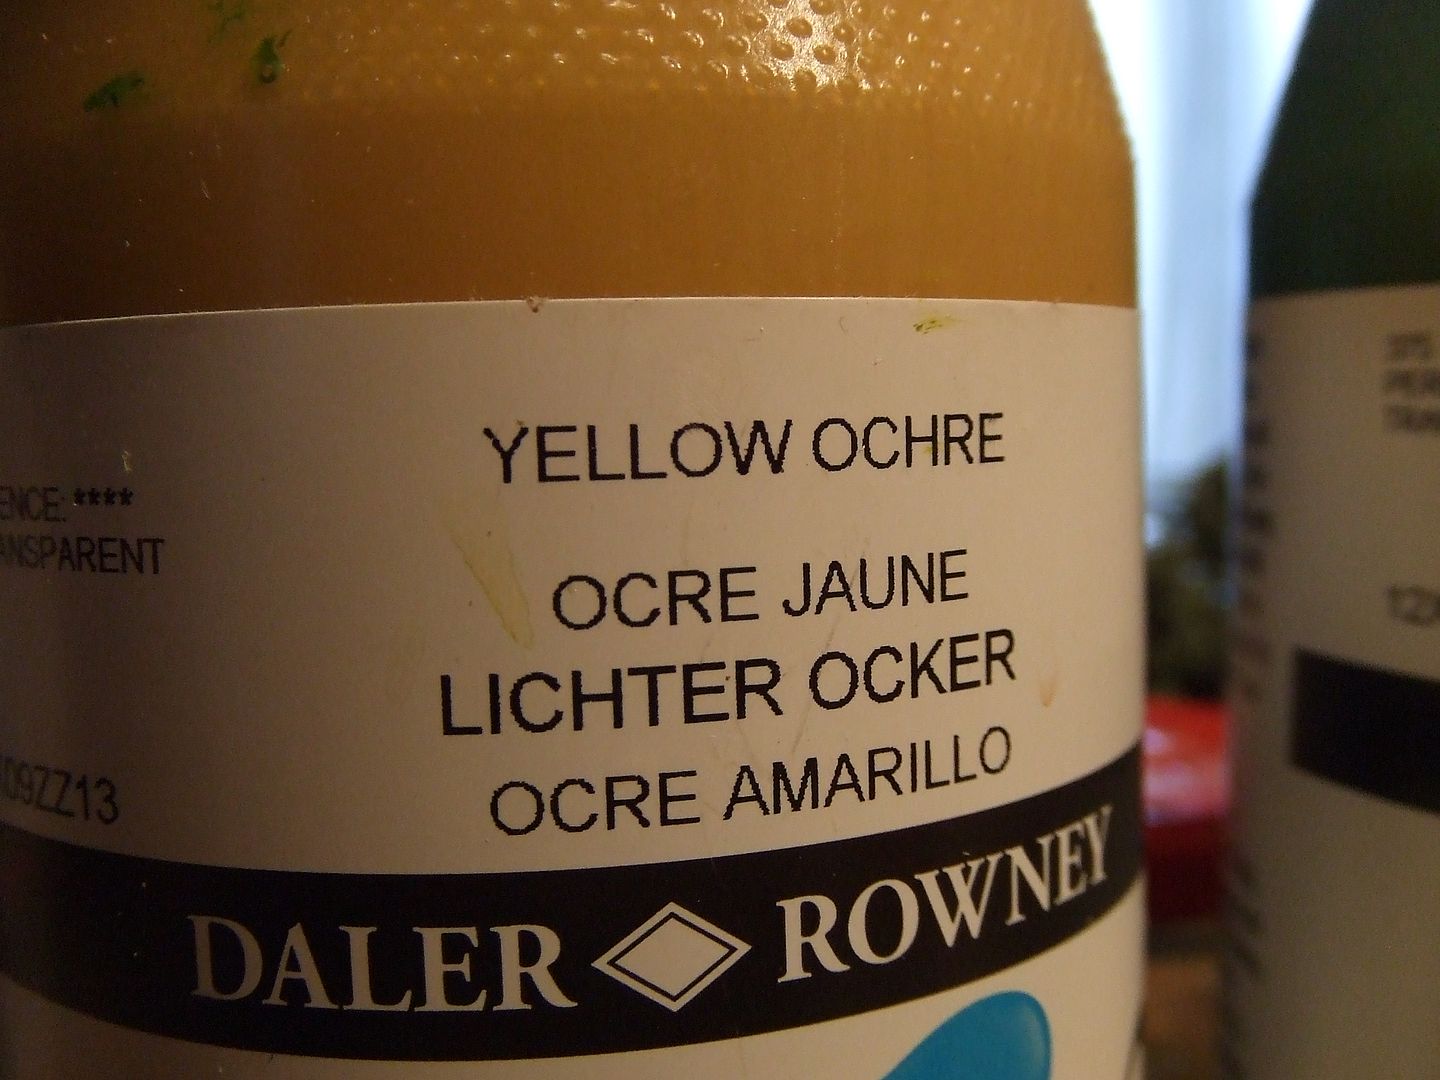

Most tree bark is greenish because of algues and mosses.
Very seldom the colour af a tree bark is plain brown.
Something between green, grey and brown is probably needed to achieve a natural looking colour.
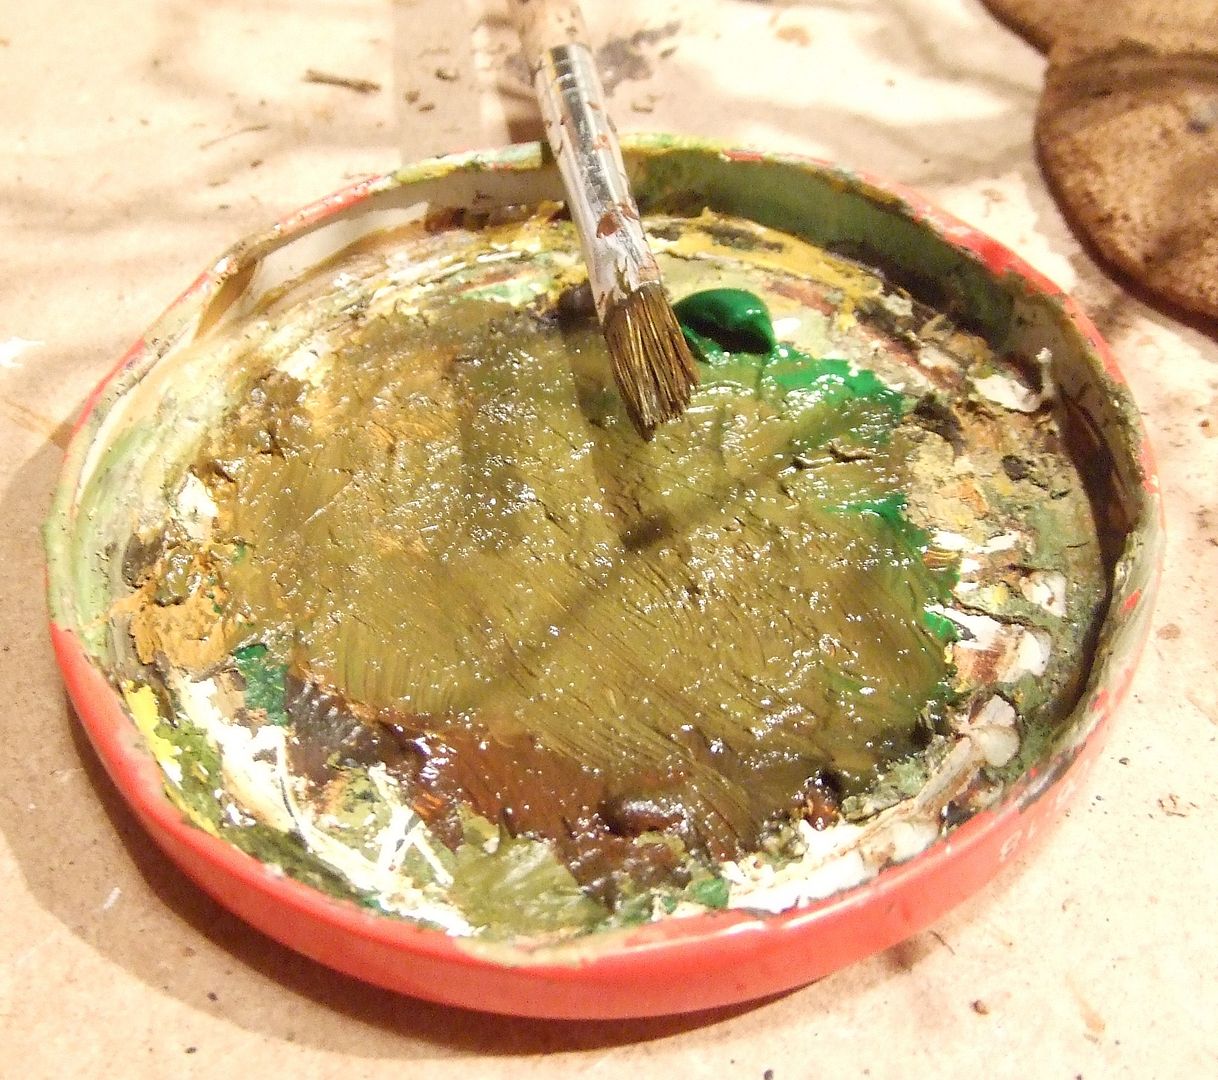
Apply using dry brush technique.
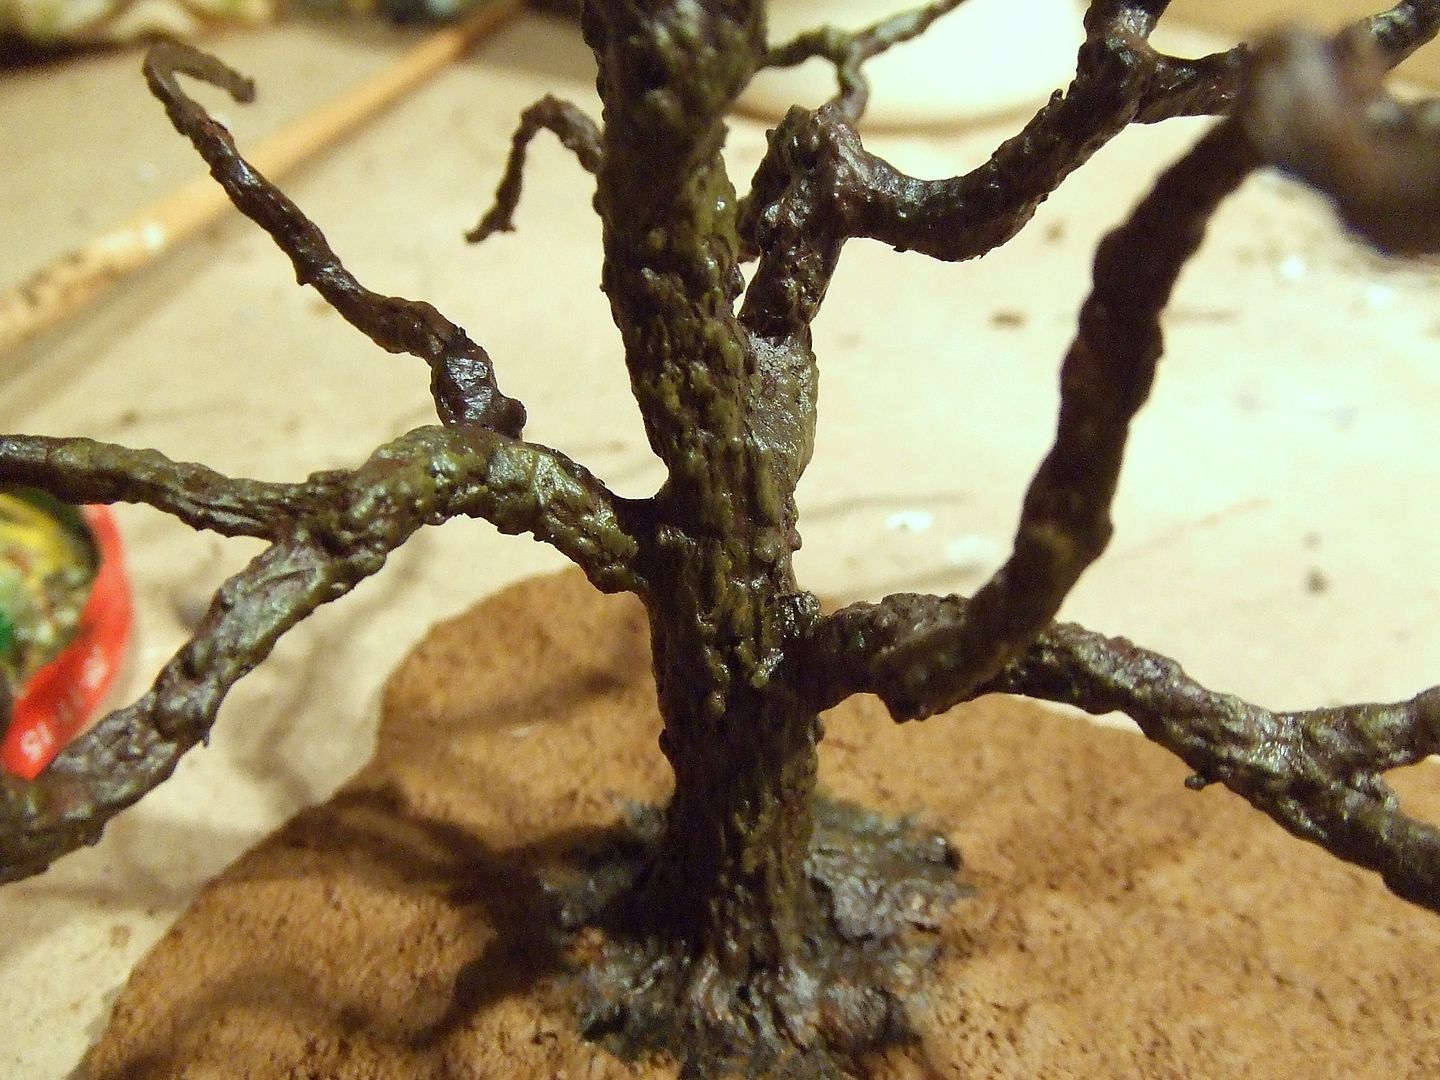
Add a lighter shade.
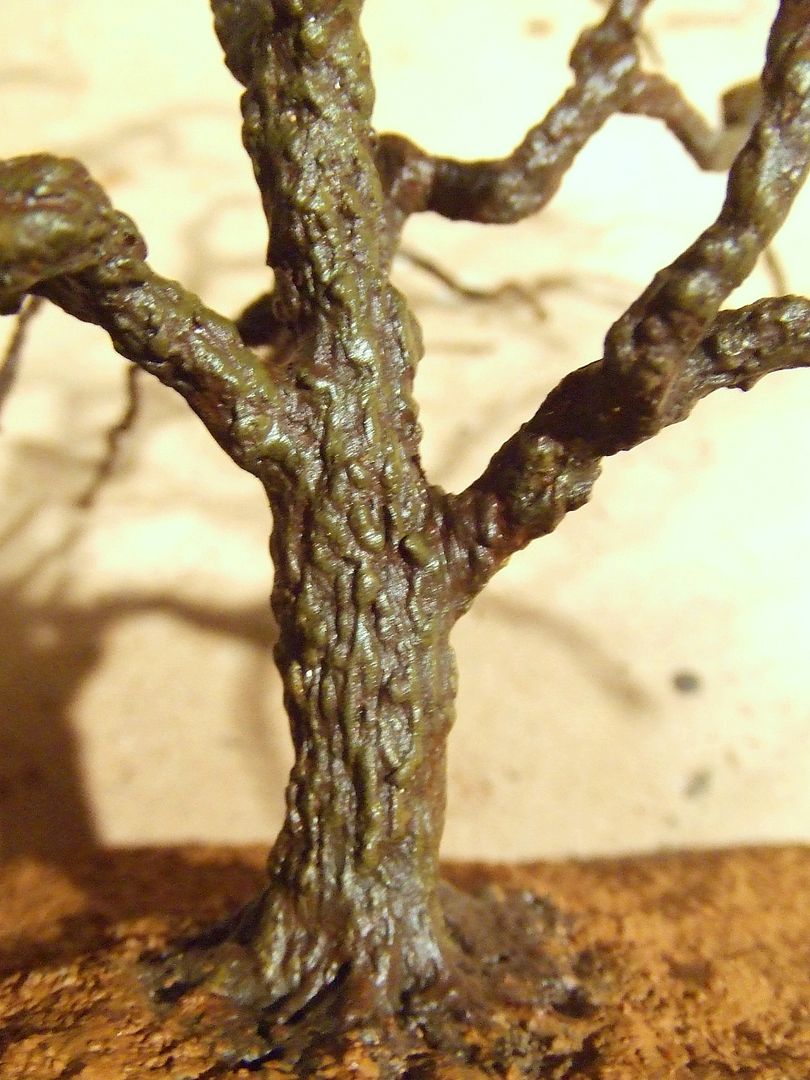
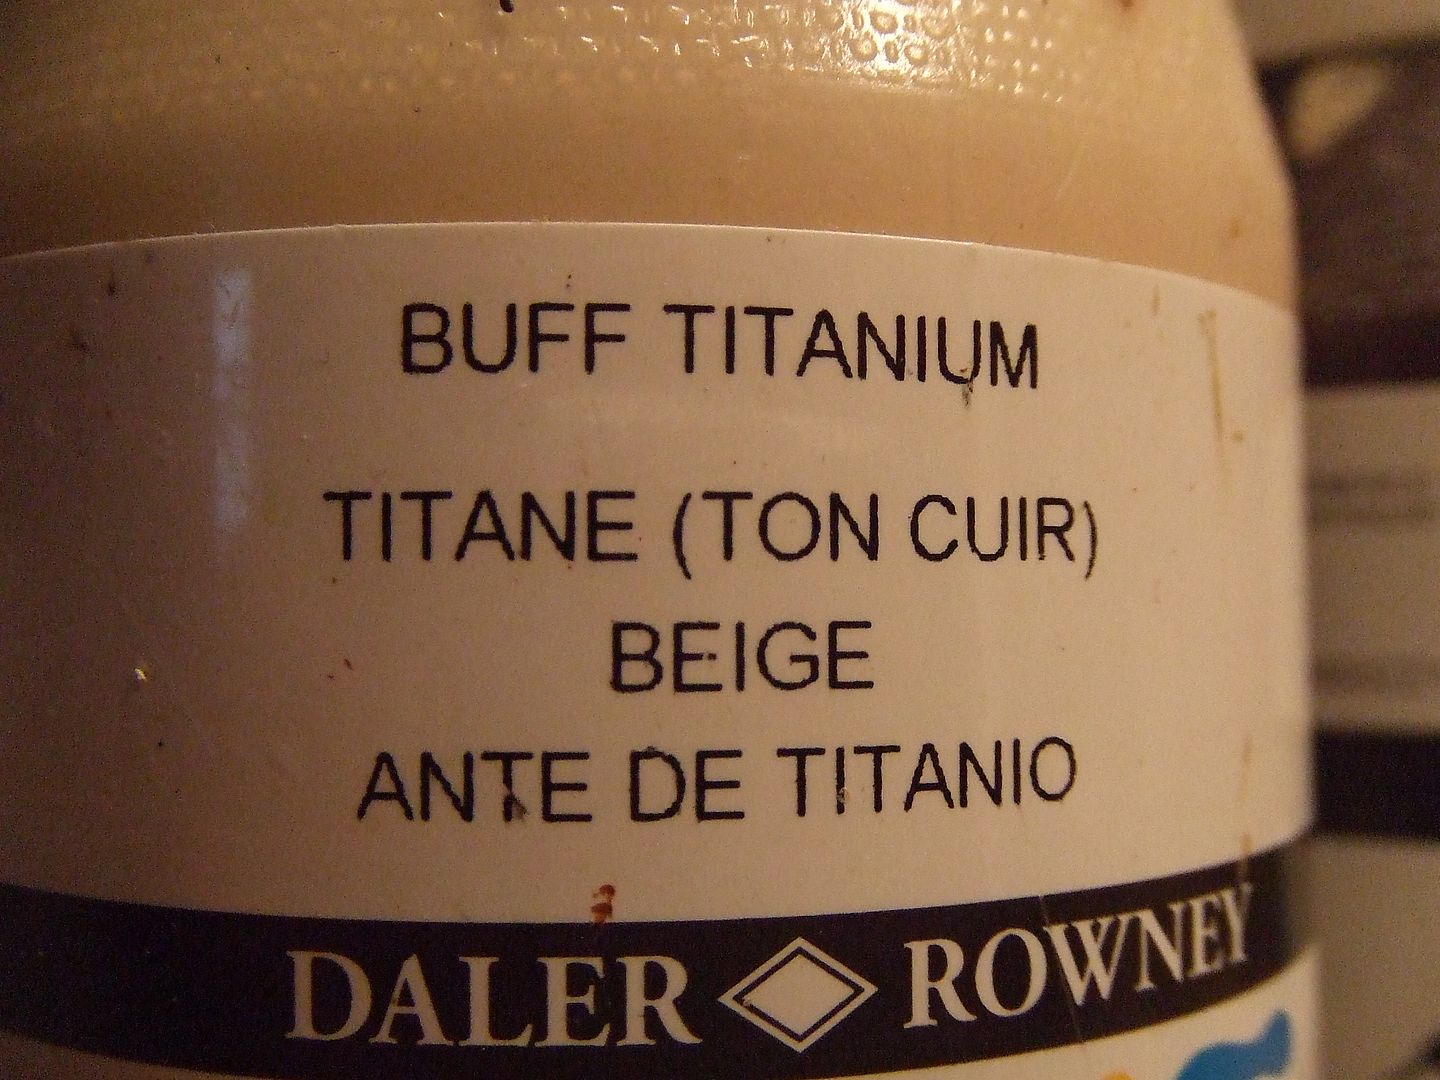
And a highlight shade by mixing it with white or beige.
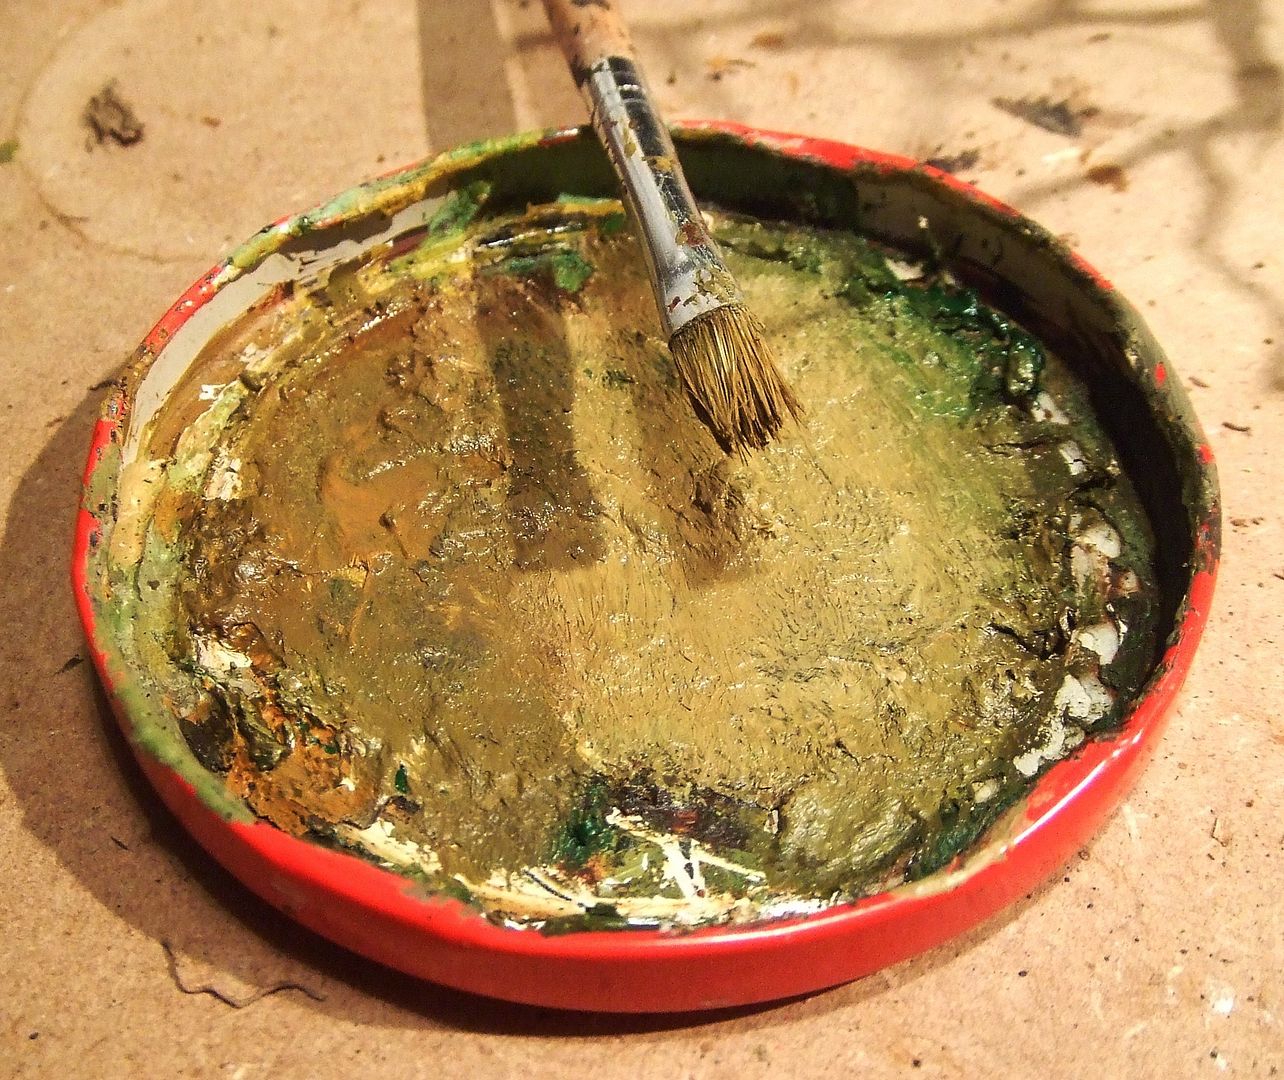
Now for the first time the optimal effect of the tree bark structure is visible.
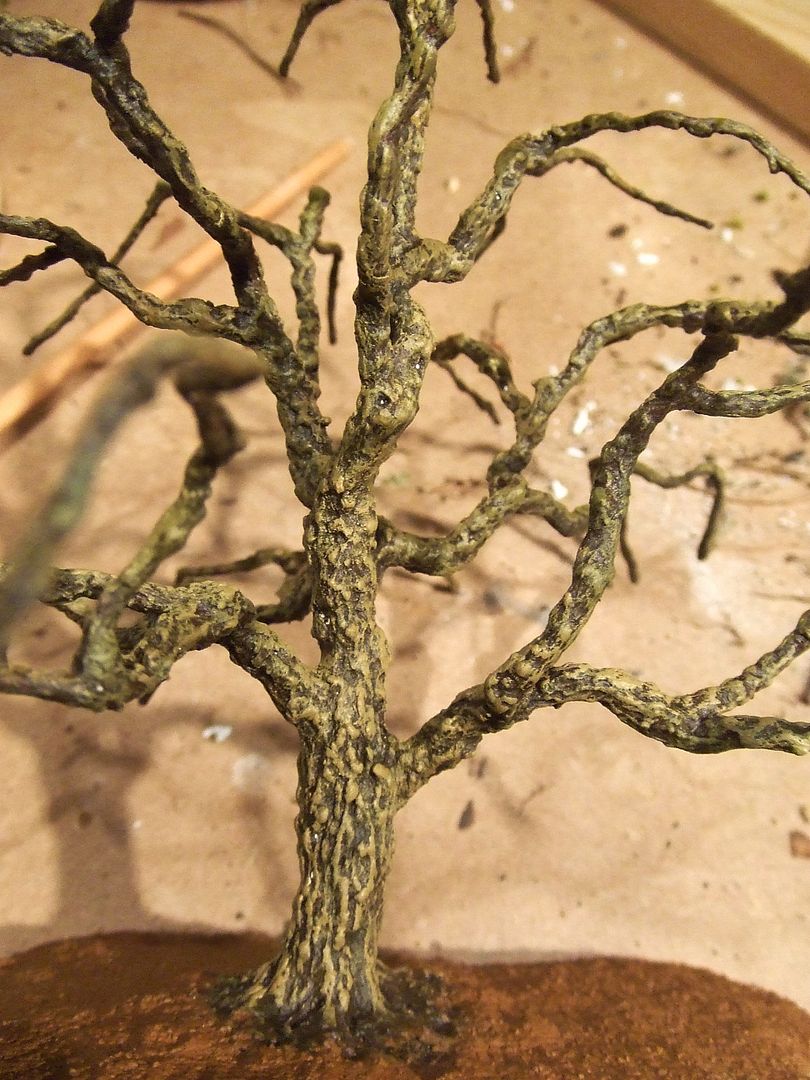
If the effect is too strong:
Highlight again with darker tone.
Or prime with lighter tone.
Or add a layer of white glue declining the bark profile.
White glue is transparent after drying, but keeps a satin gloss.
Paint it all over again or use matt varnish to remove gloss.
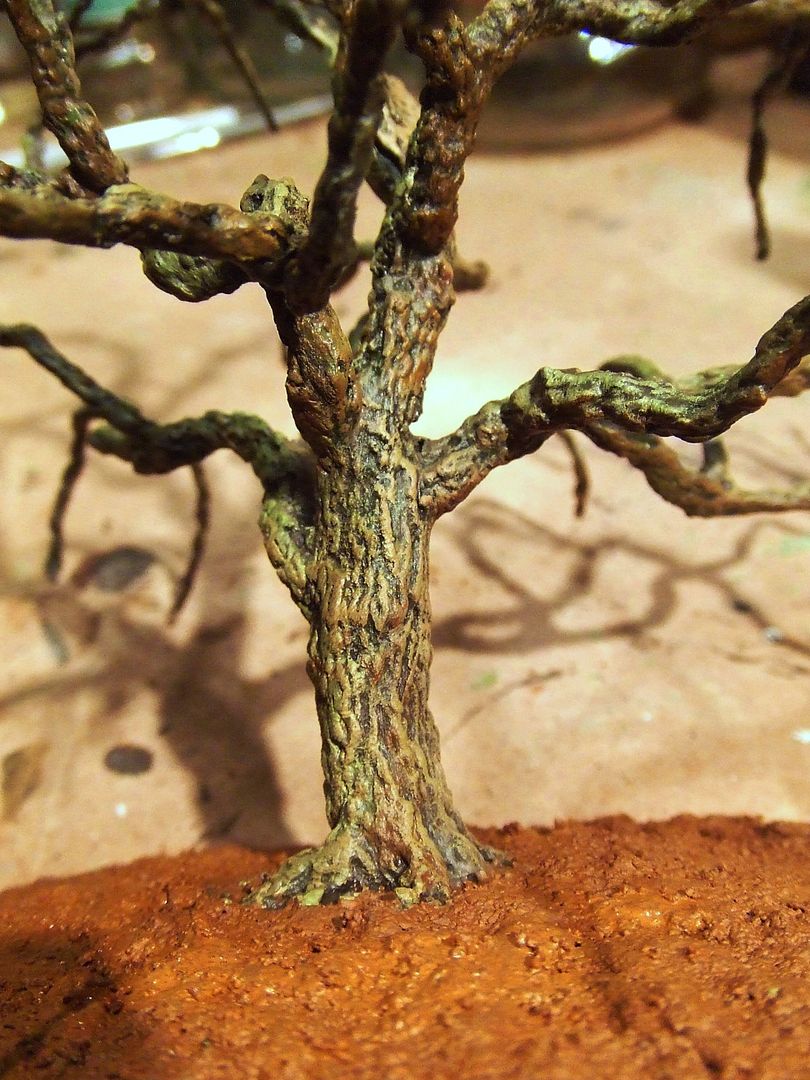
Most trees have moss or algae covered barks.

Mosses and algae prefer shadow and moist.
They will be found on top of lower branches and on the north face of the trunk.
Mix algae colour or moss paste by mixing it with white glue and powder and apply to topside of branches and north side of whole tree.
MAKING VEGETATION PASTE
Upward standing fibre grass does not allow gamers to place gaming elements on top of the tree base.
Groundcovering crops-paste does allow it much better.
It represents small plants, grass or moss.
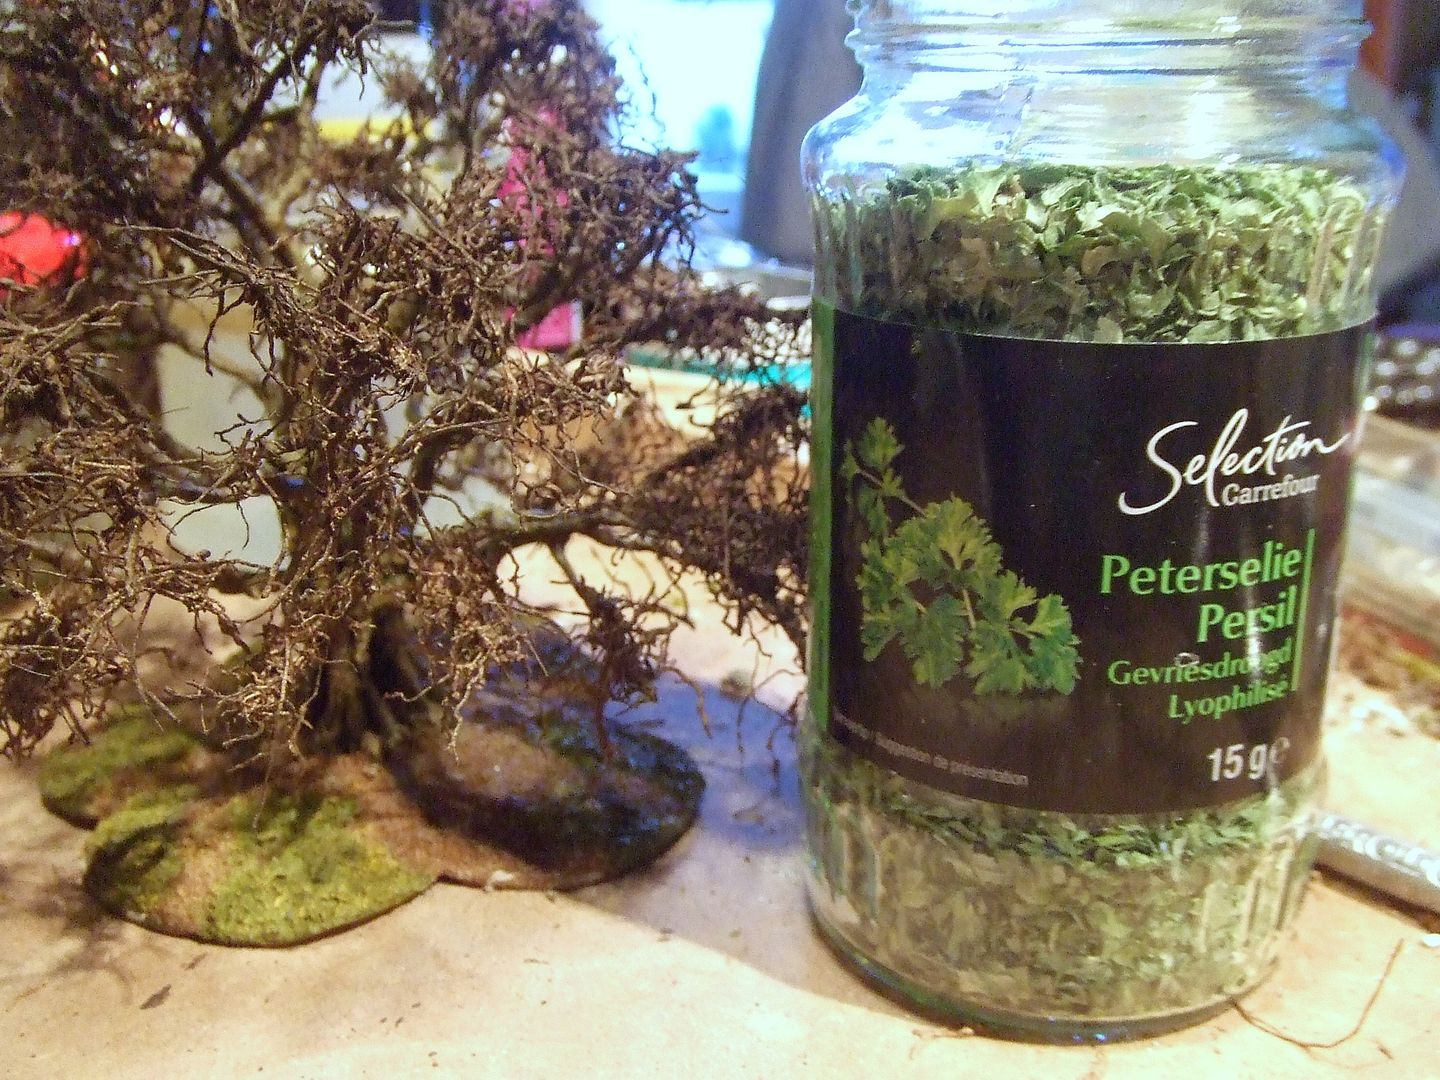
Use sawdust, turf or grinded fibre.
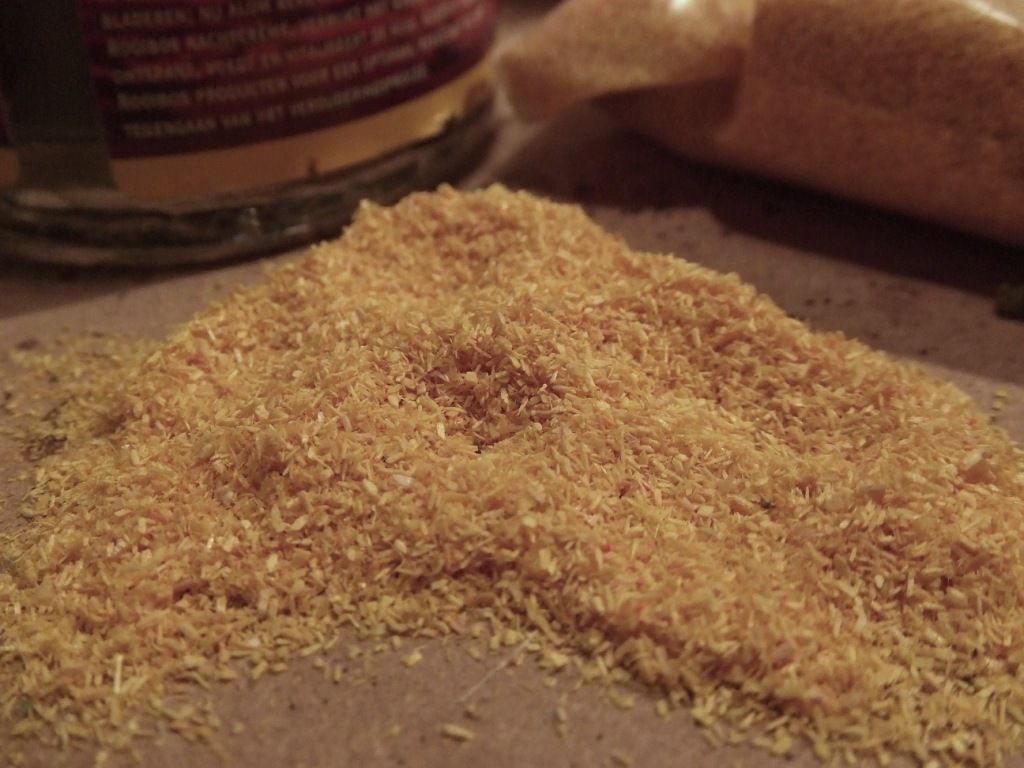
Mix it with brownish green or olive green acrylic paint, white glue and water.
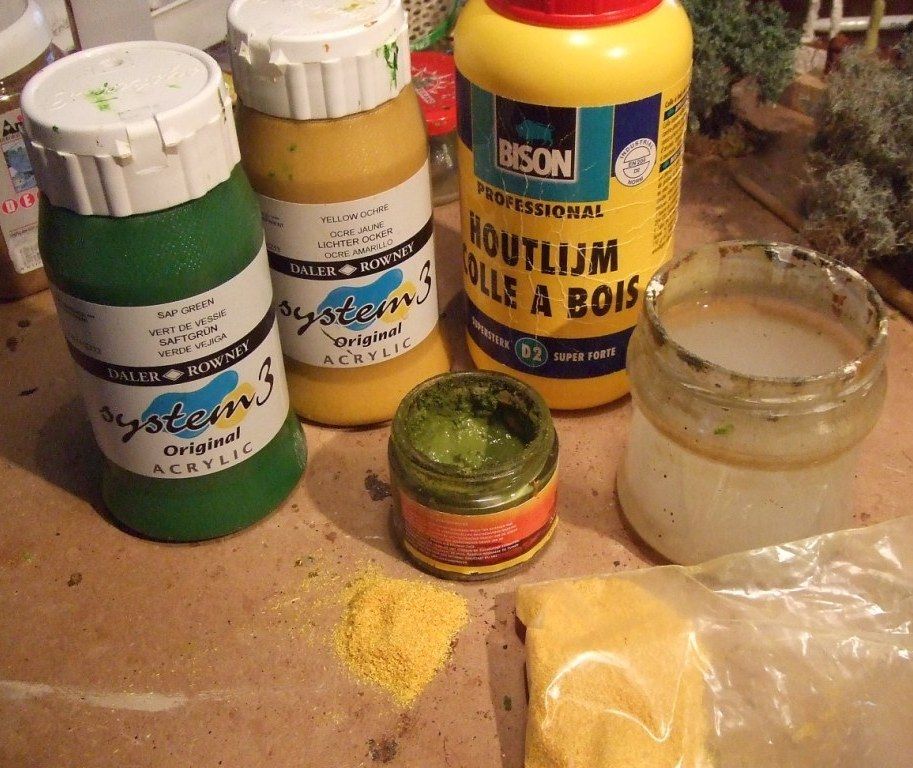
Add more powder to avoid fluidity.
Use as little water as possible.
Water makes your paste shrink when drying.
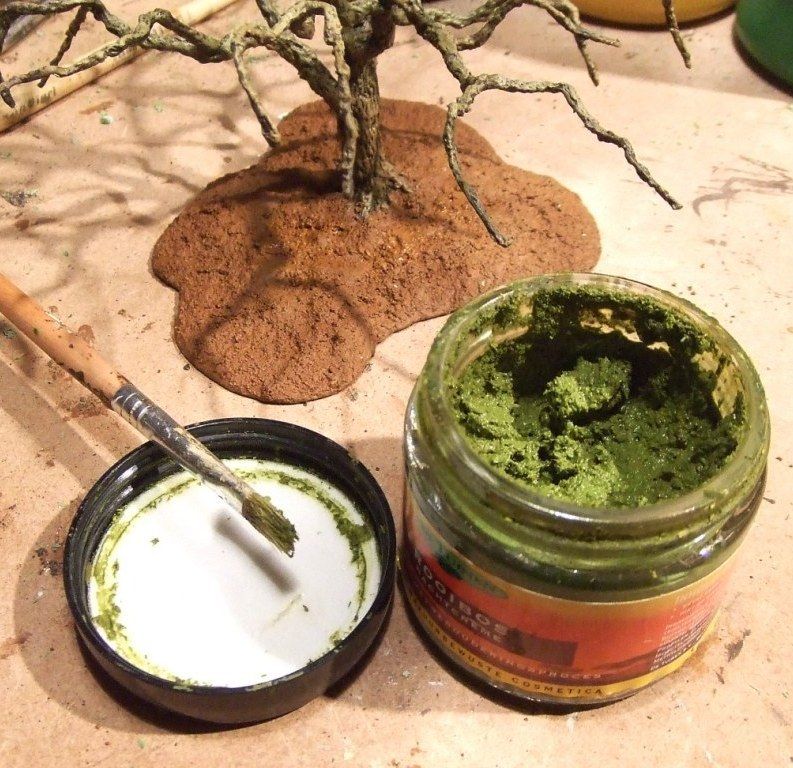
Apply with hard flat brush or modeling tool.
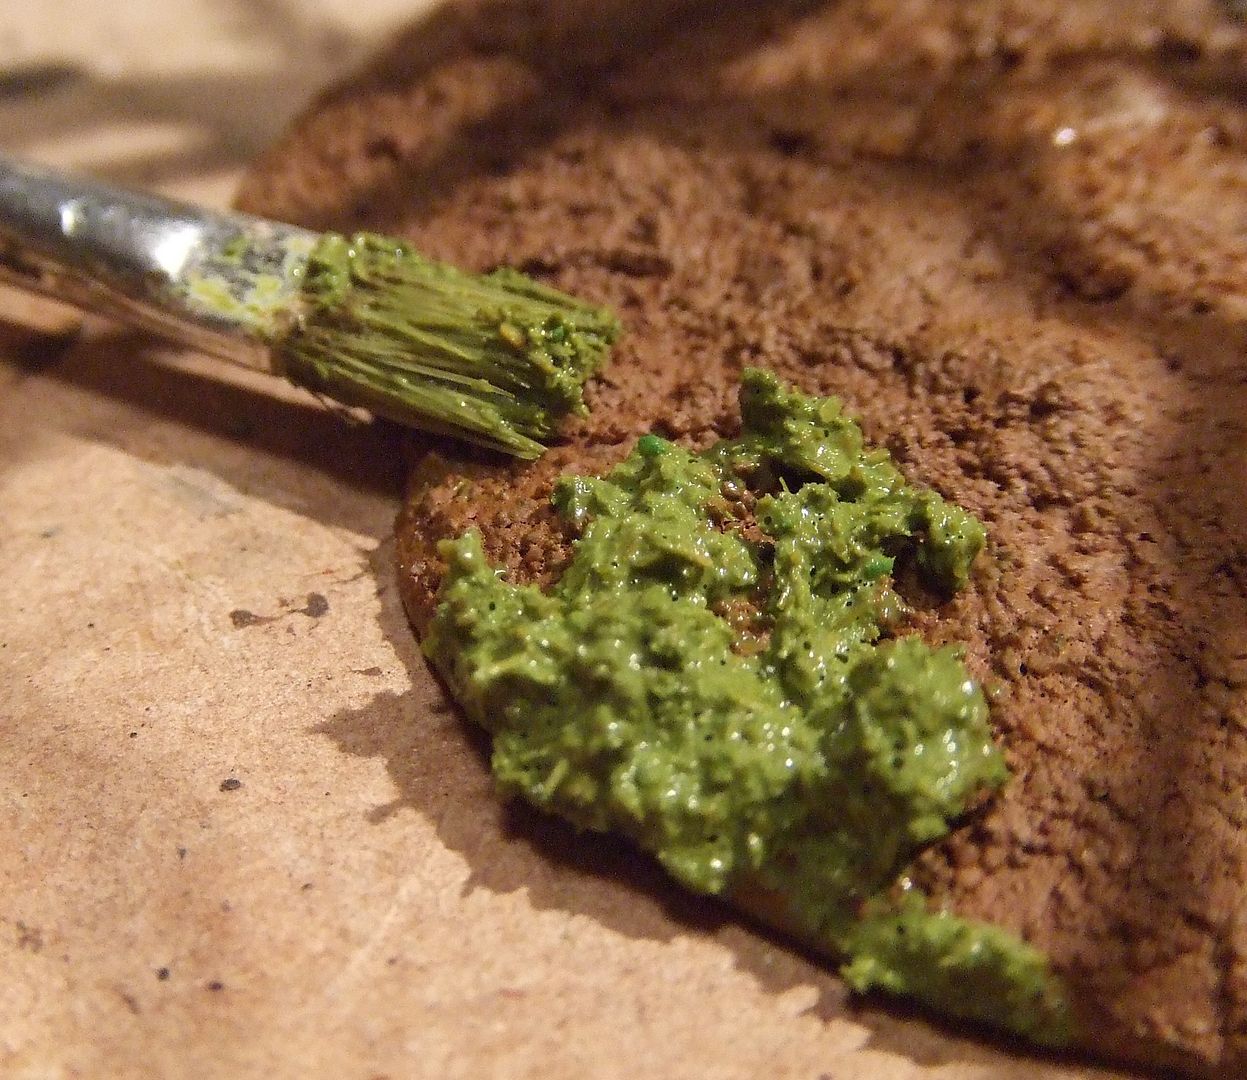
Keep in mind it gets darker after drying.
Usually there is less vegetation closer to the trunk.
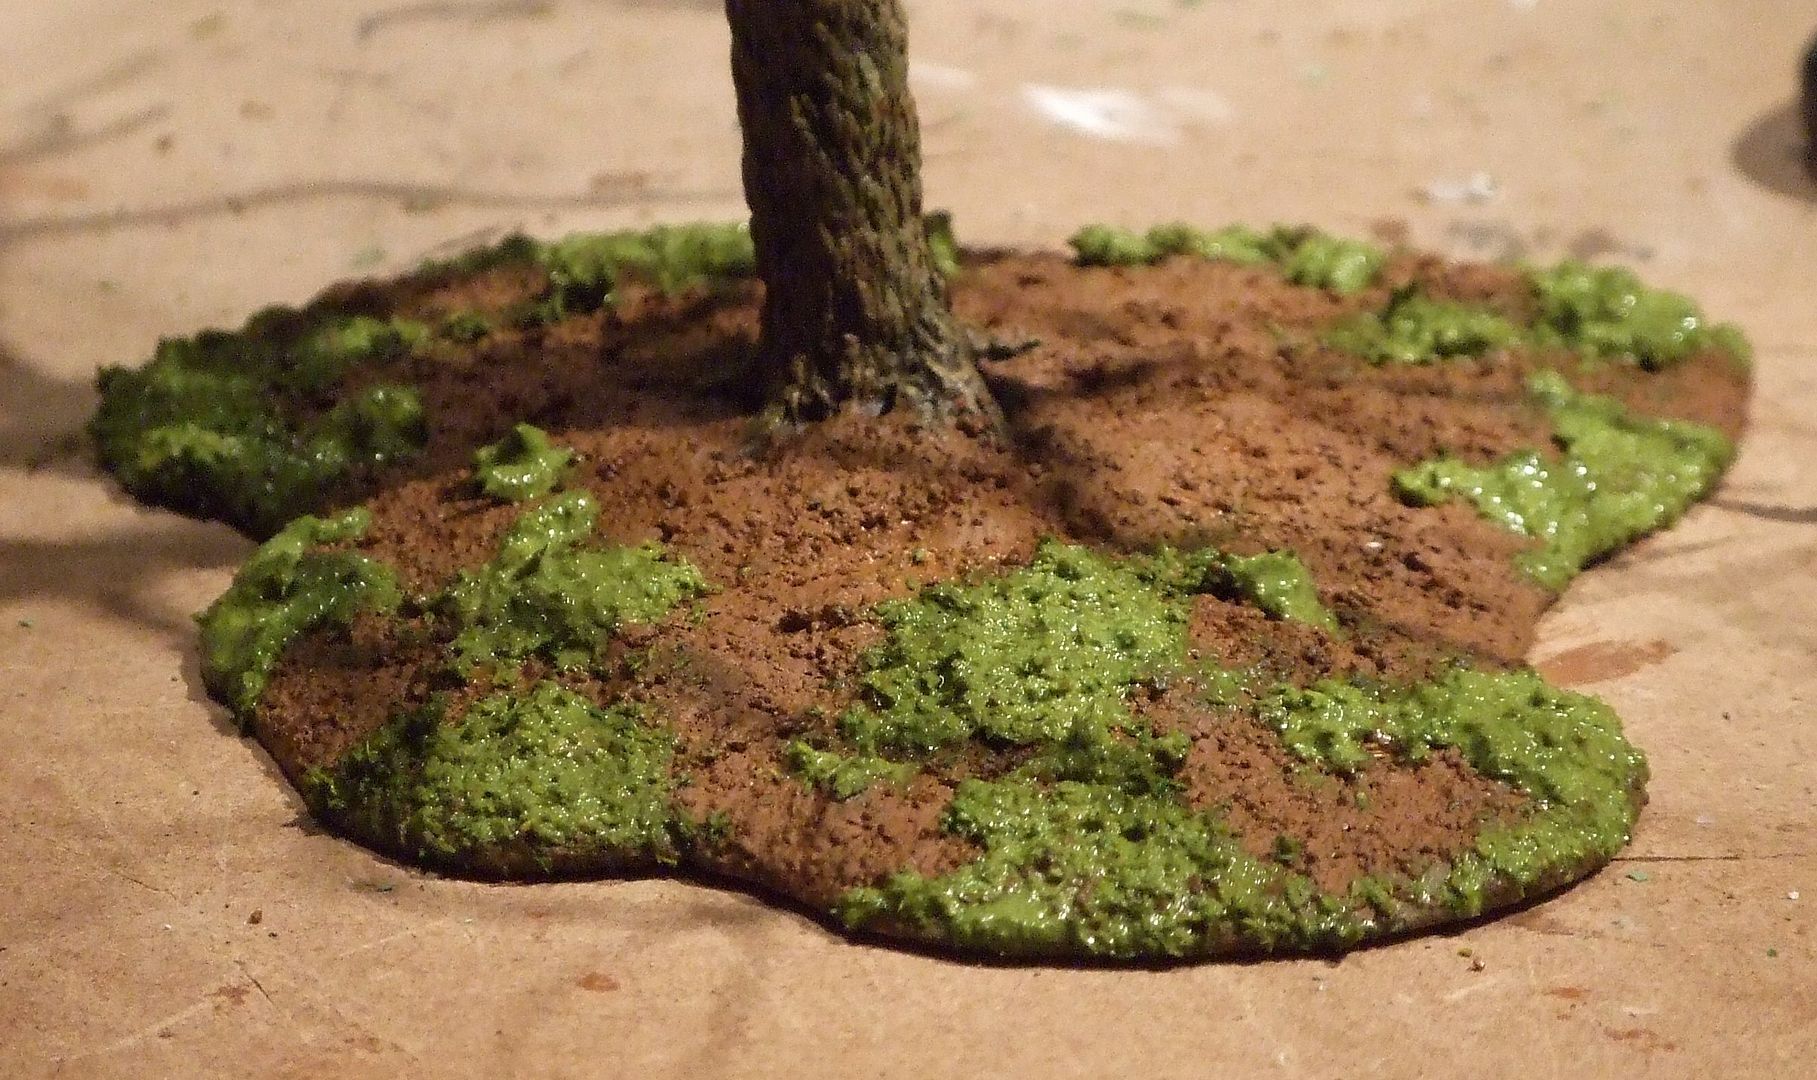
A seconde layer of herbal paste may be needed.
The light colour of the sawdust creates highlighings already.
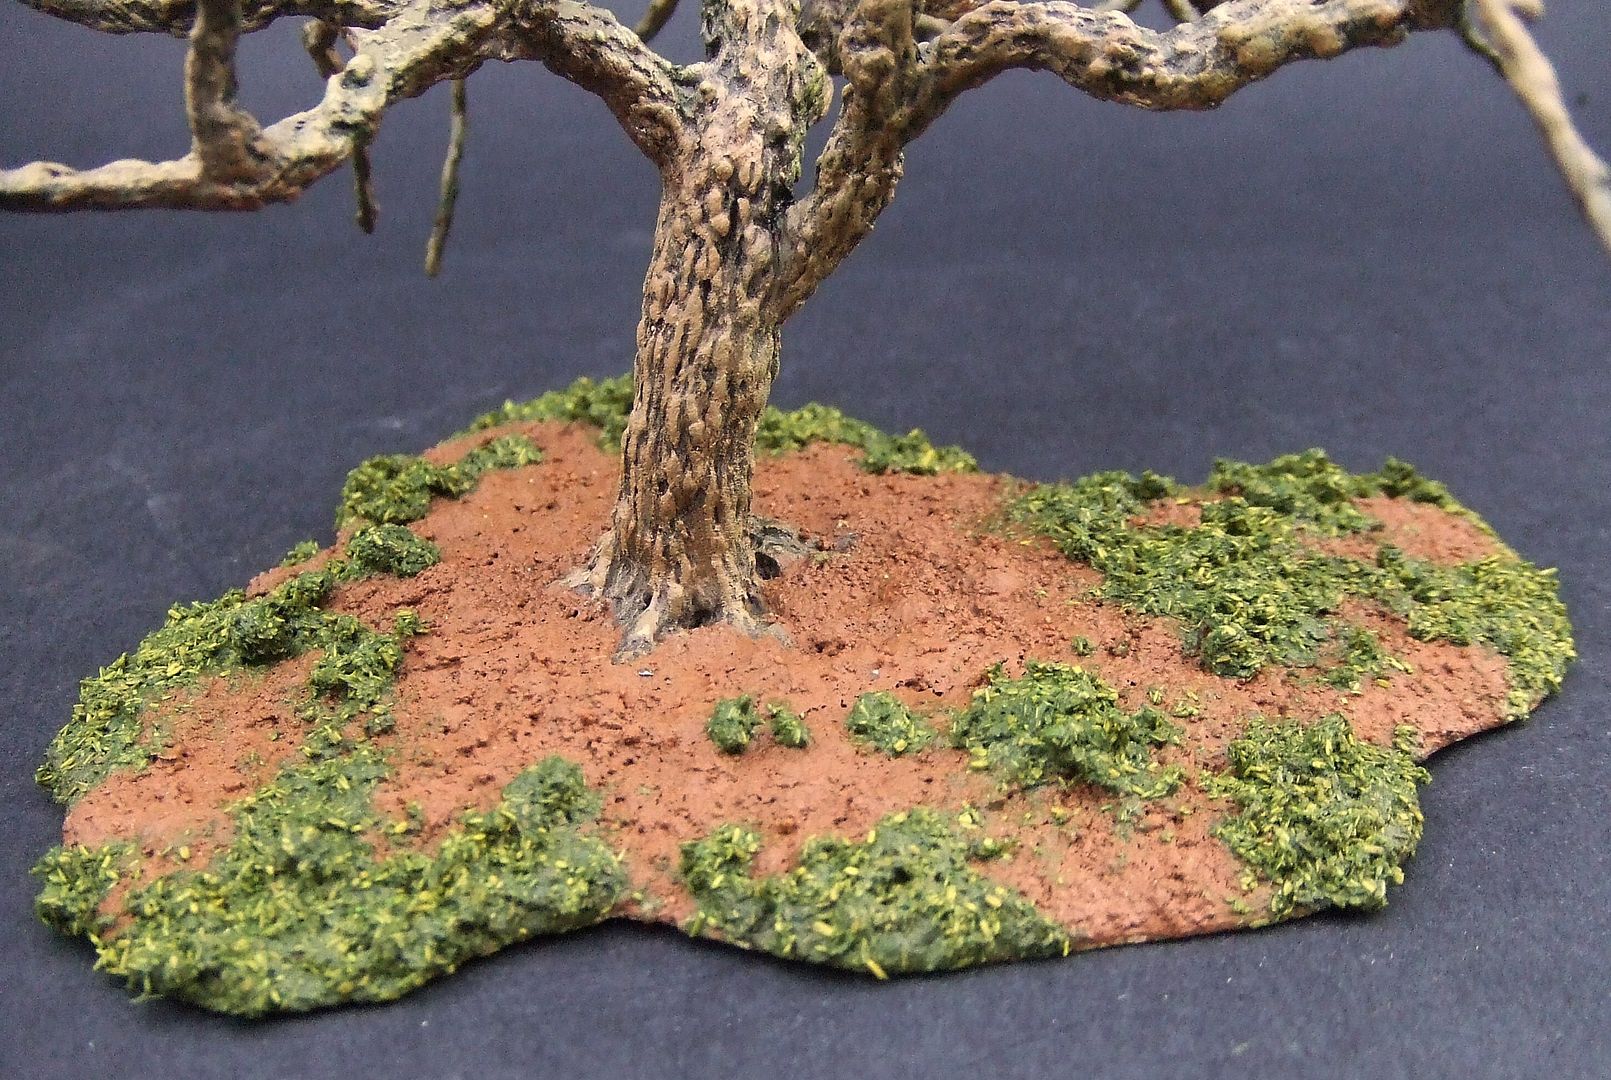
PAINTING THE BASE
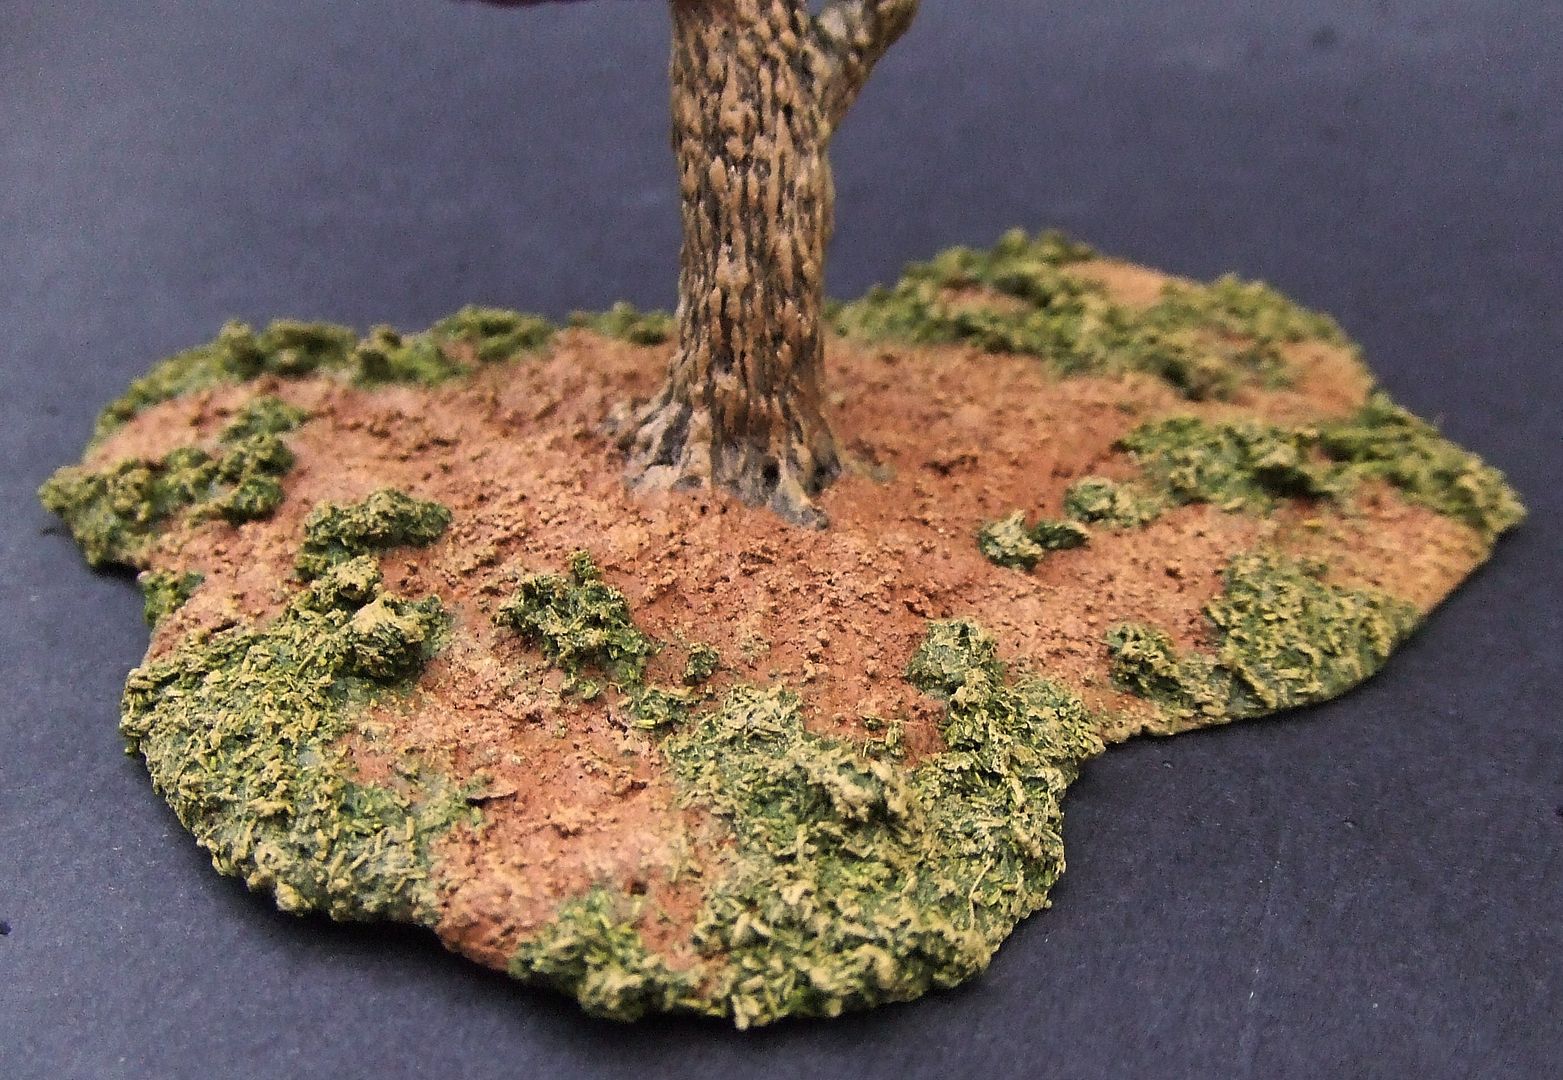
Highlight groundpaste whith beige.
Highlight vegetation with yellow-green.
MAKING HANGING TWIGS
Sisal, also known as sisal hemp, is a natural fibre often used for rope.
Sisal is made of the Central American species Agave Sisalana.
So it is not hemp.
Even single fibres are strong.
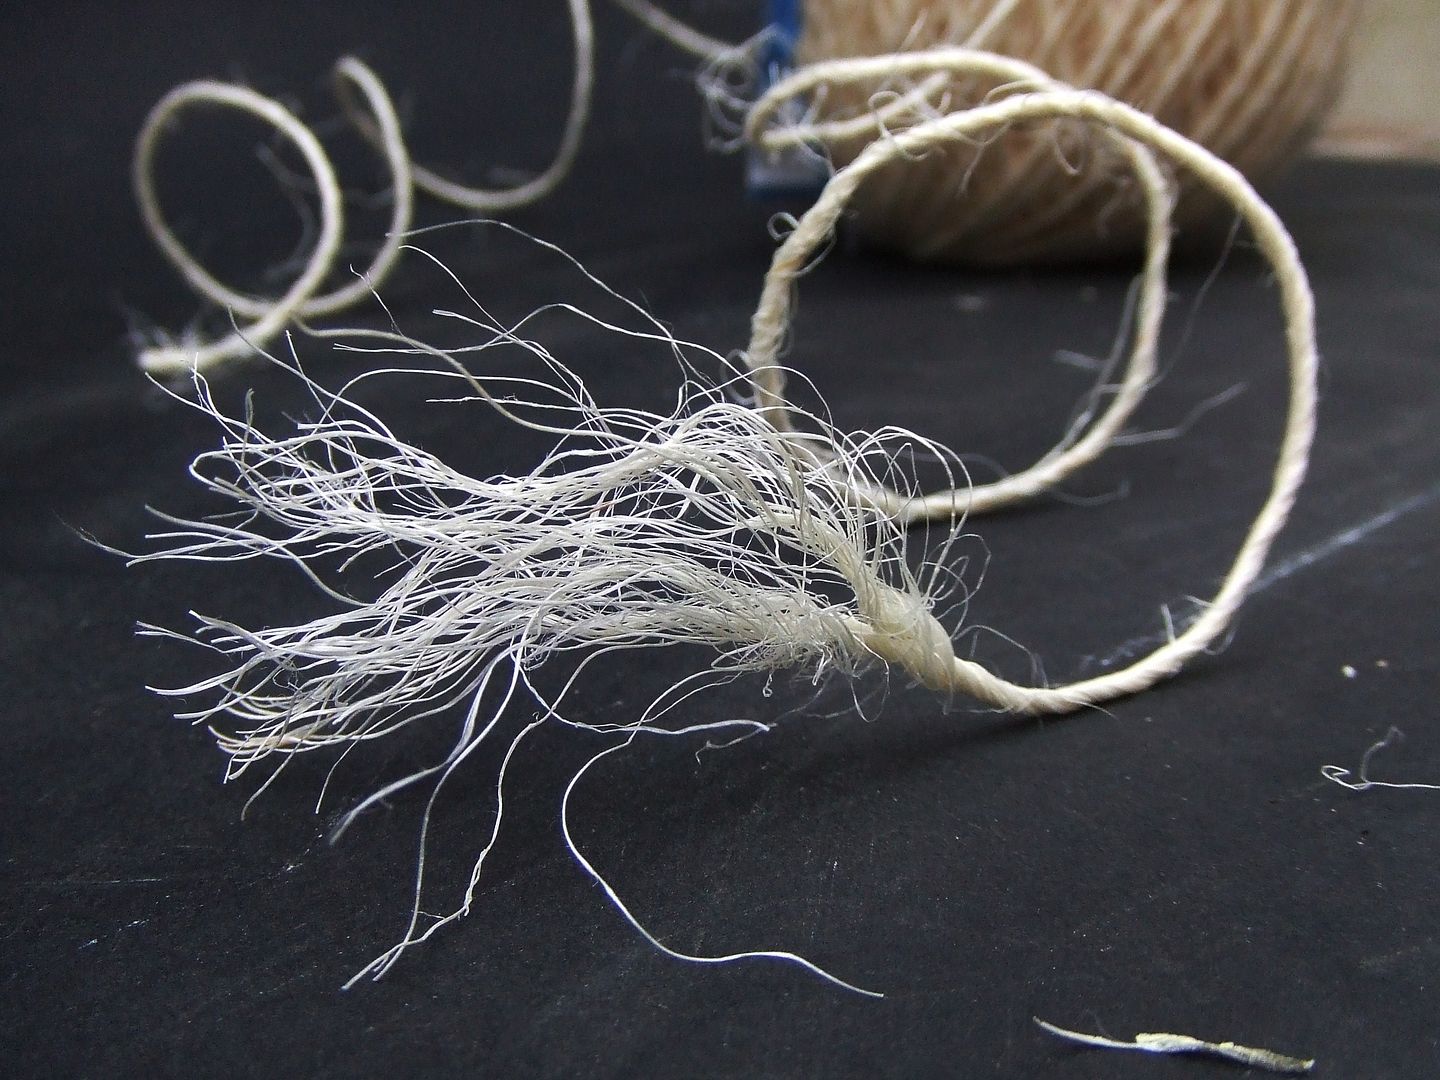
It is possible to split single fibres in two or three parts again.
Cut the rope in lengths equal to the height of the weeping willow tree to be sure these ‘twigs’ will reach the ground where it is wishfull.
Unwind the length of rope and split into single fibres.
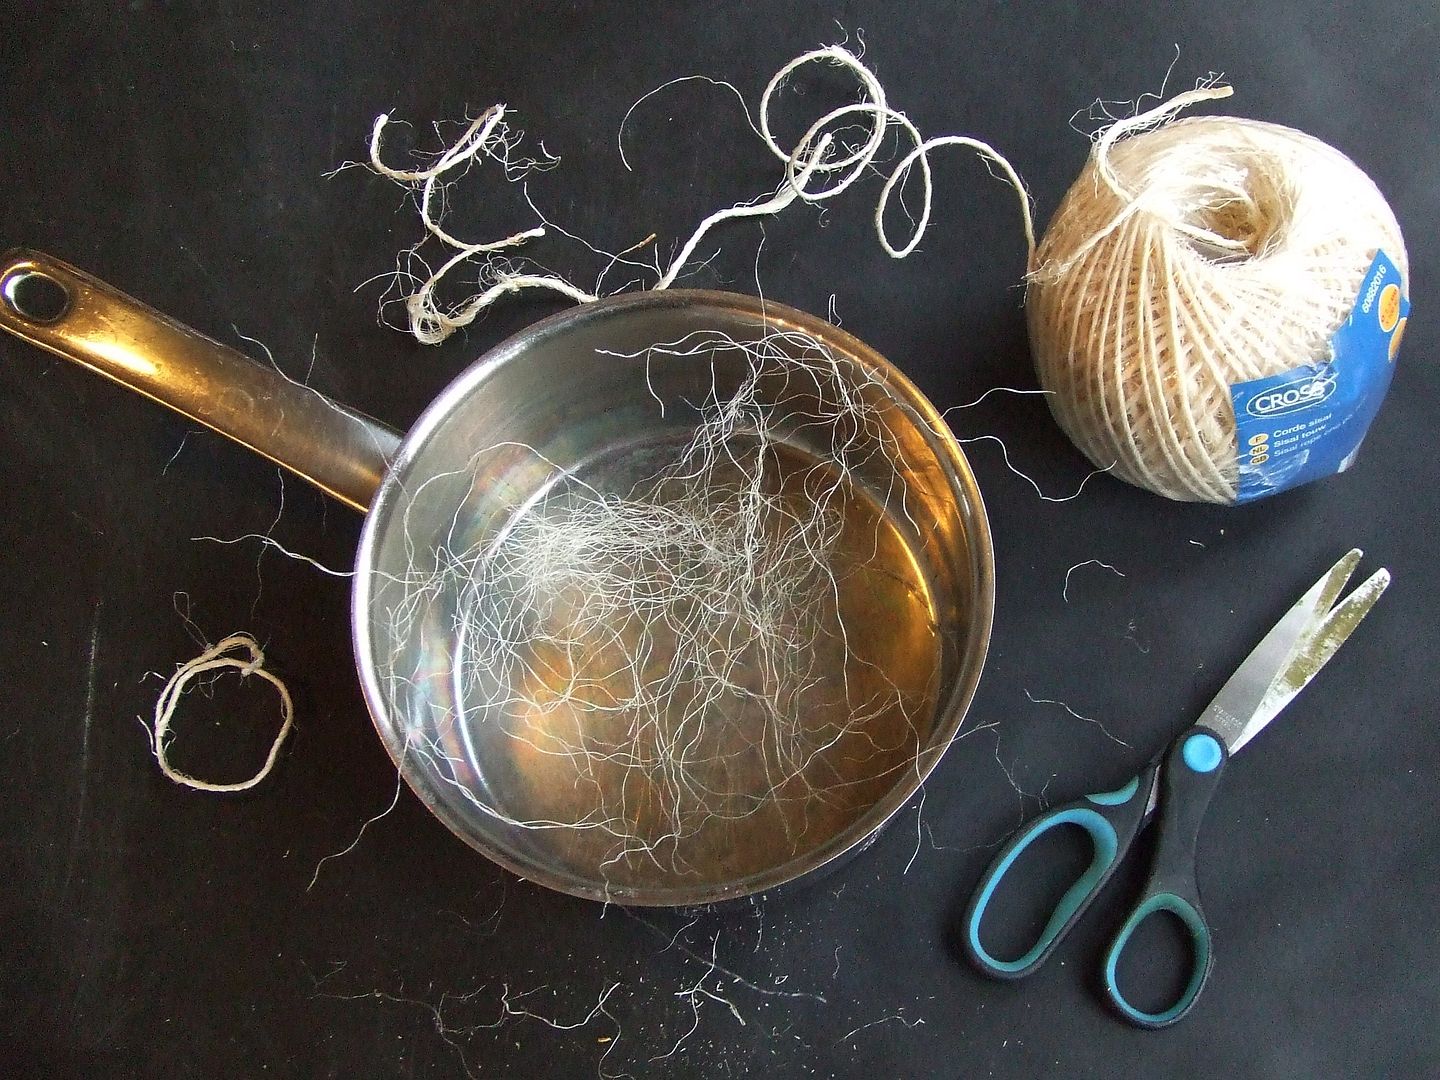
Place in cooking pan and add water.
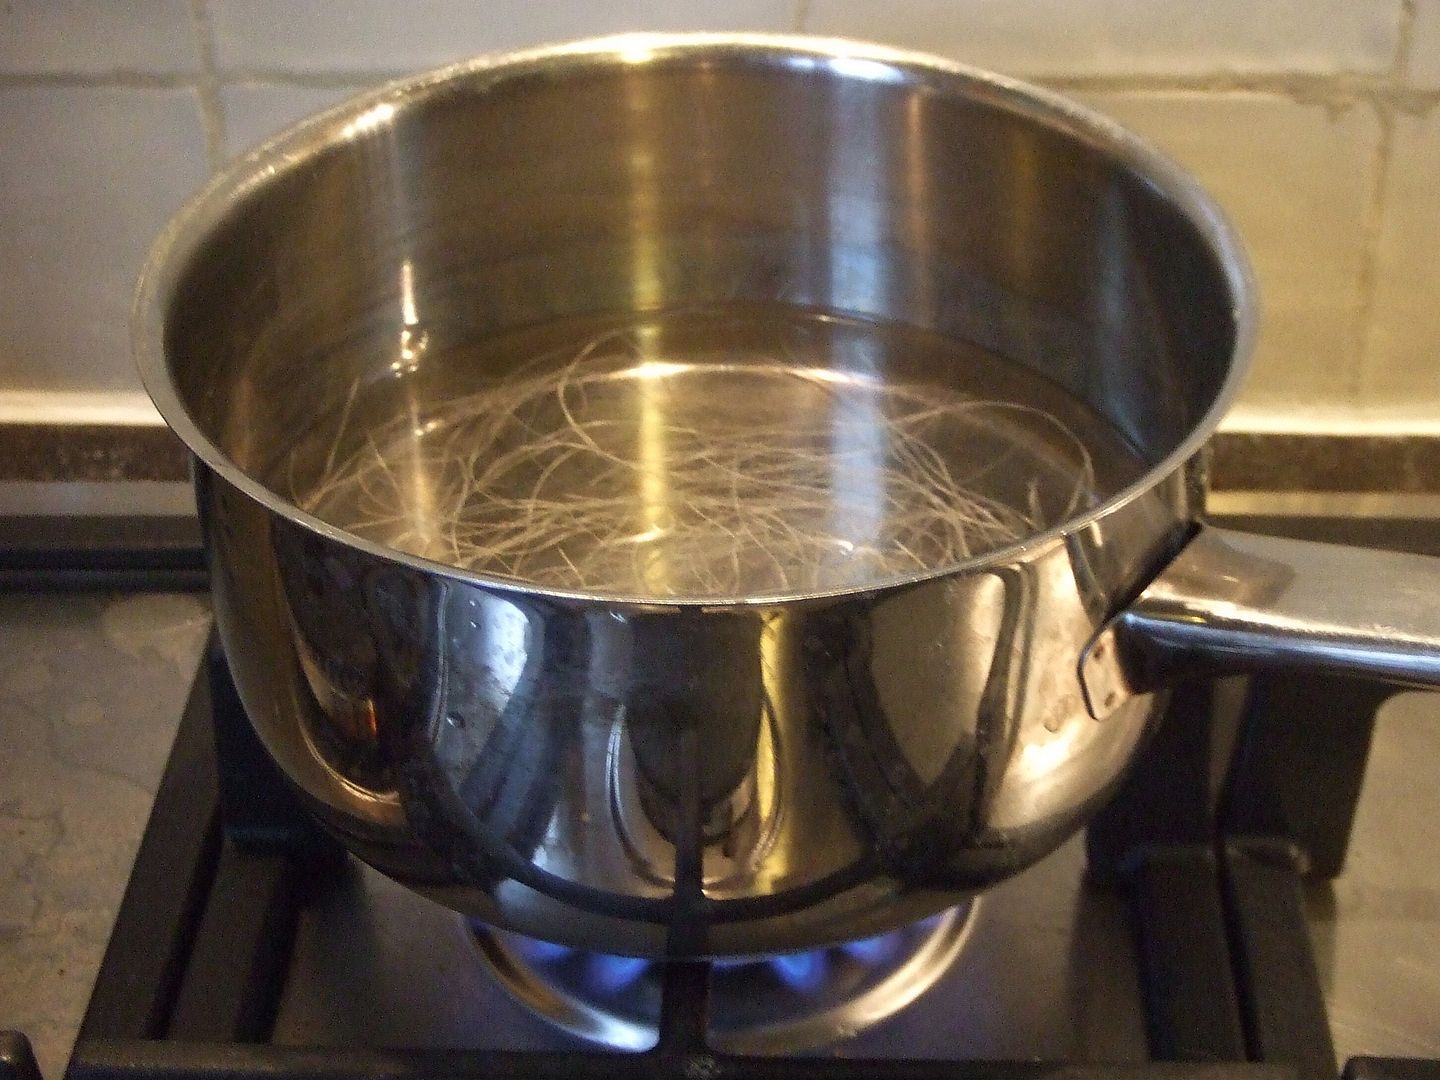
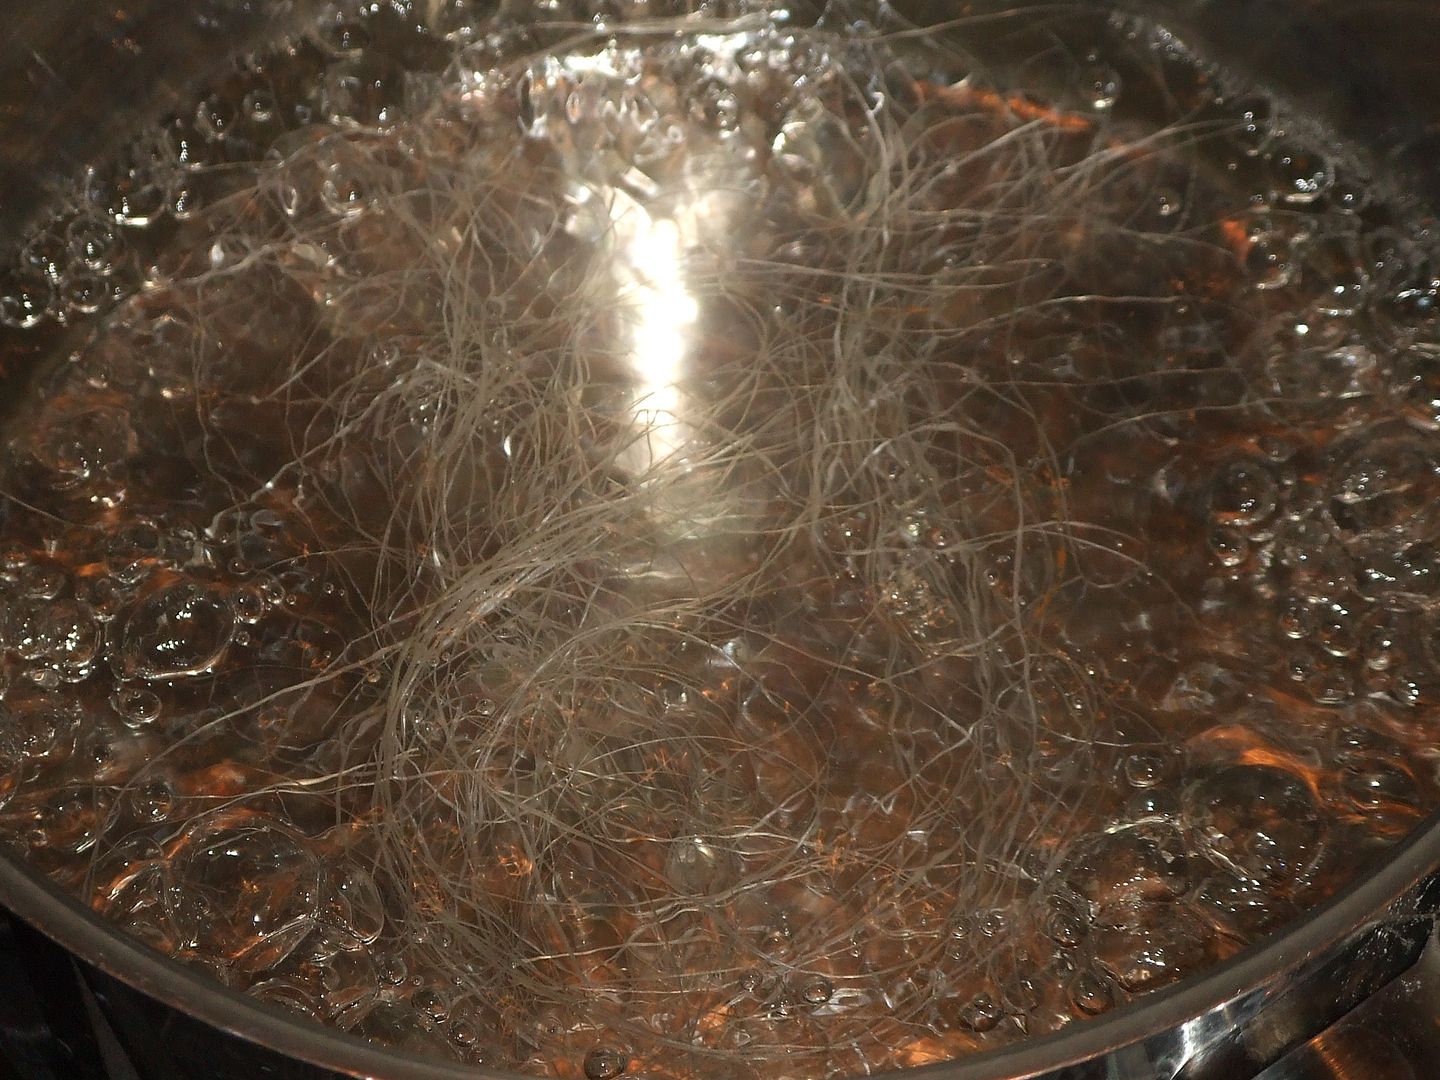
Boil fibres to undo winding shape.
Pour water and sisal fibre in strainer.
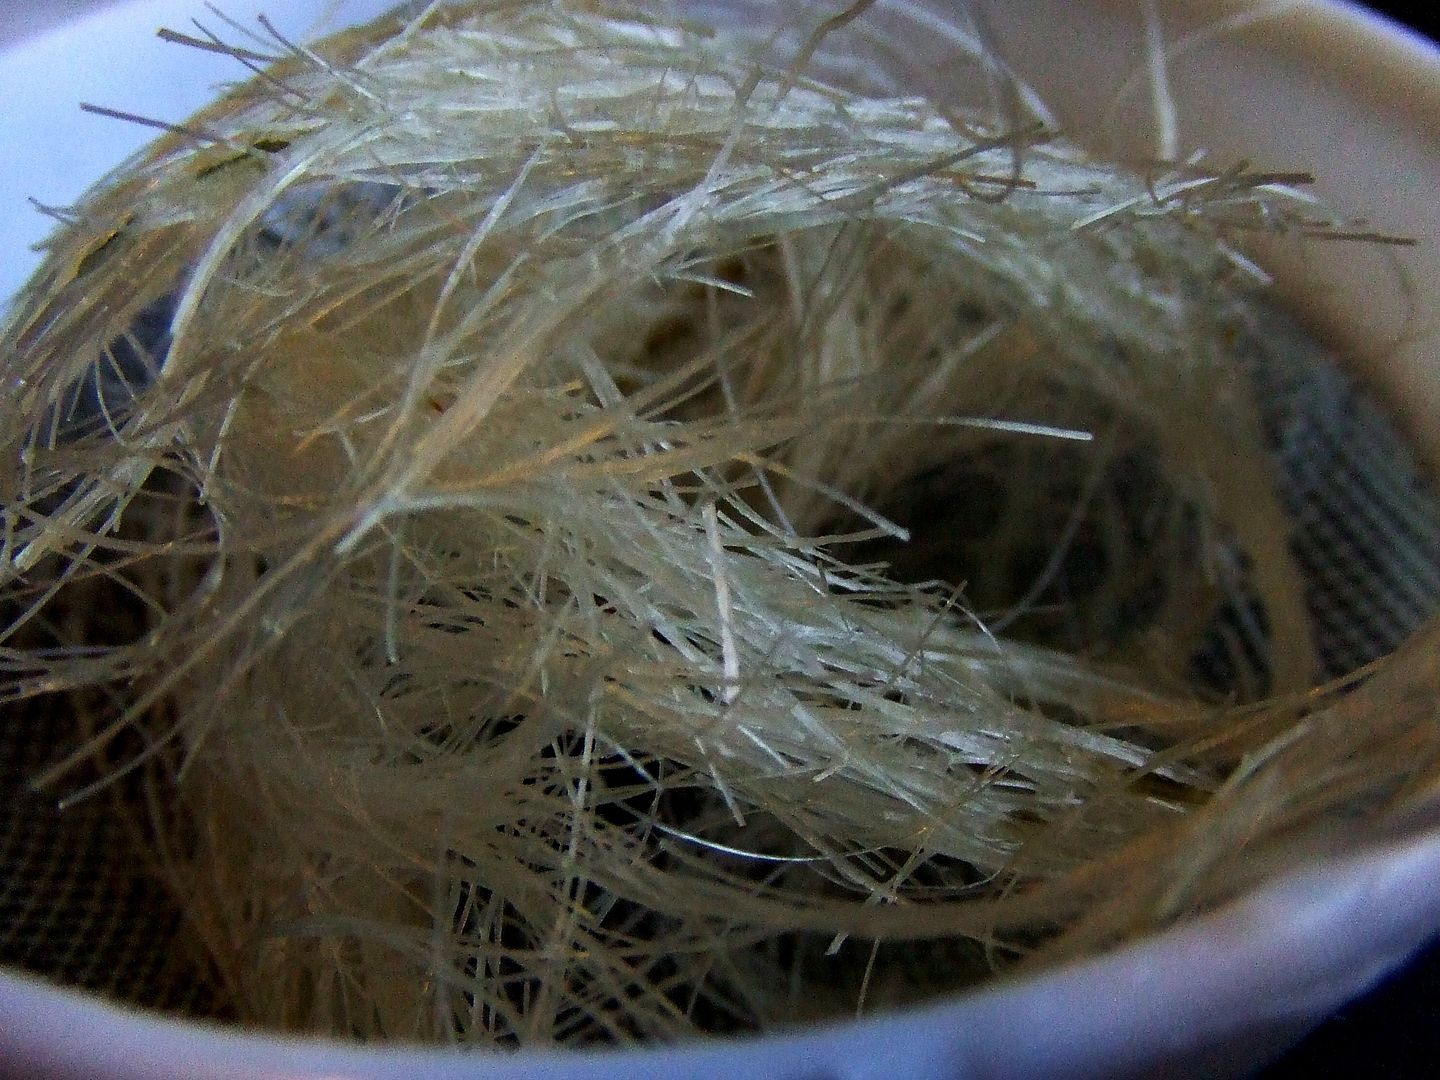
Let dry.
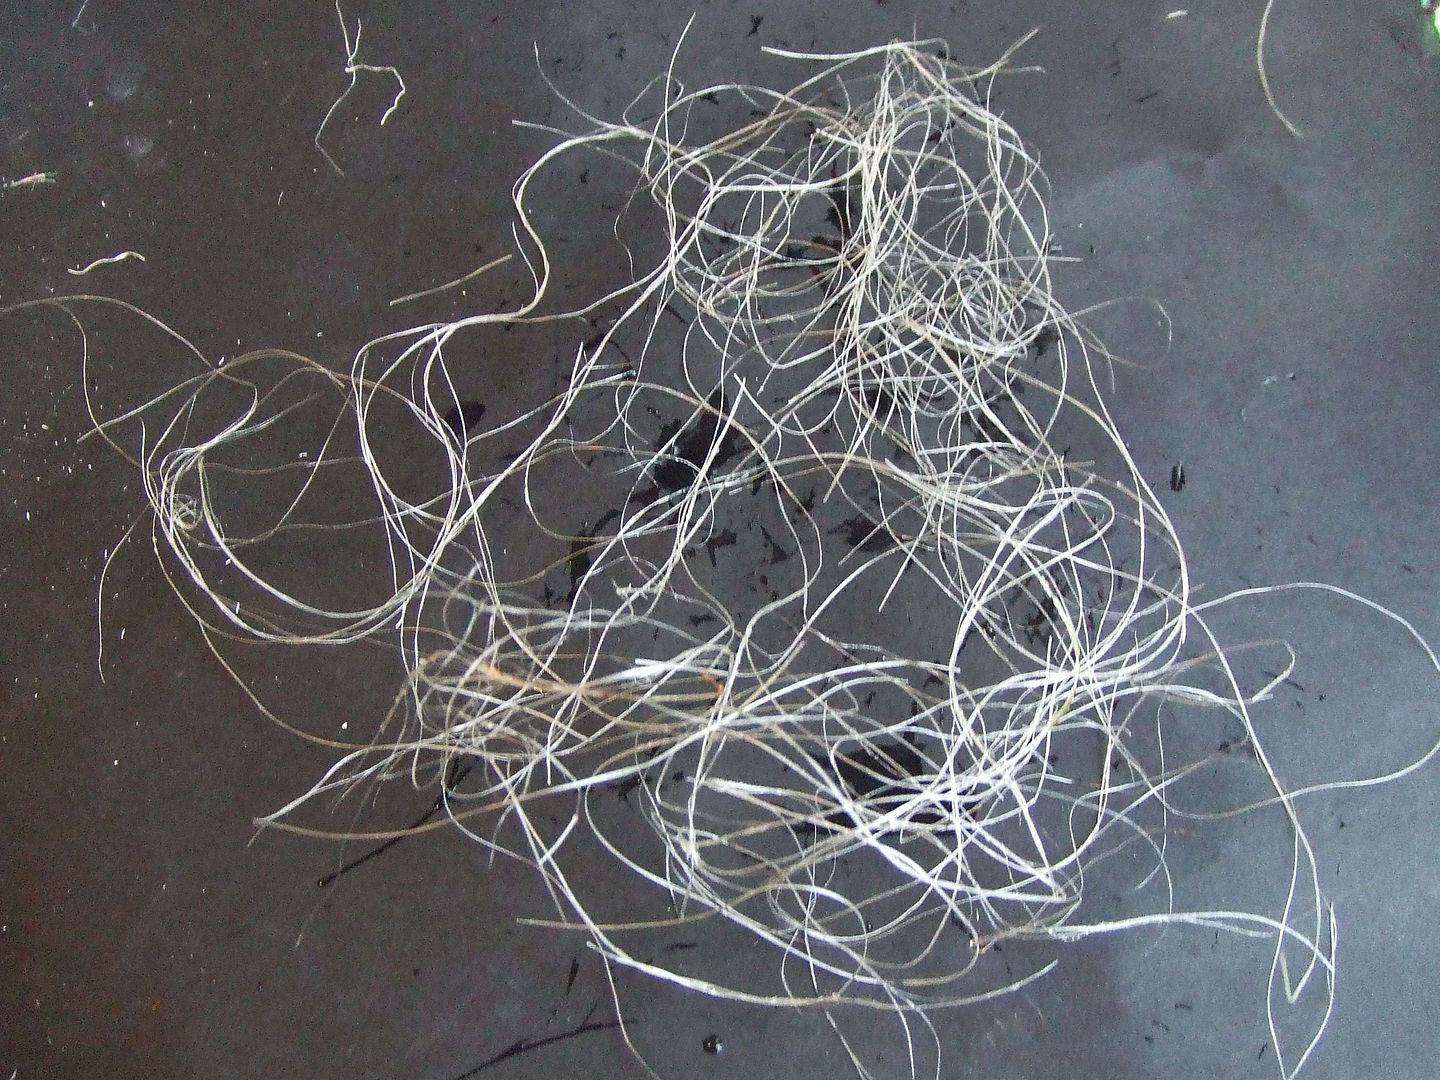
Glue fibres one by one to branch heads.
Use fast drying strong adhesive.
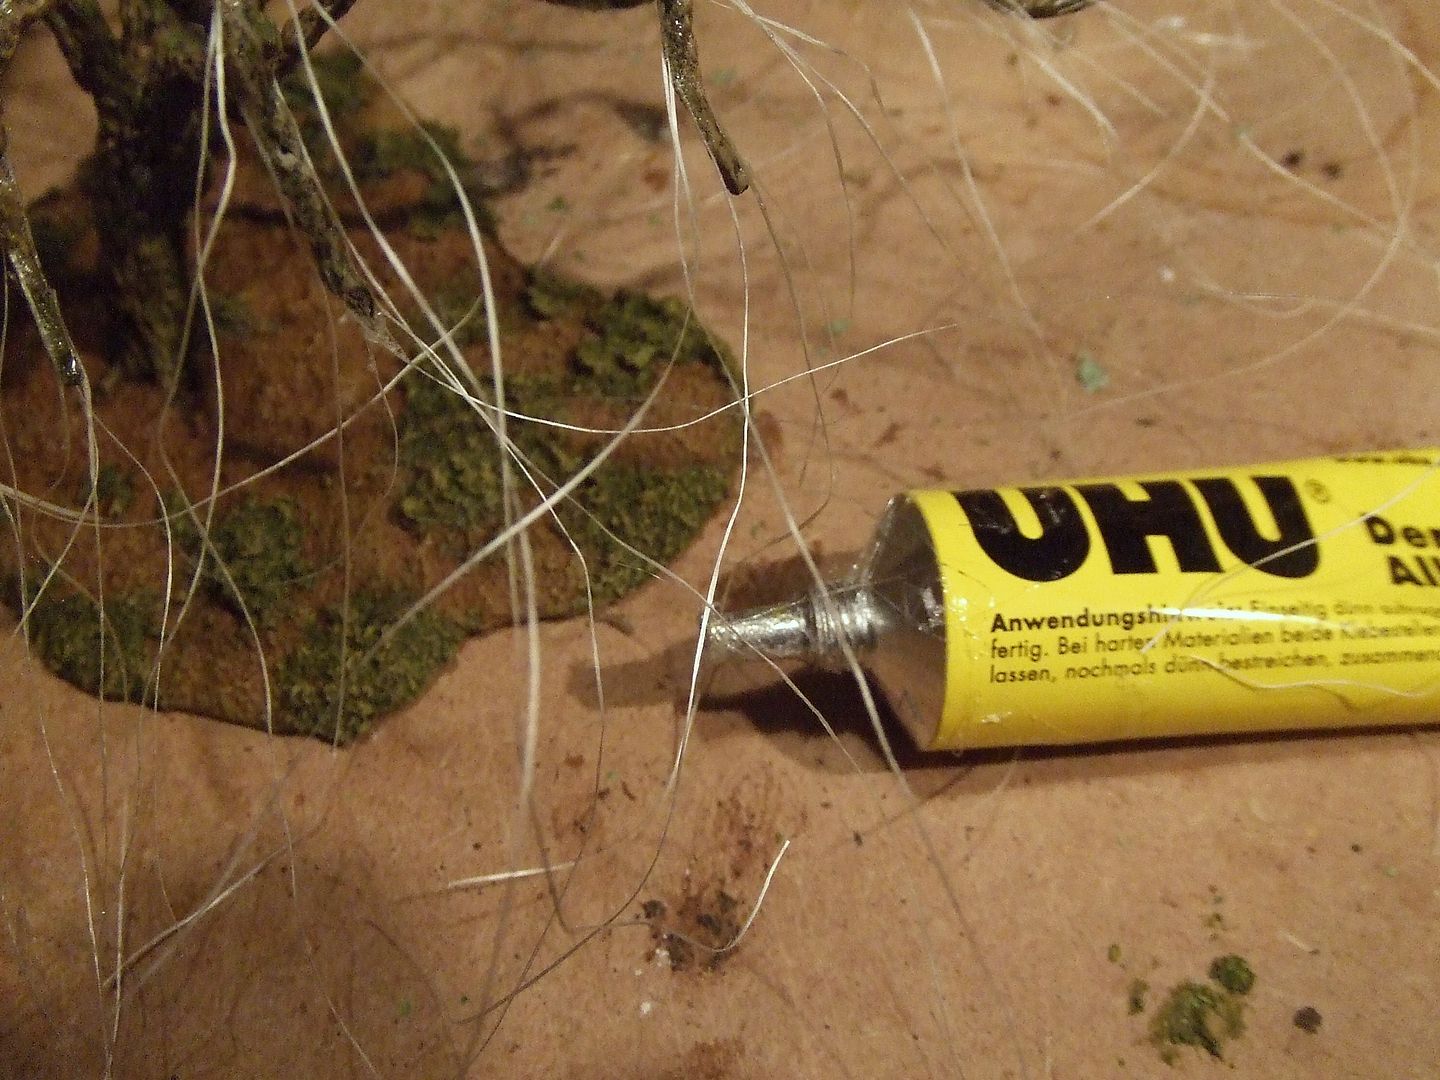
Have 3 or 4 wires sprouting from each head.
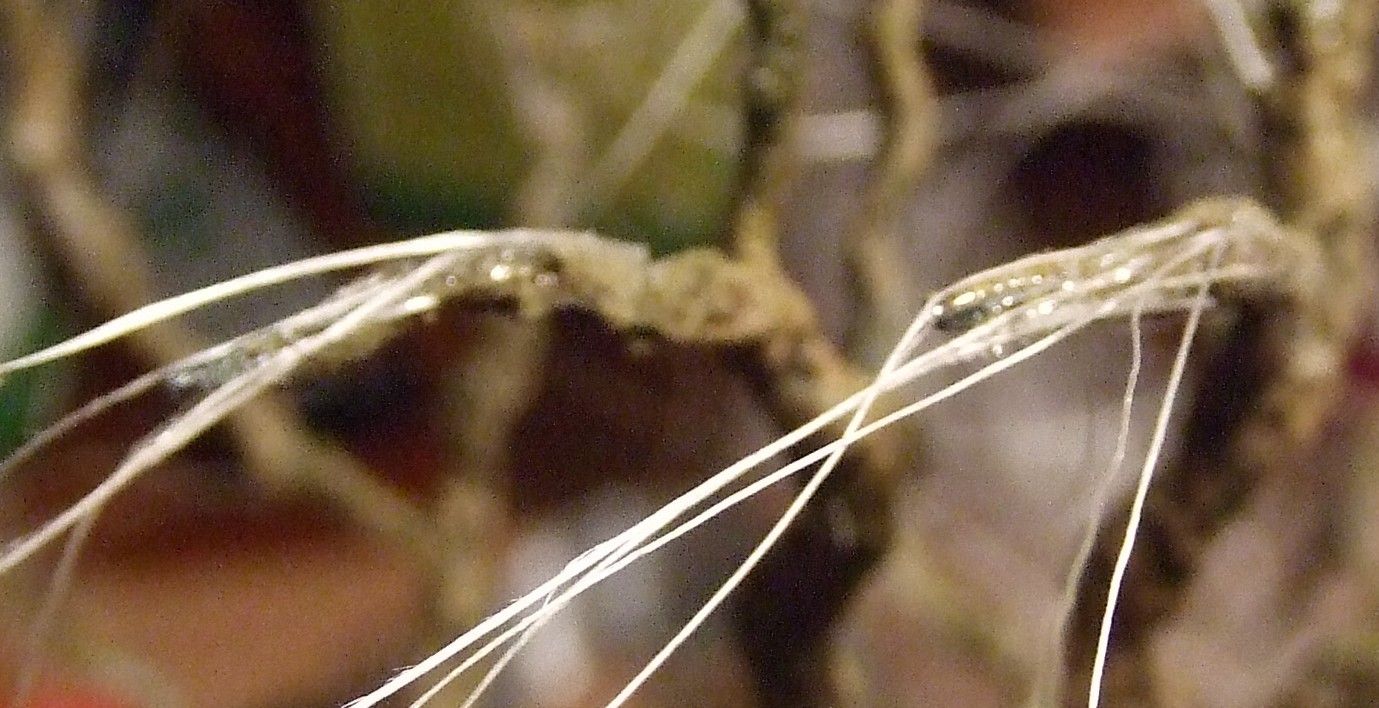
Add additional wires sprouting from bendings and curves in branches.
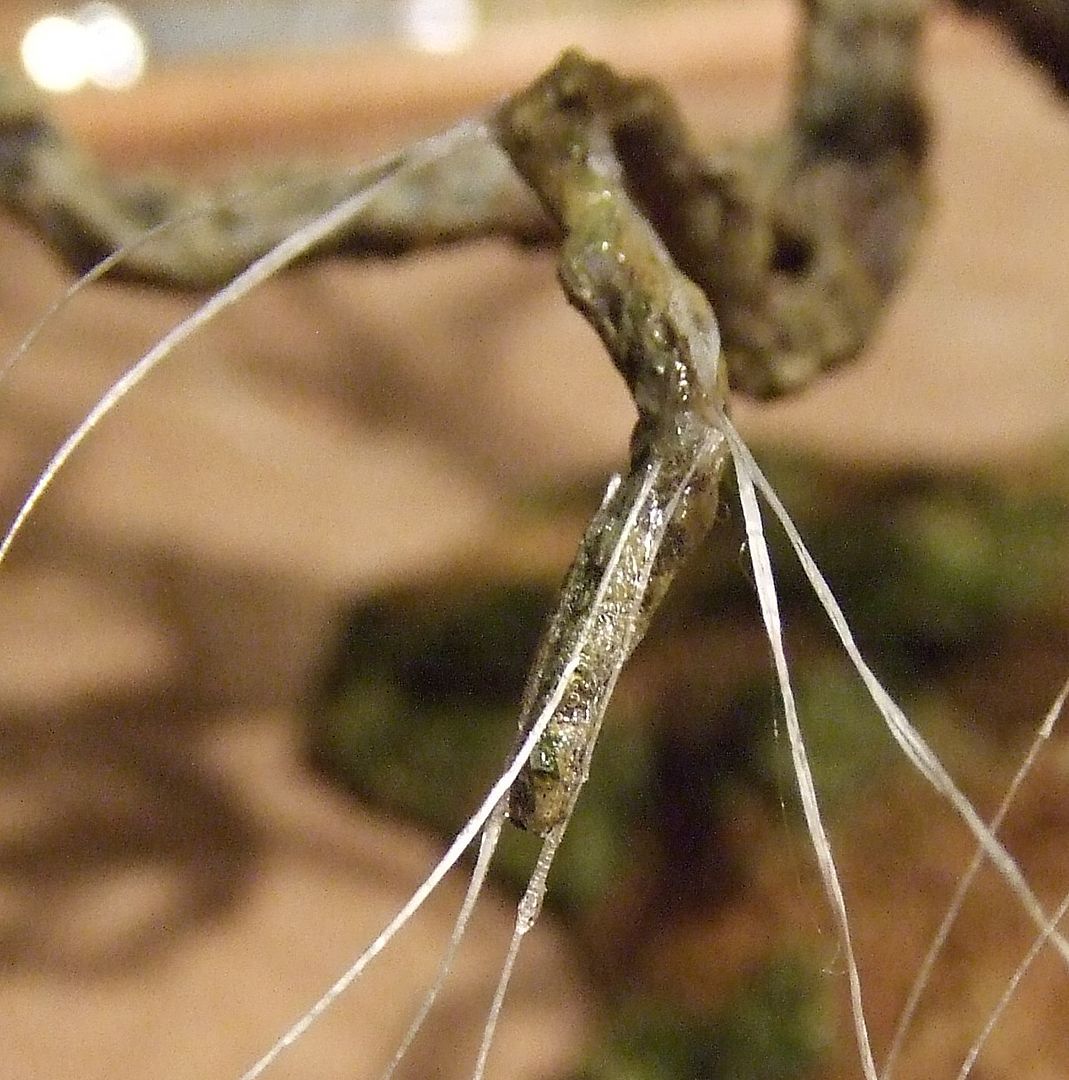
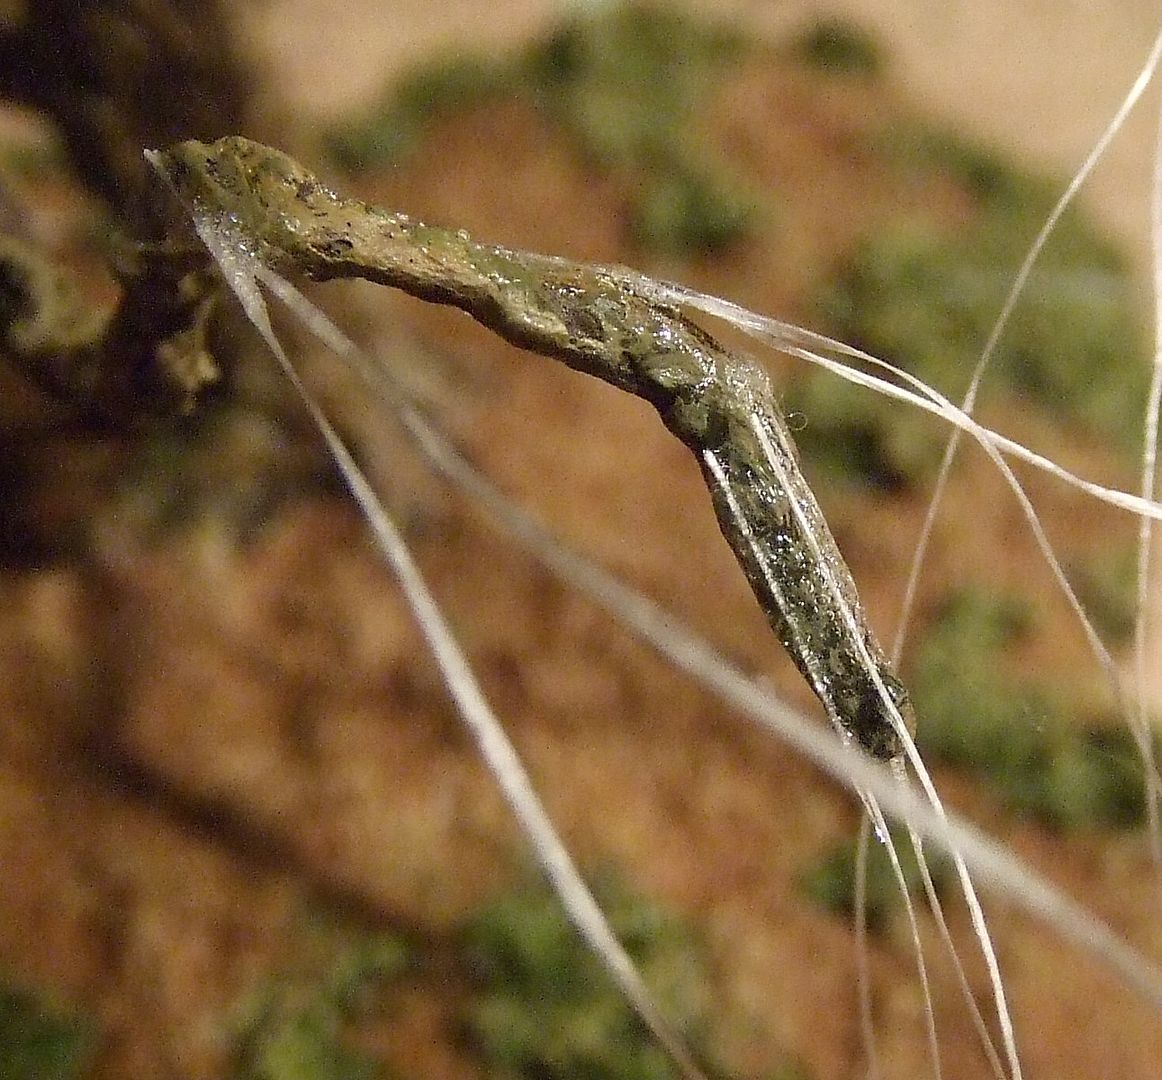
End up with 100 to 200 sisal fibre wires representing the hanging twigs.
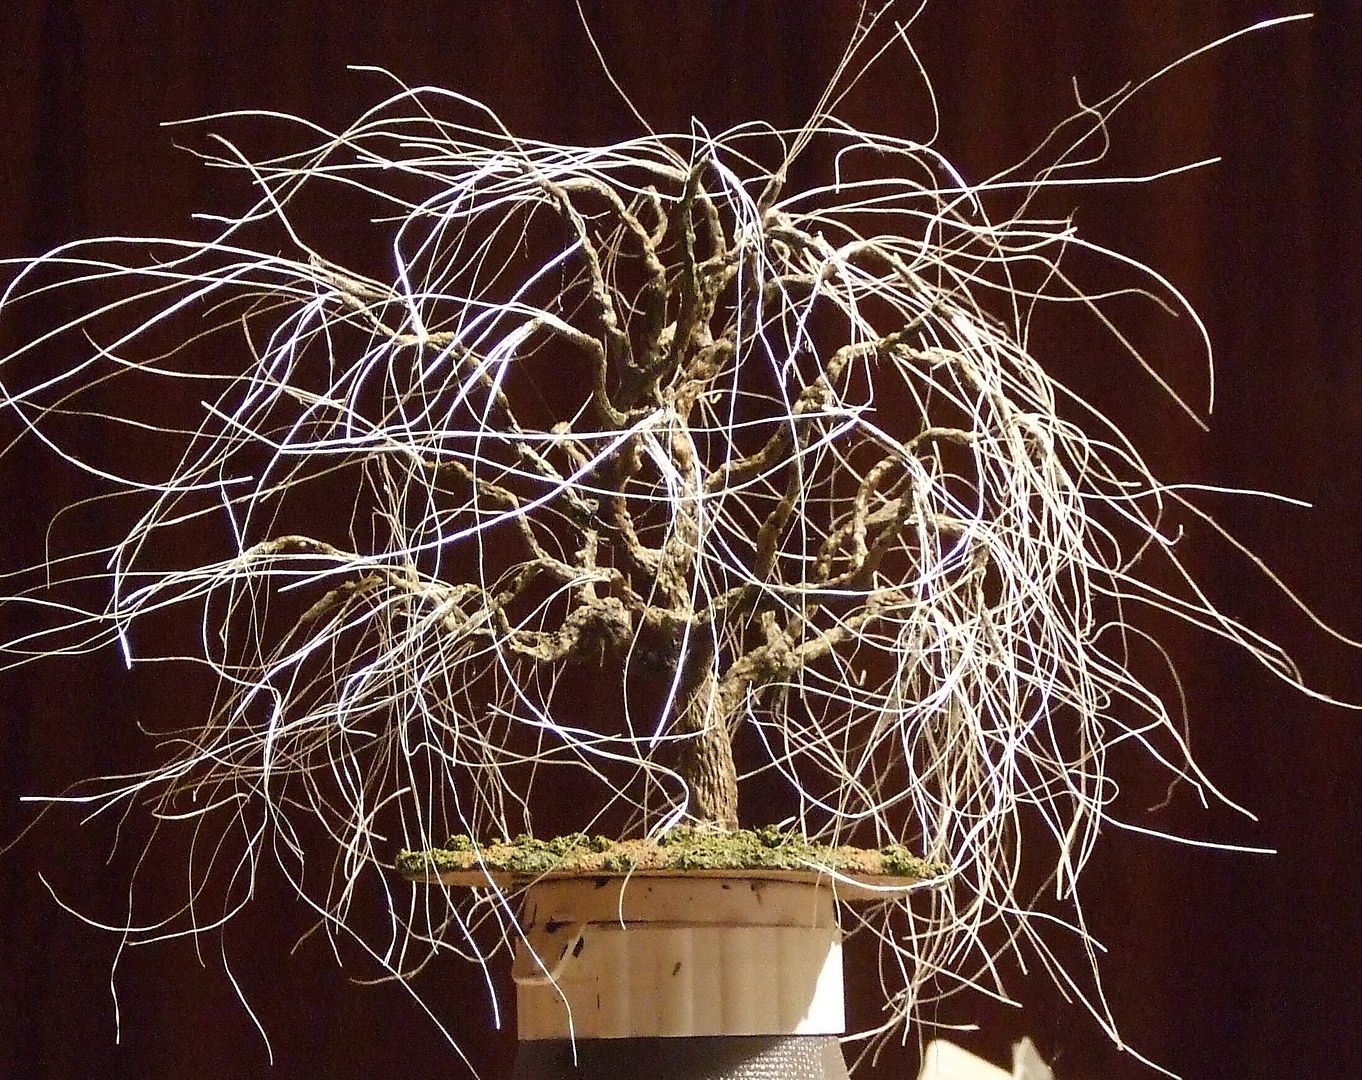
Camouflage fixing points with different layers of paint.
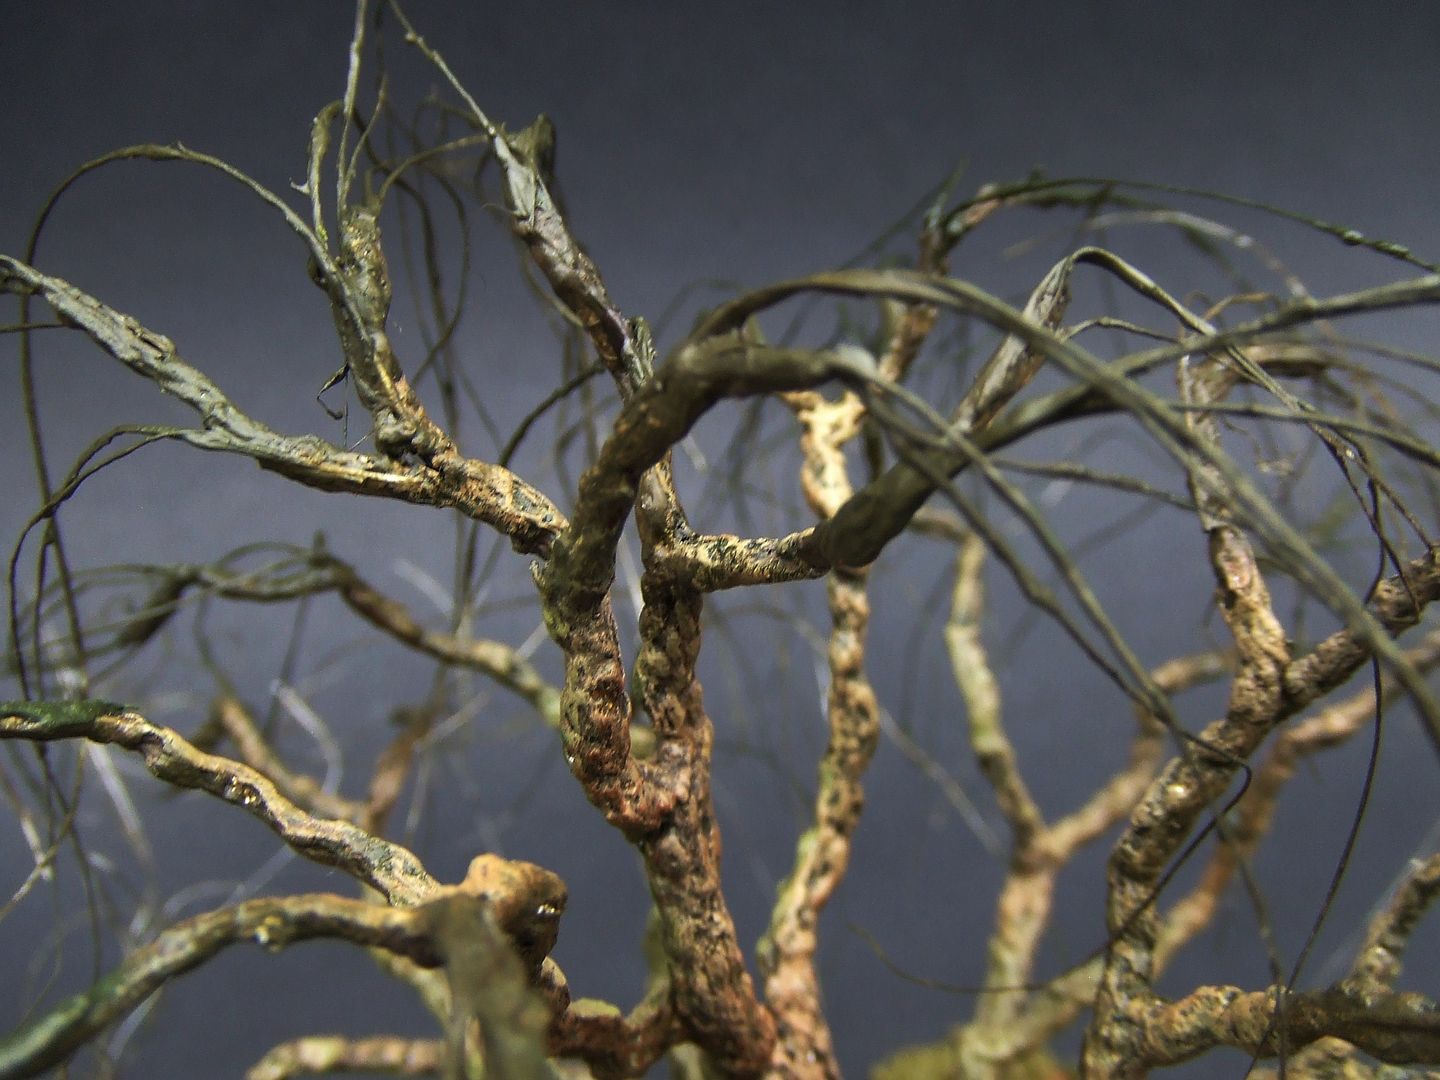
Paint sisal wires in primal acrylic green colour with large brush.
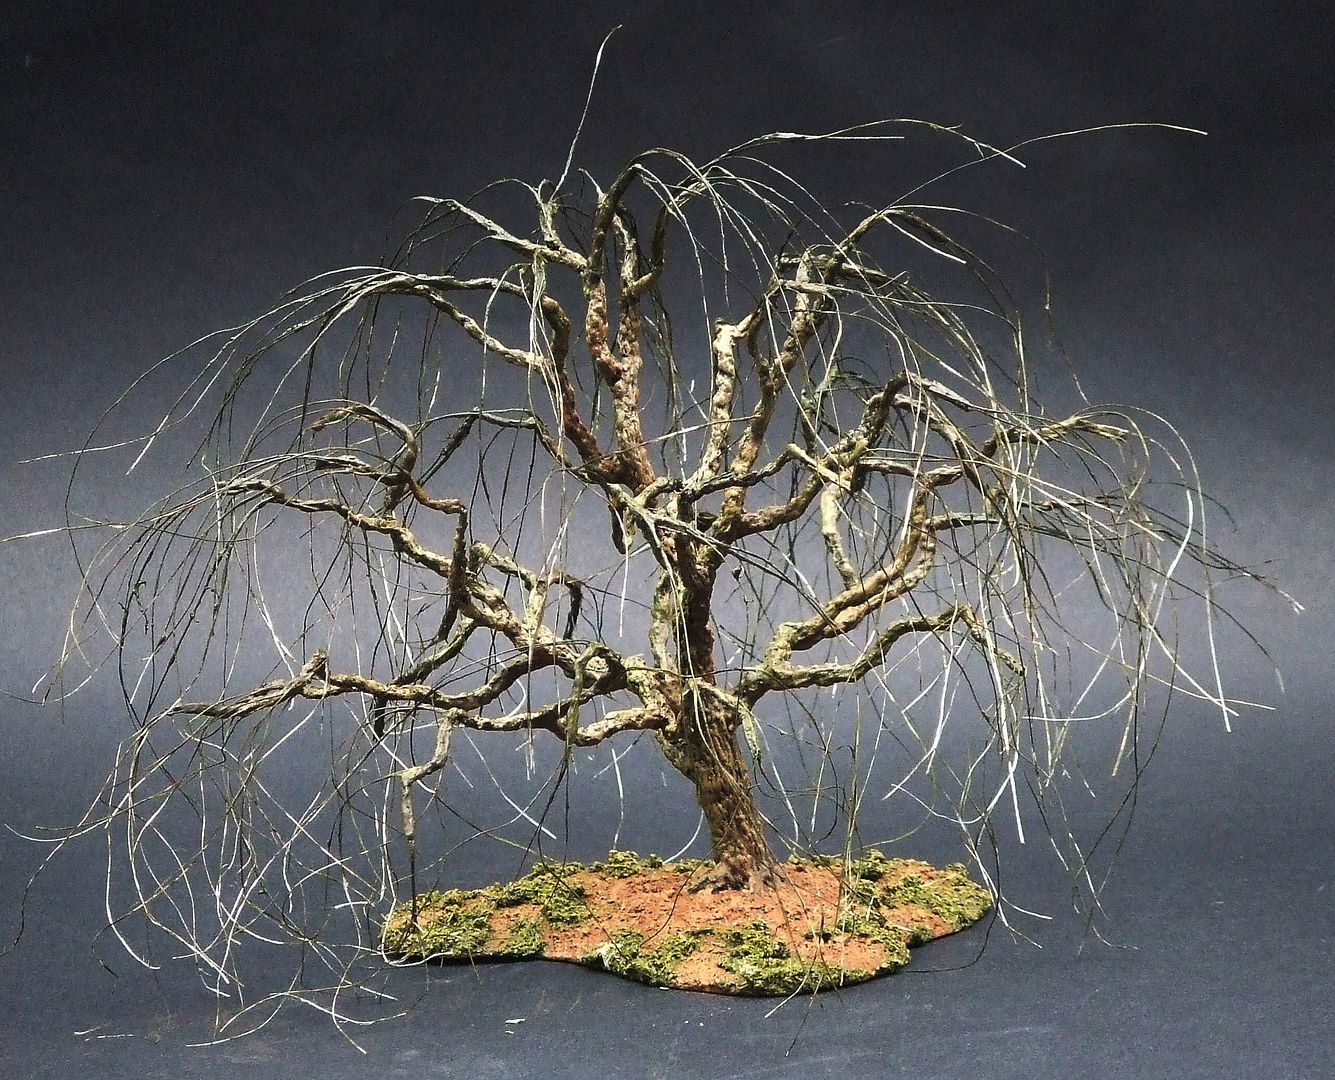
Paint sisal wires from fixing point to loose end, in downward direction.
This will help the sisal wire twigs to hang down.
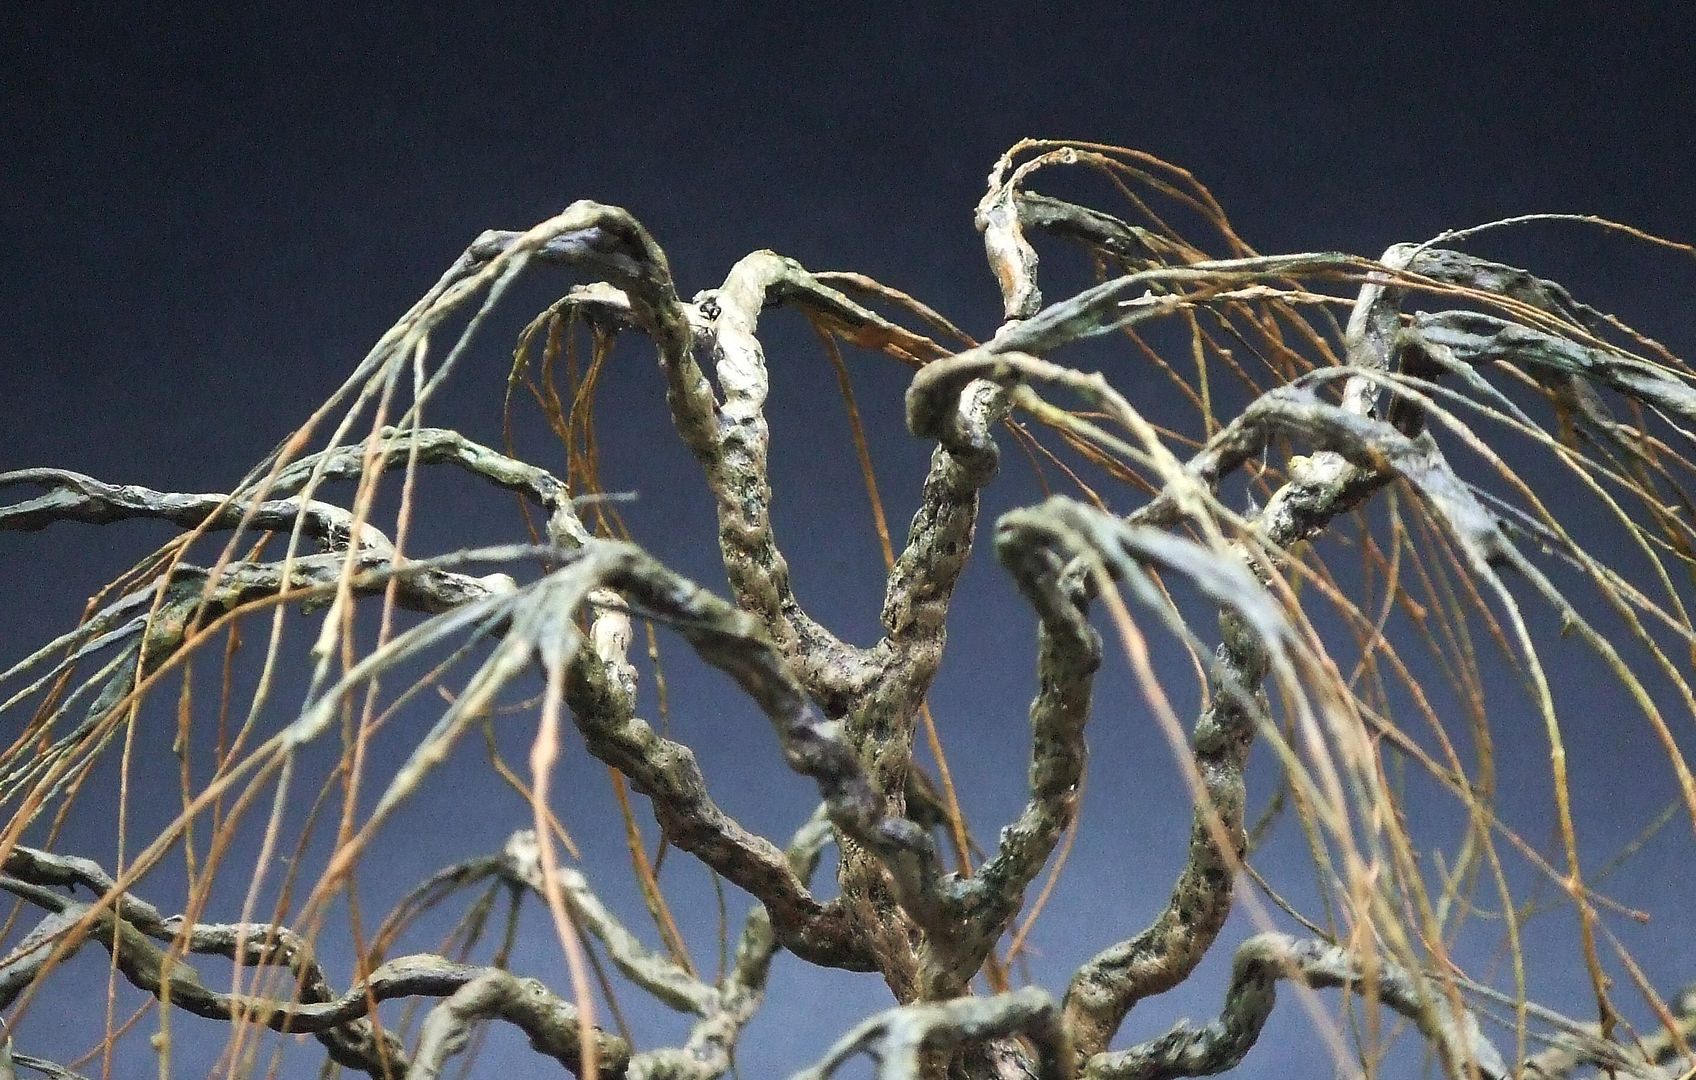
If needed, use free hand to hold end of sisal wire to stretch it and enable proper painting on all sides.
Add yellow-brown paint to hanging twigs.
Use green-grey paint for highlighting fixing points and branch-heads.
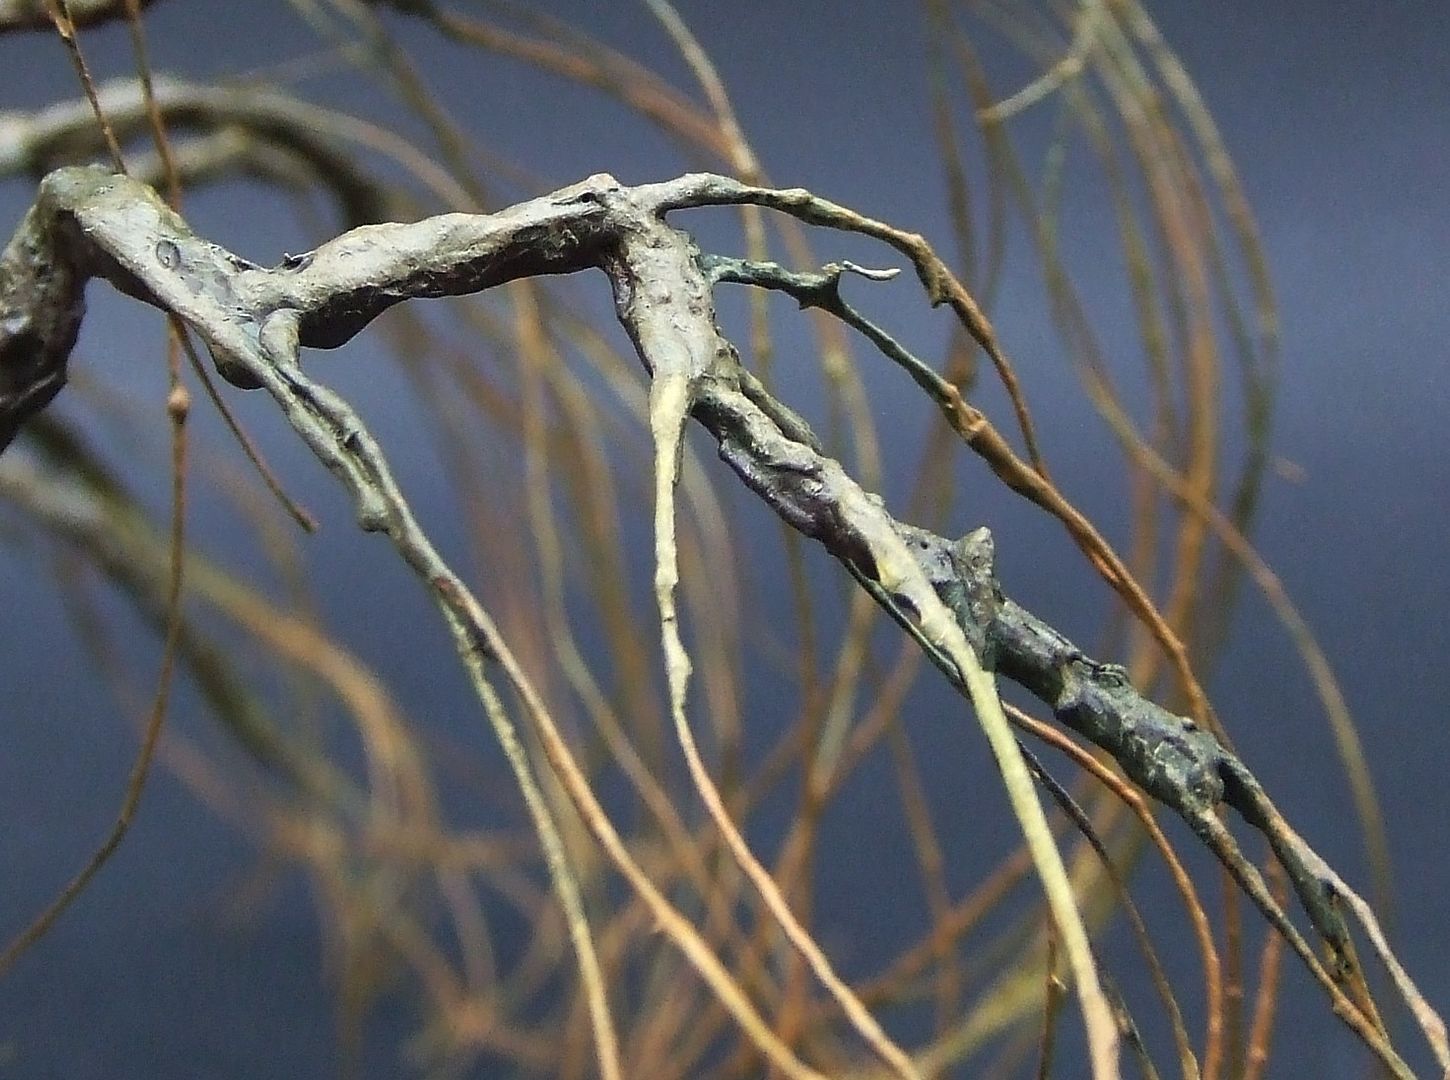
Fan out the twig sprouts.
This can be achieved before drying of the paint by painting upwards with a hard brush towards the fixing points while holding each end of the wire with free hand.
This can also be achieved after drying: increase zigzag effect of branch heads by folding them, since everything is still flexible.
In case wires stick to another or to branches because of paint:
Separate them during or after drying with a pointed iron tool.
Since you may want to raise or lower the branches and their added hanging twigs in a later phase, do not cut the oversized wires yet.
MAKING FOLIAGE FOR FREE
Since manufacturors and retailers sell us very basic products for incredible high prices…
…since a large tree needs masses of foliage not to mention a whole forest…
…since choice of foliage size and colour is limited in most scale train houses and model shops…
…and one only knows for sure if the product ordered online has the right size and colour when it finally arrives at home….
…all of us should stop paying those rediculous amounds of money and make the foliage ourselves: almost for free.
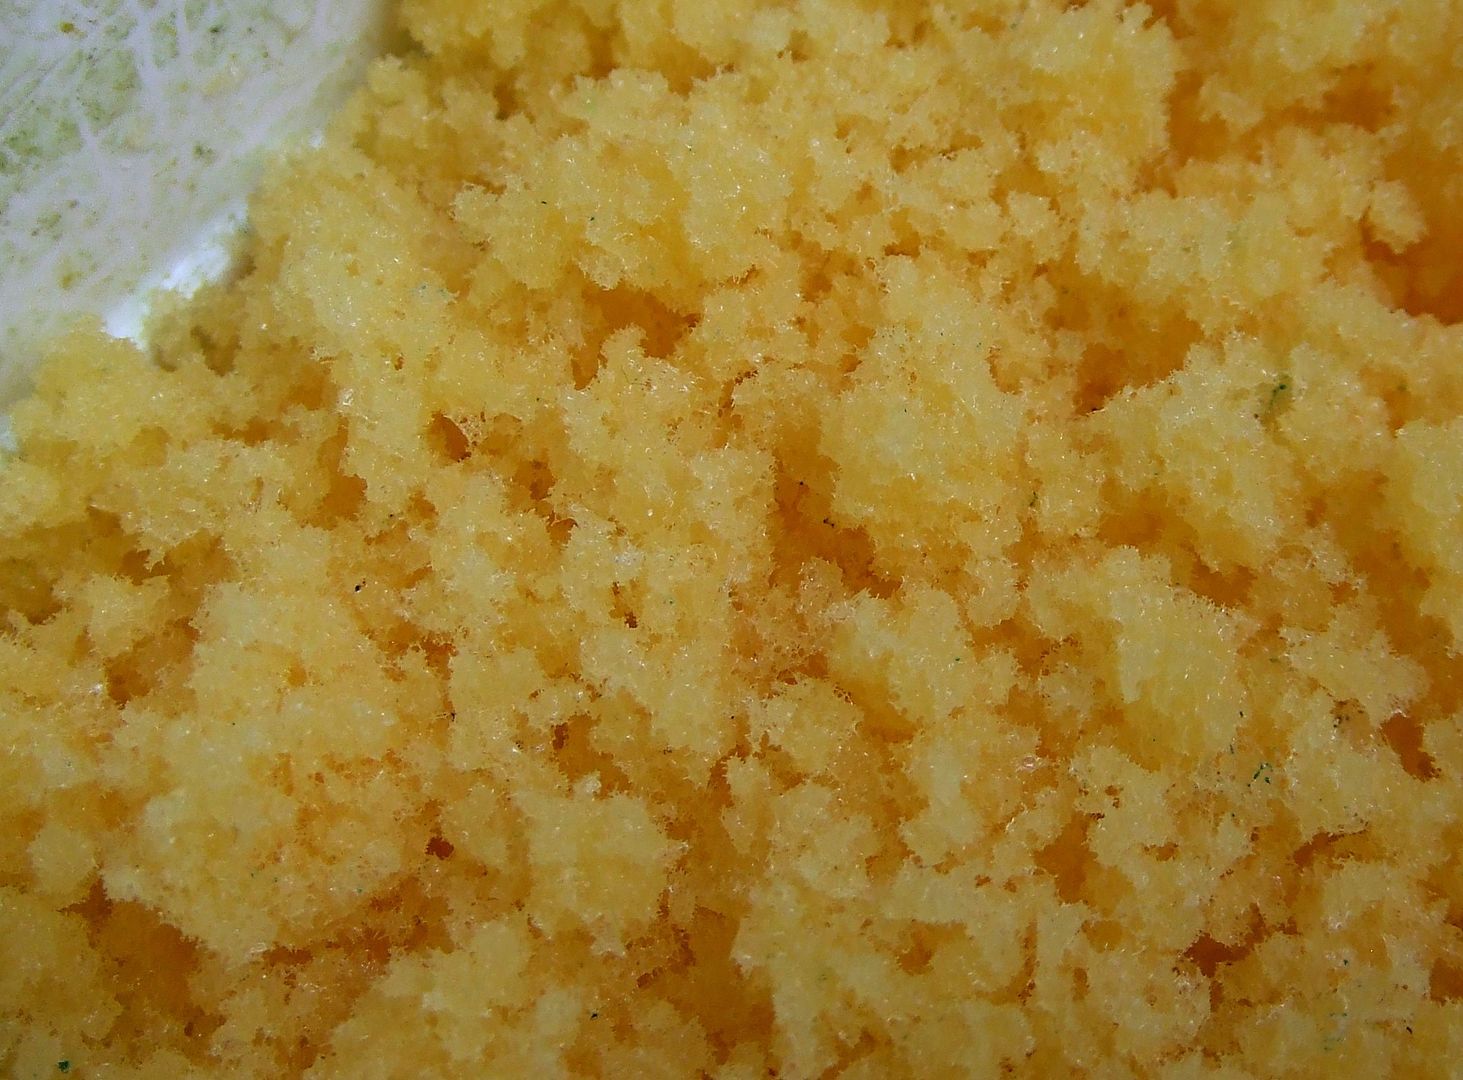
Plastic foam is most effective and everywhere around us in cleaning sponge, matrasses and sofa’s.
Also known as poly urethane sponge or foamed plastic polymer.
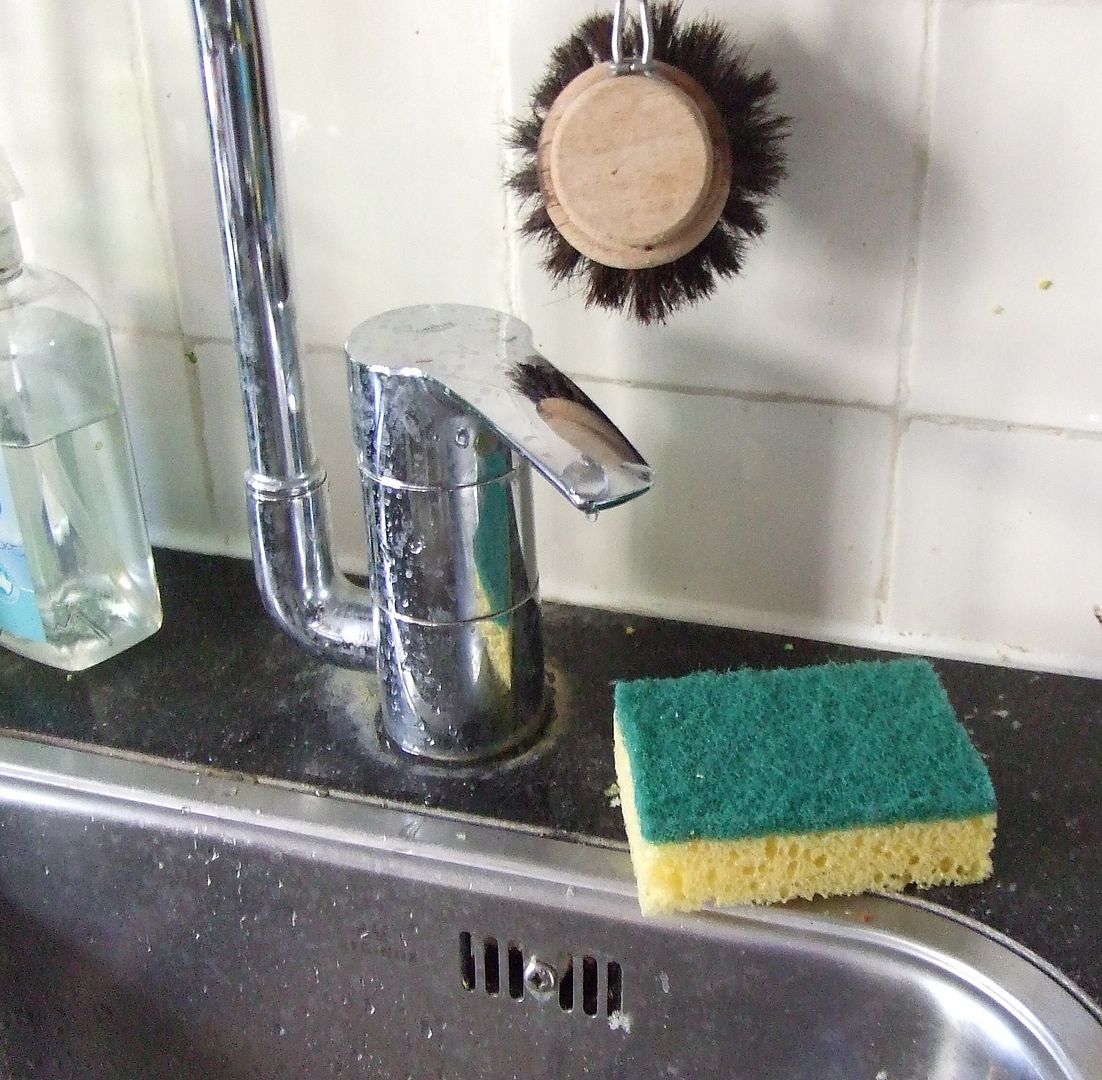
Yellow or light green plastic foam is preferrable since it does not need much paint for colouring.
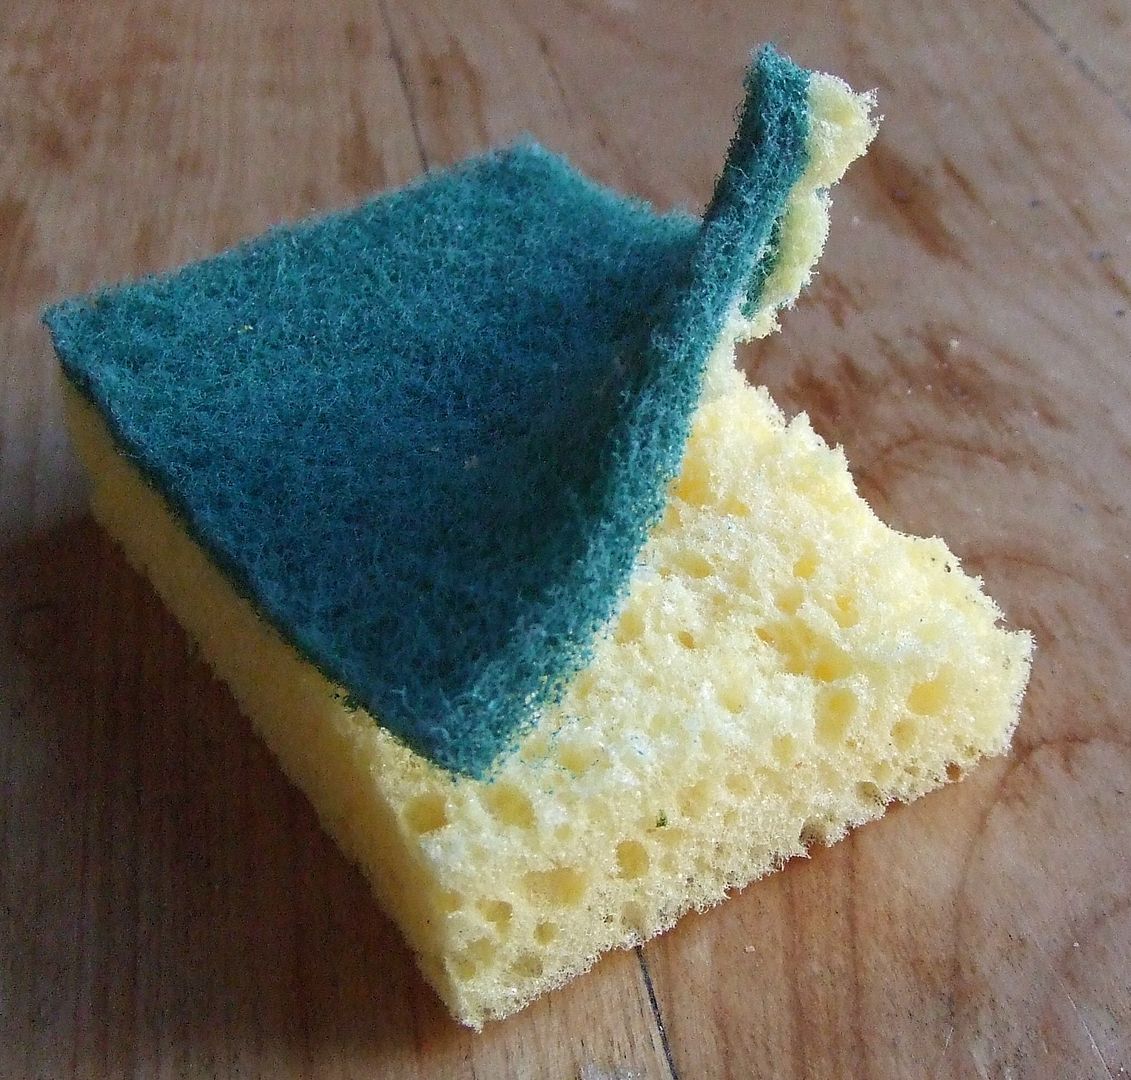
Plastic foam with raw structures, like arge airbubbles or holes in it, is best.
Finer plastic foams with a smaller, more dense structure, often used in matrasses and wrapping material, is more difficult to grind. It will end up in foam flakes too big to use as proper foliage.
Preferrable the foam looks like this.
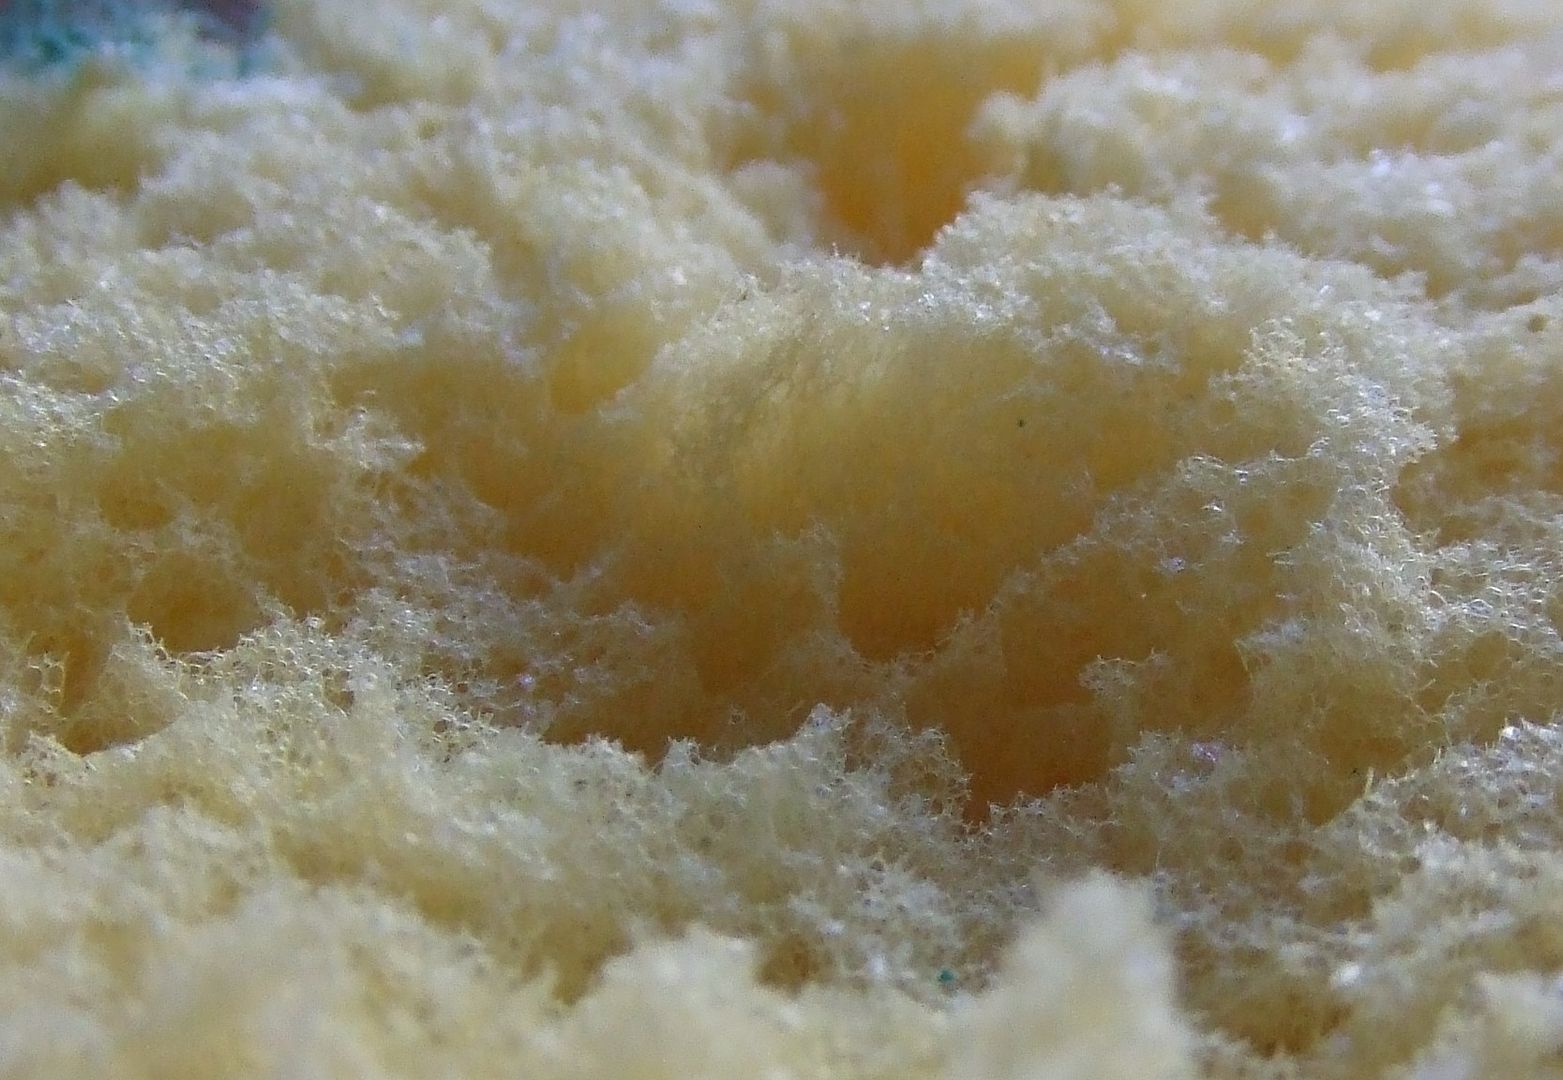
Easy to tear apart by hand, easy to cut with scissors.
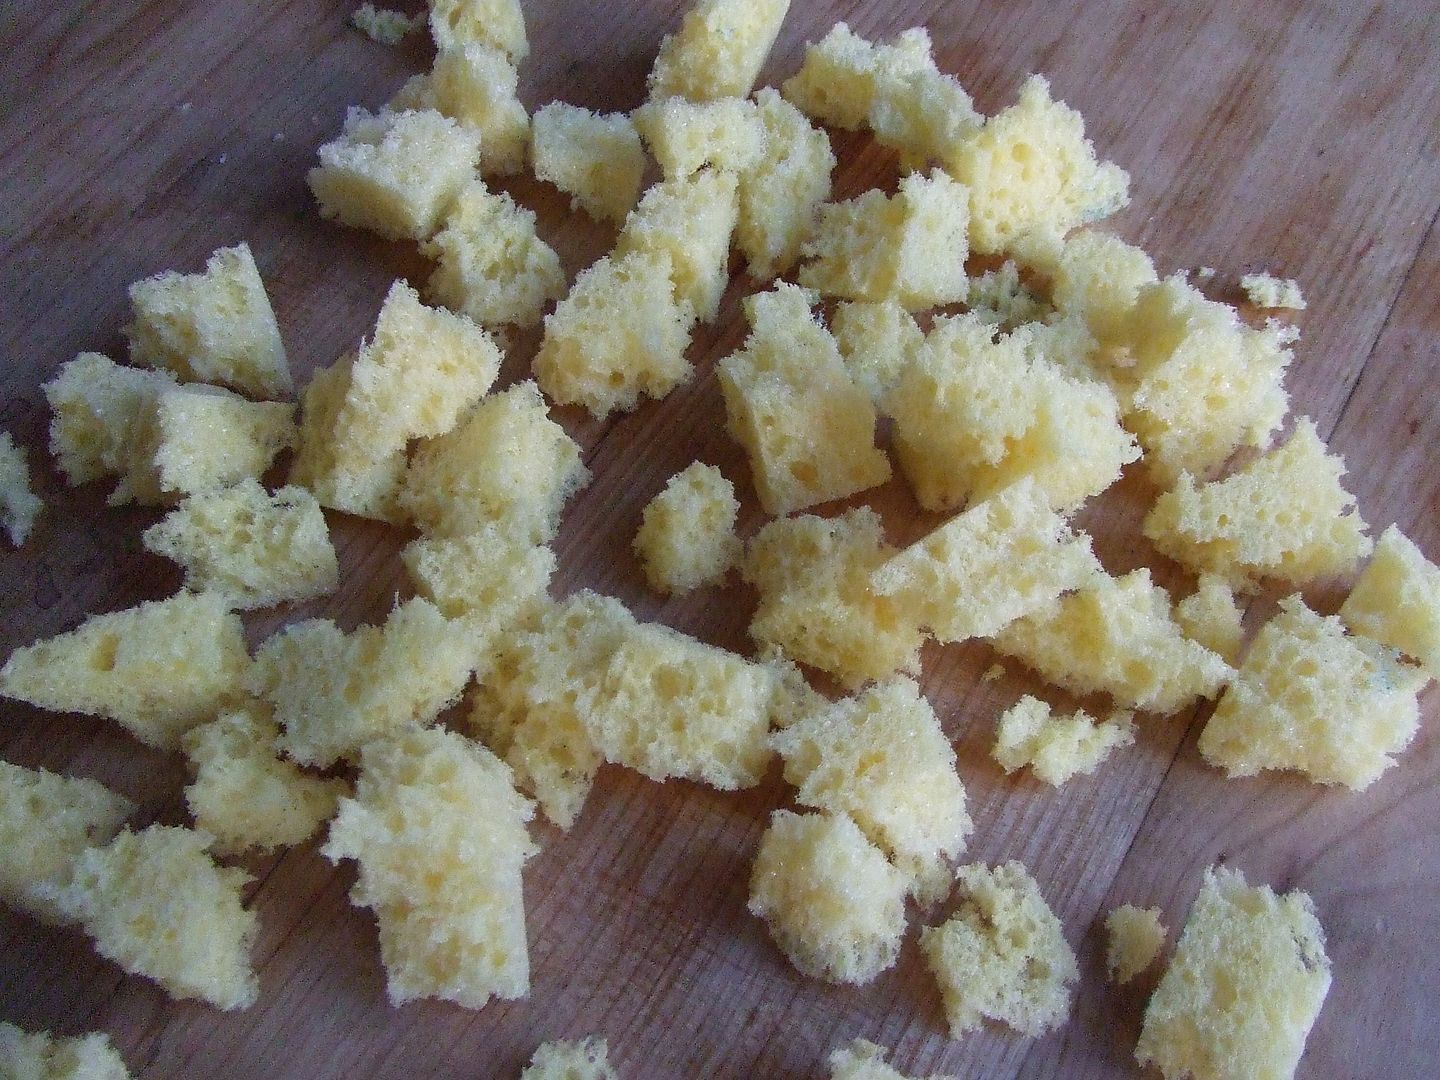
Cut or rip in chuncks
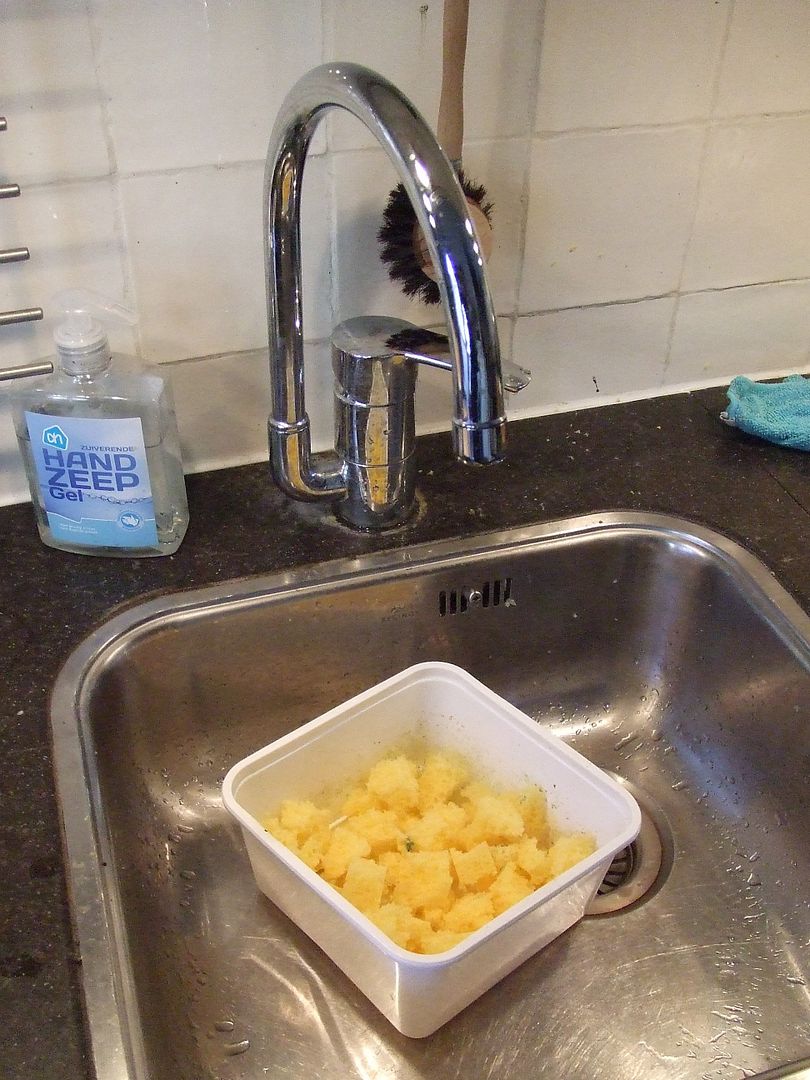
Ad water to make it more heavy.
Dry sponge flakes will become electrostatic and jump away when hit by blades.
Use emergion blender or food processor.
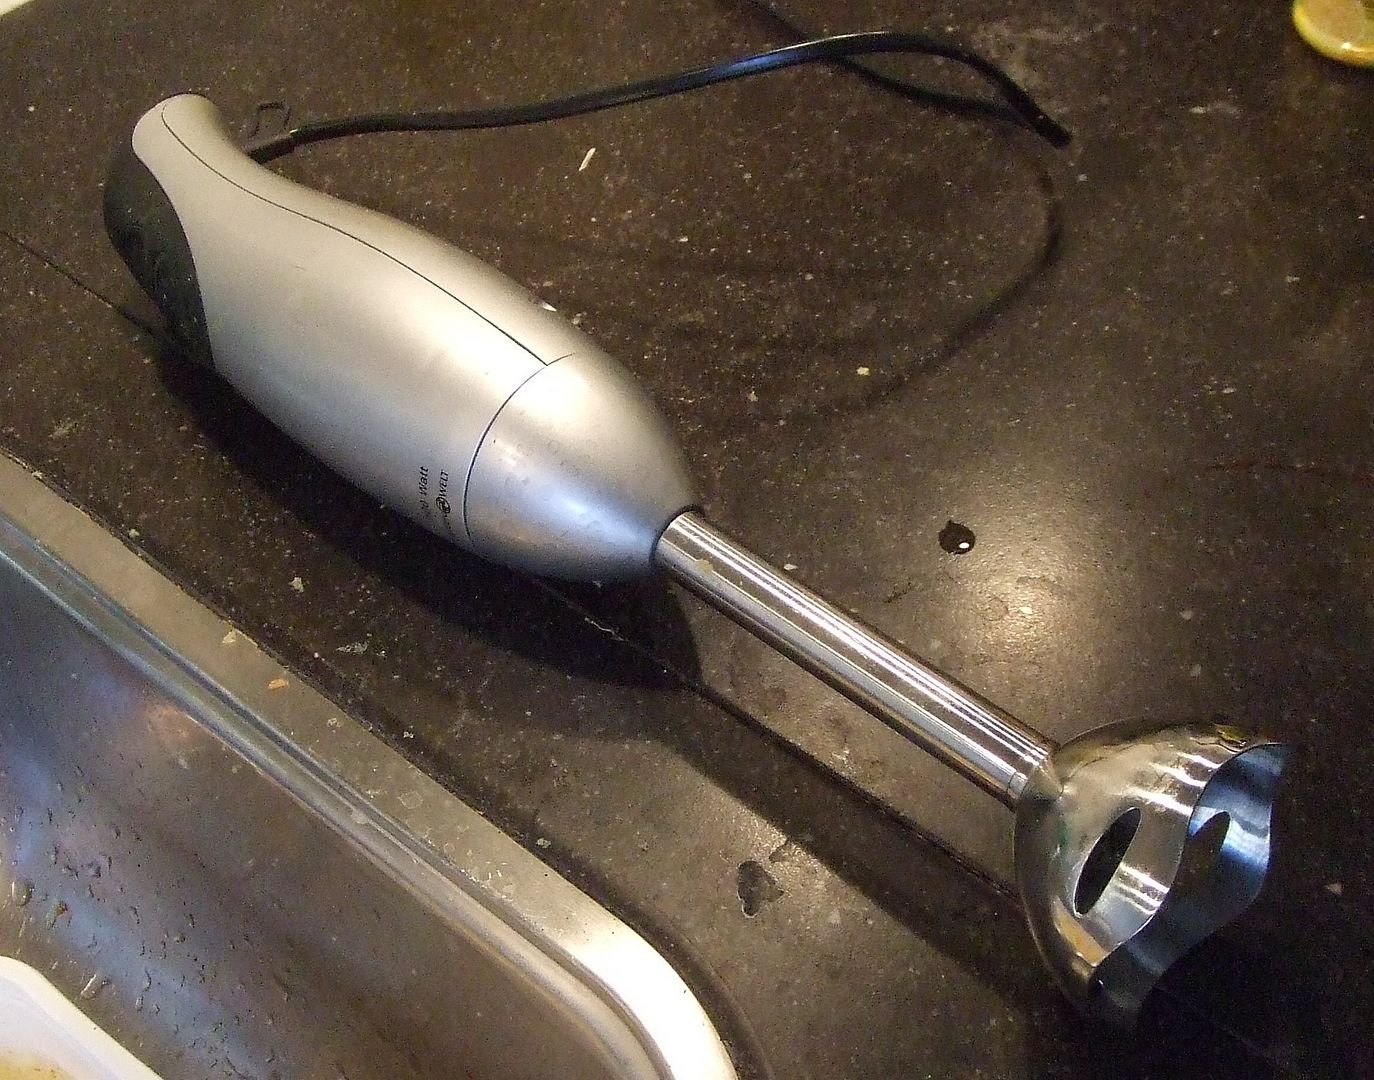
A coffeegrinder will doo as well. But make sure it tolerates water. Or try to grind dry.
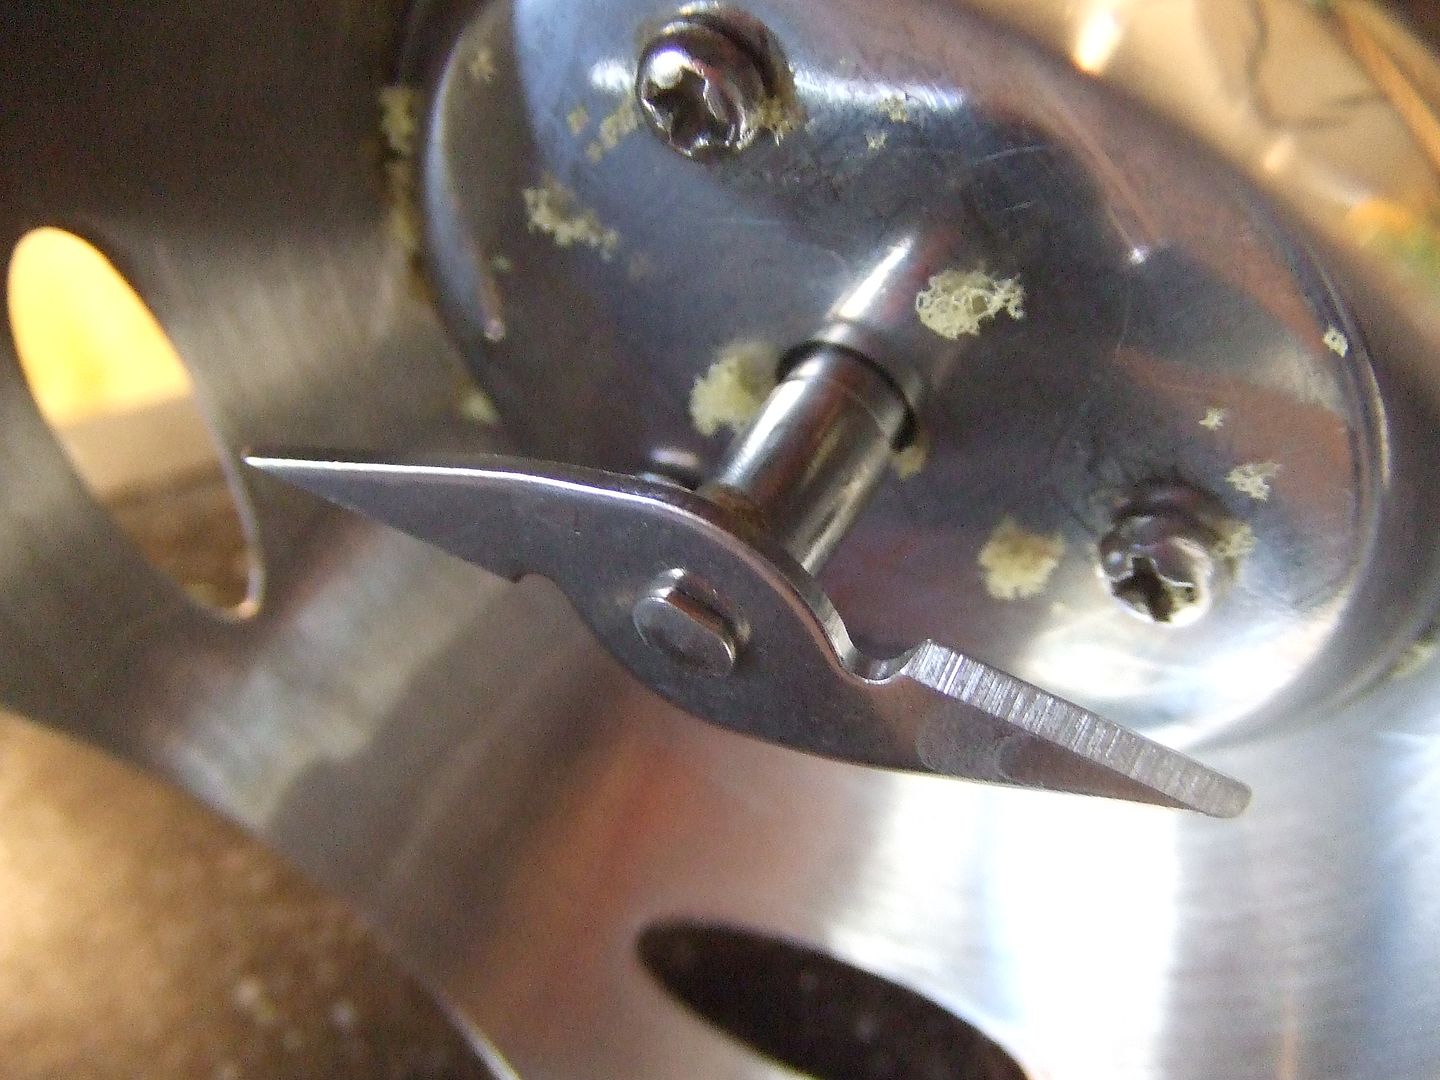
Beware of wet flakes flying around by high speed rotation.
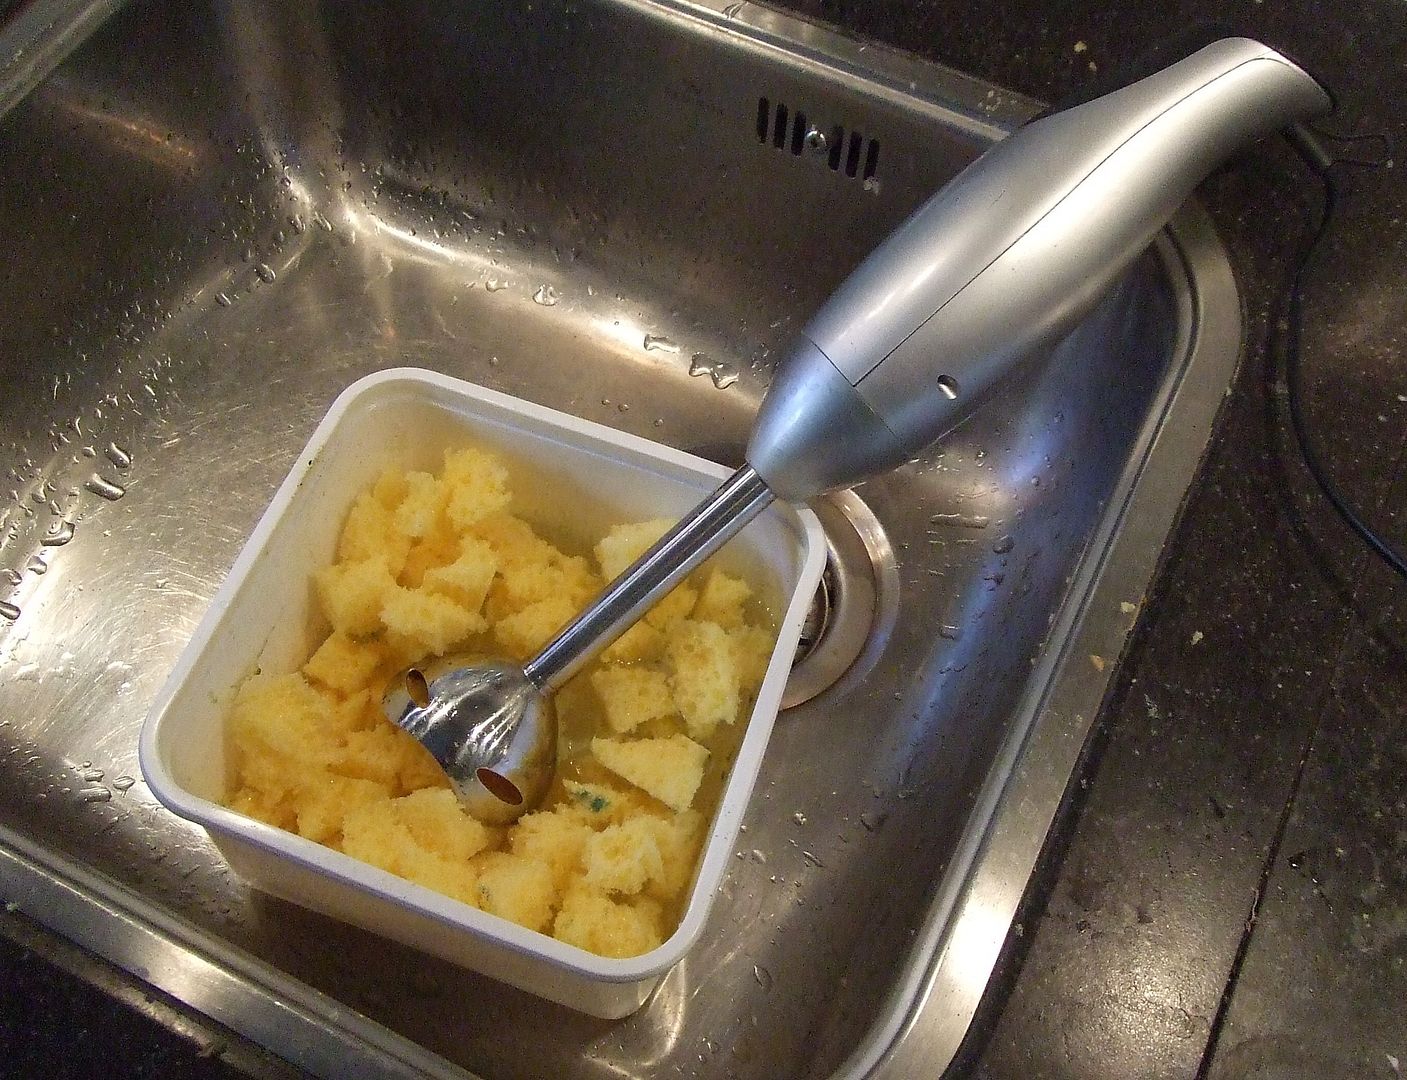
Blend plastic foam untill preferred size of flakes.
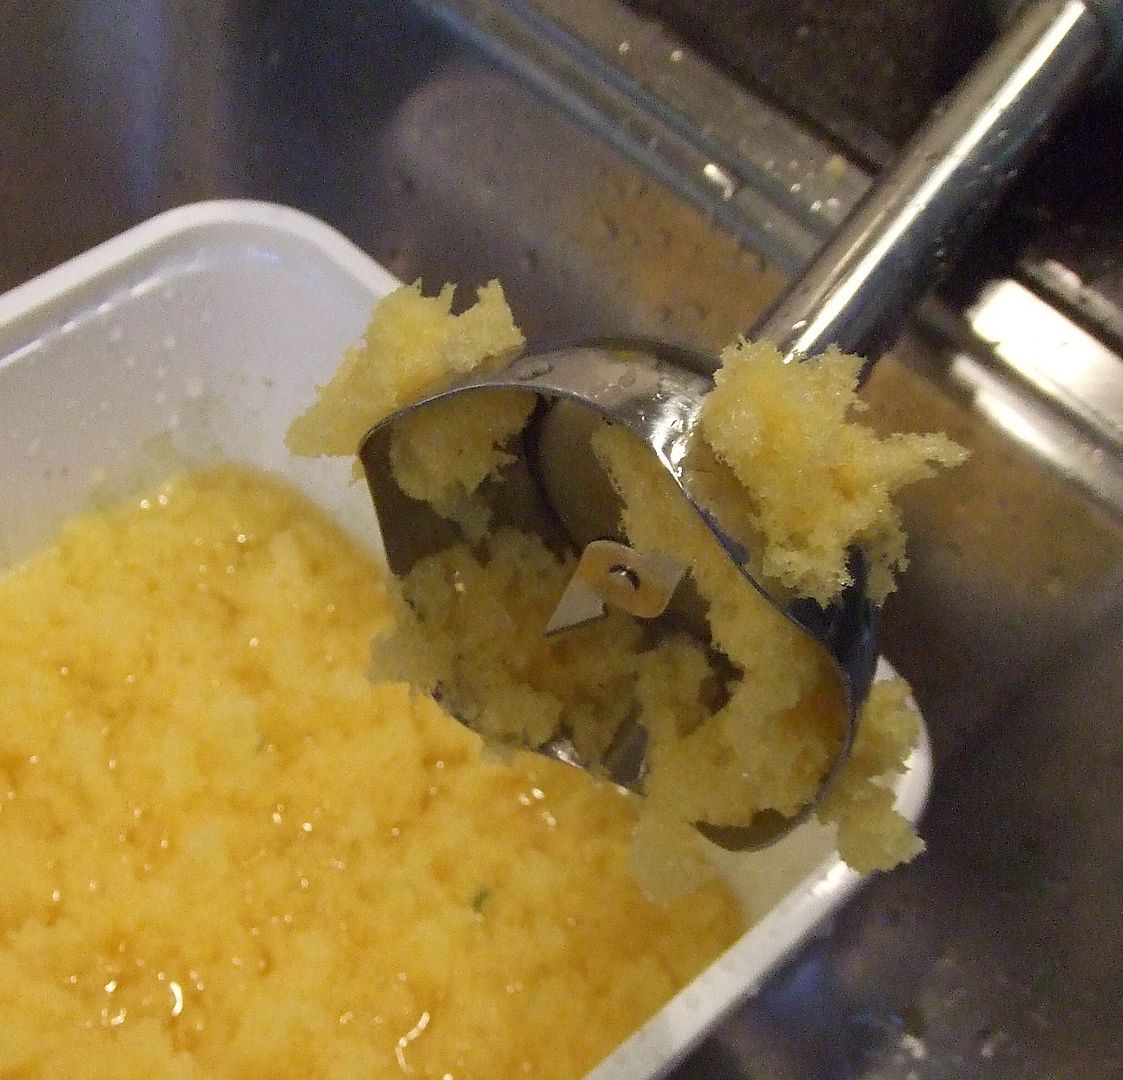
Weeping willows have tiny leaves…

…so go on blanding or grinding until no minimizing effect is visible anymore.
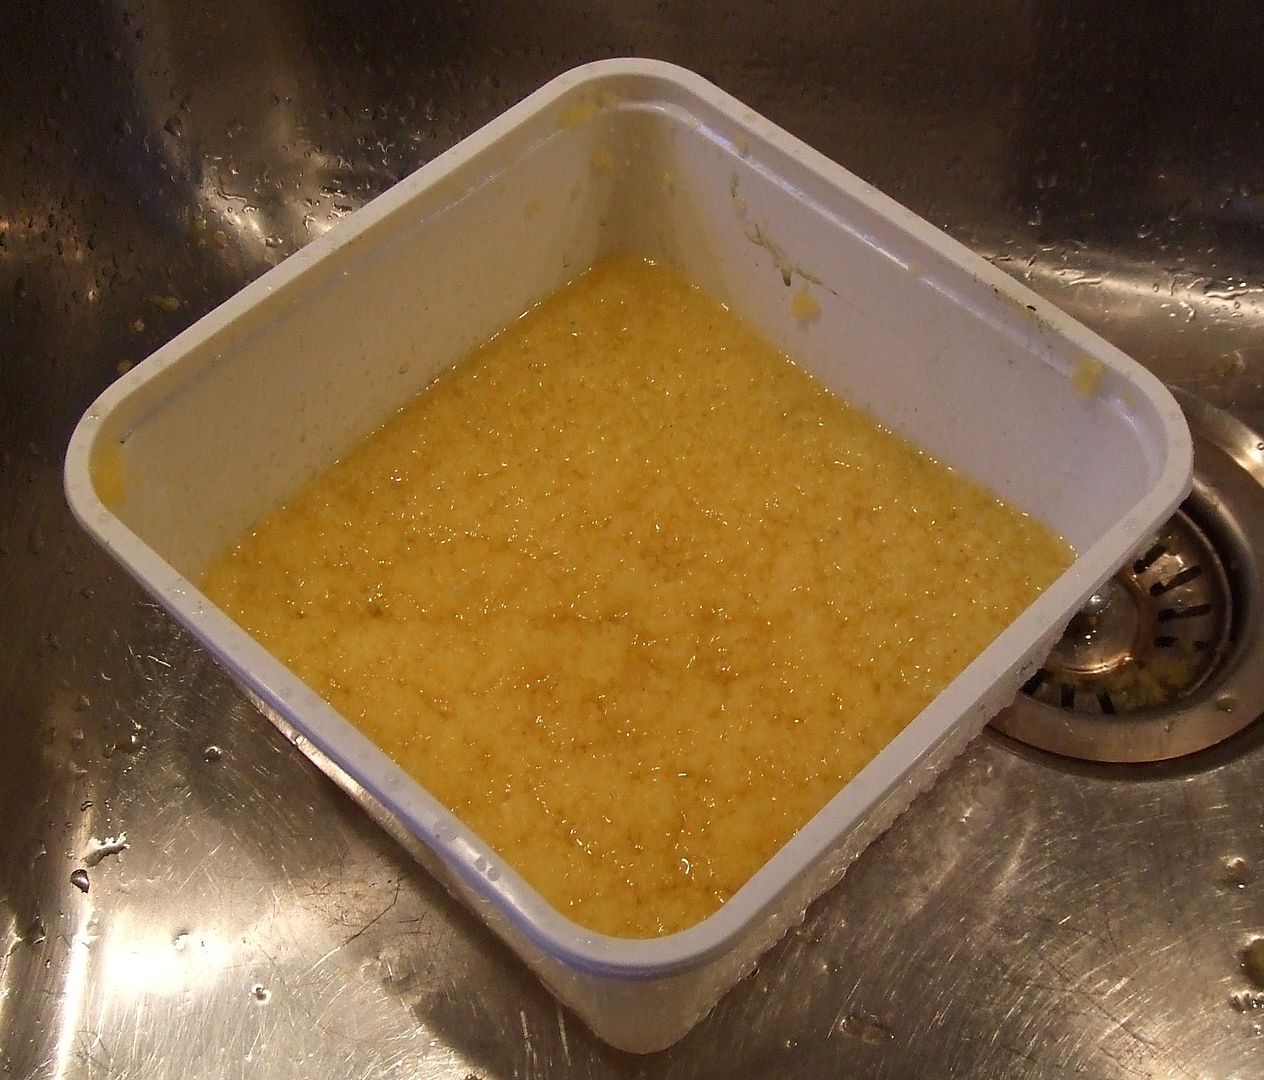
A finer size of the flakes can be achieved by:
- looser structure of the used foam.
- time of blending.
- sharpness of blades.
- rotation speed.
- adding water.
COLOURING THE FOLIAGE
These are all weeping willows…


…but all of them have very different colours.
This has to do with different species.
It has to do with season: early spring gives bright yellow-green leaves.
Summer gives silver-grey or deeper green colours.
But more often the difference in colour is the result of photographic deviation and digital mutation.
So never use one single picture as the leading example for your foliage colour.
If possible have a look at real nature once more.
Or compare a wide range of pictures before choosing the colour.
Acrylic paint is perfect for colouring plastic foam.
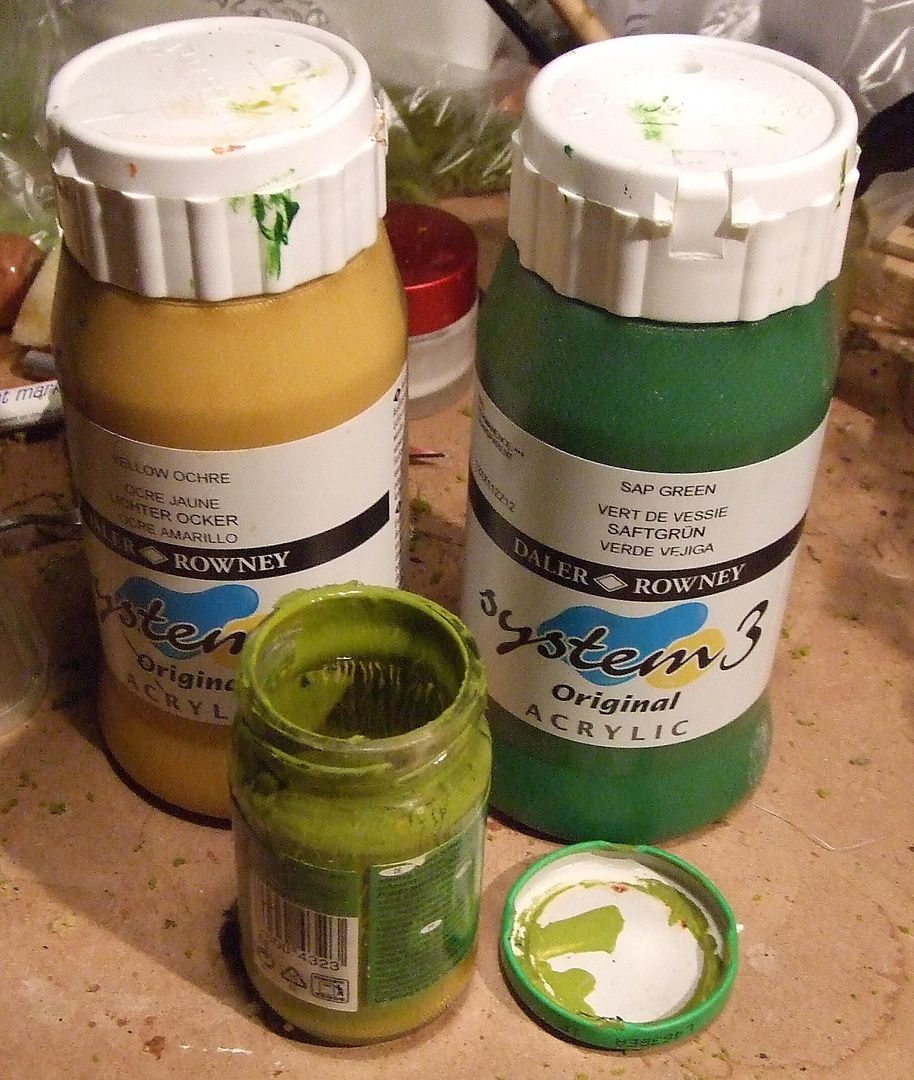
Mix with little water and pour into blended wet flake mass.
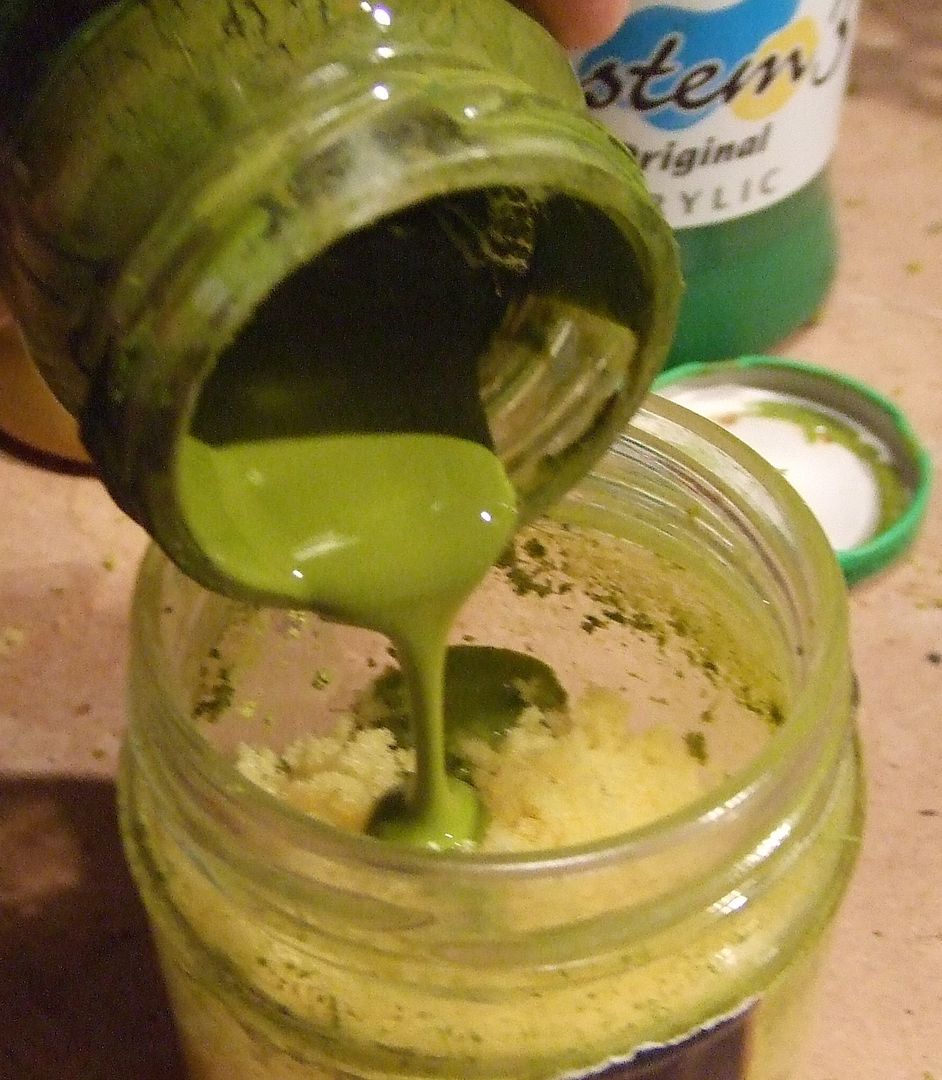
Use as little paint as possible to obtain the right colour.
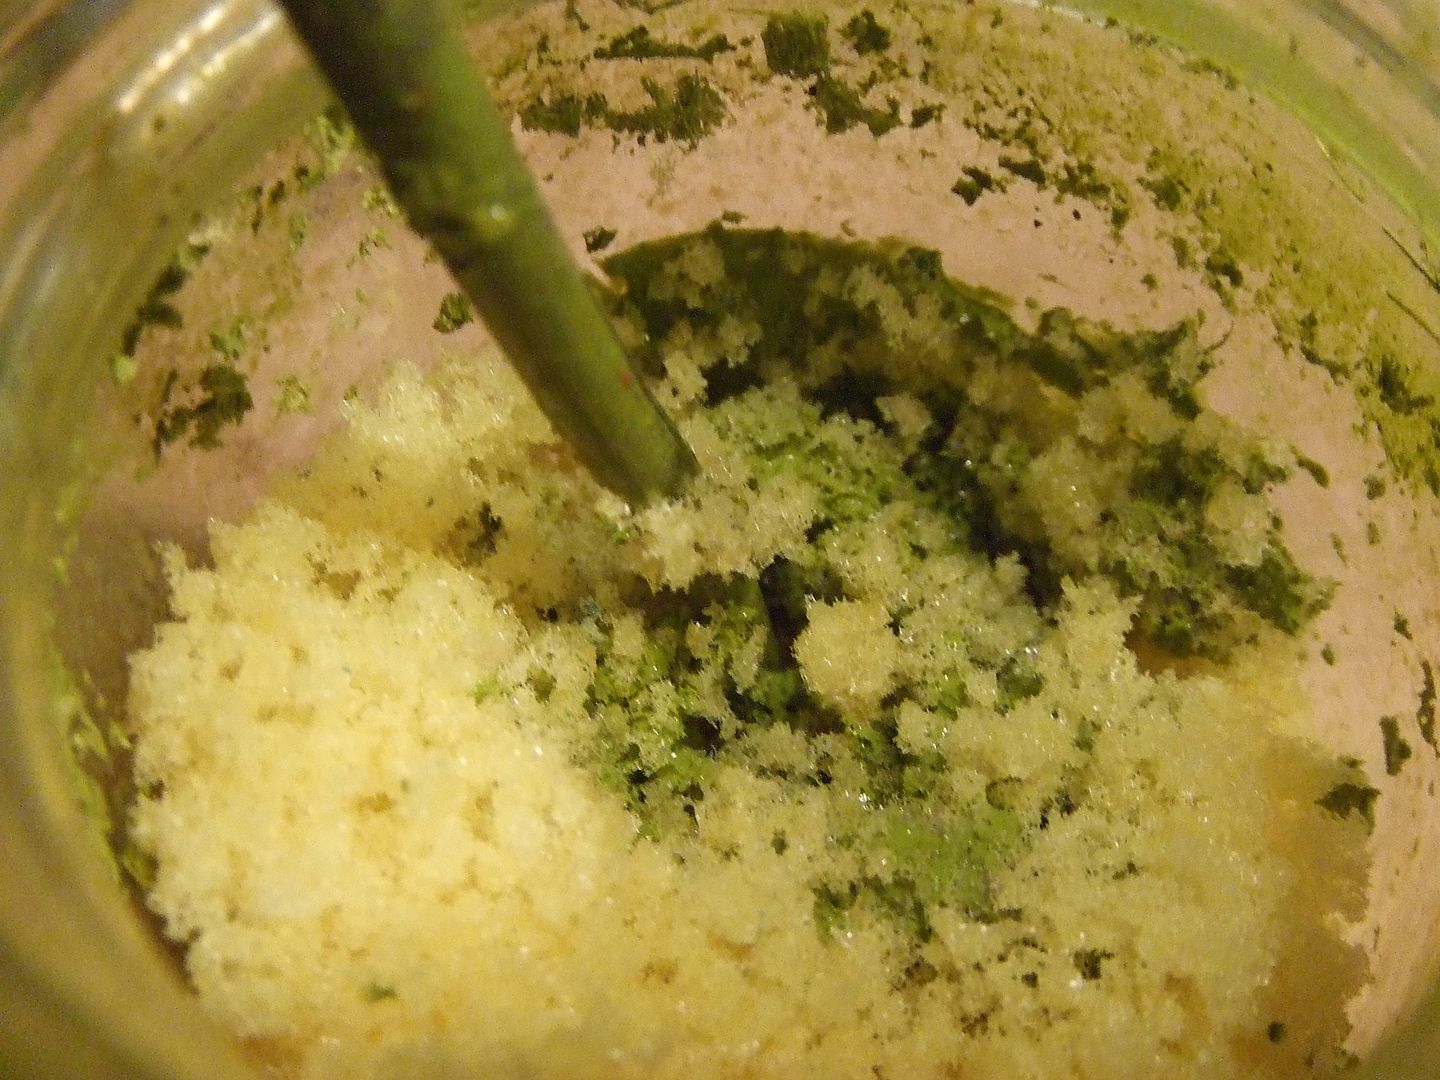
When using more paint the foliage becomes more heavy after drying and will fall off the tree.
When adding too much paint the flakes will stick nasty together and become one large chunk while drying.
Stir with metal tool to distribute paint equally.
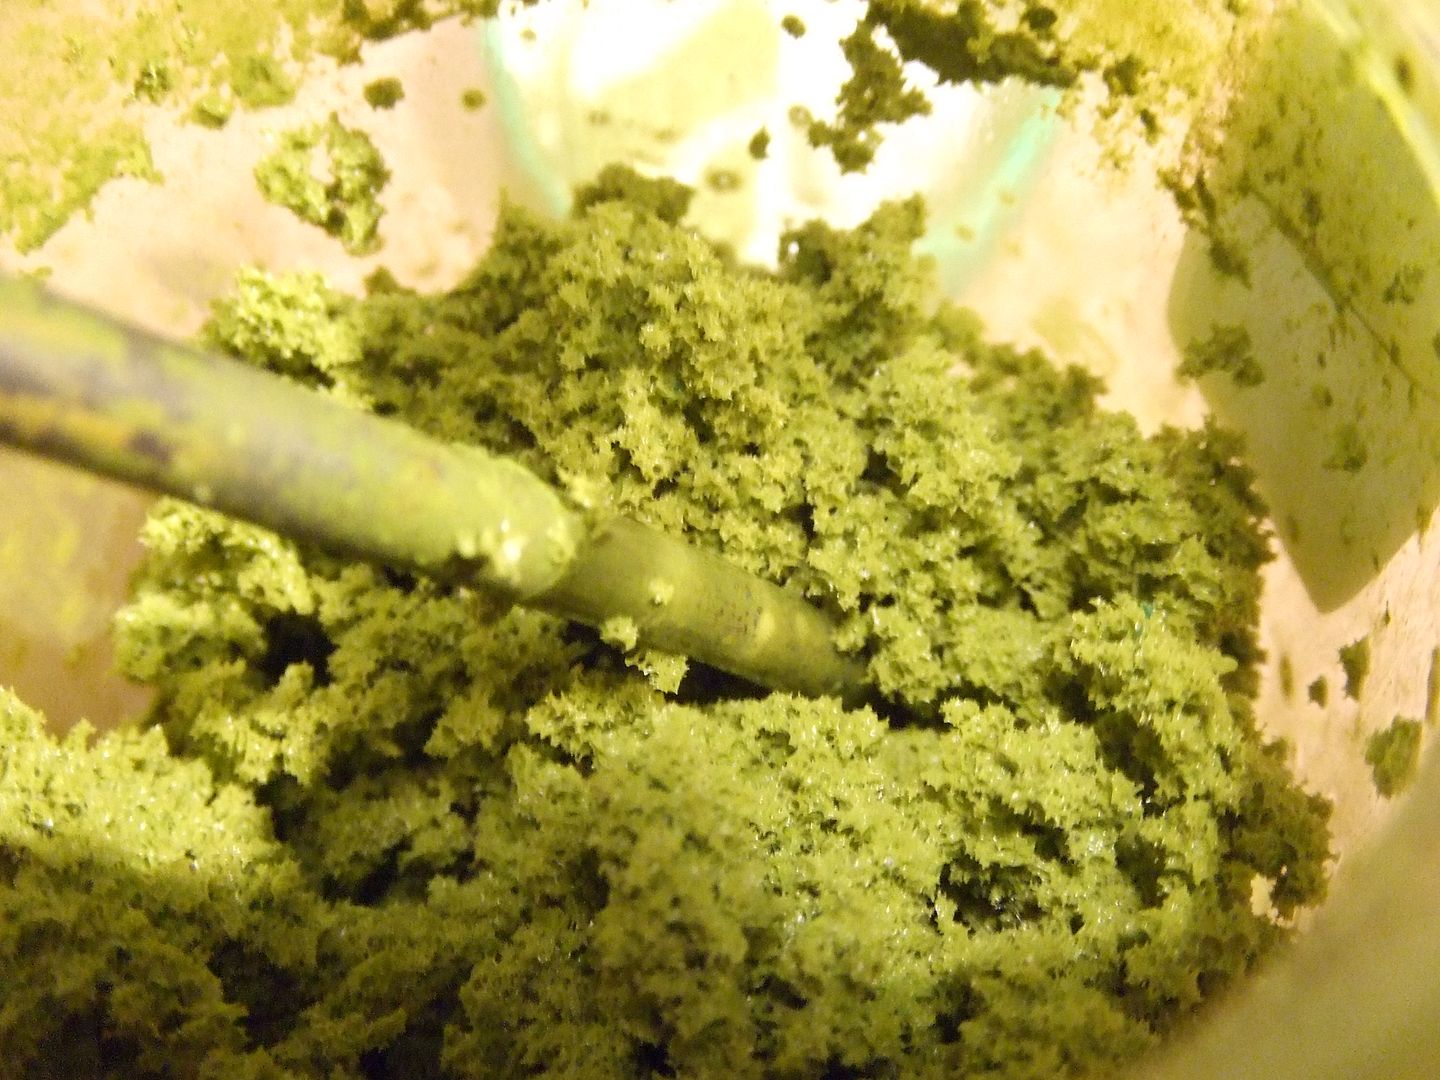
If the colour turns out to be wrong, do not add more paint to change the tint.
Better make another paint mix and add to a new quantity of foam flakes.
This prevents the foliage from absorbing too much paint.
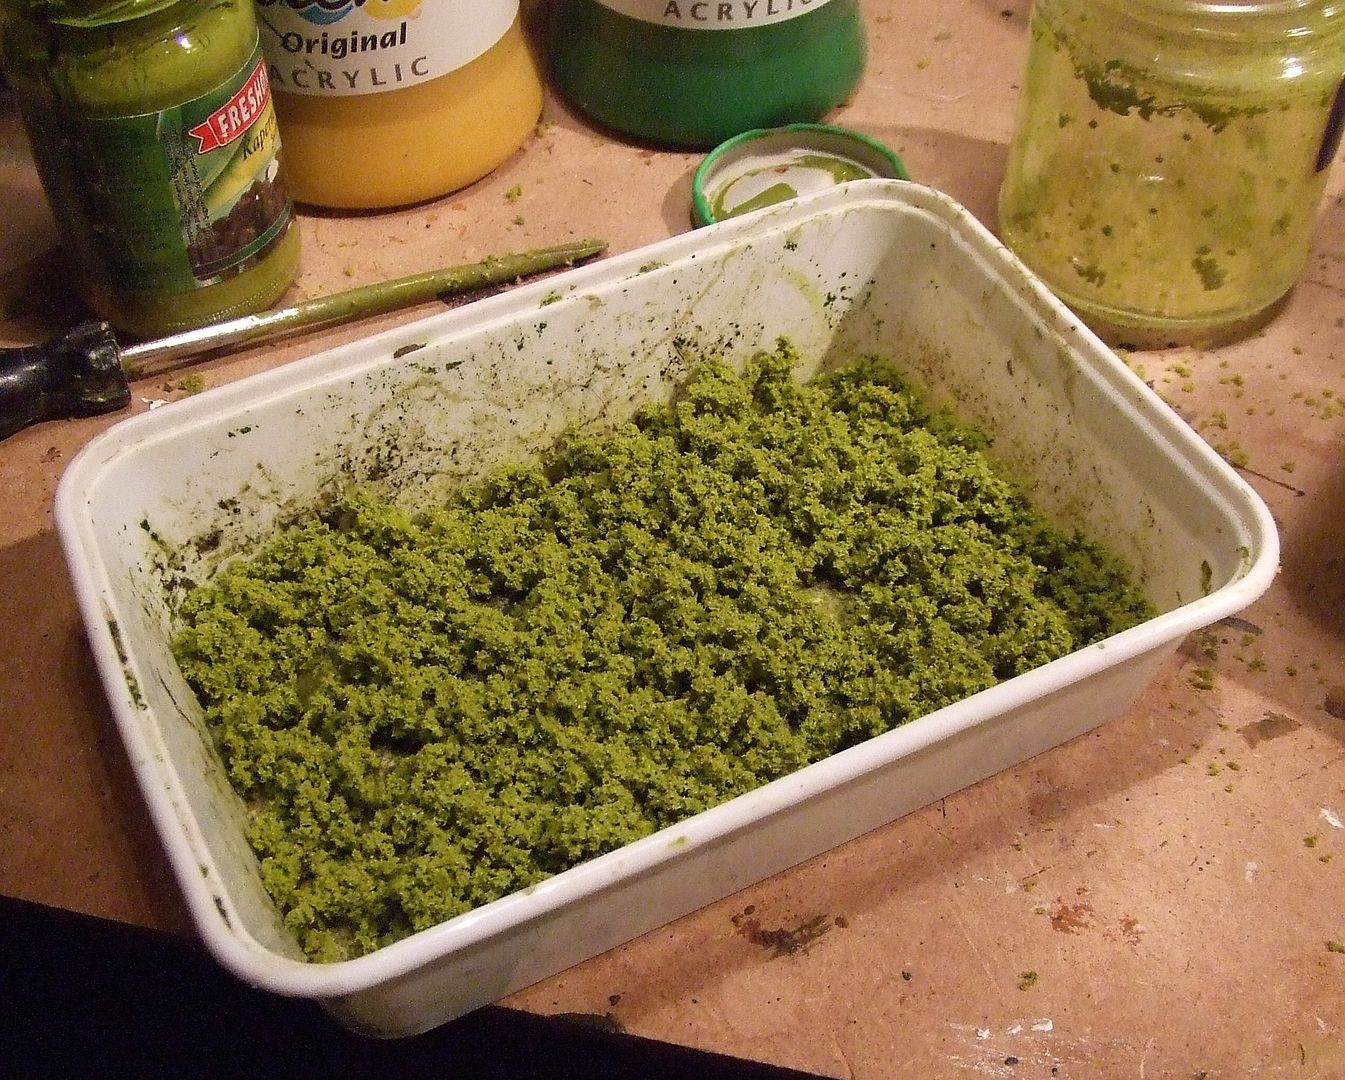
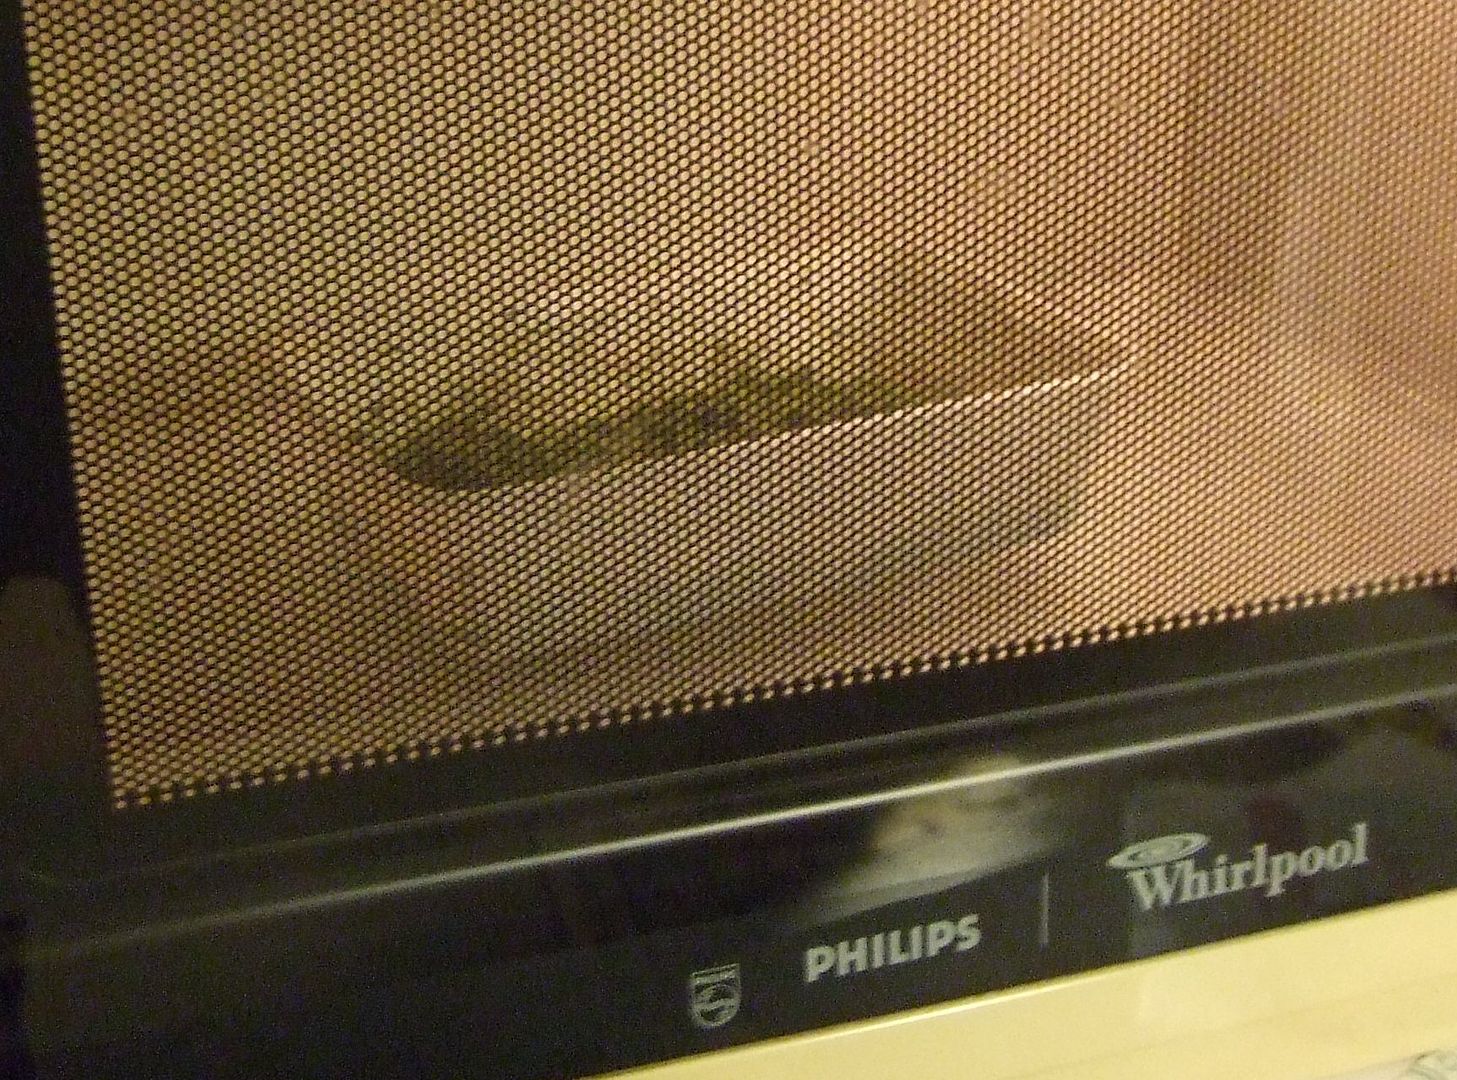
Dry in air or microwave.
After drying, the flakes stick together even with very little paint used.
Stir to disengage.
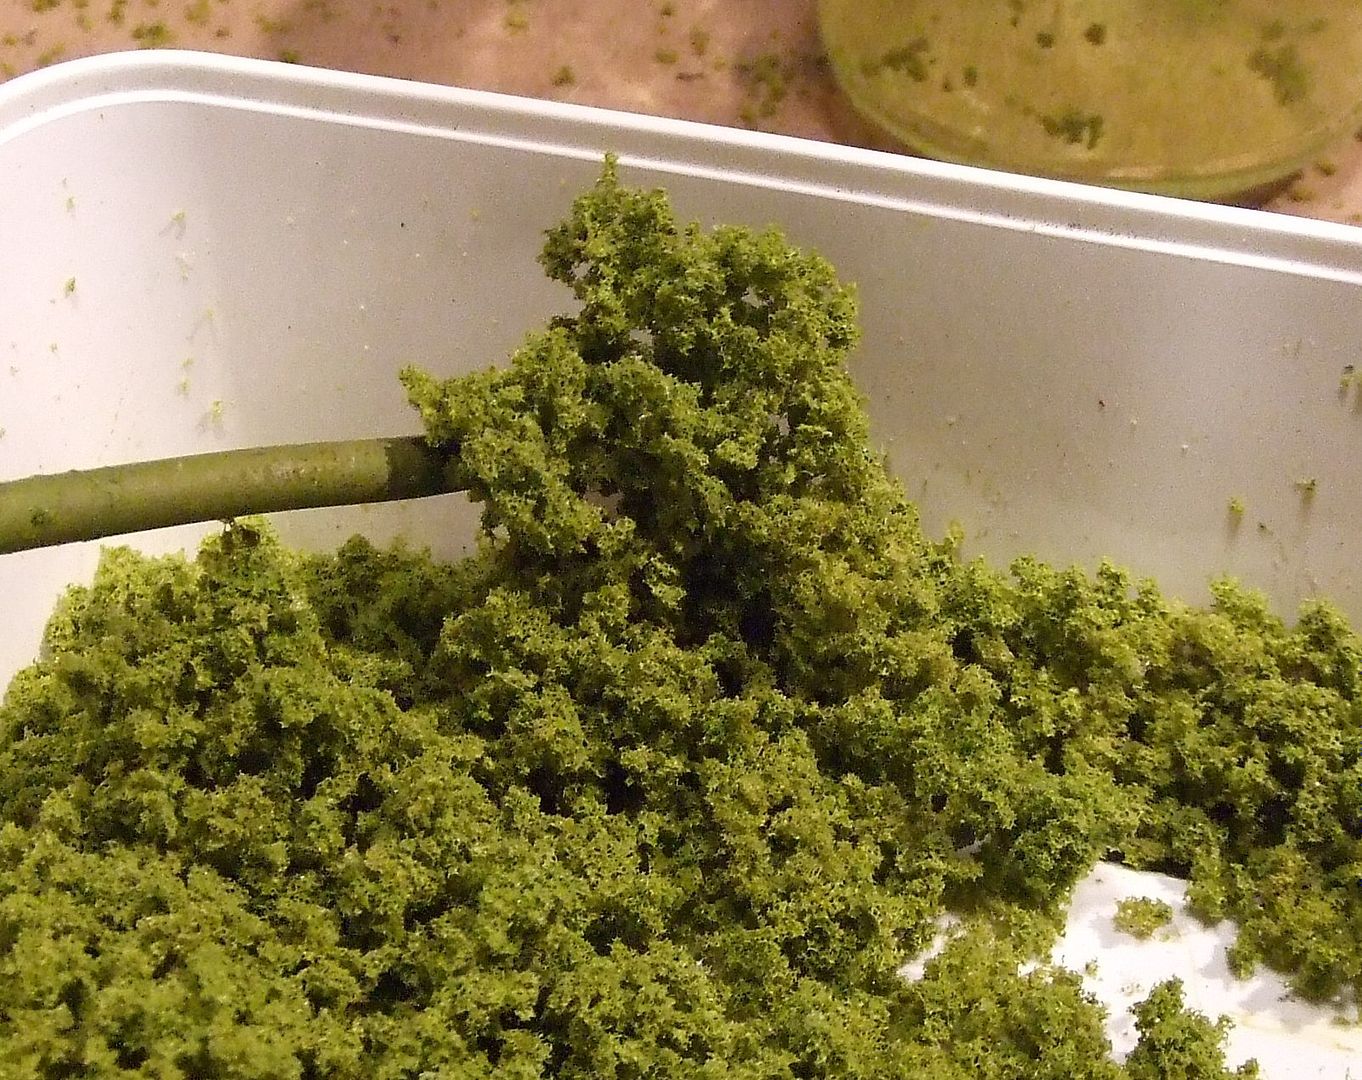
Drying may change the colour a little.
APPLY FOLIAGE
Early spring gives small and little transparent foliage.
It still enables us to see at least a silhouette of trunk and branches.

In summer foliage becomes massively dense.
After choosing summer it gets clear all sculpting and painting work on trunk and branches was useless…

…since we can’t see trunk and branches anymore.
Testing-strings are helpfull to choose colour, size of foliage and use of glue.
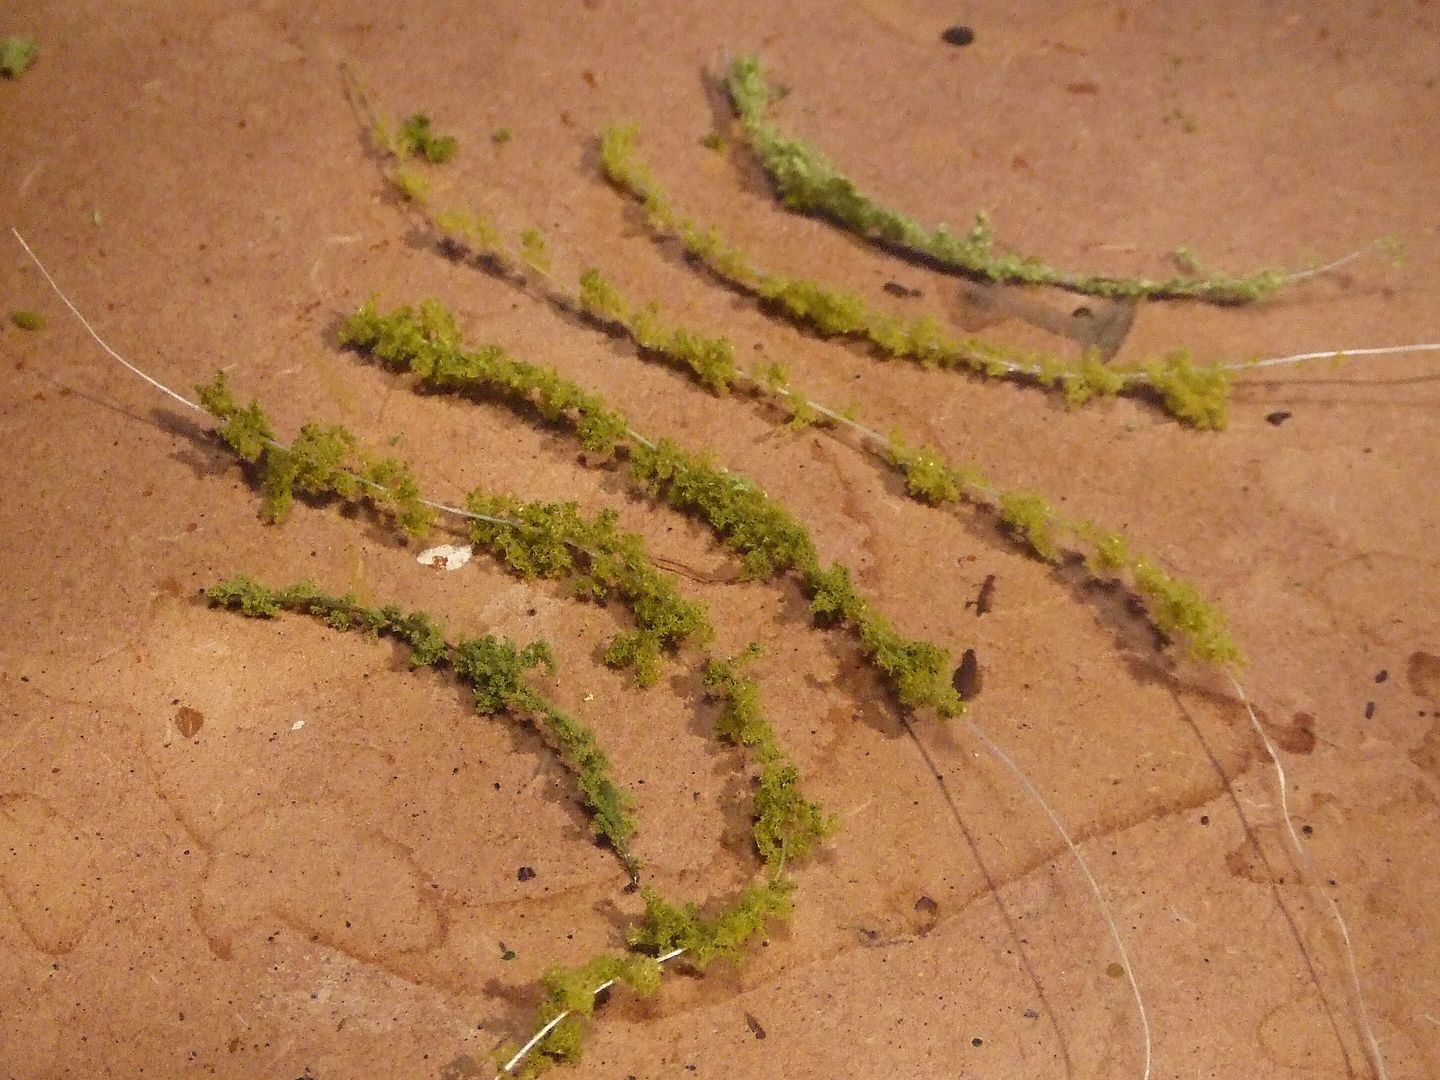
When satisfied with one of them, make enough foliage to cover the whole tree.
Solvent based adhesives like ‘all purpose glue’ gives longer durability compared to white glue.
But it also stays more glossy after drying compared to white glue: which is used here.
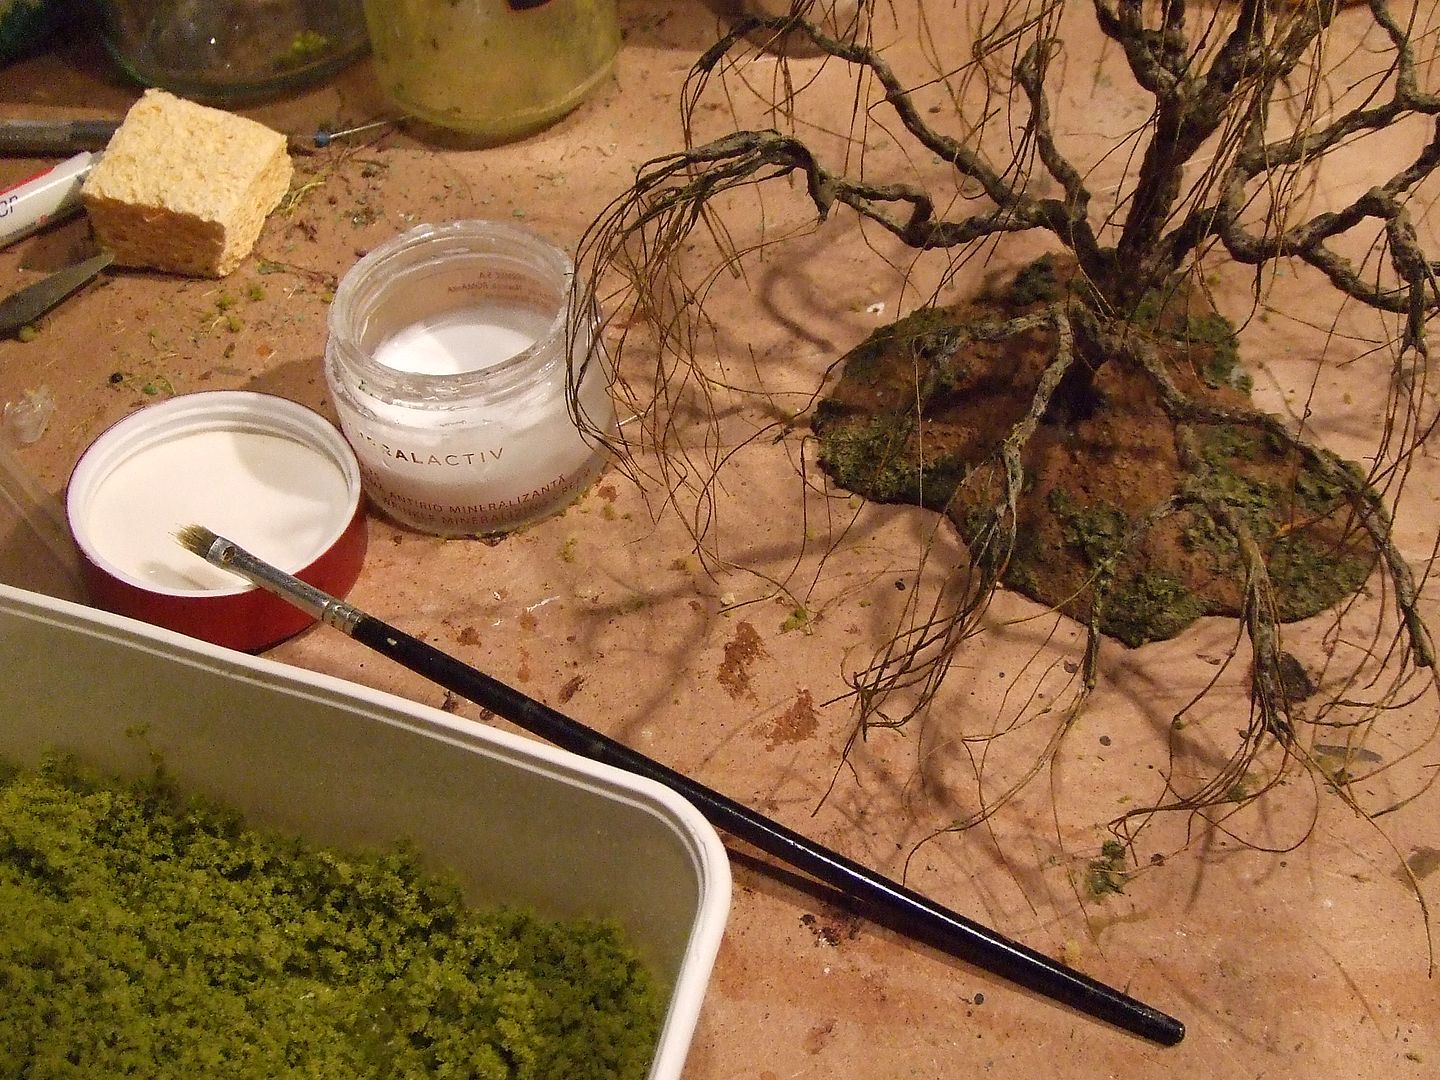
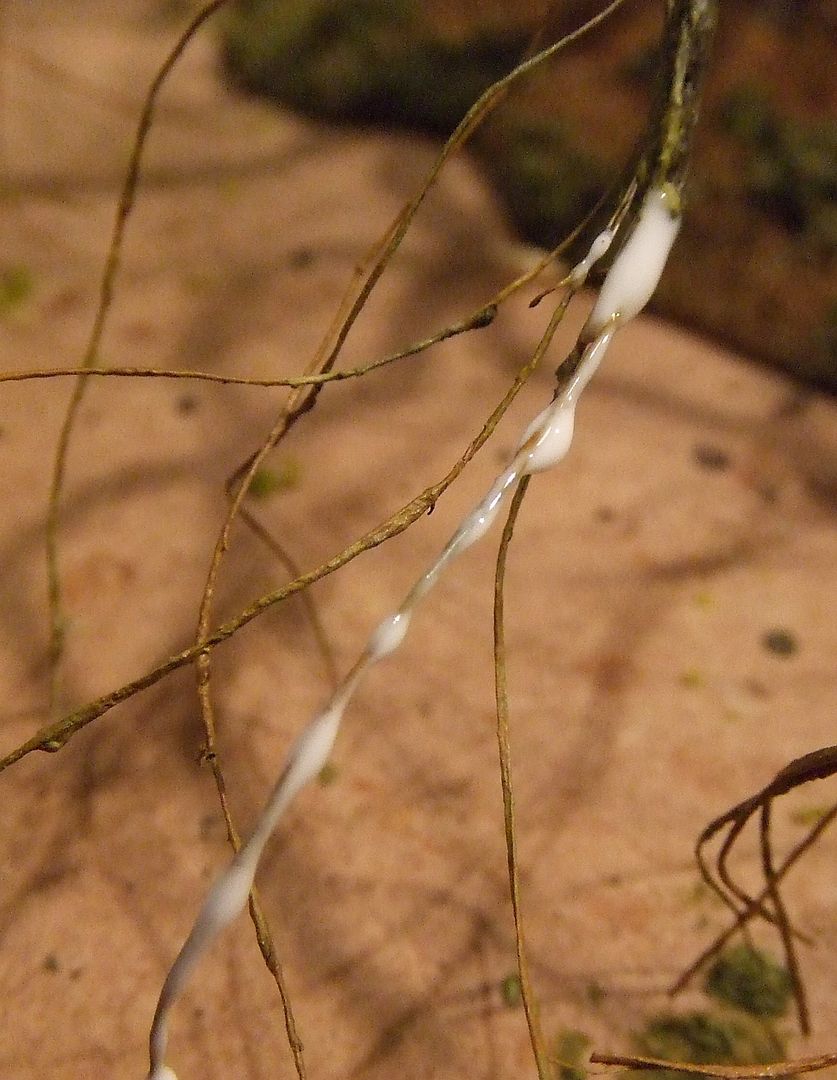
Apply glue to only one wire at the time by brush.
Use free hand to hold loose wire end and stretch wire for proper applying of glue
Add foliage to only one wire at the time.
Use fingers to bring foliage to glued wire.
Or drag glued wire through loose foliage mass.
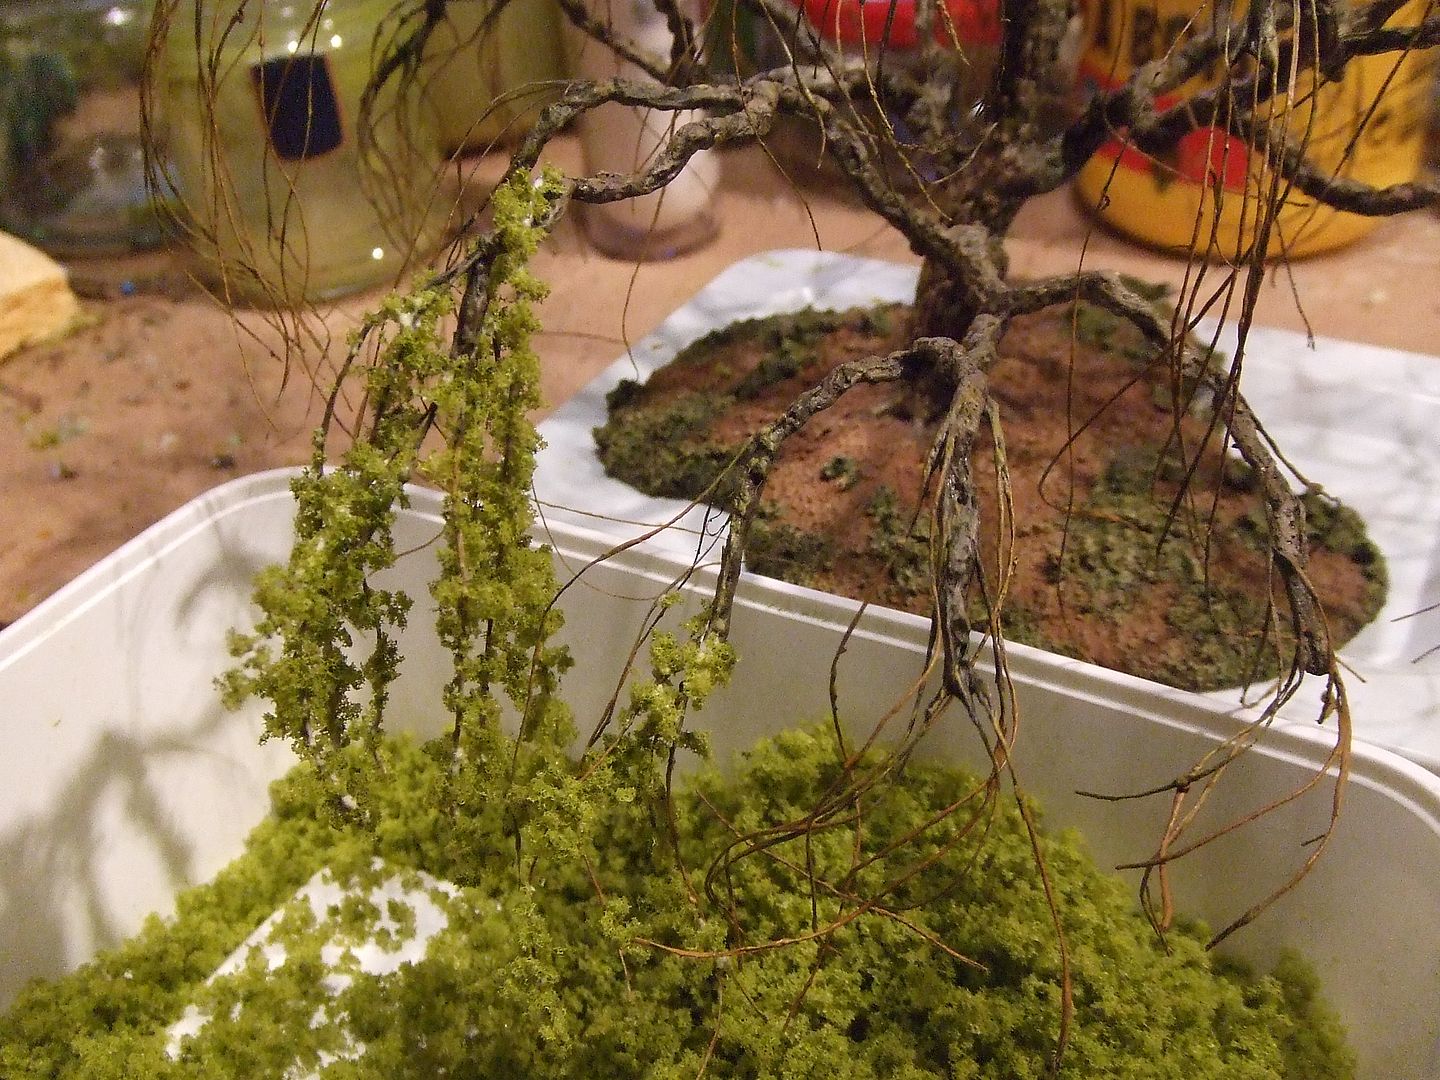
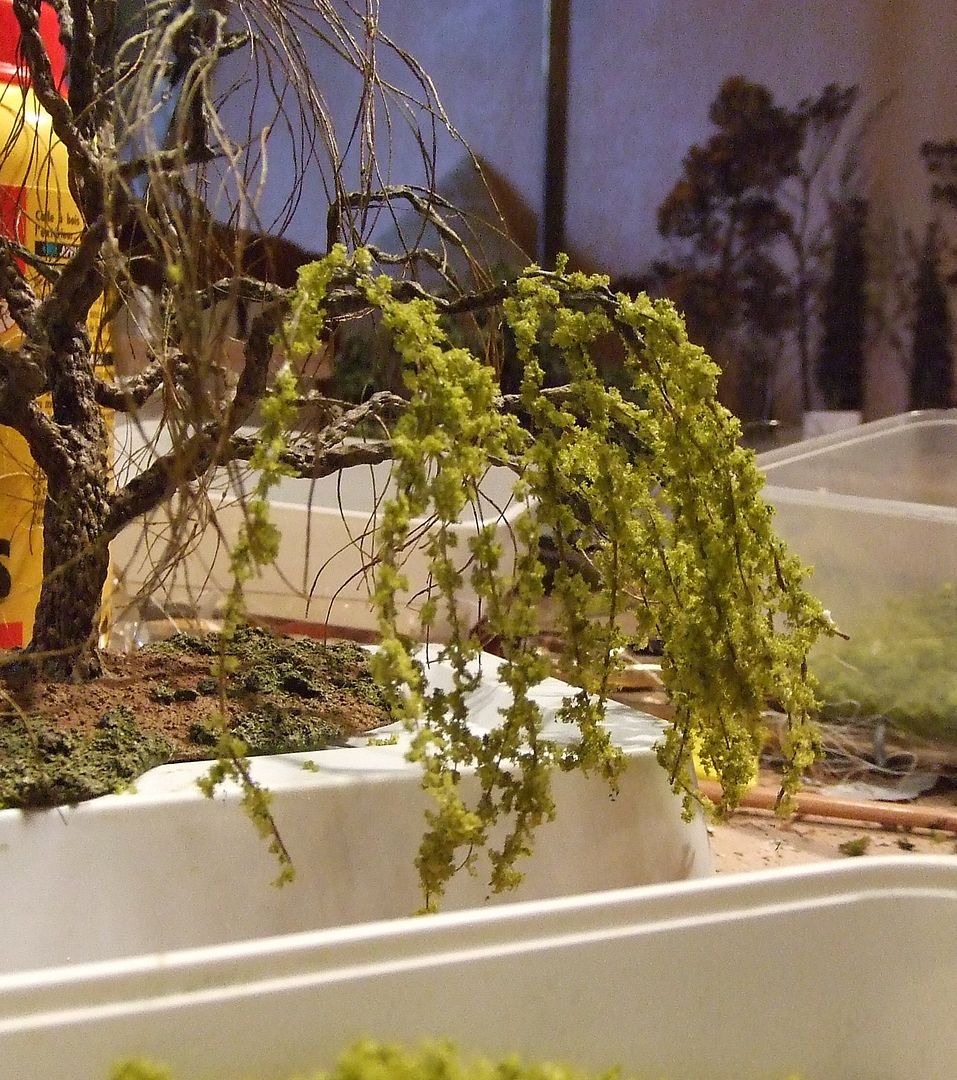
Do this with every single wire.
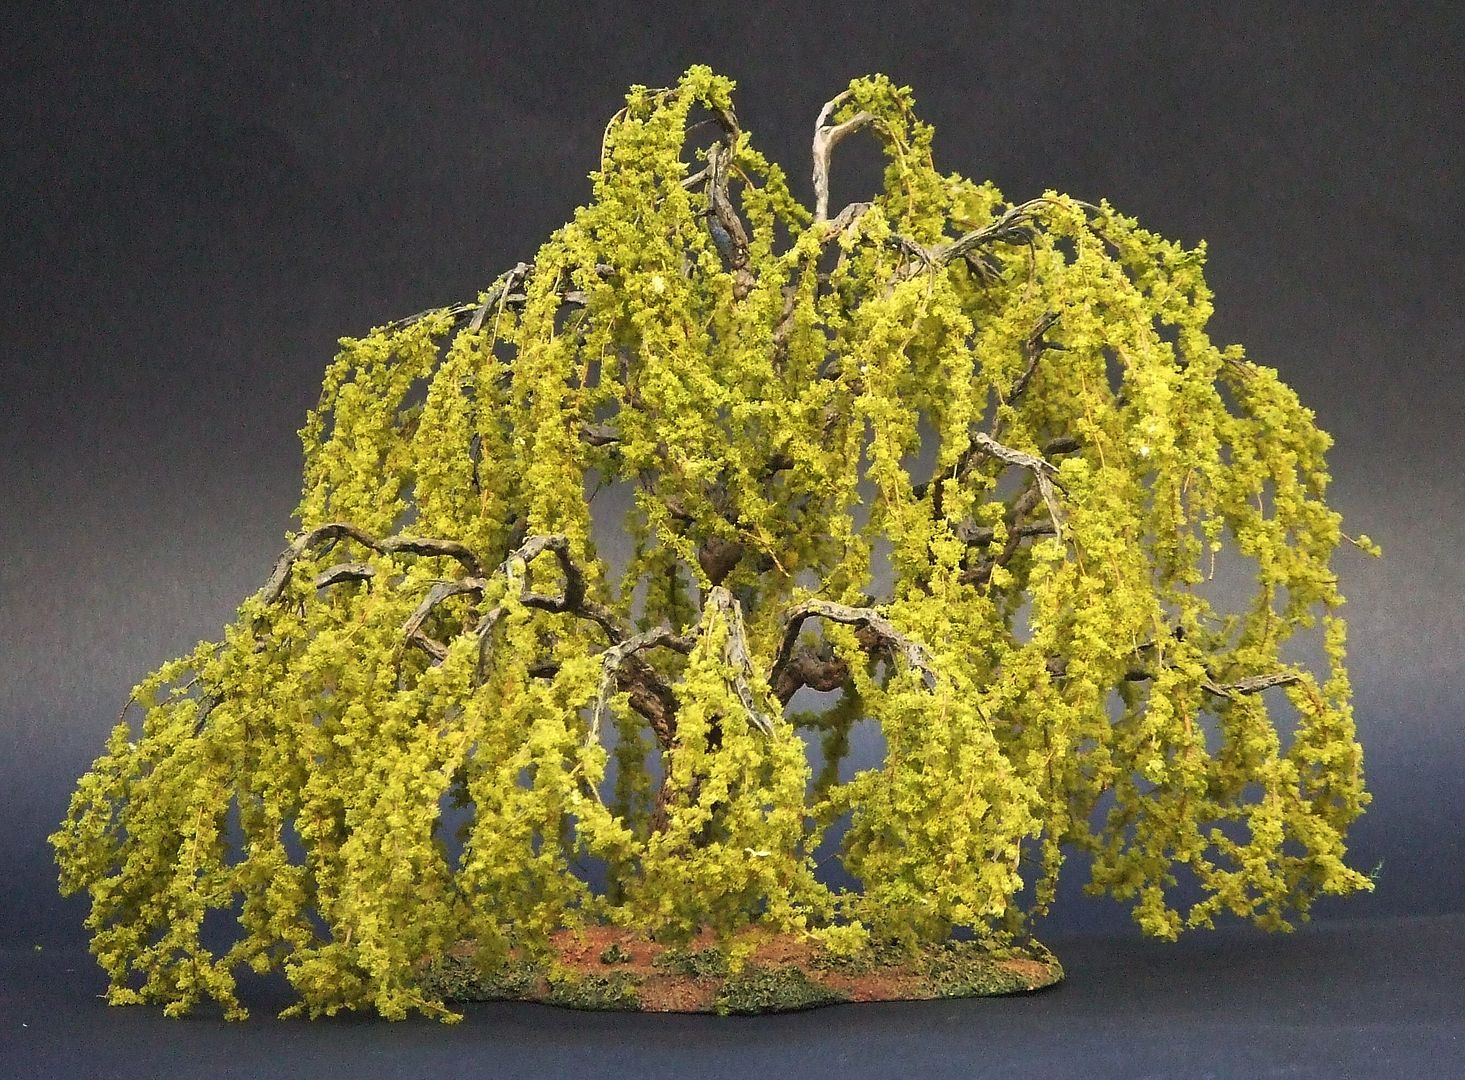
Since all of it is still flexible it the branches can be re-shaped.
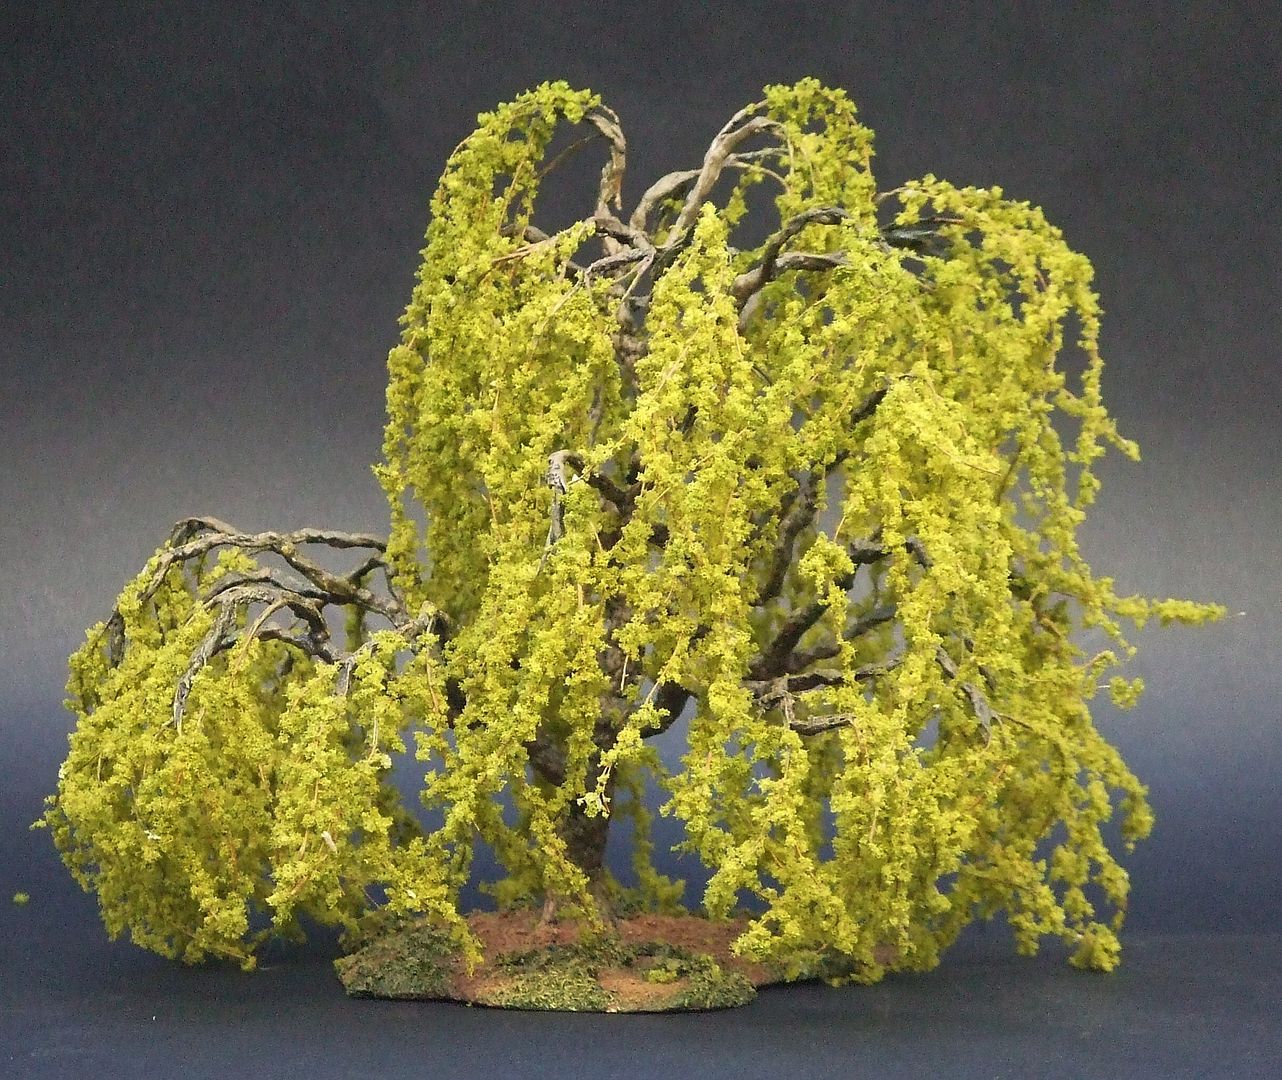
Showing free branches is a realistic option.
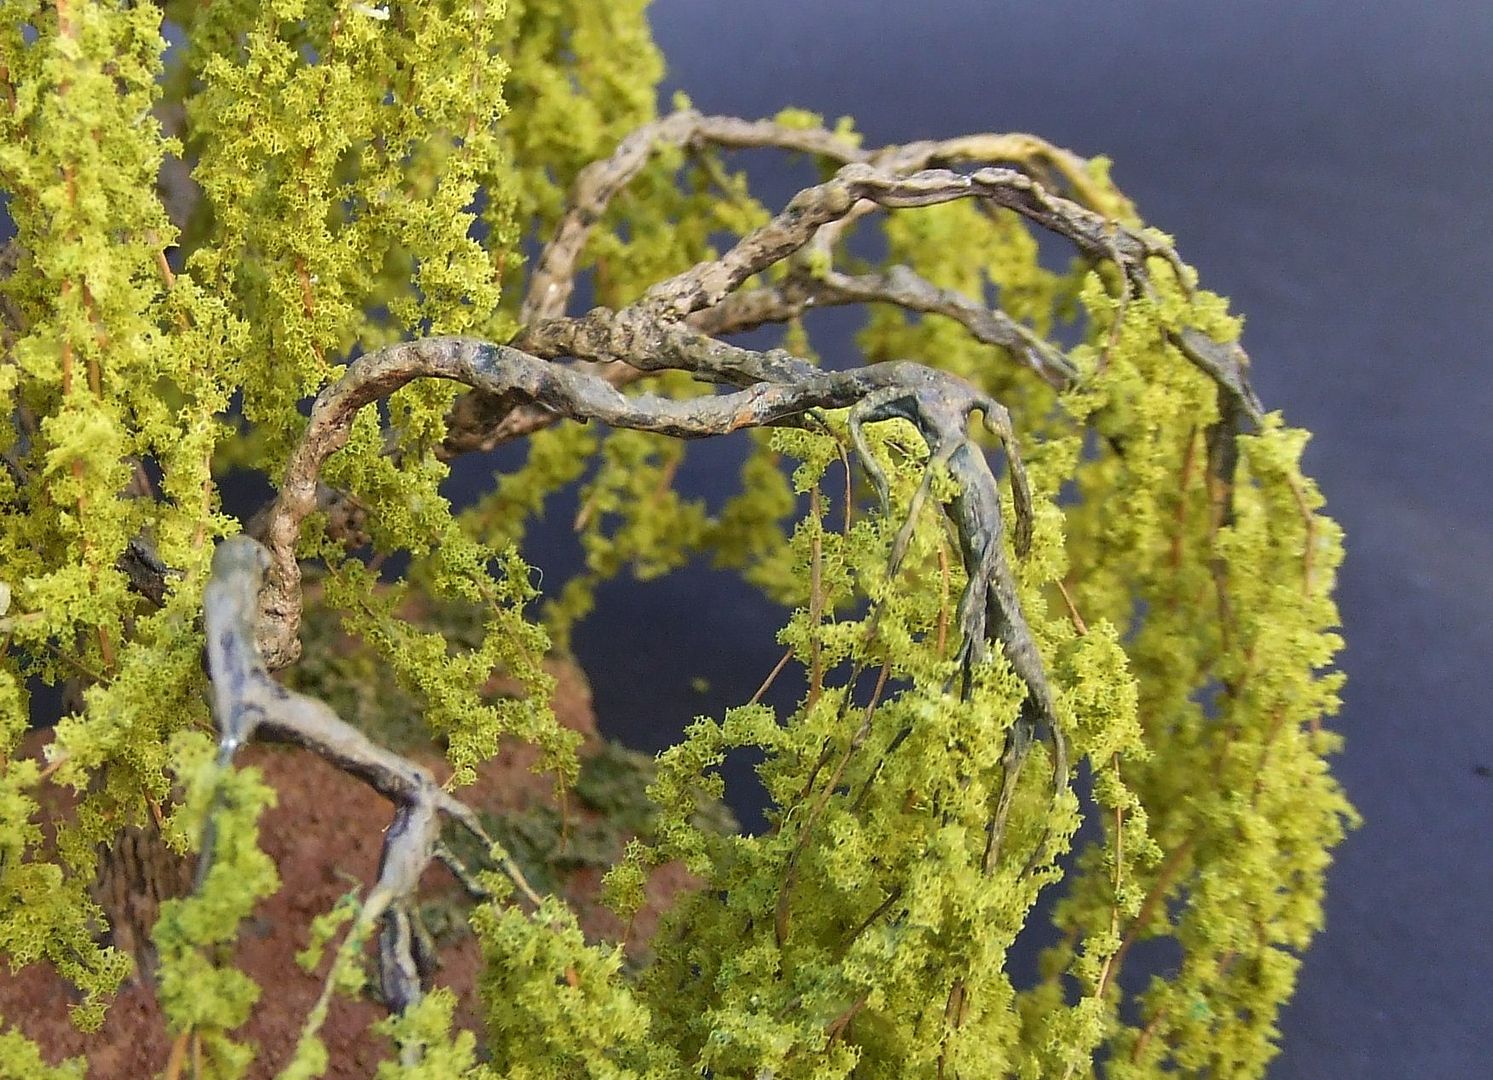
Fixing spots of wires to branch heads may need a little more detail, representing bark texture or algae.
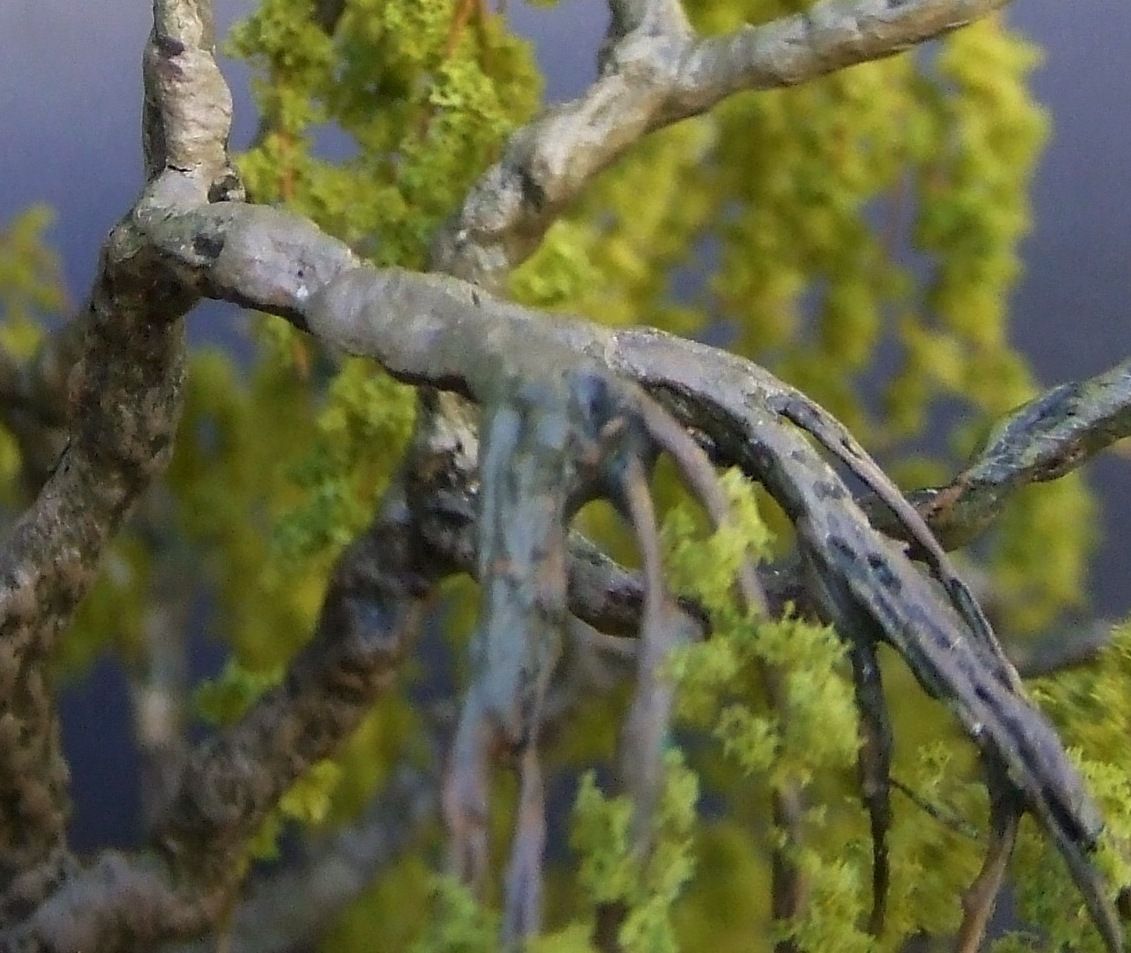
This can be achieved by tapping with hard drybrush.
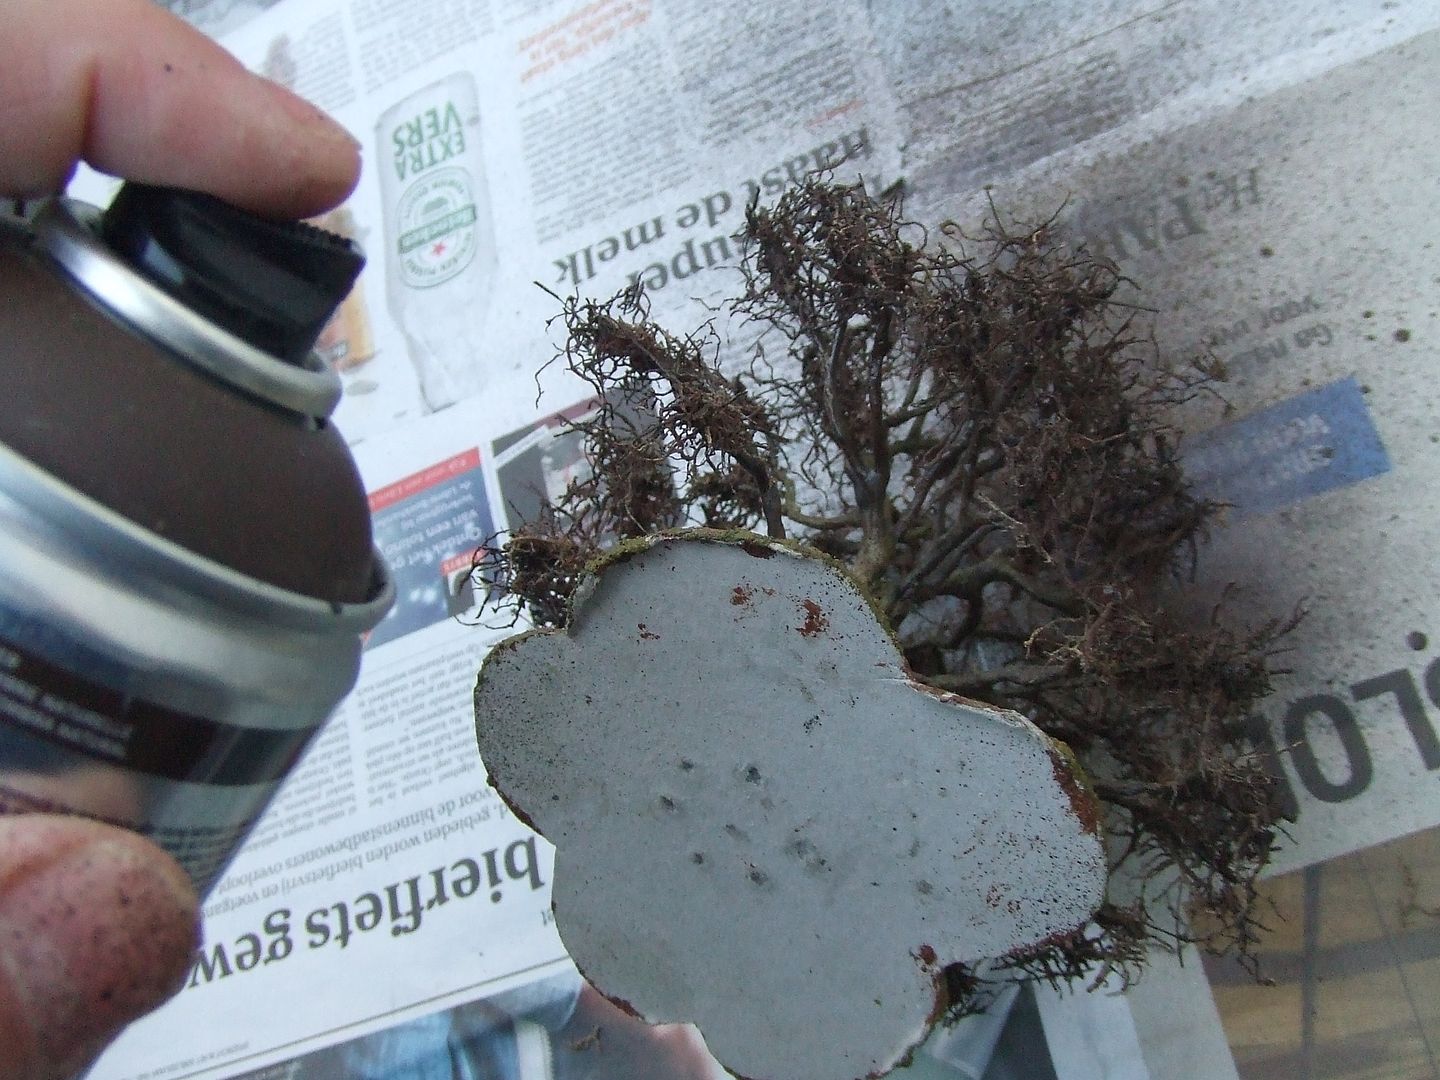
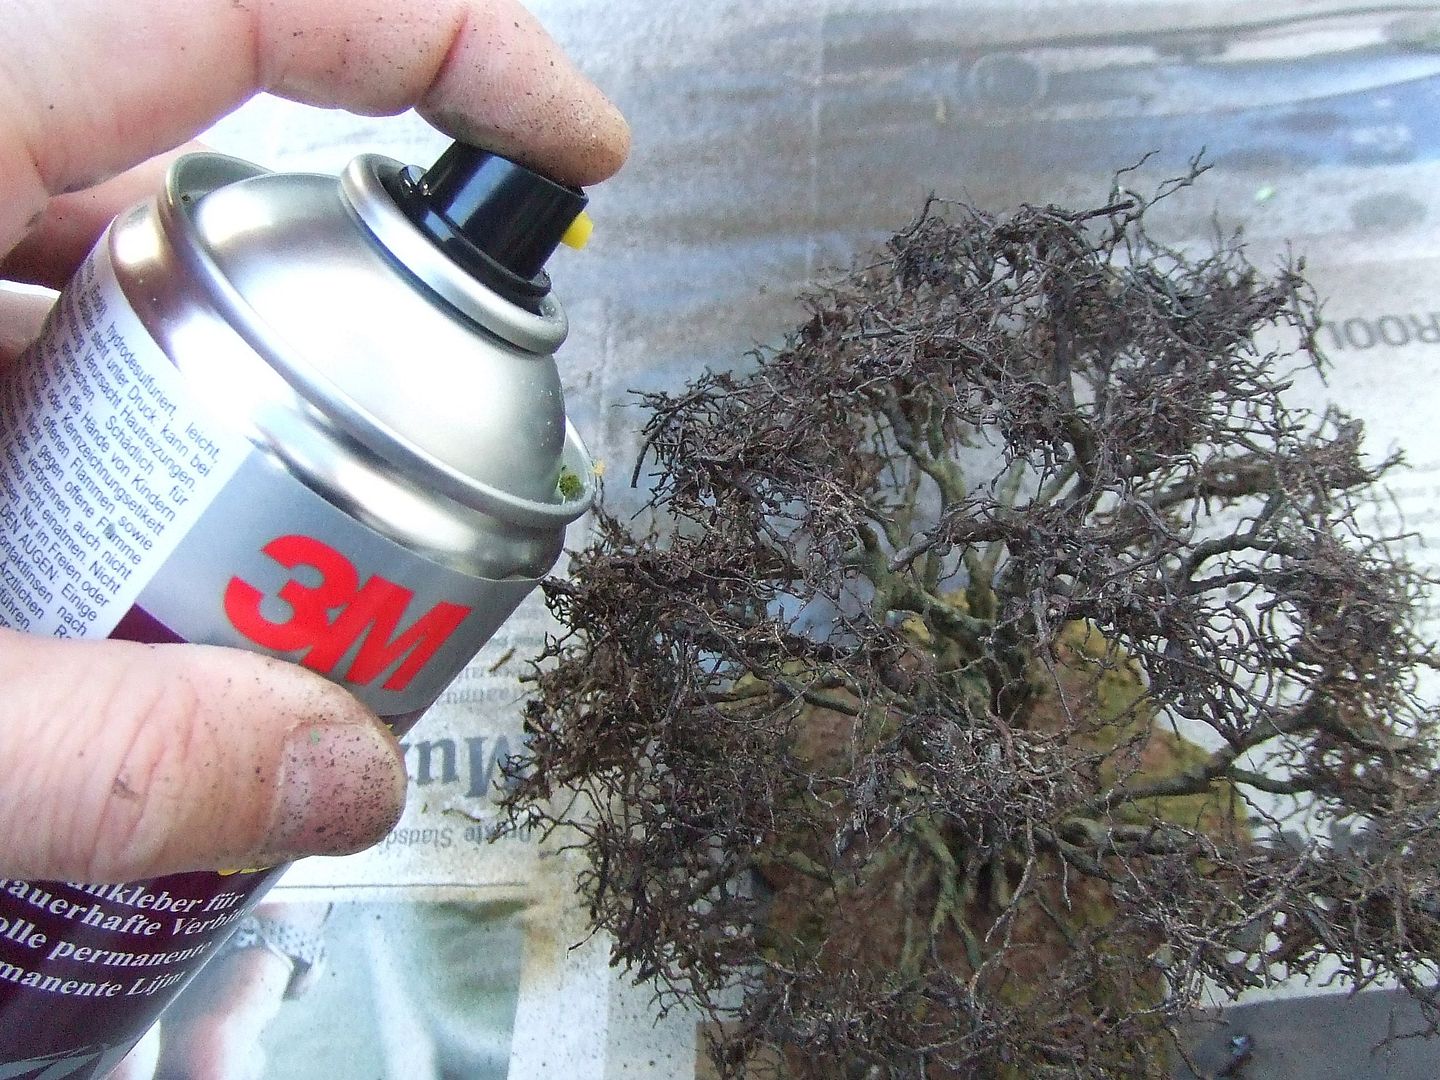
Spraycan painting works best and easy.
First a touch of beige.
Followed by a touch of yellowish olive green.
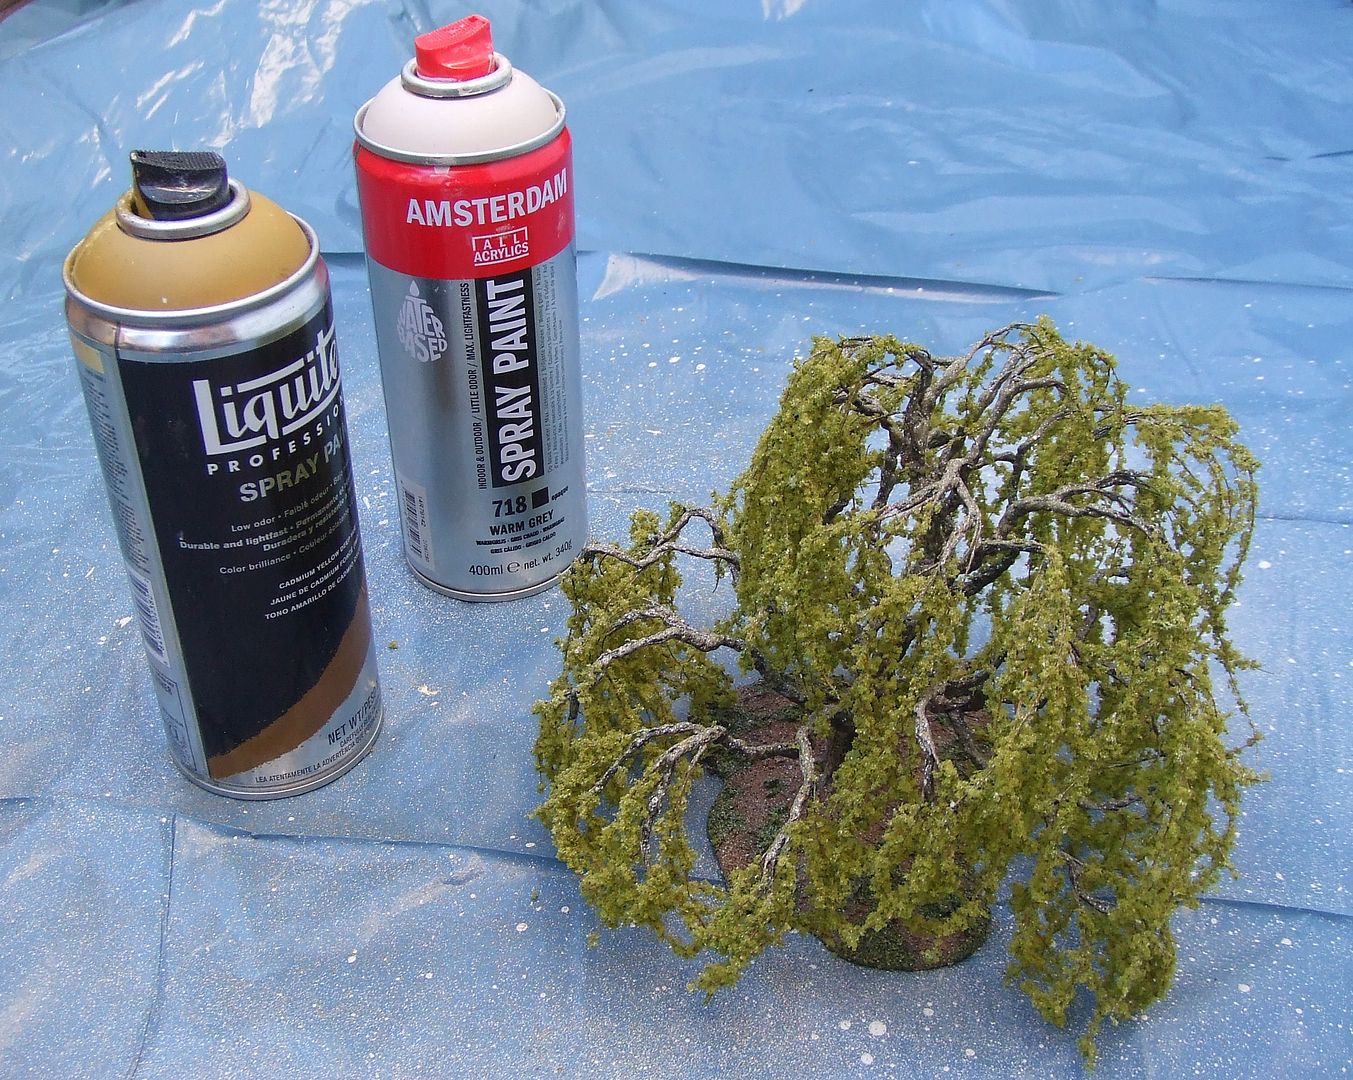
Its fine to spray it over all of the foliage too.
But cover the base with plastic wrap to save its colour.
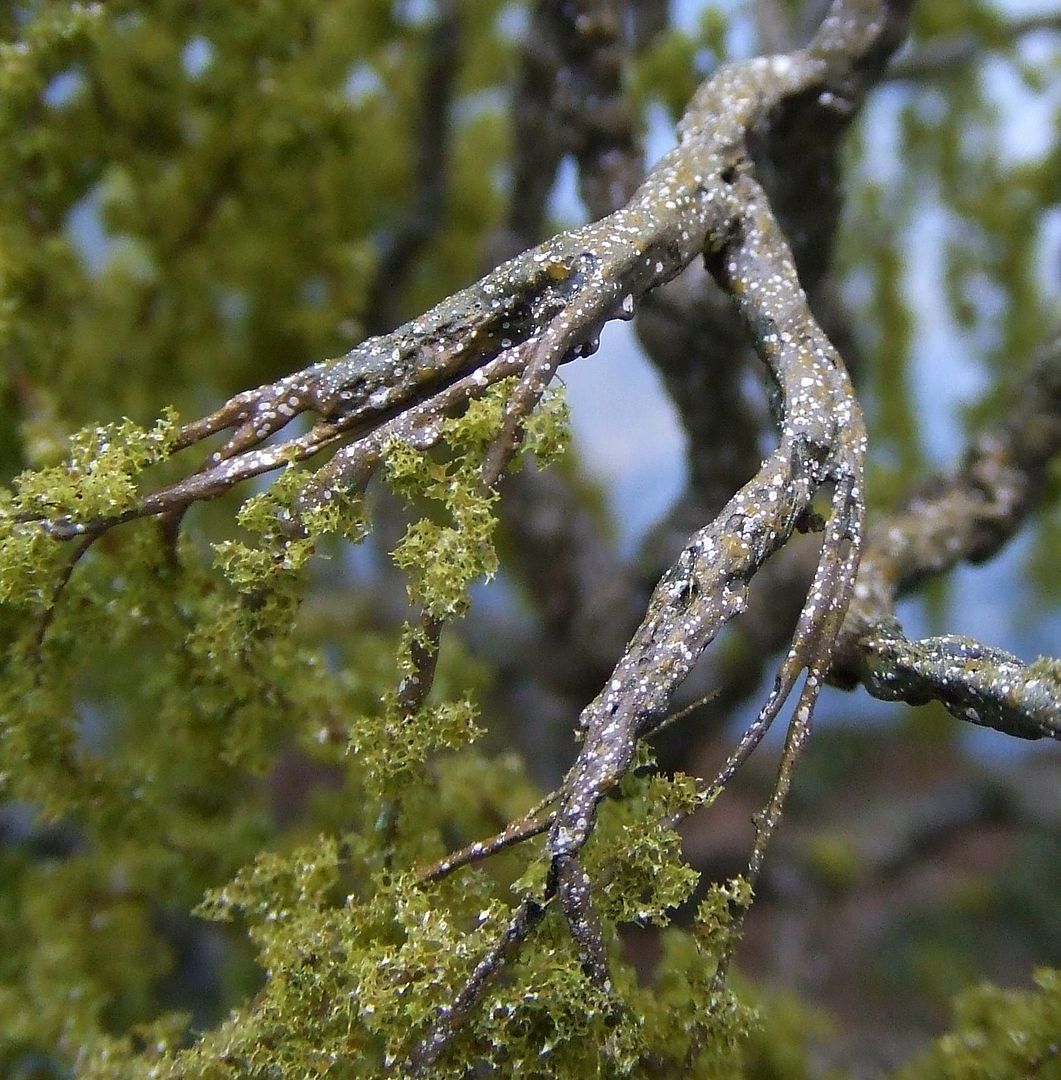
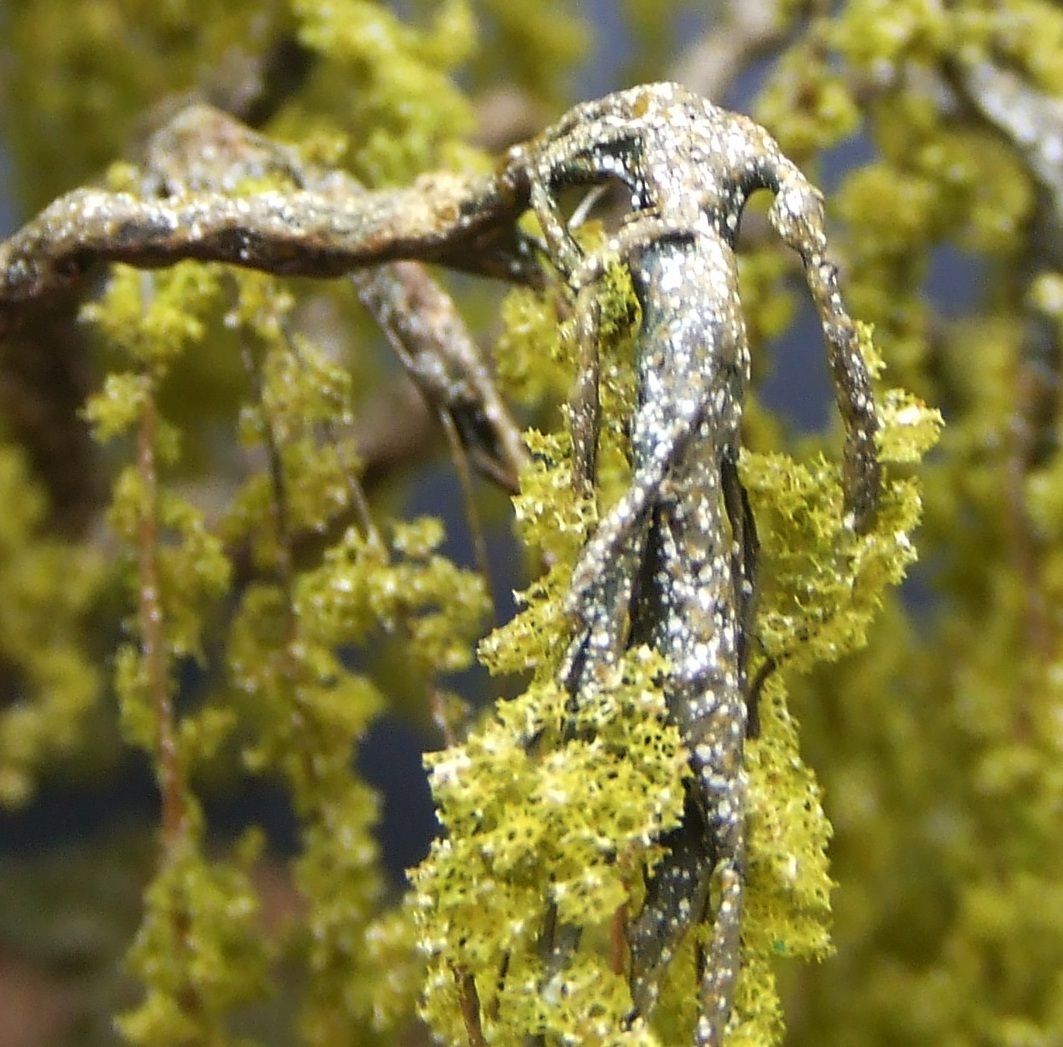
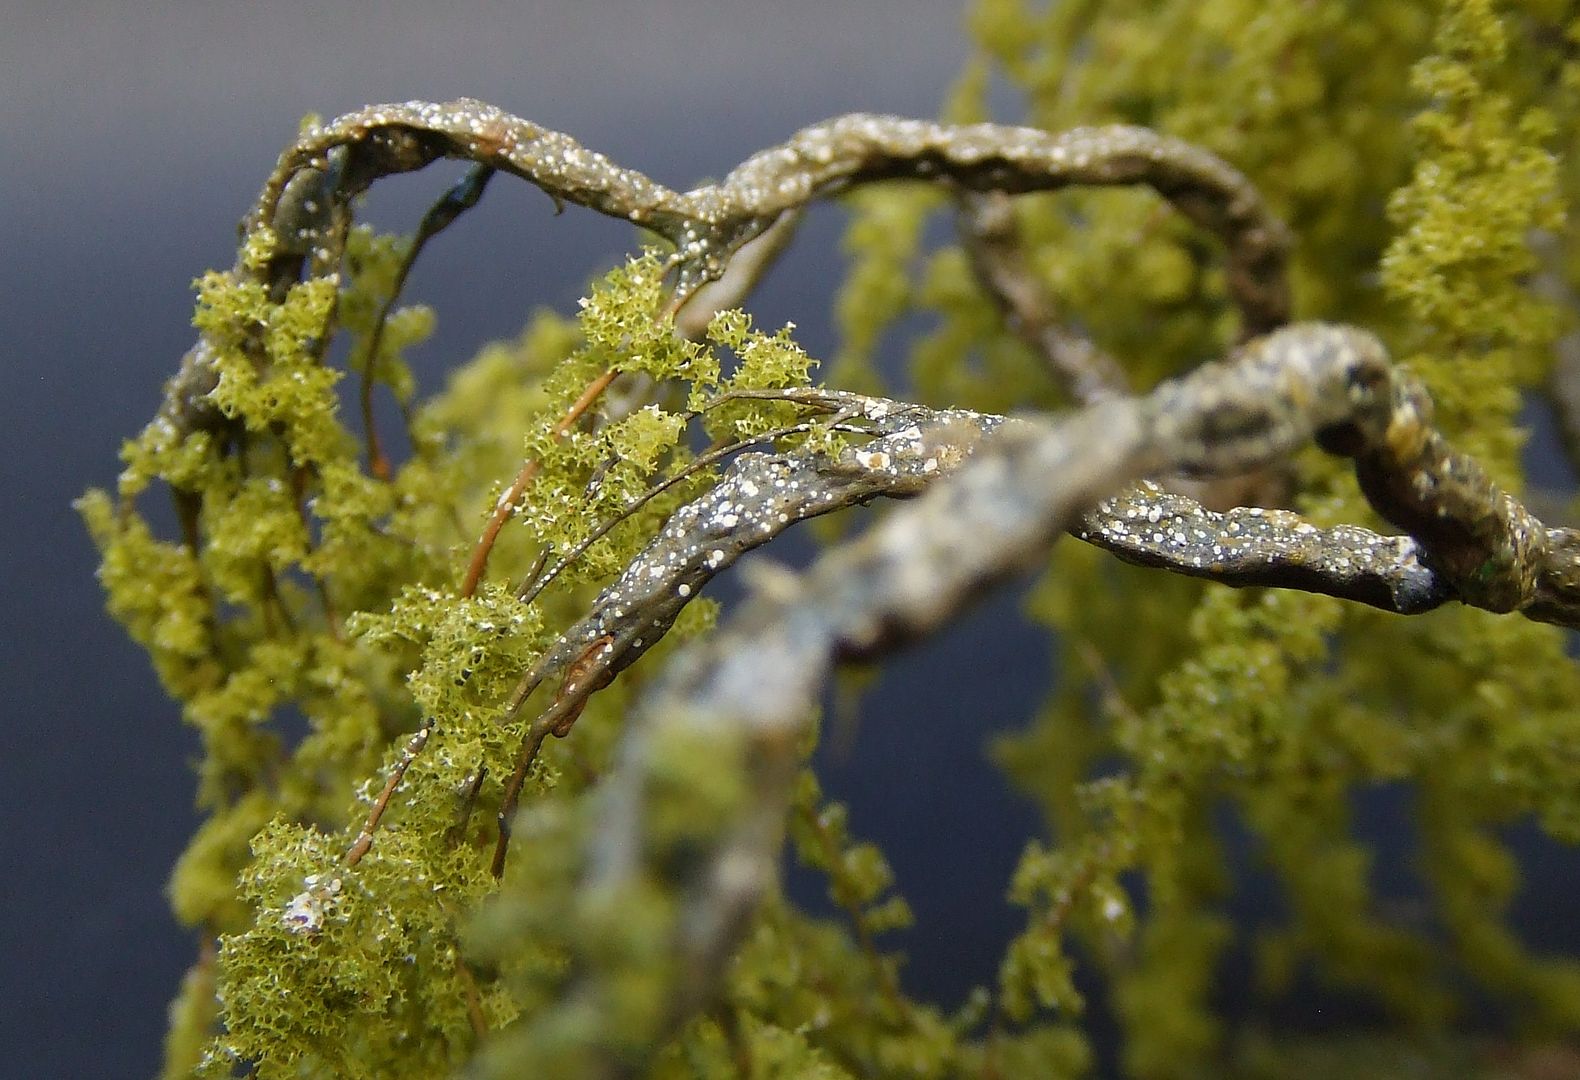
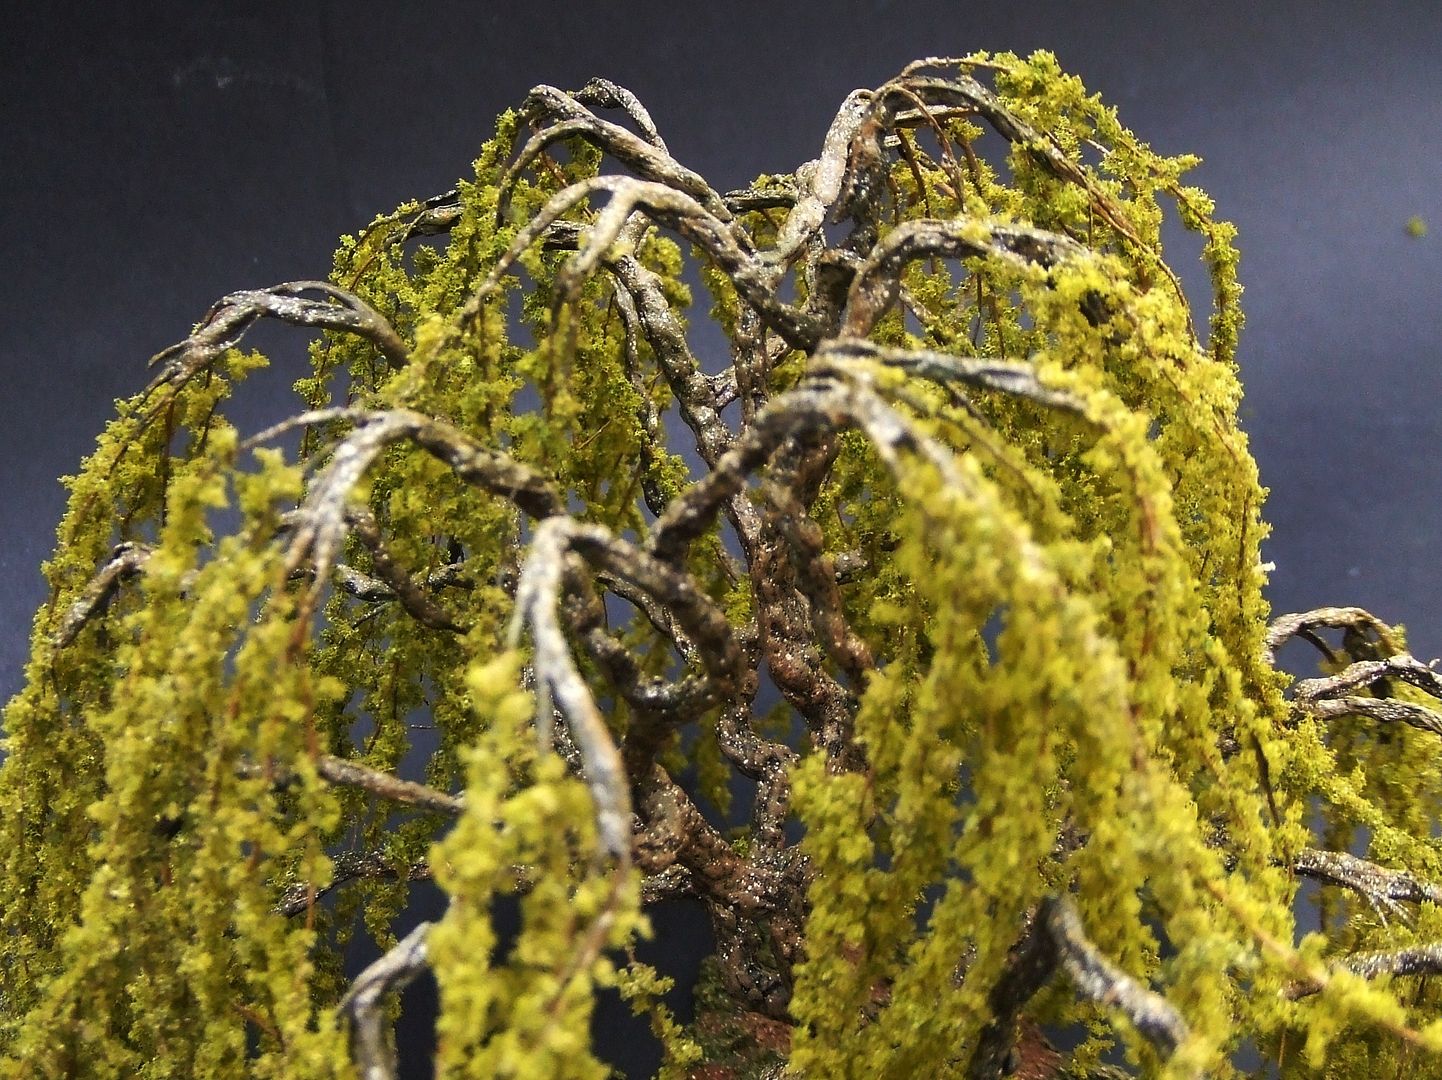
Compared to real weeping willows…

…the hanging branches may not be straight enough.
Choose the right size of clothespin as weight.
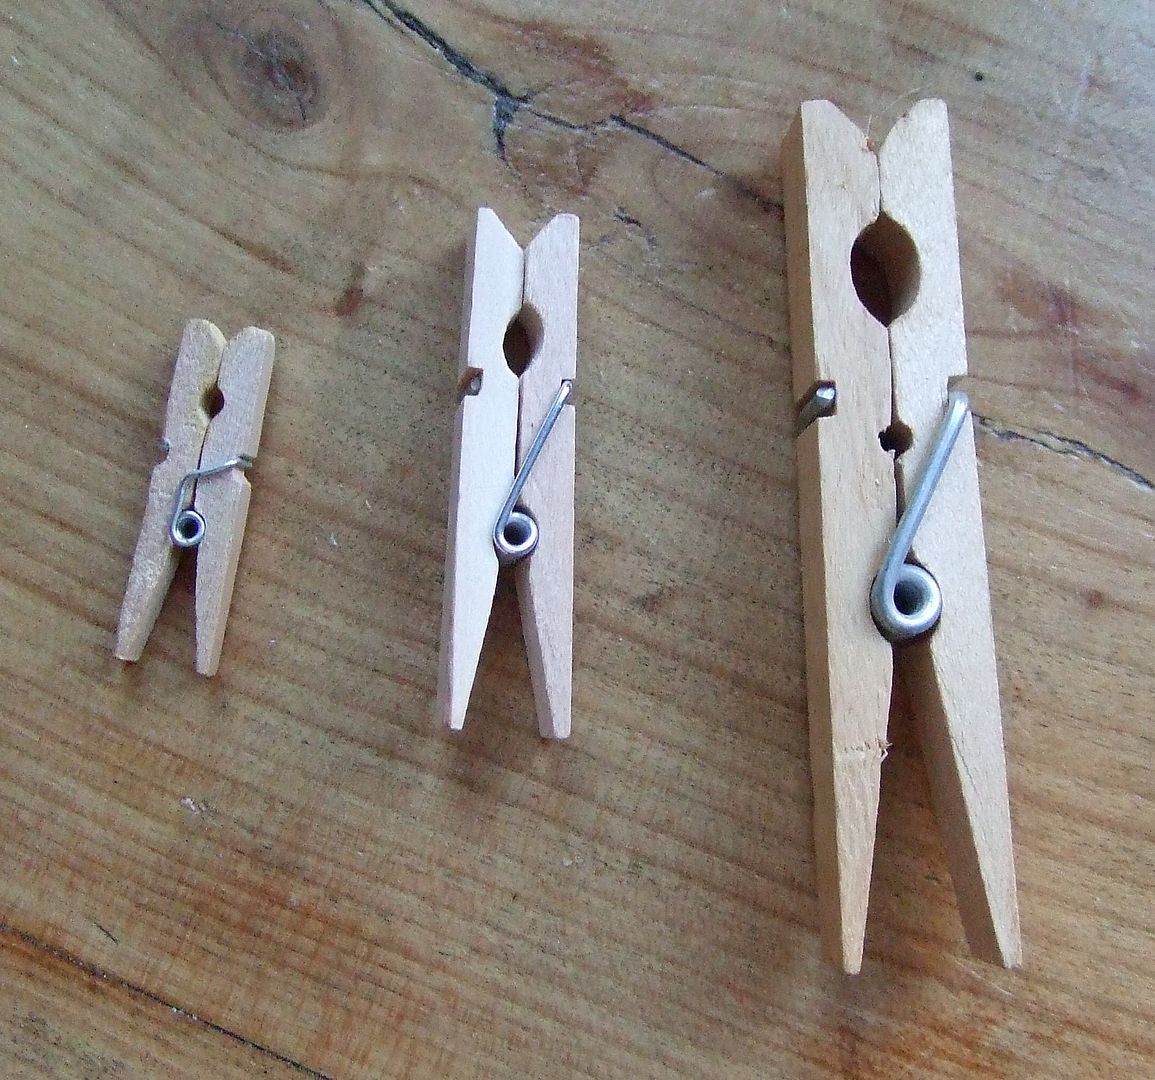
Add one to every wire-end and make sure there is space to hang down.
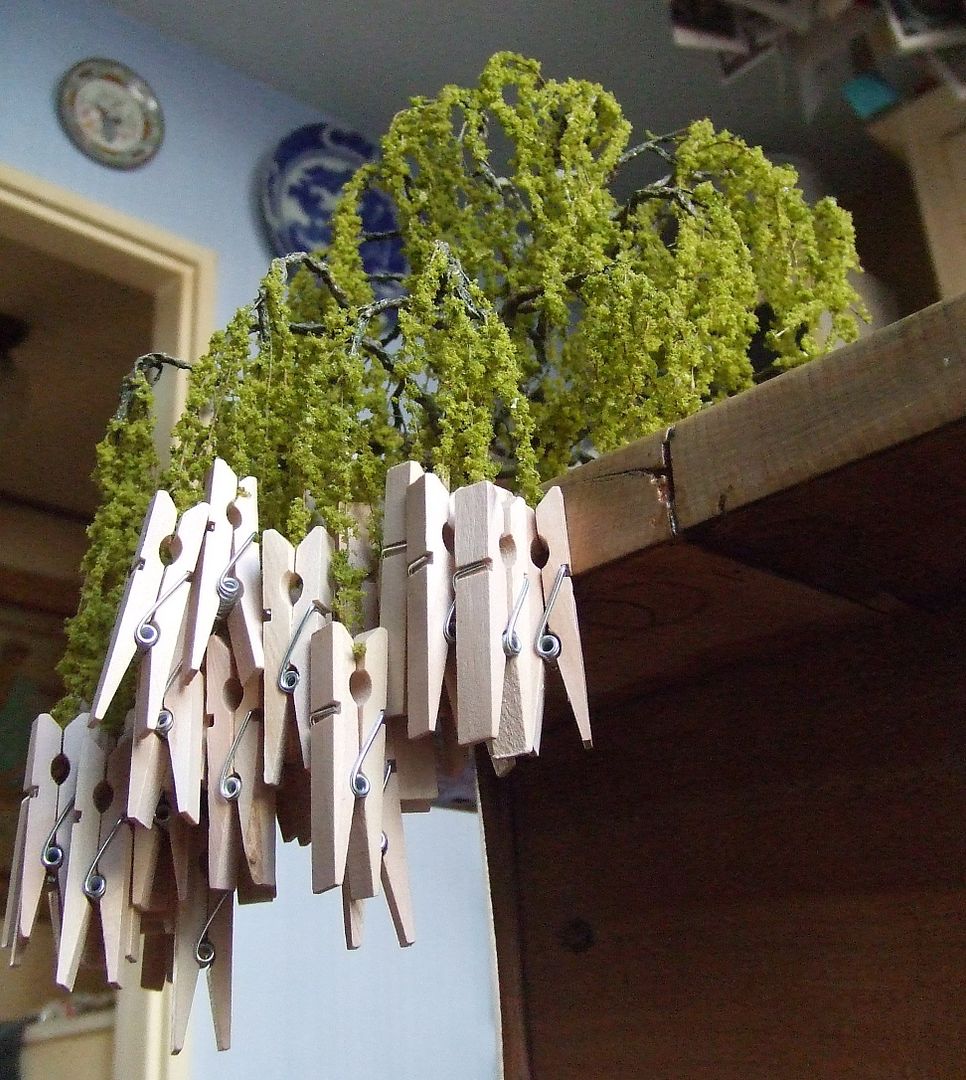
After stretching the hanging twigs, re-position the branches since they have lowered down by the weights.
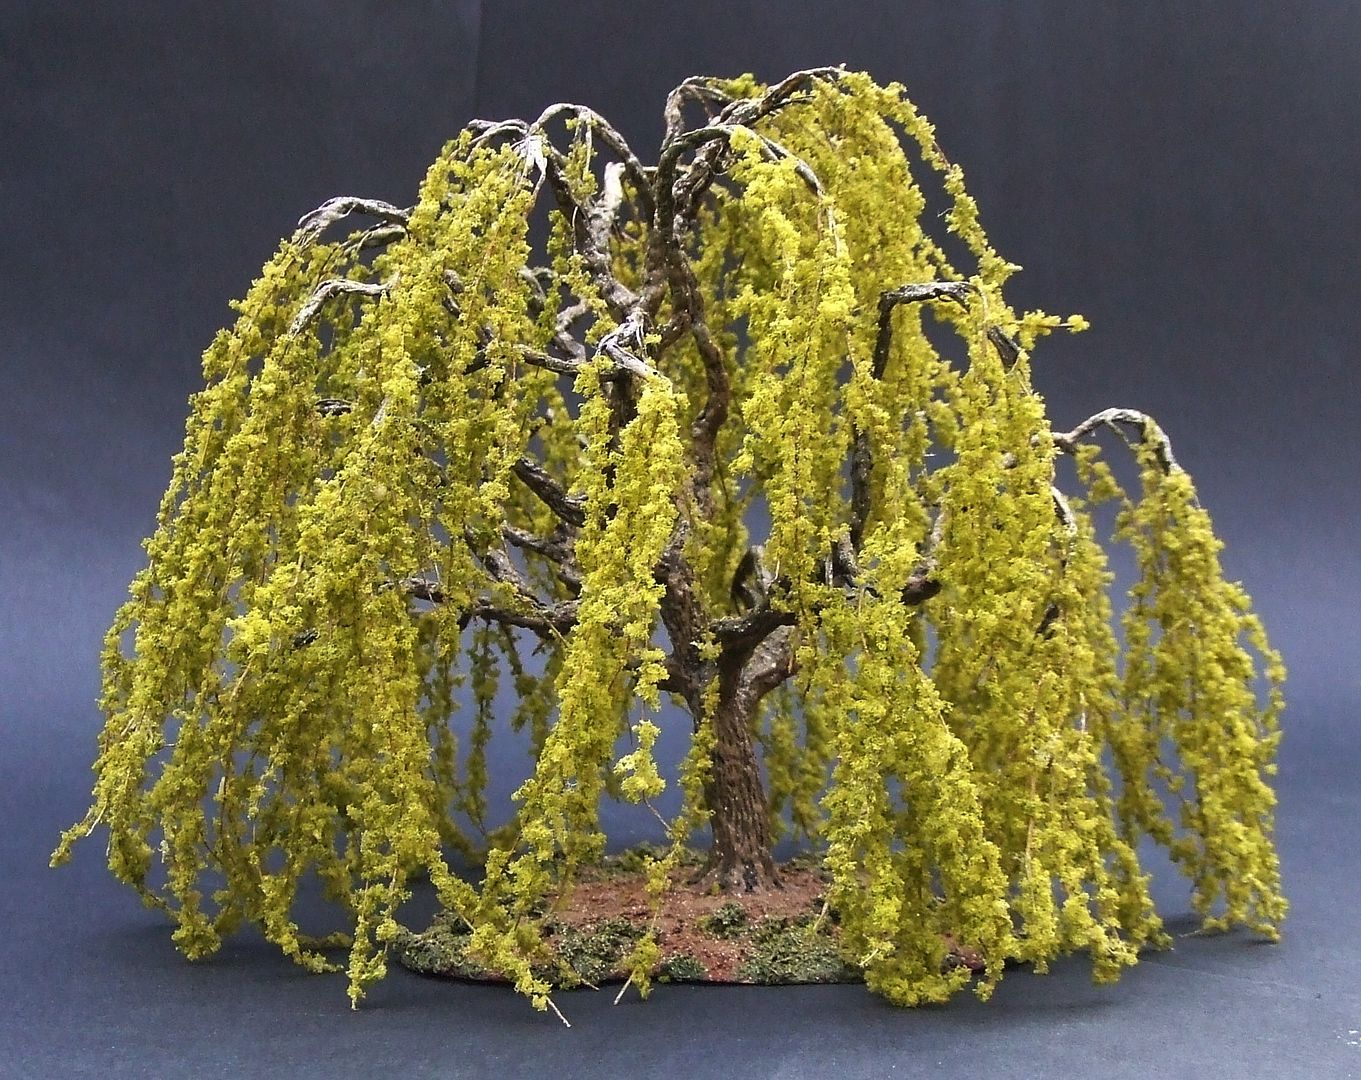
Cut wire ends only now.
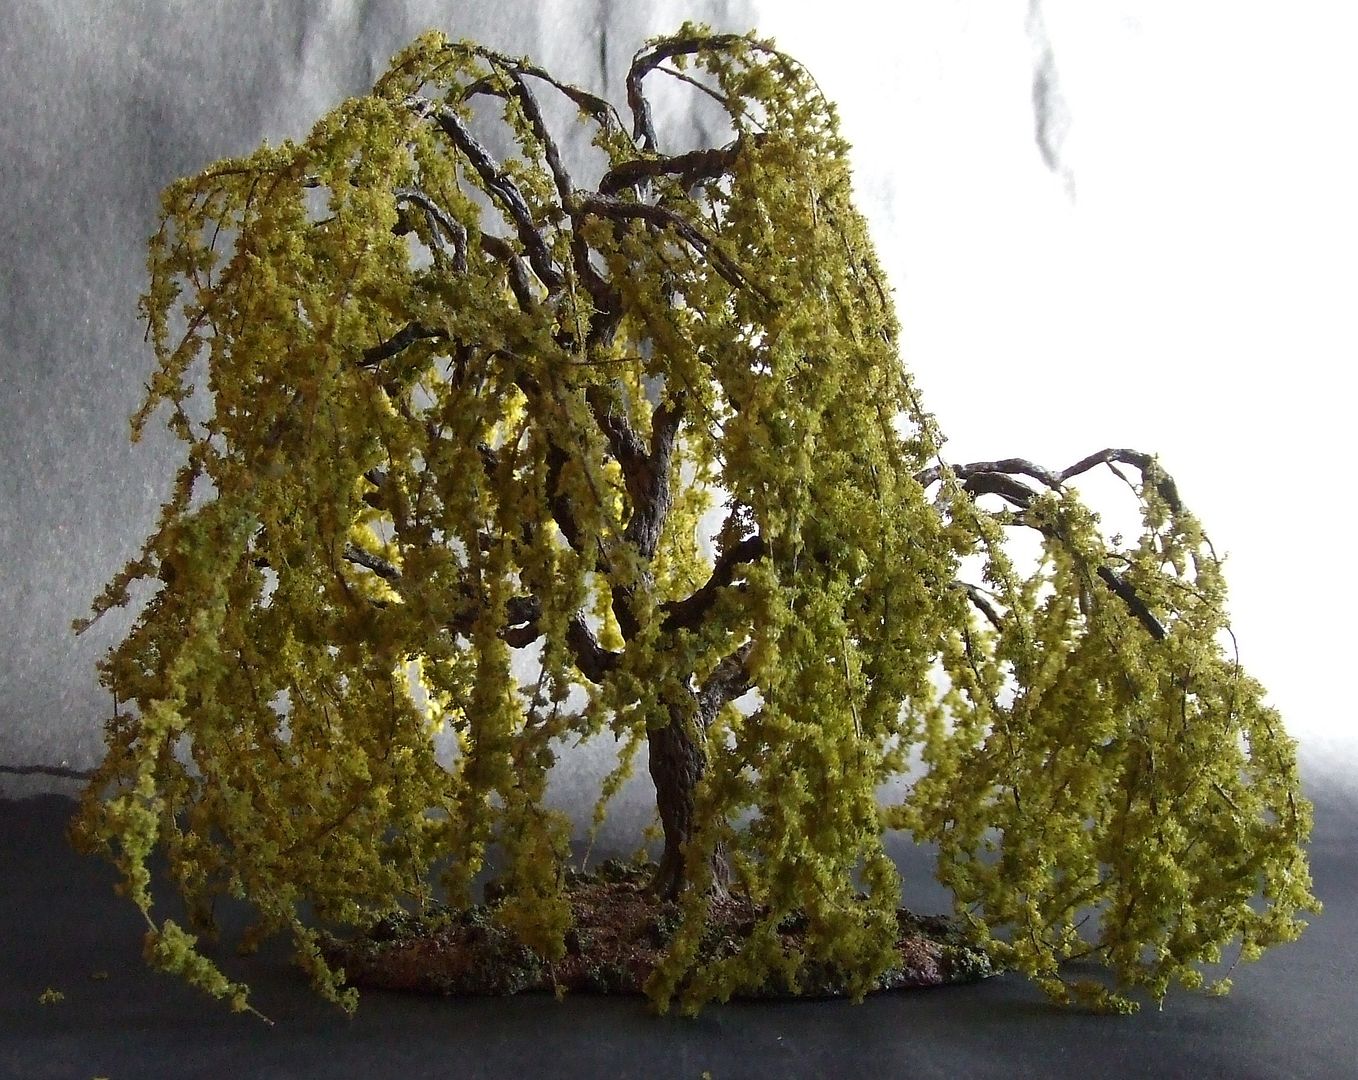
The tree is finished.
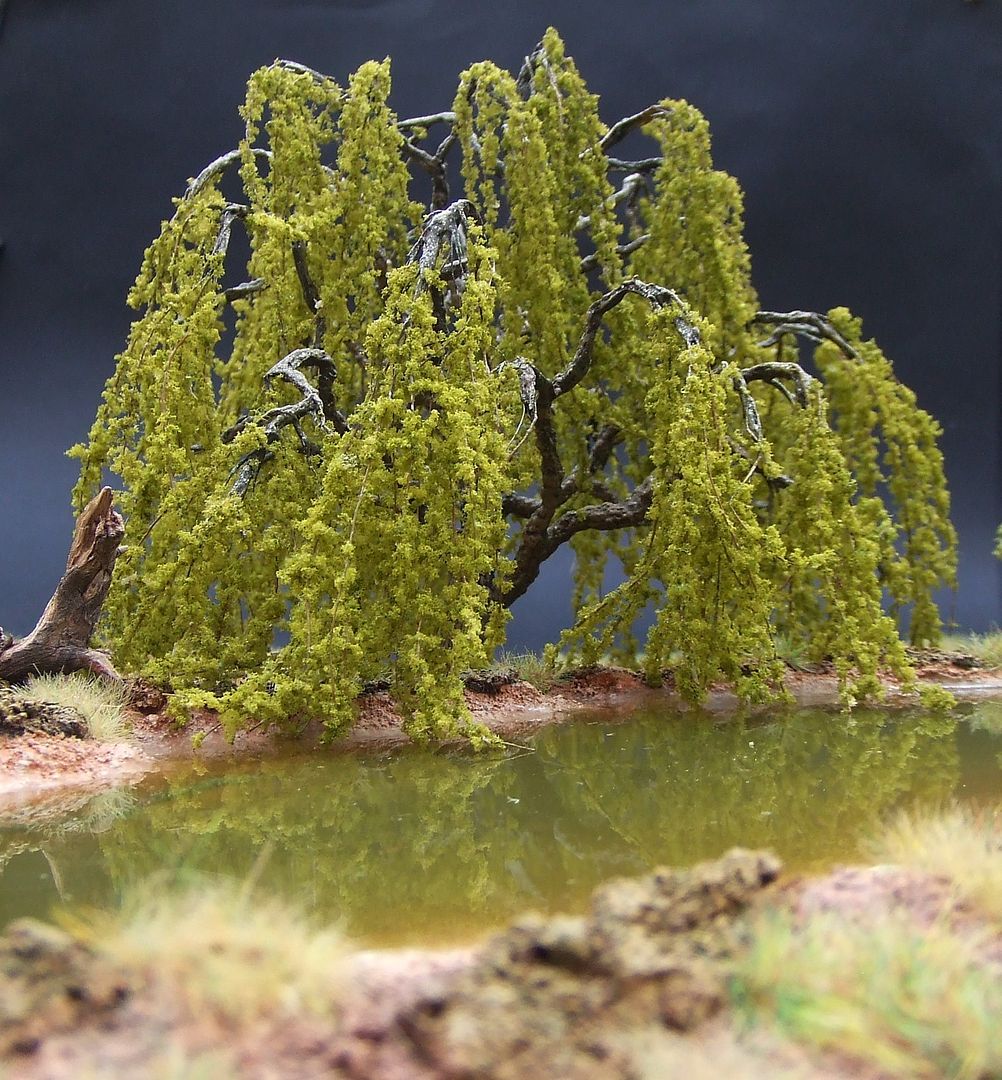
Close to the waterside is the weeping willows typical location.
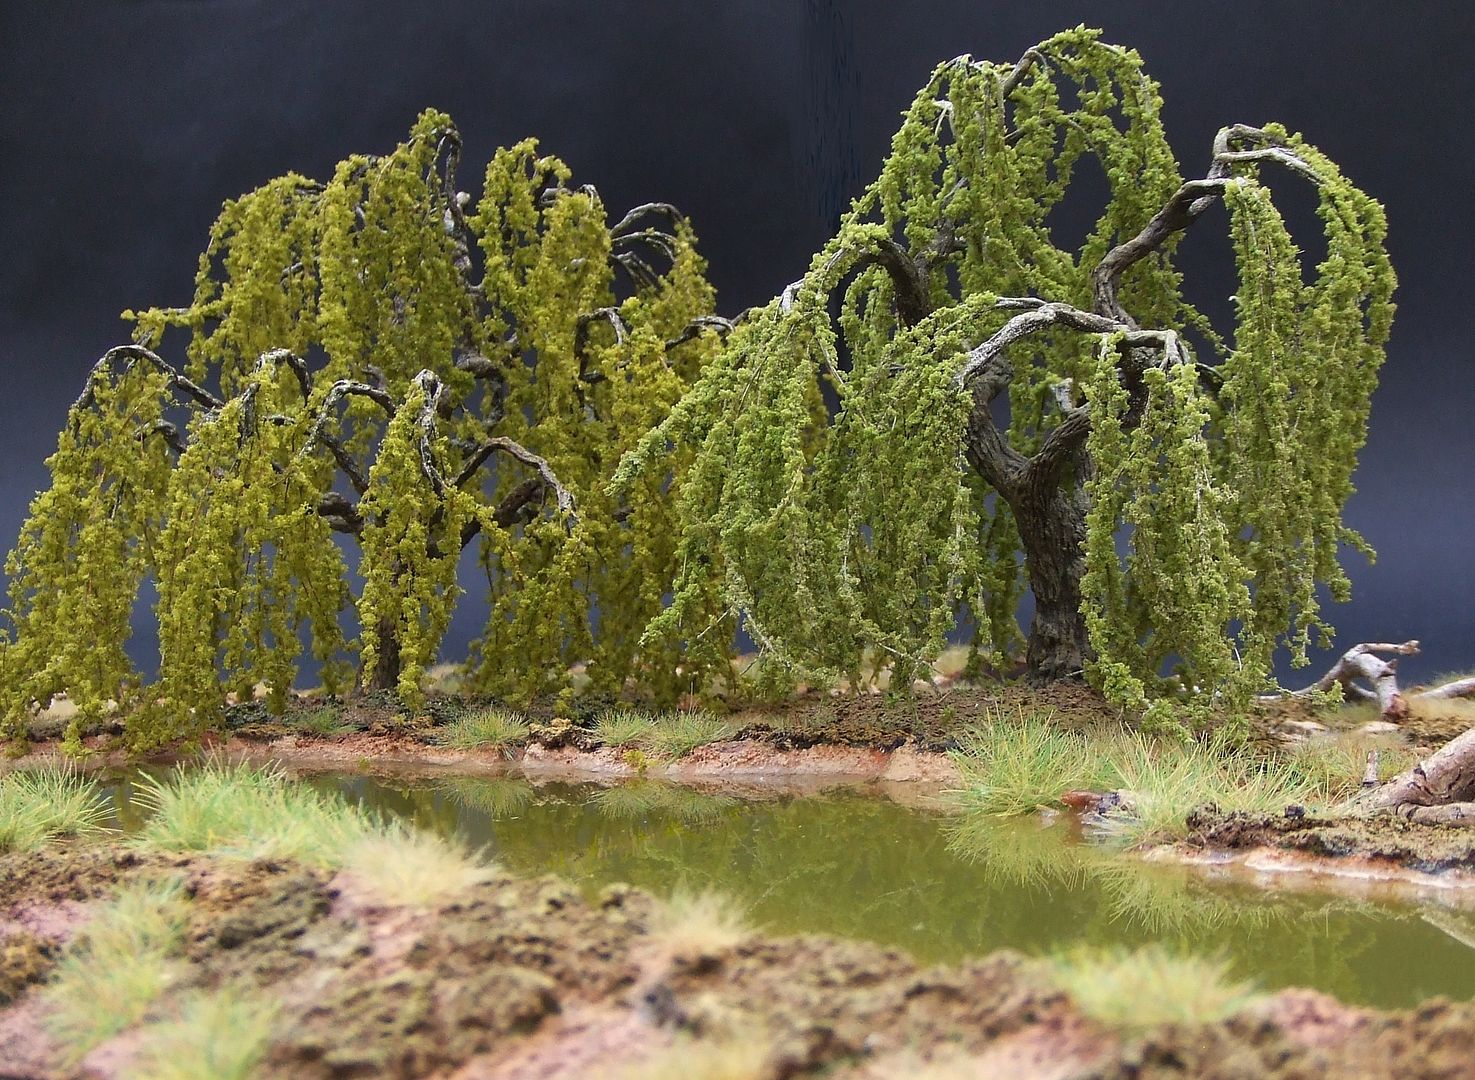
This tutorial will be continued by threating other trees and techniques later on.


 Supporting Business
 Very, very professional and useful tutorial. Thanks!


 It`s good that others take the Helm so to speak upon Tutorials. It got pretty darn lonely at times for me,so thanks for taking considerable time out to organize,collect,make,and photo shoot your stuff. Bravo! And may you post more scratch building projects. Was i right about those ears? Respect BB


 Moderator
