Tutorials

BB's narrative style of top tips on toy soldier conversions

Posted by Beano Boy on 01 Jan 2023, 01:00

Image

Don't look down-hearted if there are lots of others to do too. Well hopfully well before the painting had been brushed upon them.

Image

Welcome to 2023,
i hope 2 c u all soon.BB
Beano Boy  England
Supporting Member (Gold) Supporting Member (Gold)
 
Posts: 8126
Member since:
03 Sep 2013, 14:45


Posted by Bluefalchion on 01 Jan 2023, 02:18

Any hot water necessary to soften the plastic and straighten out that broken ankle?
User avatar
Bluefalchion  United States of America
 
Posts: 3575
Member since:
23 Dec 2010, 07:57

Posted by Beano Boy on 01 Jan 2023, 02:34

Thank you for the hot water question Bluefachion. :thumbup:
No hot or warm water required,
however thumb and finger nails do help out big time. BB
Beano Boy  England
Supporting Member (Gold) Supporting Member (Gold)
 
Posts: 8126
Member since:
03 Sep 2013, 14:45

Posted by Beano Boy on 17 Nov 2024, 03:33

Image


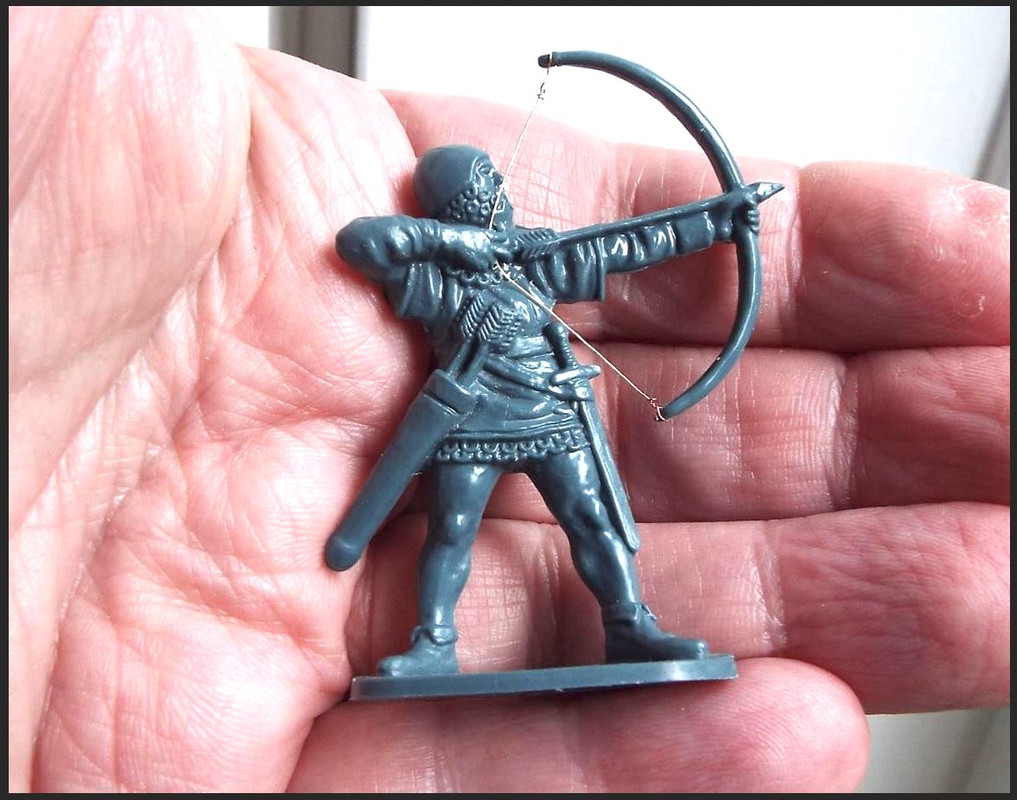
MEDIEVAL FOOT SOLDIERS produced by AirFix
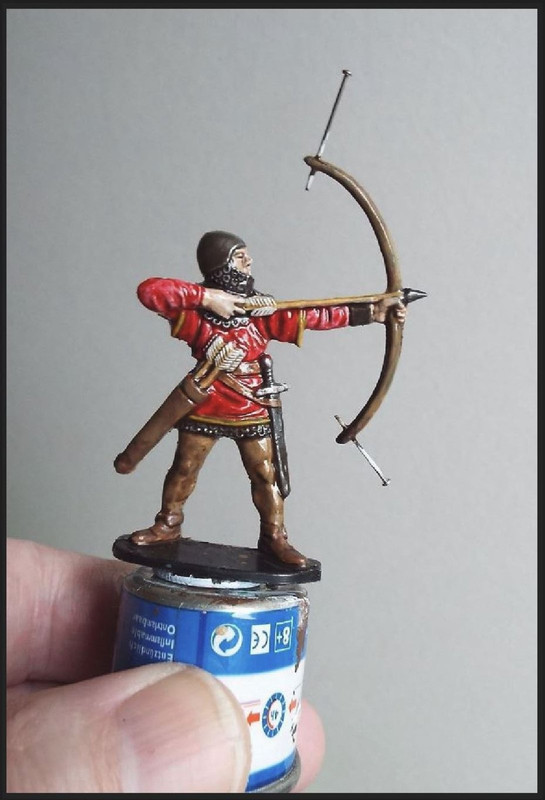
Here i string the bow of one 1/32 Scale Archer from that old set.

:coffee: Above is my first painted sample awaiting a bowstring. The pins left in stopped paint from getting into the tiny holes on this one. :mrgreen: Because such a tip BB,wished he had,had before in the old days of his middle age,but of course he had not written of it when there was his need for it. :eh: Bonkers !

Image

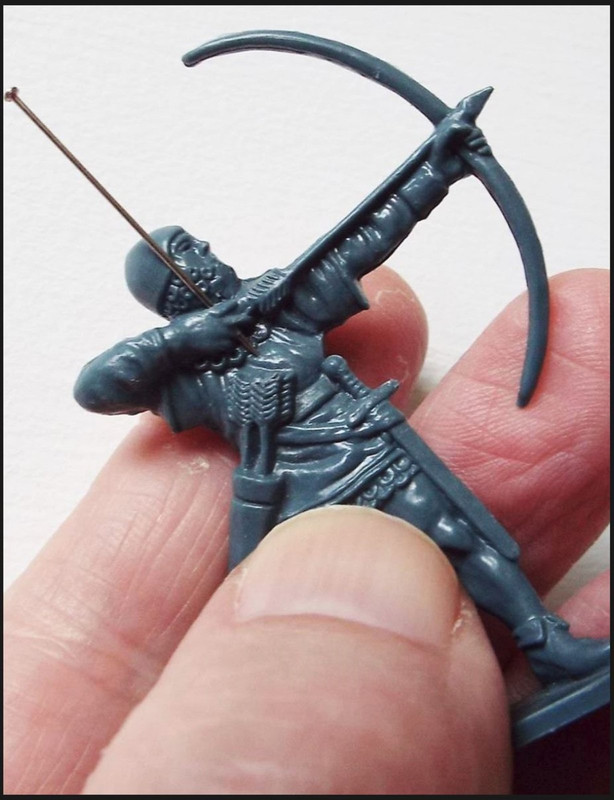
:coffee: Dress Makers Pin used as a tool can assist in many a project especially this one. Inspite of it being a rather tight squeeze i manage to get the hole as close to the fingers as i could. :sst: that's a might tricky! The little button mentioned after thoughtfully pondering upon it. :eh: Eh? WingNut, wondered to himself.

Image

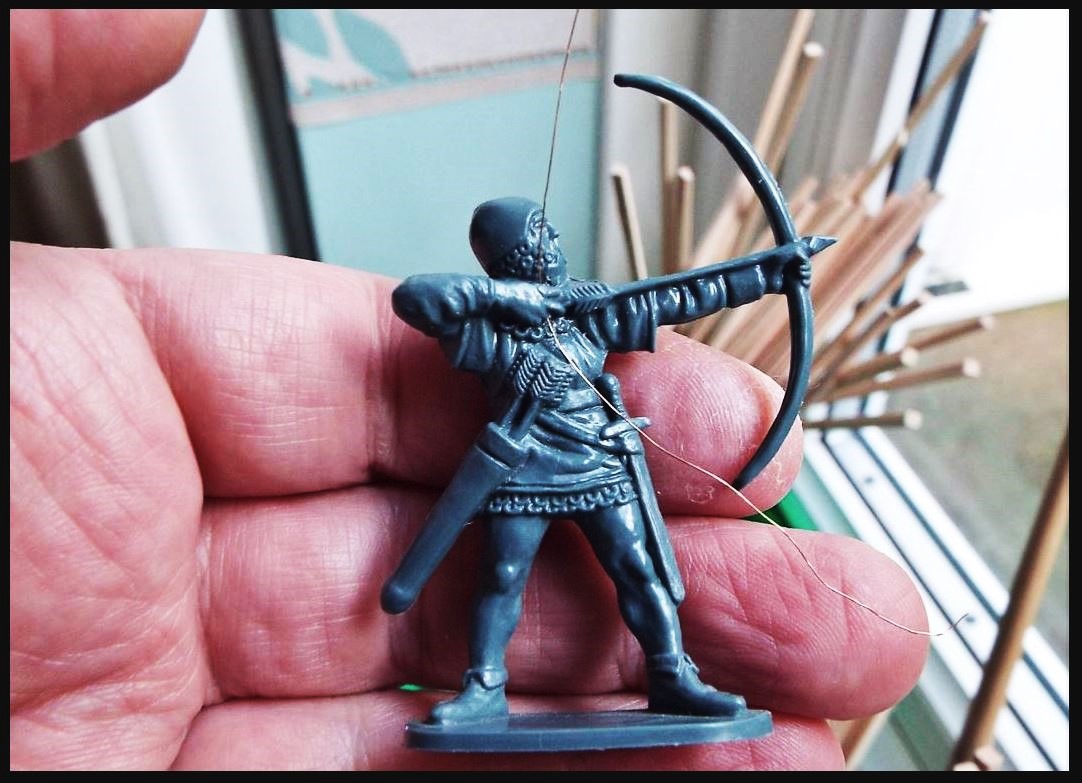
:coffee: Fine Fuse Wire was thread through the hole. :mrgreen: In the olden days every house had this old thin sparky stuff to fix em fuse plugs.

As a rather adventurous boy of nine, 'Gosh! that's 66 years ago',upon many a strange pitch dark night after the fuse had blown in our home, it was i who fixed it under the candel light of flickering flame.Well after all there was only my Mother, and my brother and of course little me. Yes being a latchkey kid, and other things besides one had to grow up quick.

Image

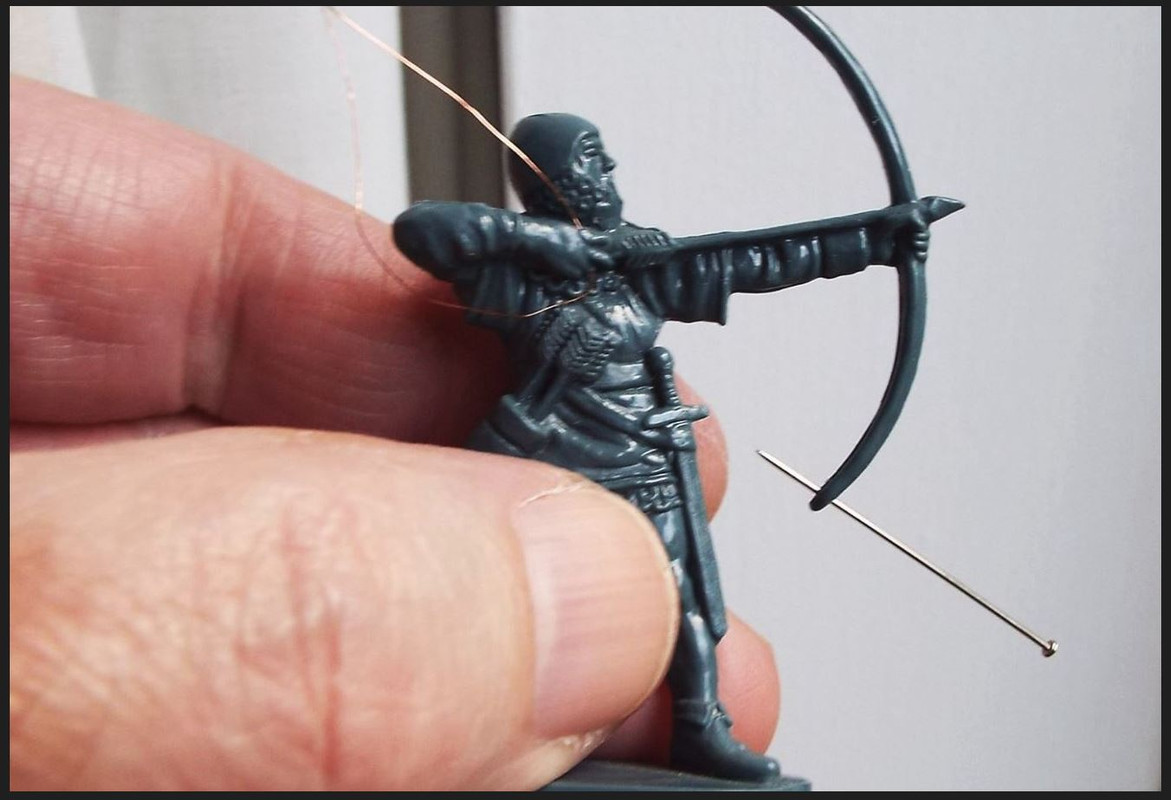
:coffee: Moving along the Bow had to be pinned too by pushing it through near each end.

Image

:mrgreen: And so it was that this little bow was duly strung! decleared Mr Green.
:eh: Eh! it was? :sst: it sure was wingnut. :eh: Ok!

:coffee: Well that's, that then.
Take care of yourselves out there,
and help others if you can.BB
Beano Boy  England
Supporting Member (Gold) Supporting Member (Gold)
 
Posts: 8126
Member since:
03 Sep 2013, 14:45

Posted by Santi Pérez on 17 Nov 2024, 19:04

A great trick, B.B. Too bad that applying it to 1/72nd scale figures is a bit more complicated. ;-)

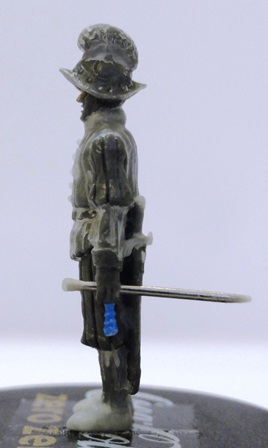
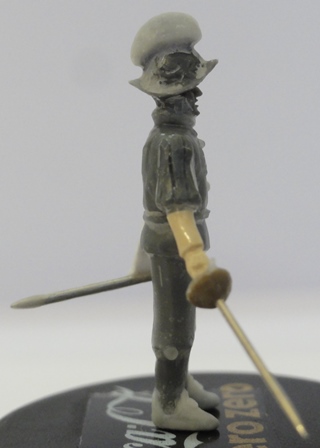
By the way, I remember that I have also used pins for some of my figures, for example, on this Swiss Guard sergeant and officer to make his cane and the blade and scabbard of his sword, respectively. :mrgreen:

Image Image

Best regards. :-)

Santi.
User avatar
Santi Pérez  Spain
 
Posts: 2106
Member since:
28 Aug 2016, 19:42

Posted by Peter on 20 Nov 2024, 19:12

Great tip for adding a bowstring! :thumbup:

Seen this just in time. I've got two of these on my painting desk. ;-)
User avatar
Peter  Belgium

Moderator Moderator
 
Posts: 22757
Member since:
25 Mar 2008, 18:51

Help keep the forum online!
or become a supporting member

Previous page

Return to Tutorials