Most of us people, neglect the little details that give a place its unique character in addition to others. And as the proverb says: ''Devil's hides in them''.
What do most of us wargamers want? Basically to play with our toys. That means that in the need of doing so, we want to deploy our little men, the tanks, tha horses, the chariots etc., as quick as possible on the battlefield, and play, and by doing so we tend to ignore some basic terrain elements that need to be deployed, or substitute them with generic ones, that have little affiliation to the real stuff.
In my opinion, it is this approach that makes all the difference (and not only in wargaming) - the attention to the detail.
It is this reason that helps me come up with all these far from normal ideas and create some terrain pieces that enrich the diversity of my battlefield tables.
On this occasion, I wondered how did the houses in the 40's warm up during the winter (it is the appropriate period of time, to think about that - though not for my friends that live in the Oceania region...). The answer was quite simple: fire and wood.
And how did the people find wood? From the forests....That's why I decided to make some terrain pieces with stacked wood for the cold days of autumn and winter. Sounds silly? See below how easy it is to make them.
Well.....
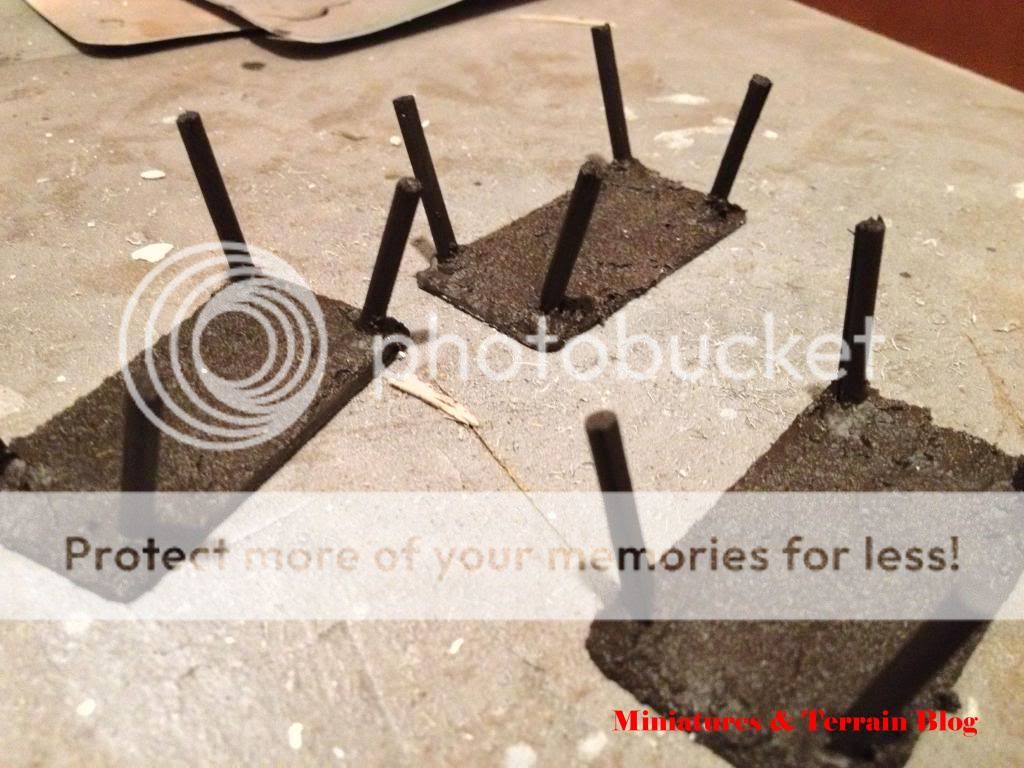
Step 1.
Take some small rectangular pieces of plastic (bases)

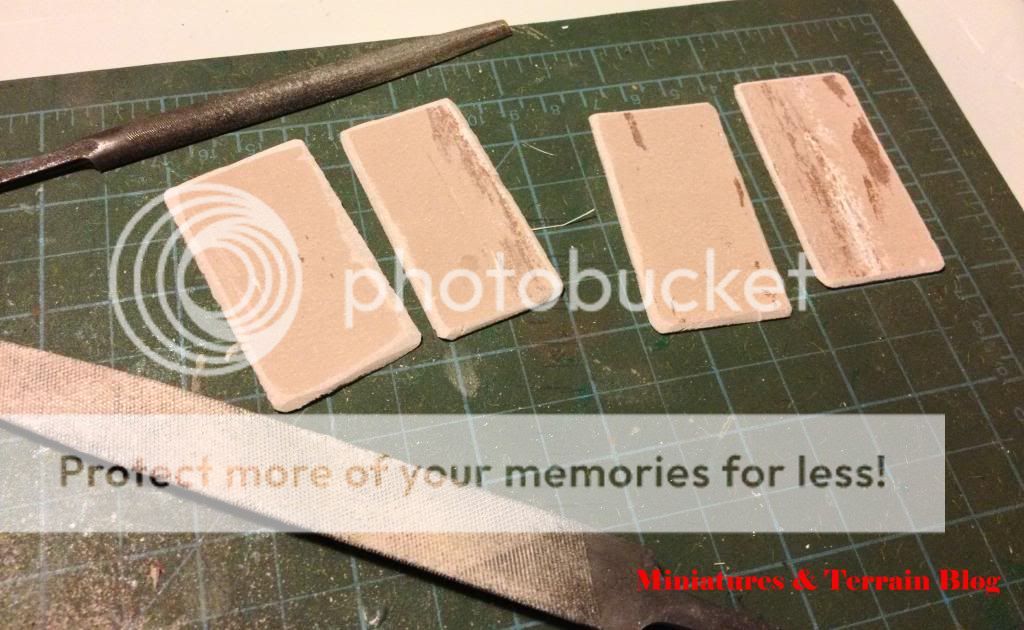
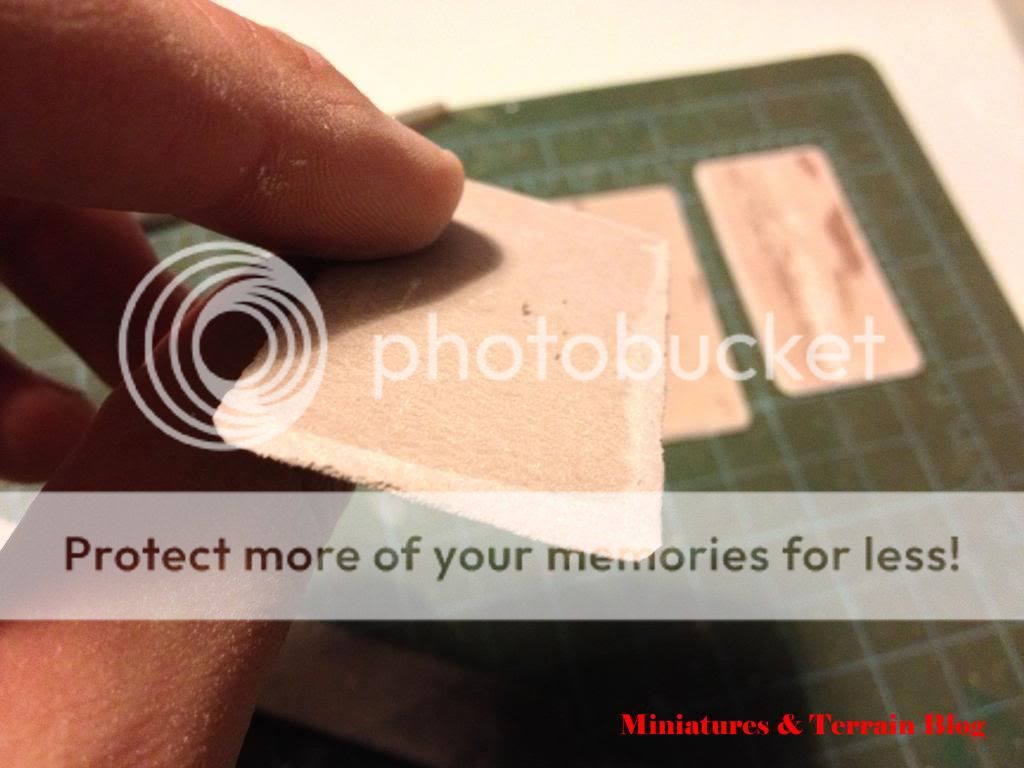
Step 2.
Cut some wood skewers pieces (even ones).

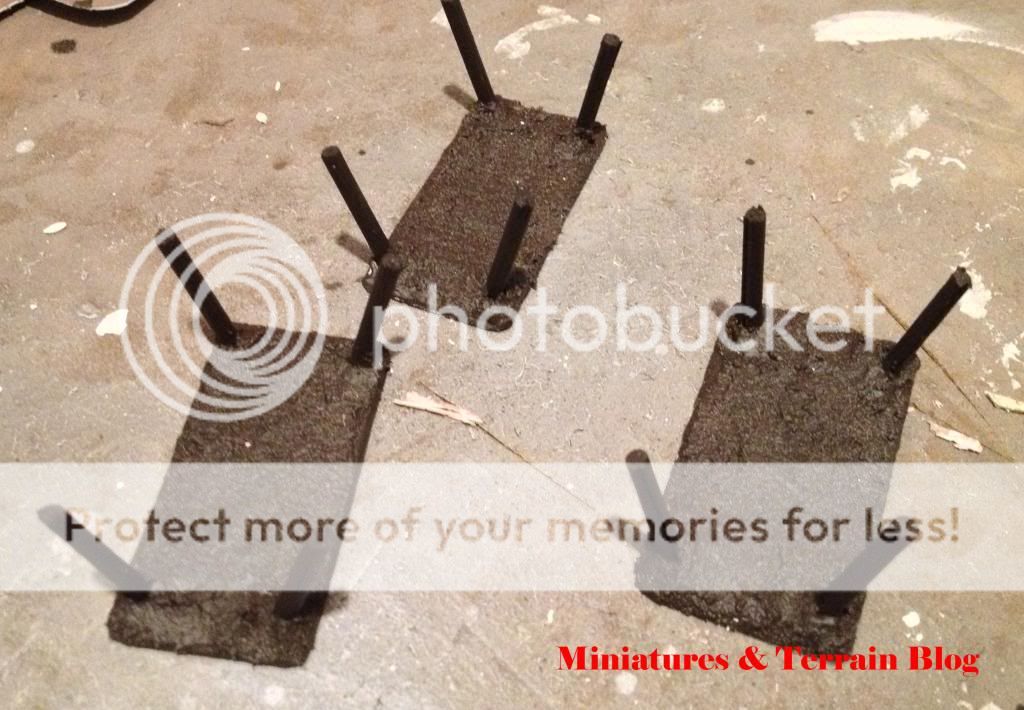
Step 3.
Glue them on the plastic bases.


Step 4.
Sand the bases.


Step 5.
Paint them with earthy colours (base and wood skewers). For the wood skewers I used some dark brown as a base, and then some (thinned in water) Vallejo's Panzer Aces 'Old Wood'.
Step 6.
Add some greenery (static grass, tufts etc.) on them.


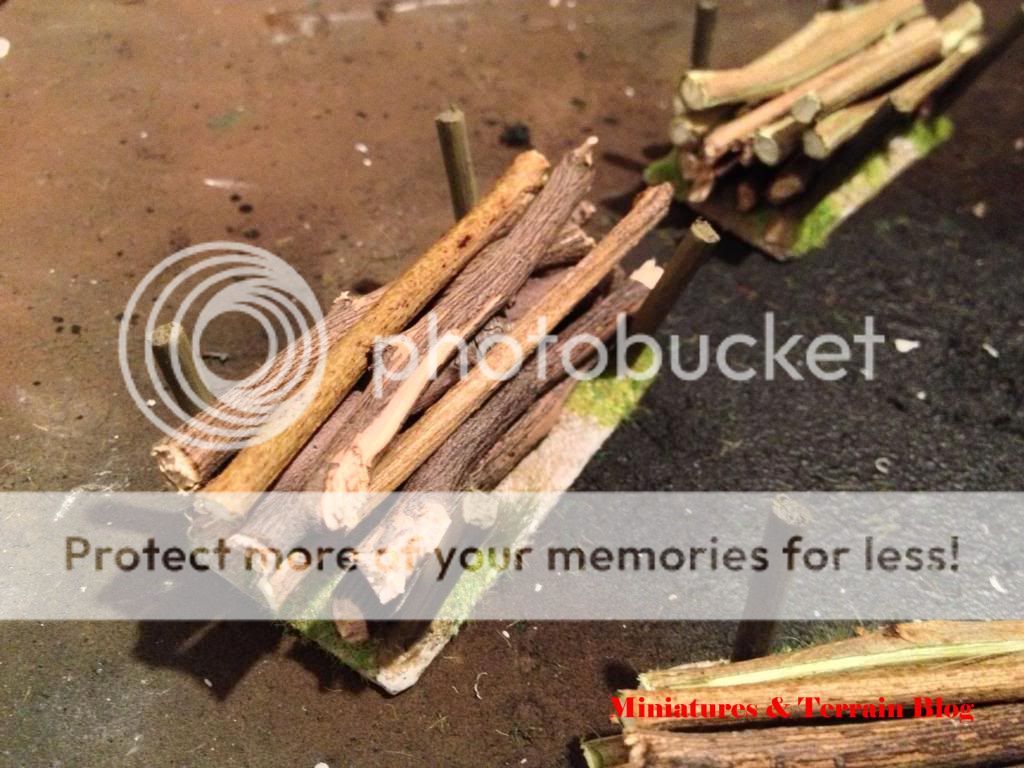
Step 7.
Take some pieces of small tree branches (I got my lot, from a pile of cut-down branches from gardeners - they do that every late November, early December to help the trees grow stronger - just to let you know, that I didn't harm any poor tree, I don't know if activists are following my blog...). Cut them as well in even (as possible) pieces.

Step 8.
Stack them (see where this is going to????) on the bases - I didn't glue them, because I didn't want to spoil the whole 'natural' thing about them.

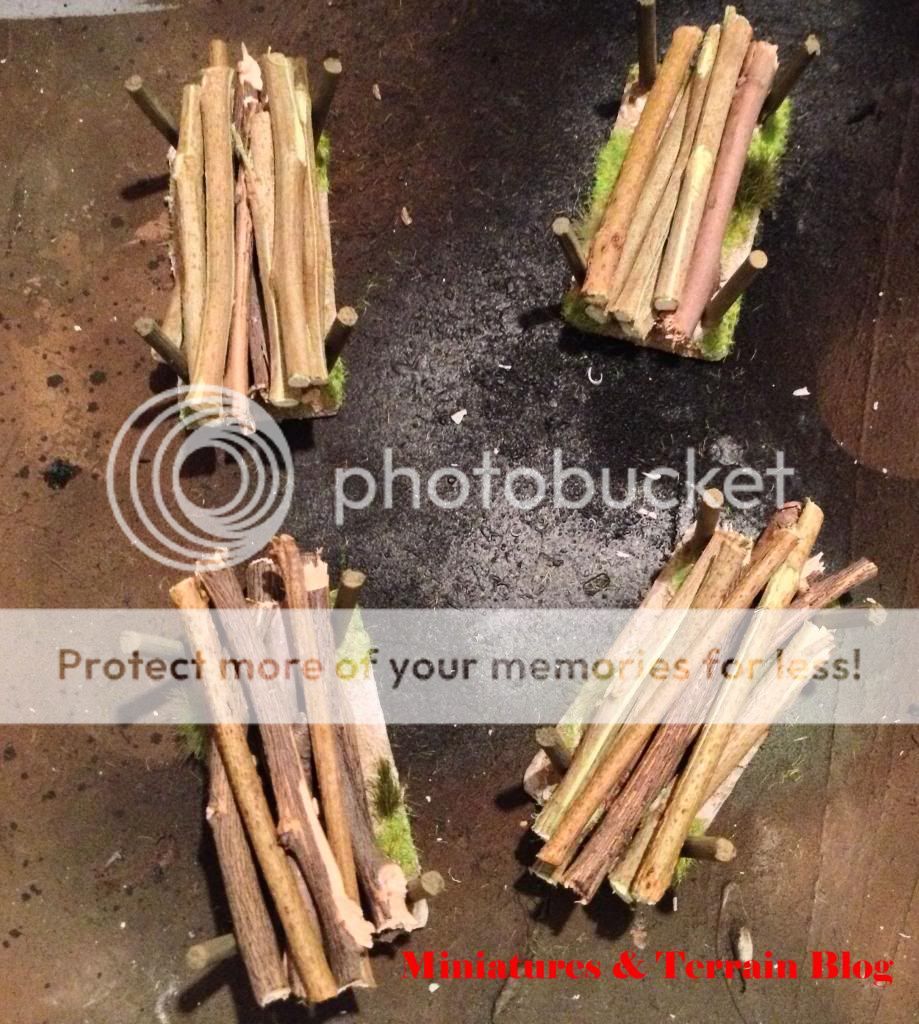
Easy peasy, wasn't it?
Now you see them on the battlefield.
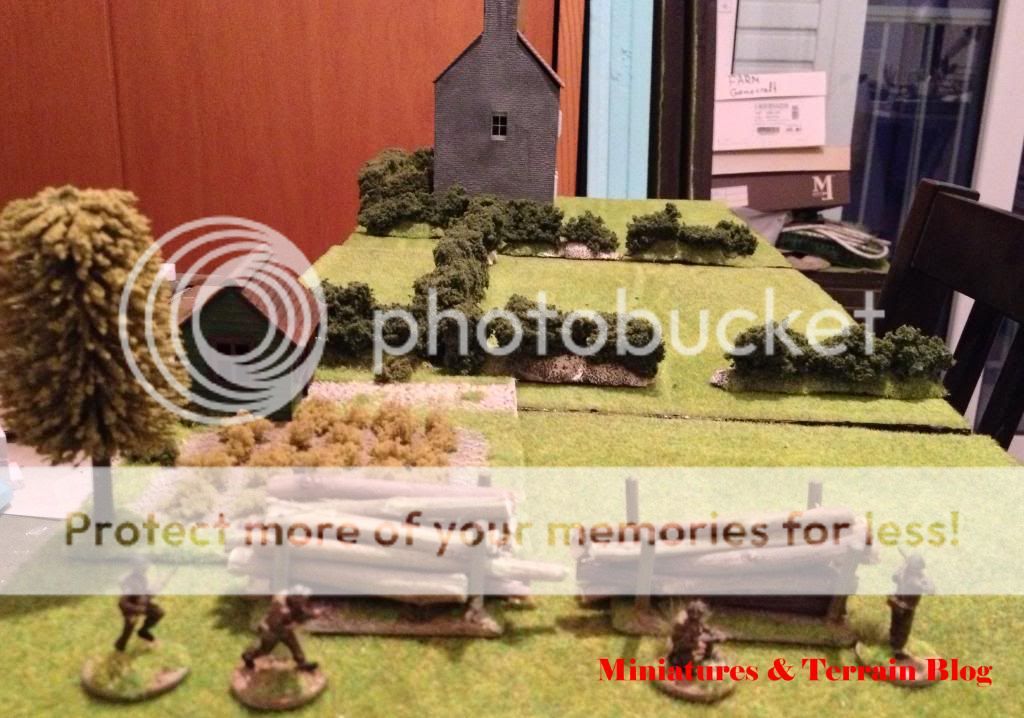
And now you see some British soldiers running from cover behind them. They can hold a lot of bullets...

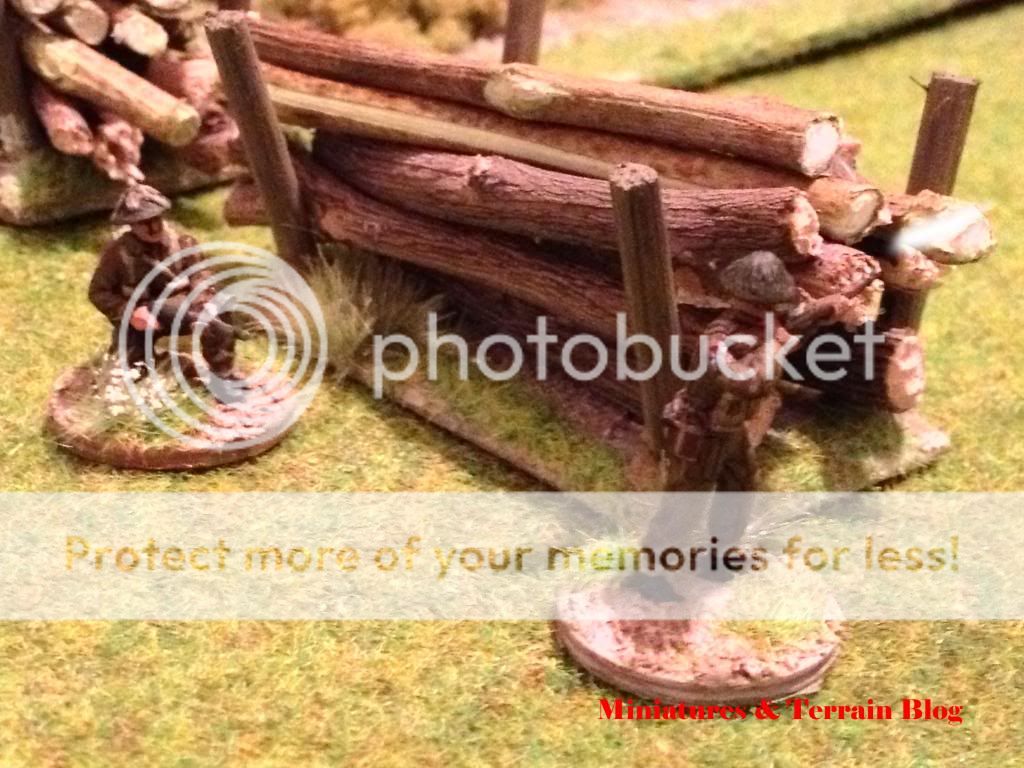


As you see it is a very simple (yet generic) thing to make, and it doesn't cost more that 0.5 euro/piece. You should try it for yourselves.
Have a great Thursday night everyone - after all Thursday is the new Friday nowadays.
T.