
Last weekend I realized that I 've painted all the figures and models that were wandering on my work desk, a little miracle if I may say (I still remember last time, it was when I first started painting and modelling)!
Thus, while being free from the burden of guilt for neglecting figures and models, I decided to make a small terrain piece, just for a change.
I was inspired by a post of Easter Funker's Panzerfaust, a good fellow from Australia who has a mission: to create Ostfront in 20mm scale - a huge project if I may say. This post was about the making of two hills that can be used for his Ostfront project (go on and visit his http://easternfunker.wordpress.com/2012/05/01/and-thats-the-end-of-big-terrain-piece-making-for-the-current-springsummerautumn/, it's full of great stuff).
I could carry on and show you the photos of the finished hill, but I thought that I could add some additional photos of the W.I.P, with the hope that you may get an idea and create your own hills for your little men! Knowledge (dare I say) should be spread and for free!
So...
1. I got a small rectangular piece of insulating foam (the one that is used in houses). I cut it and shaped it with a sandpaper sheet (do that outdoors, a lot of dust occurs while doing this). The little white pieces of foam I used were from an electric house-ware box.
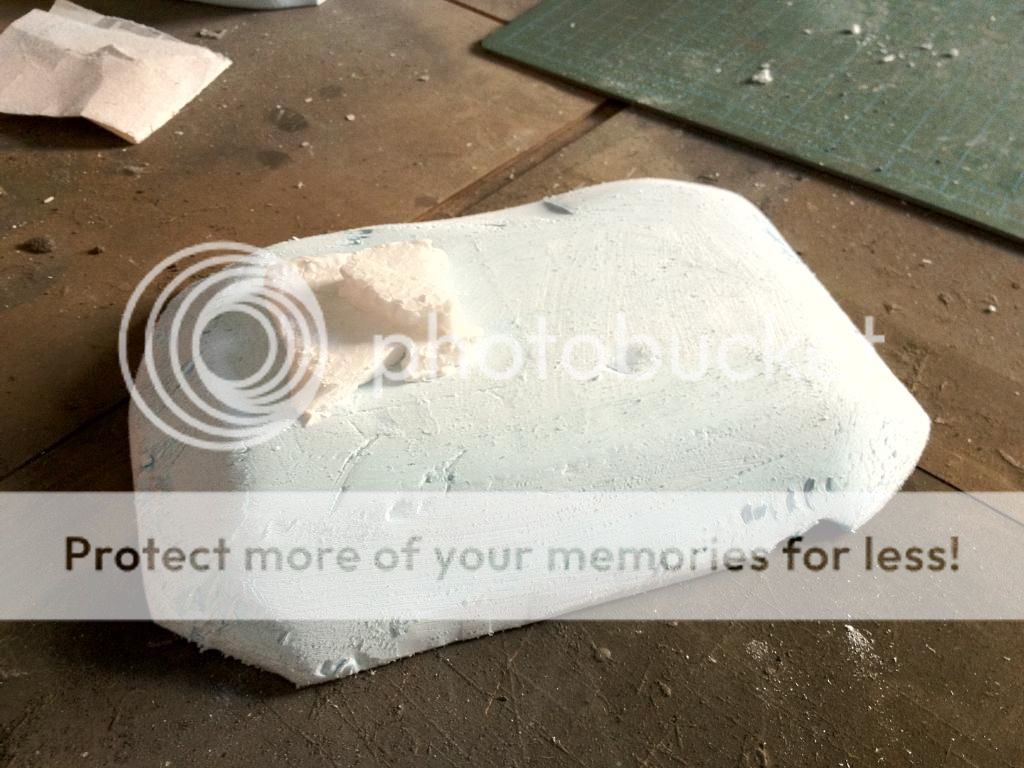


2. I don't have any photos of this stage. Basically, what I did was covering the top (little white foam pieces) of the hill with some kitchen paper dipped in a PVA + water mix. I did that in order to ''smooth'' the angles of these pieces.
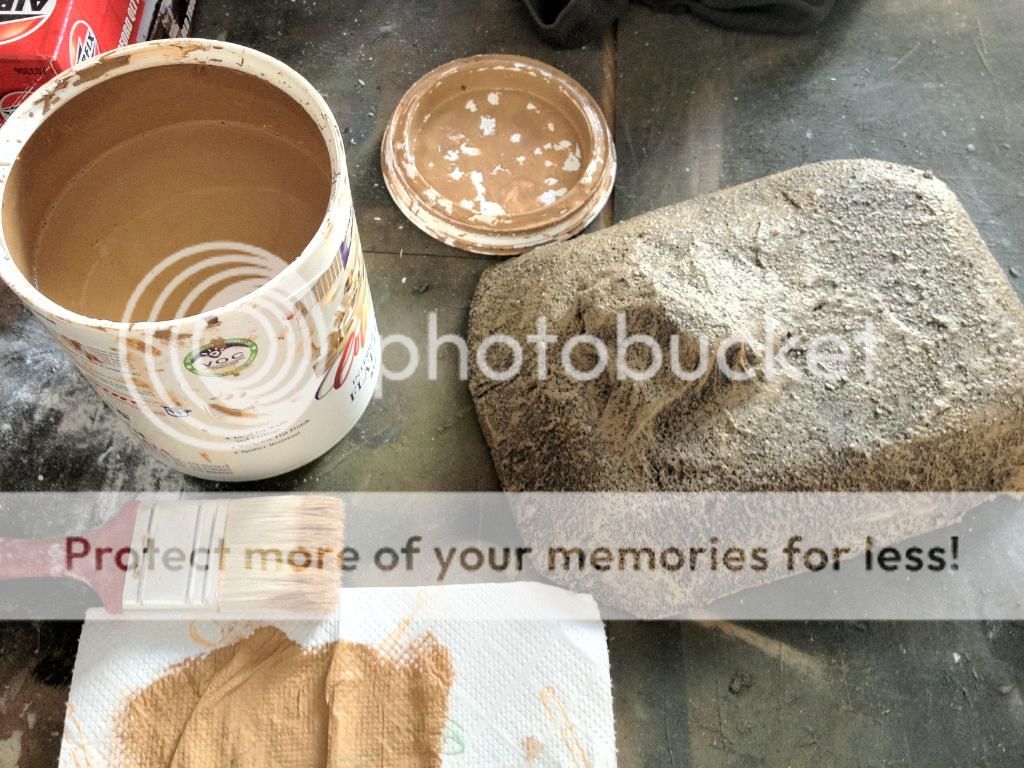
3. After that, I mixed some dark brown emulsion paint with sand (I apologize for the blurry pics, I took the photos late at night), and covered the hill with this mix. I left it to dry and went to get some sleep!


4. Early on next morning, and since the hill now had its basic colour, I decided to start the what I call ''layering method''. I got a lighter tone of brown colour, got some on the brush, wipe it off it, and started drybrushing the hill in order to give some ''realistic depth'' in terms of shades.
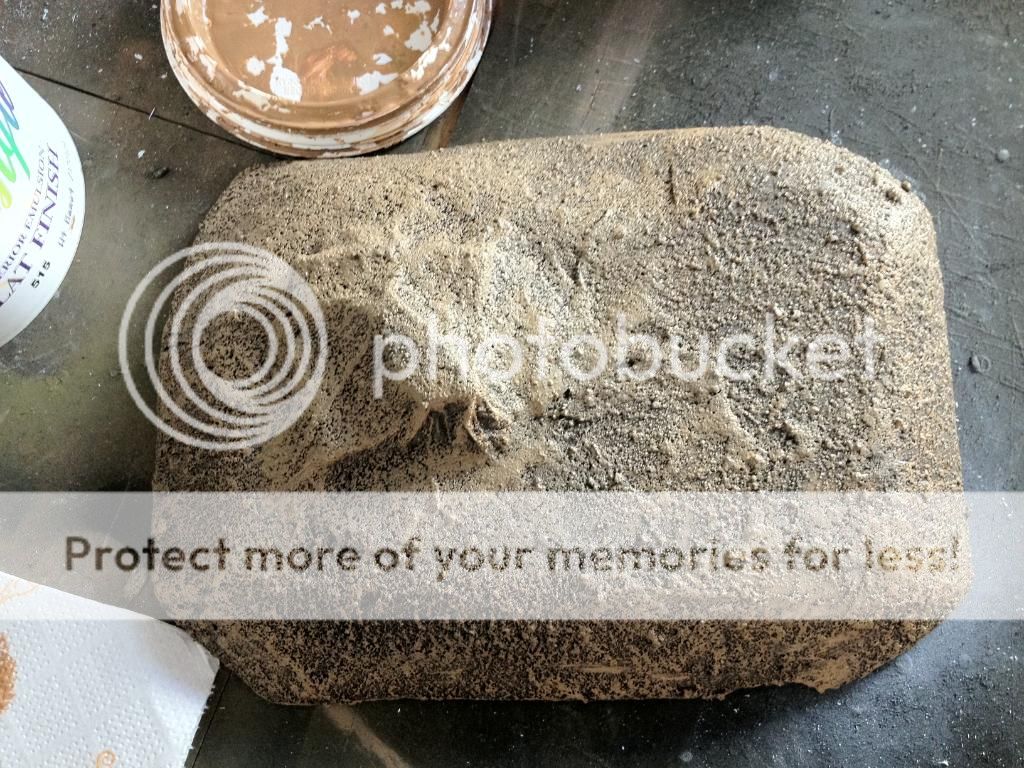

5. When dry, I took another bucket of emulsion paint, a colour similar (to an extent) of Vallejo's Iraqi Sand, and I followed the same procedure as previously. Drybrushing (lightly this time).


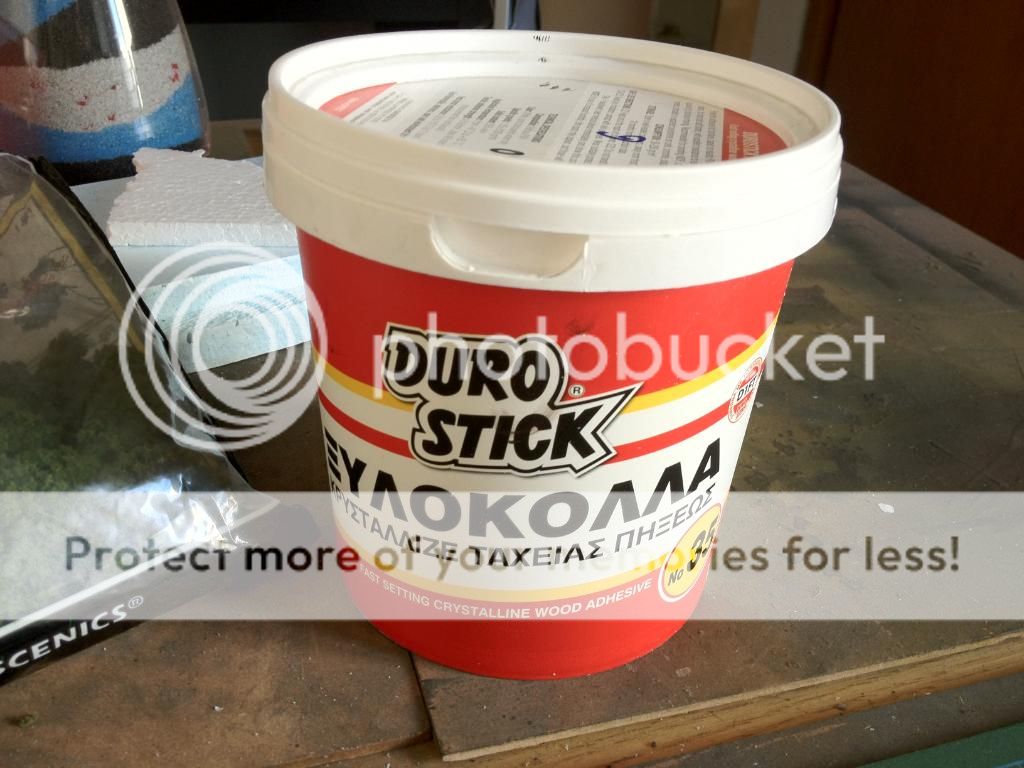
6. Basic browns were applied and the hill was ready (well almost ready). I now had to add the green stuff (grass, bushes and trees). Below the photos show the materials (family photos) I used in order to achieve that.


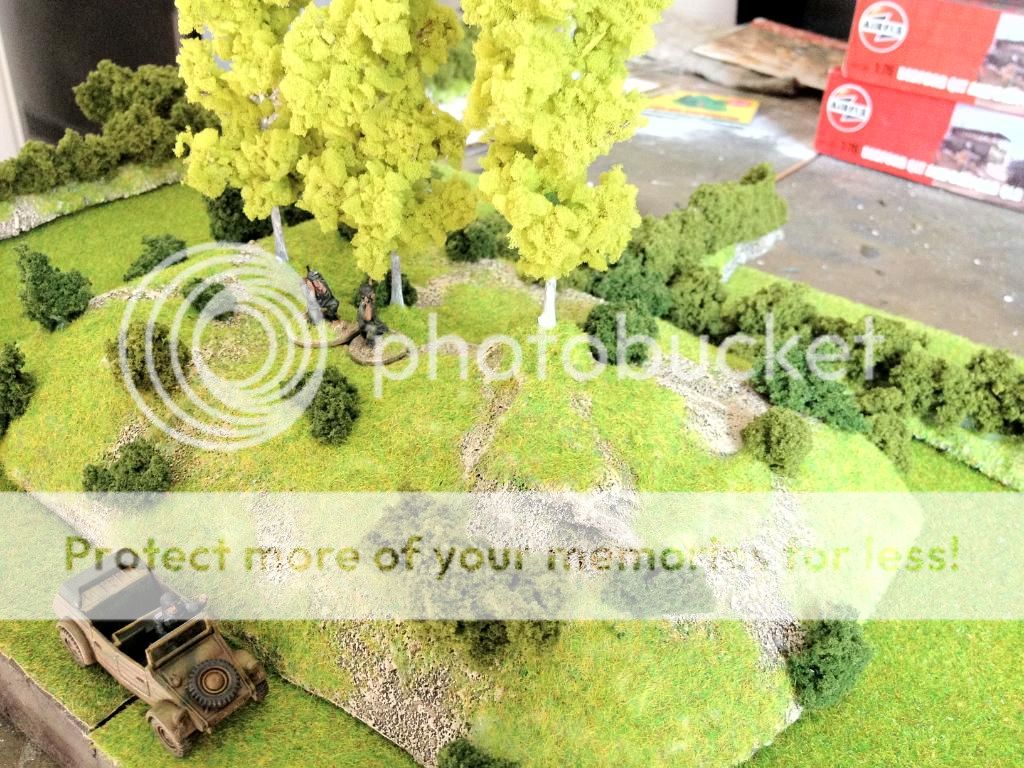
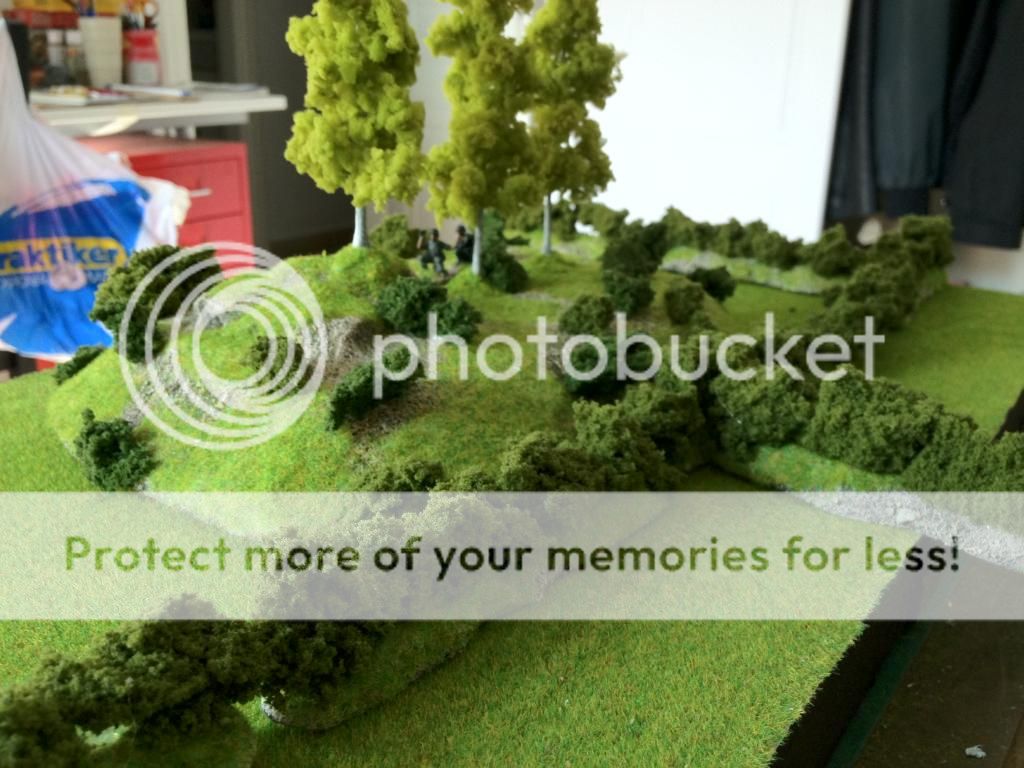
7. In the last sequence of photos, the hill is ready. The ''green-stuff'' was applied with the following sequency:
* Static grass
* Trees
* Bushes


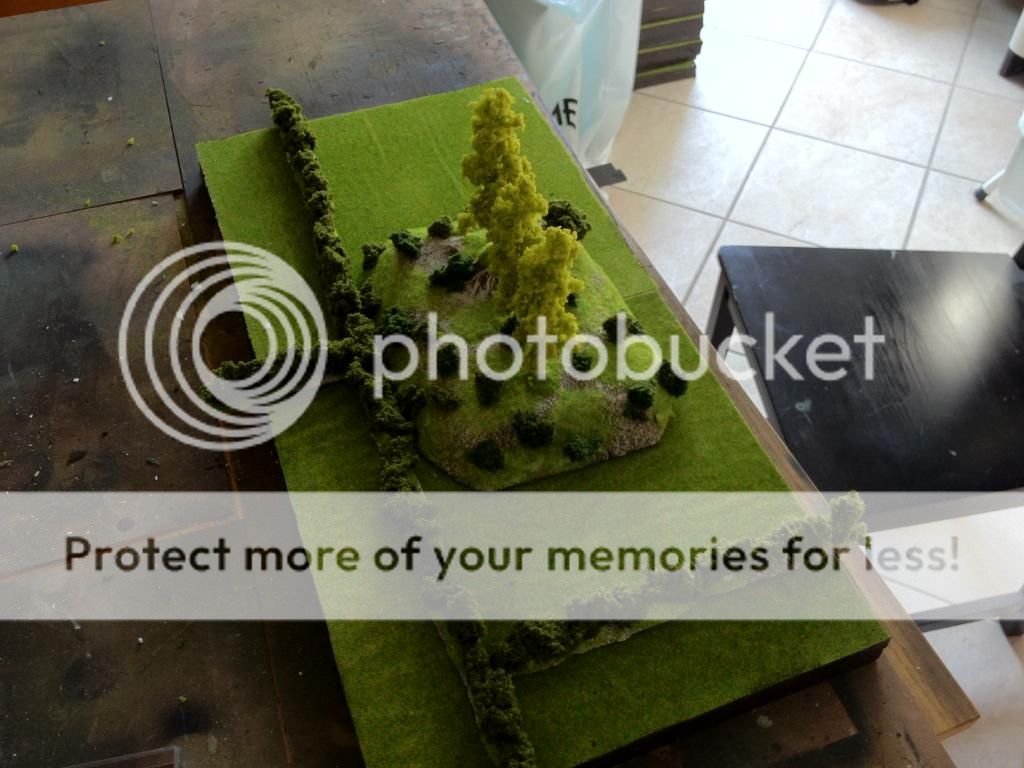

And a bit of reconnaissance work....


That's about it really. It was an easy task to fulfill and it cost me around 10 euros. Not too bad I reckon....
I hope you like it!
If I may be of any assistance, please do not hesitate to contact me. I'll be more than please to exchange ideas with you!
As usual C&C are more than welcome!
T.


 Moderator


